weight MERCEDES-BENZ GLE COUPE 2019 Owner's Manual
[x] Cancel search | Manufacturer: MERCEDES-BENZ, Model Year: 2019, Model line: GLE COUPE, Model: MERCEDES-BENZ GLE COUPE 2019Pages: 370, PDF Size: 11.22 MB
Page 14 of 370
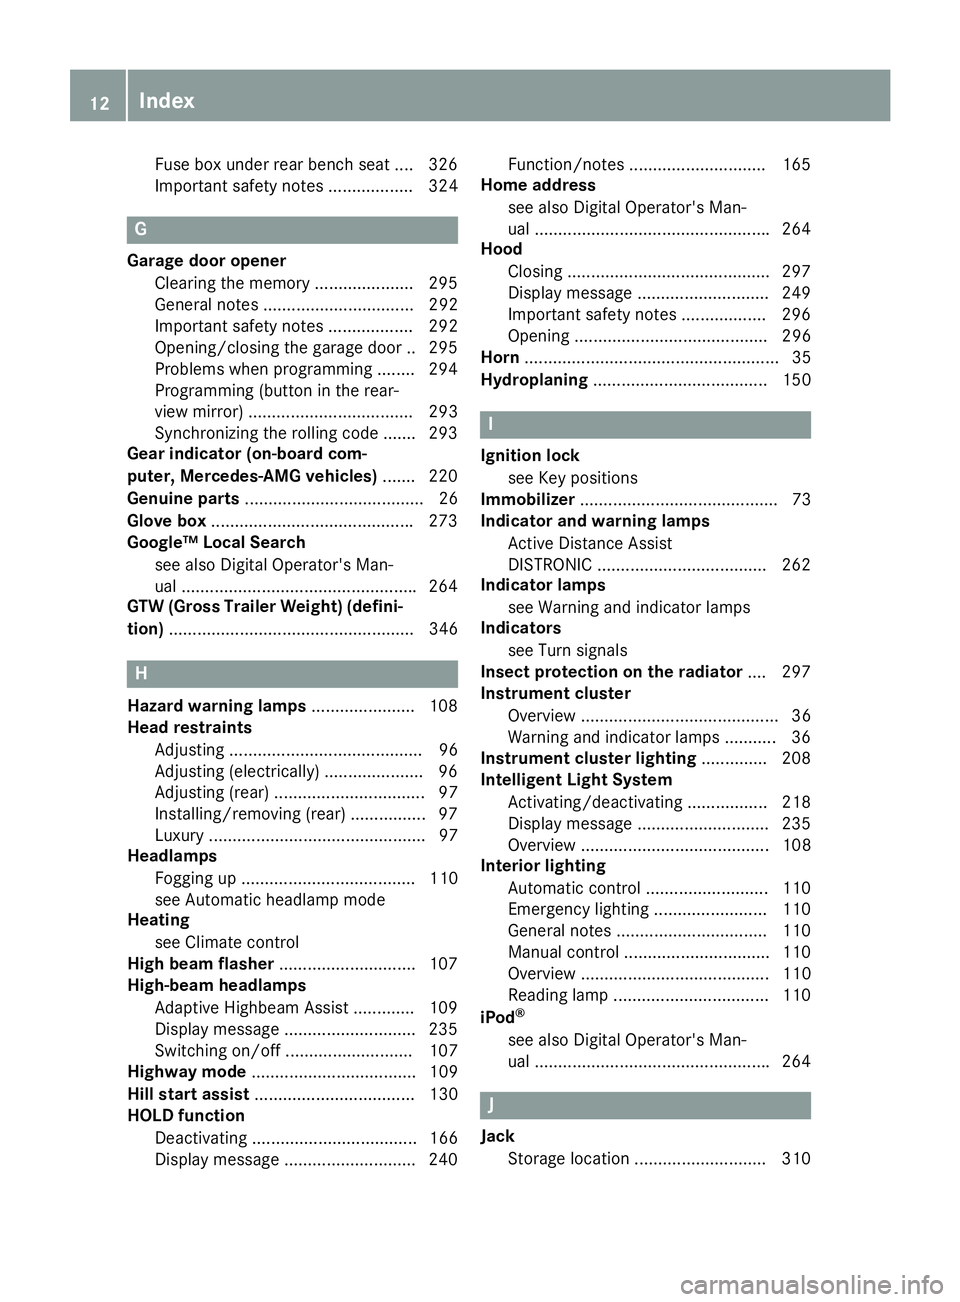
Fuse box under rear bench sea
t.... 326
Important safety notes .................. 324 G
Garage door opener Clearing the memory ..................... 295
General notes ................................ 292
Important safety notes .................. 292
Opening/closing the garage doo r..2 95
Problems when programming ....... .294
Programming (button in the rear-
view mirror) ................................... 293
Synchronizing the rolling code ....... 293
Gear indicator (on-board com-
puter, Mercedes-AMG vehicles) ....... 220
Genuine parts ...................................... 26
Glove box .......................................... .273
Google™ Local Search
see also Digital Operator's Man-
ual ................................................. .264
GTW (Gross Trailer Weight) (defini-
tion) .................................................... 346 H
Hazard warning lamps ......................108
Head restraints
Adjusting ......................................... 96
Adjusting (electrically) ..................... 96
Adjusting (rear) ................................ 97
Installing/removing (rear) ................ 97
Luxury .............................................. 97
Headlamps
Fogging up ..................................... 110
see Automatic headlamp mode
Heating
see Climate control
High beam flasher .............................107
High-beam headlamps
Adaptive Highbeam Assist ............. 109
Display message ............................ 235
Switching on/off ........................... 107
Highway mode ................................... 109
Hill start assist .................................. 130
HOLD function
Deactivating ................................... 166
Display message ............................ 240 Function/notes ............................
.165
Home address
see also Digital Operator's Man-
ual ................................................. .264
Hood
Closing .......................................... .297
Display message ............................ 249
Important safety notes .................. 296
Opening ......................................... 296
Horn ...................................................... 35
Hydroplaning ..................................... 150 I
Ignition lock see Key positions
Immobilizer .......................................... 73
Indicator and warning lamps
Active Distance Assist
DISTRONIC ................................... .262
Indicator lamps
see Warning and indicator lamps
Indicators
see Turn signals
Insect protection on the radiator .... 297
Instrument cluster
Overview .......................................... 36
Warning and indicator lamps ........... 36
Instrument cluster lighting .............. 208
Intelligent Light System
Activating/deactivating ................. 218
Display message ............................ 235
Overview ........................................ 108
Interior lighting
Automatic control .......................... 110
Emergency lighting ........................ 110
General notes ................................ 110
Manual control ............................... 110
Overview ........................................ 110
Reading lamp ................................. 110
iPod ®
see also Digital Operator's Man-
ual ................................................. .264 J
Jack Storage location ............................ 310 12
Index
Page 22 of 370
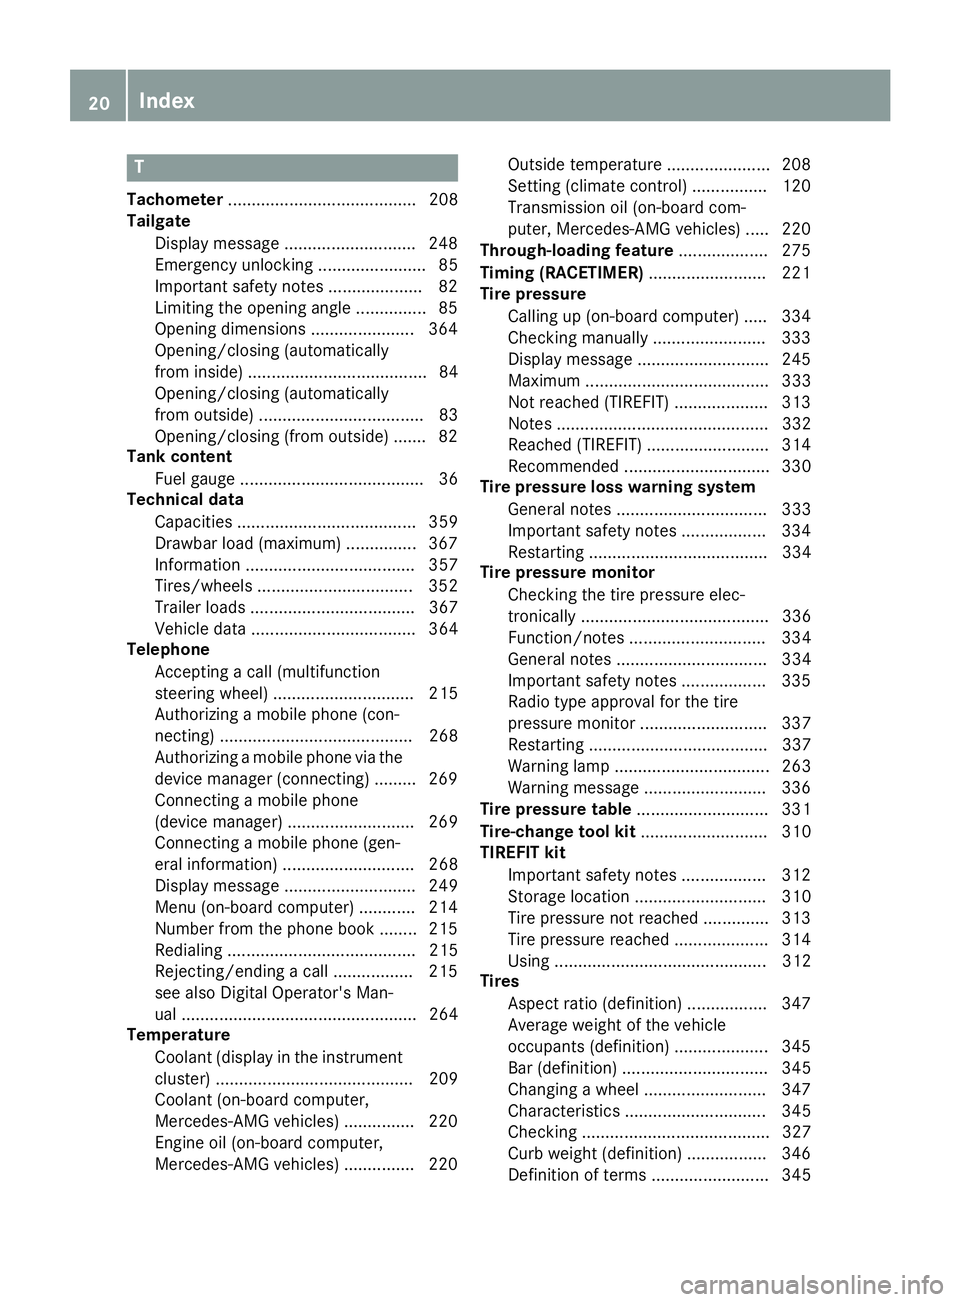
T
Tachometer ........................................ 208
Tailgate
Display message ............................ 248
Emergency unlocking ....................... 85
Important safety notes .................... 82
Limiting the opening angle ............... 85
Opening dimensions ...................... 364
Opening/closing (automatically
from inside) ...................................... 84
Opening/closing (automatically
from outside) ................................... 83
Opening/closing (from outside) ....... 82
Tank content
Fuel gauge ....................................... 36
Technical data
Capacities ...................................... 359
Drawbar load (maximum) ............... 367
Information .................................... 357
Tires/wheels ................................. 352
Trailer load s................................... 367
Vehicle data ................................... 364
Telephone
Accepting a call (multifunction
steering wheel) .............................. 215
Authorizing a mobile phone (con-
necting) ......................................... 268
Authorizing a mobile phone via the device manager (connecting )......... 269
Connecting a mobile phone
(device manager) ........................... 269
Connecting a mobile phone (gen-
eral information) ............................ 268
Display message ............................ 249
Menu (on-board computer) ............ 214
Number from the phone book ........ 215
Redialing ........................................ 215
Rejecting/ending a call ................. 215
see also Digital Operator's Man-
ual .................................................. 264
Temperature
Coolant (display in the instrumentcluster) .......................................... 209
Coolant (on-board computer,
Mercedes-AMG vehicles) ............... 220
Engine oil (on-board computer,
Mercedes-AMG vehicles) ............... 220 Outside temperature ...................... 208
Setting (climate control )................ 120
Transmission oil (on-board com-
puter, Mercedes-AMG vehicles) ..... 220
Through-loading feature ................... 275
Timing (RACETIMER) ......................... 221
Tire pressure
Calling up (on-board computer) ..... 334
Checking manually ........................ 333
Display message ............................ 245
Maximum ....................................... 333
Not reached (TIREFIT) .................... 313
Notes ............................................. 332
Reached (TIREFIT) .......................... 314
Recommended ............................... 330
Tire pressure loss warning system
General notes ................................ 333
Important safety notes .................. 334
Restarting ...................................... 334
Tire pressure monitor
Checking the tire pressure elec-
tronically ........................................ 336
Function/note s............................. 334
General notes ................................ 334
Important safety notes .................. 335
Radio type approval for the tire
pressure monitor ........................... 337
Restarting ...................................... 337
Warning lamp ................................. 263
Warning message .......................... 336
Tire pressure table ............................ 331
Tire-change tool kit ........................... 310
TIREFIT kit
Important safety notes .................. 312
Storage location ............................ 310
Tire pressure not reached .............. 313
Tire pressure reached .................... 314
Using ............................................. 312
Tires
Aspect ratio (definition) ................. 347
Average weight of the vehicle
occupants (definition) .................... 345
Bar (definition) ............................... 345
Changing a whee l.......................... 347
Characteristics .............................. 345
Checking ........................................ 327
Curb weight (definition) ................. 346
Definition of terms ......................... 345 20
Index
Page 23 of 370
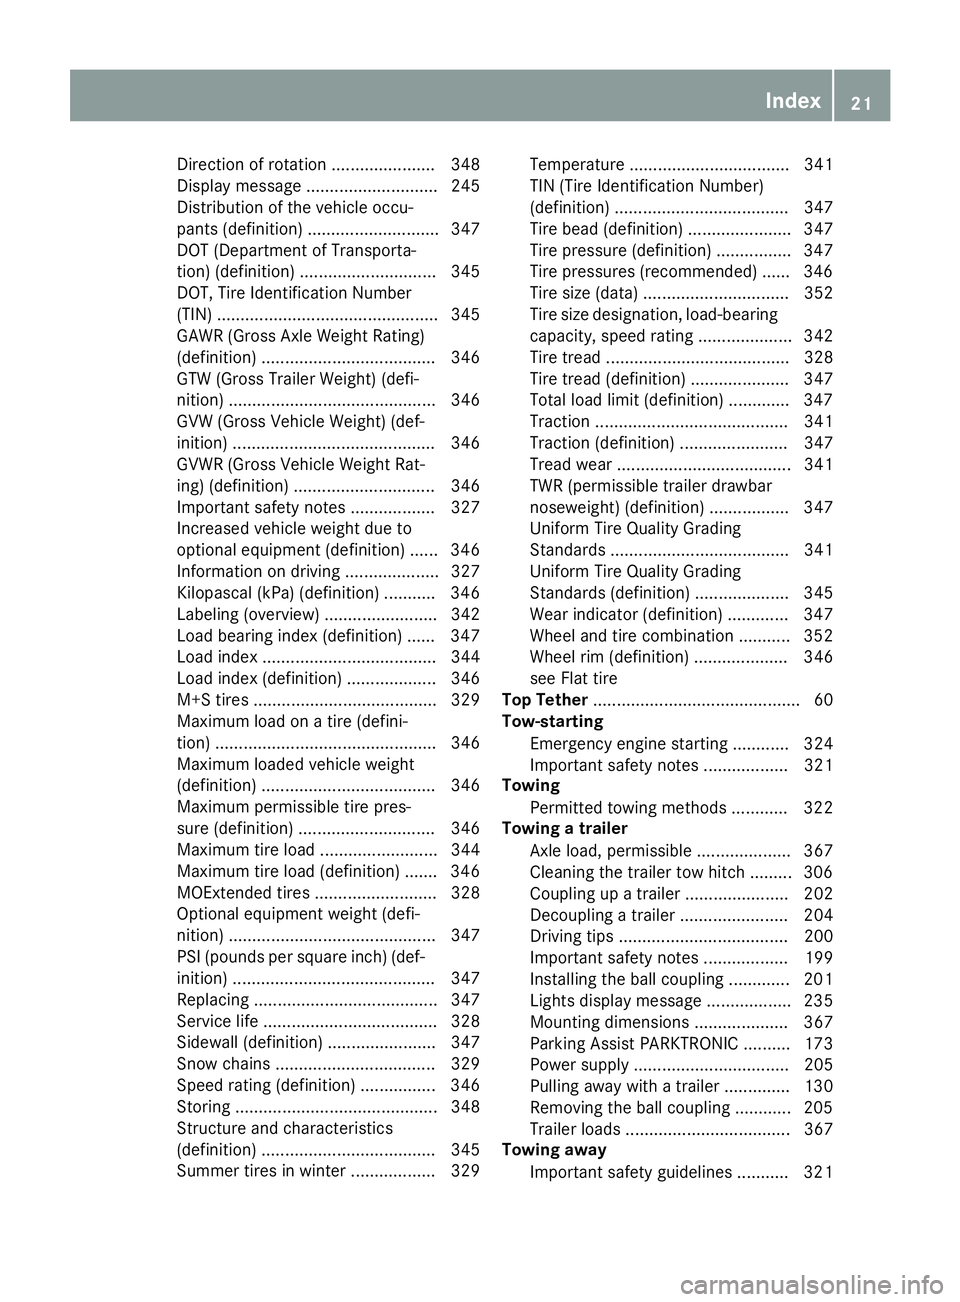
Direction of rotatio
n...................... 348
Display message ............................ 245
Distribution of the vehicle occu-
pants (definition) ............................ 347
DOT (Department of Transporta-
tion) (definition) ............................. 345
DOT, Tire Identification Number
(TIN) ............................................... 345
GAWR (Gross Axle Weight Rating)
(definition) ..................................... 346
GTW (Gross Trailer Weight) (defi-
nition) ............................................ 346
GVW (Gross Vehicle Weight) (def-
inition) ........................................... 346
GVWR (Gross Vehicle Weight Rat-
ing) (definition) .............................. 346
Important safety notes .................. 327
Increased vehicle weight due to
optional equipment (definition) ...... 346
Information on driving .................... 327
Kilopascal (kPa) (definition) ........... 346
Labeling (overview) ........................ 342
Load bearing index (definition) ...... 347
Load index ..................................... 344
Load index (definition) ................... 346
M+S tire s....................................... 329
Maximum load on a tire (defini-
tion) ............................................... 346
Maximum loaded vehicle weight
(definition) ..................................... 346
Maximum permissible tire pres-
sure (definition) ............................. 346
Maximum tire load ......................... 344
Maximum tire load (definition) ....... 346
MOExtended tire s.......................... 328
Optional equipment weight (defi-
nition) ............................................ 347
PSI (pounds per square inch) (def-
inition) ........................................... 347
Replacing ....................................... 347
Service life ..................................... 328
Sidewall (definition) ....................... 347
Snow chains .................................. 329
Speed rating (definition) ................ 346
Storing ........................................... 348
Structure and characteristics
(definition) ..................................... 345
Summer tires in winter .................. 329 Temperature .................................. 341
TIN (Tire Identification Number)
(definition) ..................................... 347
Tire bead (definition) ...................... 347
Tire pressure (definition) ................ 347
Tire pressures (recommended) ...... 346
Tire size (data) ............................... 352
Tire size designation, load-bearing
capacity, speed rating .................... 342
Tire tread ....................................... 328
Tire tread (definition) ..................... 347
Total load limit (definition) ............. 347
Traction ......................................... 341
Traction (definition) ....................... 347
Tread wear ..................................... 341
TWR (permissible trailer drawbar
noseweight) (definition) ................. 347
Uniform Tire Quality Grading
Standards ...................................... 341
Uniform Tire Quality Grading
Standards (definition) .................... 345
Wear indicator (definition) ............. 347
Wheel and tire combination ........... 352
Wheel rim (definition) .................... 346
see Flat tire
Top Tether ............................................ 60
Tow-starting
Emergency engine starting ............ 324
Important safety notes .................. 321
Towing
Permitted towing methods ............ 322
Towing a trailer
Axle load, permissibl e.................... 367
Cleaning the trailer tow hitch ......... 306
Coupling up a traile r...................... 202
Decoupling a trailer ....................... 204
Driving tip s.................................... 200
Important safety notes .................. 199
Installing the ball coupling ............. 201
Lights display message .................. 235
Mounting dimensions .................... 367
Parking Assist PARKTRONIC .......... 173
Power supply ................................. 205
Pulling away with a traile r.............. 130
Removing the ball coupling ............ 205
Trailer load s................................... 367
Towing away
Important safety guidelines ........... 321 Index
21
Page 24 of 370
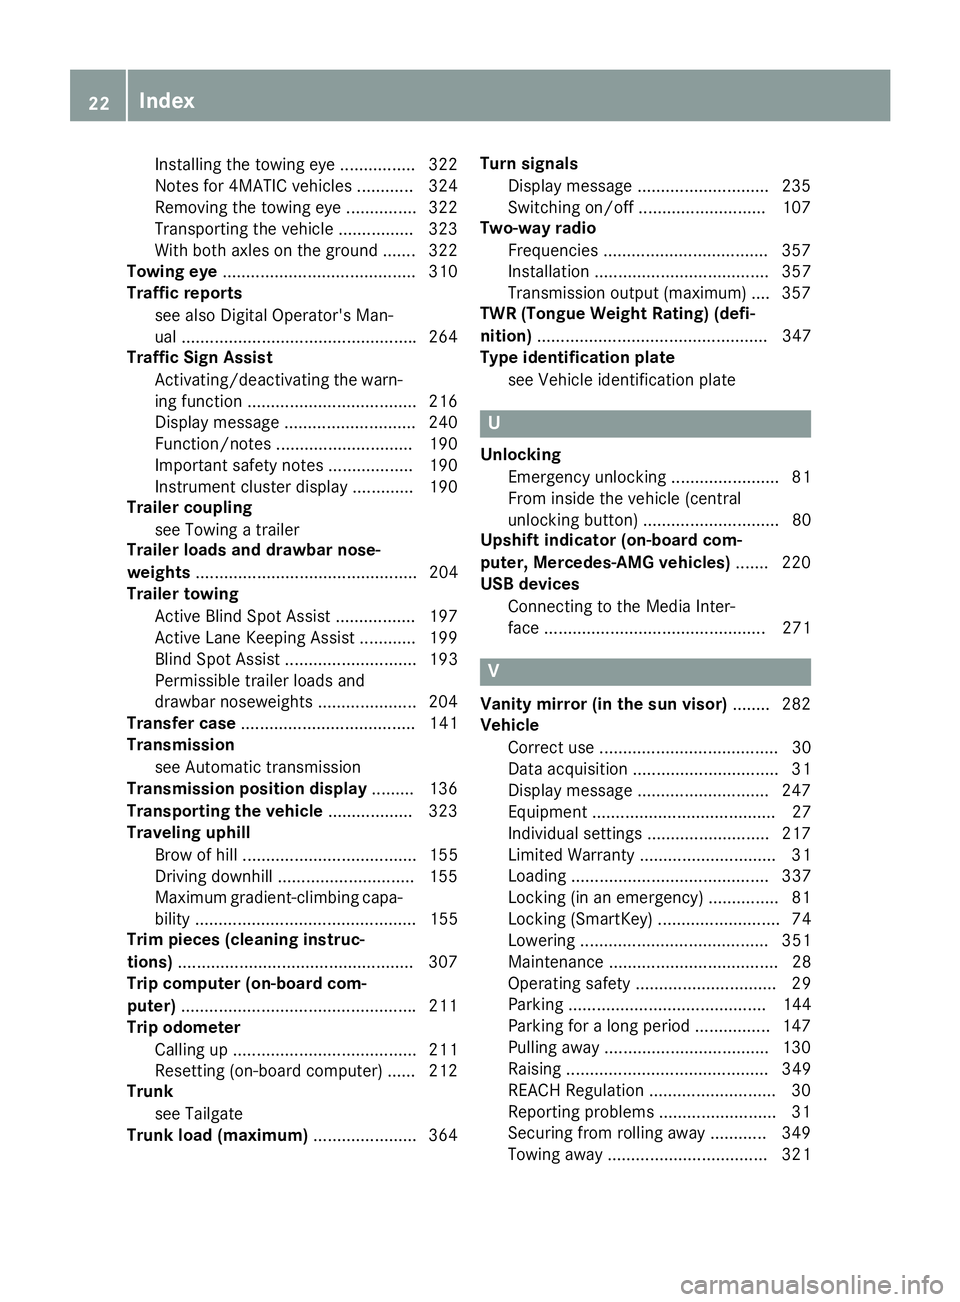
Installing the towing eye ................ 322
Notes for 4MATIC vehicles ............ 324
Removing the towing eye ............... 322
Transporting the vehicle ................ 323
With both axles on the ground ....... 322
Towing eye .........................................3 10
Traffic reports
see also Digital Operator's Man-
ual ................................................. .264
Traffic Sign Assist
Activating/deactivating the warn-ing function ................................... .216
Display message ............................ 240
Function/notes ............................ .190
Important safety notes .................. 190
Instrument cluster display ............. 190
Trailer coupling
see Towing a trailer
Trailer loads and drawbar nose-
weights ............................................... 204
Trailer towing
Active Blind Spot Assist ................. 197
Active Lane Keeping Assist ............ 199
Blind Spot Assist ............................ 193
Permissible trailer loads and
drawbar noseweights ..................... 204
Transfer case ..................................... 141
Transmission
see Automatic transmission
Transmission position display ......... 136
Transporting the vehicle .................. 323
Traveling uphill
Brow of hill ..................................... 155
Driving downhill ............................ .155
Maximum gradient-climbing capa-
bility ............................................... 155
Trim pieces (cleaning instruc-
tions) ................................................. .307
Trip computer (on-board com-
puter) ................................................. .211
Trip odometer
Calling up ....................................... 211
Resetting (on-board computer) ...... 212
Trunk
see Tailgate
Trunk load (maximum) ......................364 Turn signals
Display message ............................ 235
Switching on/off ........................... 107
Two-way radio
Frequencies ................................... 357
Installation ..................................... 357
Transmission output (maximum ).... 357
TWR (Tongue Weight Rating) (defi-
nition) ................................................. 347
Type identification plate
see Vehicle identification plate U
Unlocking Emergency unlocking ....................... 81
From inside the vehicle (central
unlocking button) ............................. 80
Upshift indicator (on-board com-
puter, Mercedes-AMG vehicles) ....... 220
USB devices
Connecting to the Media Inter-
face ............................................... 271 V
Vanity mirror (in the sun visor) ........ 282
Vehicle
Correct use ...................................... 30
Data acquisition ............................... 31
Display message ............................ 247
Equipment ....................................... 27
Individual settings .......................... 217
Limited Warranty ............................. 31
Loading .......................................... 337
Locking (in an emergency) ............... 81
Locking (SmartKey) .......................... 74
Lowering ........................................ 351
Maintenance .................................... 28
Operating safety .............................. 29
Parking .......................................... 144
Parking for a long period ................ 147
Pulling away ................................... 130
Raising ........................................... 349
REACH Regulation ........................... 30
Reporting problems ......................... 31
Securing from rolling away ............ 349
Towing away .................................. 321 22
Index
Page 28 of 370
Protecting the environment
General notes
H
Environmental note
Daimler's declared policy is one of compre-
hensive environmental protection.
The objectives are for the natural resources
that form the basis of our existence on this
planet to be used sparingly and in a manner
that takes the requirements of both nature
and humanity into account.
You too can help to protect the environment
by operating your vehicle in an environmen-
tally responsible manner.
Fuel consumption and the rate of engine,
transmission, brake and tire wear are affected by these factors:
R operating conditions of your vehicle
R your personal driving style
You can influence both factors. You should
bear the following in mind:
Operating conditions:
R avoid short trips as these increase fuel con-
sumption.
R always make sure that the tire pressures
are correct.
R do not carry any unnecessary weight.
R remove roof racks once you no longer need
them.
R a regularly serviced vehicle will contribute
to environmental protection. You should
therefore adhere to the service intervals.
R always have service work carried out at a
qualified specialist workshop.
Personal driving style:
R do not depress the accelerator pedal when
starting the engine.
R do not warm up the engine when the vehicle
is stationary.
R drive carefully and maintain a safe distance
from the vehicle in front.
R avoid frequent, sudden acceleration and
braking. R
change gear in good time and use each gear
only up to 00C3of its maximum engine speed.
R switch off the engine in stationary traffic.
R keep an eye on the vehicle's fuel consump-
tion. Environmental concerns and recom-
mendations
Wherever the operating instructions require you to dispose of materials, first try to regenerate orre-use them. Observe the relevant environmen-
tal rules and regulations when disposing of
materials. In this way you will help to protect the environment. Genuine Mercedes-Benz parts
H
Environmental note
Daimler AG also supplies reconditioned major
assemblies and parts which are of the same
quality as new parts. They are covered by the same Limited Warranty entitlements as new
parts.
! Air bags and Emergency Tensioning Devi-
ces, as well as control units and sensors for
these restraint systems, may be installed in
the following areas of your vehicle:
R doors
R door pillars
R door sills
R seats
R cockpit
R instrument cluster
R center console
Do not install accessories such as audio sys-
tems in these areas. Do not carry out repairs or welding. You could impair the operating
efficiency of the restraint systems.
Have aftermarket accessories installed at a
qualified specialist workshop.
You could jeopardize the operating safety of
your vehicle if you use parts, tires and wheels as well as accessories relevant to safety which
have not been approved by Mercedes-Benz. This
could lead to malfunctions in safety-relevant 26
Genuine Mercedes-Benz partsIntroduction
Page 32 of 370
These devices may not cause harmful interfer-
ence, and 2) These devices must accept any
interference received, including interference
that may cause undesired operation. Changes
or modifications not expressly approved by the
party responsible for compliance could void the
user’s authority to operate the equipment."
Canada: "The wireless devices of this vehicle
comply with Industry Canada license-exempt
RSS standard(s). Operation is subject to the fol-
lowing two conditions: (1) These devices may
not cause interference, and (2) These devices
must accept any interference, including inter-
ference that may cause undesired operation of
the device." Diagnostics connection
The diagnostics connection is only intended for
the connection of diagnostic equipment at a
qualified specialist workshop. G
WARNING
If you connect equipment to a diagnostics
connection in the vehicle, it may affect the
operation of vehicle systems. As a result, the operating safety of the vehicle could be affec-
ted. There is a risk of an accident.
Only connect equipment to a diagnostics con-
nection in the vehicle, which is approved for
your vehicle by Mercedes-Benz. G
WARNING
Objects in the driver's footwell can restrict the pedal travel or obstruct a depressed pedal.
The operating and road safety of the vehicle is
jeopardized. There is a risk of an accident.
Make sure that all objects in the vehicle are
stowed correctly, and that they cannot enter
the driver's footwell. Install the floormats
securely and as specified in order to ensure
sufficient clearance for the pedals. Do not use loose floormats and do not place floormats on
top of one another.
! If the engine is switched off and equipment
on the diagnostics connection is used, the
starter battery may discharge.
Connecting equipment to the diagnostics con-
nection can lead to emissions monitoring infor- mation being reset, for example. This may lead
to the vehicle failing to meet the requirements of
the next emissions test during the main inspec-
tion. Qualified specialist workshop
An authorized Mercedes-Benz Center is a quali-
fied specialist workshop. It has the necessary
specialist knowledge, tools and qualifications to correctly carry out the work required on your
vehicle. This is especially the case for work rel-
evant to safety.
Always have the following work carried out at an authorized Mercedes-Benz Center:
R work relevant to safety
R service and maintenance work
R repair work
R alterations, installation work and modifica-
tions
R work on electronic components Correct use
If you remove any warning stickers, you or oth-
ers could fail to recognize certain dangers.
Leave warning stickers in position.
Observe the following information when driving your vehicle:
R the safety notes in this manual
R the vehicle technical data
R traffic rules and regulations
R laws and safety standards pertaining to motor
vehicles Information about the REACH decree
The REACH regulation (Regulation (EC) no.
1907/2006, Article 33) lays down an informa-
tion obligation for substances of very high con-
cern (SVHC).
Daimler AG acts in good faith to avoid using
these SVHCs and to allow the customer to han- dle these substances safely. In accordance with
supplier information and internal product infor-
mation from Daimler AG, SVHCs that account
for more than 0.1 percent by weight of individual products in this vehicle are known. 30
Operating safetyIntroduction
Page 47 of 370
If a child younger than twelve years old and
under 5 ft (1.50 m)in height is traveling in the
vehicle:
R always secure the child in a child restraint
system suitable for this Mercedes-Benz vehi-
cle. The child restraint system must be appro- priate to the age, weight and size of the child.
R always observe the instructions and safety
notes on "Children in the vehicle"
(Y page 57) in addition to the child restraint
system manufacturer's installation and oper-
ating instructions
R always observe the instructions and safety
notes on the "Occupant Classification System
(OCS)" (Y page 49) G
WARNING
The seat belts may not perform their intended protective function if:
R they are damaged, modified, extremely
dirty, bleached or dyed
R the seat belt buckle is damaged or
extremely dirty
R the Emergency Tensioning Devices, belt
anchorages or inertia reels have been modi-
fied.
Seat belts may be damaged in an accident,
although the damage may not be visible, e.g.
due to splinters of glass. Modified or damaged
seat belts may tear or fail, e.g. in an accident. Modified Emergency Tensioning Devices
could accidentally trigger or fail to deploy
when necessary. This poses an increased risk
of injury or even fatal injury.
Never modify the seat belts, Emergency Ten-
sioning Devices, belt anchorages and inertia
reels. Make sure that the seat belts are
undamaged, not worn out and clean. Follow-
ing an accident, have the seat belts checked
immediately at a qualified specialist work-
shop.
Only use seat belts that have been approved for
your vehicle by Mercedes-Benz. Proper use of the seat belts Observe the safety notes on the seat belt
(Y
page 44).
Every vehicle occupant must observe the fol-
lowing notes to ensure a properly worn seat belt can provide full protection. Also make sure that all vehicle occupants are always wearing the
seat belt correctly while the vehicle is in motion.
When fastening the seat belt, always make sure
that:
R the seat belt buckle tongue is inserted only
into the belt buckle belonging to that seat
R the seat belt is pulled tight across your body
Avoid wearing bulky clothing, e.g. a winter
coat.
R the seat belt is not twisted
Only then can the forces which occur be dis-
tributed over the area of the belt.
R the shoulder section of the belt is routed
across the center of your shoulder
The shoulder section of the seat belt should
not touch your neck or be routed under your
arm or behind your back. Where possible,
adjust the seat belt to the appropriate height.
R the lap belt is taut and passes across your lap
as low down as possible
The lap belt must always be routed across
your hip joints and not across your abdomen.
This applies particularly to pregnant women.
If necessary, push the lap belt down to your
hip joint and pull it tight using the shoulder
section of the belt.
R the seat belt is not routed across sharp, poin-
ted or fragile objects
If you have such items located on or in your
clothing, e.g. pens, keys or eyeglasses, store
these in a suitable place.
R only one person is using a seat belt
Infants and children must never travel sitting
on the lap of a vehicle occupant. In the event
of an accident, they could be crushed
between the vehicle occupant and seat belt.
R objects are never secured with a seat belt if
the seat belt is also being used by one of the
vehicle's occupants
Also ensure that there are never objects
between a person and the seat, e.g. cushions.
Seat belts are only intended to secure and
restrain vehicle occupants. Always observe the
"Loading guidelines" for securing objects, lug-
gage or loads (Y page 272). Occupant safety
45Safety Z
Page 50 of 370

bag as it deploys, vehicle occupants must
ensure the following points.
Before commencing your journey, ensure that:
R there are no people, animals or objects
between the vehicle occupants and an air bag
R there are no objects between the seat, door
and B-pillar
R there are no hard objects, e.g. coat hangers,
hanging on the grab handles or coat hooks
R no accessories, such as cup holders, are
attached to the vehicle within the deployment
area of an air bag, e.g. to doors, side windows,
rear side trim or side walls
R no heavy, sharp-edged or fragile objects are in
the pockets of your clothing. Store such
objects in a suitable place G
WARNING
If you modify the air bag cover or affix objects
such as stickers to it, the air bag can no longer function correctly. There is an increased risk
of injury.
Never modify an air bag cover or affix objects to it. G
WARNING
Sensors to control the air bags are located in the doors. Modifications or work not per-
formed correctly to the doors or door panel-
ing, as well as damaged doors, can lead to the
function of the sensors being impaired. The air bags might therefore not function properly
anymore. Consequently, the air bags cannot
protect vehicle occupants as they are
designed to do. There is an increased risk of
injury.
Never modify the doors or parts of the doors.
Always have work on the doors or door pan-
eling carried out at a qualified specialist work- shop.
Front air bags !
Do not place heavy objects on the front-
passenger seat. This could cause the system
to identify the seat as being occupied. In the
event of an accident, the restraint systems on the front-passenger side may be triggered
and have to be replaced. Driver's air bag
0043deploys in front of the steer-
ing wheel. Front-passenger front air bag 0044
deploys in front of and above the glove box.
When deployed, the front air bags offer addi-
tional head and thorax protection for the occu-
pants in the front seats.
The PASSENGER AIR BAG OFF indicator lamp
informs you about the status of the front-
passenger front air bag (Y page 43).
The front-passenger front air bag will only
deploy if:
R the system, based on the OCS weight sensor
readings, detects that the front-passenger
seat is occupied (Y page 49). The
PASSENGER AIR BAG OFF indicator lamp is
not lit (Y page 50)
R the restraint system control unit predicts a
high accident severity
Driver's knee bag Driver's knee bag
0043deploys under the steering
column. The driver's knee bag is deployed
together with the front air bag.
The driver's knee bag offers additional thigh,
knee and lower leg protection for the occupant
in the driver's seat. 48
Occupant safetySafety
Page 52 of 370
In the following situation, the side impact air bag
and the Emergency Tensioning Device are deac-
tivated:
R OCS has not categorized the person on the
front-passenger seat as an adult or a person
of corresponding stature and
R the seat belt buckle tongue of the seat belt is
not inserted into the front-passenger seat belt buckle
Requirements To be classified correctly, the front passenger
must sit:
R with the seat belt fastened correctly
R in an almost upright position with their back
against the seat backrest
R with their feet resting on the floor, if possible
If the front passenger does not observe these
conditions, OCS may produce a false classifica-
tion, e.g. because the front passenger:
R transfers their weight by supporting them-
selves on a vehicle armrest
R sits in such a way that their weight is raised
from the seat cushion
If it is absolutely necessary to install a child
restraint system on the front-passenger seat, be
sure to observe the correct positioning of the
child restraint system. Never place objects
under or behind the child restraint system, e.g. a
cushion. The entire base of the child restraint
system must always rest on the seat cushion of the front-passenger seat. The backrest of the
forward-facing child restraint system must lie as
flat as possible against the backrest of the front-
passenger seat.
The child restraint system must not touch the
roof or be subjected to a load by the head
restraint. Adjust the angle of the seat backrest
and the head restraint position accordingly.
Only then can OCS be guaranteed to function
correctly. Always observe the child restraint sys-
tem manufacturer's installation and operating
instructions. Occupant Classification System opera-
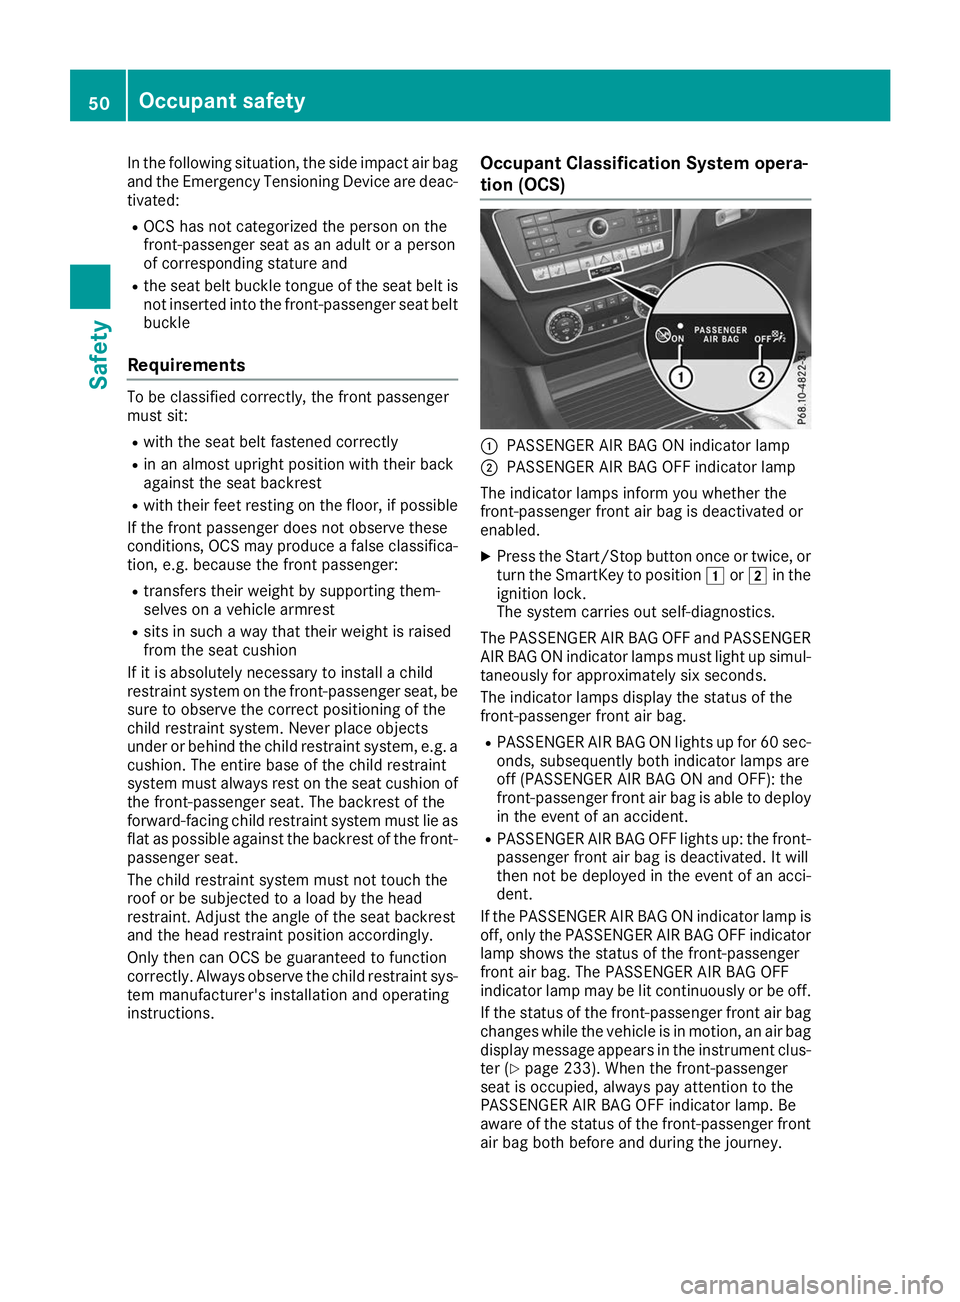
tion (OCS) 0043
PASSENGER AIR BAG ON indicator lamp
0044 PASSENGER AIR BAG OFF indicator lamp
The indicator lamps inform you whether the
front-passenger front air bag is deactivated or
enabled.
X Press the Start/Stop button once or twice, or
turn the SmartKey to position 0047or0048 in the
ignition lock.
The system carries out self-diagnostics.
The PASSENGER AIR BAG OFF and PASSENGER
AIR BAG ON indicator lamps must light up simul- taneously for approximately six seconds.
The indicator lamps display the status of the
front-passenger front air bag.
R PASSENGER AIR BAG ON lights up for 60 sec-
onds, subsequently both indicator lamps are
off (PASSENGER AIR BAG ON and OFF): the
front-passenger front air bag is able to deploy in the event of an accident.
R PASSENGER AIR BAG OFF lights up: the front-
passenger front air bag is deactivated. It will
then not be deployed in the event of an acci-
dent.
If the PASSENGER AIR BAG ON indicator lamp is
off, only the PASSENGER AIR BAG OFF indicator lamp shows the status of the front-passenger
front air bag. The PASSENGER AIR BAG OFF
indicator lamp may be lit continuously or be off.
If the status of the front-passenger front air bag
changes while the vehicle is in motion, an air bag display message appears in the instrument clus-
ter (Y page 233). When the front-passenger
seat is occupied, always pay attention to the
PASSENGER AIR BAG OFF indicator lamp. Be
aware of the status of the front-passenger front
air bag both before and during the journey. 50
Occupant safetySafety
Page 56 of 370
Problem
Possible causes/consequences and
0050
0050Solutions The PASSENGER AIR
BAG OFF indicator lamp
lights up and remains lit,
even though the front-
passenger seat is occu-
pied by an adult or a per-
son of a stature corre-
sponding to that of an
adult. The classification of the person on the front-passenger seat is incor-
rect.
X Make sure the conditions for a correct classification of the person
on the front-passenger seat are met (Y page 50).
X If the PASSENGER AIR BAG OFF indicator lamp remains lit, the front-
passenger seat may not be used.
X Have OCS checked as soon as possible at an authorized Mercedes-
Benz Center. The PASSENGER AIR
BAG OFF indicator lamp
does not light up and/or
does not stay on.
The front-passenger seatis:
R unoccupied
R occupied by the
weight of a child up to
twelve months old in achild restraint system OCS is malfunctioning.
X Make sure there is nothing between the seat cushion and the child
seat.
X Make sure that the entire base of the child restraint system rests on
the seat cushion of the front-passenger seat. The backrest of the
forward-facing child restraint system must lie as flat as possible
against the backrest of the front passenger seat. If necessary,
adjust the position of the front-passenger seat.
X When installing the child restraint system, make sure that the seat
belt is tight. Do not pull the seat belt tight using the front-passenger
seat adjustment. This could result in the seat belt and the child
restraint system being pulled too tightly.
X Check for correct installation of the child restraint system.
Make sure that the head restraint does not apply a load to the child restraint system. If necessary, adjust the head restraint accord-
ingly.
X Make sure that no objects are applying additional weight onto the
seat.
X If the PASSENGER AIR BAG OFF indicator lamp remains off and/or
the PASSENGER AIR BAG ON indicator lamp lights up, do not install a child restraint system on the front-passenger seat. It is recom-
mended that you install the child restraint system on a suitable rear
seat.
X Have OCS checked as soon as possible at an authorized Mercedes-
Benz Center. Deployment of Emergency Tensioning
Devices and air bags
Important safety notes G
WARNING
The air bag parts are hot after an air bag has
been deployed. There is a risk of injury.
Do not touch the air bag parts. Have a
deployed air bag replaced at a qualified spe-
cialist workshop as soon as possible. G
WARNING
A deployed air bag no longer offers any pro-
tection and cannot provide the intended pro-
tection in an accident. There is an increased
risk of injury.
Have the vehicle towed to a qualified special- ist workshop in order to have a deployed air
bag replaced.
It is important for your safety and that of your
passenger to have deployed air bags replaced
and to have any malfunctioning air bags 54
Occupant safetySafety