snow chains MERCEDES-BENZ GLK-CLASS SUV 2013 Owners Manual
[x] Cancel search | Manufacturer: MERCEDES-BENZ, Model Year: 2013, Model line: GLK-CLASS SUV, Model: MERCEDES-BENZ GLK-CLASS SUV 2013Pages: 380, PDF Size: 19.54 MB
Page 11 of 380
Active Driving Assistance
package .........................................
202
Active Lane Keeping Assist ............ 205
Active Parking Assist .....................184
ATTENTION ASSIST
........................197
Blind Spot Assist ............................ 198
Cruise control ................................ 169
Display message ............................ 247
DISTRONIC PLUS ........................... 171
HOLD function ............................... 179
Lane Keeping Assist ...................... 200
Lane Tracking package .................. 198
PARKTRONIC ................................. 180
Rear view camera .......................... 188
Driving tips
Automatic transmission ................. 151
Brakes ........................................... 164
Break-in period .............................. 140
DISTRONIC PLUS ........................... 177
Downhill gradient ........................... 164
Drinking and driving .......................162
Driving abroad ............................... 110
Driving in winter ............................. 166
Driving on flooded roads ................166
Driving on sand .............................. 168
Driving on wet roads ...................... 166
Driving over obstacles ................... 168
Exhaust check ............................... 162
Fuel ................................................ 162
General .......................................... 162
Hydroplaning ................................. 166
Icy road surfaces ........................... 166
Limited braking efficiency on
salted roads ................................... 164
Off-road driving .............................. 167
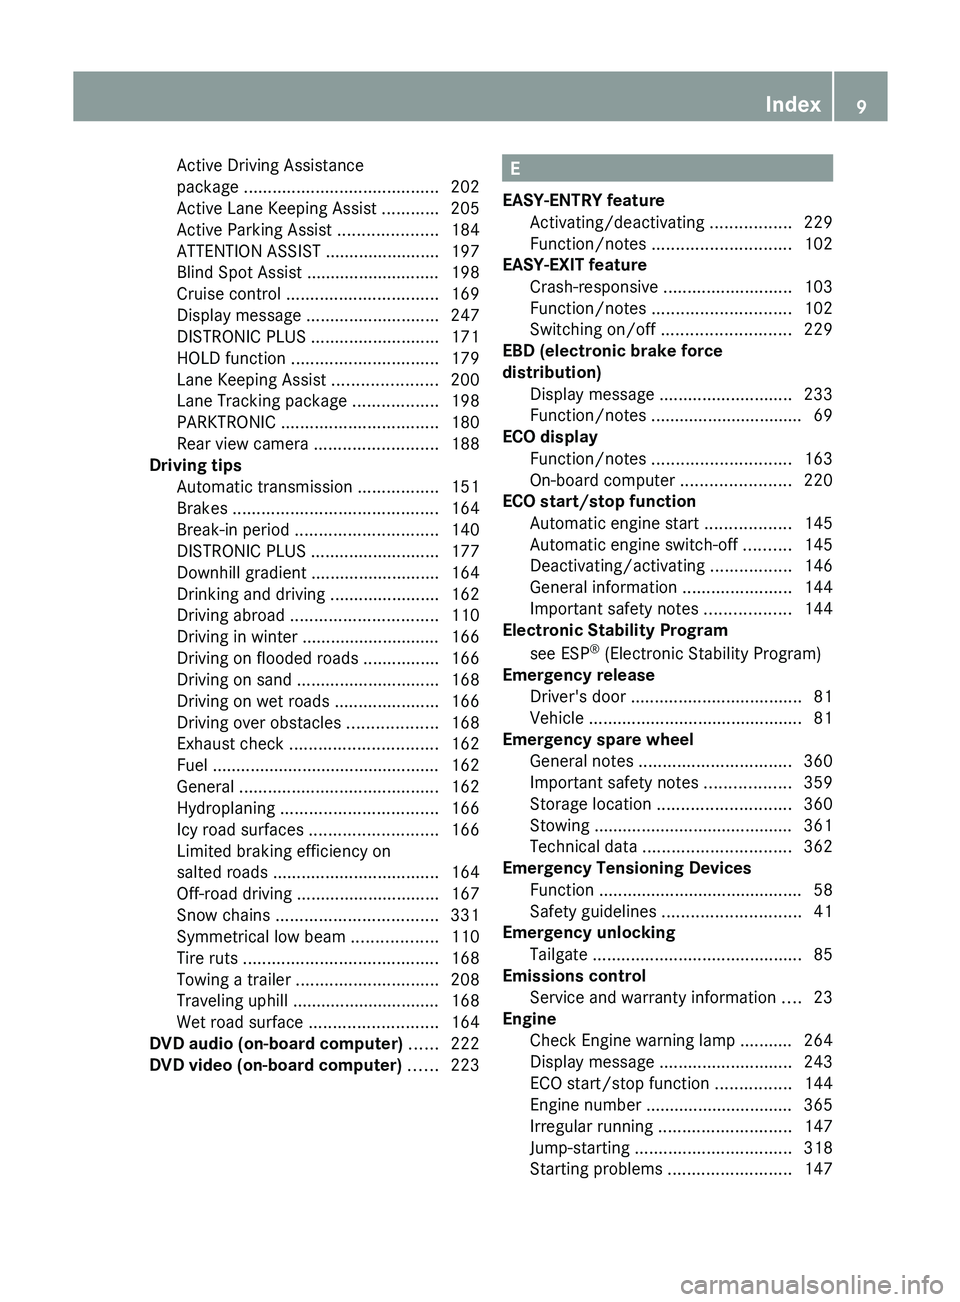
Snow chains .................................. 331
Symmetrical low beam .................. 110
Tire ruts ......................................... 168
Towing a trailer .............................. 208
Traveling uphill ............................... 168
Wet road surface ........................... 164
DVD audio (on-board computer) ...... 222
DVD video (on-board computer) ......223 E
EASY-ENTRY feature Activating/deactivating .................229
Function/notes ............................. 102
EASY-EXIT feature
Crash-responsive ........................... 103
Function/notes
............................. 102
Switching on/off ........................... 229
EBD (electronic brake force
distribution)
Display message ............................ 233
Function/notes ................................ 69
ECO display
Function/notes ............................. 163
On-board computer ....................... 220
ECO start/stop function
Automatic engine start .................. 145
Automatic engine switch-off .......... 145
Deactivating/activating ................. 146
General information ....................... 144
Important safety notes .................. 144
Electronic Stability Program
see ESP ®
(Electronic Stability Program)
Emergency release
Driver's door .................................... 81
Vehicle ............................................. 81
Emergency spare wheel
General notes ................................ 360
Important safety notes .................. 359
Storage location ............................ 360
Stowing .......................................... 361
Technical data ............................... 362
Emergency Tensioning Devices
Function ........................................... 58
Safety guidelines ............................. 41
Emergency unlocking
Tailgate ............................................ 85
Emissions control
Service and warranty information .... 23
Engine
Check Engine warning lamp ........... 264
Display message ............................ 243
ECO start/stop function ................ 144
Engine number ............................... 365
Irregular running ............................ 147
Jump-starting ................................. 318
Starting problems .......................... 147 Index
9
Page 18 of 380
Seat belts
Adjusting the driver's and front-
passenger seat belt .........................56
Adjusting the height ......................... 56
Belt force limiters ............................ 58
center rear-compartment seat .........57
Cleaning .........................................
309
Correct usage .................................. 55
Emergency Tensioning Devices ........ 58
Fastening ......................................... 56
Important safety guidelines .............54
Releasing ......................................... 57
Safety guidelines ............................. 41
Switching belt adjustment on/off
(on-board computer) ...................... 229
Warning lamp ................................. 257
Warning lamp (function) ................... 57
see Seat belts
Seats
Adjusting (electrically) .....................98
Adjusting lumbar support ..............100
Adjusting the 4-way lumbar
support .......................................... 101
Adjusting the head restraint ............ 99
Cleaning the cover ......................... 309
Correct driver's seat position ........... 96
Folding the backrest (rear
compartment) forwards/back .......272
Folding the rear bench seat
forwards/back ............................... 272
Important safety notes .................... 97
Seat heating problem .................... 101
Storing settings (memory
function) ........................................ 106
Switching seat heating on/off ....... 101
Sensors (cleaning instructions) .......307
Service menu (on-board computer) . 226
Service products Brake fluid ..................................... 370
Coolant (engine) ............................ 371
DEF special additives .....................369
Engine oil ....................................... 369
Fuel ................................................ 365
Important safety notes .................. 365
Refrigerant (air-conditioning
system) .......................................... 372
Washer fluid ................................... 372Settings
Factory (on-board computer) ......... 230
On-board computer ....................... 226
Setting the air distribution ...............133
Setting the airflow ............................ 134
Side impact air bag ............................. 45
Side marker lamp (display
message) ............................................ 241
Side windows Cleaning ......................................... 306
Convenience closing feature ............ 88
Convenience opening feature .......... 87
Important safety information
...........86
Opening/closing .............................. 87
Problem (malfunction) .....................89
Resetting ......................................... 89
Sliding sunroof
see Panorama roof with power
tilt/sliding panel
SmartKey
Changing the battery ....................... 77
Changing the programming ............. 75
Checking the battery ....................... 77
Convenience closing feature ............ 88
Convenience opening feature .......... 87
Display message ............................ 256
Door central locking/unlocking ....... 74
Important safety notes .................... 74
Loss ................................................. 78
Mechanical key ................................ 76
Positions (ignition lock) ................. 141
Problem (malfunction) .....................78
Starting the engine ........................ 143
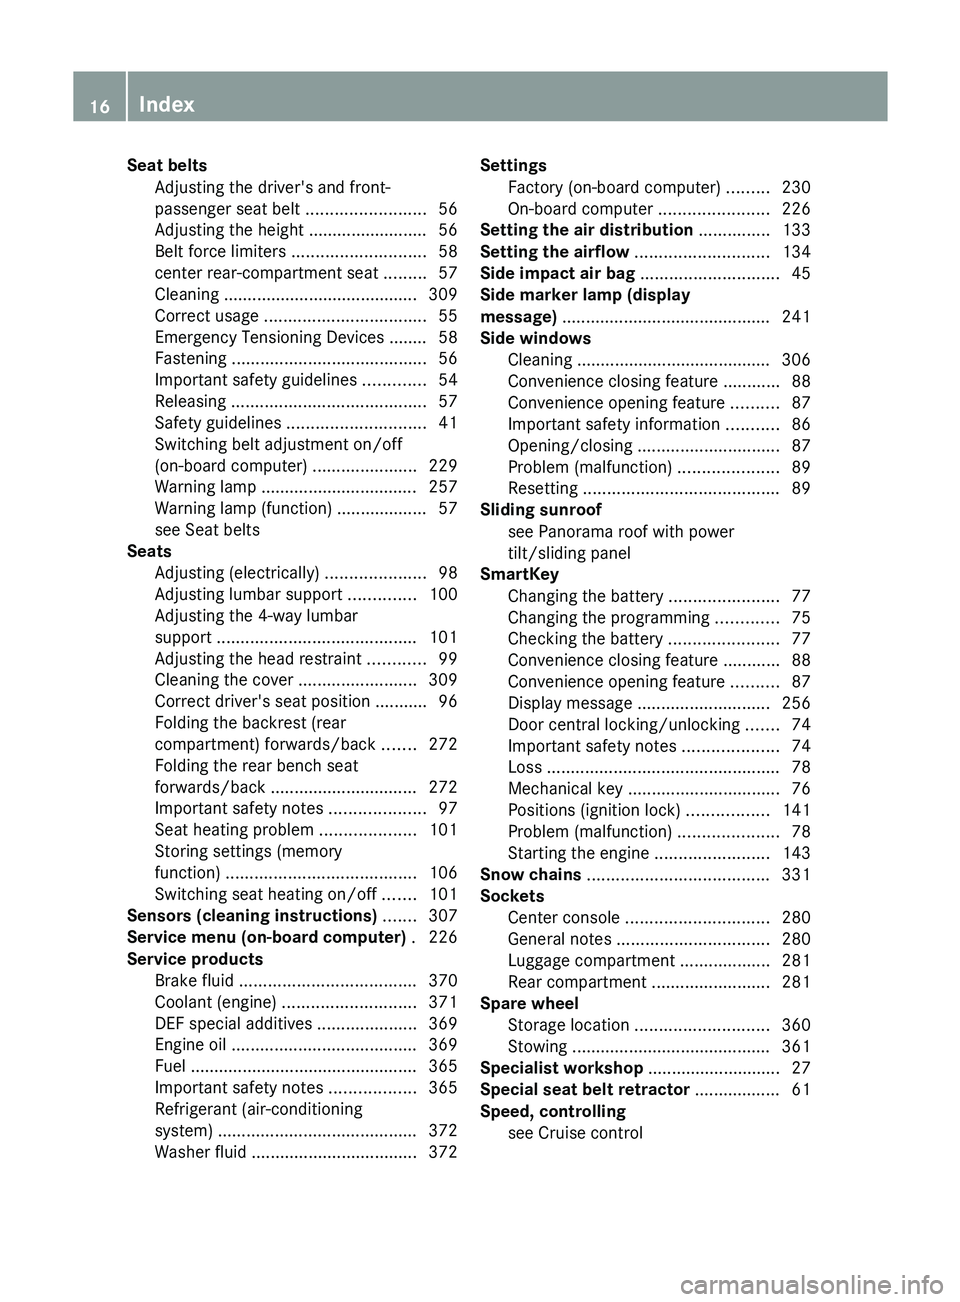
Snow chains ...................................... 331
Sockets Center console .............................. 280
General notes ................................ 280
Luggage compartment ................... 281
Rear compartment ......................... 281
Spare wheel
Storage location ............................ 360
Stowing .......................................... 361
Specialist workshop ............................ 27
Special seat belt retractor .................. 61
Speed, controlling see Cruise control 16
Index
Page 23 of 380
Replacing the wiper blades ............
121
Switching on/off ........................... 120
Winter driving
Important safety notes ..................330
Slippery road surfaces
...................166
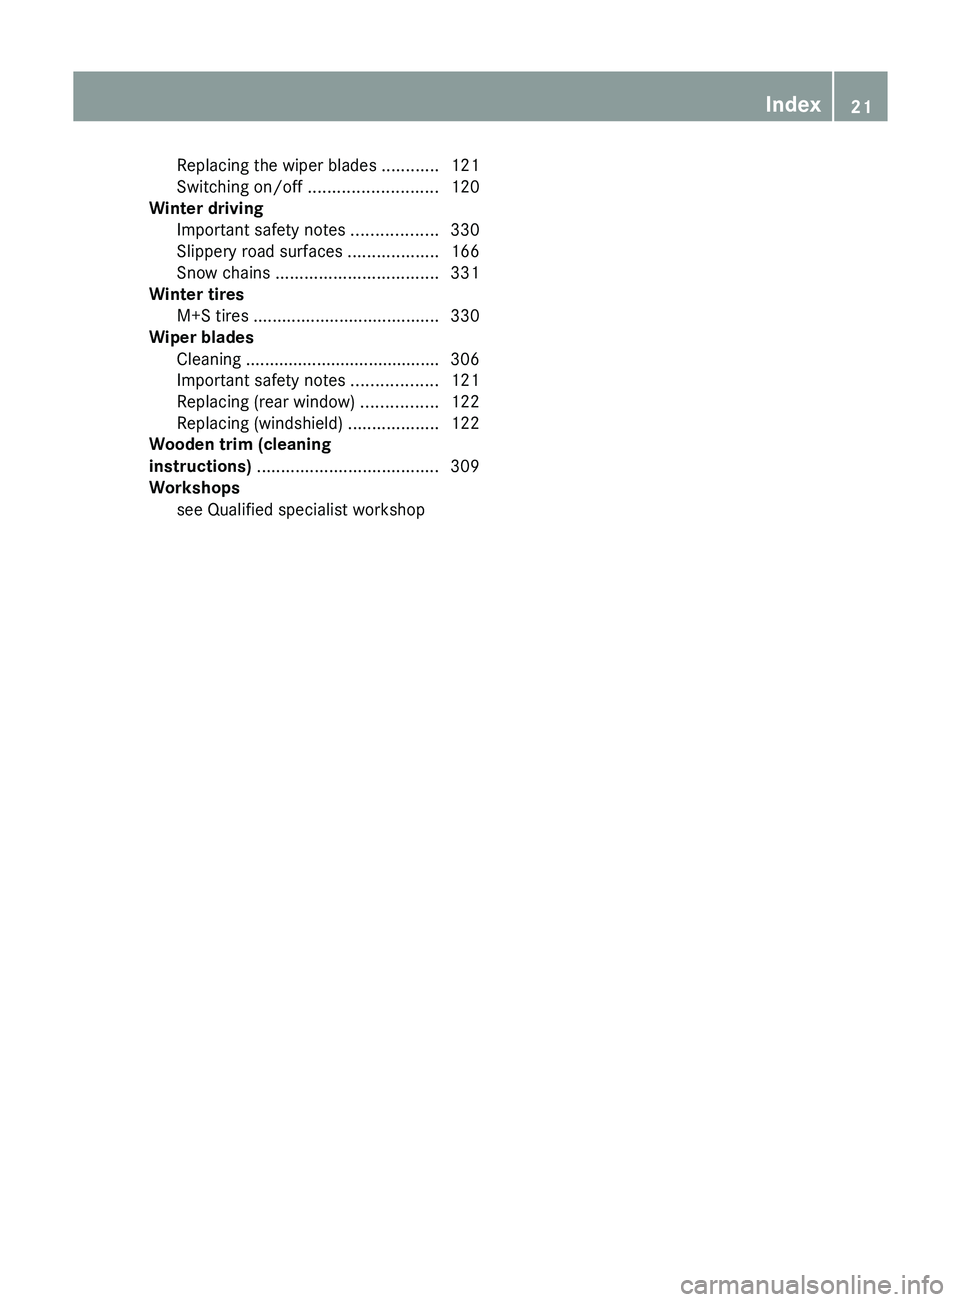
Snow chains .................................. 331
Winter tires
M+S tires ....................................... 330
Wiper blades
Cleaning ......................................... 306
Important safety notes .................. 121
Replacing (rear window) ................122
Replacing (windshield) ................... 122
Wooden trim (cleaning
instructions) ...................................... 309
Workshops see Qualified specialist workshop Index
21
Page 66 of 380
operation is possible using the switches in
the rear compartment.
Driving safety systems
Overview of driving safety systems
In this section, you will
find information about
the following driving safety systems:
R ABS ( Anti-lock Braking System)
R BAS ( Brake Assist System)
R BAS PLUS ( Brake Assist System Plus)
R ESP ®
(Electronic Stability Program)
R EBD ( Electronic Brake force Distribution)
R PRE-SAFE ®
Brake Important safety notes
If you fail to adapt your driving style or
become distracted, the driving safety
systems can neither reduce the risk of
accident nor override the laws of physics.
Driving safety systems are merely aids
designed to assist driving. You are
responsible for the distance to the vehicle in
front, for vehicle speed and for braking in
good time. Always adapt your
driving style to
suit the prevailing road and weather
conditions and maintain a safe distance from
the vehicle in front. Drive carefully.
i The driving safety systems described only
work as effectively as possible when there
is adequate contact between the tires and
the road surface. Please pay special
attention to the notes on tires,
recommended minimum tire tread depths,
etc. (Y page 328).
In wintry driving conditions, always use
winter tires (M+S tires) and if necessary,
snow chains. Only in this way will the
driving safety systems described in this
section work as effectively as possible. ABS (Anti-lock Braking System)
Important safety notes i
Observe the "Important safety notes"
section ( Y page 64). G
WARNING
If ABS is faulty, the wheels could lock when
braking. The steerability and braking
characteristics may be severely impaired.
Additionally, further driving safety systems
are deactivated. There is an
increased danger
of skidding and accidents.
Drive on carefully. Have ABS checked
immediately at a qualified specialist
workshop.
When ABS is malfunctioning, other systems,
including driving safety systems, will also
become inoperative. Observe the information
on the ABS warning lamp ( Y page 259) and
display messages which may be shown in the
instrument cluster (Y page 232).
ABS regulates brake pressure in such a way
that the wheels do not lock when you brake.
This allows you to continue steering the
vehicle when braking.
ABS works from a speed of about 5 mph
(8 km/h) upwards, regardless of road-surface
conditions. ABS works on slippery surfaces,
even if you only brake gently.
The yellow 0025 ABS warning lamp in the
instrument cluster lights up when the ignition
is switched on. It goes out when the engine is
running.
Braking X
If ABS intervenes: continue to depress the
brake pedal vigorously until the braking
situation is over.
X To make a full brake application:
depress the brake pedal with full force.
If ABS intervenes when braking, you will feel
a pulsing in the brake pedal.
The pulsating brake pedal can be an
indication of hazardous road conditions, and 64
Driving safety systemsSafety
Page 69 of 380
If the
00E5 warning lamp and the 00BB
warning lamp are lit continuously,
ESP®
is not
available due to a malfunction.
Observe the information on warning lamps
(Y page 261) and display messages which
may be shown in the instrument cluster
(Y page 232).
i Only use wheels with the recommended
tire sizes. Only then will ESP ®
function
properly.
Characteristics of ESP General information
ESP
®
is activated automatically when the
engine is started.
If ESP ®
intervenes, the 00E5 ESP®
warning
lamp flashes in the instrument cluster.
If ESP ®
intervenes:
X Do not deactivate ESP ®
under any
circumstances.
X Only depress the accelerator pedal as far
as necessary when pulling away.
X Adapt your driving style to suit the
prevailing road and weather conditions.
Vehicles with the ECO start/stop function
The ECO start/stop function switches the
engine off automatically when the vehicle
stops moving. The engine starts
automatically when the driver wants to pull
away again. ESP ®
remains in its previously
selected status. Example: if ESP ®
was
deactivated before the engine was switched
off, ESP ®
remains deactivated when the
engine is switched on again.
Deactivating/activating ESP ®Important safety notes
You can select between the following states
of ESP:
R
ESP ®
is activated.
R ESP ®
is deactivated. G
WARNING
If you deactivate ESP ®
, ESP ®
no longer
stabilizes the vehicle. There is an increased
risk of skidding and an accident.
Only deactivate ESP ®
in the situations
described in the following.
It may be best to deactivate ESP ®
in the
following situations:
R when using snow chains
R in deep snow
R on sand or gravel
i Activate ESP ®
as soon as the situations
described above no longer apply.
ESP®
will
otherwise not be able to stabilize the
vehicle if the vehicle starts to skid or a
wheel starts to spin.
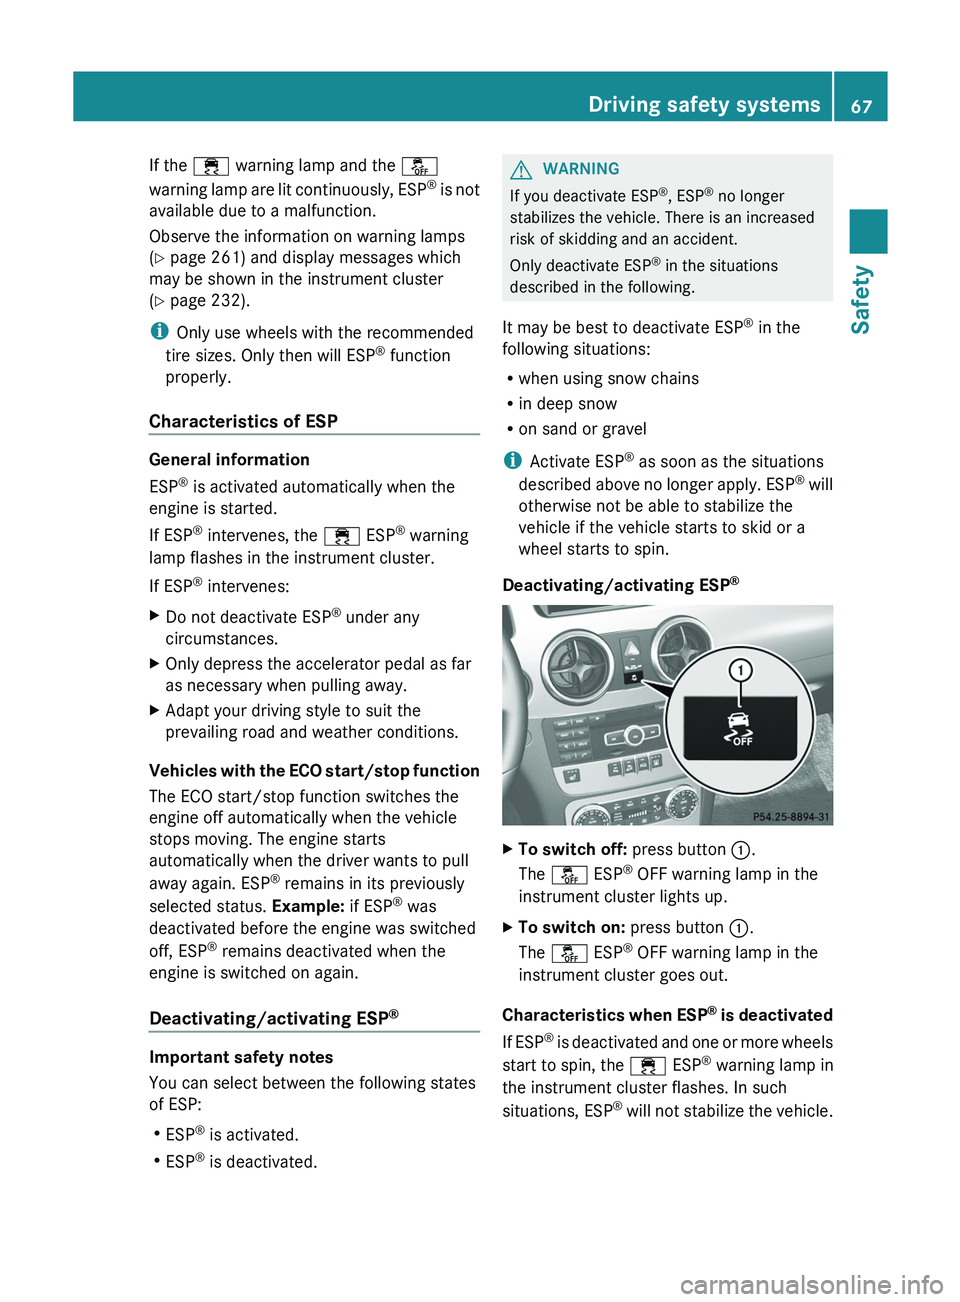
Deactivating/activating ESP ® X
To switch off: press button 0043.
The 00BB ESP ®
OFF warning lamp in the
instrument cluster lights up.
X To switch on: press button 0043.
The 00BB ESP ®
OFF warning lamp in the
instrument cluster goes out.
Characteristics when ESP ®
is deactivated
If ESP ®
is
deactivated and one or more wheels
start to spin, the 00E5 ESP®
warning lamp in
the instrument cluster flashes. In such
situations, ESP ®
will not stabilize the vehicle. Driving safety systems
67
Safety Z
Page 70 of 380
If you deactivate ESP
®
:
R ESP ®
no longer improves driving stability.
R the engine's torque is
no
longer limited and
the drive wheels are able to spin. The
spinning of the wheels results in a cutting
action, which provides better grip.
R traction control is still activated.
R ESP ®
still provides support when you
brake.
Deactivating/activating ESP ®Important safety notes
You can select between the following
statuses of ESP:
R
ESP ®
is activated.
R SPORT handling mode is activated.
R ESP ®
is deactivated. G
WARNING
When SPORT handling mode is activated,
there is a greater risk of skidding and
accidents.
Only activate SPORT handling mode in the
situations described in the following. G
WARNING
If you deactivate ESP ®
, ESP ®
no longer
stabilizes the vehicle. There is an increased
risk of skidding and an accident.
Only deactivate ESP ®
in the situations
described in the following.
In the following
situations, it
may be better to
activate SPORT handling mode or deactivate
ESP ®
:
R when using snow chains
R in deep snow
R on sand or gravel
R on designated roads when the vehicle's
own oversteering and understeering
characteristics are desired Driving in SPORT handling mode or without
ESP
®
requires an extremely qualified and
experienced driver.
i Activate ESP ®
as soon as the situations
described above no longer apply.
ESP®
will
otherwise not be able to stabilize the
vehicle if the vehicle starts to skid or a
wheel starts to spin.
Deactivating/activating ESP ®
X To activate SPORT handling mode:
briefly press button 0043.
The 0074 SPORT handling mode warning
lamp in the instrument cluster lights up.
The SPORT handling mode message
appears in the multifunction display.
X To deactivate SPORT handling mode:
briefly press button 0043.
The 0074 SPORT handling mode warning
lamp in the instrument cluster goes out.
X To deactivate ESP ®
: press button
0043 until
the 00BB
ESP®
OFF warning lamp lights up
in the instrument cluster.
The 00E5OFF message appears in the
multifunction display.
X To activate ESP ®
: briefly press button 0043.
The
00BB ESP ®
OFF warning lamp in the
instrument cluster goes out. The 00E5
ESP ®
ON message appears in the
multifunction display.
Characteristics of activated SPORT
handling mode
If SPORT handling mode is
activated and one
or more wheels start to spin, the 00E5 ESP ®
warning lamp in the instrument cluster
flashes. ESP ®
only stabilizes the vehicle to a
limited degree.
When SPORT handling mode is activated:
R ESP ®
only improves driving stability to a
limited degree.
R traction control is still activated.
R the engine's torque is restricted to a limited
degree and the drive wheels can spin in a68
Driving safety systems
Safety
Page 169 of 380
i
For more information on driving with
snow chains, see ( Y page 331).
The outside temperature indicator is not
designed to serve as an ice-warning device
and is therefore unsuitable for that purpose.
Changes in the outside temperature are
displayed after a short delay.
Indicated temperatures just above the
freezing point do not guarantee
that the road
surface is free of ice. The road may still be icy,
especially in wooded areas or on bridges. The
vehicle could skid if you fail to adapt your
driving style. Always adapt your driving style
and drive at a speed to suit the prevailing
weather conditions.
You should pay special attention to road
conditions when temperatures are around
freezing point. Off-road driving
Important safety notes G
WARNING
If you drive on a steep incline at an angle or
turn when driving on an incline, the vehicle
could slip sideways, tip and rollover. There is
a risk of an accident.
Always drive on a steep incline in the line of
fall (straight up or down) and do not turn the
vehicle.
When driving off-road, sand, mud and water,
possibly mixed with oil, for
example, could get
into the brakes. This could result in a reduced
braking effect or in total brake failure and also
in increased wear and tear. The braking
characteristics change depending on the
material ingressing the brakes. Clean the
brakes after driving off-road. If you detect a
reduced braking effect or grinding noises,
have the brake system checked in a qualified
specialist workshop as soon as possible.
Adapt your driving style to the different
braking characteristics. Driving off-road increases the likelihood of
damage
to the vehicle, which,
in turn, can lead
to failure of the mechanical assembly or
systems. Adapt your driving style to suit the
terrain conditions. Drive carefully. Have
damage to the vehicle rectified immediately
at a qualified specialist workshop.
Do not switch to transmission position N
when driving off-road. If you try to brake the
vehicle using the service brake, you could
lose control of the vehicle. If the gradient is
too steep for your vehicle, drive back down in
reverse gear.
General notes H
Environmental note
Protection of the environment is of primary
importance. Treat nature with respect.
Observe all prohibiting signs.
Read this section carefully before
driving your
vehicle off-road. Practice by driving over more
gentle off-road terrain first.
Familiarize yourself with the characteristics
of your vehicle and the gear shift operation
before driving through difficult terrain.
Checklist before driving off-road !
If the engine oil warning lamp lights up
while the vehicle is in motion, stop the
vehicle in a
safe place
as soon as possible.
Check the engine oil level. The engine oil
warning lamp warning must not be ignored.
Continuing the journey while the symbol is
displayed could lead to engine damage.
Checklist after driving off-road Driving over rough terrain places greater
demands on your vehicle than driving on
normal roads. After driving off-road, check
the vehicle. This allows
you
to detect damage
promptly and reduce the risk of an accident
to yourself and other road users. Driving tips
167
Driving and parking Z
Page 187 of 380
Use Active Parking Assist for parking spaces:
R
that are parallel to the direction of travel
R that are on straight roads, not bends
R that are on the same
level as the road, e.g.
not on the pavement
Parking tips:
R On narrow roads, drive as close to the
parking space as possible.
R Parking spaces that are littered, overgrown
or partially occupied by trailer drawbars
might be identified incorrectly or not at all.
R Snowfall or heavy rain may lead to a parking
space being measured inaccurately.
R Pay attention to the PARKTRONIC
(Y page 182) warning messages during the
parking procedure.
R You can intervene in the steering procedure
to correct it at any time. Active Parking
Assist will then be canceled.
R When transporting a load which protrudes
from your vehicle, you should not use
Active Parking Assist.
R when snow chains or an emergency spare
wheel are mounted, you should not use
Active Parking Assist here either.
R Make sure that the tire pressures are
always correct. This has a direct influence
on the parking characteristics of the
vehicle.
Detecting parking spaces Objects located above the height range of
Active Parking Assist will not be detected
when the parking space is measured. These
are not taken into account when the parking
procedure is calculated, e.g. overhanging
loads, tail sections or
loading
ramps of goods
vehicles. In some circumstances, Active
Parking Assist may therefore guide you into
the parking space too early. G
WARNING
If there are objects above the detection range,
Active Parking Assist may turn prematurely. You may cause a collision as a result. There is
a risk of an accident.
If there are objects
above
the detection range,
stop and deactivate Active Parking Assist.
Active Parking Assist is switched on
automatically when driving forwards. The
system is operational at speeds of up to
approximately 22 mph (35 km/h). While in
operation, the system independently locates
and measures parking spaces on both sides
of the vehicle. When driving at speeds below
19 mph (30 km/h), you will see the parking
symbol as a status indicator in the instrument
cluster. By default, Active Parking Assist only
displays parking spaces on the front-
passenger side. Parking spaces on the
driver's side are displayed as soon as the turn
signal on the driver's side is activated. To park
on the driver's side, you must leave the
driver's side turn signal switched on. This
must remain switched on until you
acknowledge the use of Active Parking Assist
by pressing the 0076 button on the
multifunction steering wheel.
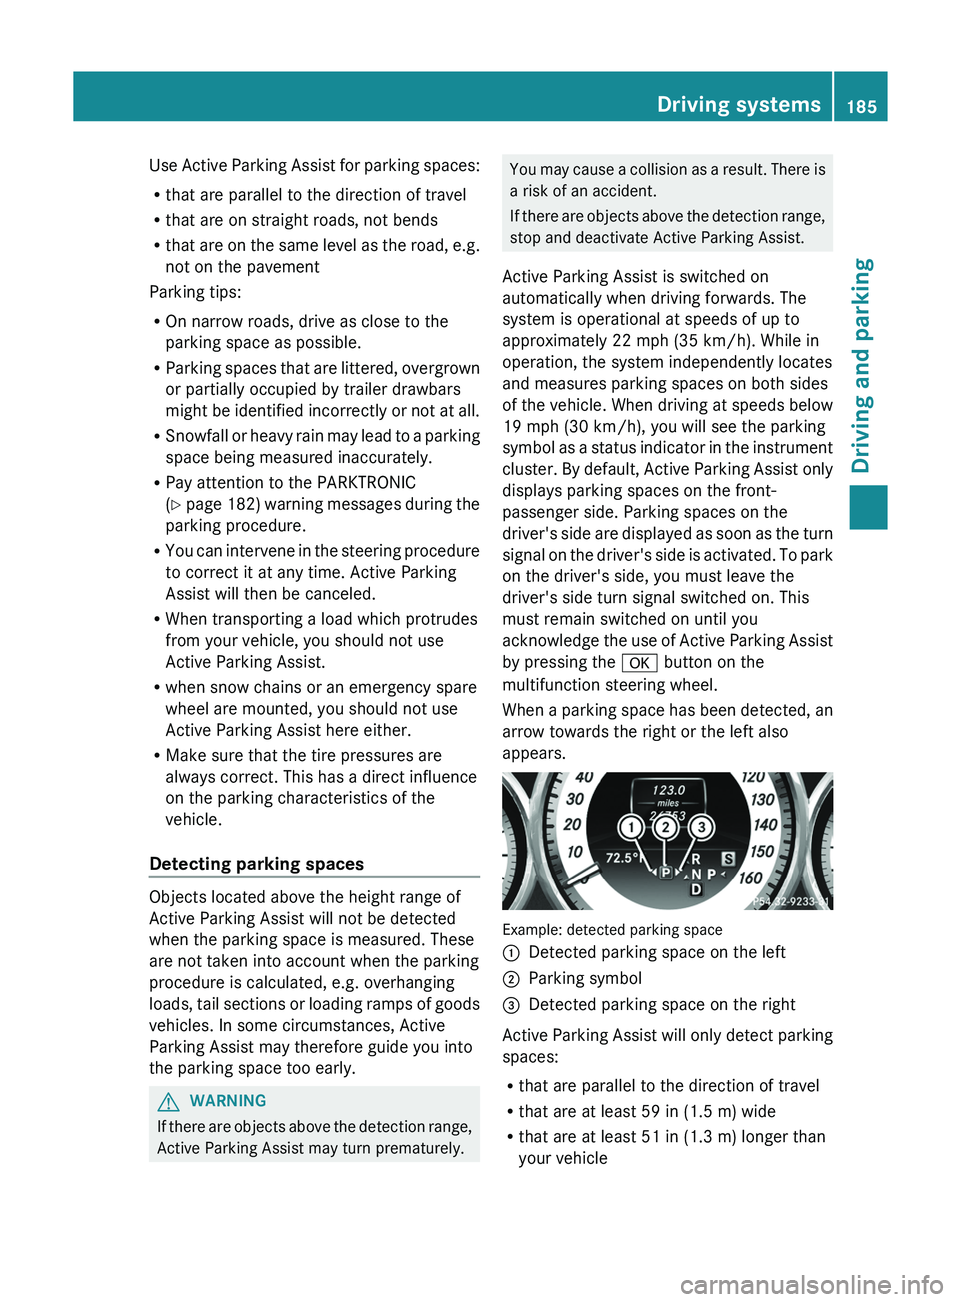
When a parking space has been detected, an
arrow towards the right or the left also
appears. Example: detected parking space
0043
Detected parking space on the left
0044 Parking symbol
0087 Detected parking space on the right
Active Parking Assist will only detect parking
spaces:
R that are parallel to the direction of travel
R that are at least 59 in (1.5 m) wide
R that are at least 51 in (1.3 m) longer than
your vehicle Driving systems
185
Driving and parking Z
Page 333 of 380
Always observe the maximum permissible
speed specified for the M+S tires you have
mounted.
When you have mounted M+S tires:
X Check the tire pressures (Y page 335).
X Vehicles for Canada: restart the tire
pressure loss warning system
(
Y page 335).
X Vehicles for USA: restart the tire pressure
monitor ( Y
page 336).
For more information on driving with the
emergency spare wheel, see ( Y page 359).Snow chains
G
WARNING
If snow chains are installed to the front
wheels, they may drag against the vehicle
body or chassis components. This could
cause damage to the vehicle or the tires.
There is a risk of an accident.
To avoid hazardous situations:
R never install snow chains to the front
wheels
R always install snow chains in pairs to the
rear wheels.
! On some tire sizes there is not enough
space for snow chains. To
avoid damage to
the vehicle or tires, observe the "Wheel and
tire combinations" section under "Tires and
wheels".
! Vehicles with steel wheels: if you wish
to mount snow chains on steel wheels,
make sure that you remove the respective
wheels' hubcaps first. The hubcaps may
otherwise be damaged.
For safety reasons, Mercedes-Benz
recommends that you only use snow chains
that have been specially approved for your
vehicle by Mercedes-Benz, or are of a
corresponding standard of quality. If you intend to mount snow chains, please
bear the following points in mind:
R
snow chains may not be mounted on all
wheel/tire combinations. Permissible
wheel-tire combinations (Y page 357).
R only use snow chains when
driving on roads
completely covered by snow. Remove the
snow chains as soon as possible when you
come to a road that is not snow-covered.
R local regulations may restrict the use of
snow chains. Observe the appropriate
regulations if you wish to mount snow
chains.
R do not exceed the maximum permissible
speed of 30 mph (50 km/h).
i You may wish to deactivate
ESP ®
(Y page 66) when pulling away with
snow chains installed. You can thereby
allow the wheels to spin in a controlled
manner, achieving an increased driving
force (cutting action).
For more information on driving with the
emergency spare wheel, see ( Y page 359). Tire pressure
Tire pressure specifications
Operation with a trailer: the applicable
value for the rear tires is the maximum tire
pressure value stated in the table inside the
fuel filler flap. G
WARNING
Underinflated or overinflated tires pose the
following risks:
R the tires may burst, especially as the load
and vehicle speed increase.
R the tires may wear excessively and/or
unevenly, which may greatly impair tire
traction.
R the driving characteristics, as well as
steering and braking, may be greatly
impaired.
There is a risk of an accident. Tire pressure
331
Wheels and tires
Z
Page 337 of 380
Checking the tire pressures
Important safety notes Observe the "tire pressure information"
section (
Y page 331).
Information on air pressure for the tires on
your vehicle can be found:
R on the vehicle's Tire and Loading
Information placard on the B-pillar
R on the tire pressure label on the fuel filler
flap
R in the "Tire pressure information" section
Checking tire pressures manually To determine and set the correct tire
pressure, proceed as follows:
X
Remove the valve cap of the tire that is to
be checked.
X Press the tire pressure gauge securely onto
the valve.
X Read the tire pressure and compare it with
the recommended value on the Tire and
Loading Information placard on the
B-pillar on
the driver's
side
of your vehicle.
X If necessary, increase the tire pressure to
the recommended value ( Y page 331).
X If the tire pressure is too high, release air
by pressing down the metal
pin in the valve
using the tip of a pen, for example. Then,
check the tire pressure again using the tire
pressure gauge.
X Screw the valve cap onto the valve.
X Repeat these steps for the other tires. Tire pressure loss warning system
(Canada only)
General notes While the vehicle is in motion, the tire
pressure loss warning system monitors the
set tire pressure using
the
rotational speed of
the wheels. This enables the system to detect
significant pressure loss in a tire. If the speed of rotation of a wheel changes as a result of
a loss of pressure, a corresponding warning
message will appear in the multifunction
display.
You can recognize the tire pressure loss
warning by the
Run Flat Indicator
Active Press 'OK' to Restart message
which appears in the Service menu of the
multifunction display. Further information on
the message display can be found under
"Restarting the tire pressure loss warning
system" section (
Y page 336).
Important safety notes The tire pressure warning system does not
warn you of an incorrectly set tire pressure.
Observe the notes on the recommended tire
pressure (
Y page 331).
The tire pressure loss warning system does
not replace the need to regularly check your
vehicle's tire pressures, since an
even loss of
pressure on several tires at the same time
cannot be detected by the tire pressure loss
warning system.
The tire pressure monitor is not able to warn
you of a sudden loss of pressure, e.g. if the
tire is penetrated by a foreign object. In the
event of a sudden loss of pressure, bring the
vehicle to a halt by braking carefully. Avoid
abrupt steering maneuvers.
The function of the tire pressure loss warning
system is limited or delayed if:
R snow chains are mounted on your vehicle's
tires.
R road conditions are wintry.
R you are driving on sand or gravel.
R you adopt a very sporty driving style
(cornering at high speeds or driving with
high rates of acceleration).
R you are towing a very heavy or large trailer.
R you are driving with a heavy load (in the
vehicle or on the roof). Tire pressure
335
Wheels and tires Z