reset sun roof MERCEDES-BENZ GLK SUV 2008 Owners Manual
[x] Cancel search | Manufacturer: MERCEDES-BENZ, Model Year: 2008, Model line: GLK SUV, Model: MERCEDES-BENZ GLK SUV 2008Pages: 261, PDF Size: 8.67 MB
Page 14 of 261

MP3
Operating (on-board computer,
luxury multi-function steering
wheel). .............................................. 99
Multi-function display
Luxury multi-function steering
wheel. ............................................... 94
Multi-function steering wheel. ..........91
Multi-function steering wheel............. 91
Overview. .......................................... 28
Multi-function steering wheel (12-
button)
see Luxury multi-function steering wheel N
Navigation On-board computer (luxury multi-
function steering wheel) ...................97
NECK-PRO head restraints ..................40
Resetting after being triggered. ......215
Notes on running in a new vehicle ...144 O
Odometer Total distance recorder. ..............92, 95
Trip meter. .................................. 92, 95
Off-road
4MATIC ........................................... 105
DSR. ............................................... 105
Off-road ABS. .................................... 51
Off-road drive program. ..................107
Off-road ABS ......................................... 51
Off-road drive program (vehicles
with off-road engineering package) .107
Off-road driving Checklist......................................... 159
Information. .................................... 158
Off-road ESP ®
........................................ 54
Off-road terrain Off-road ESP. .................................... 54
Oil
Consumption. ................................. 148
Topping up. ..................................... 148
On-board computer (luxury multi-
function steering wheel) ......................93
Audio menu ...................................... 98Convenience submenu.
..................104
Display messages ........................... 176
Factory settings submenu ..............104
Instrument cluster submenu ...........101
Lights submenu. ............................. 102
Navigation menu. .............................. 97
Overview. .......................................... 95
Service menu .................................. 101
Settings menu ................................ 101
Standard display submenu................ 95
Telephone menu. .............................. 99
Time/date submenu. ......................102
Trip computer menu. ........................95
Vehicle submenu. ........................... 104
On-board computer (multi-func-
tion steering wheel)............................. 91
Display messages ........................... 176
Overview. .......................................... 92
Range. .............................................. 93
Standard display. .............................. 92
Time/date. ....................................... 93
Trip computer. .................................. 92
On-board computer menu (luxury
multi-function steering wheel).......... 101
One-touch gearshifting........................ 86
Operating system see On-board computer (luxury
multi-function steering wheel)
see On-board computer (multi-
function steering wheel)
Outside temperature display .............90
Override feature Rear side windows ............................ 50 P
Paint code........................................... 244
Panorama sliding sunroof................. 127
Rain closing feature. .......................128
Resetting. ....................................... 129
Parking .................................................. 84
Parking aid Exterior mirror on the front-
passenger side.................................. 69
Parktronic. ...................................... 113
Reversing camera. ..........................115
Parking brake ....................................... 84
Display message ............................. 185 Index
11 X204_AKB; 1; 5, en-GB
wobuchh,
Version: 2.11.4
2008-10-15T13:20:56+02:00 - Seite 11 Dateiname: 6515_0671_02_buchblock.pdf; preflight
Page 132 of 261

ing process is started in the corresponding
direction. You can stop automatic opera-
tion by pressing again.
Resetting the panorama sliding sunroof
and the roller sunblinds Reset the panorama sliding sunroof and the
roller sunblinds if the panorama sliding sun-
roof or the roller sunblinds do not open
smoothly.
X Turn the key to position 1or 2in the ignition
lock.
X Pull the switch to the point of resistance in
the direction of arrow ;until the roller
sunblinds are fully closed.
X Keep the switch pulled for an additional
second.
X Press the switch to the point of resistance
in the direction of arrow :and hold it until
the roller sunblinds are fully open.
X Press the switch to the point of resistance
in the direction of arrow :and hold it until
the panorama sliding sunroof has opened
about 10 cm.
X Pull the switch repeatedly to the point of
resistance in the direction of arrow ;until
the panorama sliding sunroof is fully
closed.
X Keep the switch pulled for an additional
second.
X Check whether the panorama sliding sun-
roof can be opened fully again
(Y page 127).
X If this is not the case, consult a qualified
specialist workshop. Loading and stowing
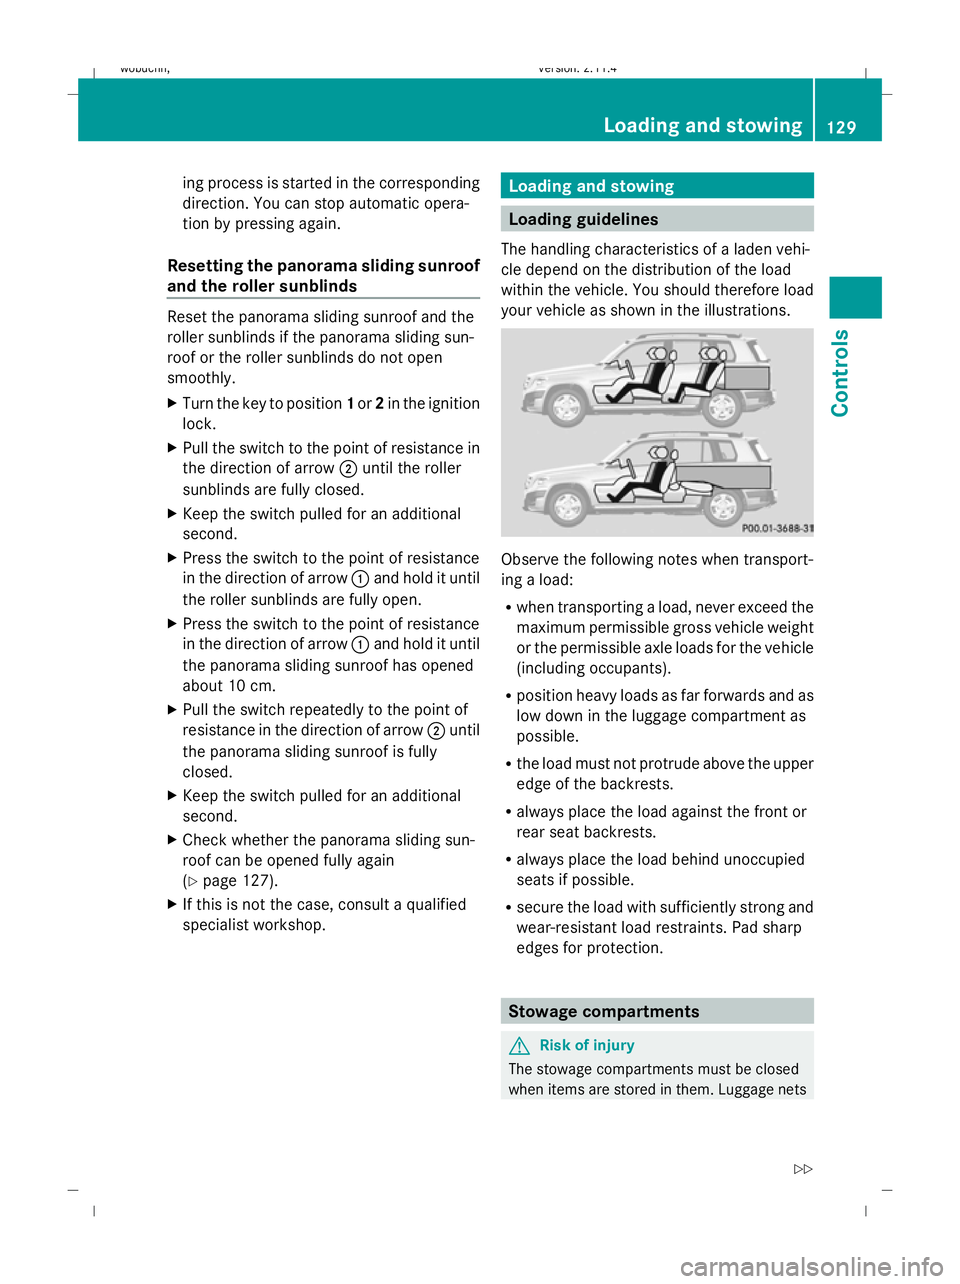
Loading guidelines
The handling characteristics of a laden vehi-
cle depend on the distribution of the load
within the vehicle. You should therefore load
your vehicle as shown in the illustrations. Observe the following notes when transport-
ing a load:
R
when transporting a load, never exceed the
maximum permissible gross vehicle weight
or the permissible axle loads for the vehicle
(including occupants).
R position heavy loads as far forwards and as
low down in the luggage compartment as
possible.
R the load must not protrude above the upper
edge of the backrests.
R always place the load against the front or
rear seat backrests.
R always place the load behind unoccupied
seats if possible.
R secure the load with sufficiently strong and
wear-resistant load restraints. Pad sharp
edges for protection. Stowage compartments
G
Risk of injury
The stowage compartments must be closed
when items are stored in them. Luggage nets Loading and stowing
129Controls
X204_AKB; 1; 5, en-GB
wobuchh, Version: 2.11.4 2008-10-15T13:20:56+02:00 - Seite 129 ZDateiname: 6515_0671_02_buchblock.pdf; preflight
Page 237 of 261

Charging and fitting the battery
G
Risk of injury
Only charge the battery in a well-ventilated
area. As the battery is being charged, gases
can escape and generate minor explosions.
This may injure you and other persons or
cause damage to the paintwork or acid cor-
rosion on the vehicle.
You can obtain information about battery
chargers which allow the battery to be
charged when still installed from a qualified
specialist workshop, e.g. a Mercedes-Benz
Service Centre. G
Risk of injury
There is a risk of acid burns during the charg-
ing process due to the gases which escape
from the battery. Do not lean over the battery
during the charging process. G
Risk of injury
Battery acid is caustic. Avoid contact with the
skin, eyes or clothing.
! Only charge the installed battery with a
battery charger which has been tested and
approved by Mercedes-Benz. These battery
chargers allow the battery to be charged
while it is still installed. However, the bat-
tery must always be disconnected first.
! Only use battery chargers with a maxi-
mum charging voltage of 14.8 V.
X Charge the battery. Observe the notes in
the operating instructions for your battery
charger.
X Refit the charged battery.
To do this, follow the steps described in
"Removing the battery" (Y page 233) in
reverse order. Reconnecting the battery
! Always reconnect the battery in the
sequence described below. Never swap the
terminal clamps. You may otherwise dam-
age the vehicle electronics.
X Switch off all electrical consumers (e.g.
radio, blower, etc.).
X Connect the positive terminal clamp and
secure the cover.
X Connect the negative terminal clamp.
X Connect the breather hose. Make sure that
a cell cap is fitted on the side of the battery.
X Close the bonnet.
i If the battery power supply has been inter-
rupted (e.g. if it has been reconnected), you
must carry out the following tasks:
R set the time (Y page 102).
R reset the panorama sliding sun-
roof* (Y page 127)
R reset the function for folding the exterior
mirrors in/out automatically* by folding
the mirrors out once (Y page 68). Jump-starting
If your vehicle's battery is discharged, the
engine can be jump-started from another
vehicle or from an external battery using jump
leads.
Observe the following points:
R jump-starting may only be performed when
the engine and catalytic converter are cold.
R do not start the engine if the battery is fro-
zen. Let the battery thaw first.
R jump-starting may only be performed from
batteries with a nominal voltage of 12 V.
R only use jump leads which have a sufficient
cross-section and insulated terminal
clamps. 234 Jump-startingPractical advice
* optional
X204_AKB; 1; 5, en-GB
wobuchh,
Version: 2.11.4 2008-10-15T13:20:56+02:00 - Seite 234Dateiname: 6515_0671_02_buchblock.pdf; preflight