spare tire location MERCEDES-BENZ GLK SUV 2012 Owners Manual
[x] Cancel search | Manufacturer: MERCEDES-BENZ, Model Year: 2012, Model line: GLK SUV, Model: MERCEDES-BENZ GLK SUV 2012Pages: 381, PDF Size: 12.68 MB
Page 15 of 381

Exhaust tail pipe (cleaning instruc-
tions) .................................................. 321
Exterior lighting Settings options ............................ .110
see Lights
Exterior mirrors
Adjusting ....................................... 103
Anti-dazzle mode (automatic) ........105
Folding in/out (automatically). ......104
Folding in/out (electrically). ..........104
Folding in (12-button multifunc-
tion steering wheel) .......................244
Out of position (troubleshooting) ...104
Parking position ............................. 105
Resetting ....................................... 104
Storing settings (memory func-
tion) ............................................... 106F
Fault message see Display messages
Filler cap
see Fuel filler flap
Fire extinguisher ............................... 326
First-aid kit ......................................... 326
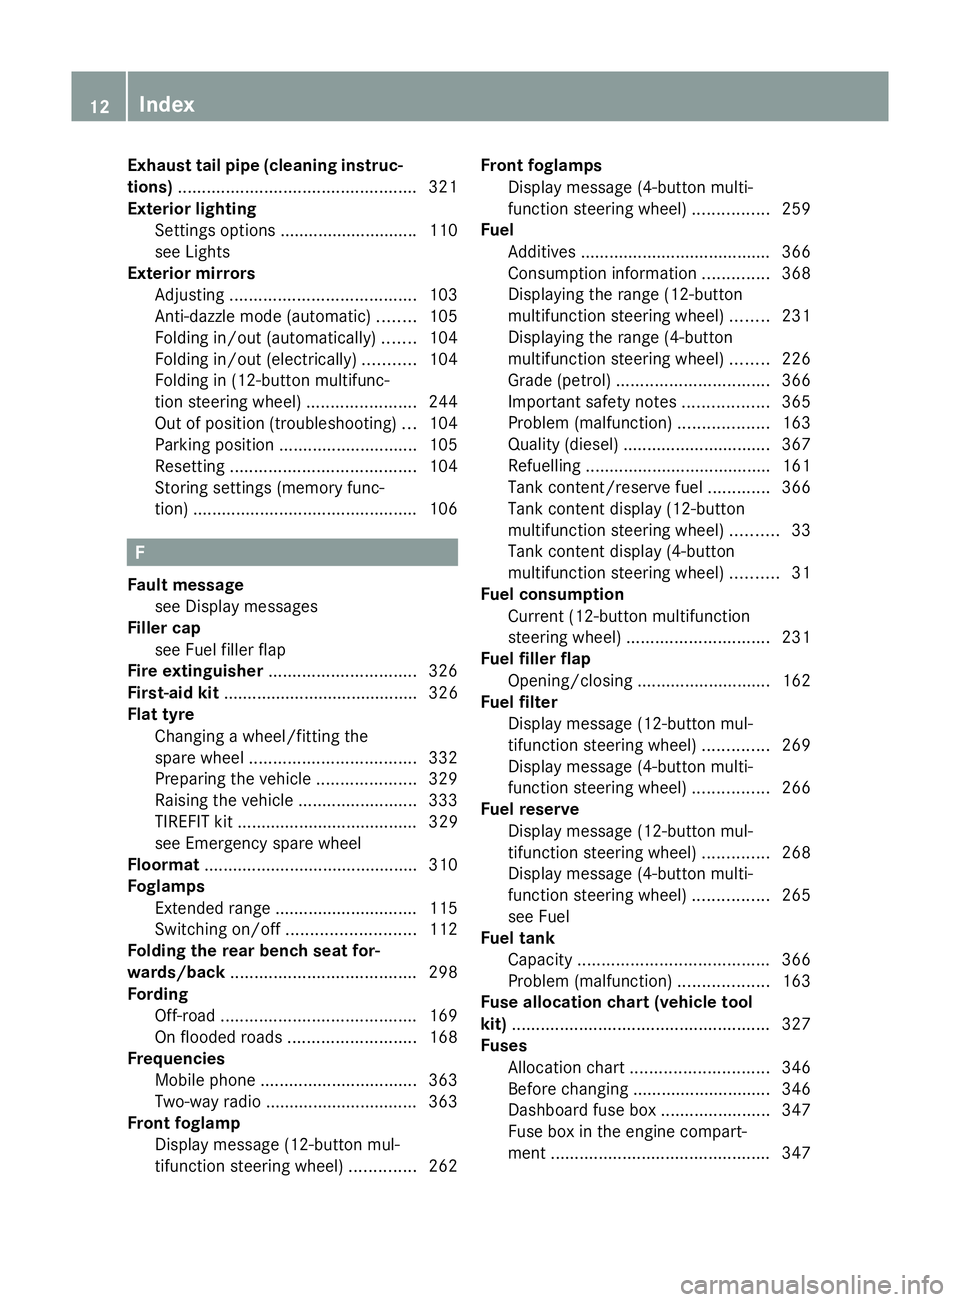
Flat tyre Changing a wheel/fitting the
spare wheel ................................... 332
Preparing the vehicle .....................329
Raising the vehicle .........................333
TIREFIT kit ...................................... 329
see Emergency spare wheel
Floormat ............................................ .310
Foglamps Extended range .............................. 115
Switching on/off ........................... 112
Folding the rear bench seat for-
wards/back ....................................... 298
Fording Off-road ......................................... 169
On flooded roads ........................... 168
Frequencies
Mobile phone ................................. 363
Two-way radio ................................ 363
Front foglamp
Display message (12-button mul-
tifunction steering wheel) ..............262Front foglamps
Display message (4-button multi-
function steering wheel) ................259
Fuel
Additives ........................................ 366
Consumption information ..............368
Displaying the range (12-button
multifunction steering wheel) ........231
Displaying the range (4-button
multifunction steering wheel) ........226
Grade (petrol) ................................ 366
Important safety notes ..................365
Problem (malfunction) ...................163
Quality (diesel )............................... 367
Refuelling ...................................... .161
Tank content/reserve fuel .............366
Tank content display (12-button
multifunction steering wheel) ..........33
Tank content display (4-button
multifunction steering wheel) ..........31
Fuel consumption
Current (12-button multifunction
steering wheel) .............................. 231
Fuel filler flap
Opening/closing ............................ 162
Fuel filter
Display message (12-button mul-
tifunction steering wheel) ..............269
Display message (4-button multi-
function steering wheel) ................266
Fuel reserve
Display message (12-button mul-
tifunction steering wheel) ..............268
Display message (4-button multi-
function steering wheel) ................265
see Fuel
Fuel tank
Capacity ........................................ 366
Problem (malfunction) ...................163
Fuse allocation chart (vehicle tool
kit) ...................................................... 327
Fuses Allocation chart ............................. 346
Before changing ............................. 346
Dashboard fuse box .......................347
Fuse box in the engine compart-
ment .............................................. 34712
Index
Page 354 of 381

wheels and tyres for damage. Hidden tyre
damage could also be causing the unusual
handling characteristics. If you find no
signs of damage, have the tyres and wheels
checked at a qualified specialist workshop.
R When parking your vehicle, make sure that
the tyres do not get deformed by the kerb
or other obstacles. If it is necessary to drive
over kerbs, speed humps or similar eleva-
tions, try to do so at an obtuse angle. Oth-
erwise, the tyres, particularly the sidewalls,
can get damaged. Notes on regularly inspecting wheels
and tyres G
WARNING
Damaged tyres can cause tyre inflation pres-
sure loss. As a result, you could lose control
of your vehicle. There is a risk of accident.
Check the tyres regularly for signs of damage
and replace any damaged tyres immediately.
R Regularly check the wheels and tyres of
your vehicle for damage (e.g. cuts, punctu-
res, tears, bulges on tyres and deformation,
cracks or severe corrosion on wheels), at
least every 14days, as well as after driving
off-road or on rough roads. Damaged
wheels can cause a loss of tyre pressure.
R Regularly check the tyre tread depth and
the condition of the tread across the whole
width of the tyre (Y page 351). If neces-
sary, turn the front wheels to full lock in
order to inspect the inner side of the tyre
surface.
R All wheels must have a valve cap to protect
the valve against dirt and moisture. Do not
fit anything onto the valve other than the
standard valve cap or other valve caps
approved by Mercedes-Benz for your vehi-
cle. Do not fit any other valve caps or sys-
tems, e.g. tyre pressure monitoring sys-
tems.
R Regularly check the pressure of all the tyres
including the emergency spare wheel or the spare wheel, particularly prior to long trips,
and correct the pressure as necessary
(Y
page 353). Tyre tread
G
WARNING
Insufficient tyre tread will reduce tyre trac-
tion. The tyre is no longer able to dissipate
water. This means that on wet road surfaces,
the risk of aquaplaning increases, in particular
where speed is not adapted to suit the driving
conditions. There is a risk of accident.
If the tyre pressure is too high or too low, tyres
may exhibit different levels of wear at differ-
ent locations on the tyre tread. Thus, you
should regularly check the tread depth and
the condition of the tread across the entire
width of all tyres.
Minimum tyre tread depth for:
R summer tyres: 3 mm
R M+S tyres: 4 mm
For safety reasons, replace the tyres before
the legally prescribed limit for the minimum
tyre tread depth is reached.. Notes on selecting, fitting and replac-
ing tyres
R Only fit tyres and wheels of the same type
and make.
R Only fit tyres of the correct size onto the
wheels.
R After fitting new tyres, run them in at mod-
erate speeds for the first 100 km, as they
only reach their full performance after this
distance.
R Do not drive with tyres which have too little
tread depth, as this significantly reduces
the traction on wet roads (aquaplaning).
R Replace the tyres after six years at the lat-
est, regardless of wear. This also applies to
the emergency spare wheel/spare wheel. Operation
351Wheels and tyres Z