ECO mode MERCEDES-BENZ M-Class 2013 W166 User Guide
[x] Cancel search | Manufacturer: MERCEDES-BENZ, Model Year: 2013, Model line: M-Class, Model: MERCEDES-BENZ M-Class 2013 W166Pages: 458, PDF Size: 6.24 MB
Page 175 of 458
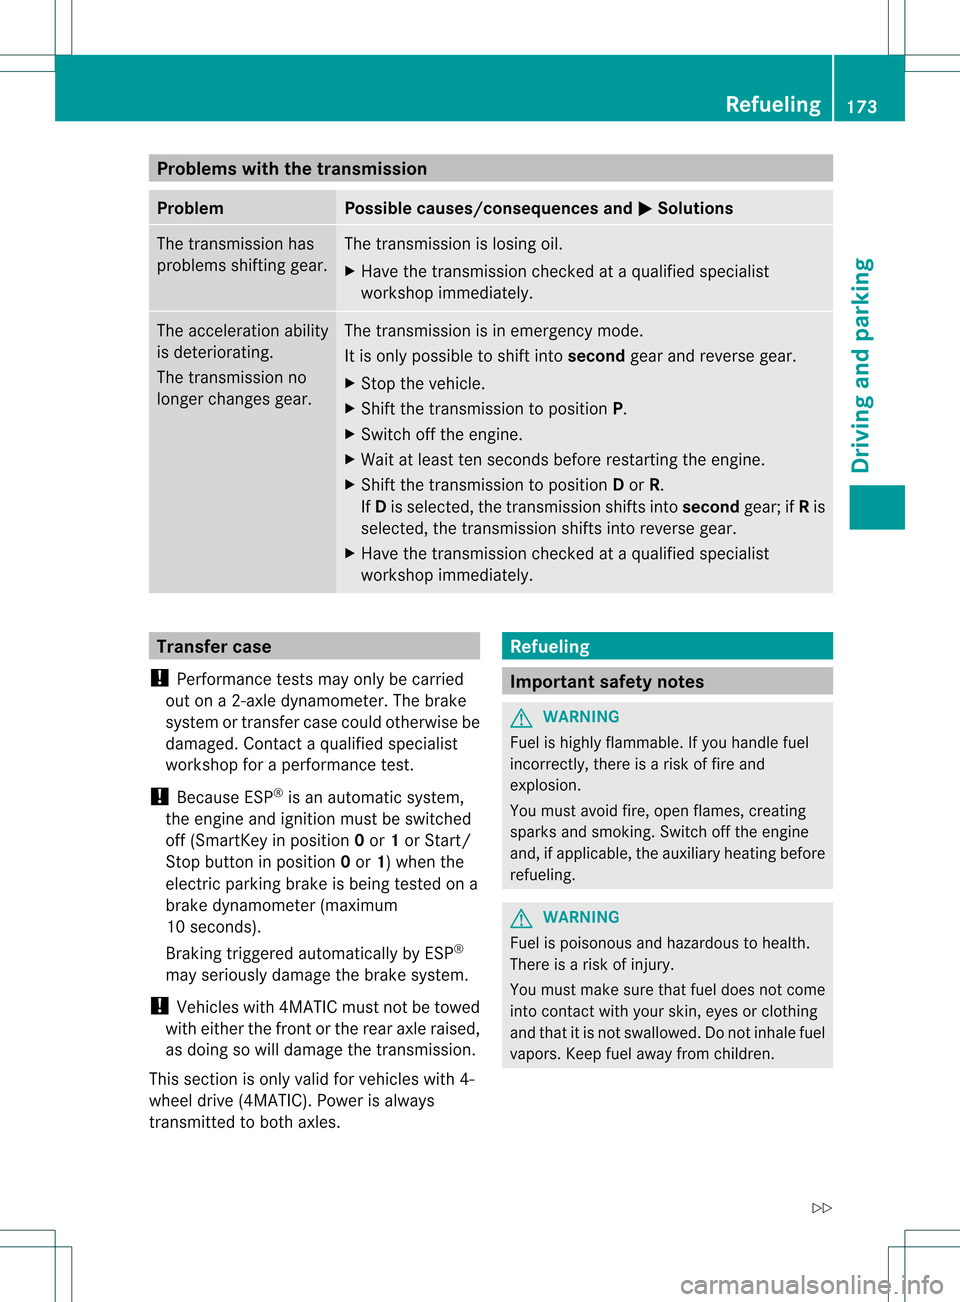
Problems with the transmission
Problem Possible causes/consequences and
0001 Solutions
The transmission has
problems shifting gear. The transmission is losing oil.
X
Have the transmission checked at a qualified specialist
workshop immediately. The acceleration ability
is deteriorating.
The transmission no
longer changes gear. The transmission is in emergency mode.
It is only possible to shift into
secondgear and reverse gear.
X Stop the vehicle.
X Shift the transmission to position P.
X Switch off the engine.
X Wait at least ten seconds before restarting the engine.
X Shift the transmission to position Dor R.
If D is selected, the transmission shifts into secondgear; ifRis
selected, the transmission shifts into reverse gear.
X Have the transmission checked at a qualified specialist
workshop immediately. Transfer case
! Performance tests may only be carried
out on a 2-axle dynamometer. The brake
system or transfer case could otherwise be
damaged. Contact a qualified specialist
workshop for a performance test.
! Because ESP ®
is an automatic system,
the engine and ignition must be switched
off (SmartKey in position 0or 1or Start/
Stop button in position 0or 1) when the
electric parking brake is being tested on a
brake dynamometer (maximum
10 seconds).
Braking triggered automatically by ESP ®
may seriously damage the brake system.
! Vehicles with 4MATIC must not be towed
with either the front or the rear axle raised,
as doing so will damage the transmission.
This section is only valid for vehicles with 4-
wheel drive (4MATIC). Power is always
transmitted to both axles. Refueling
Important safety notes
G
WARNING
Fuel is highly flammable. If you handle fuel
incorrectly, there is a risk of fire and
explosion.
You must avoid fire, open flames, creating
sparks and smoking. Switch off the engine
and, if applicable, the auxiliary heating before
refueling. G
WARNING
Fuel is poisonous and hazardous to health.
There is a risk of injury.
You must make sure that fuel does not come
into contact with your skin, eyes or clothing
and that it is not swallowed. Do not inhale fuel
vapors. Keep fuel away from children. Refueling
173Driving and parking
Z
Page 184 of 458
Parking the vehicle for
along period
If you leave the vehicle parked for longer than
four weeks, the battery may be damaged by
exhaustive discharging.
X Connecting a trickle charger.
i You can obtain information about trickle
chargers from a qualified specialist
workshop.
If you leave the vehicle parked for longer than
six weeks, the vehicle may suffer damage as
a result of lack of use.
X Visit a qualified specialist workshop and
seek advice. Driving tips
General notes
Important safety notes G
WARNING
If you switch off the ignitio nwhile driving,
safety-relevant functions are only available
with limitations, or not at all. This could affect,
for example, the power steering and the brake
boosting effect.Y ou will require considerably
more effort to steer and brake. There is a risk
of an accident.
Do not switch off the ignition while driving. G
WARNING
If you operate mobile communication
equipment while driving, you will be
distracted from traffic conditions. You could
also lose control of the vehicle. There is a risk
of an accident.
Only operate this equipment when the vehicle
is stationary.
Observe the legal requirements for the
country in which you are driving. Some
jurisdictions prohibit the driver from using a
mobile phone while driving a vehicle.
If you make a call while driving, always use
hands-free mode. Only operate the telephone when the traffic situation permits. If you are
unsure, pull over to a safe location and stop
before operating the telephone.
Bear in mind that at a speed of only 30 mph
(approximately 50 km/h), the vehicle covers
a distance of 44 feet (approximately 14 m)
per second.
Drive sensibly
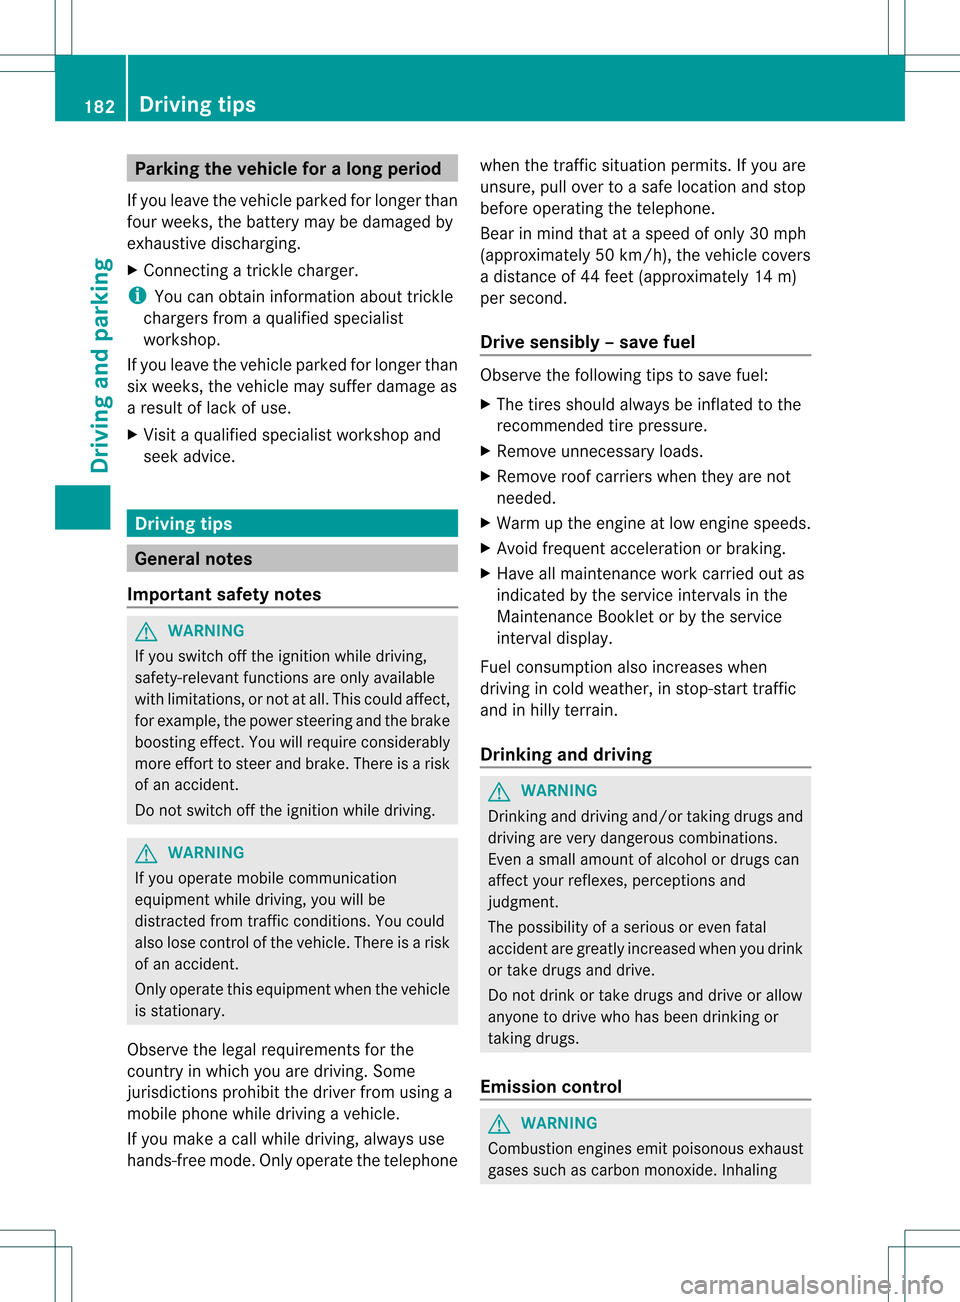
–save fuel Observe the following tips to save fuel:
X
The tires should always be inflated to the
recommended tire pressure.
X Remove unnecessary loads.
X Remove roof carriers whe nthey are not
needed.
X Warm up the engine at low engine speeds.
X Avoid frequent acceleration or braking.
X Have all maintenance work carried out as
indicated by the service intervals in the
Maintenance Booklet or by the service
interval display.
Fuel consumption also increases when
driving in cold weather, in stop-start traffic
and in hilly terrain.
Drinking and driving G
WARNING
Drinking and driving and/or taking drugs and
driving are very dangerous combinations.
Even a small amount of alcohol or drugs can
affect your reflexes, perceptions and
judgment.
The possibility of a serious or even fatal
accident are greatly increased when you drink
or take drugs and drive.
Do not drink or take drugs and drive or allow
anyone to drive who has been drinking or
taking drugs.
Emission control G
WARNING
Combustion engines emit poisonous exhaust
gases such as carbon monoxide. Inhaling 182
Driving tipsDriving and parking
Page 186 of 458
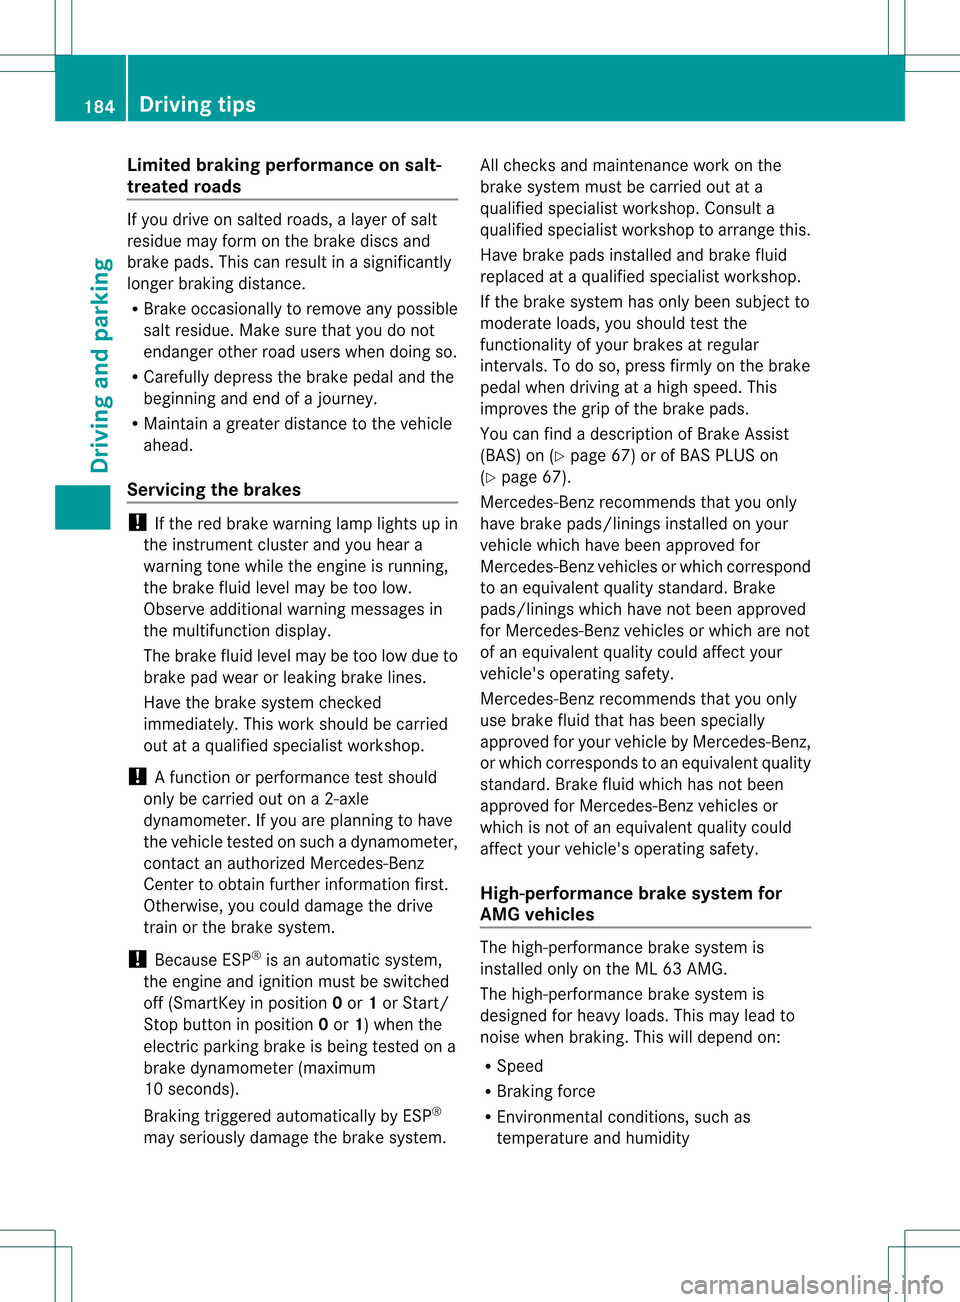
Limited braking performance on salt-
treated roads
If you drive on salted roads, a layer of salt
residue may for
monthe brake discs and
brake pads. This can result in a significantly
longer braking distance.
R Brake occasionally to remove any possible
salt residue. Make sure that you do not
endanger other road users when doing so.
R Carefully depress the brake pedal and the
beginning and end of a journey.
R Maintain a greater distance to the vehicle
ahead.
Servicing the brakes !
If the red brake warning lamp lights up in
the instrumentc luster and you hear a
warning tone while the engine is running,
the brake fluid level may be too low.
Observe additional warning messages in
the multifunction display.
The brake fluid level may be too low due to
brake pad wear or leaking brake lines.
Have the brake system checked
immediately. This work should be carried
out at a qualified specialist workshop.
! A function or performance test should
only be carried out on a2-axle
dynamometer. If you are planning to have
the vehicle tested on such a dynamometer,
contact an authorized Mercedes-Benz
Center to obtain further information first.
Otherwise, you could damage the drive
train or the brake system.
! Because ESP ®
is an automatic system,
the engine and ignition must be switched
off (SmartKey in position 0or 1or Start/
Stop button in position 0or 1) when the
electri cparking brake is being tested on a
brake dynamomete r(maximum
10 seconds).
Braking triggered automatically by ESP ®
may seriously damage the brake system. All checks and maintenance work on the
brake system must be carried out at a
qualified specialist workshop
.Consult a
qualified specialist workshop to arrange this.
Have brake pads installed and brake fluid
replaced at a qualified specialist workshop.
If the brake system has only been subject to
moderate loads, you should test the
functionality of your brakes at regular
intervals. To do so, press firmly on the brake
pedal when driving at a high speed. This
improves the grip of the brake pads.
You can find a description of Brake Assist
(BAS) on (Y page 67) or of BAS PLUS on
(Y page 67).
Mercedes-Benz recommends that you only
have brake pads/linings installed on your
vehicle which have been approved for
Mercedes-Benz vehicles or which correspond
to an equivalent quality standard. Brake
pads/linings which have not been approved
for Mercedes-Benz vehicles or which are not
of an equivalent quality could affect your
vehicle's operating safety.
Mercedes-Benz recommends that you only
use brake fluid that has been specially
approved for your vehicle by Mercedes-Benz,
or which corresponds to an equivalent quality
standard. Brake fluid which has not been
approved for Mercedes-Benz vehicles or
which is not of an equivalent quality could
affect your vehicle's operating safety.
High-performance brake system for
AMG vehicles The high-performance brake system is
installed only on the ML 63 AMG.
The high-performance brake system is
designed for heavy loads. This may lead to
noise when braking. This will depend on:
R Speed
R Braking force
R Environmental conditions, such as
temperature and humidity 184
Driving tipsDriving and parking
Page 212 of 458
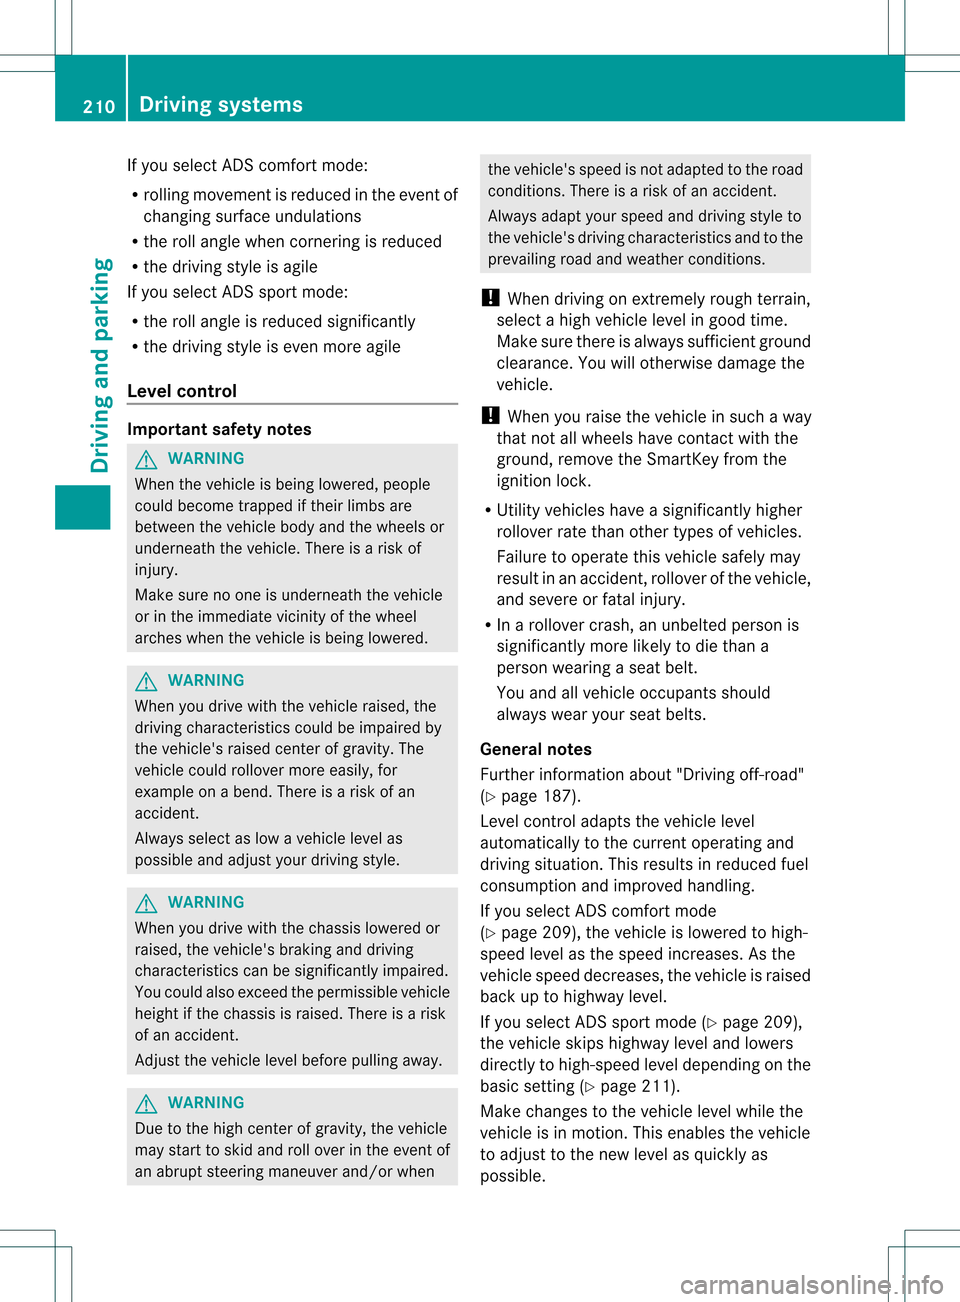
If you select ADS comfort mode:
R
rolling movement is reduced in the event of
changing surface undulations
R the roll angle when cornering is reduced
R the driving style is agile
If you select ADS sport mode:
R the roll angle is reduced significantly
R the driving style is even more agile
Level control Important safety notes
G
WARNING
When the vehicle is being lowered, people
could become trapped if their limbs are
betwee nthe vehicle body and the wheels or
underneath the vehicle. There is a risk of
injury.
Make sure no one is underneath the vehicle
or in the immediate vicinity of the wheel
arches when the vehicle is being lowered. G
WARNING
When you drive with the vehicle raised, the
driving characteristics could be impaired by
the vehicle's raised center of gravity. The
vehicle could rollover more easily, for
example on a bend. There is a risk of an
accident.
Always select as low a vehicle level as
possible and adjust your driving style. G
WARNING
When you drive with the chassis lowered or
raised, the vehicle's braking and driving
characteristics can be significantly impaired.
You could also exceed the permissible vehicle
height if the chassis is raised. There is a risk
of an accident.
Adjust the vehicle level before pulling away. G
WARNING
Due to the high center of gravity, the vehicle
may start to skid and roll over in the event of
an abrupt steering maneuver and/or when the vehicle's speed is not adapted to the road
conditions. There is a risk of an accident.
Always adapt your speed and driving style to
the vehicle's driving characteristics and to the
prevailing road and weather conditions.
! When driving on extremely rough terrain,
select a high vehicle level in good time.
Make sure there is always sufficient ground
clearance. You will otherwise damage the
vehicle.
! When you raise the vehicle in such a way
that not all wheels have contact with the
ground, remove the SmartKey from the
ignition lock.
R Utility vehicles have a significantly higher
rollover rate than other types of vehicles.
Failure to operate this vehicle safely may
result in an accident, rollover of the vehicle,
and severe or fatal injury.
R In a rollover crash, an unbelted person is
significantly more likely to die than a
person wearing a seat belt.
You and all vehicle occupants should
always wear your seat belts.
General notes
Further information about "Driving off-road"
(Y page 187).
Level control adapts the vehicle level
automatically to the current operating and
driving situation. This results in reduced fuel
consumption and improved handling.
If you select ADS comfort mode
(Y page 209), the vehicle is lowered to high-
speed level as the speed increases. As the
vehicle speed decreases, the vehicle is raised
back up to highway level.
If you select ADS sport mode (Y page 209),
the vehicle skips highway level and lowers
directly to high-speed level depending on the
basic setting (Y page 211).
Make changes to the vehicle level while the
vehicle is in motion. This enables the vehicle
to adjust to the new level as quickly as
possible. 210
Driving systemsDriving and parking
Page 214 of 458
0002
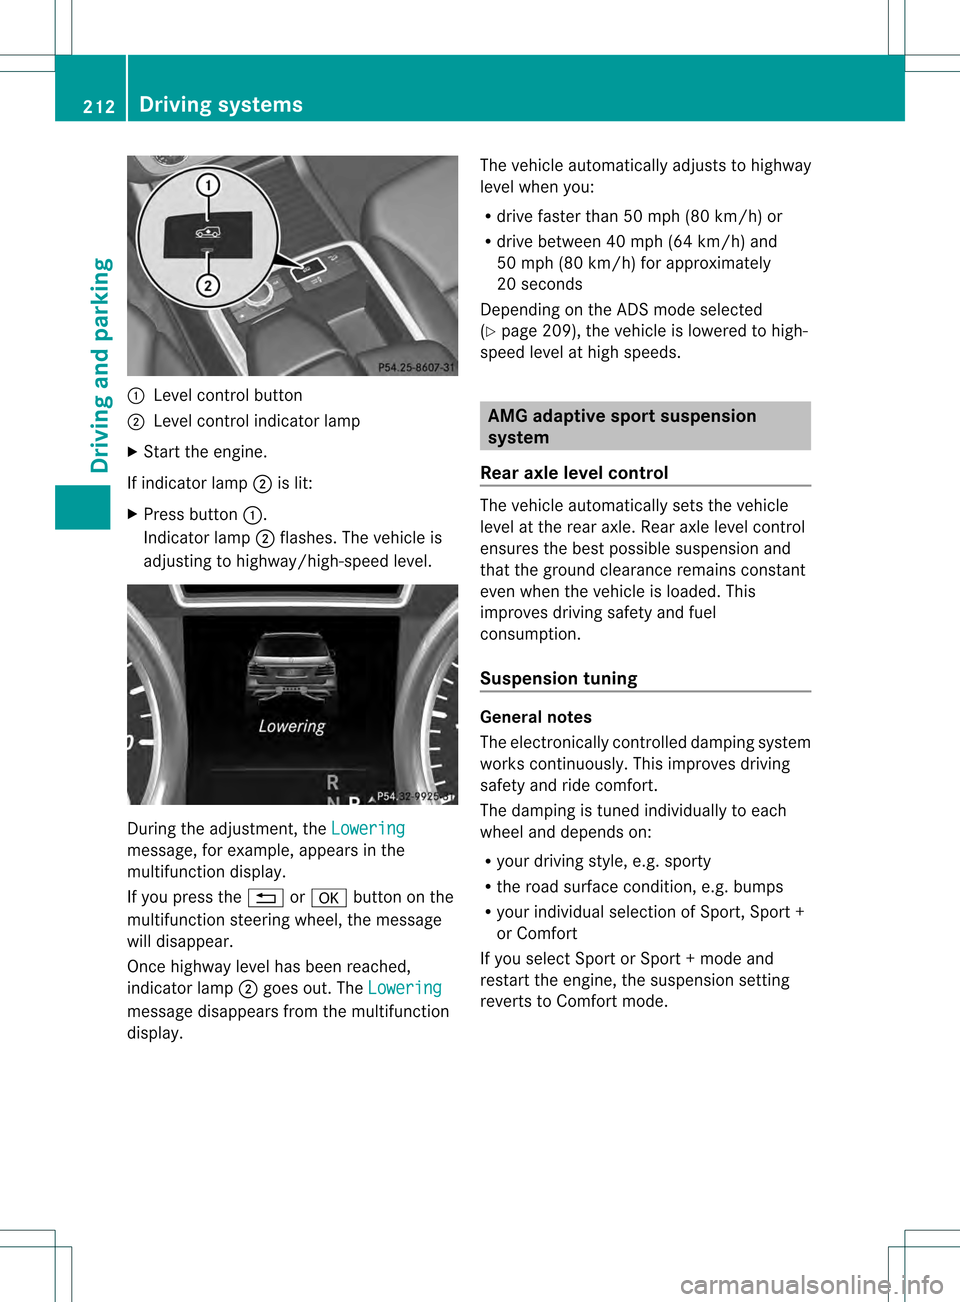
Level control button
0003 Level control indicator lamp
X Start the engine.
If indicator lamp 0003is lit:
X Press button 0002.
Indicator lamp 0003flashes. The vehicle is
adjusting to highway/high-speed level. During the adjustment, the
Loweringmessage, for example, appears in the
multifunction display.
If you press the
0007or000B button on the
multifunction steering wheel, the message
will disappear.
Once highway level has been reached,
indicator lamp 0003goes out. The Lowering message disappears from the multifunction
display. The vehicle automatically adjusts to highway
level when you:
R
drive faster than 50 mph (80 km/h) or
R drive between 40 mph (64 km/h) and
50 mph (80 km/h) for approximately
20 seconds
Depending on the ADS mode selected
(Y page 209), the vehicle is lowered to high-
speed level at high speeds. AMG adaptive sport suspension
system
Rear axle level control The vehicle automatically sets the vehicle
level at the rear axle. Reara
xle level control
ensures the best possible suspension and
that the ground clearance remains constant
eve nw hen the vehicle is loaded. This
improves driving safety and fuel
consumption.
Suspension tuning General notes
The electronically controlled damping system
works continuously.T
his improves driving
safety and ride comfort.
The damping is tuned individually to each
wheel and depends on:
R your driving style, e.g. sporty
R the road surface condition,e .g. bumps
R your individual selection of Sport, Spor t+
or Comfort
If you select Sport or Sport + mode and
restart the engine, the suspension setting
reverts to Comfort mode. 212
Driving systemsDriving and parking
Page 215 of 458
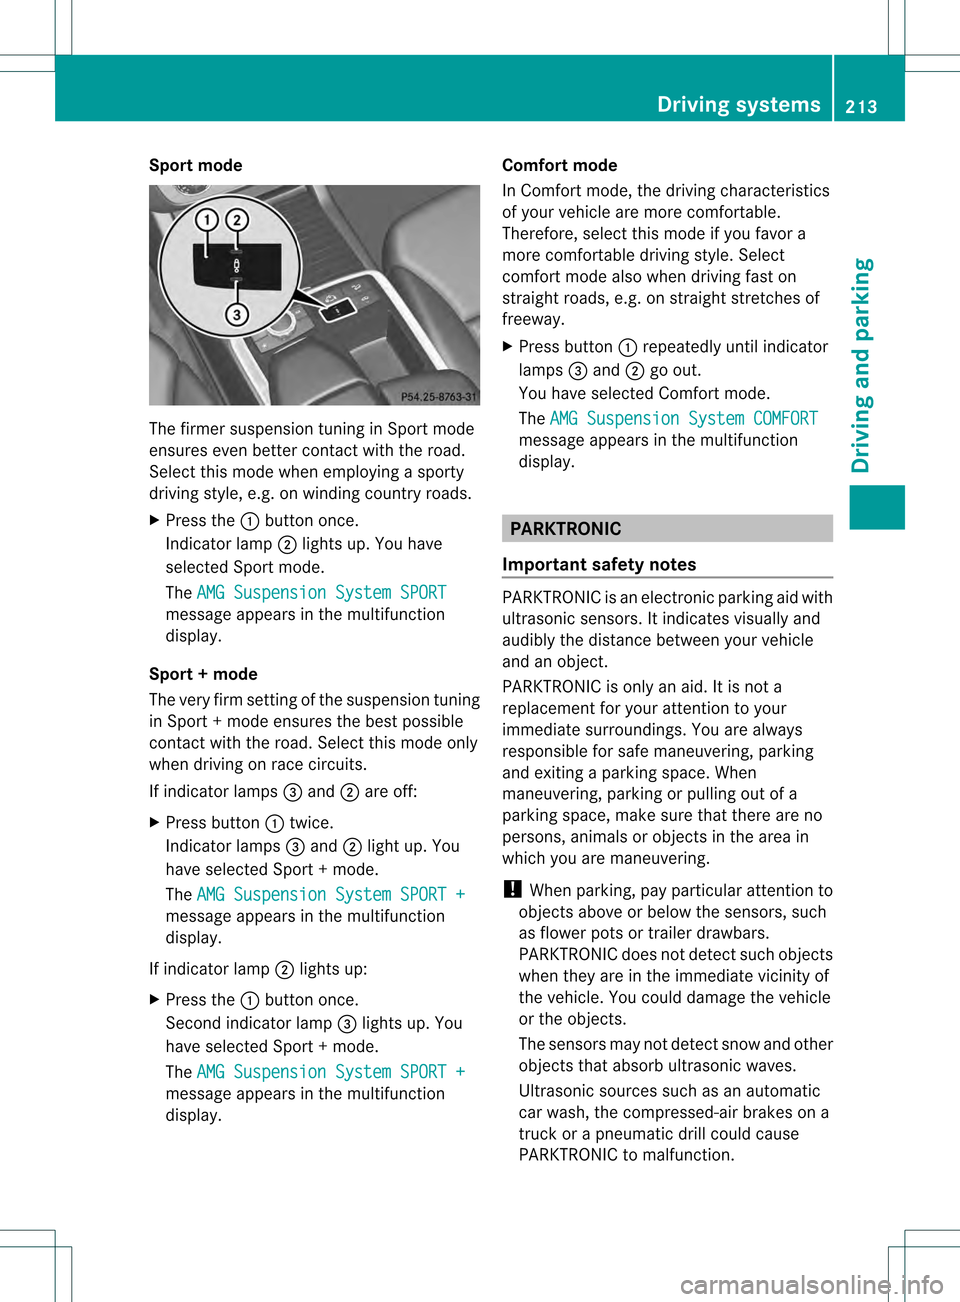
Sport mode
The firmer suspension tuning in Sport mode
ensures even better contact with the road.
Select this mode when employing a sporty
driving style, e.g. on winding country roads.
X Press the 0002button once.
Indicator lamp 0003lights up. You have
selected Sport mode.
The AMG Suspension System SPORT message appears in the multifunction
display.
Sport + mode
The very firm setting of the suspension tuning
in Sport +mode ensures the best possible
contact with the road. Select this mode only
when driving on race circuits.
If indicator lamps 001Fand 0003are off:
X Press button 0002twice.
Indicator lamps 001Fand 0003light up. You
have selected Sport +mode.
The AMG Suspension System SPORT + message appears in the multifunction
display.
If indicator lamp 0003lights up:
X Press the 0002button once.
Second indicator lamp 001Flights up. You
have selected Sport +mode.
The AMG Suspension System SPORT + message appears in the multifunction
display. Comfort mode
In Comfort mode, the driving characteristics
of your vehicle are more comfortable.
Therefore, select this mode if you favor a
more comfortable driving style. Select
comfor
tmode also when driving fast on
straight roads, e.g. on straight stretches of
freeway.
X Press button 0002repeatedly until indicator
lamps 001Fand 0003go out.
You have selected Comfort mode.
The AMG Suspension System COMFORT message appears in the multifunction
display. PARKTRONIC
Important safety notes PARKTRONIC is an electronic parking aid with
ultrasonic sensors. It indicates visually and
audibly the distance between your vehicle
and an object.
PARKTRONIC is only an aid. It is not a
replacement for your attention to your
immediate surroundings. You are always
responsible for safe maneuvering, parking
and exiting a parking space. When
maneuvering, parking or pulling out of a
parking space, make sure that there are no
persons, animals or object
sinthe area in
which you are maneuvering.
! When parking, pay particular attention to
objects above or below the sensors, such
as flower pots or trailer drawbars.
PARKTRONIC does not detect such objects
when they are in the immediate vicinity of
the vehicle. You could damage the vehicle
or the objects.
The sensors may not detect snow and other
objects that absorb ultrasonic waves.
Ultrasonic sources such as an automatic
car wash, the compressed-air brakes on a
truck or a pneumatic drill could cause
PARKTRONIC to malfunction. Driving systems
213Driving and parking Z
Page 224 of 458
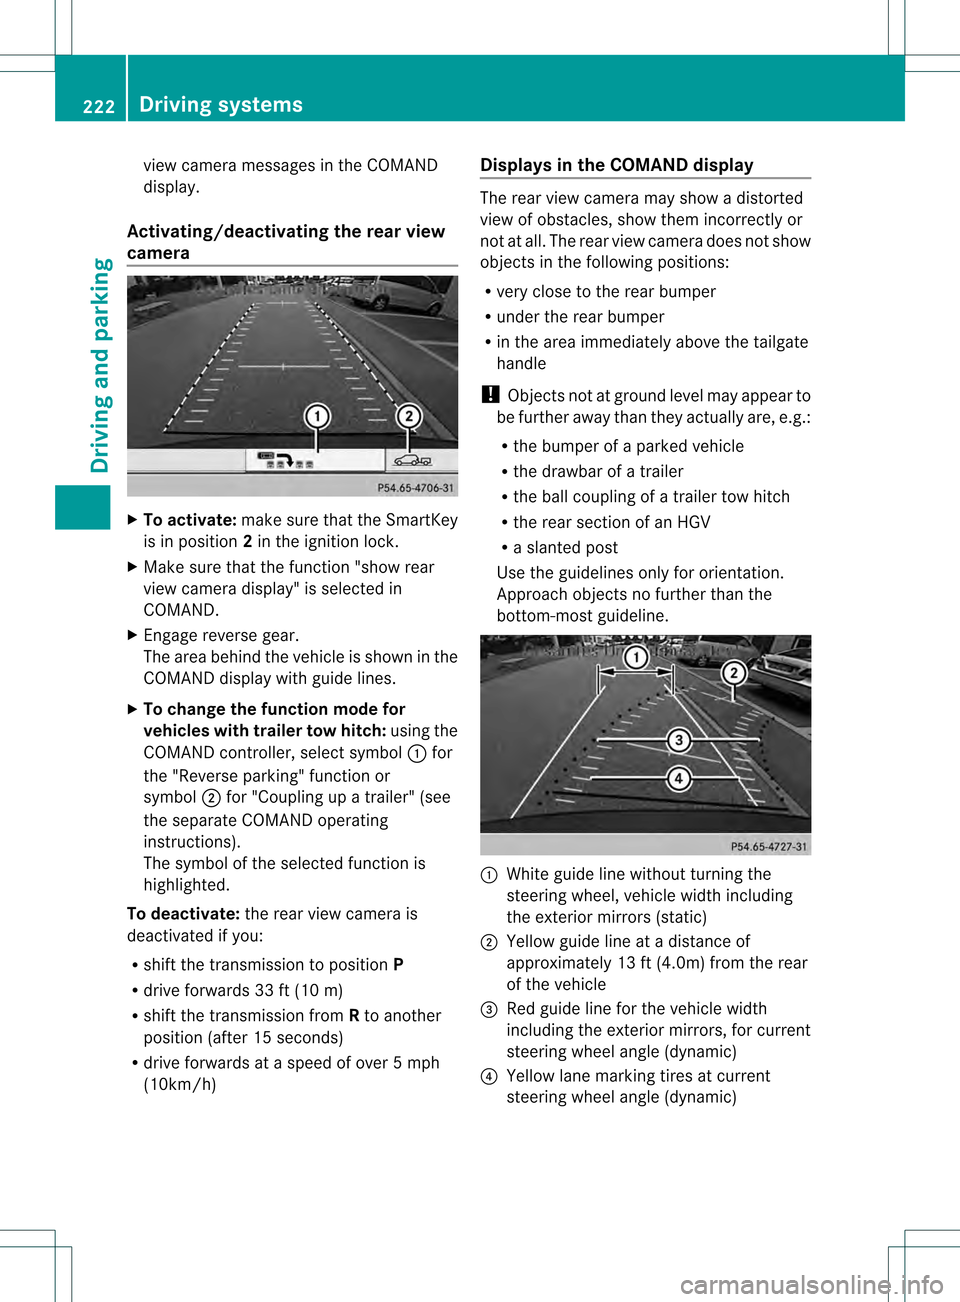
view camera messages in the COMAND
display.
Activating/deactivating the rear view
camera X
To activate: make sure that the SmartKey
is in position 2in the ignition lock.
X Make sure that the function "show rear
view camera display" is selected in
COMAND.
X Engage reverse gear.
The area behind the vehicle is show ninthe
COMAND display with guide lines.
X To change the function mode for
vehicles with trailer tow hitch: using the
COMAND controller, select symbol 0002for
the "Reverse parking" function or
symbol 0003for "Coupling up a trailer" (see
the separate COMAND operating
instructions).
The symbol of the selected function is
highlighted.
To deactivate: the rear view camera is
deactivated if you:
R shift the transmission to position P
R drive forwards 33 ft (10 m)
R shift the transmission from Rto another
position (after 15 seconds)
R drive forwards at a speed of over 5mph
(10km/h) Displays in the COMAND display The rear view camera may show a distorted
view of obstacles, show them incorrectly or
not at all. The rear view camera does not show
objects in the following positions:
R
very close to the rear bumper
R under the rear bumper
R in the area immediately above the tailgate
handle
! Objects not at ground level may appear to
be further away than they actually are, e.g.:
R the bumper of a parked vehicle
R the drawbar of a trailer
R the ball coupling of a trailer tow hitch
R the rear section of an HGV
R a slanted post
Use the guidelines only for orientation.
Approach objects no further than the
bottom-most guideline. 0002
White guide line without turning the
steering wheel, vehicle width including
the exterior mirrors (static)
0003 Yellow guide line at a distance of
approximately 13 ft (4.0m) from the rear
of the vehicle
001F Red guide line for the vehicle width
including the exterior mirrors, for current
steering wheel angle (dynamic)
001E Yellow lane marking tires at current
steering wheel angle (dynamic) 222
Driving systemsDriving and parking
Page 229 of 458
Activation conditions
The 360° camera imag
ecan be displayed if:
R your vehicle is equipped with a 360°
camera
R COMAND is switched on, see the separate
COMAND operating instructions
R the 360° camera function is activated
Activating the 360° camera using the
SYS button X
Press and hold the 0003button for longer
than 2seconds, see the separate COMAND
operating instructions.
Depending on whether position Dor Ris
engaged, the following is shown:
R full screen display with the image from
the front camera
R full screen display with the image from
the rear camera
Activating the 360° camer awith
COMAND X
Press the 0003button, see the separate
COMAN Doperating instructions.
X Select System by turning
000E0002000Fthe
COMAND controller and press 000Cto
confirm.
X Select 360° camera and press
000Cto
confirm.
Depending on whether position Dor Ris
engaged, the following is shown:
R a split screen with top view and the
image from the front camera or
R a split screen with top view and the
image from the rear view camera
For further information about the COMAND
Controller, see the separate COMAND
operating instructions. Activating the 360° camer
ausing
reverse gear The 360° camera images can be
automatically displayed by engaging reverse
gear.
X
Make sure that the SmartKey is in position
2in the ignition lock.
X Make sure that the Activation by R gear setting is active in COMAND, see the
separate COMAND operating instructions.
X To show the 360° camer aimage: engage
reverse gear.
The COMAND display shows the area
behind the vehicle in spli tscreen:
R vehicle with guide lines
R top view of the vehicle
Selecting the split-screen and full
screen displays X
To switc hbetween spli tscreen views:
switch to the line with the vehicle icons by
sliding 000B0002the COMAND controller.
X Turn 000E0002000F the COMAND controller and
selec tone of the vehicle symbols.
X To switc hto full screen mode: select
Full screen by turning
000E0002000Fthe
COMAND controller and press 000Cto
confirm.
Displays in the COMAND display Important safety notes
!
Objects not at ground level may appear to
be further away than they actually are, e.g.:
R the bumper of a parked vehicle
R the drawbar of a trailer
R the ball coupling of a trailer tow hitch
R the rear section of an HGV
R a slanted post
Use the guidelines only for orientation.
Approach objects no further than the
bottom-mos tguideline. Driving systems
227Driving and parking Z
Page 232 of 458
i
The full screen display can also be
selected as frontv iew.
Exiting 360° camera display mode As soon as your vehicle exceeds a speed of
19 mph (30 km/h) with the function
activated, the function switches off .The
COMAND display switches back to the
previously selected view. You can also switch
the display by selecting the 0008symbol in the
display and pressing 000Cthe COMAND
controller. ATTENTION ASSIST
Important safety notes ATTENTION ASSIST is only an aid to the
driver. It might not always recognize fatigue
or increasing inattentiveness in time or fail to
recognize them at all. The system is not a
substitute for a well-rested and attentive
driver.
ATTENTION ASSIST helps you during long,
monotonous journeys, such as on highways.
It is active in the range between 50 mph
(80 km/h) and 112 mph (180 km/h).
If ATTENTION ASSIST detects typical
indicators of fatigue or increasing lapses in
concentration on the part of the driver, it
suggests you take a break.
ATTENTION ASSIST assesses your level of
fatigue or lapses in concentration by taking
the following criteria into account:
R
your personal driving style, e.g. steering
characteristics
R journey details, e.g. time of day and length
of journey
The functionality of ATTENTION ASSIST is
restricted and warnings may be delayed or
not occur at all:
R if the road condition is poor, e.g. if the
surface is uneven or if there are potholes
R if there is a strong side wind R
if you have adopted a sporty driving style
with high cornering speeds or high rates of
acceleration
R if you are predominantly driving slower
than 50 mph (80 km/h) or faster than
112 mph (180 km/h)
R if you are currently using COMAND or
making a telephone call with it
R if the time has been set incorrectly
R in active driving situations, such as when
you change lanes or change your speed
Warning and display messages in the
multifunction display X
Activate ATTENTION ASSIST using the on-
board computer (Y page 273).
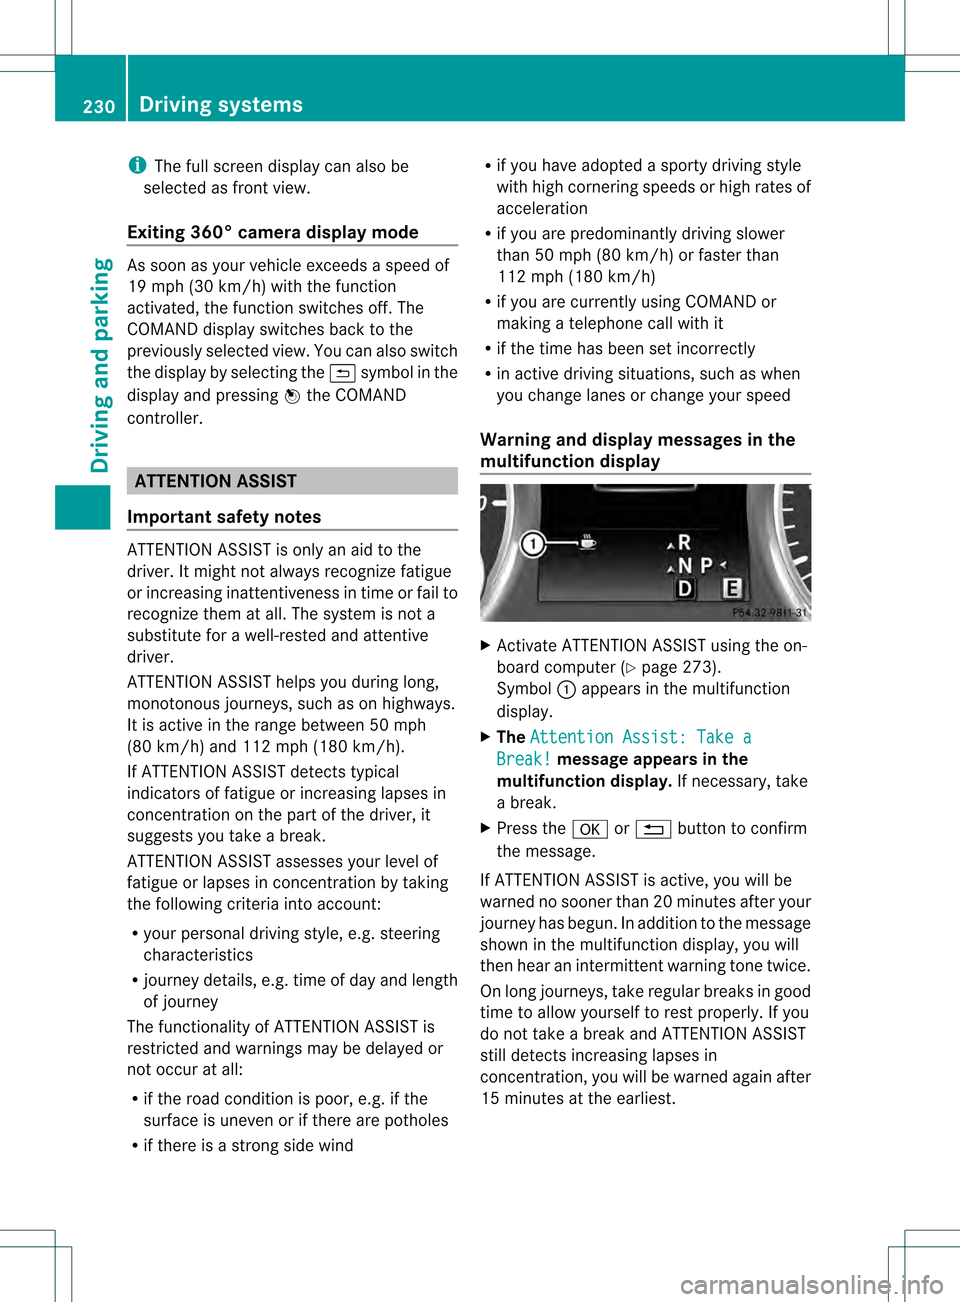
Symbol 0002appears in the multifunction
display.
X The Attention Assist: Take a Break! message appears in the
multifunction display. If necessary, take
a break.
X Press the 000Bor0007 button to confirm
the message.
If ATTENTION ASSIST is active, you will be
warned no sooner than 20 minutes after your
journey has begun. In addition to the message
shown in the multifunction display, you will
then hear an intermittent warning tone twice.
On long journeys, take regular breaks in good
time to allow yourself to rest properly. If you
do not take a break and ATTENTION ASSIST
still detects increasing lapses in
concentration, you will be warned again after
15 minutes at the earliest. 230
Driving systemsDriving and parking
Page 260 of 458
brake using the brake controller, and check
the brakes for correct function.
R Secure any objects on the trailer to prevent
the cargo from slipping when the vehicle is
in motion.
R If you couple up a trailer, regularly check
the cargo for secure fastening and make
sure that the trailer lamps and (if
applicable) the trailer brakes are
functioning correctly.
R Bear in mind that the handling will be less
stable when towing a trailer than when
driving without one. Avoid sudden steering
movements.
R The vehicle/trailer combination is heavier,
accelerates more slowly, has a decreased
gradient climbing capability and a longer
braking distance.
It is more susceptible to side winds and
requires more careful steering.
R If possible, avoid abrupt braking. Depress
the brake pedal moderately at first, so that
the trailer can activate its own brakes. Then
increase the pressure on the brake pedal.
R If the automatic transmission continues to
shift back and forth between two gears
when driving up or downhill, restrict the
shift range. Select shift range 4, 3, 2,or1.
Al ower gear and lower speed reduce the
risk of engine failure.
R When driving downhill, shift to a lower gear
to utilize the engine's braking effect.
Avoid continuous brake application as this
may overheat the vehicle brakes and, if
installed, the trailer brakes.
R If the coolant temperature increases
dramatically while the air-conditioning
system is switched on, switch off the air-
conditioning system.
Coolant heat can additionally be dissipated
by opening the windows and by setting the blower fan and the interior temperature to
maximum.
R When overtaking, pay particular attention
to the extended length of your vehicle/
trailer combination.
Due to the length of your vehicle/trailer
combination, you will have to travel an
additional distance beyond the vehicle you
are overtaking before returning to the
previous lane. Decoupling
atrailer G
WARNING
If you uncouple a trailer with the overrun
brake engaged, you could trap your hand
between the vehicle and the trailer drawbar.
There is a risk of injury.
Do not uncouple a trailer if the overru nbrake
is engaged. G
WARNING
Vehicles with level control:
The vehicle is lowered as soon as you
disconnect the trailer cable. This could result
in yourl imbs or those of other people that are
betwee nthe vehicle body and tires or
underneath the vehicle being trapped. There
is a risk of injury.
Make sure that nobody is in the immediate
vicinity of the wheel housings or under the
vehicle when you disconnectt he trailer cable.
! Do not disconnect a trailer with an
engaged overrun brake. Otherwise, your
vehicle could be damaged by the
rebounding of the overrun brake.
X Make sure that the automatic transmission
is set to position P.
X Apply the vehicle's electric parking brake.
X Start the engine.
X Close all doors and the tailgate.
X Apply the trailer's parking brake. 258
Towing
atrailerDriving an d parking