spare tire location MERCEDES-BENZ M-Class 2013 W166 Owner's Manual
[x] Cancel search | Manufacturer: MERCEDES-BENZ, Model Year: 2013, Model line: M-Class, Model: MERCEDES-BENZ M-Class 2013 W166Pages: 458, PDF Size: 6.24 MB
Page 12 of 458

Snow chains
.................................. 401
Symmetrical low bea m.................. 120
Tire ruts ......................................... 189
Towing atrailer .............................. 253
Traveling uphill ............................... 190
Wet road surface ........................... 183
DSR (Downhill Spee dRegulation)
Display message ............................ 305
Function/notes ............................. 246
DVD audio
Operating (on-board computer) .....270
DVD video
Operating (on-board computer) .....270 E
EASY-ENTRY feature Activating/deactivating .................277
Function/notes ............................. 112
EASY-EXIT feature
Crash-responsive ........................... 113
Function/notes ............................. 112
Switching on/off ........................... 277
EASY-PACK load-securing kit ...........340
EBD (electronic brake force
distribution)
Display message ............................ 285
Function/notes ................................ 73
ECO start/stop function
Automatic engine start ..................162
Automatic engine switch-off ..........162
Deactivating/activating .................163
General information .......................161
Important safety notes ..................161
Electronic Stability Program
see ESP ®
(Electroni cStability Program)
Emergenc yrelease
Driver's door .................................... 86
Vehicle ............................................. 86
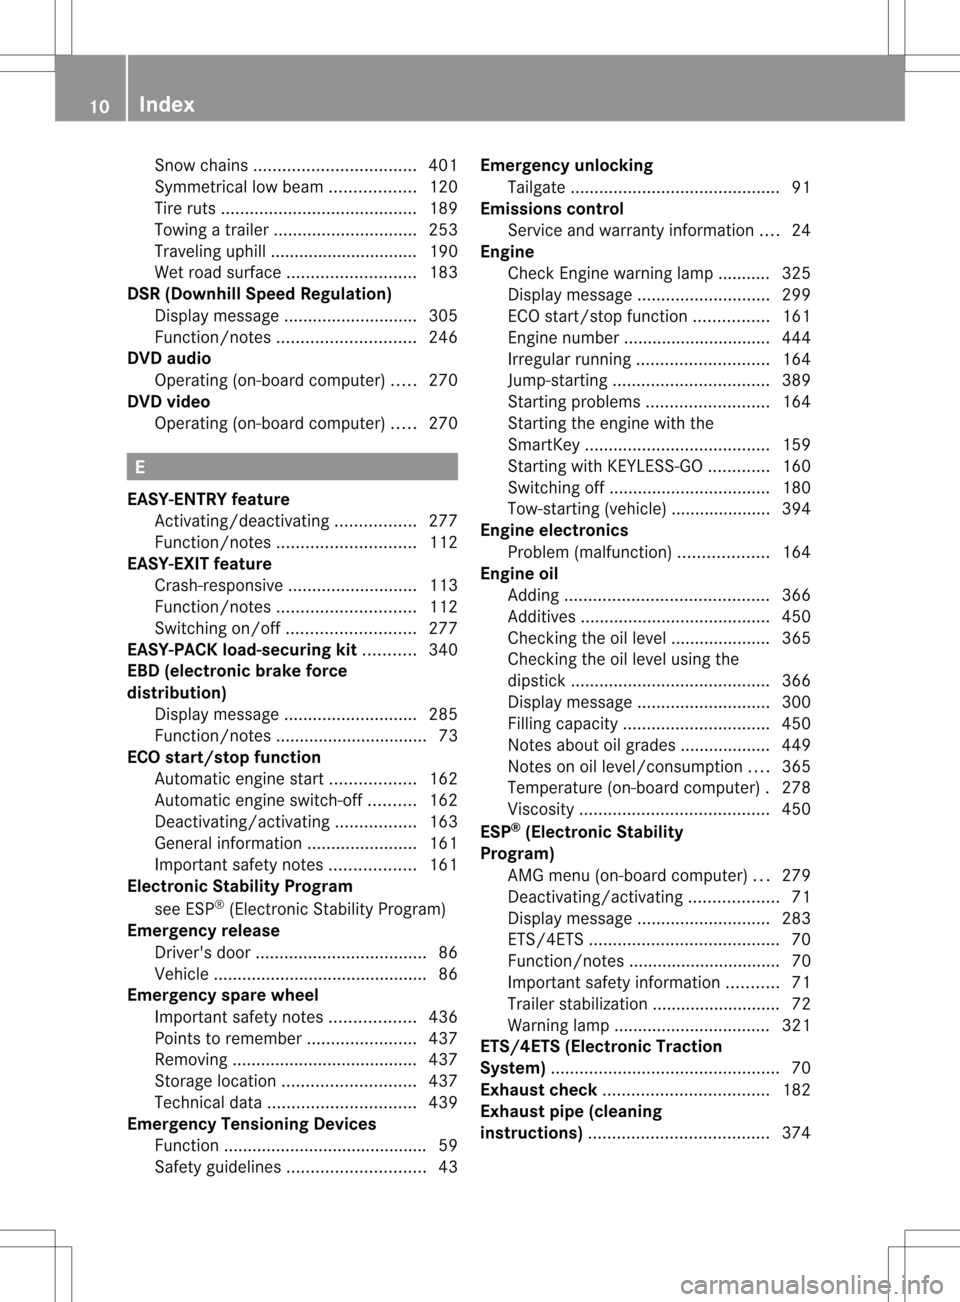
Emergency spare wheel
Important safety notes ..................436
Points to remember .......................437
Removing ....................................... 437
Storage location ............................ 437
Technical data ............................... 439
Emergency Tensioning Devices
Function .......................................... .59
Safety guideline s............................. 43Emergency unlocking
Tailgate ............................................ 91
Emissions control
Service and warranty information ....24
Engine
Check Engine warning lamp ........... 325
Display message ............................ 299
ECO start/stop function ................161
Engine number ............................... 444
Irregularr unning............................ 164
Jump-starting ................................. 389
Starting problems ..........................164
Starting the engine with the
SmartKey ....................................... 159
Starting with KEYLESS-GO .............160
Switching off .................................. 180
Tow-starting (vehicle) ..................... 394
Engine electronics
Problem (malfunction) ...................164
Engine oil
Adding ........................................... 366
Additives ........................................ 450
Checking the oil level ..................... 365
Checking the oil level using the
dipstick .......................................... 366
Display message ............................ 300
Filling capacity ............................... 450
Notes about oil grades ................... 449
Notes on oil level/consumption ....365
Temperature (on-board computer) .278
Viscosity ........................................ 450
ESP ®
(Electronic Stability
Program) AMG menu (on-board computer) ...279
Deactivating/activating ...................71
Display message ............................ 283
ETS/4ETS ........................................ 70
Function/notes ................................ 70
Important safety information ...........71
Trailer stabilization ........................... 72
Warning lamp ................................. 321
ETS/4ETS (Electronic Traction
System) ................................................ 70
Exhaus tcheck ................................... 182
Exhaus tpipe (cleaning
instructions) ...................................... 37410
Index
Page 401 of 458

and wheels checked at a qualified specialist
workshop.
When parking your vehicle, make sure that
the tires do no
tget deformed by the curb or
other obstacles. If it is necessary to drive over
curbs, speed humps or similar elevations, try
to do so slowly and at an obtuse angle.
Otherwise, the tires, particularly the
sidewalls, may be damaged. Regular checking of wheels and tires
G
WARNING
Damaged tires can cause tire inflation
pressure loss. As a result, you could lose
control of your vehicle. There is a risk of
accident.
Check the tires regularly for signs of damage
and replace any damaged tires immediately.
Regularly chec kthe wheels and tires of your
vehicle for damage at least once a month, as
well as after driving off-road or on rough
roads. Damaged wheels can cause a loss of
tire pressure. Pay particular attention to
damage such as:
R cuts in the tires
R punctures
R tears in the tires
R bulges on tires
R deformation or severe corrosion on wheels
Regularly check the tire tread depth and the
condition of the tread across the whole width
of the tire (Y page 399). If necessary, turn
the front wheels to full lock in order to inspect
the inner side of the tire surface.
All wheels must have a valve cap to protect
the valve against dirt and moisture. Do not
mount anything onto the valve other than the
standard valve cap or other valve caps
approved by Mercedes-Ben zfor your vehicle.
Do not use any other valve caps or systems,
e.g. tire pressure monitoring systems. Regularly check the pressure of all the tires
particularly prior to long trips. Adjust the tire
pressure as necessary (Y
page 402).
Observe the notes on the emergency spare
wheel (Y page 436).
The service life of tires depends on the
following factors amongst other things:
R Driving style
R Tire pressure
R Distance covered Tire tread
G
WARNING
Insufficient tire tread will reduce tire traction.
The tire is no longer able to dissipate water.
This means that on wet road surfaces, the risk
of hydroplaning increases, in particular where
speed is not adapted to suit the driving
conditions. There is a risk of accident.
If the tire pressure is too high or too low, tires
may exhibit different levels of wear at
different locations on the tire tread. Thus, you
should regularly check the tread depth and
the condition of the tread across the entire
width of all tires.
Minimum tire tread depth for:
R Summer tires: 0009in (3 mm)
R M+S tires: 000Ain (4 mm)
For safety reasons, replace the tires before
the legally prescribed limit for the minimum
tire tread depth is reached. Operation
399Wheels and tires Z
Page 410 of 458

vehicle to a haltb
y braking carefully. Avoid
abrupt steering maneuvers.
The tire pressure monitor has a yellow
warning lamp in the instrument cluster for
indicating pressure loss/malfunctions (USA)
or pressure loss (Canada). Whether the
warning lamp flashes or lights up indicates
whether a tire pressure is too low or the tire
pressure monitor is malfunctioning:
R if the warning lamp is lit continuously, the
tire pressure on one or more tires is
significantly too low. The tire pressure
monitor is not malfunctioning.
R US Ao nly:ift he warning lamp flashes for
around a minute and then remains lit
constantly, the tire pressure monitor is
malfunctioning.
USA only: if there is a malfunction with the
tire pressure monitor it can take more than
ten minutes until the malfunction is shown by
the tire pressure warning lamp flashing for
approximately one minute and then lighting
up continuously.W hen the malfunction has
been rectified, the tire pressure warning lamp
goes out after a few minutes of driving.
The tire pressure values indicated by the on-
board computer may differ from those
measured at a gas station with a pressure
gauge. The tire pressures shown by the on-
board computer refer to those measured at
sea level. At high altitudes, the tire pressure
values indicated by a pressure gauge are
higher than those shown by the on-board
computer. In this case, do not reduce the tire
pressures.
The operation of the tire pressure monitor can
be affected by interference from radio
transmitting equipment (e.g. radio
headphones, two-way radios) that may be
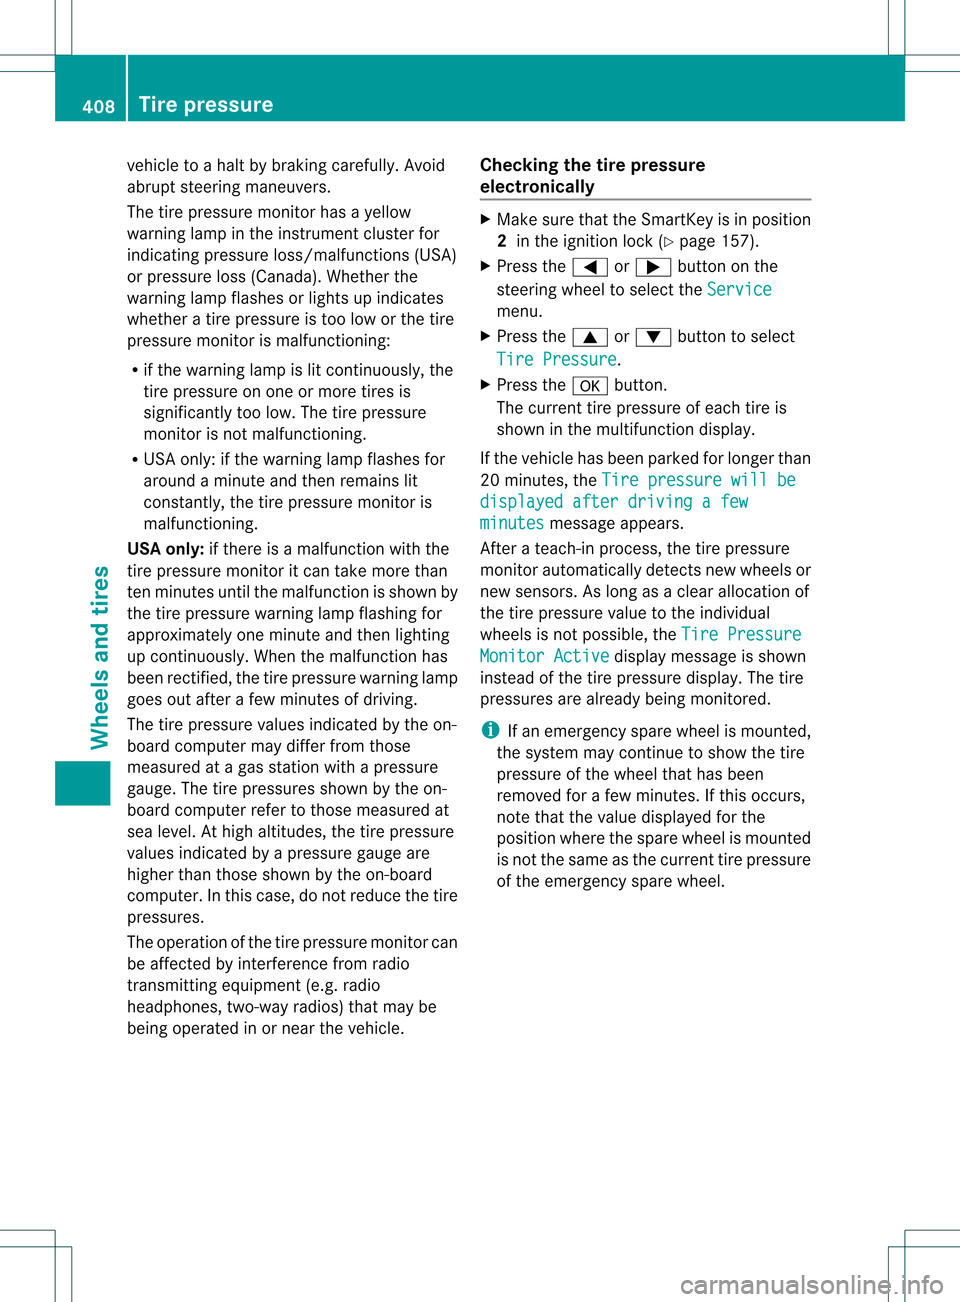
being operated in or near the vehicle. Checking the tire pressure
electronically X
Make sure that the SmartKey is in position
2 in the ignition lock (Y page 157).
X Press the 0002or0005 button on the
steering wheel to select the Service menu.
X Press the 0003or0004 button to select
Tire Pressure .
X Press the 000Bbutton.
The current tire pressure of each tire is
shown in the multifunction display.
If the vehicle has been parked for longer than
20 minutes, the Tire pressure will be displayed after driving a few
minutes message appears.
After a teach-in process, the tire pressure
monitor automatically detects new wheels or
new sensors. As long as a clear allocation of
the tire pressure value to the individual
wheels is not possible, the Tire Pressure Monitor Active display message is shown
instead of the tire pressure display. The tire
pressures are already being monitored.
i If an emergency spare wheel is mounted,
the system may continue to show the tire
pressure of the wheel that has been
removed for a few minutes. If this occurs,
note that the value displayed for the
position where the spare wheel is mounted
is not the same as the current tire pressure
of the emergency spare wheel. 408
Tire pressureWheels and tires