seat adjustment MERCEDES-BENZ METRIS 2017 MY17 Operator’s Manual
[x] Cancel search | Manufacturer: MERCEDES-BENZ, Model Year: 2017, Model line: METRIS, Model: MERCEDES-BENZ METRIS 2017Pages: 318, PDF Size: 5.01 MB
Page 58 of 318

Problems with the Occupant Classification System (OCS)
Be sure to observe the notes on "System self-test" (Ypage 55).
ProblemPossible causes/consequences andMSolutions
The PASSENGER AIR
BAG OFF indicator lamp
lights up and remains lit,
even though the front-
passenger seat is occu-
pied by an adult or a per-
son of a stature corre-
sponding to that of an
adult.The classification of the person on the front-passenger seat is incor-
rect.
XMake sure the conditions for a correct classification of the person
on the front-passenger seat are met (Ypage 52).
XIf the PASSENGER AIR BAG OFF indicator lamp remains lit, the front-
passenger seat may not be used.
XHave OCS checked as soon as possible at a Mercedes-Benz Com-
mercial Van Center.
The PASSENGER AIR
BAG OFF indicator lamp
does not light up and/or
does not stay on.
The front-passenger seat
is:
Runoccupied
Roccupied with the
weight of a child up to
twelve months old in a
child restraint system
OCS is malfunctioning.
XMake sure there is nothing between the seat cushion and the child
seat.
XMake sure that the entire base of the child restraint system rests on
the seat cushion of the front-passenger seat. The backrest of the
forward-facing child restraint system must lie as flat as possible
against the backrest of the front-passenger seat. If necessary,
adjust the position of the front-passenger seat.
XWhen installing the child restraint system, make sure that the seat belt is tight. Do not pull the seat belt tight using the front-passenger
seat adjustment. This could result in the seat belt and the child
restraint system being pulled too tightly.
XCheck for correct installation of the child restraint system.
Make sure that the head restraint does not apply a load to the child
restraint system. If necessary, adjust the head restraint accord-
ingly.
XMake sure that no objects are applying additional weight onto the
seat.
XIf the PASSENGER AIR BAG OFF indicator lamp remains off, do not
install a child restraint system on the front-passenger seat. It is
recommended that you install the child restraint system on a suit-
able rear seat.
XHave OCS checked as soon as possible at a Mercedes-Benz Com-
mercial Van Center.
Deployment of Emergency Tensioning
Devices and air bags
Important safety notes
GWARNING
The air bag parts are hot after an air bag has
been deployed. There is a risk of injury.
Do not touch the air bag parts. Have a
deployed air bag replaced at a qualified spe-
cialist workshop as soon as possible.
GWARNING
A deployed air bag no longer offers any pro-
tection and cannot provide the intended pro-
tection in an accident. There is an increased
risk of injury.
56Occupant safety
Safety
Page 86 of 318

Useful information
This Operator's Manual describes all models as
well as standard and optional equipment of your
vehicle that were available at the time of going
to print. Country-specific variations are possi-
ble. Note that your vehicle may not be equipped
with all of the described functions. This also
applies to systems and functions relevant to
safety.
Read the information on qualified specialist
workshops (
Ypage 31).
Seats
Driver's and front-passenger seat
Important safety notes
GWARNING
Children could become trapped if they adjust
the seats, particularly when unattended.
There is a risk of injury.
When leaving the vehicle, always take the
SmartKey with you and lock the vehicle. Never
leave children unsupervised in the vehicle.
GWARNING
You could lose control of your vehicle if you do the following while driving:
Radjust the driver's seat, head restraint,
steering wheel or mirrors
Rfasten the seat belt
There is a risk of an accident.
Adjust the driver's seat, head restraint, steer-
ing wheel and mirror and fasten your seat belt before starting the engine.
GWARNING
When you adjust a seat, you or other vehicle
occupants could become trapped, e.g. on the seat guide rail. There is a risk of injury.
Make sure when adjusting a seat that no one
has any body parts in the sweep of the seat.
GWARNING
If the driver's seat is not engaged, it could
move unexpectedly while the vehicle is in
motion. This could cause you to lose control of the vehicle. There is a risk of an accident.
Always make sure that the driver's seat is
engaged before starting the vehicle.
GWARNING
The front-air bags for could also injure the
vehicle occupants in the front If the front
seats are positioned too close to the dash-
board or steering wheel. This poses an
increased risk of injury or even fatal injury.
Always adjust the front seats so that they are
as far from the front air bags as possible. Also
observe the notes on the correct adjustment
of the seats.
GWARNING
The seat belt does not offer the intended level of protection if you have not moved the back-
rest to an almost vertical position. When brak-
ing or in the event of an accident, you could
slide underneath the seat belt and sustain
abdomen or neck injuries, for example. This
poses an increased risk of injury or even fatal injury.
Adjust the seat properly before beginning
your journey. Always ensure that the backrest
is in an almost vertical position and that the
shoulder section of your seat belt is routed
across the center of your shoulder.
GWARNING
If the head restraints are not installed or not
adjusted correctly, they cannot provide pro-
tection as intended. There is an increased risk
of injury in the head and neck area, e.g. in the event of an accident or when braking.
Always drive with the head restraints instal-
led. Before driving off, make sure for every
vehicle occupant that the center of the head
restraint supports the back of the head at
about eye level.
84Seats
Seats, steering wheel and mirrors
Page 87 of 318

!To avoid damage to the seats and the seat
heating, observe the following information:
Rkeep liquids from spilling on the seats. If
liquid is spilled on the seats, dry them as
soon as possible.
Rif the seat covers are damp or wet, do not
switch on the seat heating. The seat heat-
ing should also not be used to dry the seats.
Rclean the seat covers as recommended;
see the "Interior care" section.
Rdo not transport heavy loads on the seats.
Do not place sharp objects on the seat
cushions, e.g. knives, nails or tools. The
seats should only be occupied by passen-
gers, if possible.
Rwhen the seat heating is in operation, do
not cover the seats with insulating materi-
als, e.g. blankets, coats, bags, seat covers,
child seats or booster seats.
Your seat must be adjusted in such a way that
you can wear the seat belt correctly.
Observe the following points:
RPosition the backrest in an almost vertical
position so that you are sitting virtually
upright. Do not drive with the backrest
reclined too far back.
RYour arms should be slightly bent when you
are holding the steering wheel.
RAvoid seat positions that prevent the seat belt
from being correctly routed. The shoulder
section of the belt must be routed over the
middle of your shoulder and be pulled tight
against your upper body. The lap belt must
always pass across your lap as low down as
possible, i.e. over your hip joints.
RAdjust the head restraint so that it supports
the back of the head at eye level.
RThe distance from the pedals should be such
that you can depress them fully.
Please also observe the important safety notes
on "Air bags" (
Ypage 50), "Seat belts"
(Ypage 47) and "Child restraint systems"
(Ypage 59).
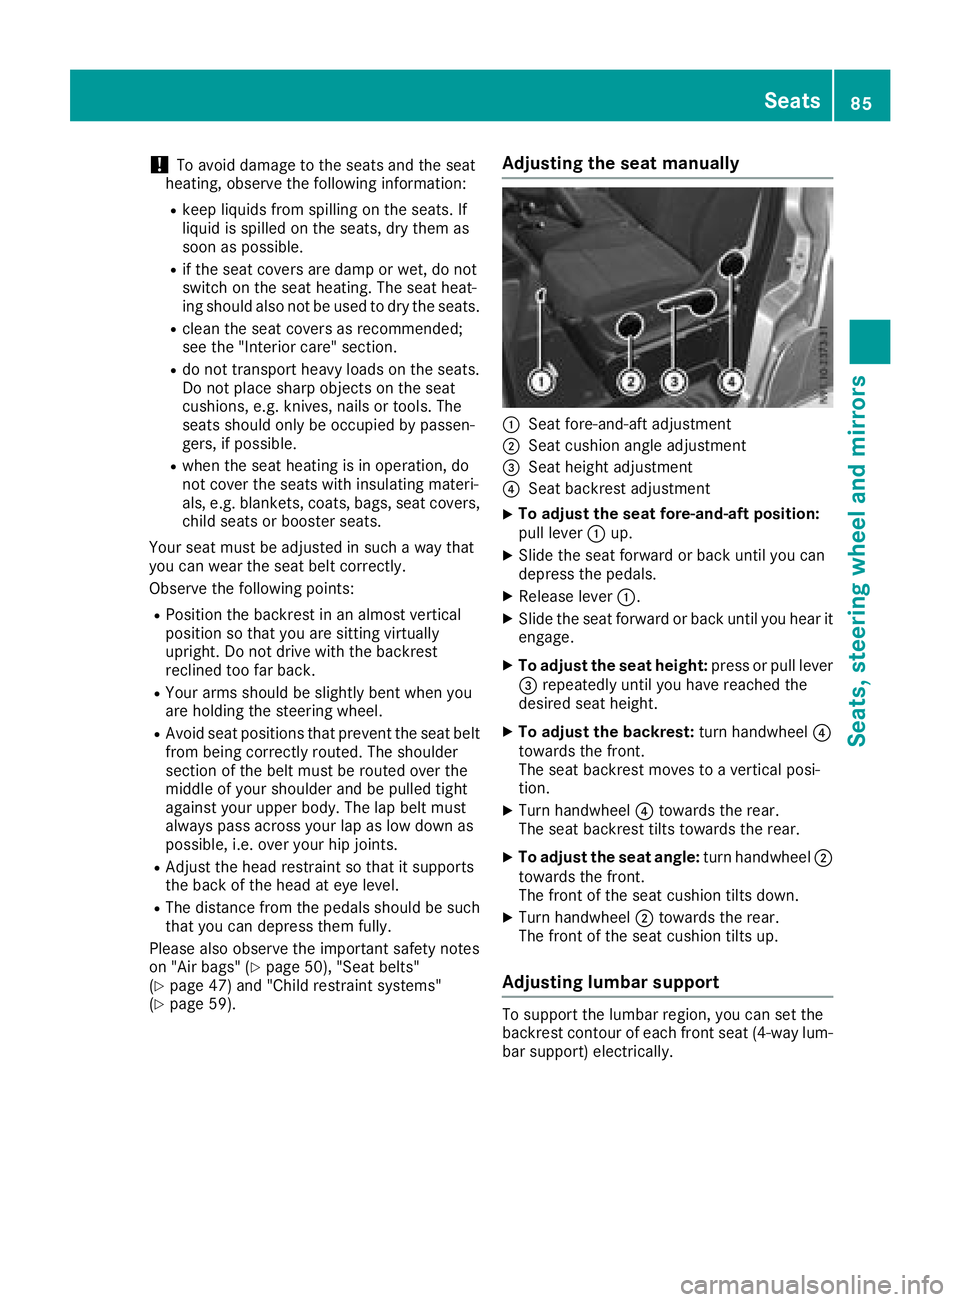
Adjusting the seat manually
:Seat fore-and-aft adjustment
;Seat cushion angle adjustment
=Seat height adjustment
?Seat backrest adjustment
XTo adjust the seat fore-and-aft position:
pull lever :up.
XSlide the seat forward or back until you can
depress the pedals.
XRelease lever :.
XSlide the seat forward or back until you hear it
engage.
XTo adjust the seat height: press or pull lever
= repeatedly until you have reached the
desired seat height.
XTo adjust the backrest: turn handwheel?
towards the front.
The seat backrest moves to a vertical posi-
tion.
XTurn handwheel ?towards the rear.
The seat backrest tilts towards the rear.
XTo adjust the seat angle: turn handwheel;
towards the front.
The front of the seat cushion tilts down.
XTurn handwheel ;towards the rear.
The front of the seat cushion tilts up.
Adjusting lumbar support
To support the lumbar region, you can set the
backrest contour of each front seat (4-way lum-
bar support) electrically.
Seats85
Seats, steering wheel and mirrors
Z
Page 94 of 318

For this reason, always make sure of the
actual distance from the road users traveling
behind by glancing over your shoulder.
Rear-view mirror
XAnti-glare mode:push anti-glare lever :
forwards or back.
Exterior mirrors
Adjusting manually
XBefore starting off, manually adjust the exte-
rior mirrors in such a way that you can get a
good overview of road and traffic conditions.
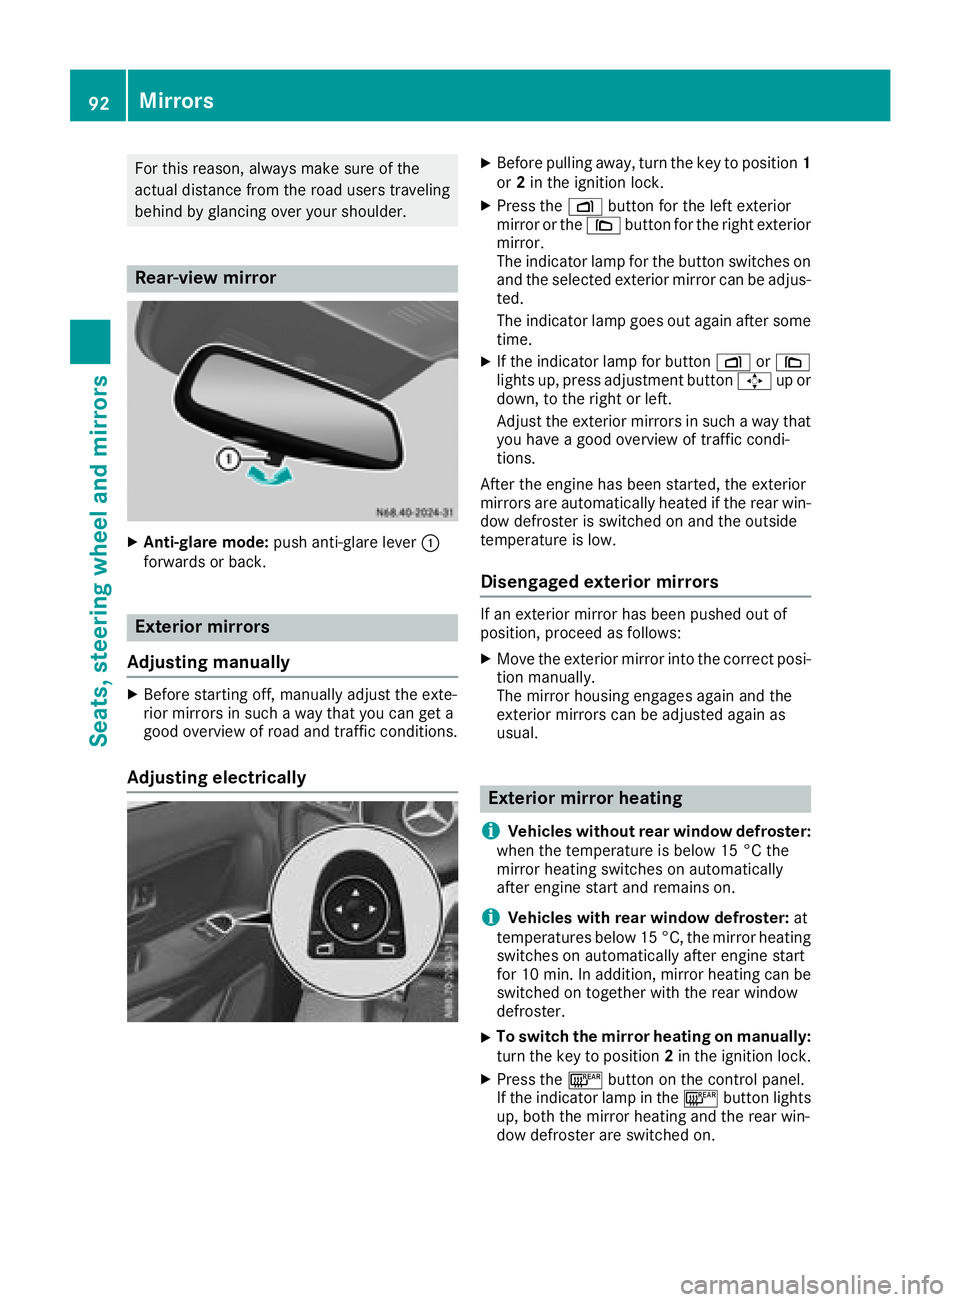
Adjusting electrically
XBefore pulling away, turn the key to position 1
or 2in the ignition lock.
XPress the Zbutton for the left exterior
mirror or the \button for the right exterior
mirror.
The indicator lamp for the button switches on
and the selected exterior mirror can be adjus-
ted.
The indicator lamp goes out again after some
time.
XIf the indicator lamp for button Zor\
lights up, press adjustment button 7up or
down, to the right or left.
Adjust the exterior mirrors in such a way that
you have a good overview of traffic condi-
tions.
After the engine has been started, the exterior
mirrors are automatically heated if the rear win-
dow defroster is switched on and the outside
temperature is low.
Disengaged exterior mirrors
If an exterior mirror has been pushed out of
position, proceed as follows:
XMove the exterior mirror into the correct posi-
tion manually.
The mirror housing engages again and the
exterior mirrors can be adjusted again as
usual.
Exterior mirror heating
i
Vehicles without rear window defroster:
when the temperature is below 15 °C the
mirror heating switches on automatically
after engine start and remains on.
iVehicles with rear window defroster: at
temperatures below 15 °C, the mirror heating
switches on automatically after engine start
for 10 min. In addition, mirror heating can be switched on together with the rear window
defroster.
XTo switch the mirror heating on manually:
turn the key to position 2in the ignition lock.
XPress the ¤button on the control panel.
If the indicator lamp in the ¤button lights
up, both the mirror heating and the rear win-
dow defroster are switched on.
92Mirrors
Seats, steering wheel and mirrors