windows MERCEDES-BENZ ML320 1997 Complete Repair Manual
[x] Cancel search | Manufacturer: MERCEDES-BENZ, Model Year: 1997, Model line: ML320, Model: MERCEDES-BENZ ML320 1997Pages: 4133, PDF Size: 88.89 MB
Page 4 of 4133
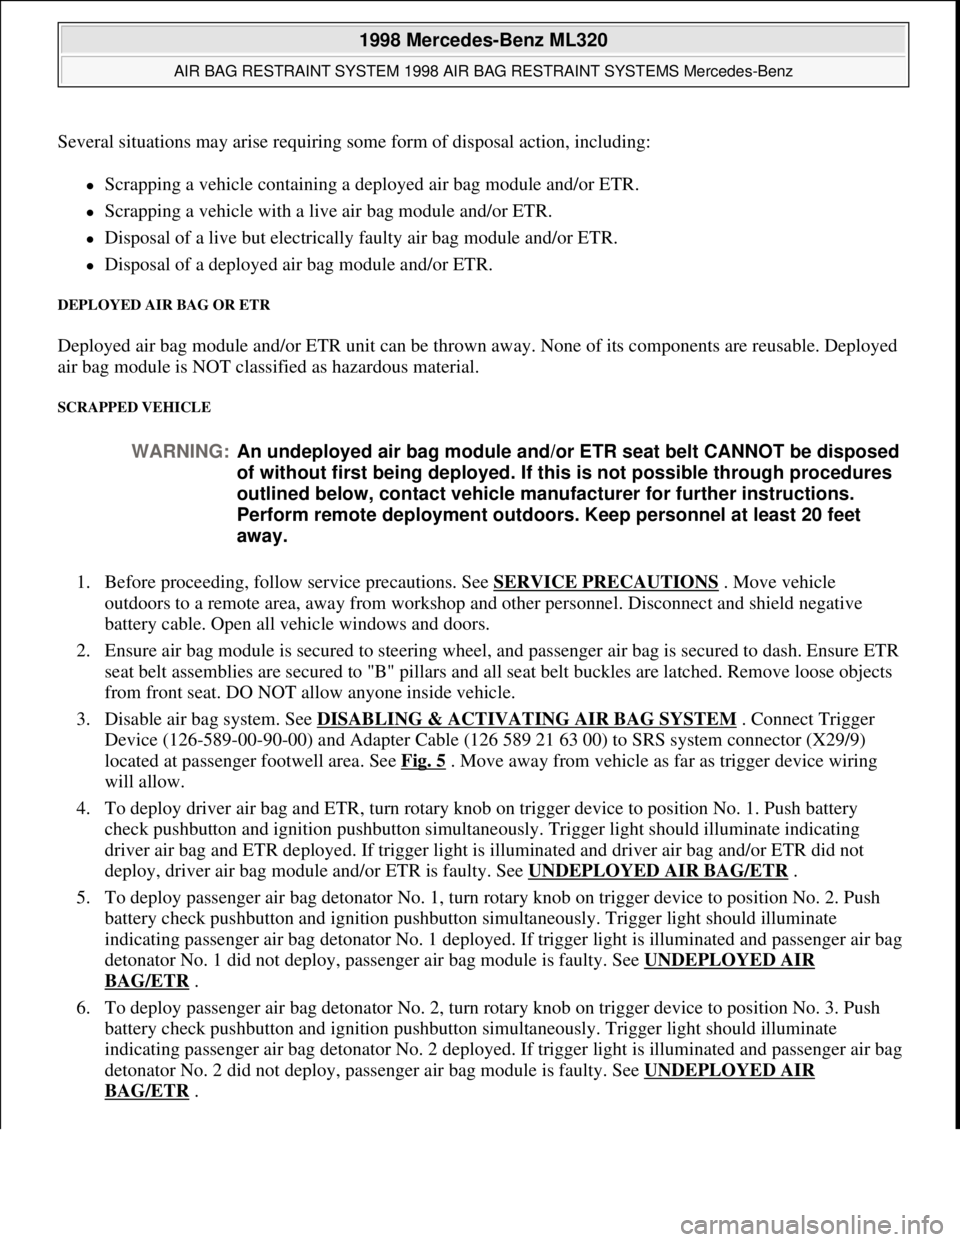
Several situations may arise requiring some form of disposal action, including:
Scrapping a vehicle containing a deployed air bag module and/or ETR.
Scrapping a vehicle with a live air bag module and/or ETR.
Disposal of a live but electrically faulty air bag module and/or ETR.
Disposal of a deployed air bag module and/or ETR.
DEPLOYED AIR BAG OR ETR
Deployed air bag module and/or ETR unit can be thrown away. None of its components are reusable. Deployed
air bag module is NOT classified as hazardous material.
SCRAPPED VEHICLE
1. Before proceeding, follow service precautions. See SERVICE PRECAUTIONS . Move vehicle
outdoors to a remote area, away from workshop and other personnel. Disconnect and shield negative
battery cable. Open all vehicle windows and doors.
2. Ensure air bag module is secured to steering wheel, and passenger air bag is secured to dash. Ensure ETR
seat belt assemblies are secured to "B" pillars and all seat belt buckles are latched. Remove loose objects
from front seat. DO NOT allow anyone inside vehicle.
3. Disable air bag system. See DISABLING & ACTIVATING AIR BAG SYSTEM
. Connect Trigger
Device (126-589-00-90-00) and Adapter Cable (126 589 21 63 00) to SRS system connector (X29/9)
located at passenger footwell area. See Fig. 5
. Move away from vehicle as far as trigger device wiring
will allow.
4. To deploy driver air bag and ETR, turn rotary knob on trigger device to position No. 1. Push battery
check pushbutton and ignition pushbutton simultaneously. Trigger light should illuminate indicating
driver air bag and ETR deployed. If trigger light is illuminated and driver air bag and/or ETR did not
deploy, driver air bag module and/or ETR is faulty. See UNDEPLOYED AIR BAG/ETR
.
5. To deploy passenger air bag detonator No. 1, turn rotary knob on trigger device to position No. 2. Push
battery check pushbutton and ignition pushbutton simultaneously. Trigger light should illuminate
indicating passenger air bag detonator No. 1 deployed. If trigger light is illuminated and passenger air bag
detonator No. 1 did not deploy, passenger air bag module is faulty. See UNDEPLOYED AIR
BAG/ETR .
6. To deploy passenger air bag detonator No. 2, turn rotary knob on trigger device to position No. 3. Push
battery check pushbutton and ignition pushbutton simultaneously. Trigger light should illuminate
indicating passenger air bag detonator No. 2 deployed. If trigger light is illuminated and passenger air bag
detonator No. 2 did not deploy, passenger air bag module is faulty. See UNDEPLOYED AIR
BAG/ETR . WARNING:An undeployed air bag module and/or ETR seat belt CANNOT be disposed
of without first being deployed. If this is not possible through procedures
outlined below, contact vehicle manufacturer for further instructions.
Perform remote deployment outdoors. Keep personnel at least 20 feet
away.
1998 Mercedes-Benz ML320
AIR BAG RESTRAINT SYSTEM 1998 AIR BAG RESTRAINT SYSTEMS Mercedes-Benz
me
Saturday, October 02, 2010 3:33:13 PMPage 4 © 2006 Mitchell Repair Information Company, LLC.
Page 52 of 4133

2 Contents
Fog lamp switch
(except Canada) ........................... 92
Fog lamp switch
(Canada only) .............................. 93
Hazard warning flasher
switch ............................................ 94
Headlamp cleaning system ............ 94
Windshield wiper/washer
switch ............................................ 95
Rear window wiper/washer ........... 96
Climate control ................................. 98
Basic setting – Heater ............... 100
Basic setting –
Air conditioner ........................... 100
Special setting ............................ 101
Dust filter .................................... 102
Air recirculation ......................... 102
Rear window defroster .............. 103
Power windows ............................... 104
Rear quarter windows ................... 106
Sliding/pop-up roof ....................... 107
Skyview Top .................................... 109
Interior lighting ..............................110
Sun visors ........................................113Illuminated vanity mirrors ........... 113
Interior ............................................. 114
Storage compartments,
armrest and cup holder ............ 114
Glove box ...................................... 115
Armrest in rear bench seat ........... 117
Ashtrays ........................................... 118
Lighter .............................................. 119
Split rear seat bench ..................... 120
Easy entry/exit feature ............. 123
Rear seat head restraints ......... 124
Third row seats .............................. 126
Removable cargo floor plates ...... 129
Enlarged cargo area .......................131
Cargo tie-down rings .....................132
Hooks ...............................................133
Partition net ....................................133
Loading instructions ......................136
Cargo area cover blind ..................137
Telephone, general .........................139
Cellular telephone ..........................139
Garage door opener ....................... 140
DrivingControl and operation of
radio transmitters ..................... 146
The first 1 000 miles
(1 500 km) ................................. 147
Maintenance ................................... 147
Tele Aid ........................................... 148
Catalytic converter ........................ 160
Emission control ............................ 161
Steering lock ................................... 162
Starting and turning off
the engine .................................. 164
Automatic transmission ............... 165
Parking brake ................................. 173
Driving instructions ...................... 174
Drive sensibly – save fuel ......... 174
Drinking and driving ................. 174
Pedals ........................................... 174
Power assistance ........................ 175
Brakes .......................................... 175
Driving off ................................... 176
Parking ........................................ 176
Tires ............................................. 177
Page 73 of 4133
23 Contents - Operation
Te ch n ica l
data Instruments
and controlsOperationDrivingInstrument
cluster displayPractical hints Car care Index Basic setting –
Air conditioner ........................... 100
Special setting ............................ 101
Dust filter .................................... 102
Air recirculation ......................... 102
Rear window defroster .............. 103
Power windows ............................... 104
Rear quarter windows ................... 106
Sliding/pop-up roof ....................... 107
Skyview Top .................................... 109
Interior lighting ..............................110
Sun visors ........................................113Illuminated vanity mirrors ........... 113
Interior ............................................. 114
Storage compartments,
armrest and cup holder ............ 114
Glove box ...................................... 115
Armrest in rear bench seat ........... 117
Ashtrays ........................................... 118
Lighter .............................................. 119
Split rear seat bench ..................... 120
Easy entry/exit feature ............. 123
Rear seat head restraints ......... 124
Third row seats .............................. 126Removable cargo floor plates ....... 129
Enlarged cargo area ....................... 131
Cargo tie-down rings ..................... 132
Hooks ............................................... 133
Partition net .................................... 133
Loading instructions ..................... 136
Cargo area cover blind .................. 137
Telephone, general ........................ 139
Cellular telephone ......................... 139
Garage door opener ....................... 140
Page 150 of 4133
100 Climate control
Te ch n ica l
data Instruments
and controlsOperationDrivingInstrument
cluster displayPractical hints Car care Index
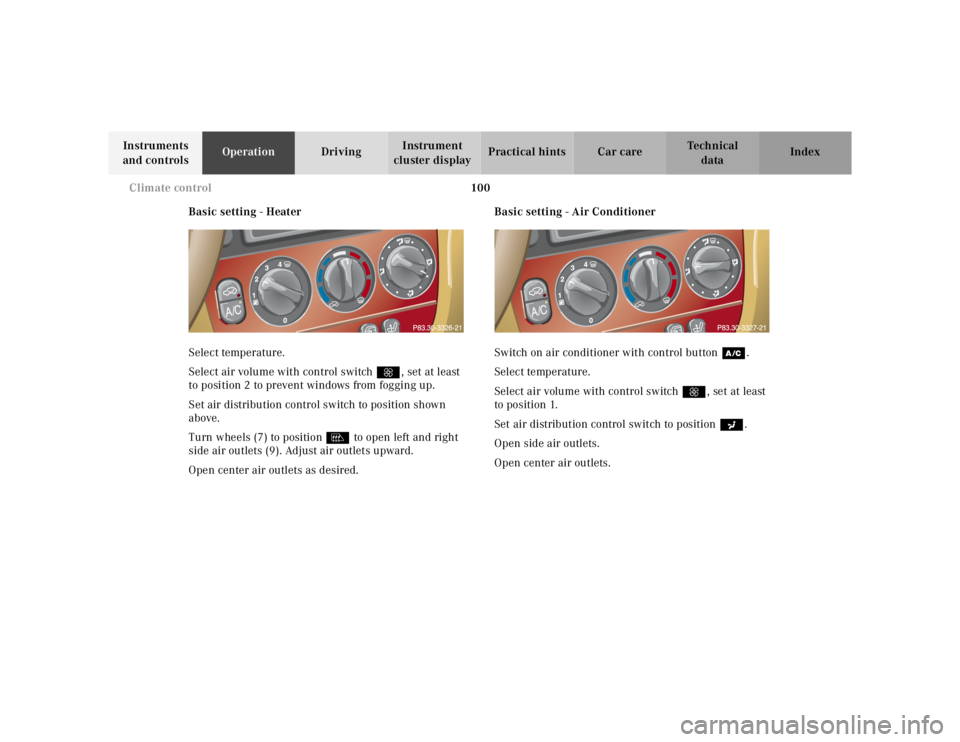
Basic setting - Heater
Select temperature.
Select air volume with control switch Q, set at least
to position 2 to prevent windows from fogging up.
Set air distribution control switch to position shown
above.
Turn wheels (7) to position l to open left and right
side air outlets (9). Adjust air outlets upward.
Open center air outlets as desired.Basic setting - Air Conditioner
Switch on air conditioner with control buttonœ.
Select temperature.
Select air volume with control switchQ, set at least
to position 1.
Set air distribution control switch to positiona.
Open side air outlets.
Open center air outlets.
Page 151 of 4133
101 Climate control
Te ch n ica l
data Instruments
and controlsOperationDrivingInstrument
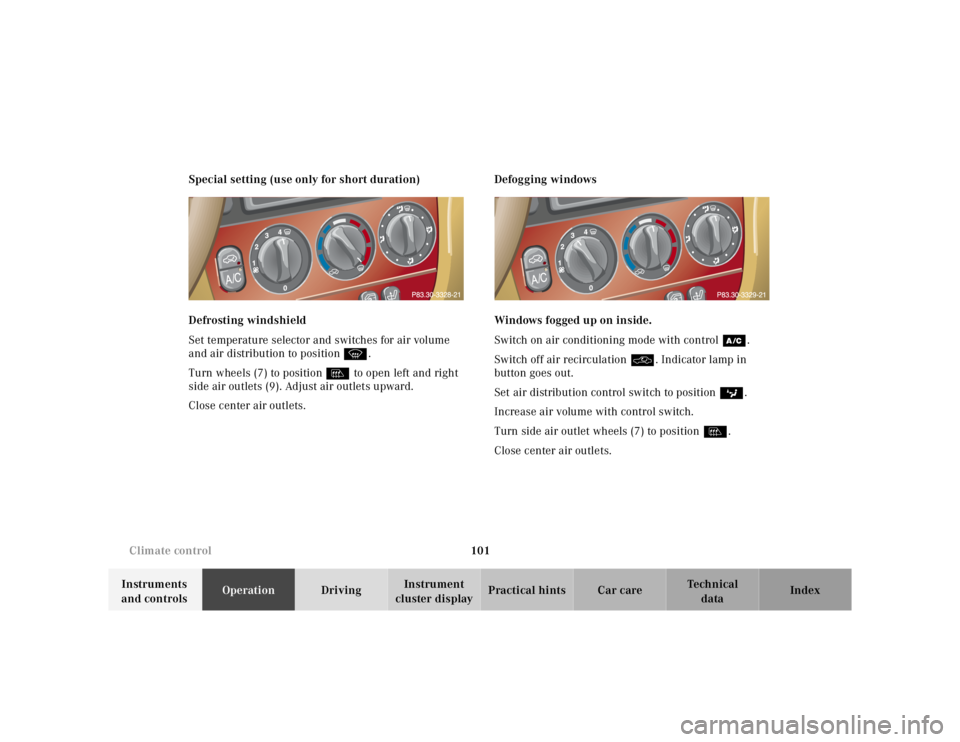
cluster displayPractical hints Car care Index Special setting (use only for short duration)
Defrosting windshield
Set temperature selector and switches for air volume
and air distribution to position P.
Turn wheels (7) to position l to open left and right
side air outlets (9). Adjust air outlets upward.
Close center air outlets.Defogging windows
Windows fogged up on inside.
Switch on air conditioning mode with controlœ.
Switch off air recirculationO. Indicator lamp in
button goes out.
Set air distribution control switch to positionc.
Increase air volume with control switch.
Turn side air outlet wheels (7) to position l.
Close center air outlets.
Page 152 of 4133
102 Climate control
Te ch n ica l
data Instruments
and controlsOperationDrivingInstrument
cluster displayPractical hints Car care Index
Windshield fogged up on outside.
Switch on wiper motor.
Set air distribution control switch to positiond
ora.
Dust filter
Nearly all dust particles and pollen are filtered out
before outside air enters the passenger compartment
through the air distribution system.
Note:
Keep the air intake grille in front of windshield free of
snow and debris.
Climate control – OFF
To switch the climate control off, set air volume control
switch to position0.
Switch off air conditioning mode œ. Control lamp in
button goes out.Air recirculation
This mode can be selected to temporarily reduce the
entry of annoying odors or dust into the vehicle’s
interior.
Outside air is not supplied to the vehicles’s interior.
To select, press O button. Indicator lamp in button
lights up.
To cancel, press O button again. Indicator lamp in
button goes out.
If the windows should fog up from the inside, switch
from recirculated air back to fresh air.
Page 155 of 4133
105 Interior equipment
Te ch n ica l
data Instruments
and controlsOperationDrivingInstrument
cluster displayPractical hints Car care Index The windows can be operated with key in steering lock
position 1 or 2.
Operation:
Press switch in to resistance point to open.
Lift switch to close.
Release switch when window is in desired position.Express opening of front door windows
Press switch past resistance point and release – window
lowers to fully open position. To interrupt procedure,
brief ly pull switch.
Blocking of rear door window operation
If no operation of the rear door windows by switch (6),
located on rear center console (for instance by children)
is desired, slide override switch (5) to right,
symbolN becomes visible.
Note:
After turning off the engine the power windows can be
operated for approximately 30 minutes or until a front
door is opened.
Wa r n i n g !
When closing the windows, be sure that there is no
danger of anyone being harmed by the closing
procedure.The closing procedure can be immediately reversed
by pressing the power window switch.When leaving the vehicle, always remove the key
from the steering lock, and lock the vehicle. Do not
leave children unattended in the vehicle, or with
access to an unlocked vehicle. Unsupervised use of
vehicle equipment can cause serious personal
injury.
Wa r n i n g !
When leaving the vehicle, always remove the key
from the steering lock, and lock the vehicle. Do not
leave children unattended in the vehicle, or with
access to an unlocked vehicle. Unsupervised use of
vehicle equipment can cause serious personal
injury.
Page 156 of 4133
106 Interior equipment
Te ch n ica l
data Instruments
and controlsOperationDrivingInstrument
cluster displayPractical hints Car care Index
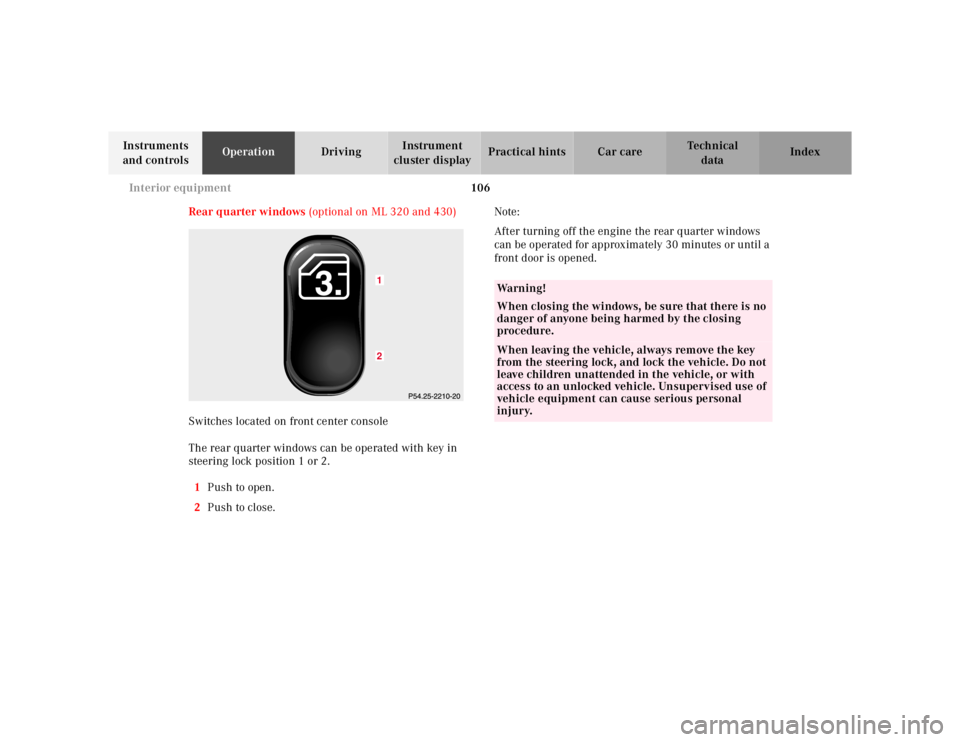
Rear quarter windows (optional on ML 320 and 430)
Switches located on front center console
The rear quarter windows can be operated with key in
steering lock position 1 or 2.
1Push to open.
2Push to close.Note:
After turning off the engine the rear quarter windows
can be operated for approximately 30 minutes or until a
front door is opened.
12
Wa r n i n g !
When closing the windows, be sure that there is no
danger of anyone being harmed by the closing
procedure.When leaving the vehicle, always remove the key
from the steering lock, and lock the vehicle. Do not
leave children unattended in the vehicle, or with
access to an unlocked vehicle. Unsupervised use of
vehicle equipment can cause serious personal
injury.
Page 233 of 4133
183 Driving instructions
Te ch n ica l
data Instruments
and controlsOperationDrivingInstrument
cluster displayPractical hints Car care Index Off-Road driving
Familiarize yourself with the vehicle characteristics and
gear changing before you attempt any difficult terrain
off-road driving. We recommend that you start out with
easy off-road travel.
Please read this chapter carefully before you begin
off-road travel.
Special driving features are available for specific kinds
of operation:
•LOW RANGE mode, see page 209
•LOW RANGE - ABS, see page 202
•LOW RANGE - 4-ETS+, see page 204
•LOW RANGE - ESP, see page 208
Engage the LOW RANGE mode before driving under
off-road conditions. For switching LOW RANGE mode on
and off see page 209.
Fasten items being carried as securely as possible, see
page 136.
We recommend to keep doors, liftgate, windows, and
roof closed whenever driving in off-road mode.Important!
Adjust vehicle speed to condition of terrain. The more
uneven, rutty and steeper the terrain, the lower the
speed should be.
Watch out for obstacles, such as rocks, holes,
tree-stumps, ruts.
Be especially careful when driving in unknown
territory. Eventually get out of the vehicle and scout the
path you intend to take.
Continuous and speedy driving in sandy soil overcomes
the vehicle rolling resistance, and helps to prevent the
vehicle from sinking into the ground.
Do not initiate jumps with the vehicle. It interrupts the
forward momentum of the vehicle.
Sand, dirt, mud and other material having friction
property, can cause exceptional wear and tear as well as
failure of the brakes.
In this case the brakes may be less effective or even fail
when you most need them. Always clean and check the
brakes following each off-road trip.
Page 245 of 4133
195 Driving instructions
Te ch n ica l
data Instruments
and controlsOperationDrivingInstrument
cluster displayPractical hints Car care Index At very steep inclines, not manageable with selector
lever in position “1”, switch transfer case to LOW
RANGE, see page 209 for instructions on how to engage
LOW RANGE.
When going down a long hill, shift into a lower gear and
use the engine’s braking effect. Avoid riding the brakes,
thus overheating the vehicle and trailer brakes.
If the engine coolant rises to an extremely high
temperature (coolant temperature needle approaching
the red zone) when the air conditioner is on, turn off the
air conditioner. Engine coolant heat can be additionally
vented by opening the windows, switching the climate
control fan speed to high and setting the temperature
control to the maximum hot position.
Extreme care must be exercised since your vehicle with
a trailer will require additional passing distance ahead
than when driving without a trailer. Because your
vehicle and trailer is longer than your vehicle alone, you
will also need to go much farther ahead of the passed
vehicle before you can return to your lane.Parking
Wa r n i n g !
To reduce the risk of personal injury, or damage to
the vehicle powertrain, as a result of vehicle/trailer
movement, always:1. Keep right foot on brake pedal.2. Shift gear selector lever to position “N”.3. Have a second person place wheel chocks on
downhill side of left and right trailer wheels.4. Slowly release brake pedal and let vehicle and
trailer roll into chocks until stopped.5. Firmly depress parking brake pedal.6. Move gear selector lever to position “P”.7. On inclines turn front wheels towards the road
curb.