MERCEDES-BENZ ML350 1997 Complete Repair Manual
Manufacturer: MERCEDES-BENZ, Model Year: 1997, Model line: ML350, Model: MERCEDES-BENZ ML350 1997Pages: 4133, PDF Size: 88.89 MB
Page 141 of 4133
91 Exterior lamp switch
Te ch n ica l
data Instruments
and controlsOperationDrivingInstrument
cluster displayPractical hints Car care Index Turn signal failure
If one of the turn signals fails, the turn signal indicator
system f lashes and sounds at a faster than normal rate.
Standing lamps
When the vehicle is parked on the street the standing
lamps (right or left side parking lamps) can be turned
on, making the vehicle more visible to passing vehicles.
The standing lamps cannot be operated with the key in
steering lock position 1 or 2.
Note:
With the key removed and a front door open, a warning
sounds if the vehicle’s exterior lamps (except standing
lamps) are not switched off.Daytime running lamps (Canada only)
When the engine is running and the selector lever is in
a driving position, the low beam headlamps (includes
parking lamps, side marker lamps, taillamps and
license plate lamps) are automatically switched on.
When shifting from a driving position to position “N”
or “P”, the low beam switches off (2 seconds delay).
For nighttime driving the exterior lamp switch should
be turned to position õ to permit activation of the
high beam headlamps.
Page 142 of 4133
92 Fog lamp switch
Te ch n ica l
data Instruments
and controlsOperationDrivingInstrument
cluster displayPractical hints Car care Index
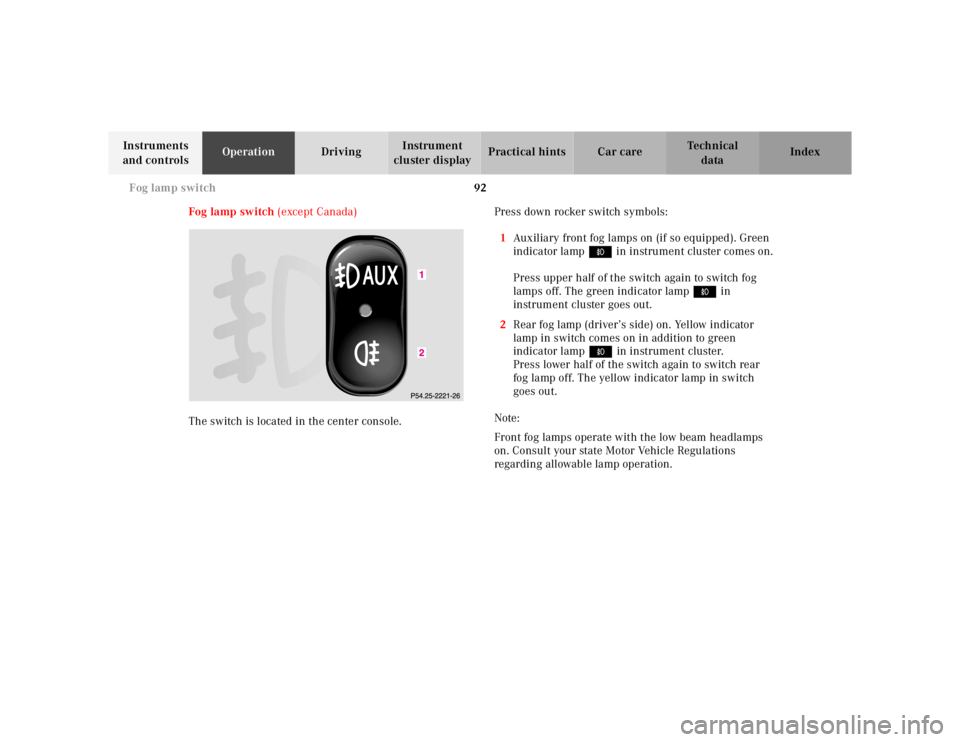
Fog lamp switch (except Canada)
The switch is located in the center console.Press down rocker switch symbols:
1Auxiliary front fog lamps on (if so equipped). Green
indicator lamp ‡ in instrument cluster comes on.
Press upper half of the switch again to switch fog
lamps off. The green indicator lamp‡ in
instrument cluster goes out.
2Rear fog lamp (driver’s side) on. Yellow indicator
lamp in switch comes on in addition to green
indicator lamp‡ in instrument cluster.
Press lower half of the switch again to switch rear
fog lamp off. The yellow indicator lamp in switch
goes out.
Note:
Front fog lamps operate with the low beam headlamps
on. Consult your state Motor Vehicle Regulations
regarding allowable lamp operation.
Page 143 of 4133

93 Fog lamp switch
Te ch n ica l
data Instruments
and controlsOperationDrivingInstrument
cluster displayPractical hints Car care Index Fog lamp switch (Canada only)
The switch is located in the center console.
Press down rocker switch symbols:
1Front fog lamps on (if so equipped). Green indicator
lamp ‡ in instrument cluster comes on.
Press upper half of the switch again to switch fog
lamps off. The green indicator lamp‡ in
instrument cluster goes out.2Rear fog lamp (driver’s side) in addition to front fog
lamps on. Yellow indicator lamp in switch comes on
in addition to green indicator lamp‡ in
instrument cluster.
Press lower half of the switch again to switch rear
fog lamp off. The yellow indicator lamp in switch
goes out.
When pressing upper half of the switch once with
front fog lamps and rear fog lamp on, first the rear
fog lamp is switched off. The yellow indicator lamp
in the switch goes out. Press upper half of the
switch again to switch off front fog lamps. The green
indicator lamp‡ in instrument cluster also goes
out.
Note:
Front fog lamps operate with the low beam headlamps
on. Consult your state Motor Vehicle Regulations
regarding allowable lamp operation.
Page 144 of 4133
94 Hazard warning flasher
Te ch n ica l
data Instruments
and controlsOperationDrivingInstrument
cluster displayPractical hints Car care Index
Hazard warning flasher switch
The hazard warning flasher switch is located on top of
the steering column.
The hazard warning flasher can be activated either
manually via the switch located in the dashboard, or it
is activated automatically at the time an airbag is
deployed.
To activate hazard warning flasher, press switch once.
To deactivate, press switch again.
If hazard warning flasher was activated automatically,
press switch twice to deactivate.
Note:
To signal turns while being towed with hazard warning
flasher in use, turn key in steering lock to position 2
and activate combination switch for left or right turn
signal in usual manner. Now deactivate the hazard
warning flasher, only the selected turn signal will
operate. Upon canceling the turn signal, the hazard
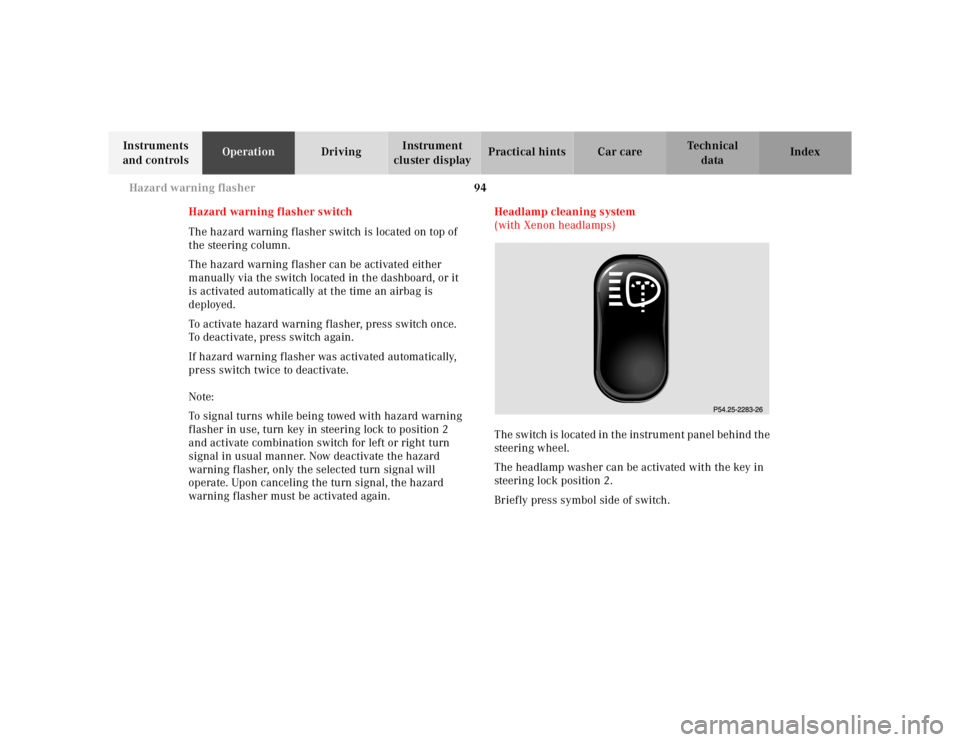
warning flasher must be activated again.Headlamp cleaning system
(with Xenon headlamps)
The switch is located in the instrument panel behind the
steering wheel.
The headlamp washer can be activated with the key in
steering lock position 2.
Briefly press symbol side of switch.
Page 145 of 4133
95 Windshield wiper/washer
Te ch n ica l
data Instruments
and controlsOperationDrivingInstrument
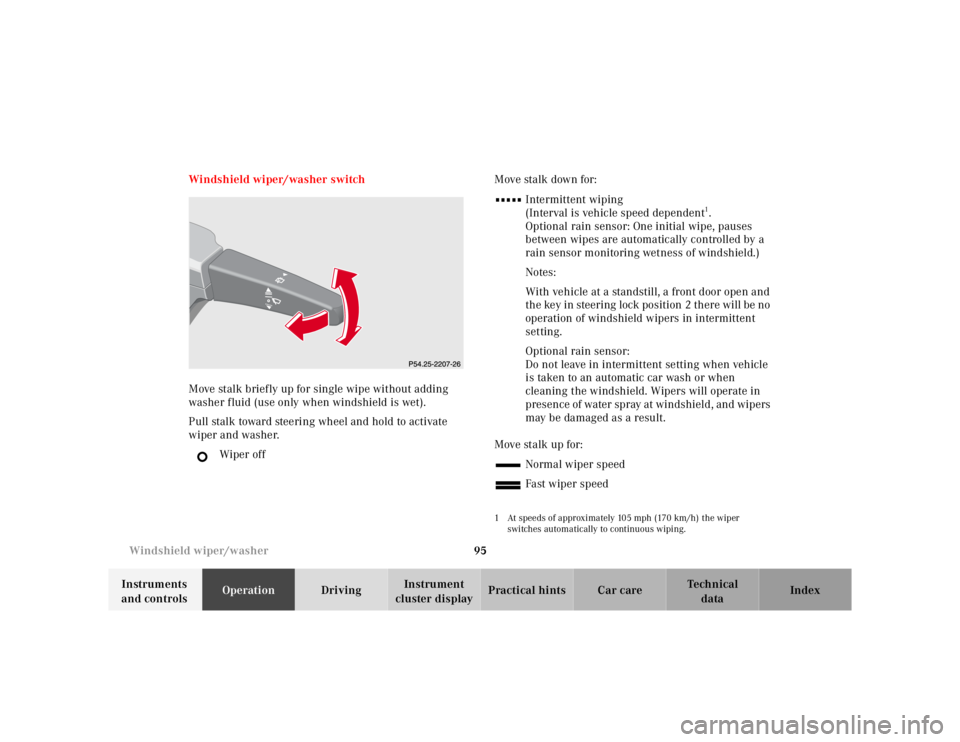
cluster displayPractical hints Car care Index Windshield wiper/washer switch
Move stalk briefly up for single wipe without adding
washer fluid (use only when windshield is wet).
Pull stalk toward steering wheel and hold to activate
wiper and washer.
Wiper offMove stalk down for:
Intermittent wiping
(Interval is vehicle speed dependent
1.
Optional rain sensor: One initial wipe, pauses
between wipes are automatically controlled by a
rain sensor monitoring wetness of windshield.)
Notes:
With vehicle at a standstill, a front door open and
the key in steering lock position 2 there will be no
operation of windshield wipers in intermittent
setting.
Optional rain sensor:
Do not leave in intermittent setting when vehicle
is taken to an automatic car wash or when
cleaning the windshield. Wipers will operate in
presence of water spray at windshield, and wipers
may be damaged as a result.
Move stalk up for:
Normal wiper speed
Fast wiper speed
1 At speeds of approximately 105 mph (170 km/h) the wiper
switches automatically to continuous wiping.
Page 146 of 4133
96 Rear window wiper/washer
Te ch n ica l
data Instruments
and controlsOperationDrivingInstrument
cluster displayPractical hints Car care Index
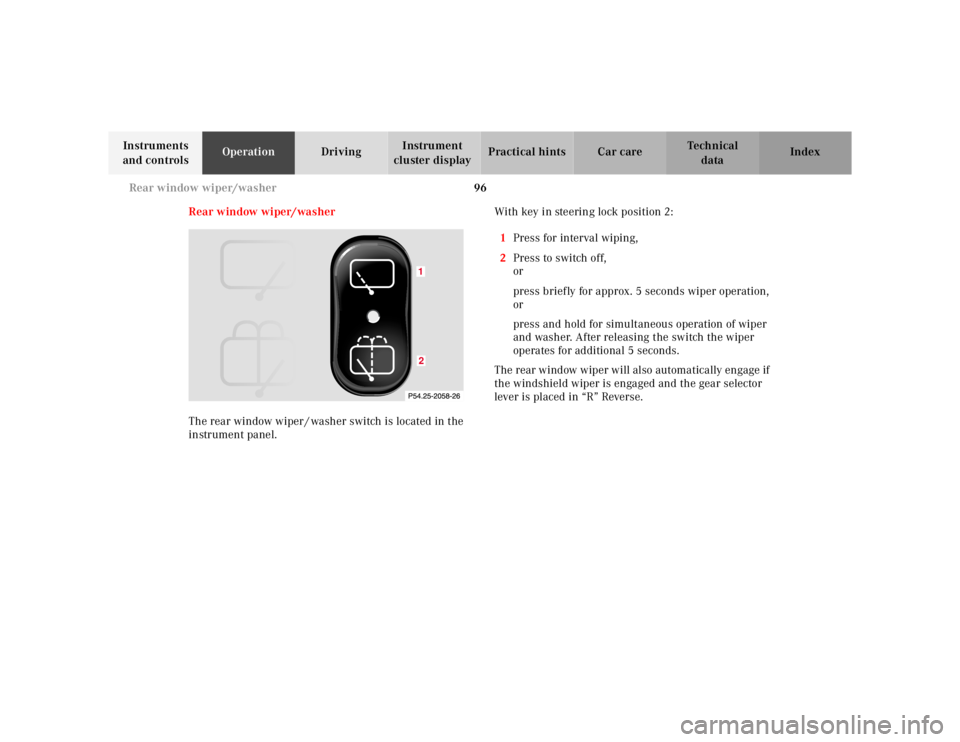
Rear window wiper/washer
The rear window wiper / washer switch is located in the
instrument panel.With key in steering lock position 2:
1Press for interval wiping,
2Press to switch off,
or
press briefly for approx. 5 seconds wiper operation,
or
press and hold for simultaneous operation of wiper
and washer. After releasing the switch the wiper
operates for additional 5 seconds.
The rear window wiper will also automatically engage if
the windshield wiper is engaged and the gear selector
lever is placed in “R” Reverse.
12
Page 147 of 4133

97 Rear window wiper/washer
Te ch n ica l
data Instruments
and controlsOperationDrivingInstrument
cluster displayPractical hints Car care Index Windshield wipers smear
If the windshield wipers smear the windshield, even
during rain, activate the washer system as often as
necessary. The fluid in the washer reservoir should be
mixed in the correct ratio.
Note:
For windshield and headlamp washer fluid mixing ratio
see page 237.Blocked windshield wipers
If the windshield wipers become blocked (for example,
due to snow), switch off the wipers.
For safety reasons before removing ice or snow, remove
key from steering lock. Remove blockage.
Activate windshield wiper / washer switch again (key in
steering lock position 1).
Page 148 of 4133

98 Climate control
Te ch n ica l
data Instruments
and controlsOperationDrivingInstrument
cluster displayPractical hints Car care Index
Climate control
Page 149 of 4133

99 Climate control
Te ch n ica l
data Instruments
and controlsOperationDrivingInstrument
cluster displayPractical hints Car care Index 1Air volume control switch
2Temperature selector switch
3Air distribution switch
4Air recirculation
5Air conditioning mode
6Air volume control for center air outlets,
turn wheel up to open.
7Air volume control for side air outlet,
turn wheel up to open.
8Center air outlets, adjustable
9Side air outlets, adjustable
10Windshield air outlets
11Floor outlets
The air conditioning mode only operates with the œ
button pushed, the air volume control switch set to
position 1 to 4, and the engine running.To quickly cool down the passenger compartment, turn
temperature selector switch fully to the left to
positionO. Turn temperature selector to maintain
desired temperature.
The air conditioning mode removes considerable
moisture from the air during operation in the cooling
mode. It is normal for water to drip on the ground
through ducts in the underbody.
Important!
This vehicle is equipped with an air conditioner system
that uses R–134a (HFC: hydrof luorocarbon) as a
refrigerant. Repairs should always be performed by a
qualified technician, and refrigerant should be collected
in a recovery system for recycling.
Note:
For the air flow-through system to function properly, the
air vents, located in the left and right side rear
passenger compartment trim panel covers, should be
ke pt un obst ru cte d .
Page 150 of 4133
100 Climate control
Te ch n ica l
data Instruments
and controlsOperationDrivingInstrument
cluster displayPractical hints Car care Index
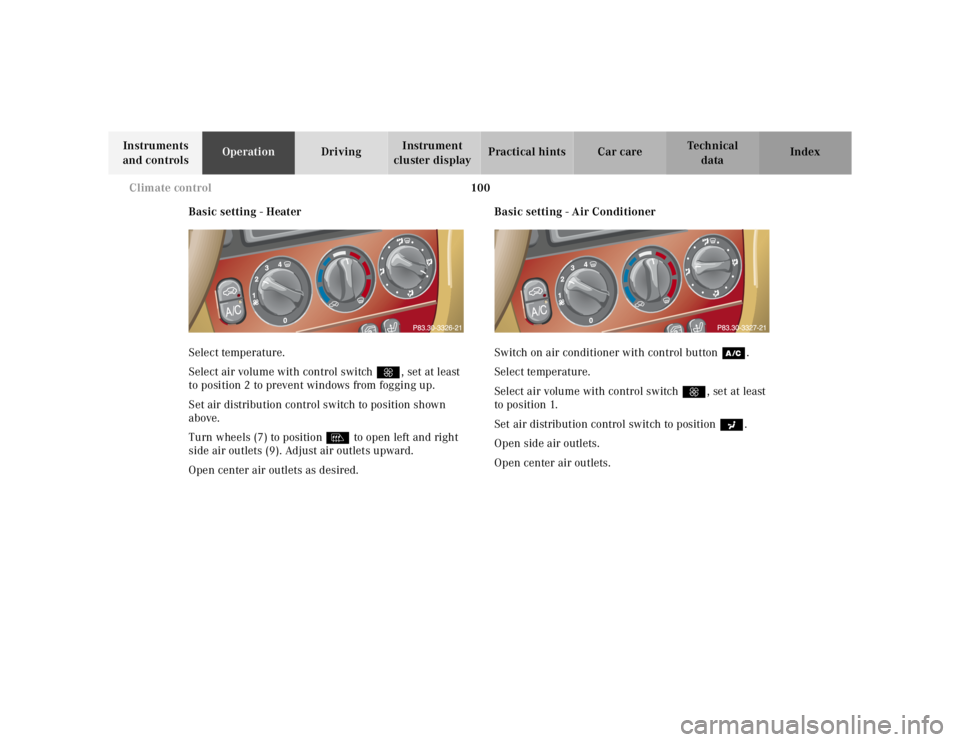
Basic setting - Heater
Select temperature.
Select air volume with control switch Q, set at least
to position 2 to prevent windows from fogging up.
Set air distribution control switch to position shown
above.
Turn wheels (7) to position l to open left and right
side air outlets (9). Adjust air outlets upward.
Open center air outlets as desired.Basic setting - Air Conditioner
Switch on air conditioner with control buttonœ.
Select temperature.
Select air volume with control switchQ, set at least
to position 1.
Set air distribution control switch to positiona.
Open side air outlets.
Open center air outlets.