axle speed MERCEDES-BENZ R-Class 2012 W251 Owner's Manual
[x] Cancel search | Manufacturer: MERCEDES-BENZ, Model Year: 2012, Model line: R-Class, Model: MERCEDES-BENZ R-Class 2012 W251Pages: 368, PDF Size: 15.19 MB
Page 20 of 368
Maximum load on a tire
(definition) ..................................... 345
Maximum permissible tire
pressure (definition) ....................... 344
Maximum tire load .........................337
Maximum tire load (definition) .......344
Optional equipment weight
(definition) ..................................... 345
PSI (pounds per square inch)
(definition) ..................................... 345
Replacing ....................................... 346
Service life ..................................... 323
Sidewall (definition) .......................345
Speed index (definition) .................344
Storing ........................................... 347
Structure and characteristics
(definition) ..................................... 343
Temperature .................................. 339
TIN (Tire Identification Number)
(definition) ..................................... 345
Tire bead (definition) ......................345
Tire pressure (definition) ................345
Tire pressures (recommended) ......343
Tire size (data) ............................... 347
Tire size designation, load-bearing
capacity, speed index ....................340
Tire tread ....................................... 323
Tire tread (definition) .....................345
Total load limit (definition) .............346
Traction ......................................... 338
Traction (definition) .......................345
Tread wear ..................................... 338
TWR (permissible trailer drawbar
noseweight) (definition) .................345
Uniform Tire Quality Grading
Standards ...................................... 338
Uniform Tire Quality Grading
Standards (definition) ....................343
Unladen weight (definition) ............344
Wear indicator (definition) .............346
Wheel rim (definition) ....................344
see Flat tire
Top Tether ............................................ 60
Towing Important safety guidelines ...........315
Installing the towing eye ................315
Removing the towing eye ...............316Towing a trailer
Coupling up a trailer ......................192
Decoupling a trailer .......................193
Driving tips .................................... 191
Important safety notes ..................191
Lights display message ..................222
Power supply ................................. 194
Shift range ..................................... 153
Towing away
With both axles on the ground .......316
Tow-starting
Emergency engine starting ............317
Important safety notes ..................315
Trailer
Towing ........................................... 192
Trailer loads and drawbar
noseweights ...................................... 194
Trailer towing Blind Spot Assist ............................ 191
ESP ®
................................................ 67
PARKTRONIC ................................. 186
Permissible trailer loads and
drawbar noseweights .....................194
Towing a trailer .............................. 192
Transmission
see Automatic transmission
Transporting the vehicle .................. 316
Trim pieces (cleaning instructions) . 293
Trip computer (on-board
computer) .......................................... 210
Trip meter see Trip odometer
Trip odometer
Calling up ....................................... 202
Resetting (on-board computer) ......211
Trunk
see Tailgate
Turn signals
Changing bulbs (front) ...................122
Display message ............................ 222
Switching on/off ........................... 117
see Turn signals
TWR (Tongue Weight Rating)
(definition) ......................................... 345
Type identification plate see Vehicle identification plate 18Index
Page 68 of 368
GWARNING
If the BAS malfunctions, the brake system still
functions, but without the additional brake
boost available that the BAS would normally
provide in an emergency braking maneuver.
Therefore, the braking distance may increase.
ESP ®
(Electronic Stability Program)
Important safety notes
i See the "Important safety notes" section
( Y page 64).
If ESP ®
detects that the vehicle is deviating
from the direction desired by the driver, one
or more wheels are braked to stabilize the
vehicle. If necessary, the engine output is also
modified to keep the vehicle on the desired
course within physical limits. ESP ®
assists
the driver when pulling away on wet or
slippery roads. ESP ®
can also stabilize the
vehicle during braking.
If ESP ®
intervenes, the ÷ ESP®
warning
lamp flashes in the instrument cluster.
GWARNING
Under no circumstances should you
deactivate ESP ®
when the ÷ ESP®
warning lamp in the instrument cluster
flashes. Proceed as follows:
R when driving off, apply as little throttle as
possible.
R while driving, ease up on the accelerator
pedal.
R adapt your speed to suit the prevailing road
and weather conditions.
Failure to observe these guidelines could
cause the vehicle to skid. ESP ®
cannot
prevent accidents resulting from excessive
speed.
! Only operate the vehicle for a maximum
of ten seconds on a brake test
dynamometer. Switch off the ignition.
Application of the brakes by ESP ®
may
otherwise destroy the brake system.
! Function or performance tests may only
be performed on a 2-axle dynamometer. If
you wish to operate the vehicle on such a
dynamometer, please consult an
authorized Mercedes-Benz Center
beforehand. You could otherwise damage
the drive train or the brake system.
i Only use wheels with the recommended
tire sizes. Only then will ESP ®
function
properly.
4ETS (Electronic Traction System)
i Observe the "Important safety notes"
section ( Y page 64).
Traction control is part of ESP ®
.
Traction control brakes the drive wheels
individually if they spin. This enables you to
pull away and accelerate on slippery surfaces,
for example if the road surface is slippery on
one side. In addition, more drive torque is
transferred to the wheel or wheels with
traction.
Traction control remains active if you
deactivate ESP ®
.
GWARNING
Traction control cannot reduce the risk of an
accident if you drive too fast. Traction control
cannot override the laws of physics.
Deactivating/activating ESP ®
i
Observe the "Important safety notes"
section ( Y page 64).
GWARNING
ESP ®
should not be deactivated during
normal driving other than in the
circumstances described below. Disabling
the system will reduce vehicle stability in
driving maneuvers.
Do not deactivate ESP ®
when the emergency
or spare wheel is mounted.
66Driving safety systemsSafety
Page 185 of 368
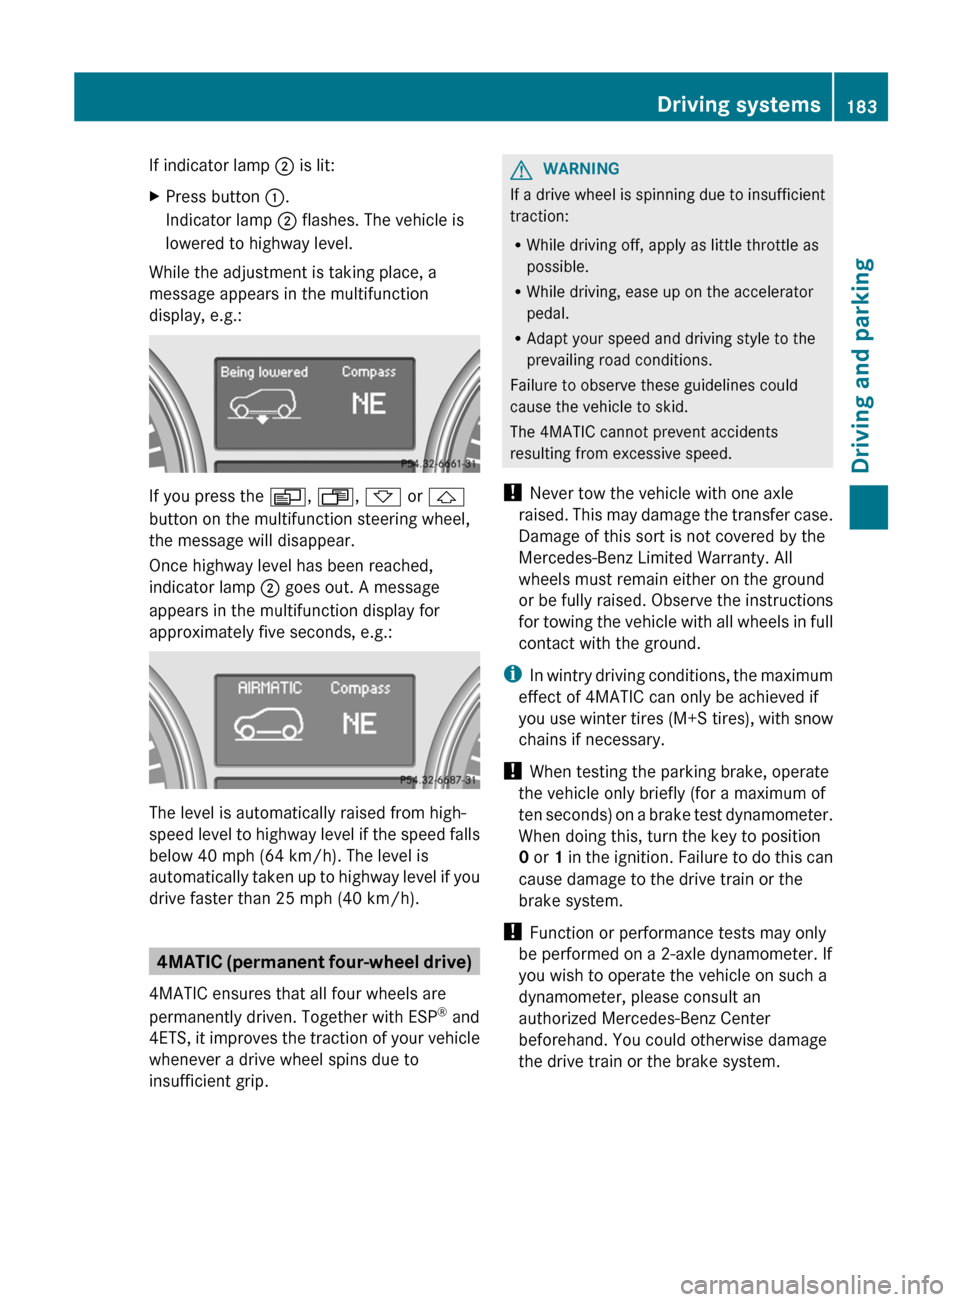
If indicator lamp ; is lit:XPress button :.
Indicator lamp ; flashes. The vehicle is
lowered to highway level.
While the adjustment is taking place, a
message appears in the multifunction
display, e.g.:
If you press the V, U , * or &
button on the multifunction steering wheel,
the message will disappear.
Once highway level has been reached,
indicator lamp ; goes out. A message
appears in the multifunction display for
approximately five seconds, e.g.:
The level is automatically raised from high-
speed level to highway level if the speed falls
below 40 mph (64 km/h). The level is
automatically taken up to highway level if you
drive faster than 25 mph (40 km/h).
4MATIC (permanent four-wheel drive)
4MATIC ensures that all four wheels are
permanently driven. Together with ESP ®
and
4ETS , it improves the traction of your vehicle
whenever a drive wheel spins due to
insufficient grip.
GWARNING
If a drive wheel is spinning due to insufficient
traction:
R While driving off, apply as little throttle as
possible.
R While driving, ease up on the accelerator
pedal.
R Adapt your speed and driving style to the
prevailing road conditions.
Failure to observe these guidelines could
cause the vehicle to skid.
The 4MATIC cannot prevent accidents
resulting from excessive speed.
! Never tow the vehicle with one axle
raised. This may damage the transfer case.
Damage of this sort is not covered by the
Mercedes-Benz Limited Warranty. All
wheels must remain either on the ground
or be fully raised. Observe the instructions
for towing the vehicle with all wheels in full
contact with the ground.
i In wintry driving conditions, the maximum
effect of 4MATIC can only be achieved if
you use winter tires ( M+S tires), with snow
chains if necessary.
! When testing the parking brake, operate
the vehicle only briefly (for a maximum of
ten seconds) on a brake test dynamometer.
When doing this, turn the key to position
0 or 1 in the ignition. Failure to do this can
cause damage to the drive train or the
brake system.
! Function or performance tests may only
be performed on a 2-axle dynamometer. If
you wish to operate the vehicle on such a
dynamometer, please consult an
authorized Mercedes-Benz Center
beforehand. You could otherwise damage
the drive train or the brake system.
Driving systems183Driving and parkingZ
Page 194 of 368
RDo not install hired trailer couplings or
other detachable trailer couplings on the
bumpers of your vehicle.
R To reduce the risk of damage to the ball
coupling, remove it from the ball coupling
recess when not in use.
Coupling up a trailer
GWARNING
Vehicles with AIRMATIC: While you are
coupling or decoupling a trailer, make sure
nobody locks or unlocks the vehicle and/or
opens or closes doors or the tailgate.
The vehicle's level could change and you
could endanger yourself and/or others as a
result.
Make sure that you do not operate the ADS
switch or the vehicle level control system
when coupling/decoupling the trailer.
Observe the maximum permissible trailer
dimensions (width and length).
Most federal states and all Canadian
provinces require by law:
R safety chains between the towing vehicle
and the trailer. The chains should be cross-
wound under the trailer drawbar. They must
be fastened to the vehicle's trailer
coupling, not to the bumper or the axle.
Allow for enough play in the chains to
facilitate turning tight corners.
R a separate brake system for certain types
of trailer.
R a safety switch for braked trailers. Check
the specific legal requirements applicable
to your federal state.
If the trailer detaches from the towing
vehicle, the safety switch applies the
trailer's brakes.
! Do not connect the trailer's brake system
(if featured) to the hydraulic brake system
of the towing vehicle, as the latter is
equipped with an anti-lock brake system.
Doing so will result in a loss of function of
the brake systems of both the vehicle and
the trailer.
i The vehicle's wiring harness features a
line to the brake indicator lamp.XMake sure that the automatic transmission
is set to position P.XApply the vehicle's parking brake.XStart the engine.XVehicles with the AIRMATIC package:
select highway level and set ADS to
AUTO or COMF .XSwitch off the engine.XClose all doors and the tailgate.XCouple up the trailer.XEstablish all electrical connections.
i
Vehicles with the AIRMATIC package:
with a trailer attached, the vehicle will
always remain at highway level. When
coupling up a trailer, please observe the
following:
R if highway level has not been set
manually, the vehicle will automatically
sink to highway level as soon as it
reaches a speed of 5 mph (8 km/h).
R high-speed level is not available.
These restrictions apply to all accessories
powered through a connection to the trailer
power socket of your vehicle, e.g. a bicycle
carrier.
Towing a trailer
There are numerous legal requirements
concerning the towing of a trailer, e.g. speed
restrictions. Make sure that your vehicle/
trailer combination complies with the local
requirements not only in your area of
residence but also at any location to which
you are traveling. The police and local
authorities can provide reliable information.
192Trailer towingDriving and parking
Page 317 of 368
Towing and tow-starting
Important safety notes
GWARNING
If you tow the vehicle, you must use a rigid
towing bar if:
R the engine is not running.
R there is a brake system malfunction.
R there is a malfunction in the power supply
or the vehicle's electrical system.
The power assistance for the steering and the
brake force booster do not work when the
engine is not running. You will need more
force to steer and brake, you may have to
depress the brake pedal with maximum force.
Before towing away, make sure that the
steering can be moved and is not locked.
If you tow or tow-start another vehicle, its
weight must not exceed the maximum
permissible gross vehicle weight of your
vehicle.
It is better to have the vehicle transported
than to have it towed.
! You may only tow the vehicle a maximum
distance of 30 miles (50 km). A towing
speed of 30 mph (50 km/h) must not be
exceeded.
For towing distances over 30 miles
(50 km), the vehicle must loaded onto a
transporter.
! Only secure the tow rope or tow bar at the
towing eyes. Otherwise, the vehicle could
be damaged.
! Do not use the towing eye for recovery,
as this could damage the vehicle. If in
doubt, recover the vehicle with a crane.
! When towing, pull away slowly and
smoothly. If the tractive power is too high,
the vehicles could be damaged.
! Do not tow with sling-type equipment.
This could damage the vehicle.
! When towing vehicles with KEYLESS-GO,
use the key instead of the Start/Stop
button. Otherwise, the automatic
transmission may shift to position P when
the driver's or front-passenger door are
opened, which could lead to damage to the
transmission.
! Vehicles with 4MATIC must not be towed
with either the front or the rear axle raised,
as doing so will damage the transmission.
If the vehicle has suffered transmission
damage, have it transported on a transporter
or trailer.
The automatic transmission must be in
position N when the vehicle is being towed.
The battery must be connected and charged.
Otherwise, you:
R cannot turn the SmartKey to position 2 in
the ignition lock
R cannot shift the automatic transmission to
position N
i Before the vehicle is towed, switch off the
automatic locking feature ( Y page 208).
You could otherwise be locked out when
pushing or towing the vehicle.
Installing/removing the towing eye
Installing the towing eye
Vehicles with a trailer tow hitch: if possible
secure the towing device on the trailer tow
hitch ( Y page 191).
XRemove the towing eye from the vehicle
tool kit ( Y page 296).GWARNING
The exhaust tail pipe may be hot. You could
burn yourself if you touch the tail pipe. Be
particularly careful when removing the rear
cover.
The mountings for the removable towing eyes
are located in the bumpers. They are at the
front and at the rear, under the covers.
Towing and tow-starting315Breakdown assistanceZ
Page 346 of 368
Rim
This is the part of the wheel on which the tire
is mounted.
GAWR (Gross Axle Weight Rating)
The GAWR is the maximum permissible axle
weight. The actual load on an axle must never
exceed the gross axle weight rating. The
gross axle weight rating can be found on the
vehicle identification plate on the B-pillar on
the driver's side.
Tire speed rating
The tire speed rating is part of the tire
identification. It specifies the speed range for
which the tire is approved.
GTW (Gross Trailer Weight)
The GTW is the weight of a trailer including
the weight of the load, luggage, accessories
etc. on the trailer.
GVW (Gross Vehicle Weight)
The gross vehicle weight comprises the
weight of the vehicle including fuel, tools, the
spare wheel, accessories installed,
occupants, luggage and the drawbar
noseweight if applicable. The gross vehicle
weight must not exceed the gross vehicle
weight rating GVWR as specified on the
vehicle identification plate on the B pillar on
the driver's side.
GVWR (Gross Vehicle Weight Rating)
The GVWR is the maximum permissible gross
weight of a fully loaded vehicle (the weight of
the vehicle including all accessories,
occupants, fuel, luggage and the drawbar
noseweight if applicable). The gross vehicle
weight rating is specified on the vehicle
identification plate on the B-pillar on the
driver's side.
Maximum loaded vehicle weight
The maximum weight is the sum of the curb
weight of the vehicle, the weight of the
accessories, the total load limit and the
weight of the optional equipment installed at
the factory.
Kilopascal (kPa)
Metric unit for tire pressure. 6.9 kPa is the
equivalent of 1 psi. Another unit for tire
pressure is bar. There are 100 kilopascals
(kPa) to 1 bar.
Load index
In addition to the load bearing index, the load
index may also be imprinted on the sidewall
of the tire. This specifies the load bearing
capacity more precisely.
Curb weight
The weight of a vehicle with standard
equipment including the maximum capacity
of fuel, oil and coolant. It also includes the air-
conditioning system and optional equipment
if these are installed in the vehicle, but does
not include passengers or luggage.
Maximum load rating
The maximum load rating in kilograms or
pounds is the maximum weight for which a
tire is approved.
Maximum permissible tire pressure
Maximum permissible tire pressure for one
tire.
344Definition of terms for tires and loadingWheels and tires
Page 349 of 368
Storing wheels
Store wheels that are not being used in a cool,
dry and preferably dark place. Protect the
tires from oil, grease, gasoline and diesel.
Cleaning the wheels
GWARNING
Do not use power washers with circular-jet
nozzles (dirt grinders) to clean your vehicle, in
particular the tires. You could otherwise
damage the tires and cause an accident.
Wheel and tire combinations
Please bear the following in mind
! For safety reasons, Mercedes-Benz
recommends that you only use Tires and
wheels which have been approved by
Mercedes-Benz specifically for your
vehicle.
These tires have been specially adapted for
use with the control systems, such as ABS
or ESP ®
, and are marked as follows:
R MO = Mercedes-Benz Original
R MOE = Mercedes-Benz Original Extended
(tires featuring run-flat characteristics)
R MO1 = Mercedes-Benz Original (only
certain AMG tires)
Mercedes-Benz Original Extended tires
may only be used on wheels that have been
specifically approved by Mercedes-Benz.
Only use tires, wheels or accessories
tested and approved by Mercedes-Benz.
Certain characteristics, e.g. handling,
vehicle noise emissions or fuel
consumption, may otherwise be adversely
affected. In addition, when driving with a
load, tire dimension variations could cause
the tires to come into contact with the
bodywork and axle components. This could
result in damage to the tires or the vehicle.
Mercedes-Benz accepts no liability for
damage resulting from the use of tires,
wheels or accessories other than those
tested and approved.
Further information about tires, wheels and
approved combinations can be obtained
from any authorized Mercedes-Benz
Center.
i The Tire and Load Information placard
with the recommended tire pressures is
attached to the B-pillar on the driver's side.
Further information about driving at high
speeds or driving with vehicle loads that are
lighter than the maximum vehicle load can
be found in the tire pressure table on the
inside of the fuel filler flap. Check tire
pressures regularly, and only when the tires
are cold. Comply with the maintenance
recommendations of the tire manufacturer
in the vehicle document wallet.
For further information on the recommended
tire inflation pressure and on tire pressures
for specific driving conditions, see
( Y page 325).
i Notes on the vehicle equipment – always
equip the vehicle:
R with tires of the same size on a given axle
(left/right)
R with the same type of tires at a given time
(summer tires, winter tires, MOExtended
tires)
i Vehicles equipped with MOExtended tires
are not equipped with a TIREFIT kit at the
factory. It is therefore recommended that
you additionally equip your vehicle with a
TIREFIT kit if you mount tires that do not
feature run-flat properties, e.g. winter tires.
A TIREFIT kit can be obtained from an
authorized Mercedes-Benz Center.
i On the following pages, you can find
information on approved wheel rims and
tire sizes for equipping your vehicle with
winter tires. Winter tires are not available
from the factory as standard equipment or
optional extras.Wheel and tire combinations347Wheels and tiresZ