set clock MERCEDES-BENZ R-Class 2012 W251 Owner's Manual
[x] Cancel search | Manufacturer: MERCEDES-BENZ, Model Year: 2012, Model line: R-Class, Model: MERCEDES-BENZ R-Class 2012 W251Pages: 368, PDF Size: 15.19 MB
Page 8 of 368
Cargo compartment floor ................. 296
Cargo net Attaching ....................................... 261
Important safety information .........260
Cargo tie down rings ......................... 257
Car wash (care) ................................. 288
CD player/CD changer (on-board
computer) .......................................... 203
Cell phone see Mobile phone
Center console
2nd row of seats ............................ 251
Lower section .................................. 33
Upper section .................................. 32
Central locking
Automatic locking (on-board
computer) ...................................... 208
Locking/unlocking (SmartKey) ........72
Changing bulbs
High-beam headlamps ...................122
Important safety notes ..................119
License plate lighting .....................124
Low-beam headlamps ....................121
Overview of bulb types ..................120
Parking lamps ................................ 122
Removing/replacing the cover
(front wheel arch) .......................... 121
Reversing lamps ............................ 123
Side marker lamps .........................123
Standing lamps (front) ...................122
Turn signals (front) ......................... 122
Child-proof locks
Important safety notes ....................63
Rear doors ....................................... 63
Children
In the vehicle ................................... 56
Restraint systems ............................ 56
Child seat
LATCH-type (ISOFIX ) child seat
anchors ............................................ 58
Special seat belt retractor ...............58
Top Tether ....................................... 60
Cigarette lighter ................................ 266
Classification system for
occupants (OCS) Faults ............................................... 48
Operation ......................................... 44
System self-test ............................... 47Climate control
Automatic climate control (3-
zone) .............................................. 132
Controlling automatically ...............136
Cooling with air dehumidification ..135
Defrosting the windshield ..............138
Demisting the windows .................. 139
Dual-zone automatic climate
control ........................................... 131
Important safety notes ..................130
Indicator lamp ................................ 136
Notes on using automatic climate
control ................................... 131, 134
Overview of systems ......................130
Problems with cooling with air
dehumidification ............................ 136
Problem with the rear window
defroster ........................................ 139
Rear control panel .........................132
Refrigerant ..................................... 359
Setting the air distribution .............138
Setting the airflow .........................138
Setting the air vents ......................141
Setting the temperature ................137
Switching air-recirculation mode
on/off ............................................ 140
Switching on/off ........................... 134
Switching residual heat on/off ......140
Switching the MONO function on/
off .................................................. 138
Switching the rear window
heating on/off ............................... 139
Clock (on-board computer) ............... 206
Cockpit Overview .......................................... 28
see Instrument cluster
Collapsible spare wheel
Inflating ......................................... 307
see Emergency spare wheel
COMAND
see separate operating instructions
Combination switch .......................... 117
Compass Calling up ....................................... 278
Consumption statistics (on-board
computer) .......................................... 210
Convenience closing feature .............. 88
Convenience opening feature ............ 876Index
Page 31 of 368
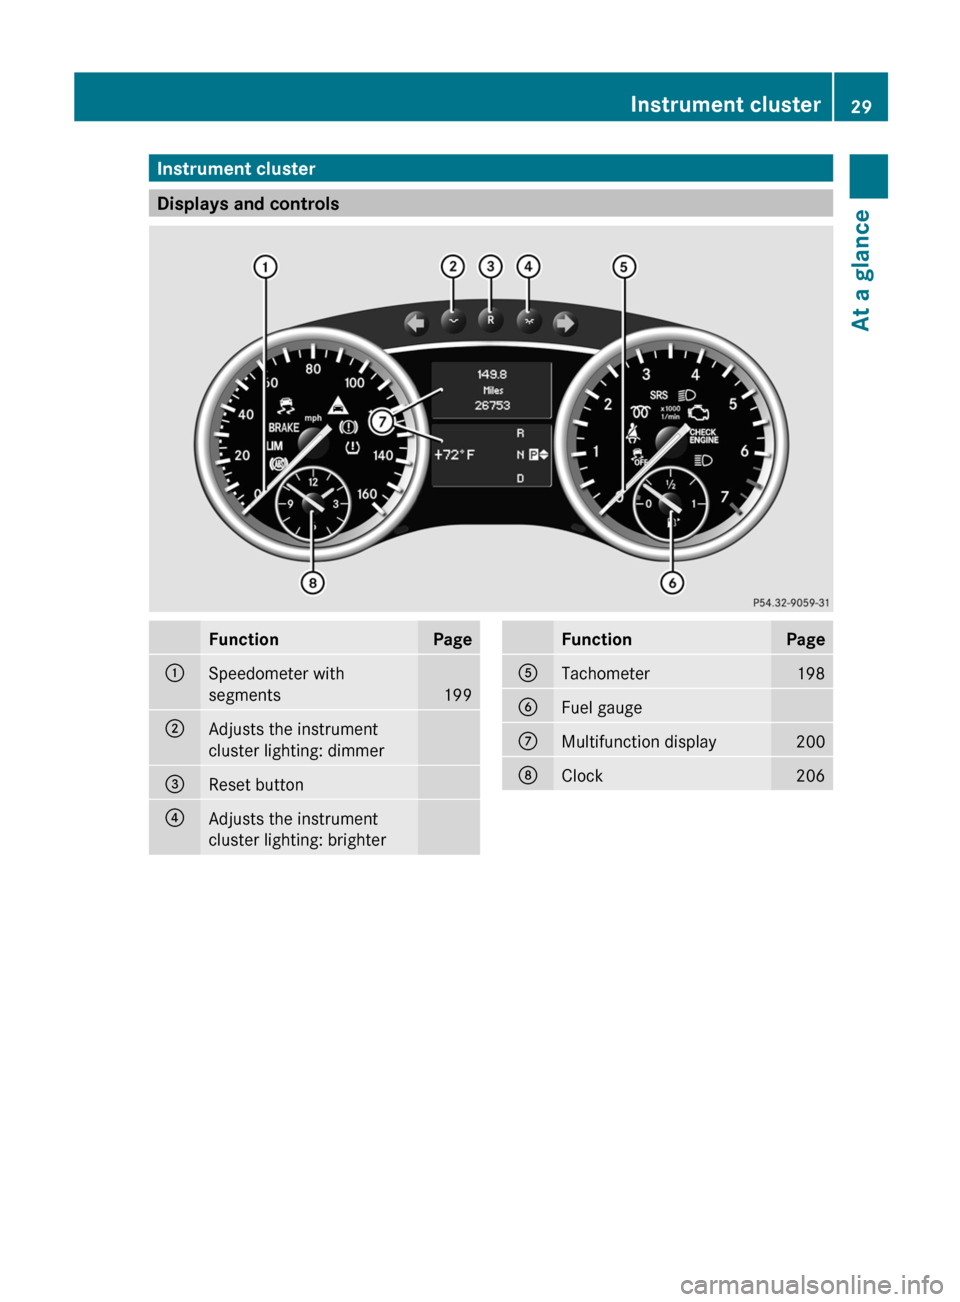
Instrument cluster
Displays and controls
FunctionPage:Speedometer with
segments
199
;Adjusts the instrument
cluster lighting: dimmer=Reset button?Adjusts the instrument
cluster lighting: brighterFunctionPageATachometer198BFuel gaugeCMultifunction display200DClock206Instrument cluster29At a glance
Page 126 of 368
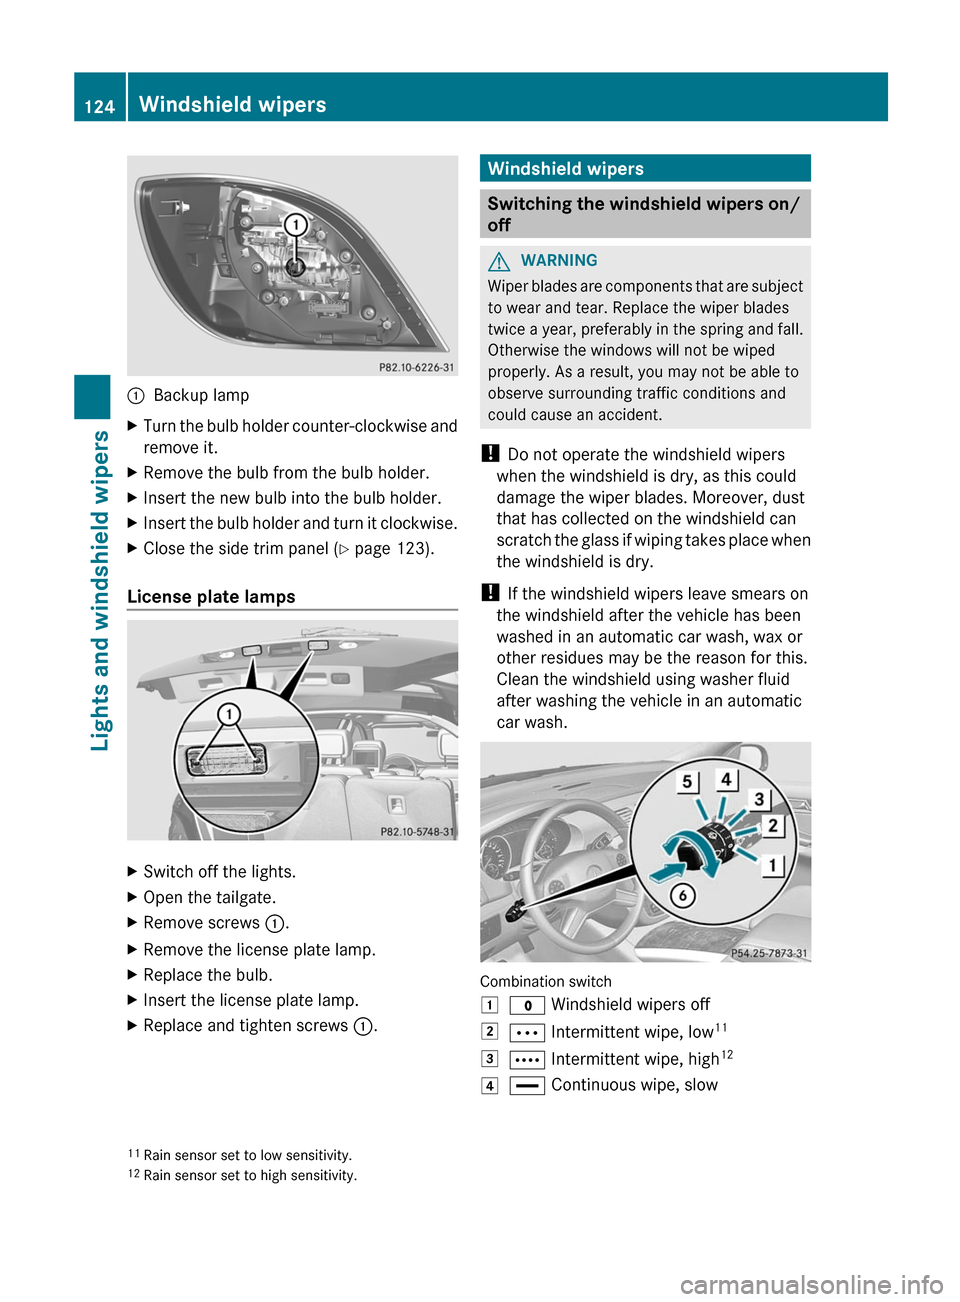
:Backup lampXTurn the bulb holder counter-clockwise and
remove it.XRemove the bulb from the bulb holder.XInsert the new bulb into the bulb holder.XInsert the bulb holder and turn it clockwise.XClose the side trim panel ( Y page 123).
License plate lamps
XSwitch off the lights.XOpen the tailgate.XRemove screws :.XRemove the license plate lamp.XReplace the bulb.XInsert the license plate lamp.XReplace and tighten screws :.Windshield wipers
Switching the windshield wipers on/
off
GWARNING
Wiper blades are components that are subject
to wear and tear. Replace the wiper blades
twice a year, preferably in the spring and fall.
Otherwise the windows will not be wiped
properly. As a result, you may not be able to
observe surrounding traffic conditions and
could cause an accident.
! Do not operate the windshield wipers
when the windshield is dry, as this could
damage the wiper blades. Moreover, dust
that has collected on the windshield can
scratch the glass if wiping takes place when
the windshield is dry.
! If the windshield wipers leave smears on
the windshield after the vehicle has been
washed in an automatic car wash, wax or
other residues may be the reason for this.
Clean the windshield using washer fluid
after washing the vehicle in an automatic
car wash.
Combination switch
1$ Windshield wipers off2Ä Intermittent wipe, low 113Å
Intermittent wipe, high 124°
Continuous wipe, slow11
Rain sensor set to low sensitivity.
12 Rain sensor set to high sensitivity.124Windshield wipersLights and windshield wipers
Page 139 of 368
XTo deactivate: press the K or I
button.
Automatic airflow is deactivated and the
airflow is controlled according to the level
set. Automatic air distribution remains
activated.
or
XPress one of the M or O buttons.
Automatic air distribution is deactivated.
Air distribution is controlled according to
the position set. Automatic airflow remains
activated.
Setting the temperature
2-zone automatic climate control
Different temperatures can be set for the
driver's and front-passenger sides.
XTurn the SmartKey to position 2 in the
ignition lock.XTo increase/reduce: turn controls : and
C clockwise or counter-clockwise
( Y page 131).
Only change the temperature setting in
small increments. Start at 72 ‡ (22 †).
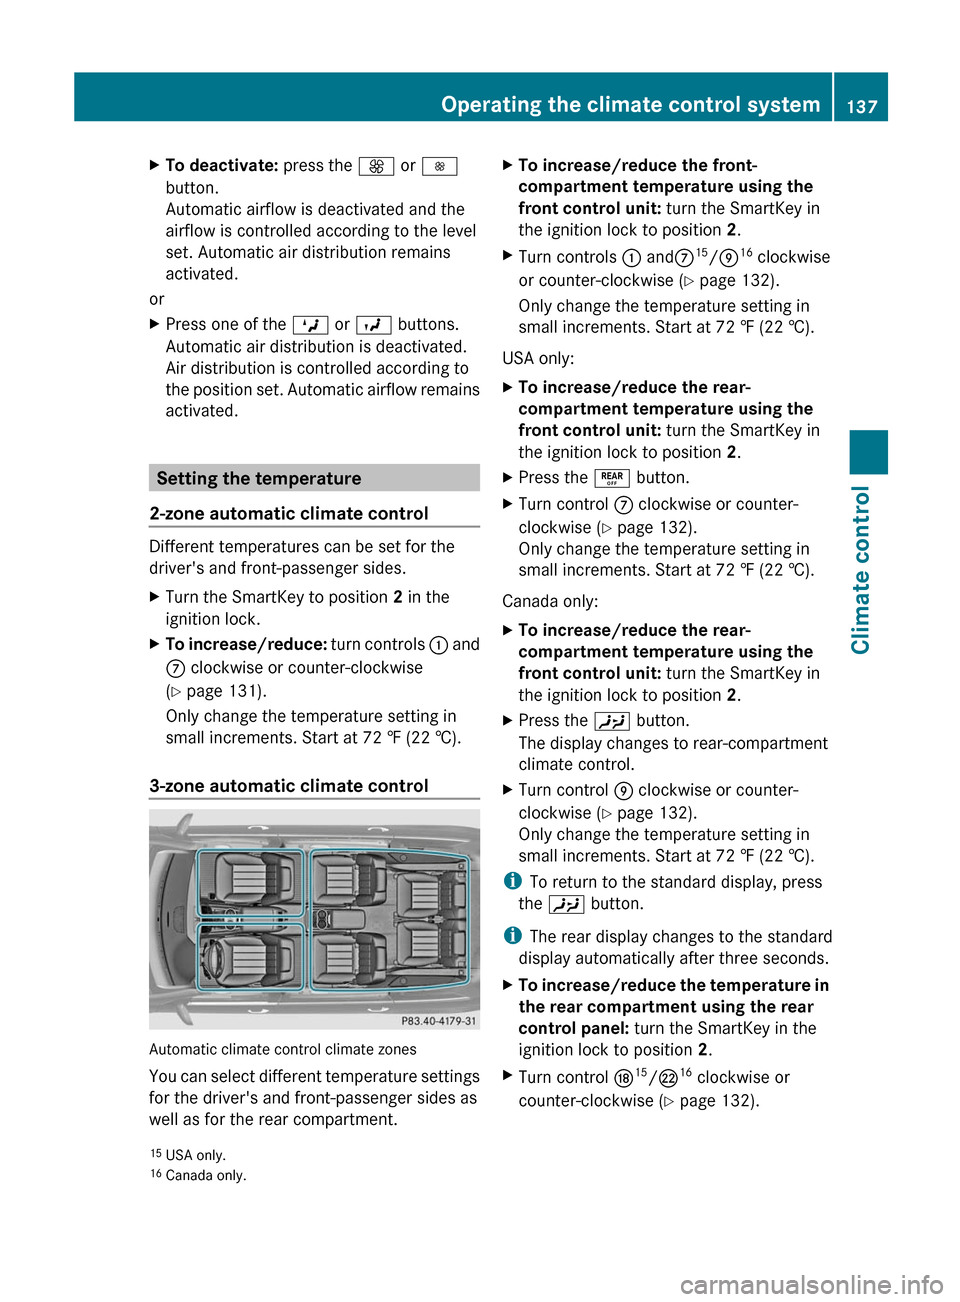
3-zone automatic climate control
Automatic climate control climate zones
You can select different temperature settings
for the driver's and front-passenger sides as
well as for the rear compartment.
XTo increase/reduce the front-
compartment temperature using the
front control unit: turn the SmartKey in
the ignition lock to position 2.XTurn controls : and C15
/E 16
clockwise
or counter-clockwise ( Y page 132).
Only change the temperature setting in
small increments. Start at 72 ‡ (22 †).
USA only:
XTo increase/reduce the rear-
compartment temperature using the
front control unit: turn the SmartKey in
the ignition lock to position 2.XPress the ± button.XTurn control C clockwise or counter-
clockwise ( Y page 132).
Only change the temperature setting in
small increments. Start at 72 ‡ (22 †).
Canada only:
XTo increase/reduce the rear-
compartment temperature using the
front control unit: turn the SmartKey in
the ignition lock to position 2.XPress the Y button.
The display changes to rear-compartment
climate control.XTurn control E clockwise or counter-
clockwise ( Y page 132).
Only change the temperature setting in
small increments. Start at 72 ‡ (22 †).
i To return to the standard display, press
the Y button.
i The rear display changes to the standard
display automatically after three seconds.
XTo increase/reduce the temperature in
the rear compartment using the rear
control panel: turn the SmartKey in the
ignition lock to position 2.XTurn control N15
/R 16
clockwise or
counter-clockwise ( Y page 132).15
USA only.
16 Canada only.Operating the climate control system137Climate controlZ
Page 141 of 368
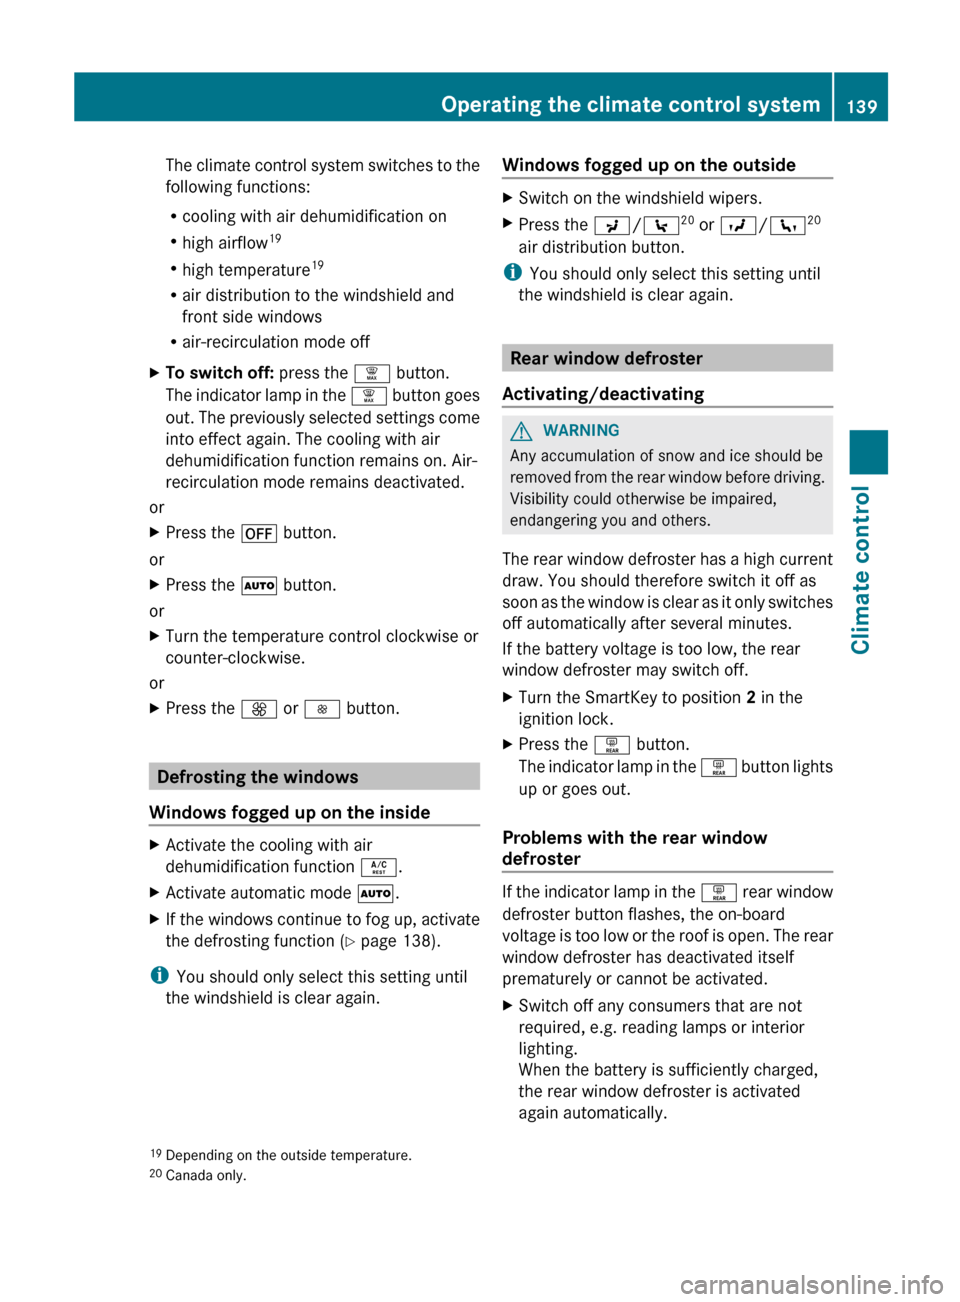
The climate control system switches to the
following functions:
R cooling with air dehumidification on
R high airflow 19
R high temperature 19
R air distribution to the windshield and
front side windows
R air-recirculation mode offXTo switch off: press the ¦ button.
The indicator lamp in the ¦ button goes
out. The previously selected settings come
into effect again. The cooling with air
dehumidification function remains on. Air-
recirculation mode remains deactivated.
or
XPress the ^ button.
or
XPress the à button.
or
XTurn the temperature control clockwise or
counter-clockwise.
or
XPress the K or I button.
Defrosting the windows
Windows fogged up on the inside
XActivate the cooling with air
dehumidification function Á.XActivate automatic mode Ã.XIf the windows continue to fog up, activate
the defrosting function ( Y page 138).
i
You should only select this setting until
the windshield is clear again.
Windows fogged up on the outsideXSwitch on the windshield wipers.XPress the P/\ 20
or O /c 20
air distribution button.
i You should only select this setting until
the windshield is clear again.
Rear window defroster
Activating/deactivating
GWARNING
Any accumulation of snow and ice should be
removed from the rear window before driving.
Visibility could otherwise be impaired,
endangering you and others.
The rear window defroster has a high current
draw. You should therefore switch it off as
soon as the window is clear as it only switches
off automatically after several minutes.
If the battery voltage is too low, the rear
window defroster may switch off.
XTurn the SmartKey to position 2 in the
ignition lock.XPress the ª button.
The indicator lamp in the ª button lights
up or goes out.
Problems with the rear window
defroster
If the indicator lamp in the ª rear window
defroster button flashes, the on-board
voltage is too low or the roof is open. The rear
window defroster has deactivated itself
prematurely or cannot be activated.
XSwitch off any consumers that are not
required, e.g. reading lamps or interior
lighting.
When the battery is sufficiently charged,
the rear window defroster is activated
again automatically.19 Depending on the outside temperature.
20 Canada only.Operating the climate control system139Climate controlZ
Page 208 of 368
XPress the W or X button to select
km or miles as the unit of measurement for
distance.XPress the &, V or U button to
select a different display.
Selecting the language
The Language: function allows you to select
the language for the instrument cluster.
XPress V or U on the steering wheel
to select the Settings menu.XPress the & button to select submenus.XPress W or X to select the
Instrument cluster submenu.XPress & to select Language .XPress the W or X button to select the
desired language.XPress the &, V or U button to
select a different display.
Selecting the status line display
XPress V or U on the steering wheel
to select the Settings menu.XPress the & button to select submenus.XPress W or X to select the
Instrument cluster submenu.XPress & to select Status line
display .XPress W or X to select the display in
the status line: speed ( Speed) or outside
temperature ( Outside temp. ).
The selected display now appears
constantly in the lower multifunction
display. When you scroll through the
Standard display menu (Y page 202), you
will see the display you have not selected.XPress the &, V or U button to
select a different display.
Time/date
This submenu is only available on vehicles
with no navigation module. To set the time
and the date for vehicles with a navigation
module, see the separate operating
instructions.
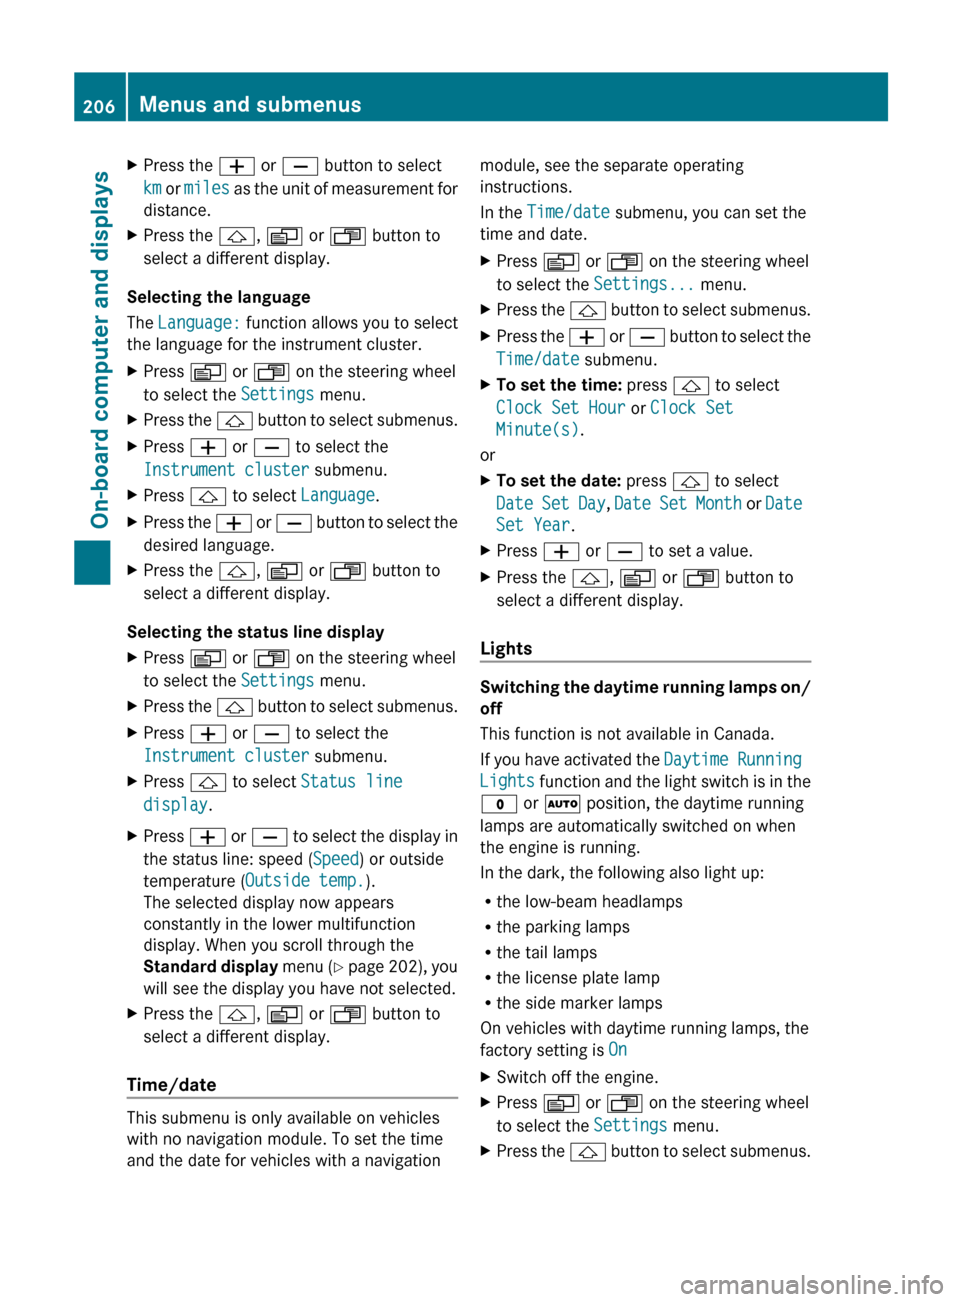
In the Time/date submenu, you can set the
time and date.XPress V or U on the steering wheel
to select the Settings... menu.XPress the & button to select submenus.XPress the W or X button to select the
Time/date submenu.XTo set the time: press & to select
Clock Set Hour or Clock Set
Minute(s) .
or
XTo set the date: press & to select
Date Set Day , Date Set Month or Date
Set Year .XPress W or X to set a value.XPress the &, V or U button to
select a different display.
Lights
Switching the daytime running lamps on/
off
This function is not available in Canada.
If you have activated the Daytime Running
Lights function and the light switch is in the
$ or à position, the daytime running
lamps are automatically switched on when
the engine is running.
In the dark, the following also light up:
R the low-beam headlamps
R the parking lamps
R the tail lamps
R the license plate lamp
R the side marker lamps
On vehicles with daytime running lamps, the
factory setting is On
XSwitch off the engine.XPress V or U on the steering wheel
to select the Settings menu.XPress the & button to select submenus.206Menus and submenusOn-board computer and displays
Page 314 of 368

The battery and the cover of the positive
terminal clamp must be installed securely
during operation.
i Remove the SmartKey if you park the
vehicle and do not require any electrical
consumers. The vehicle will then use very
little energy, thus conserving battery
power.
Mercedes-Benz recommends that you do not
carry out work on batteries yourself, e.g.
removing or charging. Always have this work
performed at a qualified specialist workshop,
e.g. an authorized Mercedes-Benz Center.
i If the power supply has been interrupted,
e.g. if the battery has been reconnected,
you must carry out the following tasks:
R set the clock ( Y page 206).
On vehicles with COMAND and a
navigation system, the clock is set
automatically.
R reset the sliding sunroof ( Y page 90).
R reset the panorama roof with power tilt/
sliding panel ( Y page 92).
R reset the function for automatically
folding the exterior mirrors in/out by
folding the mirrors out once
( Y page 110).
R reset the side windows ( Y page 89).
Charging the battery
GWARNING
Never charge a battery still installed in the
vehicle unless a battery charger unit approved
by Mercedes-Benz is being used. Gases may
escape during charging and cause explosions
that may result in paint damage, corrosion or
personal injury.
A battery charger unit specially adapted for
Mercedes-Benz vehicles and tested and
approved by Mercedes-Benz is available as an
accessory. It permits the charging of the
battery in its installed position. Contact an
authorized Mercedes-Benz Center for further
information and availability.
Charge the battery in accordance with the
separate instructions for the battery charger.GWARNING
There is a risk of acid burns during the
charging process due to the gases which
escape from the battery. Do not lean over the
battery during the charging process.
GWARNING
Battery acid is caustic. Avoid contact with the
skin, eyes or clothing.
! Only charge the installed battery with a
battery charger which has been tested and
approved by Mercedes-Benz. These battery
chargers allow the battery to be charged
while still installed.
! Only use battery chargers with a
maximum charging voltage of 14.8 V.
! Only charge the battery using the jump-
starting connection point.
The jump-starting connection point is in the
engine compartment ( Y page 313).
XOpen the hood ( Y page 282).XConnect the battery charger to the positive
terminal and earth point in the same order
as when connecting the donor battery in
the jump-starting procedure
( Y page 313).XRead the battery charger's operating
instructions before charging the battery.312BatteryBreakdown assistance