manual transmission MERCEDES-BENZ R320 2010 W251 Owner's Manual
[x] Cancel search | Manufacturer: MERCEDES-BENZ, Model Year: 2010, Model line: R320, Model: MERCEDES-BENZ R320 2010 W251Pages: 364, PDF Size: 7.5 MB
Page 11 of 364
Parking position ...............................
95
Power folding ................................... 95
Exterior view of vehicle ......................26 F
Fastening the seat belts .....................49
First aid kit .........................................
270
Flat tire ............................................... 319
Lowering the vehicle ......................329
Mounting the spare wheel ............. 324
Preparing the vehicle .....................320
Spare wheel ........................... 319, 350
TIREFIT (tire repair kit) ................... 320
Floormats ........................................... 217
Fluids
AdBlue ®
......................................... 351
Automatic transmission fluid ......... 350
Brake fluid ..................................... 351
Capacities ...................................... 350
Engine coolant ............................... 351
Engine oil ....................................... 350
Power steering fluid ....................... 351
Washer and headlamp cleaning
system ........................................... 351
Fog lamps ............................................. 99
Messages in the multifunction
display ................................... 295, 296
Fold-in function for exterior rear
view mirrors ...................................... 138
Four-wheel drive see All-wheel drive (4MATIC)
Front air bags
see Air bags
Front axle oil ...................................... 351
Front lamps see Headlamps
Front passenger front air bag ............ 40
Messages in the multifunction
display ........................................... 277
Front passenger front air bag off
indicator lamp (Canada only) ..... 45, 307
Front passenger front air bag off
indicator lamp (USA only) ..........42, 307
Front seat head restraints see Head restraints
Fuel ............................................. 220, 353
Additives ........................................ 354Capacity, fuel tank .........................
351
Diesel fuel
............................. 351, 353
Drive sensibly–safe fuel .................253
Fuel consumption statistics ...........139
Fuel filler flap and cap ................... 221
Fuel tank reserve warning
lamp ........................................ 29, 305
Premium unleaded gasoline ... 351, 353
Refueling ........................................ 220
Requirements ................................ 353
Fuel filler flap ..................................... 221
Opening manually ..........................309
Fuels, coolants, lubricants etc.
Capacities ...................................... 350
Fuel system, bleeding (diesel
engine) ............................................... 331
Fuel tank Capacity ........................................ 351
Fuel filler flap and cap ................... 221
Refueling ........................................ 220
Fuses .................................................. 340 G
Garage door opener .................... 32, 213
Gasoline see Fuel
GAWR (Gross Axle Weight Rating) ...249
Gear range ......................................... 119
Indicator ........................................ 120
Limiting .......................................... 121
Shifting into optimal ......................121
Gear selector lever ............................116
Cleaning ......................................... 267
Gearshift pattern ........................... 116
Shifting procedure ......................... 118
Transmission position indicator ..... 118
Transmission positions .................. 118
Generator
see Alternator
Global locking/unlocking
see Key, SmartKey
Glove box ........................................... 198
Gross Axle Weight Rating see GAWR
Gross Trailer Weight
see GTW Index
9 251_AKB; 4; 52, en-US
d2ureepe,
Version: 2.11.8.1 2009-03-23T09:22:52+01:00 - Seite 9
Page 14 of 364
Loading
see Vehicle loading
Locator lighting ................................. 135
Lock button
Outside door handle (KEYLESS-
GO) .................................................. 73
Locking the vehicle
KEYLESS-GO .................................... 71
Manually ........................................ 309
SmartKey ......................................... 70
Loss of
Key .................................................. 73
Service and Warranty Information
booklet .......................................... 344
Low-beam headlamps ......................... 98
Exterior lamp switch ........................ 97
Switching on .................................... 98
Lubricants .......................................... 350
Lumbar support ................................... 86M
Maintenance ........................................ 21
Maintenance System Service indicator display
................262
Service indicator message ............. 261
Service term exceeded ..................261
Manual headlamp mode (Low-
beam headlamps) ................................ 98
Maximum engine speed see Vehicle specification
Maximum loaded vehicle weight .....250
Maximum load rating (tires) .............249
Maximum permissible tire
inflation pressure .............................. 250
Mechanical key .................................. 308
Media interface ................................. 198
Memory function ................................. 96
Menus see Control system menus
Mirrors .................................................. 93
Auto-dimming rear view mirrors ....... 94
Exterior rear view mirror parking
position ............................................ 95
Exterior rear view mirrors ................ 94
Interior rear view mirror ................... 94
Memory function .............................. 96
Vanity mirror .................................. 203MOExtended system .........................
330
MOExtended tires ..................... 330, 347
MON (Motor Octane Number) ..........353
Motor Octane Number see MON
Multicontour seat ................................ 90
Multifunction display ........................ 125
Symbol messages .......................... 285
Text messages ............................... 275
Vehicle status messages ............... 274
Multifunction display messages
ABS ....................................... 275, 286
Active headlamps .......................... 295
Advanced TPMS ..................... 283, 298
Air bags ......................................... 277
Air filter .......................................... 294
AIRMATIC ...................................... 287
Alternator .............................. 282, 292
Automatic
transmission .................................. 282
Battery ................................... 282, 292
Brake fluid ..................................... 286
Brake pads ..................................... 285
Coolant .......................................... 290
Corner-illuminating front fog
lamps ............................................. 297
Cruise control ................................ 280
Distronic ........................................ 280
Doors ............................................. 289
EBP ................................................ 286
Engine oil ....................................... 293
ESP ®
...................................... 275, 286
Fog lamps .............................. 295, 296
Front passenger front air bag ........277
Gas cap .......................................... 294
High-beam lamps ........................... 296
Hood .............................................. 288
License plate lamps ....................... 296
Light sensor ................................... 296
Low-beam lamps ............................ 296
Parking brake ................................ 286
Parking lamps ................................ 296
PRE-SAFE ®
.................................... 276
Reserve fuel ................................... 293
Reverse lamp ................................. 295
Side marker lamps .........................295
SmartKey ....................................... 28912
Index 251_AKB; 4; 52, en-US
d2ureepe,
Version: 2.11.8.1 2009-03-23T09:22:52+01:00 - Seite 12
Page 20 of 364
Decoupling ..................................... 259
Electrical connections
.................... 256
Towing ........................................... 258
Trailer hitch ................................... 256
Weights and ratings ....................... 256
Transfer case ..................................... 122
Transmission see Automatic transmission
Transmission fluid level .................... 225
Transmission gear selector lever see Gear selector lever
Transmission positions ....................118
Traveling abroad ............................... 259
Tread (tires) ....................................... 251
Tread depth (tires) ....................241, 251
Treadwear .......................................... 242
Treadwear indicators (tires) .... 241, 251
Trip computer menu .........................139
Trip odometer, resetting ................... 123
Turning off the engine ......................114
Turn signals ....................................... 100
Cleaning lenses ............................. 265
Indicator lamps ................................ 28
Messages in the multifunction
display ........................................... 298
TWR (Tongue Weight Rating) ........... 251U
Uniform Tire Quality Grading
Standards .................................. 242, 251
Units Selecting digital speedometer
display mode
................................. 132
Selecting speedometer/
odometer display mode ................. 132
Unleaded gasoline, premium ........... 353
Unlocking the vehicle
KEYLESS-GO .................................... 71
Manually ........................................ 308
SmartKey ......................................... 70
Upholstery, cleaning .........................268
Useful features .................................. 201 V
Vehicle
Battery ........................................... 333
Care ............................................... 262
Control system .............................. 123
Identification Number (VIN) ........... 344
Locking/unlocking
........................... 70
Lowering (wheel change) ...............329
Modifications and alterations,
Operating safety .............................. 22
Towing ........................................... 338
Unlocking/locking manually .......... 308
Vehicle dimensions
see Vehicle specification
Vehicle Identification Number
(VIN) ................................................... 344
Vehicle jack see Jack
Vehicle level control
see AIRMATIC
Vehicle lighting .................................... 97
Vehicle loading
Cargo tie-down rings ...................... 188
Cargo volume, expanding ..............189
Instructions .................................... 186
Load limit ....................................... 237
Roof rack ....................................... 187
Terminology ................................... 248
Vehicle maximum load on the tire ... 251
Vehicle specification
R 350 ............................................. 346
R 350 BlueTEC ............................... 346
Vehicle status message memory .... 130
Vehicle tool kit .................................. 270
Vehicle washing see Vehicle care
Vehicle weights
see Vehicle specification W
Warning lamps see Lamps, Indicator and warning
Warning sounds
Distance warning function .............152
Distronic ........................................ 147
Driver’s or passenger’s seat belt ..... 5118
Index 251_AKB; 4; 52, en-US
d2ureepe,
Version: 2.11.8.1 2009-03-23T09:22:52+01:00 - Seite 18
Page 121 of 364
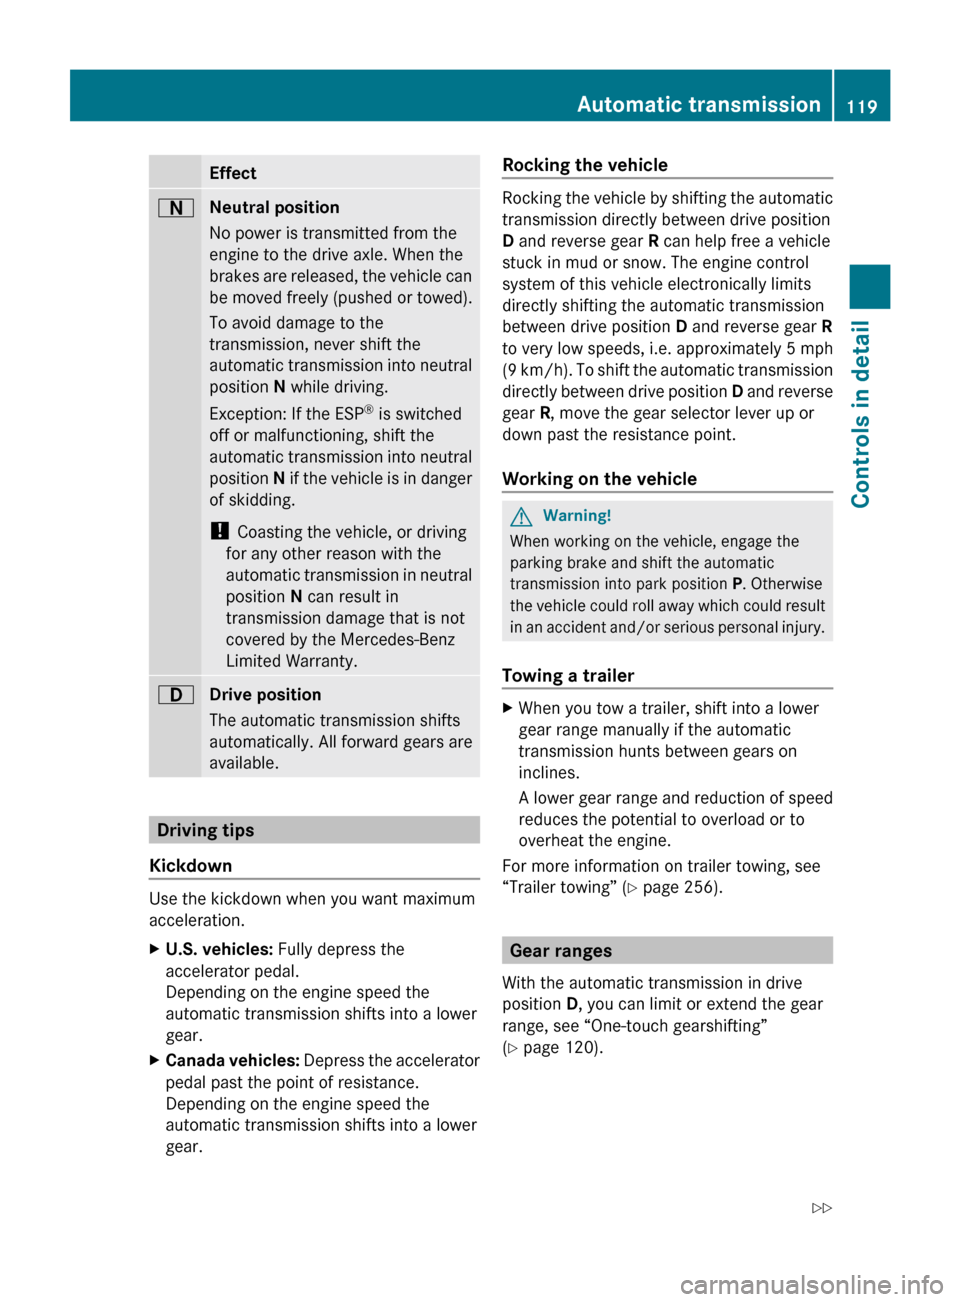
Effect
A
Neutral position
No power is transmitted from the
engine to the drive axle. When the
brakes
are released, the vehicle can
be moved freely (pushed or towed).
To avoid damage to the
transmission, never shift the
automatic transmission into neutral
position N while driving.
Exception: If the ESP ®
is switched
off or malfunctioning, shift the
automatic transmission into neutral
position N if the vehicle is in danger
of skidding.
! Coasting the vehicle, or driving
for any other reason with the
automatic transmission in neutral
position N can result in
transmission damage that is not
covered by the Mercedes-Benz
Limited Warranty. 7
Drive position
The automatic transmission shifts
automatically. All forward gears are
available.
Driving tips
Kickdown Use the kickdown when you want maximum
acceleration.
X
U.S. vehicles: Fully depress the
accelerator pedal.
Depending on the engine speed the
automatic transmission shifts into a lower
gear.
X Canada vehicles:
Depress the accelerator
pedal past the point of resistance.
Depending on the engine speed the
automatic transmission shifts into a lower
gear. Rocking the vehicle Rocking the vehicle by shifting the automatic
transmission directly between drive position
D and reverse gear
R can help free a vehicle
stuck in mud or snow. The engine control
system of this vehicle electronically limits
directly shifting the automatic transmission
between drive position D and reverse gear R
to
very low speeds, i.e. approximately 5 mph
(9 km/h). To shift the automatic transmission
directly between drive position D and reverse
gear R, move the gear selector lever up or
down past the resistance point.
Working on the vehicle G
Warning!
When working on the vehicle, engage the
parking brake and shift the automatic
transmission into park position P. Otherwise
the
vehicle could roll away which could result
in an accident and/or serious personal injury.
Towing a trailer X
When you tow a trailer, shift into a lower
gear range manually if the automatic
transmission hunts between gears on
inclines.
A
lower gear range and reduction of speed
reduces the potential to overload or to
overheat the engine.
For more information on trailer towing, see
“Trailer towing”
(Y page 256). Gear ranges
With the automatic transmission in drive
position D, you can limit or extend the gear
range, see “One-touch gearshifting”
(Y page 120). Automatic transmission
119
Controls in detail
251_AKB; 4; 52, en-US
d2ureepe, Version: 2.11.8.1 2009-03-23T09:22:52+01:00 - Seite 119 Z
Page 216 of 364
X
Step 4: Using both hands, simultaneously
press hand-held remote control button B
and the desired signal transmitter button
(;, = or ?). Do not release the buttons
until step 5 is completed.
Indicator
lamp : will flash, first slowly and
then rapidly.
i Indicator lamp : flashes immediately
the first time the signal transmitter button
is programmed. If this button has already
been programmed, the indicator lamp will
start flashing after 20 seconds.
X Step 5: After indicator lamp : changes
from a slow to a rapidly flashing light,
release the hand-held remote control
button and the signal transmitter button.
X Step 6: Press and hold the just-trained
signal
transmitter button (;, = or ?) and
observe indicator lamp :.
If indicator lamp : stays on constantly,
programming is complete and your device
should activate when the respective signal
transmitter button ( ;, = or ?) is pressed
and released.
i If indicator lamp : flashes rapidly for
approximately
2 seconds and then turns to
a constant light, continue with
programming steps 8 through 12 as your
garage door opener may be equipped with
the “rolling code” feature.
X Step 7: To program the remaining two
signal
transmitter buttons, repeat the steps
above starting with step 3.
Rolling code programming
To
train a garage door opener (or other rolling
code devices) with the rolling code feature,
follow these instructions after completing the
“Programming” portion (steps 1 through 6) of
this text. For your convenience and to
complete the procedure faster, you might
want to have someone assist you. X
Step 8:
Locate the “training” button on the
garage door opener motor head unit.
i Exact
location and color of the button may
vary by garage door opener brand.
Depending on manufacturer, the “training”
button may also be referred to as “learn” or
“smart” button. If there is difficulty locating
the transmitting button, refer to the garage
door opener Operator’s Manual.
X Step 9: Press the “training” button on the
garage door opener motor head unit.
The “training light” is activated.
You have 30 seconds to initiate the
following two steps.
X Step 10: Return to the vehicle and firmly
press, hold for 2 seconds and release the
programmed
signal transmitter button (;,
= or ?).
X Step 11: Press, hold for 2 seconds and
release same signal transmitter button a
second time to complete the training
process.
i Some garage door openers (or other
rolling
code equipped devices) may require
you to press, hold for 2 seconds and
release the same signal transmitter button
a third time to complete the training
process.
X Step 12: Confirm the garage door
operation by pressing the programmed
signal transmitter button ( ;, = or ?).
X Step 13: To program the remaining two
signal
transmitter buttons, repeat the steps
above starting with step 3.
Gate operator/Canadian programming
Canadian radio-frequency laws require
transmitter signals to “time-out” (or quit)
after several seconds of transmission which
may not be long enough for the integrated
signal
transmitter to pick up the signal during
programming. Similar to this Canadian law,
some U.S. gate operators are designed to
“time-out” in the same manner. 214
Useful features
Controls in detail
251_AKB; 4; 52, en-US
d2ureepe,
Version: 2.11.8.1 2009-03-23T09:22:52+01:00 - Seite 214
Page 254 of 364
Snow chains
! Vehicles with Adaptive Damping System
(ADS):
When driving with snow chains, do not
select SPORT mode as this may result in
damage to your vehicle.
! Some tire sizes do not leave adequate
clearance for snow chains. To help avoid
serious damage to your vehicle or tires,
make sure the use of snow chains is
permissible as specified in the “Technical
data” section of this Operator’s Manual.
Snow chains should only be driven on snow-
covered roads at speeds not to exceed
30 mph (50 km/h)
. Remove chains as soon
as possible when driving on roads without
snow.
Observe the following guidelines when using
snow chains:
R Use of snow chains is not permissible with
all wheel/tire combinations ( Y page 347).
R Use snow chains in pairs and on rear
wheels only. Follow the manufacturer’s
mounting instructions.
! If snow chains are mounted to the front
wheels, they may scrape against the body
or axle components. The tires or the vehicle
could be damaged as a result.
R Only use snow chains that are approved by
Mercedes-Benz. Any authorized Mercedes-
Benz Center will be glad to advise you on
this subject.
R Use of snow chains may be prohibited
depending on location. Always check local
and state laws before installing snow
chains.
R Do not use snow chains on the spare wheel.
i When driving with snow chains, you may
wish to switch off the ESP ®
(Y page 65)
before setting the vehicle in motion. This
will improve the vehicle’s traction. Winter driving instructions
G
Warning!
If the vehicle becomes stuck in snow, make
sure snow is kept clear of the exhaust pipe
and from around the vehicle with the engine
running. Otherwise, deadly carbon monoxide
(CO) gases may enter vehicle interior
resulting in unconsciousness and death.
To
assure sufficient fresh air ventilation, open
a window slightly on the side of the vehicle
not facing the wind. G
Warning!
The outside temperature indicator is not
designed to serve as an ice-warning device
and is therefore unsuitable for that purpose.
Indicated temperatures just above the
freezing
point do not guarantee that the road
surface is free of ice. The road may still be icy,
especially in wooded areas or on bridges. G
Warning!
On slippery road surfaces, never downshift in
order to obtain braking action. This could
result
in drive wheel slip and reduced vehicle
control. Your vehicle’s ABS will not prevent
this type of loss of control.
The most important rule for slippery or icy
roads is to drive sensibly and to avoid abrupt
acceleration, braking and steering
maneuvers. Do not use the cruise control
system under such conditions.
When the vehicle is in danger of skidding, shift
the automatic transmission to neutral
position N. Try to keep the vehicle under
control by corrective steering action.
i For information on driving with snow
chains, see “Snow chains” ( Y page 252).
Road salts and chemicals can adversely
affect braking efficiency. Increased pedal
force may become necessary to produce the
normal brake effect.
Depressing the brake pedal periodically when
traveling at length on salt-strewn roads can 252
Winter driving
Operation
251_AKB; 4; 52, en-US
d2ureepe,
Version: 2.11.8.1 2009-03-23T09:22:52+01:00 - Seite 252
Page 258 of 364
X
Reduce vehicle speed.
X Avoid track grooves in the road.
X Apply brakes cautiously. Standing water
! Do not drive through flooded areas.
Before
driving through water, determine its
depth.
If you must drive through standing water,
drive slowly to prevent water from entering
the passenger compartment or the engine
compartment. Water in these areas could
cause damage to electrical components or
wiring of the engine or transmission, or
could result in water being ingested by the
engine through the air intake causing
severe internal engine damage. Any such
damage is not covered by the Mercedes-
Benz Limited Warranty.
Prevent water from entering the passenger
compartment or the engine compartment. If
you must drive through standing water, keep
in mind that
R the maximum depth of the water may not
exceed 10 in (25 cm)
R you must drive slowly
i Vehicles with AIRMATIC:
If you have selected the raised level
(Y page 155) before driving through
standing water, the maximum water depth
is 12 in (30 cm). Trailer towing
G
Warning!
Failure to use proper equipment and driving
technique can result in a loss of vehicle
control when towing a trailer.
Improper towing or failure to follow the
instructions in this manual can result in
vehicle damage and/or serious personal injury. Follow the guidelines below carefully
to assure safe trailer operation.
Contact
an authorized Mercedes-Benz Center
should you require an explanation of
information contained in this manual.
Trailer hitch R
Only
install a trailer hitch receiver approved
for your vehicle.
For information on availability and
installation, contact an authorized
Mercedes-Benz Center.
R The bumpers on your vehicle are not
designed for use with clamp-type hitches.
Do not attach rental hitches or other
bumper-type hitches to them.
R To reduce the possibility of damage,
remove the hitch ball adapter from the
receiver when not in use.
Electrical connections The vehicle is prewired to accept the seven-
wire harness included in the Mercedes-Benz
approved trailer hitch receiver kit.
i
A four-pole conversion plug is available
from your authorized Mercedes-Benz
Center as a spare part.
For further information, contact an
authorized Mercedes-Benz Center.
Vehicle
and trailer weights and ratings The Gross Trailer Weight (GTW) is the weight
of the trailer plus the weight of all cargo,
equipment, luggage, etc. loaded on the
trailer. The maximum permissible GTW to be
towed: 3
500 lb (1 588 kg).
Trailer Tongue Weight Rating (TWR) is the
maximum permissible weight on the trailer
tongue: 350 lb (158 kg) limit for Mercedes-
Benz approved hitch receiver. 256
Driving instructions
Operation
251_AKB; 4; 52, en-US
d2ureepe,
Version: 2.11.8.1 2009-03-23T09:22:52+01:00 - Seite 256
Page 261 of 364
Do not attempt to straighten out the tow
vehicle
and trailer by increasing the speed.
R If the transmission shifts between gears on
inclines repeatedly, shift to a lower gear
range manually ( Y page 119). Select 4, 3,
2 or 1.
A lower gear and reduction of speed
reduces the chance of engine overloading
and/or overheating.
R When going down an incline, shift into a
lower gear and use the engine’s braking
effect.
Avoid riding the brakes, thus overheating
the vehicle and trailer brakes (if so
equipped).
R If the engine coolant rises to an extremely
high temperature when the air conditioning
is on, turn off the air conditioning system.
Engine coolant heat can be additionally
vented by opening the windows, switching
the climate control fan speed to high and
setting the temperature control to the
maximum.
R During a passing maneuver extreme care
must be exercised since your vehicle with
a trailer will require additional passing
distance ahead than when driving without
a trailer.
Because your vehicle and trailer is longer
than your vehicle alone, you will also need
to go much farther ahead of the passed
vehicle before you can return to your lane.
Decoupling a trailer G
Warning!
Vehicles with AIRMATIC: While you are
coupling or decoupling a trailer, make sure
nobody locks or unlocks the vehicle and/or
opens or closes doors or the tailgate.
The vehicle’s level could change and you
could endanger yourself and/or others as a
result. Make sure that you do not operate the ADS
switch or the vehicle level control system
when coupling/decoupling the trailer.
X Make sure the automatic transmission is in
park position P (Y page 116).
X Engage the parking brake for the vehicle
(Y page 114).
X Start the engine (Y page 110).
X Close all doors and the tailgate.
X Engage the parking brake for the trailer. G
Warning!
Vehicles with AIRMATIC: As soon as you
disconnect
the electrical connection between
the trailer and the vehicle, the vehicle will
lower. To help avoid personal injury, make
sure no one is near the wheel housing or
underneath the vehicle before the electrical
connection is disconnected.
When you decouple the trailer, the vehicle is
temporarily raised because the springs are
relieved of load. Be especially careful during
this process, as you could otherwise injure
yourself and/or others. Make sure that any
persons remaining in the vehicle do not press
the switches for vehicle level control or the
ADS.
X Disconnect all electrical plug connectors.
X Decouple the trailer.
X Make sure that the trailer coupling is free
of load.
X Turn off the engine ( Y page 114). Driving abroad
If
you plan to drive the vehicle outside the U.S.
or Canada, you should request dealer
network information for your destination from
any authorized Mercedes-Benz Center. Driving instructions
259
Operation
251_AKB; 4; 52, en-US
d2ureepe, Version: 2.11.8.1 2009-03-23T09:22:52+01:00 - Seite 259 Z
Page 333 of 364
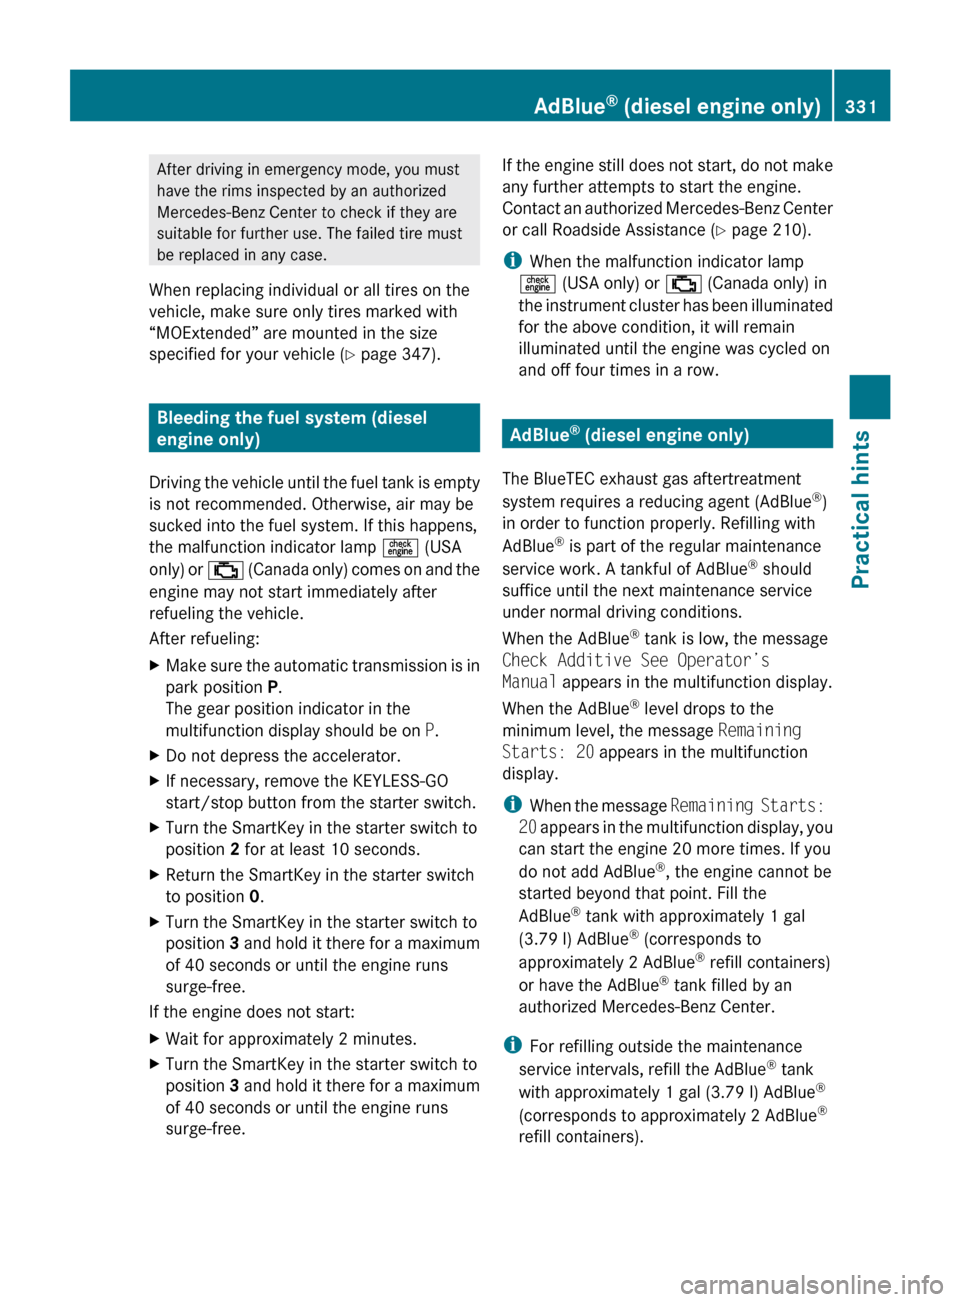
After driving in emergency mode, you must
have the rims inspected by an authorized
Mercedes-Benz Center to check if they are
suitable for further use. The failed tire must
be replaced in any case.
When replacing individual or all tires on the
vehicle, make sure only tires marked with
“MOExtended” are mounted in the size
specified for your vehicle
(Y page 347). Bleeding the fuel system (diesel
engine only)
Driving
the vehicle until the fuel tank is empty
is not recommended. Otherwise, air may be
sucked into the fuel system. If this happens,
the malfunction indicator lamp = (USA
only) or ; (Canada only) comes on and the
engine may not start immediately after
refueling the vehicle.
After refueling:
X Make sure the automatic transmission is in
park position P.
The gear position indicator in the
multifunction display should be on P.
X Do not depress the accelerator.
X If necessary, remove the KEYLESS-GO
start/stop button from the starter switch.
X Turn the SmartKey in the starter switch to
position 2 for at least 10 seconds.
X Return the SmartKey in the starter switch
to position 0.
X Turn the SmartKey in the starter switch to
position 3
and hold it there for a maximum
of 40 seconds or until the engine runs
surge-free.
If the engine does not start:
X Wait for approximately 2 minutes.
X Turn the SmartKey in the starter switch to
position 3
and hold it there for a maximum
of 40 seconds or until the engine runs
surge-free. If the engine still does not start, do not make
any further attempts to start the engine.
Contact
an authorized Mercedes-Benz Center
or call Roadside Assistance ( Y page 210).
i When the malfunction indicator lamp
= (USA only) or ; (Canada only) in
the instrument cluster has been illuminated
for the above condition, it will remain
illuminated until the engine was cycled on
and off four times in a row. AdBlue
®
(diesel engine only)
The BlueTEC exhaust gas aftertreatment
system requires a reducing agent (AdBlue ®
)
in order to function properly. Refilling with
AdBlue ®
is part of the regular maintenance
service work. A tankful of AdBlue ®
should
suffice until the next maintenance service
under normal driving conditions.
When the AdBlue ®
tank is low, the message
Check Additive See Operator’s
Manual appears in the multifunction display.
When the AdBlue ®
level drops to the
minimum level, the message Remaining
Starts: 20 appears in the multifunction
display.
i When
the message Remaining Starts:
20 appears in the multifunction display, you
can start the engine 20 more times. If you
do not add AdBlue ®
, the engine cannot be
started beyond that point. Fill the
AdBlue ®
tank with approximately 1 gal
(3.79 l) AdBlue ®
(corresponds to
approximately 2 AdBlue ®
refill containers)
or have the AdBlue ®
tank filled by an
authorized Mercedes-Benz Center.
i For refilling outside the maintenance
service intervals, refill the AdBlue ®
tank
with approximately 1 gal (3.79 l) AdBlue ®
(corresponds to approximately 2 AdBlue ®
refill containers). AdBlue
®
(diesel engine only) 331
Practical hints
251_AKB; 4; 52, en-US
d2ureepe,
Version: 2.11.8.1 2009-03-23T09:22:52+01:00 - Seite 331 Z
Page 352 of 364
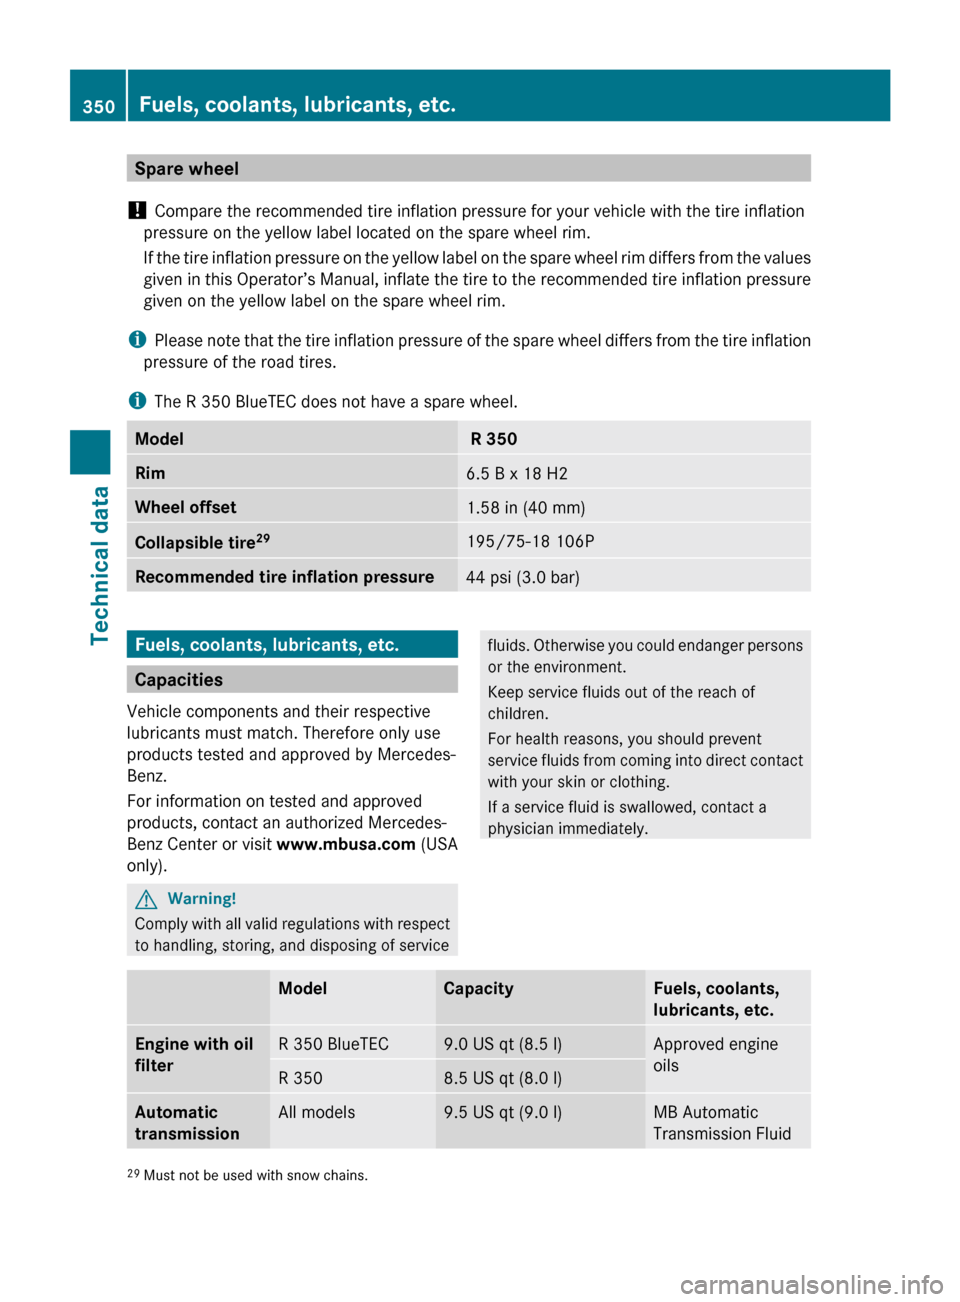
Spare wheel
! Compare the recommended tire inflation pressure for your vehicle with the tire inflation
pressure on the yellow label located on the spare wheel rim.
If
the tire inflation pressure on the yellow label on the spare wheel rim differs from the values
given in this Operator’s Manual, inflate the tire to the recommended tire inflation pressure
given on the yellow label on the spare wheel rim.
i Please note that the tire inflation pressure of the spare wheel differs from the tire inflation
pressure of the road tires.
i The R 350 BlueTEC does not have a spare wheel. Model R 350
Rim
6.5 B x 18 H2
Wheel offset
1.58 in (40 mm)
Collapsible tire
29 195/75-18 106P
Recommended tire inflation pressure
44 psi (3.0 bar)
Fuels, coolants, lubricants, etc.
Capacities
Vehicle components and their respective
lubricants must match. Therefore only use
products tested and approved by Mercedes-
Benz.
For information on tested and approved
products, contact an authorized Mercedes-
Benz Center or visit www.mbusa.com (USA
only). G
Warning!
Comply with all valid regulations with respect
to handling, storing, and disposing of service fluids. Otherwise you could endanger persons
or the environment.
Keep service fluids out of the reach of
children.
For health reasons, you should prevent
service
fluids from coming into direct contact
with your skin or clothing.
If a service fluid is swallowed, contact a
physician immediately. Model Capacity Fuels, coolants,
lubricants, etc.
Engine with oil
filter
R 350 BlueTEC 9.0 US qt (8.5 l) Approved engine
oils
R 350 8.5 US qt (8.0 l)
Automatic
transmission
All models 9.5 US qt (9.0 l) MB Automatic
Transmission Fluid
29
Must not be used with snow chains. 350
Fuels, coolants, lubricants, etc.Technical data
251_AKB; 4; 52, en-US
d2ureepe,
Version: 2.11.8.1 2009-03-23T09:22:52+01:00 - Seite 350