reset MERCEDES-BENZ S-Class 2015 W222 Comand Manual
[x] Cancel search | Manufacturer: MERCEDES-BENZ, Model Year: 2015, Model line: S-Class, Model: MERCEDES-BENZ S-Class 2015 W222Pages: 298, PDF Size: 6.39 MB
Page 156 of 298
X
To select Yes
Yes: turn and press the controller.
The call lists are deleted.
or
X To select No
No: turn and press the controller.
The process is canceled.
i If you delete these call lists from the
mobile phone (see the separate mobile
phone operating instructions), COMAND
updates the call list display the next time it connects. Speed dial lists
Setting up
X To call up the telephone menu: press the
002B button.
X To call up the menu bar: slide 6the con-
troller.
X To select Call Lists
Call Lists: turn and press the
controller.
X Select Speed Dial Preset List
Speed Dial Preset List.
The speed dial list is displayed.
X To highlight a memory position for the
speed dial: turn the controller.
If you highlight an entry that already exists
in the speed dial list, this is overwritten with the new entry.
X To select G: slide 9the controller.
X Select Assign Speed Dial Preset Assign Speed Dial Preset.
The phone book is displayed.
X Search for a contact (Y page 148).
X To select a contact: turn and press the con-
troller.
The phone number has been saved as a
speed dial. Deleting
Deleting a speed dial preset X
To call up the telephone menu: press the
002B button.
X To call up the menu bar: slide 6the con-
troller.
X To select Call Lists Call Lists: turn and press the
controller.
X Select Speed Dial Preset List
Speed Dial Preset List.
The speed dial list is displayed.
X To highlight the memory position you want
to delete: turn the controller.
X To select G: slide 9the controller.
X To select Delete Speed Dial Preset
Delete Speed Dial Preset:
turn and press the controller.
X To select Yes
Yes: turn and press the controller.
The speed dial preset has been deleted.
or
X To select No
No: turn and press the controller.
The process is canceled.
Deleting all speed dial presets X
To call up the telephone menu: press the
002B button.
X To call up the menu bar: slide 6the con-
troller.
X To select Call Lists Call Lists: turn and press the
controller.
X Select Speed Dial Preset List
Speed Dial Preset List.
The speed dial list is displayed.
X To highlight the desired memory position:
turn the controller.
X To select G: slide 9the controller.
X To select Delete All Speed Dial Pre‐
Delete All Speed Dial Pre‐
sets sets: turn and press the controller.
X To select Yes
Yes: turn and press the controller.
All speed dials are deleted.
or
X To select No
No: turn and press the controller.
The process is canceled. 154
Speed dial listsTelephone
Page 165 of 298
You can view these contacts even without a
mobile phone.
i The address book can store a total of
5000 contacts.
R 2000 entries are reserved for perma-
nently saved contacts.
R 3000 entries are reserved for contacts
that you can load from the mobile phone.
i Before selling your vehicle, delete the
contacts saved in COMAND using the reset function (Y page 55). Calling up the address book
X To call up the telephone menu: press the
002B button.
X To switch to the main function bar: slide
5 the controller.
X To select Tel Tel: turn the controller and press
to confirm.
X To select Address Book
Address Book : turn and press
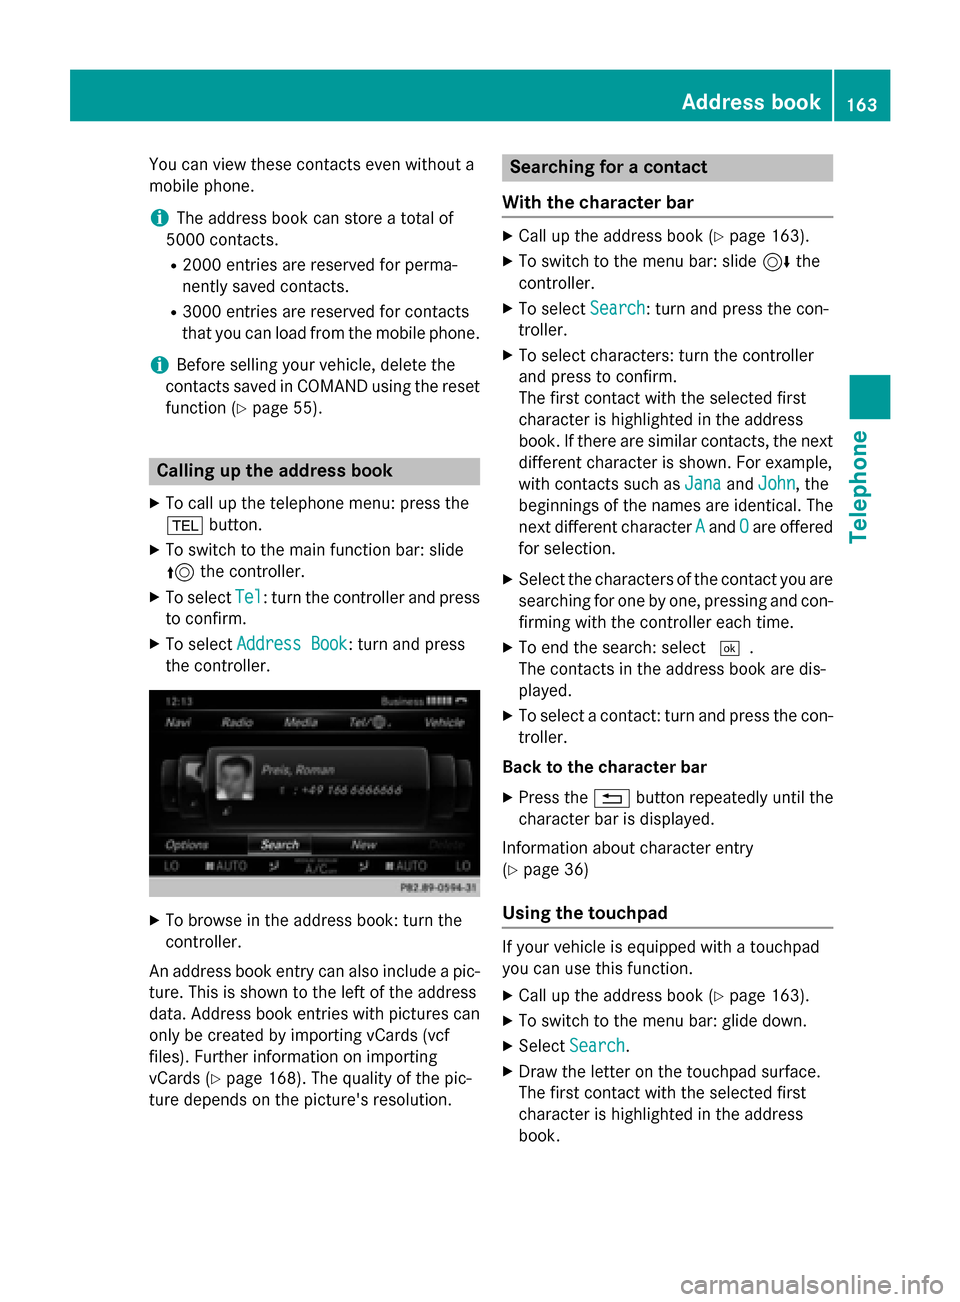
the controller. X
To browse in the address book: turn the
controller.
An address book entry can also include a pic- ture. This is shown to the left of the address
data. Address book entries with pictures can
only be created by importing vCards (vcf
files). Further information on importing
vCards (Y page 168). The quality of the pic-
ture depends on the picture's resolution. Searching for a contact
With the character bar X
Call up the address book (Y page 163).
X To switch to the menu bar: slide 6the
controller.
X To select Search Search: turn and press the con-
troller.
X To select characters: turn the controller
and press to confirm.
The first contact with the selected first
character is highlighted in the address
book. If there are similar contacts, the next
different character is shown. For example,
with contacts such as Jana JanaandJohn John , the
beginnings of the names are identical. The
next different character A Aand O
Oare offered
for selection.
X Select the characters of the contact you are
searching for one by one, pressing and con- firming with the controller each time.
X To end the search: select 0054.
The contacts in the address book are dis-
played.
X To select a contact: turn and press the con-
troller.
Back to the character bar X Press the 0038button repeatedly until the
character bar is displayed.
Information about character entry
(Y page 36)
Using the touchpad If your vehicle is equipped with a touchpad
you can use this function.
X Call up the address book (Y page 163).
X To switch to the menu bar: glide down.
X Select Search Search.
X Draw the letter on the touchpad surface.
The first contact with the selected first
character is highlighted in the address
book. Address book
163Telephone Z
Page 168 of 298
Editing a contact
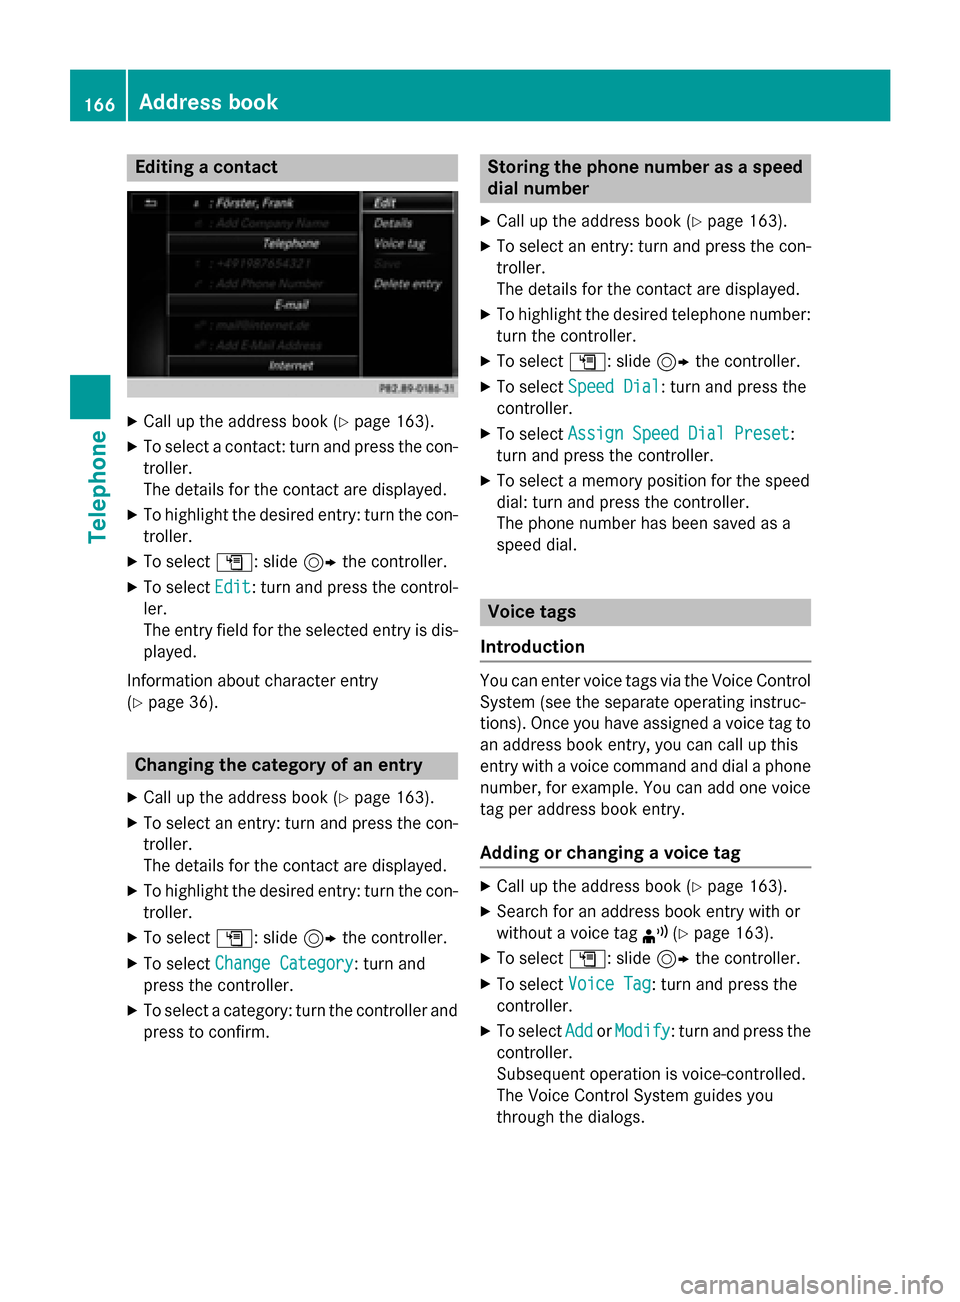
X
Call up the address book (Y page 163).
X To select a contact: turn and press the con-
troller.
The details for the contact are displayed.
X To highlight the desired entry: turn the con-
troller.
X To select G: slide 9the controller.
X To select Edit Edit: turn and press the control-
ler.
The entry field for the selected entry is dis- played.
Information about character entry
(Y page 36). Changing the category of an entry
X Call up the address book (Y page 163).
X To select an entry: turn and press the con-
troller.
The details for the contact are displayed.
X To highlight the desired entry: turn the con-
troller.
X To select G: slide 9the controller.
X To select Change Category
Change Category: turn and
press the controller.
X To select a category: turn the controller and
press to confirm. Storing the phone number as a speed
dial number
X Call up the address book (Y page 163).
X To select an entry: turn and press the con-
troller.
The details for the contact are displayed.
X To highlight the desired telephone number:
turn the controller.
X To select G: slide 9the controller.
X To select Speed Dial Speed Dial: turn and press the
controller.
X To select Assign Speed Dial Preset
Assign Speed Dial Preset :
turn and press the controller.
X To select a memory position for the speed
dial: turn and press the controller.
The phone number has been saved as a
speed dial. Voice tags
Introduction You can enter voice tags via the Voice Control
System (see the separate operating instruc-
tions). Once you have assigned a voice tag to an address book entry, you can call up this
entry with a voice command and dial a phone
number, for example. You can add one voice
tag per address book entry.
Adding or changing a voice tag X
Call up the address book (Y page 163).
X Search for an address book entry with or
without a voice tag ¦(Ypage 163).
X To select G: slide 9the controller.
X To select Voice Tag Voice Tag : turn and press the
controller.
X To select Add
AddorModify
Modify : turn and press the
controller.
Subsequent operation is voice-controlled.
The Voice Control System guides you
through the dialogs. 166
Address bookTelephone
Page 180 of 298
Setting automatic disconnection of
the Internet connection
If a preset time has elapsed during which the Internet functions have not been used, the
Internet automatically disconnects.
X Call up the device list (Y page 176).
X To highlight the desired mobile phone in the
device list: turn the controller.
X To select G: slide 9the controller.
X To select Disconnect When Inactive
Disconnect When Inactive:
turn and press the controller.
X To select 5 Minutes 5 Minutes, 10 Minutes
10 Minutes, 20
20
Minutes
Minutes orNever
Never: turn and press the con-
troller. Establishing/ending the connection
Establishing the connection
Read the conditions for establishing a con-
nection (Y page 173).
A connection can be established by:
R entering a web address (Y page 190)
R calling up the Mercedes-Benz mobile web-
site. (Y page 187)
R calling up a Mercedes-Benz app.
(Y page 187)
R calling up a favorite.
R calling up the Internet radio (Y page 189)
R establishing an Internet connection via a
wireless networking device. The "Allow
shared WiFi usage" option must be acti-
vated on COMAND for this (Y page 49).
Ending the connection
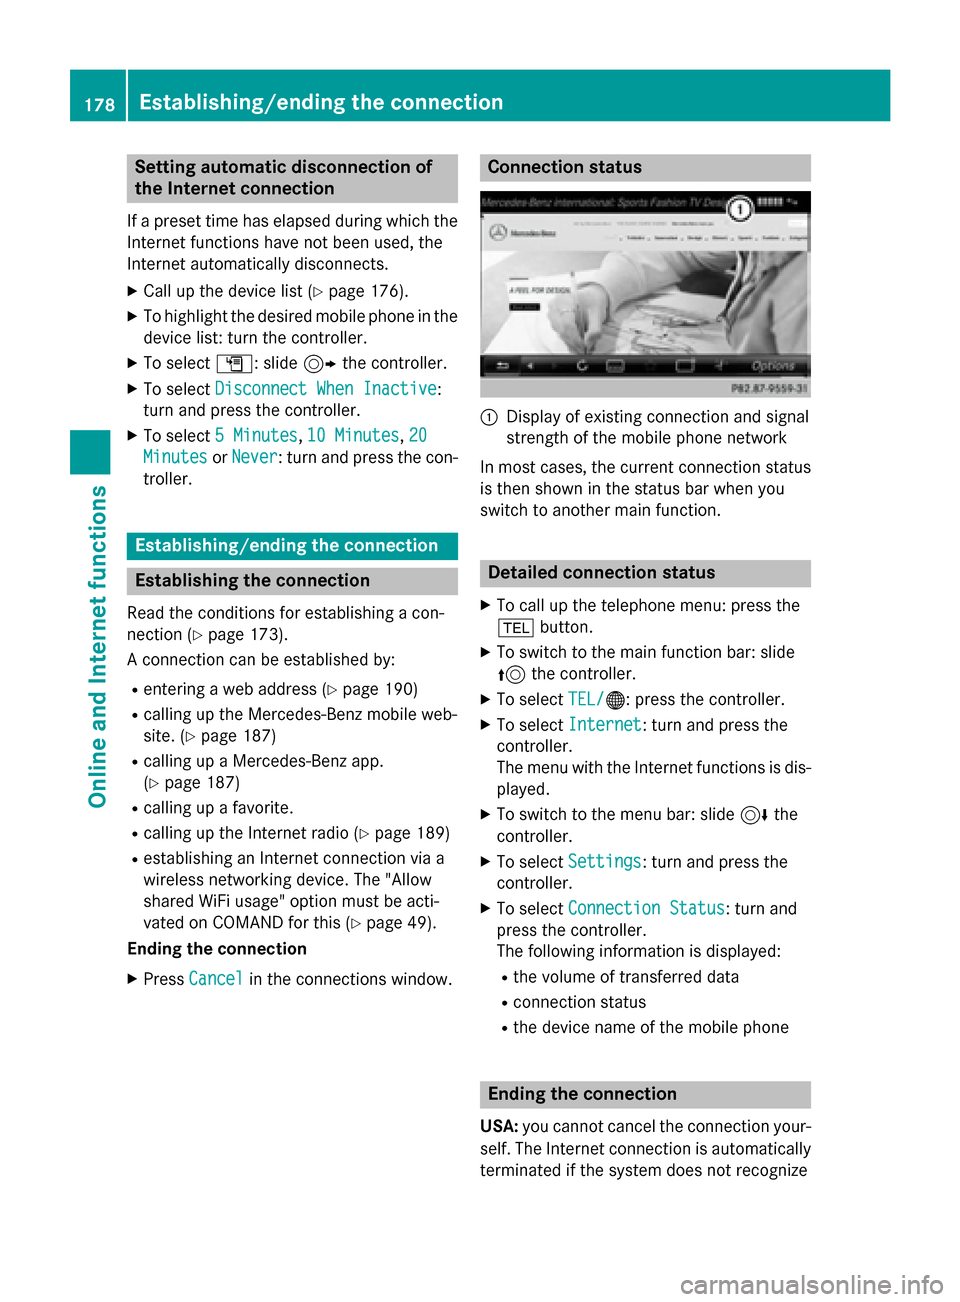
X Press Cancel Cancel in the connections window. Connection status
0043
Display of existing connection and signal
strength of the mobile phone network
In most cases, the current connection status
is then shown in the status bar when you
switch to another main function. Detailed connection status
X To call up the telephone menu: press the
002B button.
X To switch to the main function bar: slide
5 the controller.
X To select TEL/
TEL/00A7: press the controller.
X To select Internet
Internet: turn and press the
controller.
The menu with the Internet functions is dis-
played.
X To switch to the menu bar: slide 6the
controller.
X To select Settings Settings: turn and press the
controller.
X To select Connection Status
Connection Status: turn and
press the controller.
The following information is displayed:
R the volume of transferred data
R connection status
R the device name of the mobile phone Ending the connection
USA: you cannot cancel the connection your-
self. The Internet connection is automatically
terminated if the system does not recognize 178
Establishing/ending the connectionOnline and Internet functions
Page 183 of 298
If the vehicle is stationary, the search results
can be supplemented manually, e.g. "Hotel
Adler".
X Call up Local Search (Y page 179).
X To select a search position, e.g. At cur‐
At cur‐
rent location
rent location: turn and press the con-
troller.
X To select Search history Search history : turn and press
the controller.
The most recent search queries are dis-
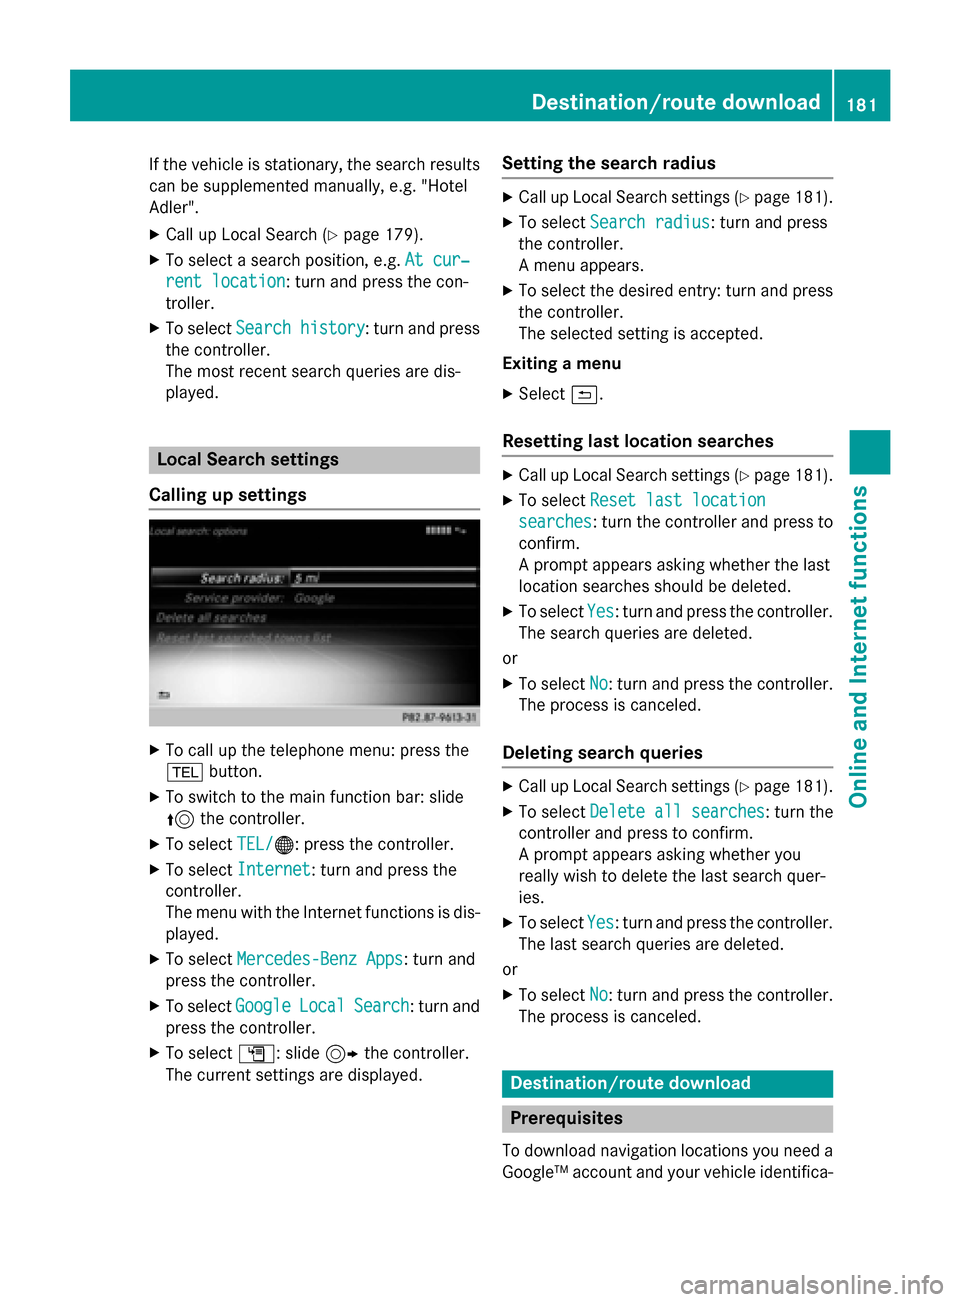
played. Local Search settings
Calling up settings X
To call up the telephone menu: press the
002B button.
X To switch to the main function bar: slide
5 the controller.
X To select TEL/
TEL/00A7: press the controller.
X To select Internet Internet: turn and press the
controller.
The menu with the Internet functions is dis-
played.
X To select Mercedes-Benz Apps Mercedes-Benz Apps: turn and
press the controller.
X To select Google
GoogleLocal
LocalSearch
Search: turn and
press the controller.
X To select G: slide 9the controller.
The current settings are displayed. Setting the search radius X
Call up Local Search settings (Y page 181).
X To select Search radius
Search radius: turn and press
the controller.
A menu appears.
X To select the desired entry: turn and press
the controller.
The selected setting is accepted.
Exiting a menu
X Select 0039.
Resetting last location searches X
Call up Local Search settings (Y page 181).
X To select Reset last location Reset last location
searches
searches: turn the controller and press to confirm.
A prompt appears asking whether the last
location searches should be deleted.
X To select Yes Yes: turn and press the controller.
The search queries are deleted.
or
X To select No
No: turn and press the controller.
The process is canceled.
Deleting search queries X
Call up Local Search settings (Y page 181).
X To select Delete all searches Delete all searches : turn the
controller and press to confirm.
A prompt appears asking whether you
really wish to delete the last search quer-
ies.
X To select Yes Yes: turn and press the controller.
The last search queries are deleted.
or
X To select No
No: turn and press the controller.
The process is canceled. Destination/route download
Prerequisites
To download navigation locations you need a Google™ account and your vehicle identifica- Destination/route download
181Online and Internet functions Z
Page 188 of 298
Switching to the 5-day forecast
X To select Current
Current: turn and press the con-
troller.
A menu appears.
X Select 5-Day 5-Day.
The information chart displays the forecast for the next five days in the currently
selected location.
Returning to the current weather
X Select 5-Day
5-Day.
A menu appears.
X Select Current
Current.
The information chart shows the current
forecast at the currently selected location.
Displaying detailed information X Select Current Current.
A menu appears.
X Select Info
Info.
The information chart shows detailed infor- mation for the selected area. Selecting a location from the informa-
tion chart
X Call up the weather forecast (Y page 185).
X To select Location
Location in the menu: turn and
press the controller.
A menu with the following options is shown.
R Current Position
Current Position
R Near Destination Near Destination
You can select Near NearDestination
Destination if the
route has been calculated. The menu
item is otherwise grayed out.
R Other City Other City
X To select the required option: turn and
press the controller.
If Current Position
Current Position orNear Destina‐ Near Destina‐
tion
tion has been selected, the weather fore-
cast for the selected option is displayed.
If Other
Other City
Cityhas been selected, you need
to make more entries. Selecting another location
X Enter the search area.
The information chart with the weather
forecast appears when the search area has
been entered. Weather map overview
Calling up the weather map X Call up the weather forecast (Y page 185).
The information chart is displayed (default
setting).
X To select Map Map: turn and press the controller.
The weather map is displayed.
Moving the weather map
X Slide 1, 4or2 the controller.
The weather map is shifted in the corre-
sponding direction.
Changing the scale X Turn the controller.
i The data is downloaded again from the
server for these functions. This can delay
the display of the weather map.
Displaying the information chart for the
selected location
X To call up a menu: press the controller.
X To select Weather Table Weather Table: turn and press
the controller.
The information chart displays the current
weather for the selected location. Memory functions
Saving a location You can save locations that are called up fre-
quently in ten preset positions (0, 1 – 9).
X Select a location from the information chart
(Y page 186)
X To select Location Location in the menu: turn and
press the controller. 186
Weather forecastOnline and Internet functions
Page 189 of 298
X
Select Presets
Presets.
X To select a preset and save a location: turn
and press the controller.
When the location is saved, the number of
the selected preset comes before the name of the place in the caption.
Displaying a saved location X
To select Location Location in the information
chart: turn and press the controller.
X Select Presets
Presets.
X Select desired preset.
The information chart appears and displays
the weather information. Further Mercedes-Benz Apps
General notes
To be able to use Mercedes-Benz Apps, you
first have to register. To do so, you have to
enter your name and postal address once in
the vehicle and confirm the general terms and conditions. A message to this effect appears
the first time you call up the online and Inter-
net functions.
For individual Mercedes-Benz Apps, it may be
necessary to pay license fees before using.
Use is then limited to a certain period of time. License fees must be paid again for use
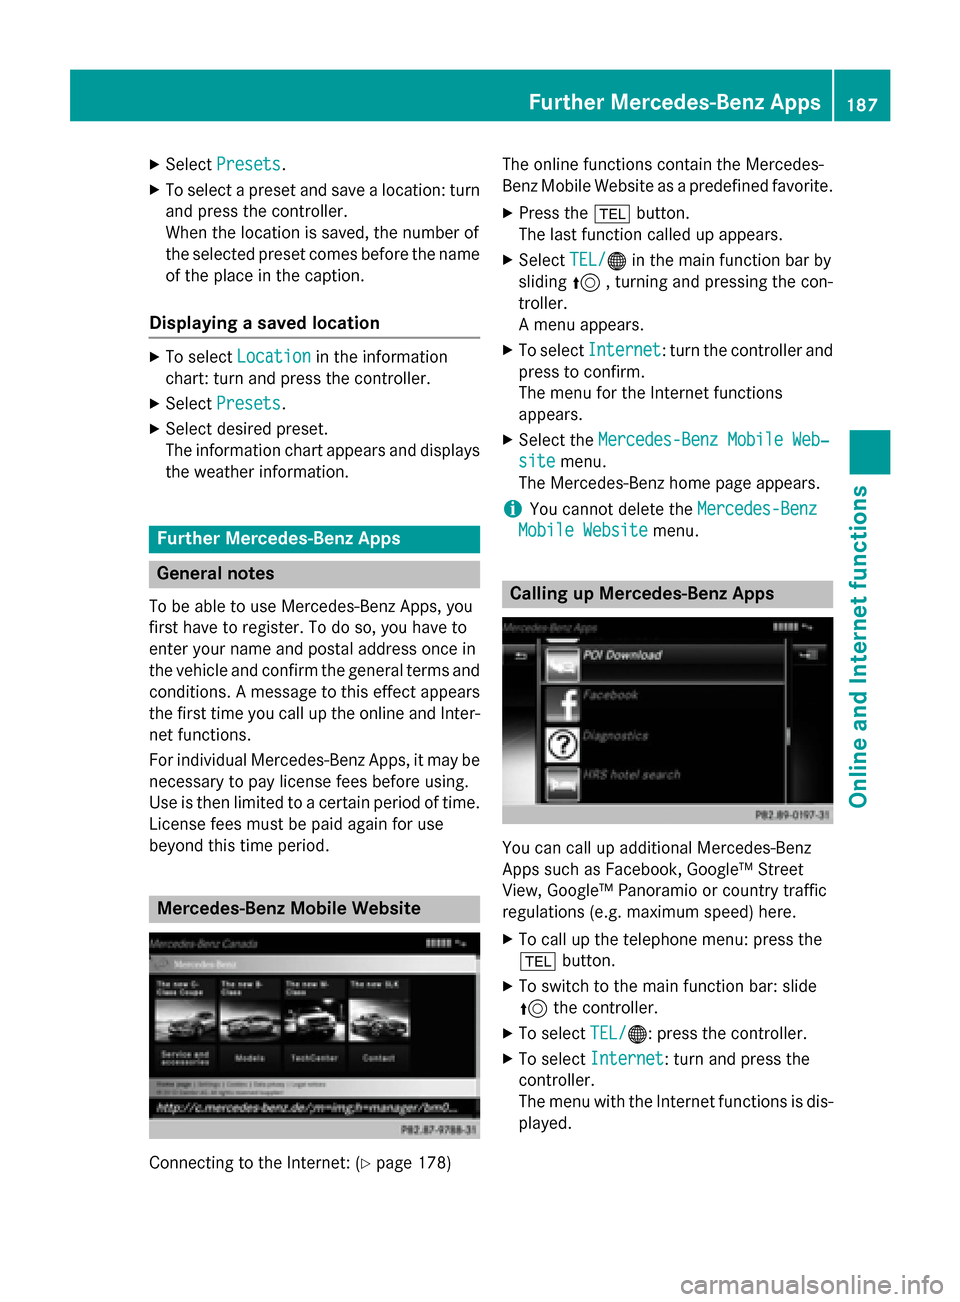
beyond this time period. Mercedes-Benz Mobile Website
Connecting to the Internet: (Y
page 178)The online functions contain the Mercedes-
Benz Mobile Website as a predefined favorite.
X Press the 002Bbutton.
The last function called up appears.
X Select TEL/ TEL/00A7 in the main function bar by
sliding 5, turning and pressing the con-
troller.
A menu appears.
X To select Internet Internet: turn the controller and
press to confirm.
The menu for the Internet functions
appears.
X Select the Mercedes-Benz Mobile Web‐
Mercedes-Benz Mobile Web‐
site
site menu.
The Mercedes-Benz home page appears.
i You cannot delete the
Mercedes-Benz Mercedes-Benz
Mobile Website
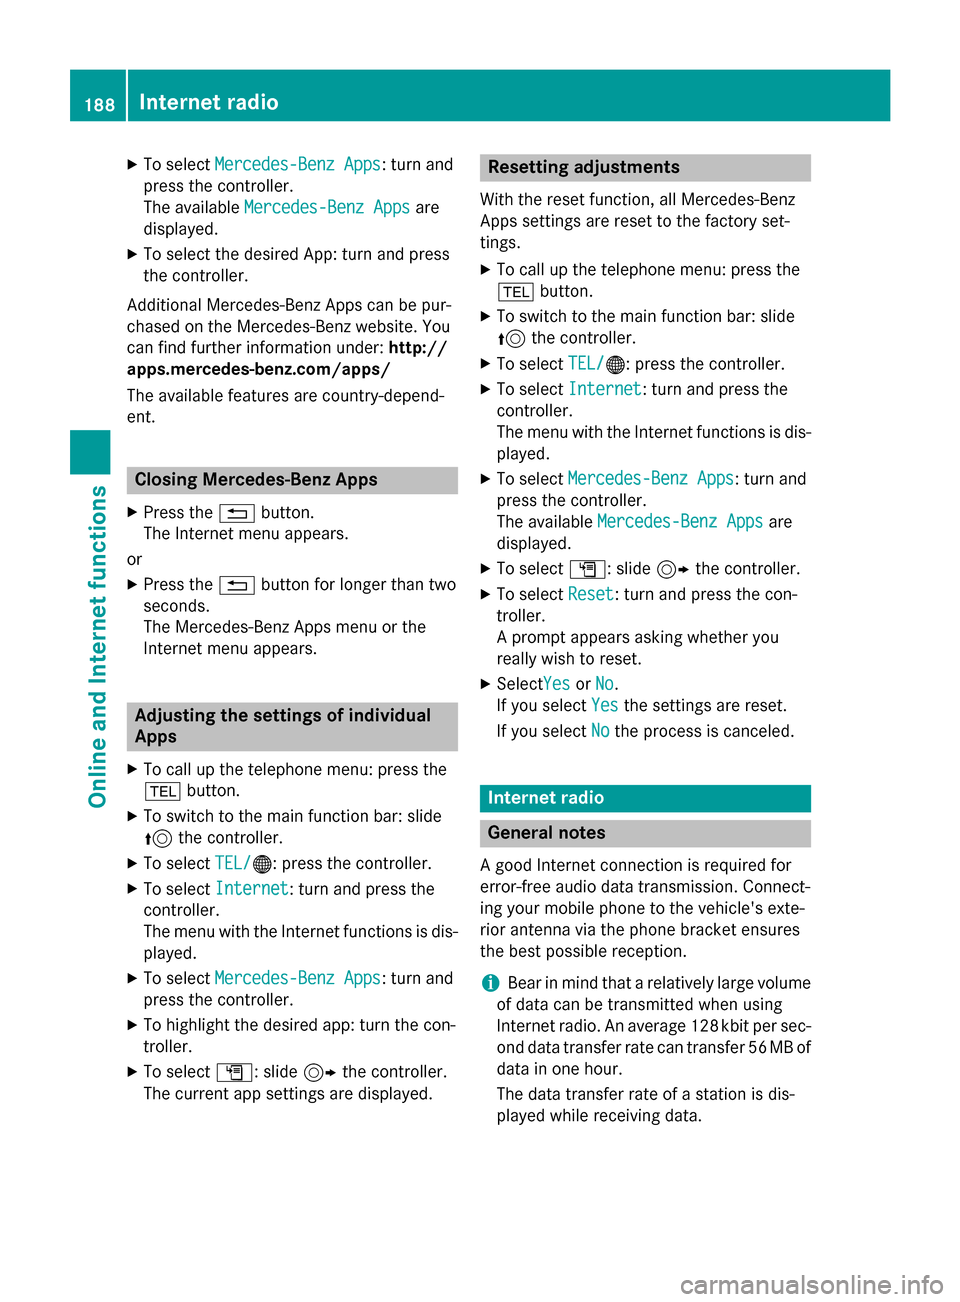
Mobile Website menu. Calling up Mercedes-Benz Apps
You can call up additional Mercedes-Benz
Apps such as Facebook, Google™ Street
View, Google™ Panoramio or country traffic
regulations (e.g. maximum speed) here.
X To call up the telephone menu: press the
002B button.
X To switch to the main function bar: slide
5 the controller.
X To select TEL/
TEL/00A7: press the controller.
X To select Internet Internet: turn and press the
controller.
The menu with the Internet functions is dis-
played. Further Mercedes-Benz Apps
187Online and Internet functions Z
Page 190 of 298
X
To select Mercedes-Benz Apps
Mercedes-Benz Apps: turn and
press the controller.
The available Mercedes-Benz Apps Mercedes-Benz Apps are
displayed.
X To select the desired App: turn and press
the controller.
Additional Mercedes-Benz Apps can be pur-
chased on the Mercedes-Benz website. You
can find further information under: http://
apps.mercedes-benz.com/apps/
The available features are country-depend-
ent. Closing Mercedes-Benz Apps
X Press the 0038button.
The Internet menu appears.
or
X Press the 0038button for longer than two
seconds.
The Mercedes-Benz Apps menu or the
Internet menu appears. Adjusting the settings of individual
Apps
X To call up the telephone menu: press the
002B button.
X To switch to the main function bar: slide
5 the controller.
X To select TEL/ TEL/00A7: press the controller.
X To select Internet
Internet: turn and press the
controller.
The menu with the Internet functions is dis-
played.
X To select Mercedes-Benz Apps
Mercedes-Benz Apps: turn and
press the controller.
X To highlight the desired app: turn the con-
troller.
X To select G: slide 9the controller.
The current app settings are displayed. Resetting adjustments
With the reset function, all Mercedes-Benz
Apps settings are reset to the factory set-
tings. X To call up the telephone menu: press the
002B button.
X To switch to the main function bar: slide
5 the controller.
X To select TEL/
TEL/00A7: press the controller.
X To select Internet
Internet: turn and press the
controller.
The menu with the Internet functions is dis-
played.
X To select Mercedes-Benz Apps Mercedes-Benz Apps: turn and
press the controller.
The available Mercedes-Benz Apps Mercedes-Benz Apps are
displayed.
X To select G: slide 9the controller.
X To select Reset
Reset: turn and press the con-
troller.
A prompt appears asking whether you
really wish to reset.
X SelectYes YesorNo
No.
If you select Yes Yesthe settings are reset.
If you select No
Nothe process is canceled. Internet radio
General notes
A good Internet connection is required for
error-free audio data transmission. Connect-
ing your mobile phone to the vehicle's exte-
rior antenna via the phone bracket ensures
the best possible reception.
i Bear in mind that a relatively large volume
of data can be transmitted when using
Internet radio. An average 128 kbit per sec-
ond data transfer rate can transfer 56 MB of data in one hour.
The data transfer rate of a station is dis-
played while receiving data. 188
Internet radioOnline and Internet functions
Page 196 of 298
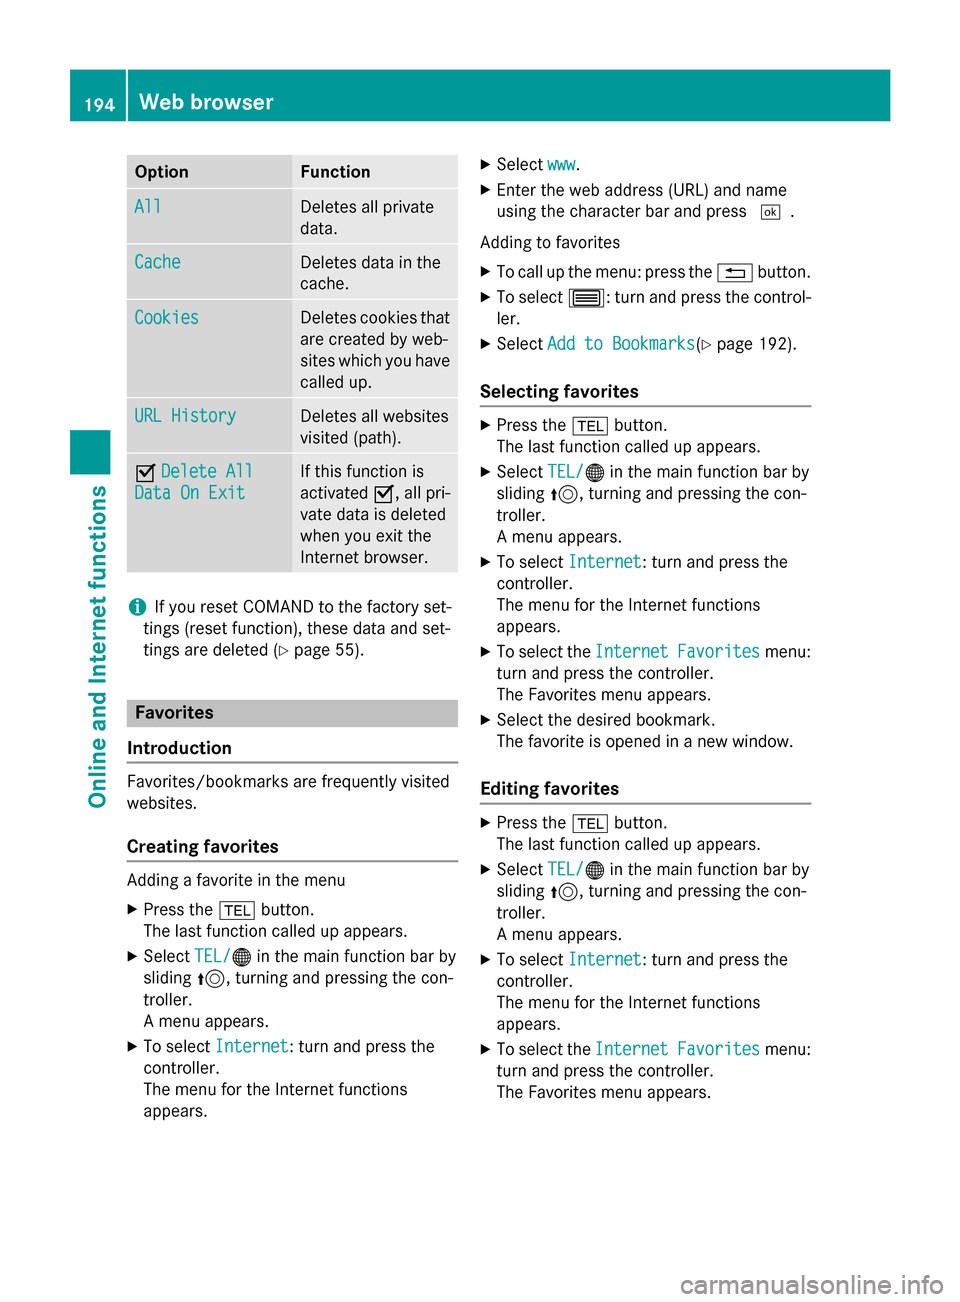
Option Function
All
All Deletes all private
data.
Cache Cache Deletes data in the
cache.
Cookies Cookies Deletes cookies that
are created by web-
sites which you have called up. URL History URL History Deletes all websites
visited (path).
0073
Delete All Delete All
Data On Exit
Data On Exit If this function is
activated
0073, all pri-
vate data is deleted
when you exit the
Internet browser. i
If you reset COMAND to the factory set-
tings (reset function), these data and set-
tings are deleted (Y page 55).Favorites
Introduction Favorites/bookmarks are frequently visited
websites.
Creating favorites Adding a favorite in the menu
X Press the 002Bbutton.
The last function called up appears.
X Select TEL/ TEL/00A7 in the main function bar by
sliding 5, turning and pressing the con-
troller.
A menu appears.
X To select Internet
Internet : turn and press the
controller.
The menu for the Internet functions
appears. X
Select www
www.
X Enter the web address (URL) and name
using the character bar and press 0054.
Adding to favorites
X To call up the menu: press the 0038button.
X To select 0057: turn and press the control-
ler.
X Select Add to Bookmarks
Add to Bookmarks(Y page 192).
Selecting favorites X
Press the 002Bbutton.
The last function called up appears.
X Select TEL/ TEL/00A7 in the main function bar by
sliding 5, turning and pressing the con-
troller.
A menu appears.
X To select Internet Internet : turn and press the
controller.
The menu for the Internet functions
appears.
X To select the Internet InternetFavorites
Favorites menu:
turn and press the controller.
The Favorites menu appears.
X Select the desired bookmark.
The favorite is opened in a new window.
Editing favorites X
Press the 002Bbutton.
The last function called up appears.
X Select TEL/ TEL/00A7 in the main function bar by
sliding 5, turning and pressing the con-
troller.
A menu appears.
X To select Internet Internet : turn and press the
controller.
The menu for the Internet functions
appears.
X To select the Internet InternetFavorites
Favorites menu:
turn and press the controller.
The Favorites menu appears. 194
Web browserOnline and Internet functions
Page 200 of 298
Radio mode
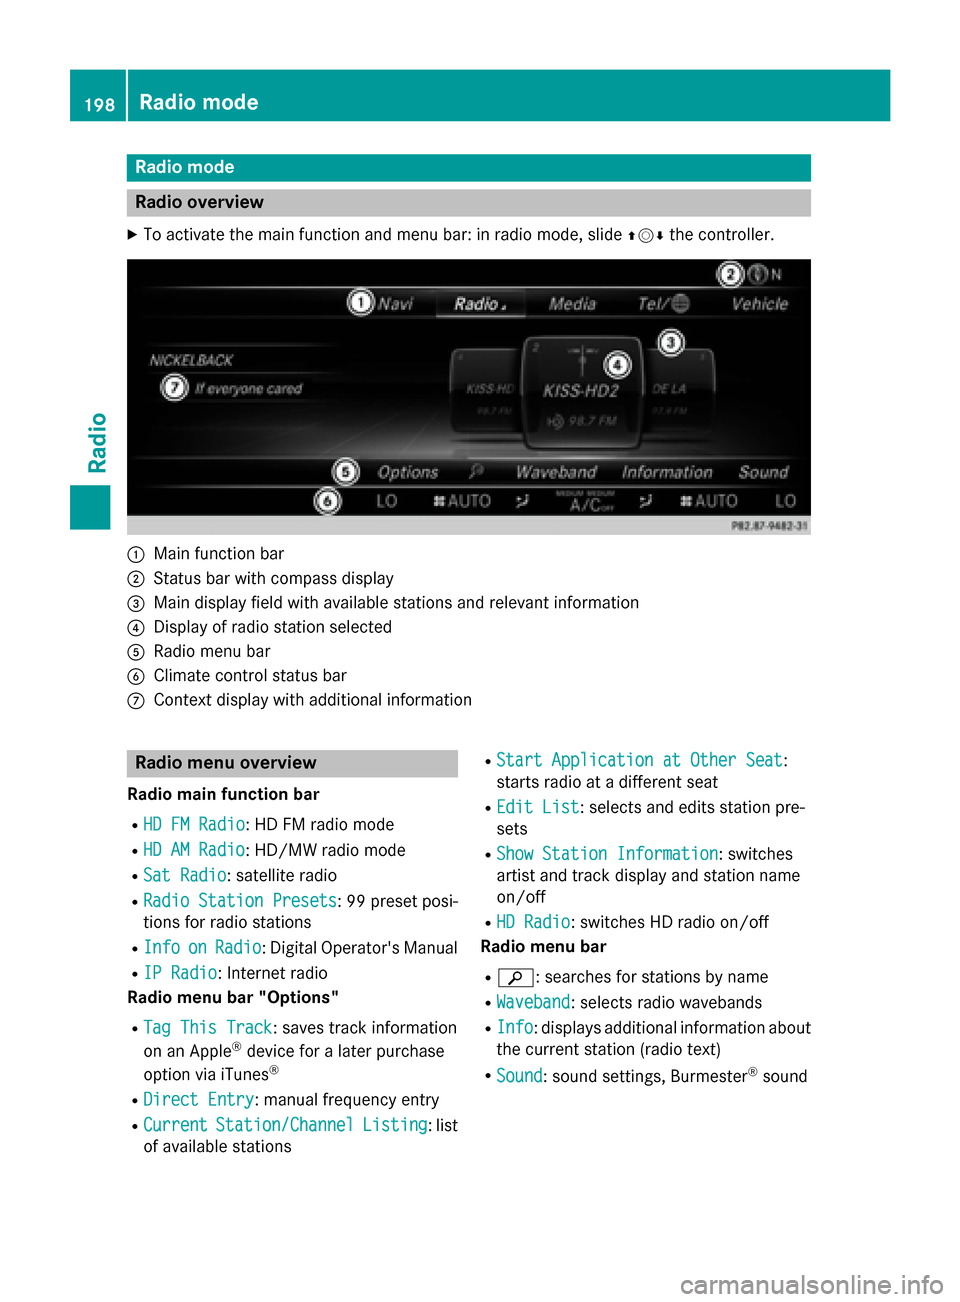
Radio overview
X To activate the main function and menu bar: in radio mode, slide 009700520064the controller. 0043
Main function bar
0044 Status bar with compass display
0087 Main display field with available stations and relevant information
0085 Display of radio station selected
0083 Radio menu bar
0084 Climate control status bar
006B Context display with additional information Radio menu overview
Radio main function bar
R HD FM Radio
HD FM Radio: HD FM radio mode
R HD AM Radio
HD AM Radio: HD/MW radio mode
R Sat Radio
Sat Radio: satellite radio
R Radio Station Presets
Radio Station Presets : 99 preset posi-
tions for radio stations
R Info
Info on
onRadio
Radio: Digital Operator's Manual
R IP Radio
IP Radio: Internet radio
Radio menu bar "Options"
R Tag This Track
Tag This Track: saves track information
on an Apple ®
device for a later purchase
option via iTunes ®
R Direct Entry
Direct Entry: manual frequency entry
R Current
Current Station/Channel
Station/Channel Listing
Listing: list
of available stations R
Start Application at Other Seat
Start Application at Other Seat :
starts radio at a different seat
R Edit List
Edit List : selects and edits station pre-
sets
R Show Station Information
Show Station Information: switches
artist and track display and station name
on/off
R HD Radio HD Radio: switches HD radio on/off
Radio menu bar
R 00D3: searches for stations by name
R Waveband
Waveband : selects radio wavebands
R Info
Info : displays additional information about
the current station (radio text)
R Sound
Sound: sound settings, Burmester ®
sound 198
Radio modeRadio