warning MERCEDES-BENZ S-Class 2015 W222 Comand Manual
[x] Cancel search | Manufacturer: MERCEDES-BENZ, Model Year: 2015, Model line: S-Class, Model: MERCEDES-BENZ S-Class 2015 W222Pages: 298, PDF Size: 6.39 MB
Page 217 of 298
Inserting and ejecting an SD memory
card
Important safety notes G
WARNING
SD memory cards are small parts. They can be swallowed and cause asphyxiation. This
poses an increased risk of injury or even fatal injury.
Keep SD memory cards out of the reach of
children. If an SD memory card is swallowed,
seek immediate medical attention.
! If you are no longer using the SD memory
card, you should remove it and take it out of
the vehicle. High temperatures can dam-
age the card.
COMAND supports SD memory cards
(Secure Digital), SDHC memory cards
(Secure DigitalHighCapacity), and SDXC
memory cards ( SecureDigital e Xtended
C apacity.
Inserting an SD memory card X
Insert the SD memory card into the SD card
slot in the stowage space under the arm-
rest until the SD memory card engages into place. The side with the contacts must face
downwards.
The music is played while the files are
loaded in the background. If there are no
supported audio/video files, you will see a message to this effect.
Ejecting an SD memory card X
Press the memory card.
The memory card is ejected.
X Remove the memory card. Connecting USB devices
There are two USB ports located in the stow-
age compartment in the center console. X
Connect the USB device to the USB port.
The data medium will only be played and
the files will only be loaded in the back-
ground if the corresponding media display
is visible. Otherwise, the system does not
automatically switch to USB. If there are no
supported audio/video files, you will see a message to this effect.
i MP3 players must support Media Transfer
Protocol (MTP). Activating media mode
Switching on automatically After an external media source has been con-
nected, COMAND will only activate the cor-
responding media mode automatically and
show the basic display in the case of CDs and SD cards. If the CD/DVD is started using
another application (e.g. navigation), the dis-
play will not change.
When using USB devices, depending on the
vehicle's equipment, the relevant Media
Interface 1, 2 or USB 1, 2 basic display must
already be activated.
X Insert the CDs/DVDs (Y page 212)
or X Insert an SD memory card: (Y page 215)
or
X Connect a USB device: (Y page 215)
COMAND loads the medium inserted and
playback starts automatically if the basic
display is set to the correct USB media
source.
Further options for switching on R
Using the number keypad: (Y page 211)
R Using the main function bar: (Y page 211)
R Using the device list: (Y page 211)
R Using the 00FDbutton: (Y page 210) Audio/video mode
215Media Z
Page 241 of 298
Video AUX mode
Connecting external video sources
G
WARNING
External video sources may have different vol-
umes, which can mean that system messages such as traffic announcements and navigation
system announcements are much louder. If
necessary, please deactivate the system mes- sages or adjust their volume manually.
Video AUX is another option for showing vid- eos using COMAND.
To connect an external video source to the
video AUX, you will require a video AUX cable.
i If you only use an audio AUX cable, you
will only be able to hear the sound from the
video being played.
Videos cannot be shown on the driver's
side while the vehicle is in motion. Switching to AUX video mode
X Connect the external video source.
The socket for the video AUX jack is located
in the stowage compartment in the center
console.
The video AUX is not selected automati-
cally.
X Press the 00FDbutton.
The menu for the last accessed media
source appears.
X To select Media
Media from the main function bar:
turn and press the controller.
You will see the menu.
X Select Aux
Aux .
The AUX video menu appears.
X To select Audio/Video Audio/Video in the menu bar:
slide 005200C5 and press the controller.
A Source Type Selection
Source Type Selection menu
appears.
X Select Video
Video.
The 003Bdot indicates the current setting. If the video source is connected and play-
back selected, the image from the external
video source will appear if Video
Videois
selected.
Please see the corresponding device operat-
ing instructions for information on how to
operate the external video source.
Information about sound settings
(Y page 250) Switching full-screen mode on/off
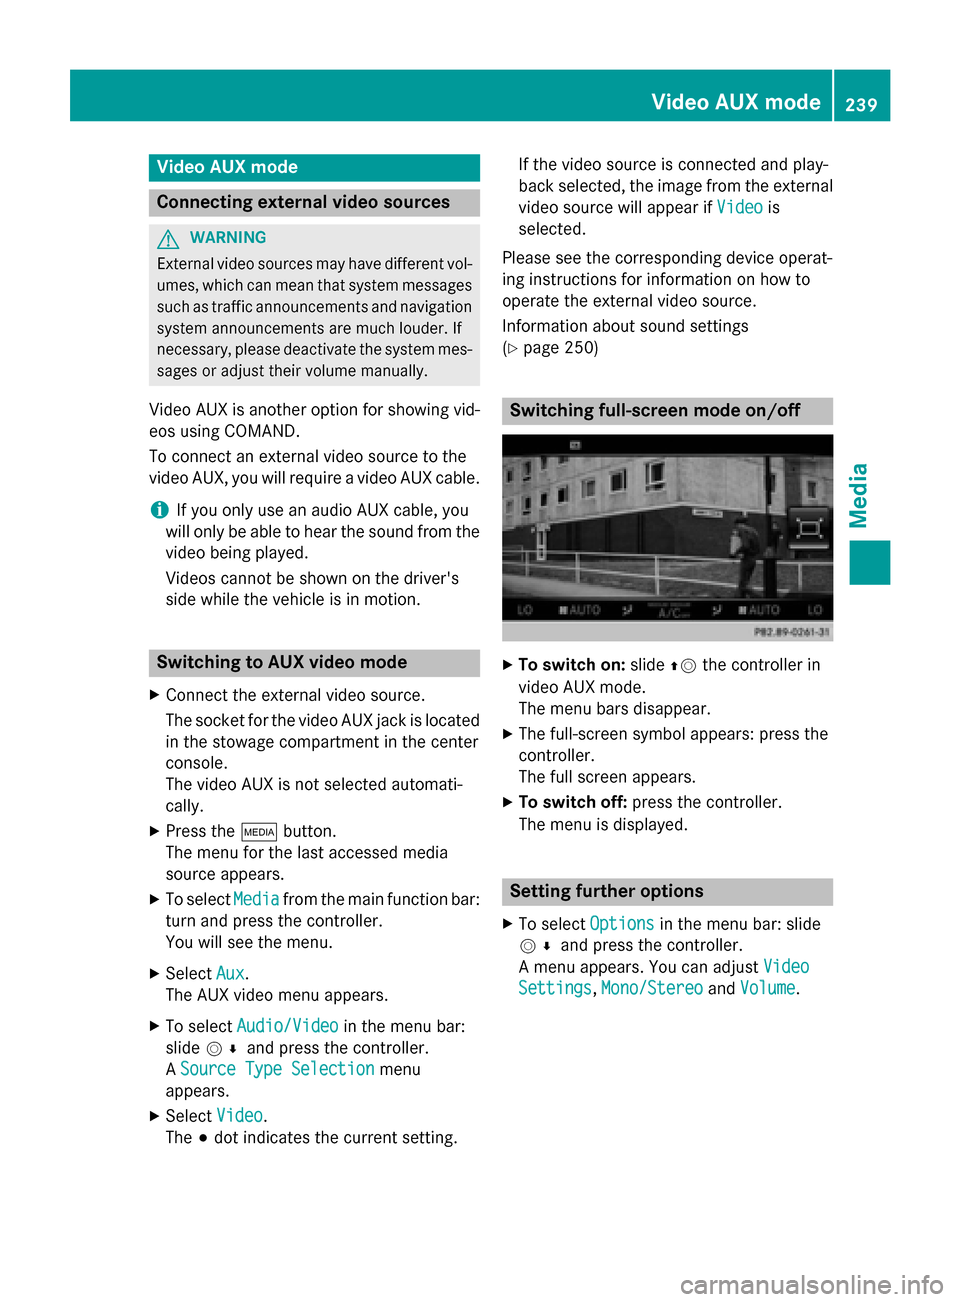
X
To switch on: slide00970052the controller in
video AUX mode.
The menu bars disappear.
X The full-screen symbol appears: press the
controller.
The full screen appears.
X To switch off: press the controller.
The menu is displayed. Setting further options
X To select Options Optionsin the menu bar: slide
005200C5 and press the controller.
A menu appears. You can adjust Video
Video
Settings
Settings, Mono/Stereo
Mono/Stereo andVolume
Volume . Video AUX mode
239Media Z
Page 242 of 298
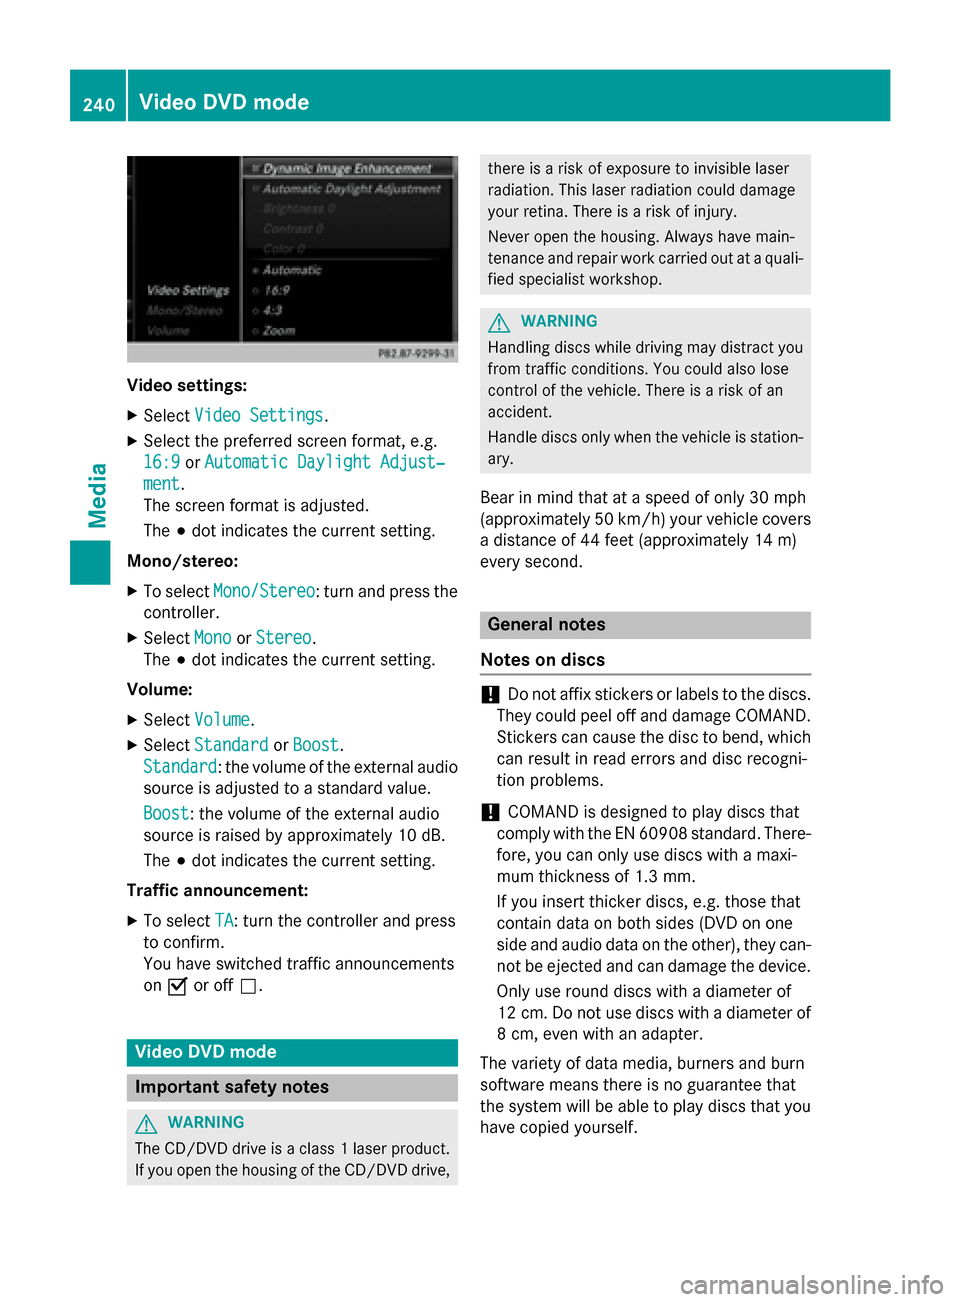
Video settings:
X Select Video Settings
Video Settings.
X Select the preferred screen format, e.g.
16:9
16:9 orAutomatic Daylight Adjust‐
Automatic Daylight Adjust‐
ment
ment.
The screen format is adjusted.
The 003Bdot indicates the current setting.
Mono/stereo: X To select Mono/Stereo
Mono/Stereo: turn and press the
controller.
X Select Mono MonoorStereo
Stereo .
The 003Bdot indicates the current setting.
Volume:
X Select Volume
Volume .
X Select Standard
Standard orBoost
Boost.
Standard
Standard: the volume of the external audio
source is adjusted to a standard value.
Boost Boost: the volume of the external audio
source is raised by approximately 10 dB.
The 003Bdot indicates the current setting.
Traffic announcement: X To select TA TA: turn the controller and press
to confirm.
You have switched traffic announcements
on 0073 or off 0053. Video DVD mode
Important safety notes
G
WARNING
The CD/DVD drive is a class 1 laser product. If you open the housing of the CD/DVD drive, there is a risk of exposure to invisible laser
radiation. This laser radiation could damage
your retina. There is a risk of injury.
Never open the housing. Always have main-
tenance and repair work carried out at a quali- fied specialist workshop. G
WARNING
Handling discs while driving may distract you from traffic conditions. You could also lose
control of the vehicle. There is a risk of an
accident.
Handle discs only when the vehicle is station-
ary.
Bear in mind that at a speed of only 30 mph
(approximately 50 km/h) your vehicle covers
a distance of 44 feet (approximately 14 m)
every se cond. General notes
Notes on discs !
Do not affix stickers or labels to the discs.
They could peel off and damage COMAND.
Stickers can cause the disc to bend, which can result in read errors and disc recogni-
tion problems.
! COMAND is designed to play discs that
comply with the EN 60908 standard. There-
fore, you can only use discs with a maxi-
mum thickness of 1.3 mm.
If you insert thicker discs, e.g. those that
contain data on both sides (DVD on one
side and audio data on the other), they can- not be ejected and can damage the device.
Only use round discs with a diameter of
12 cm. Do not use discs with a diameter of 8 cm, even with an adapter.
The variety of data media, burners and burn
software means there is no guarantee that
the system will be able to play discs that you have copied yourself. 240
Video DVD modeMedia
Page 262 of 298
Your COMAND equipment
These operating instructions describe all
standard and optional equipment available
for your COMAND system at the time of pur-
chase. Country-specific differences are pos-
sible. Please note that your COMAND system may not be equipped with all the features
described. This also applies to safety-relevant
systems and functions. Therefore, the equip-
ment on your COMAND system may differ
from that in the descriptions and illustrations. Should you have any questions concerning
equipment and operation, please consult an
authorized Mercedes-Benz Center. Rear Seat Entertainment System
overview
Important safety notes
G
WARNING
The CD/DVD drive is a class 1 laser product. If you open the housing of the CD/DVD drive,
there is a risk of exposure to invisible laser
radiation. This laser radiation could damage
your retina. There is a risk of injury.
Never open the housing. Always have main-
tenance and repair work carried out at a quali- fied specialist workshop. G
WARNING
If objects such as headphones/headsets or
external audio/video sources are not secured in the passenger compartment, they can be
flung around and hit vehicle occupants. There
is a risk of injury, for example in the event of
sudden braking or a sudden change in direc-
tion.
Always stow these items or similar objects
carefully so that they cannot be flung around, for example in a lockable vehicle stowage
compartment. Components
The Rear Seat Entertainment System
includes:
R two screens for the rear behind the front-
seat head restraints
R two remote controls for the rear compart-
ment
R a CD/DVD drive in the rear compartment
R AUX jacks
R two USB ports
R two sets of cordless headphones General notes
R You can only adjust the volume for the
headphones supplied, directly on the head-
phones.
R If media from different sources are used,
they can be used separately from each of
the operating positions. Example: a film
from the DVD drive is played on the rear
right-hand operating position. This means
that another film from the same DVD can-
not be played separately on the rear left-
hand operating position. However, on the
rear left-hand operating position, it is pos-
sible to use the radio, TV, memory card,
MUSIC REGISTER, media interface, USB,
online and Internet functions or AUX.
R If you use the same medium on both sides,
you can both carry out the respective set-
tings. The "last one wins" principle applies
here, i.e. the last setting activated is
favored.
R The Internet can be used separately at all
operating positions.
R The Internet can only be used if it is set up
and connected via a telephone
(Y page 173). 260
Rea
r Seat Entertainment System overviewRear Seat Entertainment System
Page 269 of 298
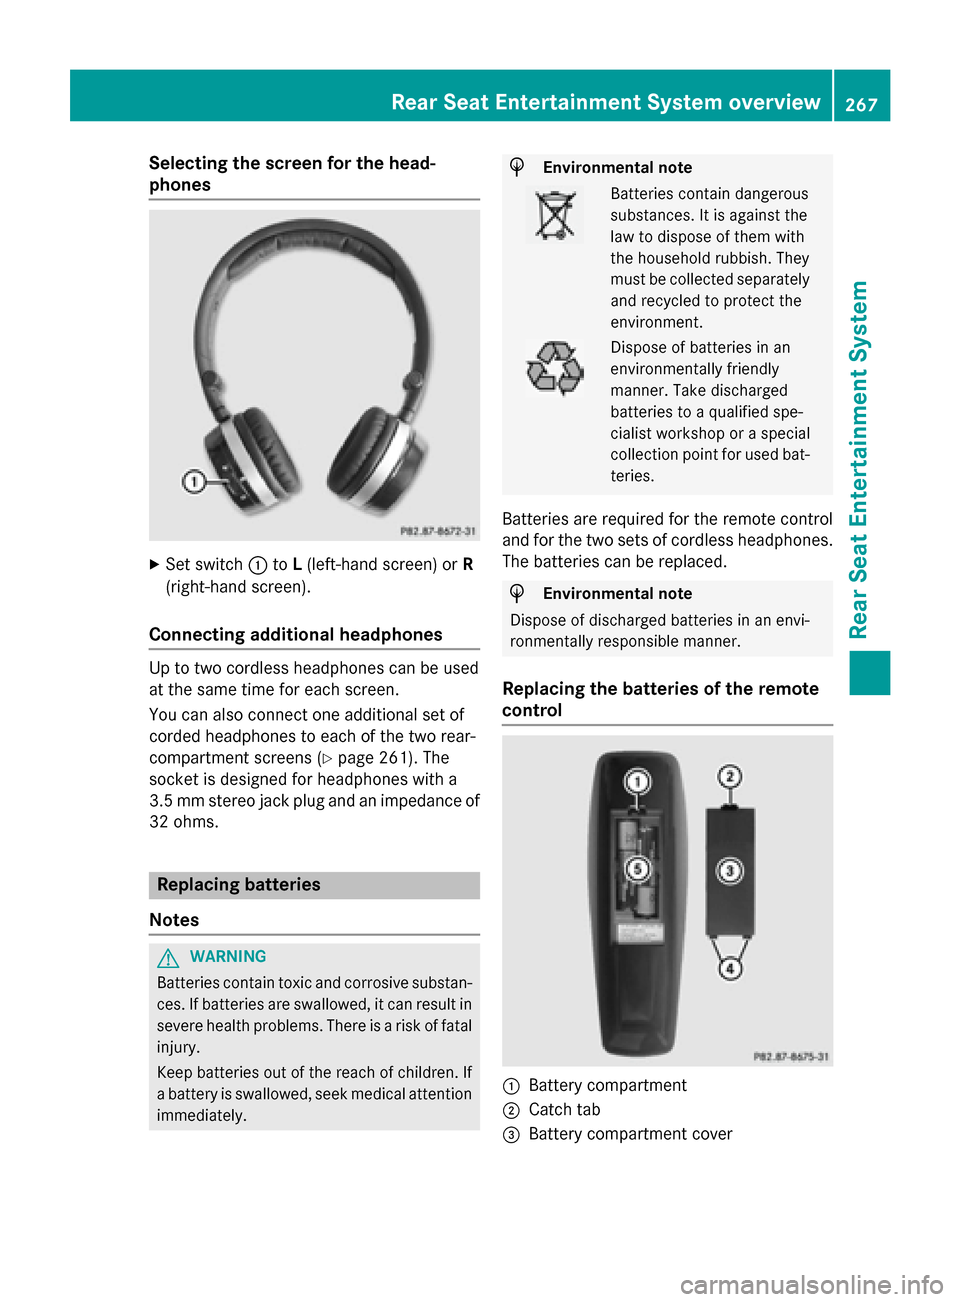
Selecting the screen for the head-
phones
X
Set switch 0043toL(left-hand screen) or R
(right-hand screen).
Connecting additional headphones Up to two cordless headphones can be used
at the same time for each screen.
You can also connect one additional set of
corded headphones to each of the two rear-
compartment screens (Y page 261). The
socket is designed for headphones with a
3.5 mm stereo jack plug and an impedance of 32 ohms. Replacing batteries
Notes G
WARNING
Batteries contain toxic and corrosive substan- ces. If batteries are swallowed, it can result in
severe health problems. There is a risk of fatal injury.
Keep batteries out of the reach of children. If
a battery is swallowed, seek medical attention immediately. H
Environmental note Batteries contain dangerous
substances. It is against the
law to dispose of them with
the household rubbish. They
must be collected separately
and recycled to protect the
environment. Dispose of batteries in an
environmentally friendly
manner. Take discharged
batteries to a qualified spe-
cialist workshop or a special
collection point for used bat-
teries.
Batteries are required for the remote control
and for the two sets of cordless headphones. The batteries can be replaced. H
Environmental note
Dispose of discharged batteries in an envi-
ronmentally responsible manner.
Replacing the batteries of the remote
control 0043
Battery compartment
0044 Catch tab
0087 Battery compartment cover Rear Seat Entertainment System overview
267Rear Seat Entertainment System Z
Page 275 of 298
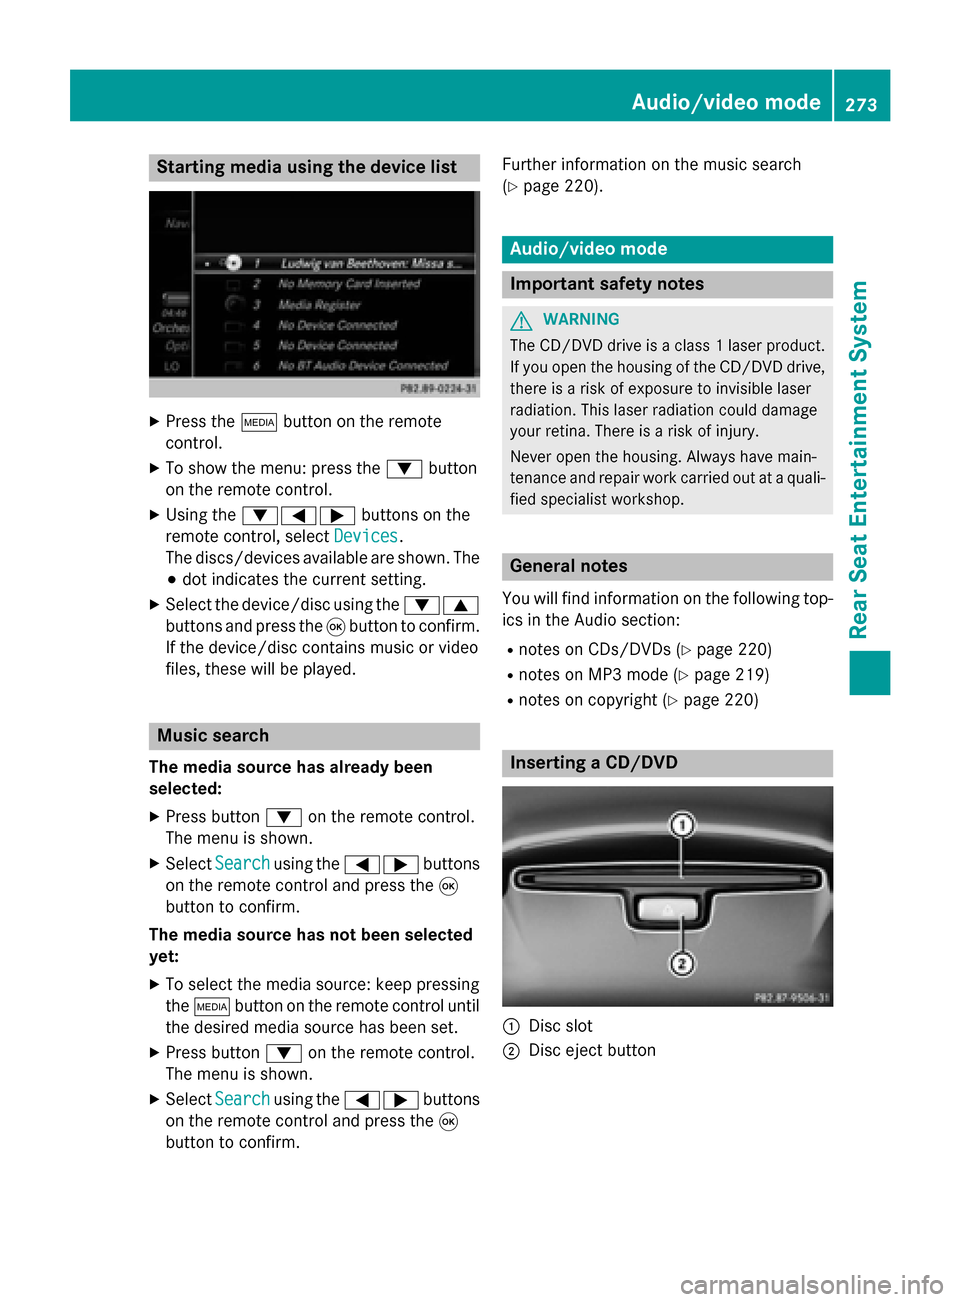
Starting media using the device list
X
Press the 00FDbutton on the remote
control.
X To show the menu: press the 0064button
on the remote control.
X Using the 006400590065 buttons on the
remote control, select Devices
Devices.
The discs/devices available are shown. The 003B dot indicates the current setting.
X Select the device/disc using the 00640063
buttons and press the 008Bbutton to confirm.
If the device/disc contains music or video
files, these will be played. Music search
The media source has already been
selected:
X Press button 0064on the remote control.
The menu is shown.
X Select Search Search using the 00590065 buttons
on the remote control and press the 008B
button to confirm.
The media source has not been selected
yet:
X To select the media source: keep pressing
the 00FD button on the remote control until
the desired media source has been set.
X Press button 0064on the remote control.
The menu is shown.
X Select Search Search using the 00590065 buttons
on the remote control and press the 008B
button to confirm. Further information on the music search
(Y
page 220). Audio/video mode
Important safety notes
G
WARNING
The CD/DVD drive is a class 1 laser product. If you open the housing of the CD/DVD drive,
there is a risk of exposure to invisible laser
radiation. This laser radiation could damage
your retina. There is a risk of injury.
Never open the housing. Always have main-
tenance and repair work carried out at a quali- fied specialist workshop. General notes
You will find information on the following top- ics in the Audio section:
R notes on CDs/DVDs (Y page 220)
R notes on MP3 mode (Y page 219)
R notes on copyright (Y page 220) Inserting a CD/DVD
0043
Disc slot
0044 Disc eject button Audio/video mode
273Rear Seat Entertainment System Z
Page 278 of 298
Video DVD mode
Important safety notes
G
WARNING
The CD/DVD drive is a class 1 laser product. If you open the housing of the CD/DVD drive,
there is a risk of exposure to invisible laser
radiation. This laser radiation could damage
your retina. There is a risk of injury.
Never open the housing. Always have main-
tenance and repair work carried out at a quali- fied specialist workshop. General notes
DVD playback conditions Playback problems may occur when playing
copied discs. There is a large variety of discs,
DVD authoring software, writing software and writers available. This variety means that
there is no guarantee that the system will be
able to play video DVDs you have copied your-
self.
More information on the playback criteria
(Y page 241).
Function restrictions Depending on the DVD, certain functions or
actions may be temporarily blocked or not
function at all. As soon as you try to activate
these functions, you will see the
0047symbol in
the display. Switching to video DVD mode
X Insert a video DVD (Y page 264).
The system loads the disc.
If disc mode was the last mode selected, it will now be active.
X Manually switch to video DVD mode:
repeatedly press the 00FDbutton on the remote control until the video DVD mode is
switched on.
If the video DVD fulfills the playback crite-
ria, the film starts automatically or the DVD
menu appears. If the DVD menu appears,
you must start the film manually.
X Select the corresponding menu item in the
DVD menu. Video menu
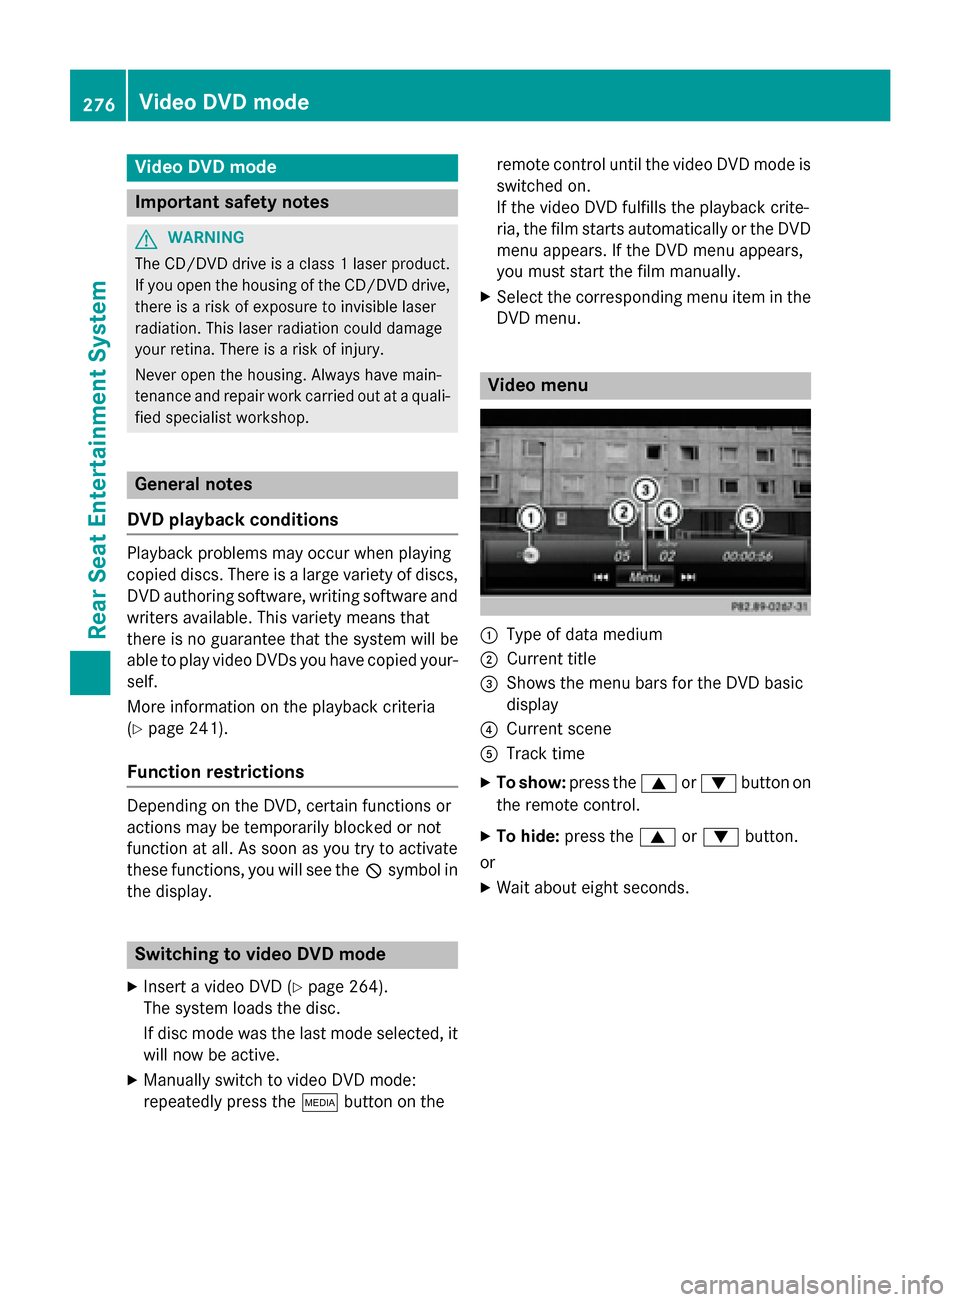
0043
Type of data medium
0044 Current title
0087 Shows the menu bars for the DVD basic
display
0085 Current scene
0083 Track time
X To show: press the0063or0064 button on
the remote control.
X To hide: press the 0063or0064 button.
or X Wait about eight seconds. 276
Video DVD modeRear Seat Entertainment System
Page 284 of 298
Your COMAND equipment
These operating instructions describe all the
standard and optional equipment for your
COMAND system, as available at the time of
going to print. Country-specific differences
are possible. Please note that your COMAND
system may not be equipped with all the fea- tures described. SIRIUS Weather
Introduction
This function is currently not available for
Canada.
For the reception of weather forecasts via
satellite radio, you will need a SIRIUS XM Sat- ellite Weather subscription.
If the message Call CallSIRIUS
SIRIUS to
toactivate
activate
system at: SIRIUS_number ESN:
system at: SIRIUS_number ESN:
SIRIUS_ID SIRIUS_ID appears along with the ID number
of the SIRIUS device, you will need to have the
weather service activated first.
X To select Call
CallorCancel
Cancel : turn and press
the controller.
If a mobile phone is connected to COMAND (Y page 138), the call will connect to a SIR-
IUS service employee after selecting Call Call.
The ID number of the SIRIUS device will be
transferred to the telephone display.
X This will be followed by instructions from
the service employee.
COMAND can receive weather forecasts via
satellite radio for the entire USA (including
Alaska and Hawaii). The received weather
data can be displayed as an information chart (daily forecast, five-day forecast, detailed
information) or on the weather map.
The weather data received from a weather
station is stored in COMAND for one hour. It
can therefore be displayed again immediately
after restarting the engine (for example after
refueling). Depending on which scale has been selected,
the weather map can display the following
weather data with symbols:
R rain radar
R storm characteristics
R areas of high-pressure/low-pressure,
weather fronts
R course of tropical cyclones (hurricanes,
typhoons)
R gale warnings
R wind direction and speeds
i The rain radar cannot be displayed for
Alaska, Hawaii and Puerto Rico.
i Hurricane: term used to describe the trop-
ical cyclones that primarily develop in the
Atlantic, North Pacific and South Pacific
oceans. The wind speeds are above 74 mph
(118 km/h). Five categories are used to
classify the strength of a hurricane.
Typhoon: term used to describe a tropical
cyclone that develops in the northwestern
Pacific. The wind speeds are in the category of a hurricane. Switching the SIRIUS Weather display
on/off
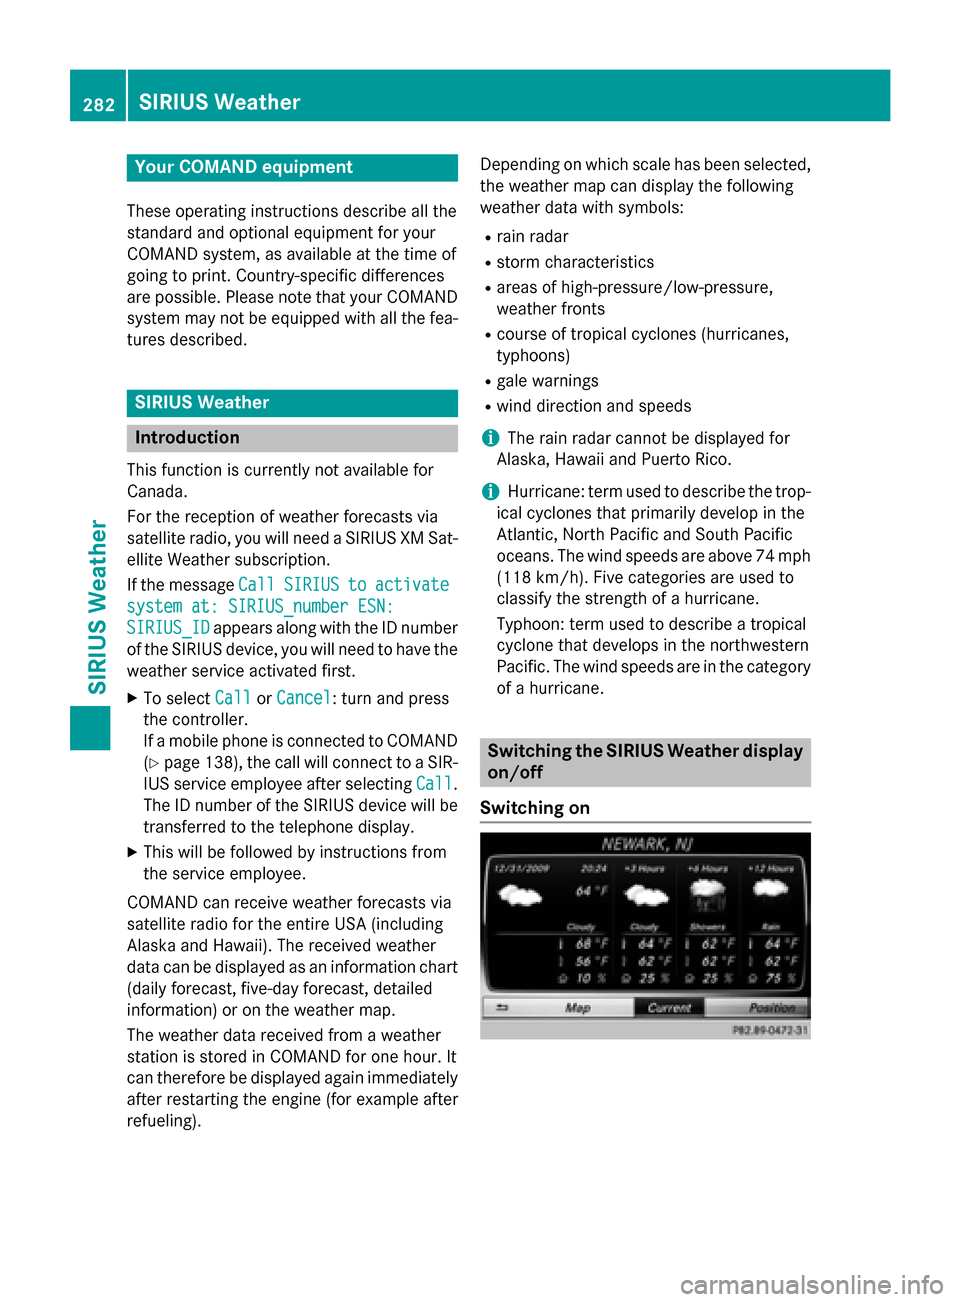
Switching on 282
SIRIUS Wea
therSIRIUS Weather
Page 288 of 298
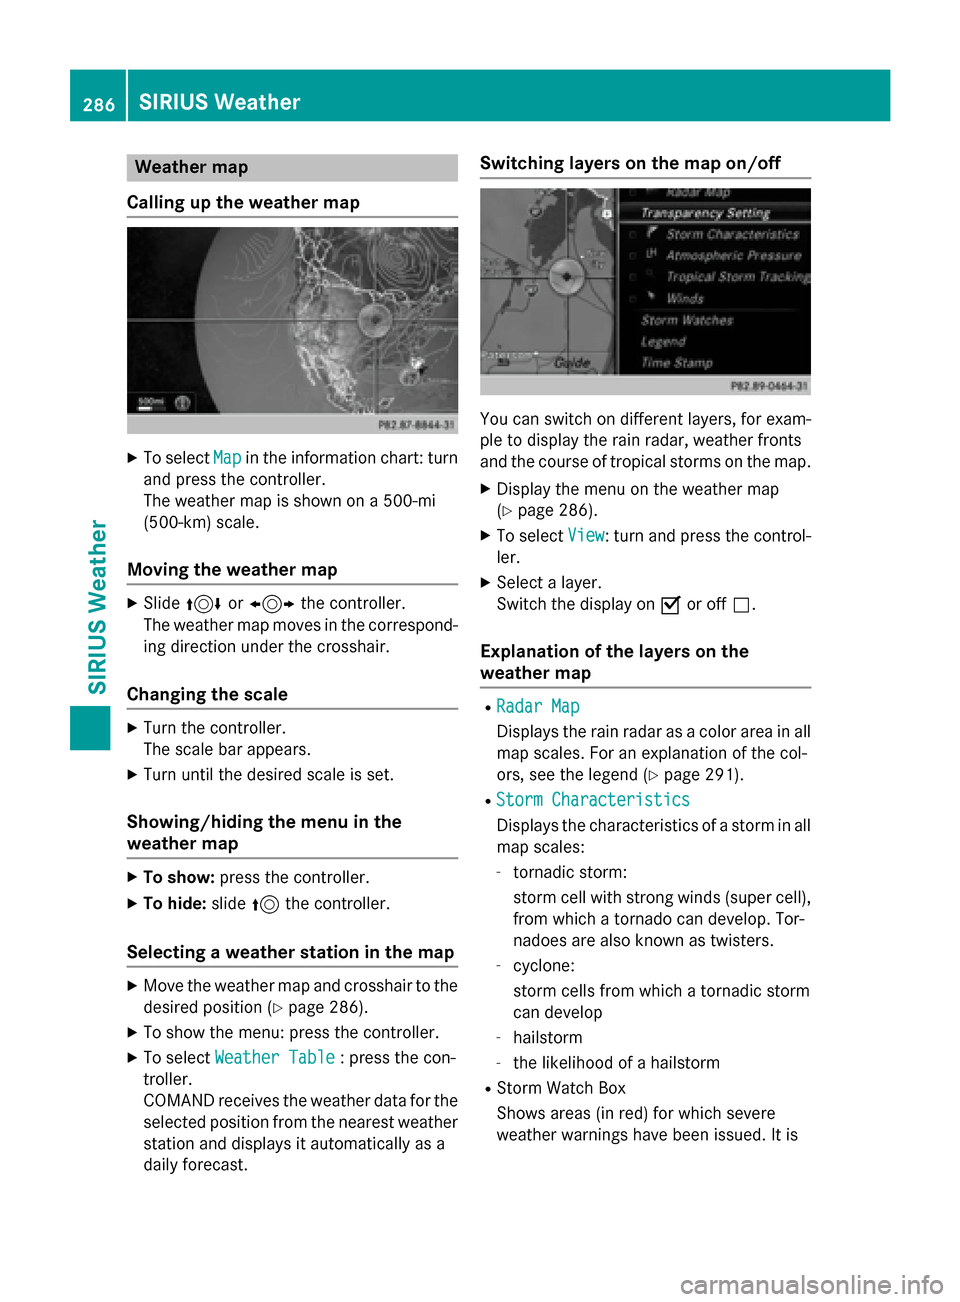
Weather map
Calling up the weather map X
To select Map
Mapin the information chart: turn
and press the controller.
The weather map is shown on a 500-mi
(500-km) scale.
Moving the weather map X
Slide 4 or1 the controller.
The weather map moves in the correspond-
ing direction under the crosshair.
Changing the scale X
Turn the controller.
The scale bar appears.
X Turn until the desired scale is set.
Showing/hiding the menu in the
weather map X
To show: press the controller.
X To hide: slide5the controller.
Selecting a weather station in the map X
Move the weather map and crosshair to the
desired position (Y page 286).
X To show the menu: press the controller.
X To select Weather Table
Weather Table : press the con-
troller.
COMAND receives the weather data for the
selected position from the nearest weather
station and displays it automatically as a
daily forecast. Switching layers on the map on/off
You can switch on different layers, for exam-
ple to display the rain radar, weather fronts
and the course of tropical storms on the map.
X Display the menu on the weather map
(Y page 286).
X To select View View: turn and press the control-
ler.
X Select a layer.
Switch the display on 0073or off 0053.
Explanation of the layers on the
weather map R
Radar Map Radar Map
Displays the rain radar as a color area in all
map scales. For an explanation of the col-
ors, see the legend (Y page 291).
R Storm Characteristics Storm Characteristics
Displays the characteristics of a storm in all
map scales:
- tornadic storm:
storm cell with strong winds (super cell),
from which a tornado can develop. Tor-
nadoes are also known as twisters.
- cyclone:
storm cells from which a tornadic storm
can develop
- hailstorm
- the likelihood of a hailstorm
R Storm Watch Box
Shows areas (in red) for which severe
weather warnings have been issued. It is 286
SIRIUS WeatherSIRIUS Weather
Page 294 of 298
Storm Watch Box
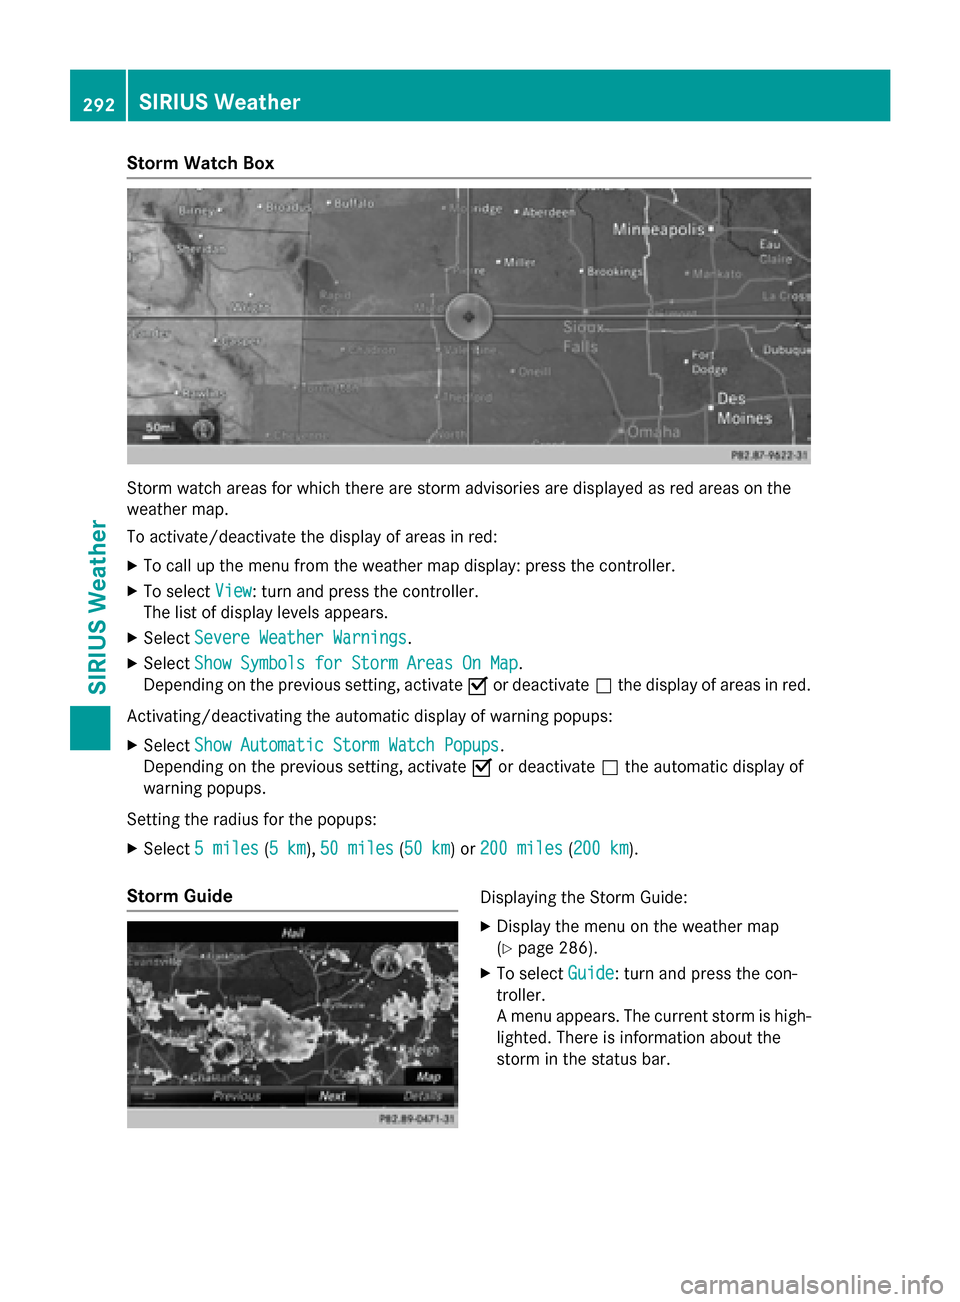
Storm watch areas for which there are storm advisories are displayed as red areas on the
weather map.
To activate/deactivate the display of areas in red:
X To call up the menu from the weather map display: press the controller.
X To select View
View: turn and press the controller.
The list of display levels appears.
X Select Severe Weather Warnings
Severe Weather Warnings.
X Select Show Symbols for Storm Areas On Map Show Symbols for Storm Areas On Map.
Depending on the previous setting, activate 0073or deactivate 0053the display of areas in red.
Activating/deactivating the automatic display of warning popups:
X Select Show Automatic Storm Watch Popups
Show Automatic Storm Watch Popups.
Depending on the previous setting, activate 0073or deactivate 0053the automatic display of
warning popups.
Setting the radius for the popups:
X Select 5 miles
5 miles (5 km5 km), 50 miles
50 miles (50 km50 km) or 200 miles
200 miles (200 km200 km).
Storm Guide Displaying the Storm Guide:
X Display the menu on the weather map
(Y page 286).
X To select Guide
Guide: turn and press the con-
troller.
A menu appears. The current storm is high- lighted. There is information about the
storm in the status bar. 292
SIRIUS WeatherSIRIUS Weather