Card MERCEDES-BENZ S-Class 2015 W222 Comand Manual
[x] Cancel search | Manufacturer: MERCEDES-BENZ, Model Year: 2015, Model line: S-Class, Model: MERCEDES-BENZ S-Class 2015 W222Pages: 298, PDF Size: 6.39 MB
Page 164 of 298
Adding the sender to an address book
entry
Storing the sender of a text message X
To call up the menu when a text message is
displayed: press the controller.
X To select Save
Save Number
Number : turn and press the
controller.
X To select Add Phone No.
Add Phone No. : turn and press
the controller.
X To select a category for the number, e.g.
Home
Home: turn the controller and press to con-
firm.
X To select a telephone category, e.g.
Mobile Phone
Mobile Phone: turn the controller and
press to confirm.
X To select Continue
Continue: turn and press the
controller.
The address book is displayed.
X Search for the desired entry (Y page 163).
X Press the controller when you have finished
searching.
The telephone number has been added.
A maximum of five telephone numbers can
be saved for one contact.
Saving the sender of an e-mail Up to two e-mail addresses can be saved for
one contact.
X To call up the menu when an e-mail is dis-
played: press the controller.
X To select Save Sender's E-Mail
Save Sender's E-Mail
Address Address: turn and press the controller.
X To select Add
Add: turn and press the controller.
The address book is displayed.
X Search for the desired entry (Y page 163).
X Press the controller when you have finished
searching.
The e-mail address has been added. Deleting messages
X Call up the message folder (Y page 157).
X To select the message: turn and press the
controller.
X To select G: slide 9the controller.
X To select Delete Delete: turn and press the con-
troller.
X To select Yes
Yes: turn and press the controller.
The message is deleted.
or
X To select No
No: turn and press the controller.
The process is canceled.
i This delete function is not supported by all
mobile phones. The Delete
Deletefailed.
failed. mes-
sage then appears. Address book
Introduction
Always pay attention to traffic conditions.
Familiarize yourself with the address book
functions before beginning your journey.
You can use COMAND when the road and
traffic conditions permit. You could otherwise become involved in an accident in which you
or others could be injured.
The address book displays all the contacts
from the various sources (mobile phone,
memory card, USB device, COMAND phone
book, navigation).
You can use the contacts to make telephone
calls, navigate and to write messages.
If a mobile phone is connected to COMAND
and automatic calling up is activated
(Y page 167), the mobile phone's contacts
are displayed in the address book. If you dis-
connect the mobile phone from COMAND,
these contacts are no longer displayed in the address book.
When you import, save, edit or add contacts,they will be saved in COMAND. These con-
tacts will remain there even when you con-
nect COMAND to a different mobile phone. 162
Address bookTelephone
Page 165 of 298
You can view these contacts even without a
mobile phone.
i The address book can store a total of
5000 contacts.
R 2000 entries are reserved for perma-
nently saved contacts.
R 3000 entries are reserved for contacts
that you can load from the mobile phone.
i Before selling your vehicle, delete the
contacts saved in COMAND using the reset function (Y page 55). Calling up the address book
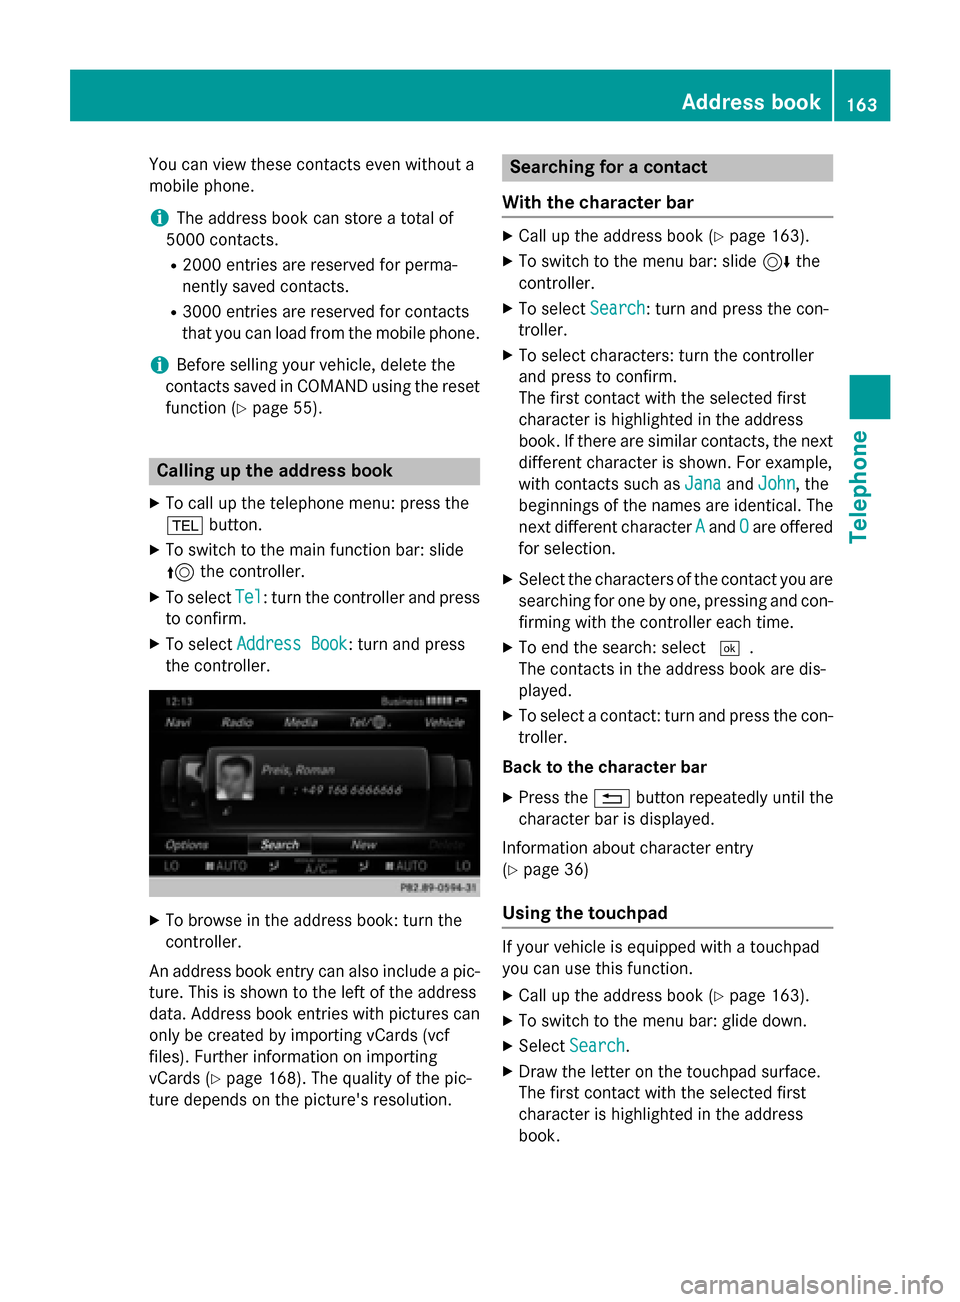
X To call up the telephone menu: press the
002B button.
X To switch to the main function bar: slide
5 the controller.
X To select Tel Tel: turn the controller and press
to confirm.
X To select Address Book
Address Book : turn and press
the controller. X
To browse in the address book: turn the
controller.
An address book entry can also include a pic- ture. This is shown to the left of the address
data. Address book entries with pictures can
only be created by importing vCards (vcf
files). Further information on importing
vCards (Y page 168). The quality of the pic-
ture depends on the picture's resolution. Searching for a contact
With the character bar X
Call up the address book (Y page 163).
X To switch to the menu bar: slide 6the
controller.
X To select Search Search: turn and press the con-
troller.
X To select characters: turn the controller
and press to confirm.
The first contact with the selected first
character is highlighted in the address
book. If there are similar contacts, the next
different character is shown. For example,
with contacts such as Jana JanaandJohn John , the
beginnings of the names are identical. The
next different character A Aand O
Oare offered
for selection.
X Select the characters of the contact you are
searching for one by one, pressing and con- firming with the controller each time.
X To end the search: select 0054.
The contacts in the address book are dis-
played.
X To select a contact: turn and press the con-
troller.
Back to the character bar X Press the 0038button repeatedly until the
character bar is displayed.
Information about character entry
(Y page 36)
Using the touchpad If your vehicle is equipped with a touchpad
you can use this function.
X Call up the address book (Y page 163).
X To switch to the menu bar: glide down.
X Select Search Search.
X Draw the letter on the touchpad surface.
The first contact with the selected first
character is highlighted in the address
book. Address book
163Telephone Z
Page 170 of 298
Saving or editing the contact data on
COMAND does not change the contacts on
the mobile phone. If automatic download-
ing of phone contacts is activated,
COMAND displays the copy ¥with the
changed data. To add additional data, such as additional phone numbers or e-mail
addresses, select this contact. In this way,
you avoid creating additional copies of the
mobile phone entry. Deleting the contact
X Call up the address book (Y page 163).
X Search for a contact (Y page 163).
X To select G: slide 9the controller.
X To select Delete Entry Delete Entry: turn and press
the controller.
X To select Yes
Yes: turn and press the controller.
The contact is deleted.
or
X To select No
No: turn and press the controller.
The process is canceled. Importing contacts
Information and requirements Contacts can be imported as vCards (vcf
files). A vCard is an electronic business card.
A memory card, USB device or a Bluetooth ®
connection can be used for importing.
i Up to 2000 entries can be imported into
the address book. A message notifies you
when the maximum number is reached. In
order to be able to then import new con-
tacts, you have to delete existing contacts
(Y page 168). Source Prerequisites
Memory card The SD memory card is
inserted. It contains
importable contact details. USB device The USB device is inserted
into the USB port. It con-
tains importable contact
details.
Bluetooth
®
connection If the sending of vCards is
supported via Bluetooth
®
,
vCards can be received on
mobile phones or net-
books, for example.
Bluetooth ®
must be acti-
vated in COMAND and on
the respective device (see
the manufacturer's operat-
ing instructions). Importing from the memory card or USB
device Contacts imported from the memory card or
from a USB device are identified by the 00BB
symbol.
The following conditions must be fulfilled in
order to import vCards:
R vCards (vcf files) may be located in the main
directory or in folders. COMAND allows you
to select the relevant folders directly.
R vCards must have the file extension ".vcf".
i COMAND supports vCards in versions 2.1
and 3.0. X
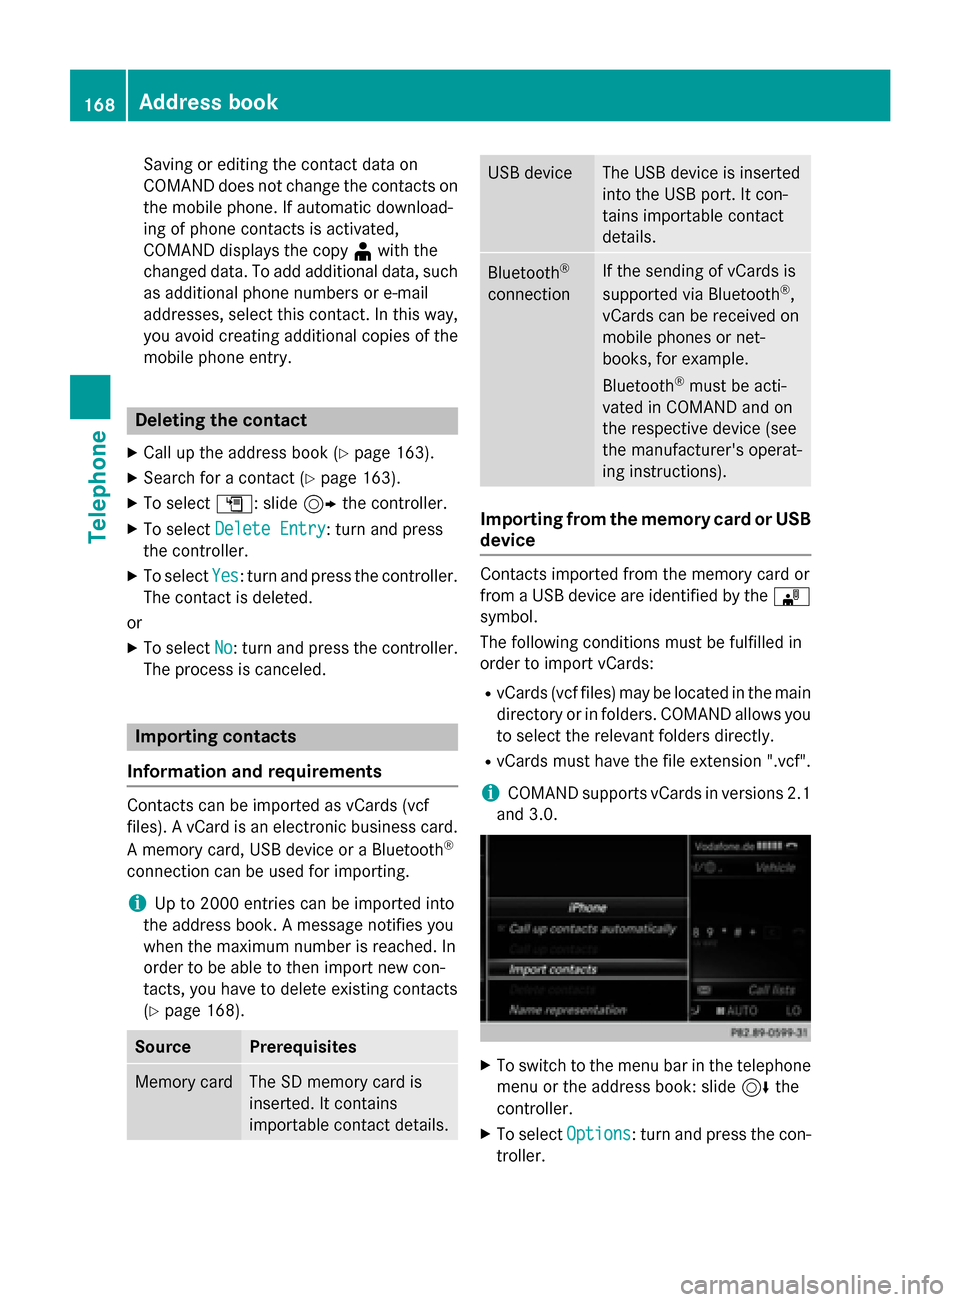
To switch to the menu bar in the telephone
menu or the address book: slide 6the
controller.
X To select Options Options: turn and press the con-
troller. 168
Address bookTelephone
Page 171 of 298
X
To select Download Contacts
Download Contacts: turn and
press the controller.
X To select From
From Memory
Memory Card
CardorFrom
From USB
USB
device
device: turn and press the controller.
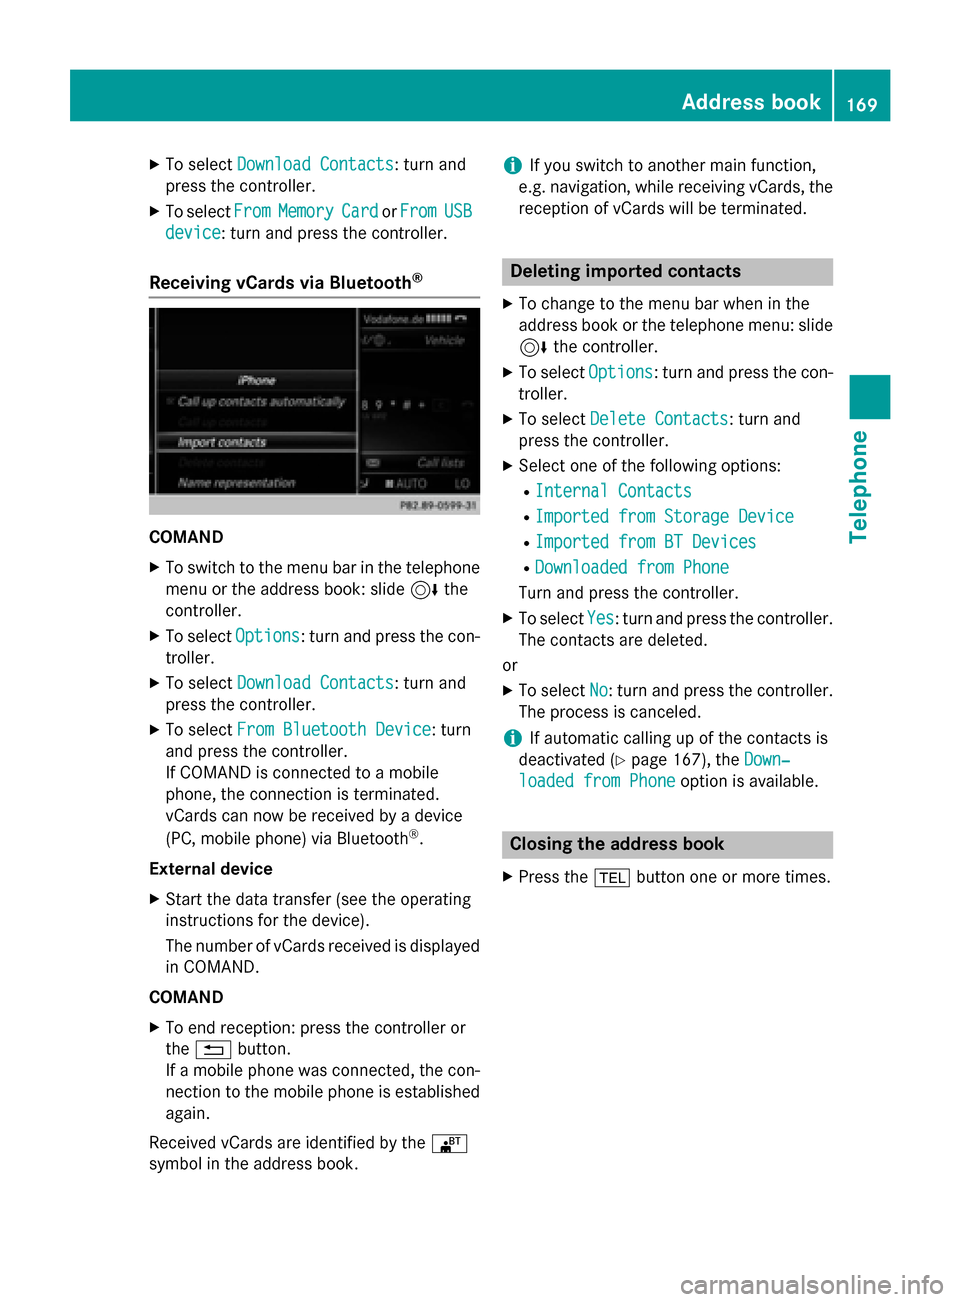
Receiving vCards via Bluetooth ®COMAND
X To switch to the menu bar in the telephone
menu or the address book: slide 6the
controller.
X To select Options
Options: turn and press the con-
troller.
X To select Download Contacts
Download Contacts: turn and
press the controller.
X To select From Bluetooth Device
From Bluetooth Device: turn
and press the controller.
If COMAND is connected to a mobile
phone, the connection is terminated.
vCards can now be received by a device
(PC, mobile phone) via Bluetooth ®
.
External device
X Start the data transfer (see the operating
instructions for the device).
The number of vCards received is displayed
in COMAND.
COMAND
X To end reception: press the controller or
the 0038 button.
If a mobile phone was connected, the con-
nection to the mobile phone is established again.
Received vCards are identified by the 00BA
symbol in the address book. i
If you switch to another main function,
e.g. navigation, while receiving vCards, the reception of vCards will be terminated. Deleting imported contacts
X To change to the menu bar when in the
address book or the telephone menu: slide
6 the controller.
X To select Options Options: turn and press the con-
troller.
X To select Delete Contacts
Delete Contacts: turn and
press the controller.
X Select one of the following options:
R Internal Contacts
Internal Contacts
R Imported from Storage Device
Imported from Storage Device
R Imported from BT Devices
Imported from BT Devices
R Downloaded from Phone
Downloaded from Phone
Turn and press the controller.
X To select Yes
Yes: turn and press the controller.
The contacts are deleted.
or
X To select No
No: turn and press the controller.
The process is canceled.
i If automatic calling up of the contacts is
deactivated (Y page 167), the Down‐
Down‐
loaded from Phone
loaded from Phone option is available. Closing the address book
X Press the 002Bbutton one or more times. Address book
169Telephone Z
Page 174 of 298
Your COMAND equipment
These operating instructions describe all
standard and optional equipment available
for your COMAND system at the time of pur-
chase. Country-specific differences are pos-
sible. Please note that your COMAND system may not be equipped with all the features
described. This also applies to safety-relevant
systems and functions. Therefore, the equip-
ment on your COMAND system may differ
from that in the descriptions and illustrations. Should you have any questions concerning
equipment and operation, please consult an
authorized Mercedes-Benz Center. Important safety notes
G
WARNING
If you operate mobile communication equip-
ment while driving, you will be distracted from traffic conditions. You could also lose controlof the vehicle. There is a risk of an accident.
Only operate this equipment when the vehicleis stationary.
If you make a call on your mobile phone while
driving, always use hands-free mode. Only
use the mobile phone when road, weather
and traffic conditions permit. Some jurisdic-
tions prohibit the driver from using a mobile
phone while driving a vehicle.
Bear in mind that at a speed of 30 mph
(approximately 50 km/h), the vehicle covers
a distance of 44 feet (approximately 14 m)
per second.
Excessive levels of electromagnetic radiation
may cause damage to your health and the
health of others.
There is scientific discussion surrounding the possible health risks posed by electromag-
netic fields. You can reduce this risk by using
an exterior antenna. Therefore, connect your mobile communica-
tions equipment to the vehicle's exterior
antenna wherever possible. General notes
Connection difficulties while the vehi-
cle is in motion
The connection may be lost if:
R the mobile phone network coverage is
insufficient
R the vehicle has moved into a mobile phone
cell with no free channels
R the SIM card used is not compatible with
the network available Function restrictions
You will not be able to use the Mercedes-Benz
Apps and Internet connection, or will no lon-
ger be able to use them, or may have to wait
before using them, in the following situations:
R when the mobile phone is switched off.
R if your mobile phone has not been enabled
for Internet access.
R if the Bluetooth ®
function is switched off on
COMAND and the desired phone is sup-
posed to be connected via Bluetooth ®
.
R if the Bluetooth ®
function is switched off on
the mobile phone and the phone is sup-
posed to be connected via Bluetooth ®
.
R if the mobile phone is not connected via
USB and the phone is supposed to be con-
nected via USB.
R if neither the mobile phone network nor the
mobile phone allow simultaneous use of a
phone and an Internet connection.
R if the mobile phone has not been enabled
for Internet access via Bluetooth ®
and/or
USB.
The driver is not permitted to call up websites while driving and use of the Mercedes-Benz
Apps is restricted. 172
General notesOnline and Internet functions
Page 177 of 298
If the data is not correct, you can edit the
settings (Y
page 177).
If the mobile phone network provider pro-
vides multiple access data options, the rele-
vant access data still has to be selected. This
depends on the data package used, for exam- ple.
The access data for the mobile phone net-
work provider is selected once for the mobile
phone connected and is loaded again each
time the mobile phone is connected. Estab-
lishing a connection (Y page 178).
You must set the access data of the mobile
phone network provider who provides the
SIM card and the associated data package
(access settings) for the connected mobile
phone. The access data remains the same
when you are in a different country (roaming). The access data of another network is not
selected.
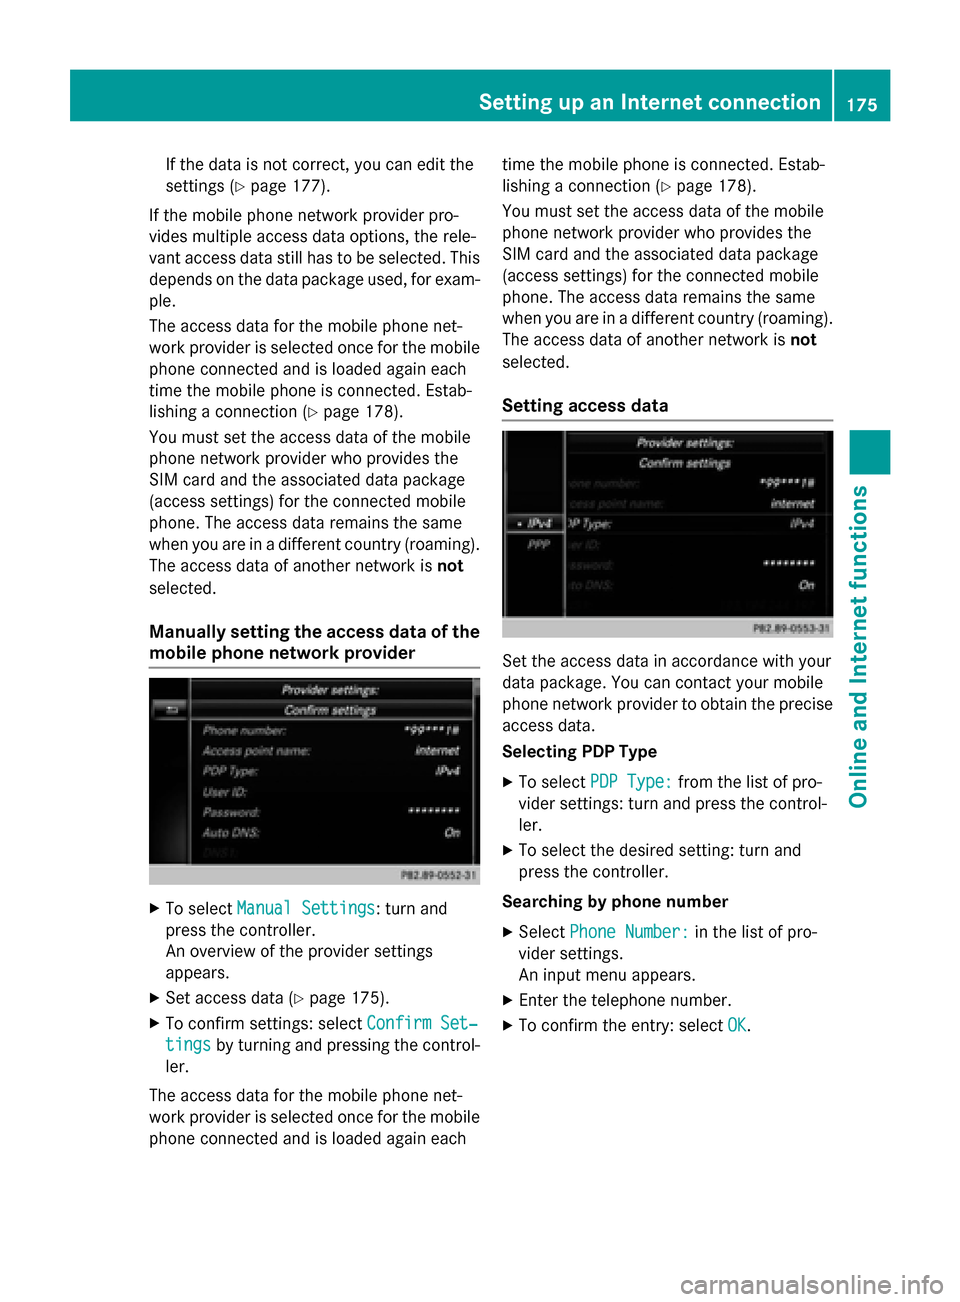
Manually setting the access data of the
mobile phone network provider X
To select Manual Settings Manual Settings: turn and
press the controller.
An overview of the provider settings
appears.
X Set access data (Y page 175).
X To confirm settings: select Confirm Set‐
Confirm Set‐
tings tings by turning and pressing the control-
ler.
The access data for the mobile phone net-
work provider is selected once for the mobile
phone connected and is loaded again each time the mobile phone is connected. Estab-
lishing a connection (Y
page 178).
You must set the access data of the mobile
phone network provider who provides the
SIM card and the associated data package
(access settings) for the connected mobile
phone. The access data remains the same
when you are in a different country (roaming). The access data of another network is not
selected.
Setting access data Set the access data in accordance with your
data package. You can contact your mobile
phone network provider to obtain the precise
access data.
Selecting PDP Type
X To select PDP Type: PDP Type: from the list of pro-
vider settings: turn and press the control-
ler.
X To select the desired setting: turn and
press the controller.
Searching by phone number
X Select Phone Number: Phone Number: in the list of pro-
vider settings.
An input menu appears.
X Enter the telephone number.
X To confirm the entry: select OK
OK. Setting up an Internet connection
175Online and Internet functions Z
Page 185 of 298
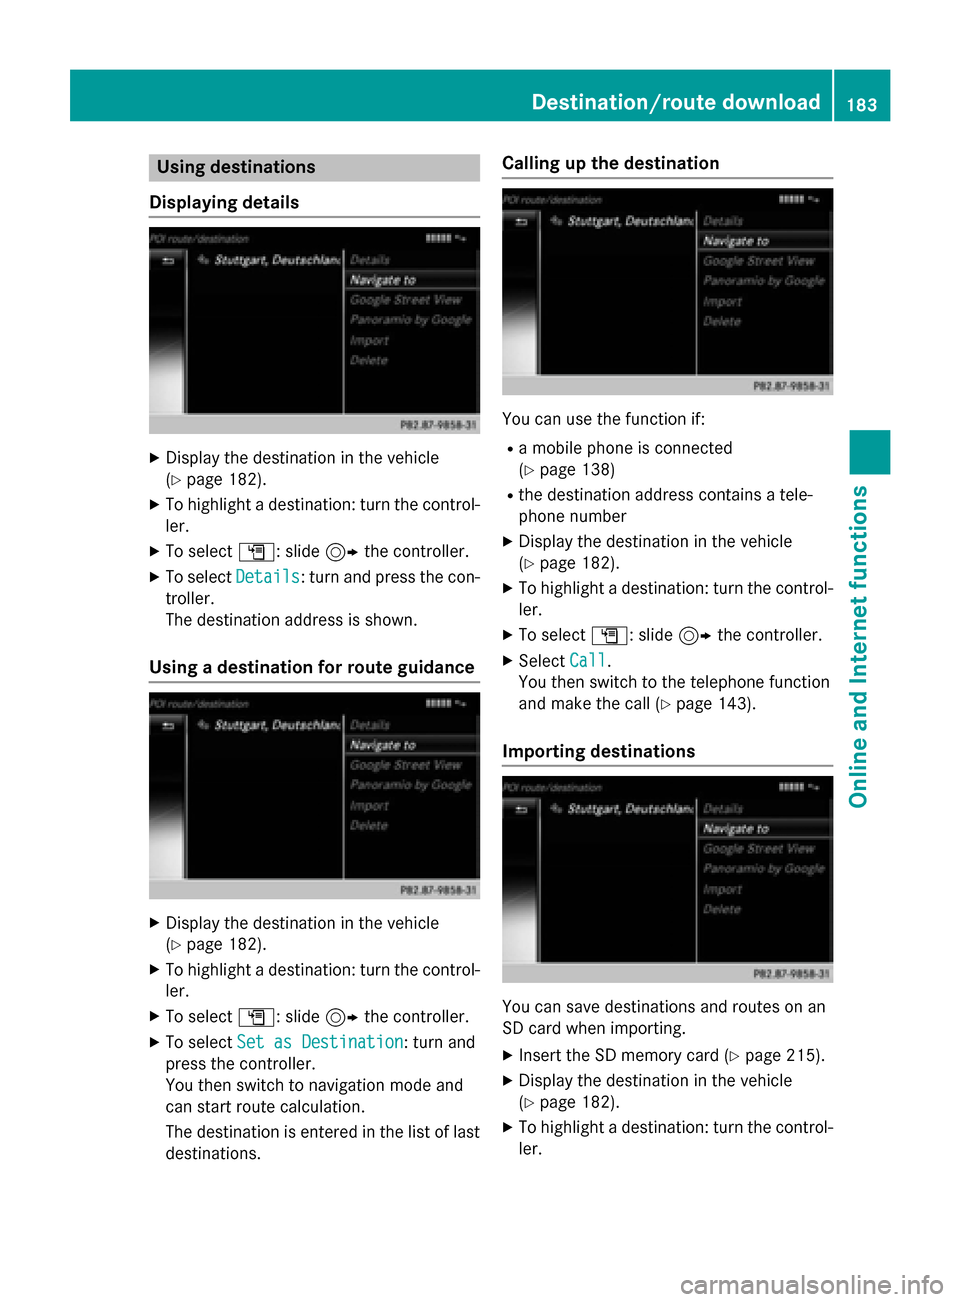
Using destinations
Displaying details X
Display the destination in the vehicle
(Y page 182).
X To highlight a destination: turn the control-
ler.
X To select G: slide 9the controller.
X To select Details
Details: turn and press the con-
troller.
The destination address is shown.
Using a destination for route guidance X
Display the destination in the vehicle
(Y page 182).
X To highlight a destination: turn the control-
ler.
X To select G: slide 9the controller.
X To select Set as Destination Set as Destination: turn and
press the controller.
You then switch to navigation mode and
can start route calculation.
The destination is entered in the list of last
destinations. Calling up the destination
You can use the function if:
R a mobile phone is connected
(Y page 138)
R the destination address contains a tele-
phone number
X Display the destination in the vehicle
(Y page 182).
X To highlight a destination: turn the control-
ler.
X To select G: slide 9the controller.
X Select Call Call.
You then switch to the telephone function
and make the call (Y page 143).
Importing destinations You can save destinations and routes on an
SD card when importing.
X Insert the SD memory card (Y page 215).
X Display the destination in the vehicle
(Y page 182).
X To highlight a destination: turn the control-
ler. Destination/route download
183Online and Internet functions Z
Page 186 of 298
X
To select G: slide 9the controller.
X Select Import
Import.
The entry is saved on the SD card.
Deleting a destination from the server Destinations on the server are automatically
deleted after seven days.
X Display the destination in the vehicle
(Y page 182).
X To highlight a destination: turn the control-
ler.
X To select G: slide 9the controller.
X Select Delete
Delete.
A prompt appears asking whether the des- tination should be deleted.
X To select Yes
Yes: turn and press the controller.
The phone number is deleted.
or
X To select No No: turn and press the controller.
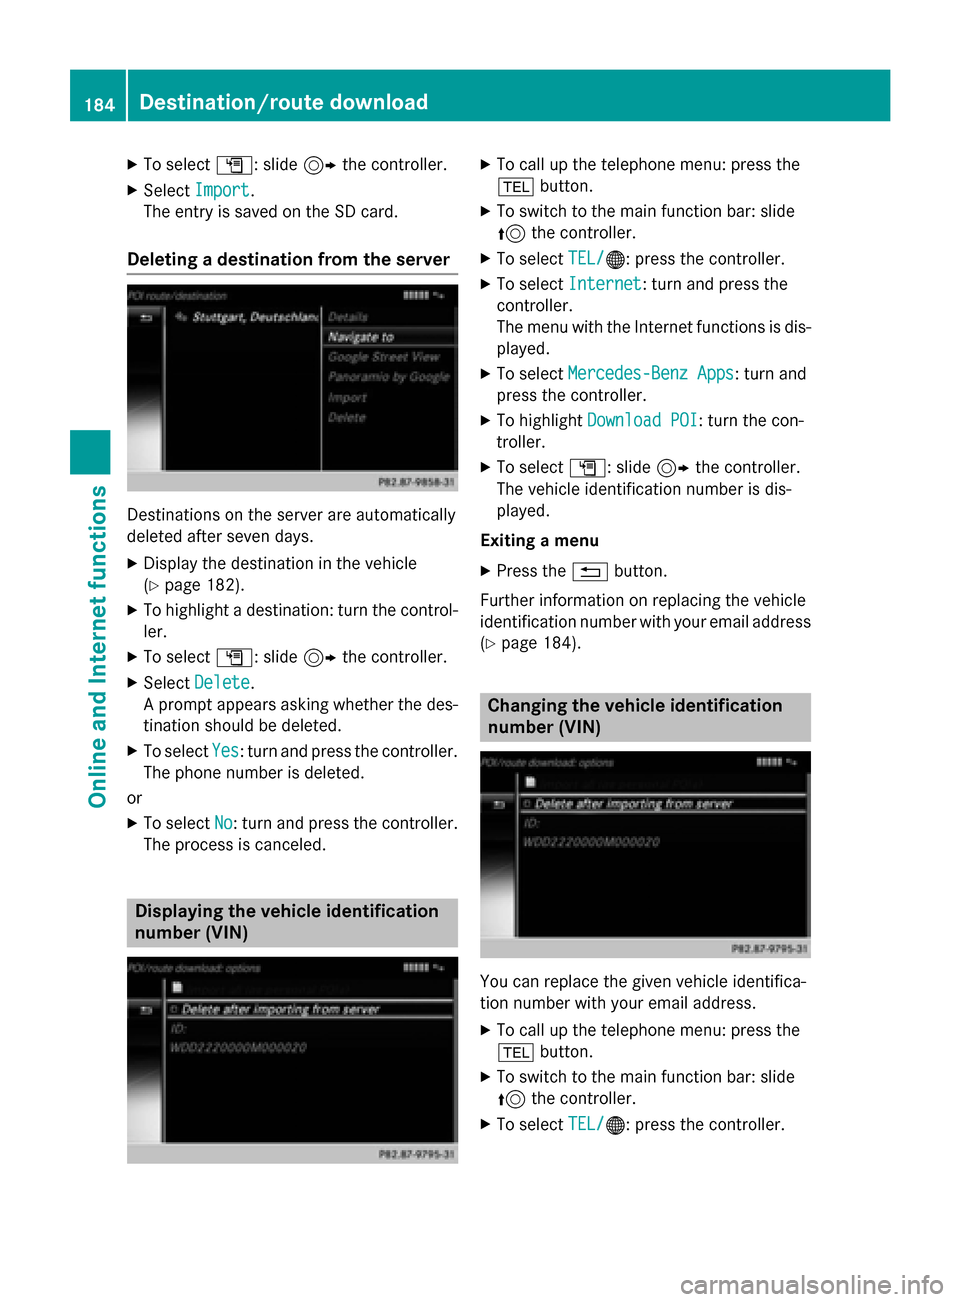
The process is canceled. Displaying the vehicle identification
number (VIN) X
To call up the telephone menu: press the
002B button.
X To switch to the main function bar: slide
5 the controller.
X To select TEL/
TEL/00A7: press the controller.
X To select Internet
Internet: turn and press the
controller.
The menu with the Internet functions is dis-
played.
X To select Mercedes-Benz Apps Mercedes-Benz Apps: turn and
press the controller.
X To highlight Download POI
Download POI: turn the con-
troller.
X To select G: slide 9the controller.
The vehicle identification number is dis-
played.
Exiting a menu
X Press the 0038button.
Further information on replacing the vehicle
identification number with your email address
(Y page 184). Changing the vehicle identification
number (VIN)
You can replace the given vehicle identifica-
tion number with your email address.
X To call up the telephone menu: press the
002B button.
X To switch to the main function bar: slide
5 the controller.
X To select TEL/
TEL/00A7: press the controller. 184
Destination/route downloadOnline and Internet functions
Page 205 of 298
SIRIUS XM Satellite Radio employs a fleet of
high-performance satellites to broadcast
around the clock throughout the USA and
Canada.
The satellite radio program is available for a
monthly fee. Details are available from the
SIRIUS XM Service Center and at
http://www.siriusxm.com (USA) or
http://www.siriusxm.ca (Canada).
Your new Mercedes-Benz vehicle comes with SIRIUS XM Satellite Radio pre-installed at the
factory. This service is free for a six-month
trial period. About a month before the trial
period ends, information will be provided on
how to extend this subscription. An acoustic
signal sounds and a message is shown,
describing how the subscription can be
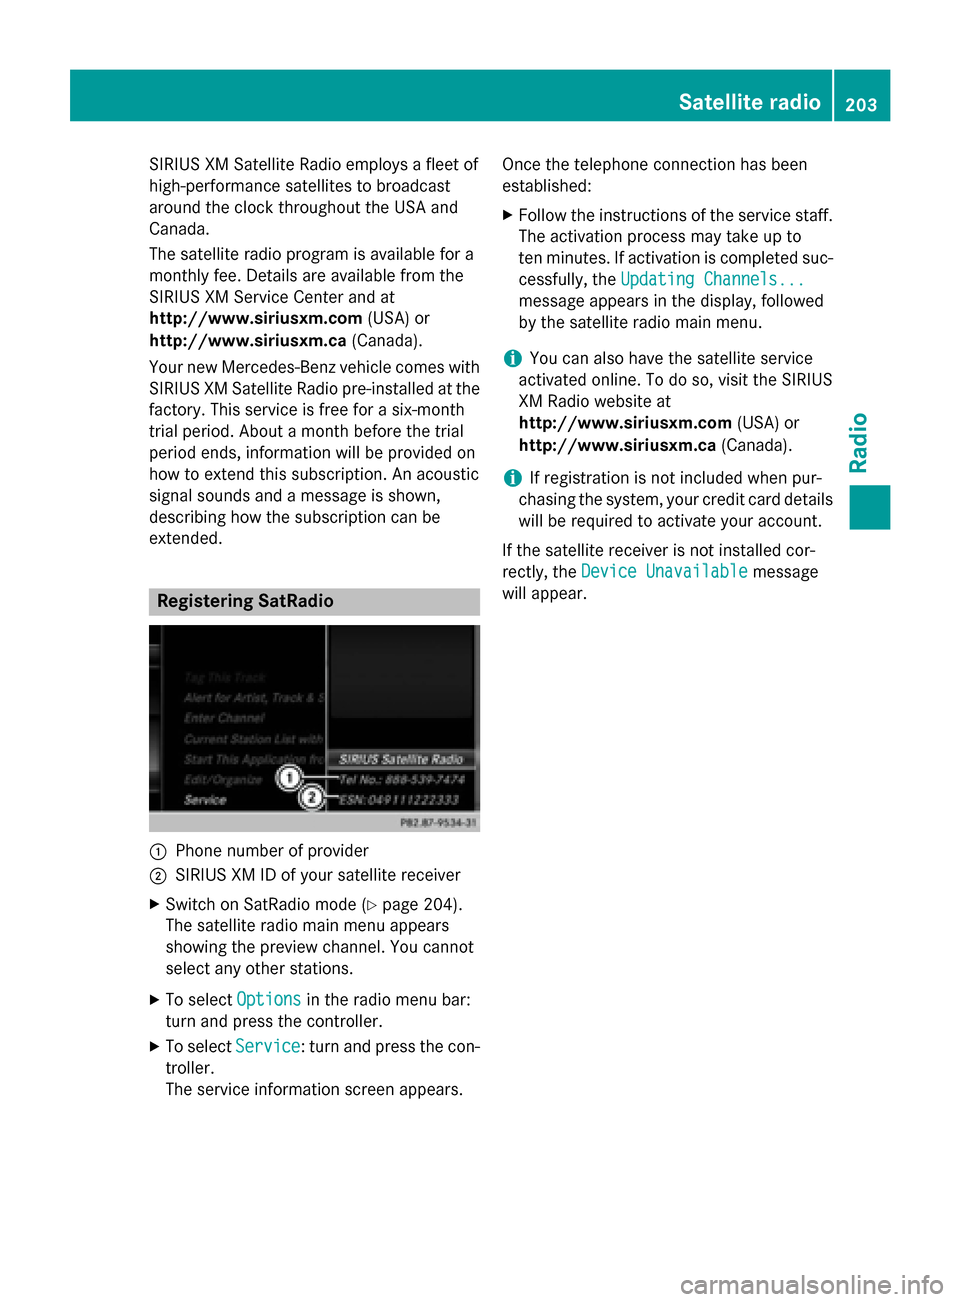
extended. Registering SatRadio
0043
Phone number of provider
0044 SIRIUS XM ID of your satellite receiver
X Switch on SatRadio mode (Y page 204).
The satellite radio main menu appears
showing the preview channel. You cannot
select any other stations.
X To select Options Optionsin the radio menu bar:
turn and press the controller.
X To select Service
Service: turn and press the con-
troller.
The service information screen appears. Once the telephone connection has been
established:
X Follow the instructions of the service staff.
The activation process may take up to
ten minutes. If activation is completed suc-
cessfully, the Updating Channels... Updating Channels...
message appears in the display, followed
by the satellite radio main menu.
i You can also have the satellite service
activated online. To do so, visit the SIRIUS
XM Radio website at
http://www.siriusxm.com (USA) or
http://www.siriusxm.ca (Canada).
i If registration is not included when pur-
chasing the system, your credit card details
will be required to activate your account.
If the satellite receiver is not installed cor-
rectly, the Device Unavailable
Device Unavailable message
will appear. Satellite radio
203Radio
Page 212 of 298
Your COMAND equipment
These operating instructions describe all
standard and optional equipment available
for your COMAND system at the time of pur-
chase. Country-specific differences are pos-
sible. Please note that your COMAND system may not be equipped with all the features
described. This also applies to safety-relevant
systems and functions. Therefore, the equip-
ment on your COMAND system may differ
from that in the descriptions and illustrations. Should you have any questions concerning
equipment and operation, please consult an
authorized Mercedes-Benz Center. Activating media mode
General notes
There are several ways to activate media
sources using COMAND.
The relevant sections of the Operator's Man-
ual describe the simplest way to activate a
media source.
This section describes all options for activat-
ing media sources. Using the MEDIA button
X Press the 00FDbutton.
The menu appears with the available media sources.
X To select media sources: turn the controller
until the desired media source is in the
center. Press the controller.
The media sources appear in the following
order:
R CD/DVD
R Memory card
R Media Register
R Vehicles without Media Interface: USB 1
and USB 2
R Vehicles with Media Interface: Media
Interface 1 and Media Interface 2 R
BT audio
R TV (if your vehicle is equipped with a TV)
R AUX
If playable music files are found, they will be played by COMAND.
X To display the function bars: slide 00520064the
controller. Switching on automatically
After an external media source has been con-
nected, COMAND will only activate the cor-
responding media mode automatically in the
case of CDs and SD cards. When using USB
devices, depending on the vehicle's equip-
ment, the relevant Media Interface 1, 2 or
USB 1, 2 basic display must already be acti-
vated.
External media sources:
R Apple devices (e.g. iPhone ®
)
R USB devices (e.g. USB stick, MP3 player)
R CD
R DVD
R SD cards
R via AUX cable (automatic activation
depends on the device connected)
R via devices connected by Bluetooth ®
If playable music files are found, they will be
played by COMAND.
i If a media function is already switched on
in COMAND, this will be interrupted and the
basic display of the newly connected
device will appear.
If another function, such as navigation, is
operating, the basic display will not change.
Only the music from the newly connected
media source will play 210
Activa
ting media modeMedia