change time MERCEDES-BENZ S-Class SEDAN 2016 W222 Comand Manual
[x] Cancel search | Manufacturer: MERCEDES-BENZ, Model Year: 2016, Model line: S-Class SEDAN, Model: MERCEDES-BENZ S-Class SEDAN 2016 W222Pages: 298, PDF Size: 9.16 MB
Page 7 of 298
Increasing the volume using
COMAND ....................................... 233
Interface ........................................ 138
Reconnecting an audio device ....... 230
Searching for a mobile phone ........ 142
Starting playback if the Blue-
tooth
®audio device has been
stopped .........................................2 32
Telephony ...................................... 140
Telephony notes ............................ 138
Burmester
®high-end 3D surround
sound system
Balance/fader ............................... 254
Calling up the sound menu ............ 253
Changing the loudspeaker source .. 255
Equalizer ........................................ 254
Equipment ..................................... 253
Setting the sound profile ...............2 55
VIP & BAL selection ....................... 255
Burmester
®surround sound sys-
tem
Balance/fader ............................... 252
Calling up the sound menu ............ 251
Changing the loudspeaker source .. 253
Equalizer ........................................ 252
Equipment ..................................... 251
Surround sound .............................2 53
Buttons and controller ........................ 25
C
Call lists
Displaying details ........................... 155
Opening and selecting an entry ..... 155
Saving an entry in the address
book .............................................. 156
Car pool lanes ...................................... 86
Category list (music search) ............ 220
CD
Inserting ........................................ 214
Inserting/loading (DVD changer) ... 215
Inserting/loading (Rear Seat
Entertainment System) .................. 286
Notes on discs ............................... 213
Removing/ejecting (Rear Seat
Entertainment System) .................. 286
Selecting a track ............................ 219 Sound settings (balance, bass,
fader, treble) .................................. 250
Characters
Entering (navigation) ........................ 39
Climate control
Activating/deactivating cooling
with air dehumidification ................. 73
Calling up climate control
(COMAND) ....................................... 73
Climate control bar (COMAND) ........7 1
Coolin g with air dehumidif ication
(COMAND) ...................................... .73
Ionization (COMAND) ....................... 75
Perfume atomizer (COMAND) .......... 75
Pre-entry climate control at
departure time (COMAND) ............... 76
Pre-entry climate control using
the key (COMAND) .......................... 75
Rear-compartment climate con-
trol (COMAND) .................................7 4
Setting the air distribution
(COMAND) ....................................... 72
Setting the airflow (COMAND) ......... 72
Setting the climate mode
(COMAND) ....................................... 75
Setting the footwell temperature
(COMAND) ....................................... 74
Setting the temperature
(COMAND) ....................................... 72
Switching ionization on/off
(COMAND) ....................................... 75
Switching on/off
(COMAND) ....................................... 73
Climate control bar
Calling up ......................................... 72
Climate control system
Rear Seat Entertainment System ... 283
COMAND
Active multiconto ur se
at .................. 68
Basic functions ................................ 27
Controller .................................. 25, 26
Display ............................................. 22
Multicontour seat ............................ 68
Seat functions .................................. 68
Settings ......................................... 192
Switching on/off .............................. 27
Telephone keypad overview ............. 26
Index5
Page 8 of 298
COMAND displayAdditional display area .................... .48
Cleaning instructions ...................... .24
Setting ............................................. 46
Contacts
Deleting ......................................... 171
Importing ....................................... 171
Cordless headphones
Changing batteries ........................ 279
Setting the volume ......................... 278
Country-specific information (nav-
igation) ............................................... 128
D
Date format, setting ............................ 51
Day design, setting ............................. 46
Delayed switch-off time
Setting (COMAND) ........................... 66
Deleting
Call lists ......................................... 157
Destination
Saving to SD memory card ............ 121
Storing in the address book ........... 121
Destination (navigation)
Entering a destination using the
map ................................................. 97
Entering a point of interest .............. 93
Entering using geo-coordinates ..... 101
Entering using Mercedes-Benz
Apps .............................................. 101
Keyword search ............................... 91
Saving ............................................ 120
Selecting an address book con-
tact as a destination ........................ 93
Selecting from the list of last des-
tinations ........................................... 93
Destination/route download
Changing the vehicle identifica-
tion number (VIN) .......................... 187
Deleting a destination from the
server ............................................ 187
Displaying destinations in the
vehicle ........................................... 186
Displaying the vehicle identifica-
tion number (VIN) .......................... 187
Importing destinations ................... 187
Placing a call at the destination ..... 186 Procedure and general informa-
tion ................................................ 185
Sending destinations to the
server ............................................ 185
Using a destination for route guid-
ance ............................................... 186
Using destinations ......................... 186
Dialing a number (telephone) ........... 146
Display
Selecting the design ........................ 46
Switching on/off .............................. 49
DVD
Inserting/loading (Rear Seat
Entertainment System) .................. 286
Notes on discs ............................... 213
Removing/ejecting (DVD
changer) ........................................ 216
Removing/ejecting (Rear Seat
Entertainment System) .................. 286
E
E-mailAnswering ...................................... 163
Calling up the settings menu ......... 159
Changing the name of the e-mail
account .......................................... 160
Configuring an e-mail account ....... 159
Configuring the e-mails displayed .. 159
Deactivating the e-mail function .... 160
Deleting ......................................... 165
Displaying details ........................... 161
Downloading e-mails manually ...... 160
Editing text templates .................... 164
Forwarding ..................................... 163
Inbox .............................................. 161
Reading .......................................... 160
Saving the sender in the address
book .............................................. 165
Settings ......................................... 159
Storing the sender as a new entry
in the address book ....................... 165
Using a phone number in the text .. 164
Using text templates ...................... 163
Writing ........................................... 162
EASY-ENTRY/EXIT feature
Activating/deactivating
(COMAND) ....................................... 63
6Index
Page 31 of 298
XTo show the menu:slide4 the con-
troller.
The menu appears. Depending on the oper-
ation, the marking is shown in the upper or
lower menu bar.
XTo select a menu item: turn and press the
controller.
Once you have selected a menu item in the
upper menu bar, the last menu set for the
selected function appears.
The lower menu bar shows functions within
the current media mode.
Selecting the operating mode for a
main function
You can select the available operating modes
for the main functions, e.g. telephone.
In the telephone menu, you can:
Rswitch to telephone mode
Rcall up the address book
Rcall up the telephone section of the Digital
Operator's Manual
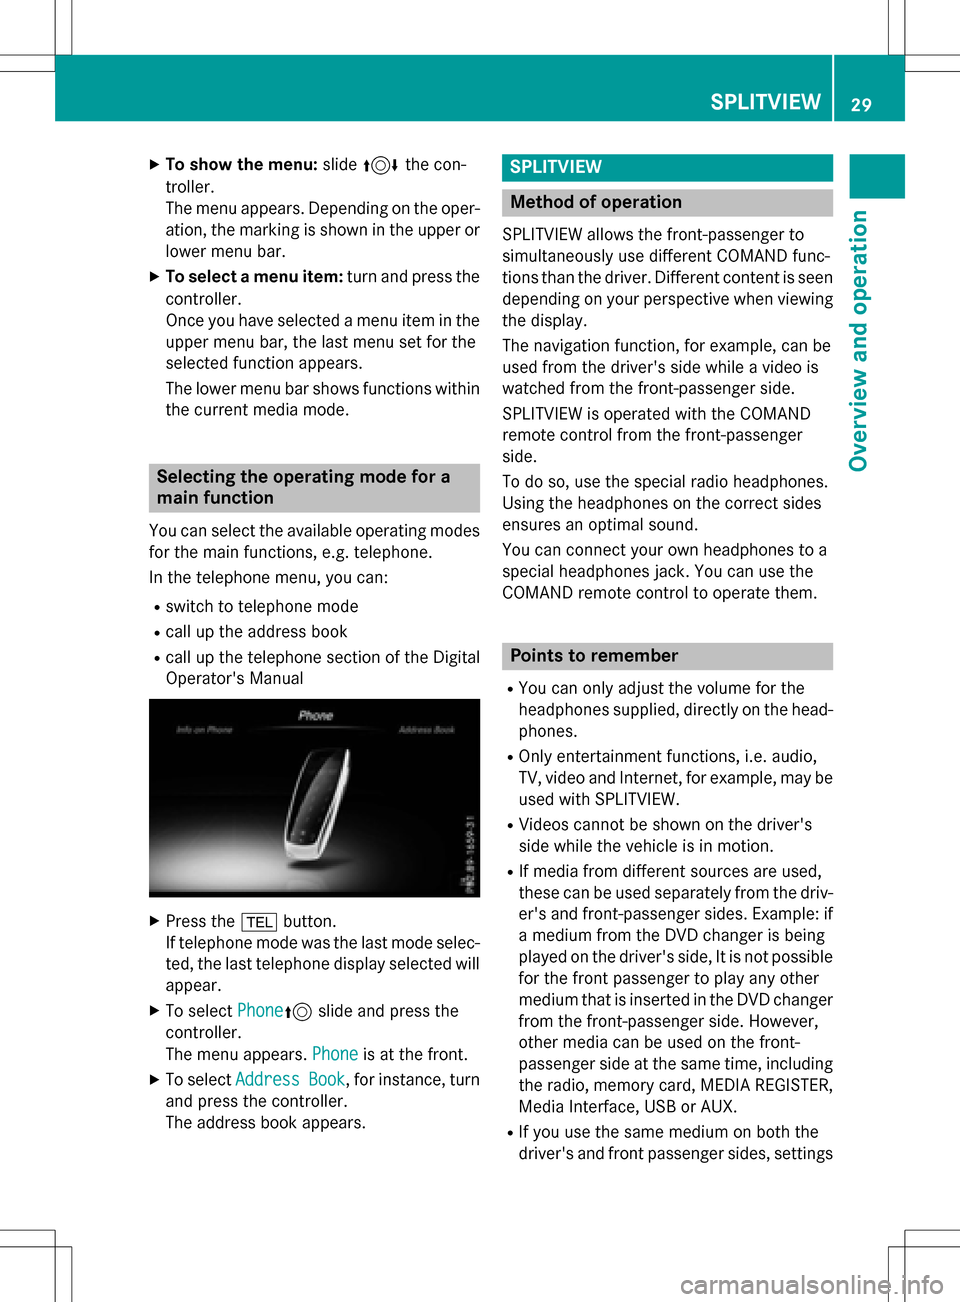
XPress the %button.
If telephone mode was the last mode selec-
ted, the last telephone display selected will
appear.
XTo select Phone5slide and press the
controller.
The menu appears. Phone
is at the front.
XTo selectAddressBook, for instance, turn
and press the controller.
The address book appears.
SPLITVIEW
Method of operation
SPLITVIEW allows the front-passenger to
simultaneously use different COMAND func-
tions than the driver. Different content is seen
depending on your perspective when viewing
the display.
The navigation function, for example, can be
used from the driver's side while a video is
watched from the front-passenger side.
SPLITVIEW is operated with the COMAND
remote control from the front-passenger
side.
To do so, use the special radio headphones.
Using the headphones on the correct sides
ensures an optimal sound.
You can connect your own headphones to a
special headphones jack. You can use the
COMAND remote control to operate them.
Points to remember
RYou can only adjust the volume for the
headphones supplied, directly on the head-
phones.
ROnly entertainment functions, i.e. audio,
TV, video and Internet, for example, may be
used with SPLITVIEW.
RVideos cannot be shown on the driver's
side while the vehicle is in motion.
RIf media from different sources are used,
these can be used separately from the driv-
er's and front-passenger sides. Example: if
a medium from the DVD changer is being
played on the driver's side, It is not possible
for the front passenger to play any other
medium that is inserted in the DVD changer
from the front-passenger side. However,
other media can be used on the front-
passenger side at the same time, including the radio, memory card, MEDIA REGISTER,
Media Interface, USB or AUX.
RIf you use the same medium on both the
driver's and front passenger sides, settings
SPLITVIEW29
Overview and operation
Page 32 of 298
can be made from both sides. In this case,
the last setting made takes precedence.
RRequirement for Internet use (USA):
mbrace must be activated for Internet
access in COMAND on the driver's side
(
Ypage 176).
RRequirement for Internet use (Canada): a
mobile phone must be connected via Blue-
tooth
®or USB to COMAND on the driver's
side (
Ypage 176).
RThe Internet can be separately used by both
the driver and front passenger at the same
time.
RThe multifunction steering wheel can be
used to control the functions which relate
to the driver's side, but not for the front-
passenger side.
RThe driver can lock or unlock the other
screens (override feature) (
Ypage 76).
Switching SPLITVIEW on/off
From the driver's side
XTo activate: press theØbutton.
The Vehicle menu appears.
XSlide 6the controller.
The menu bar is shown.
XTo select ICON_SplitView On, turn and
press the controller.
The ù SPLITVIEW symbol appears in the
status bar. The menu item in the lower
menu bar changes to ù
Off.
The front passenger sees the display of the
function last activated. If the switch-on
time was longer than 30 minutes previ- ously, the display from the driver's side is
shown.
XTo deactivate:
selectùOffby turning
and pressing the controller.
The display changes to ICON_SplitView
On.
ù is hidden in the status bar.
XTo lock/unlock SPLITVIEW: proceed as
described under "Locking/unlocking the
rear-compartment displays" (
Ypage 76).
Instead of selecting a rear-compartment
display, select SplitView
.
From the front-passenger side
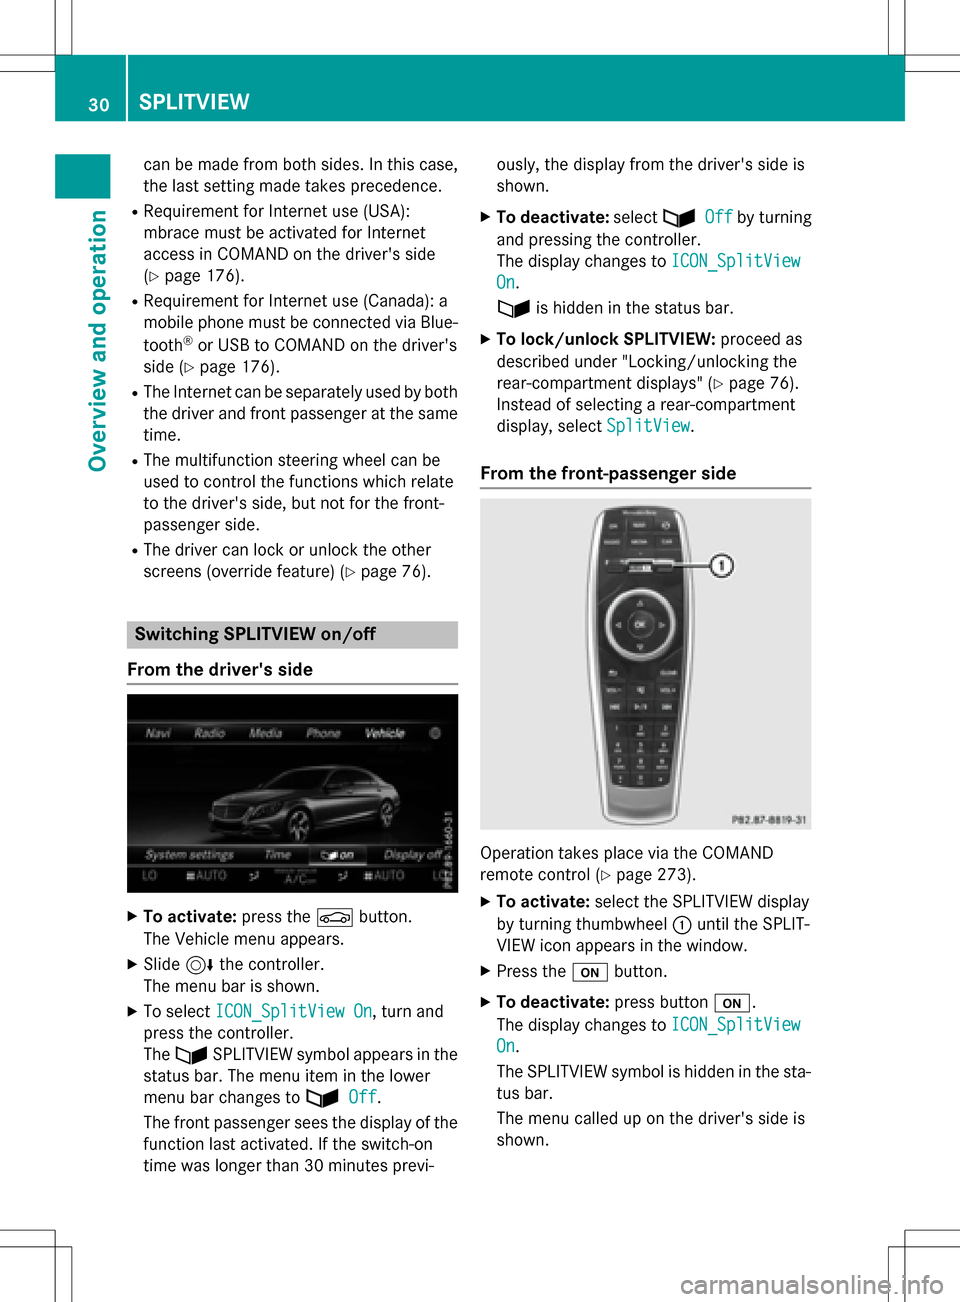
Operation takes place via the COMAND
remote control (
Ypage 273).
XTo activate:select the SPLITVIEW display
by turning thumbwheel :until the SPLIT-
VIEW icon appears in the window.
XPress the ubutton.
XTo deactivate: press buttonu.
The display changes to ICON_SplitView
On.
The SPLITVIEW symbol is hidden in the sta-
tus bar.
The menu called up on the driver's side is
shown.
30SPLITVIEW
Overview and operation
Page 41 of 298
Deleting characters:
XTo switch to thebotto mlineof th echarac -
te rbar: slid eVÆ thecontroller .
XTo selectF:turnand press th econtroller .
The characte rlast entered is deleted.
Switchin ginput line:
XTo switch to th ebotto mlineof th echarac -
te rbar: slid eVÆ thecontroller .
XTo select5:turnand press th econtroller .
or
XSlide ZVthecontroller repeatedly until th e
characte rbar disappears.
XTo select an input lin efo rth etext of th etext
message :slid eVÆ and press th econtrol -
ler .
The input lin efo rth etext of th etext mes -
sage is selected. The characte rbar has
been adapted fo renterin gtext .
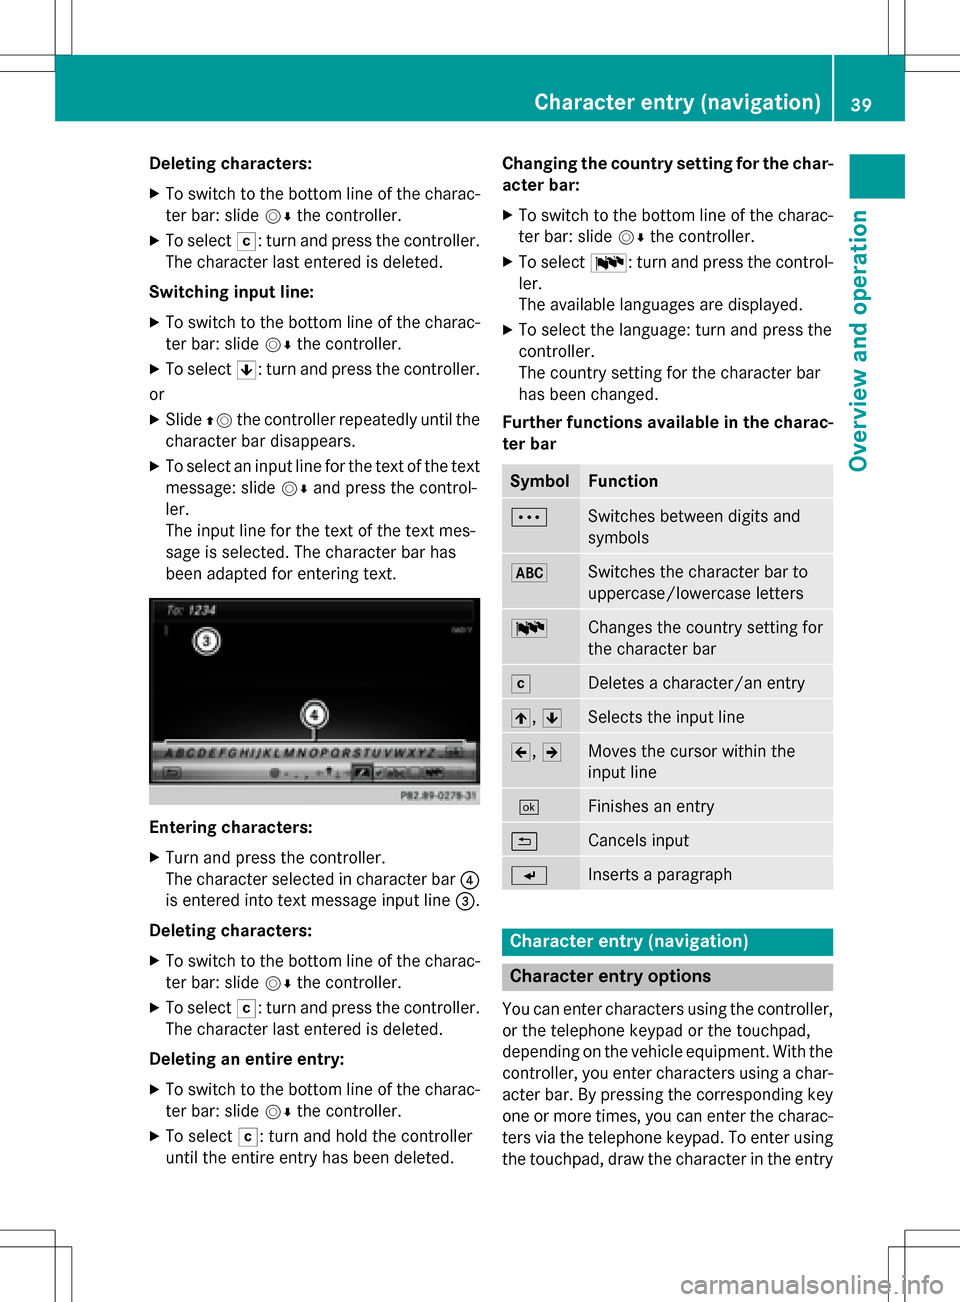
Entering characters :
XTurnand press th econtroller .
The characte rselected in characte rbar ?
is entered into text message input lin e=.
Deleting characters :
XTo switch to thebotto mlineof th echarac -
te rbar: slid eVÆ thecontroller .
XTo selectF:turnand press th econtroller .
The characte rlast entered is deleted.
Deleting an entir eentry :
XTo switch to th ebotto mlineof th echarac -
te rbar: slid eVÆ thecontroller .
XTo select F:turnand hold th econtroller
until th eentire entr yhas been deleted. Changin
gth ecountr ysetting for th echar-
acter bar :
XTo switch to th ebotto mlineof th echarac -
te rbar: slid eVÆ thecontroller .
XTo selectB:turnand press th econtrol -
ler .
The available language sare displayed.
XTo select th elanguage :tur nand press th e
controller .
The country setting fo rth echaracte rbar
has been changed.
Further functions availabl ein th echarac-
te rbar
SymbolFunction
ÄSwitches between digits and
symbols
*Switches th echaracte rbar to
uppercase/lowercase letters
BChanges th ecountry setting fo r
th echaracte rbar
FDeletes acharacter/an entr y
4,5Selects th einput lin e
2,3Moves th ecursor within th e
input lin e
¬Finishes an entr y
&Cancels input
SInsertsaparagraph
Characte rentry (navigation)
Characte rentry options
You can ente rcharacters usin gth econtroller ,
or th etelephon ekeypad or th etouchpad,
dependin gon th evehicl eequipment. Wit hth e
controller ,you ente rcharacters usin g achar-
acter bar. By pressing th ecorrespondin gke y
on eor mor etimes ,you can ente rth echarac -
ters via th etelephon ekeypad. To ente rusin g
th etouchpad, draw th echaracte rin th eentr y
Character entry (navigation)39
Overview and operation
Page 52 of 298
Setting summer and standard time
You can use theDaylight Saving Time
menu to set automatic summer time change-
over or switch the summer time setting on or
off. The changeover to summer time advan-
ces the time by one hour.
TheDaylight Saving Time
menu or the
Automatic
option is not available in all coun-
tries.
XPress the Øbutton.
or
XPress Vehiclein the main function bar.
The vehicle menu is displayed.
XTo select Time: slide6, turn and press
the controller to confirm.
A menu appears.
XTo select Daylight Saving Time: turn
and press the controller.
A list of available options for setting sum-
mer time appears.
XTo select Auto,Onor Off: turn and press
the controller.
SettingFunction
AutomaticThe summer and
standard time are
automatically
changed over.
OnThe clock is
advanced one hour
ahead of standard
time.
OffThe standard time
for the chosen time
zone is selected.
Manual time setting
Using the manual time settings, you can set
the time forwards or backwards by up to sev-
eral hours.
XPress the Øbutton.
or
XPress Vehiclein the main function bar.
The vehicle menu is displayed.
XTo select Time: slide6, turn and press
the controller to confirm.
A menu appears.
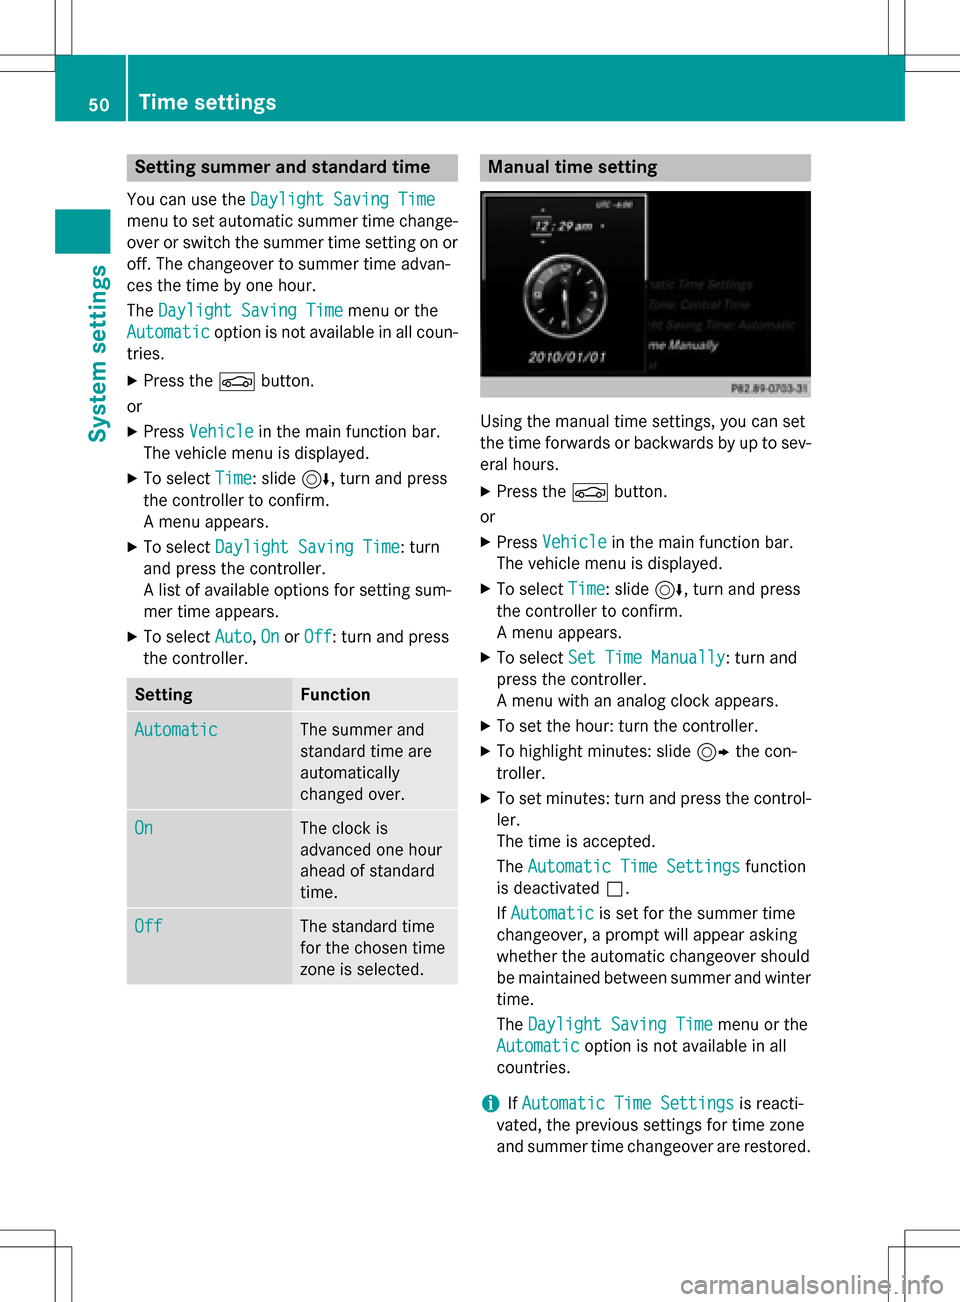
XTo select Set Time Manually: turn and
press the controller.
A menu with an analog clock appears.
XTo set the hour: turn the controller.
XTo highlight minutes: slide 9the con-
troller.
XTo set minutes: turn and press the control-
ler.
The time is accepted.
The Automatic Time Settings
function
is deactivated ª.
If Automatic
is set for the summer time
changeover, a prompt will appear asking
whether the automatic changeover should
be maintained between summer and winter time.
The Daylight Saving Time
menu or the
Automatic
option is not available in all
countries.
iIf Automatic Time Settingsis reacti-
vated, the previous settings for time zone
and summer time changeover are restored.
50Time settings
System settings
Page 58 of 298
Setting the system language
This function allows you to determine the lan-
guage for the menu displays and the naviga-
tion messages. The selected language affects
the characters available for entry.
iThe navigation announcements are not
available in all languages. If a language is
not available, the navigation announce-
ments will be in English.
iWhen you set the system language, the
language of the Voice Control System will
change accordingly. If it is not supported by
the Voice Control System, English will be
selected.
XPress the Øbutton.
or
XPress Vehiclein the main function bar.
The vehicle menu is displayed.
XTo select System Settings: slide6,
turn and press the controller to confirm.
A menu appears.
XTo select Language: turn and press the
controller.
The list of languages appears. The #dot
indicates the current setting.
XSelect the desired language.
COMAND loads the selected language and
sets it.
Assigning a favorites button
Vehicles equipped with a touchpad
You can call up the favorites function via the
Favorite
Functionsfunction in the system
menu or via the favorites button on the touch-
pad.
Calling up the Favorites function via the
system menu:
XPress the Øbutton.
or
XPress Vehiclein the main function bar.
The vehicle menu is displayed.
XTo select SystemSettings: slide6and
press the controller.
A menu appears.
XTo select Favorite Functions: press the
controller.
The favorites are displayed.
XTo select the desired function, e.g. Phone‐
book: turn and press the controller.
Calling up the Favorites function via the
touchpad:
XPress the favorites button on the touchpad.
The favorites are displayed.
XTo select the desired function, e.g. Phone‐
book: turn and press the controller.
The Favorites function can be exited at any
time. To exit the Favorites function:
XPress the Favorites button again
or
XPress the %button on the controller
or
XPress the %button on the touchpad
or
XTo select %in the display: turn and
press the controller.
Further information on favorites (
Ypage 43).
Vehicles equipped with a telephone
keypad
You can display the favorites by pressing the g button on the telephone keypad. You
can edit the favorites via the Favorite
Functionsfunction in the system menu.
XPress theØbutton.
or
XPress Vehiclein the main function bar.
The vehicle menu is displayed.
56Assigning a favorites button
System settings
Page 64 of 298
Your COMANDequipment
i
These operatin ginstruction sdescribe all
th estandar dan doptional equipmen tof
your COMAN Dsystem, as available at th e
time of going to print .Country-specifi cdif -
ference sare possible. Bear in min dthat
your vehicle may no tfeature all function s
described here. Thi salso applies to safety-
relevant systems an dfunctions.
iRead th einformation on qualified special-
ist workshop sin th evehicle Operator's
Manual.
Important safet ynotes
GWARNING
If you operat emobile communication equip-
men twhil edriving, you will be distracted from
traffic conditions. You could also los econtro l
of th evehicle. There is aris kof an accident.
Only operat ethis equipment when th evehicle
is stationary.
You mus tobserv eth elega lrequirements fo r
th ecountry in whic hyou are currentl ydrivin g
when operatin gmobile communication s
equipmen tin th evehicle.
Vehicl esettings
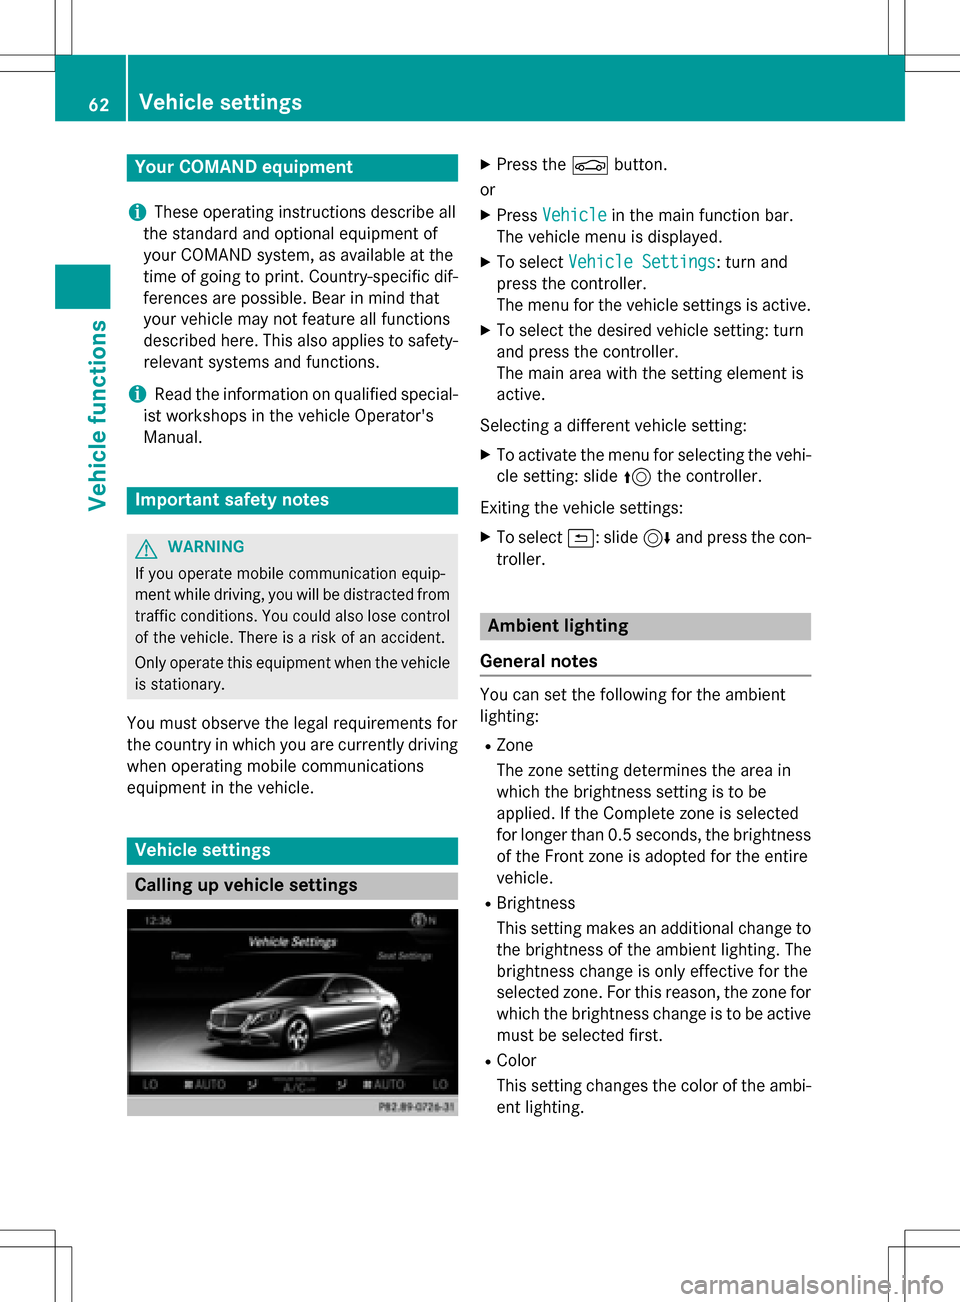
Calling up vehicle settings
XPress th eØ button.
or
XPress Vehicl ein themain function bar .
The vehicle men uis displayed.
XTo selec tVehicl eSettings:turn an d
press th econtroller .
The men ufo rth evehicle setting sis active .
XTo selec tth edesire dvehicle setting :turn
an dpress th econtroller .
The main are awit hth esetting elemen tis
active .
Selecting adifferen tvehicle setting :
XTo activateth emen ufo rselecting th evehi-
cl e setting :slid e5 thecontroller .
Exitin gth evehicle settings:
XTo selec t&: slide6 andpress th econ-
troller.
Ambien tlighting
General notes
You can set th efollowin gfo rth eambien t
lighting :
RZone
The zone setting determines th eare ain
whic hth ebrightness setting is to be
applied. If th eComplet ezone is selecte d
fo rlonger than 0. 5seconds, th ebrightness
of th eFron tzone is adopte dfo rth eentire
vehicle.
RBrightness
Thi ssetting makes an additional change to
th ebrightness of th eambien tlighting .The
brightness change is only effective fo rth e
selecte dzone .Fo rthis reason ,th ezone fo r
whic hth ebrightness change is to be active
mus tbe selecte dfirst .
RColo r
Thi ssetting changes th ecolor of th eambi-
en tlighting .
62Vehicle settings
Vehicle functions
Page 68 of 298
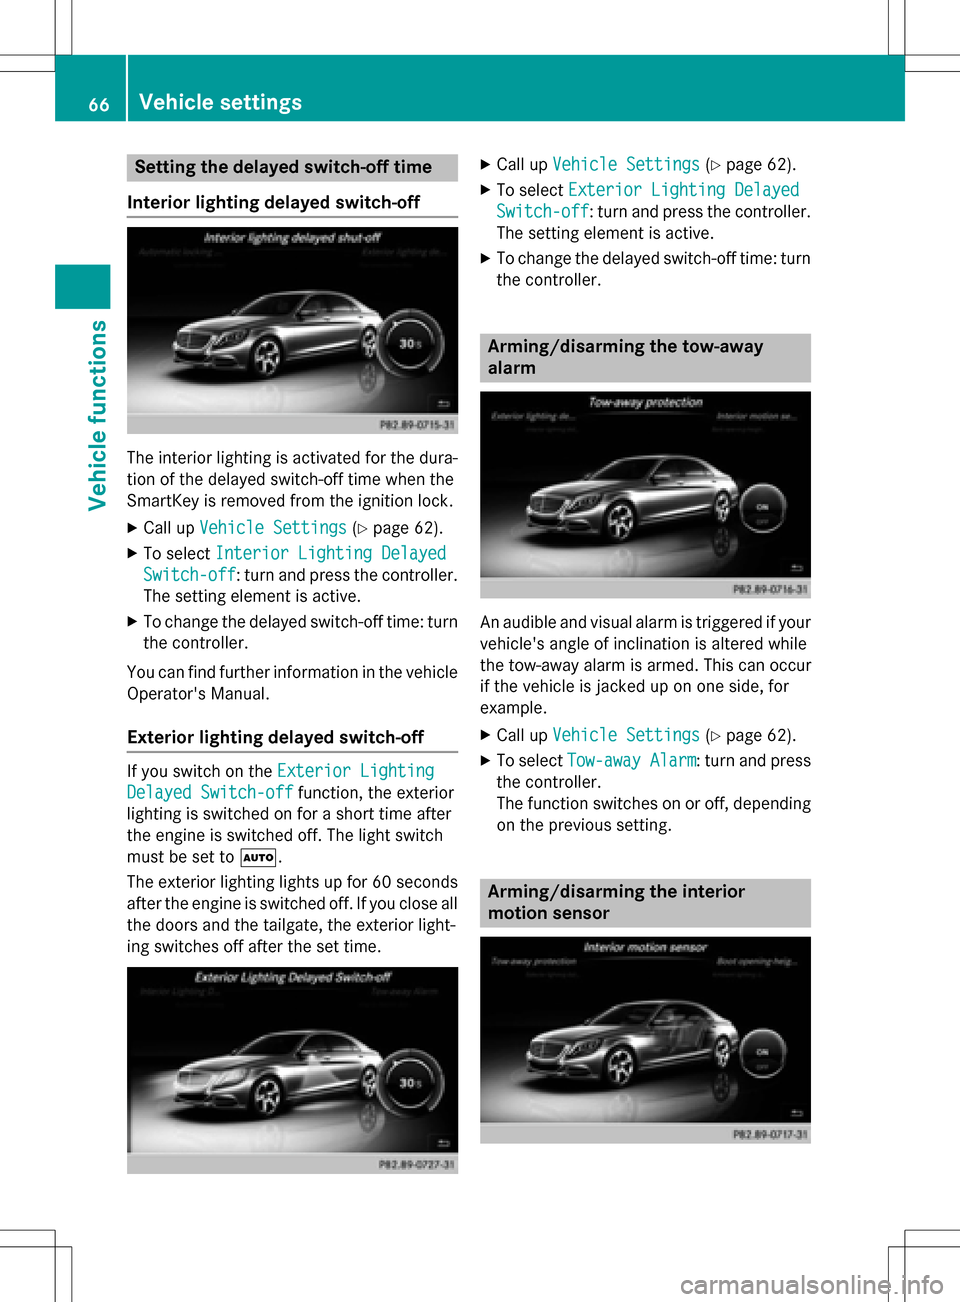
Setting the delayed switch-off time
Interior lighting delayed switch-off
The interior lighting is activated for the dura-
tion of the delayed switch-off time when the
SmartKey is removed from the ignition lock.
XCall up Vehicle Settings(Ypage 62).
XTo select Interior Lighting Delayed
Switch-off: turn and press the controller.
The setting element is active.
XTo change the delayed switch-off time: turn the controller.
You can find further information in the vehicle
Operator's Manual.
Exterior lighting delayed switch-off
If you switch on the Exterior Lighting
Delayed Switch-offfunction, the exterior
lighting is switched on for a short time after
the engine is switched off. The light switch
must be set to Ã.
The exterior lighting lights up for 60 seconds
after the engine is switched off. If you close all
the doors and the tailgate, the exterior light-
ing switches off after the set time.
XCall up Vehicle Settings(Ypage 62).
XTo select Exterior Lighting Delayed
Switch-off: turn and press the controller.
The setting element is active.
XTo change the delayed switch-off time: turn the controller.
Arming/disarming the tow-away
alarm
An audible and visual alarm is triggered if your
vehicle's angle of inclination is altered while
the tow-away alarm is armed. This can occur
if the vehicle is jacked up on one side, for
example.
XCall up Vehicle Settings(Ypage 62).
XTo select Tow-away Alarm: turn and press
the controller.
The function switches on or off, depending
on the previous setting.
Arming/disarming the interior
motion sensor
66Vehicle settings
Vehicle functions
Page 72 of 298
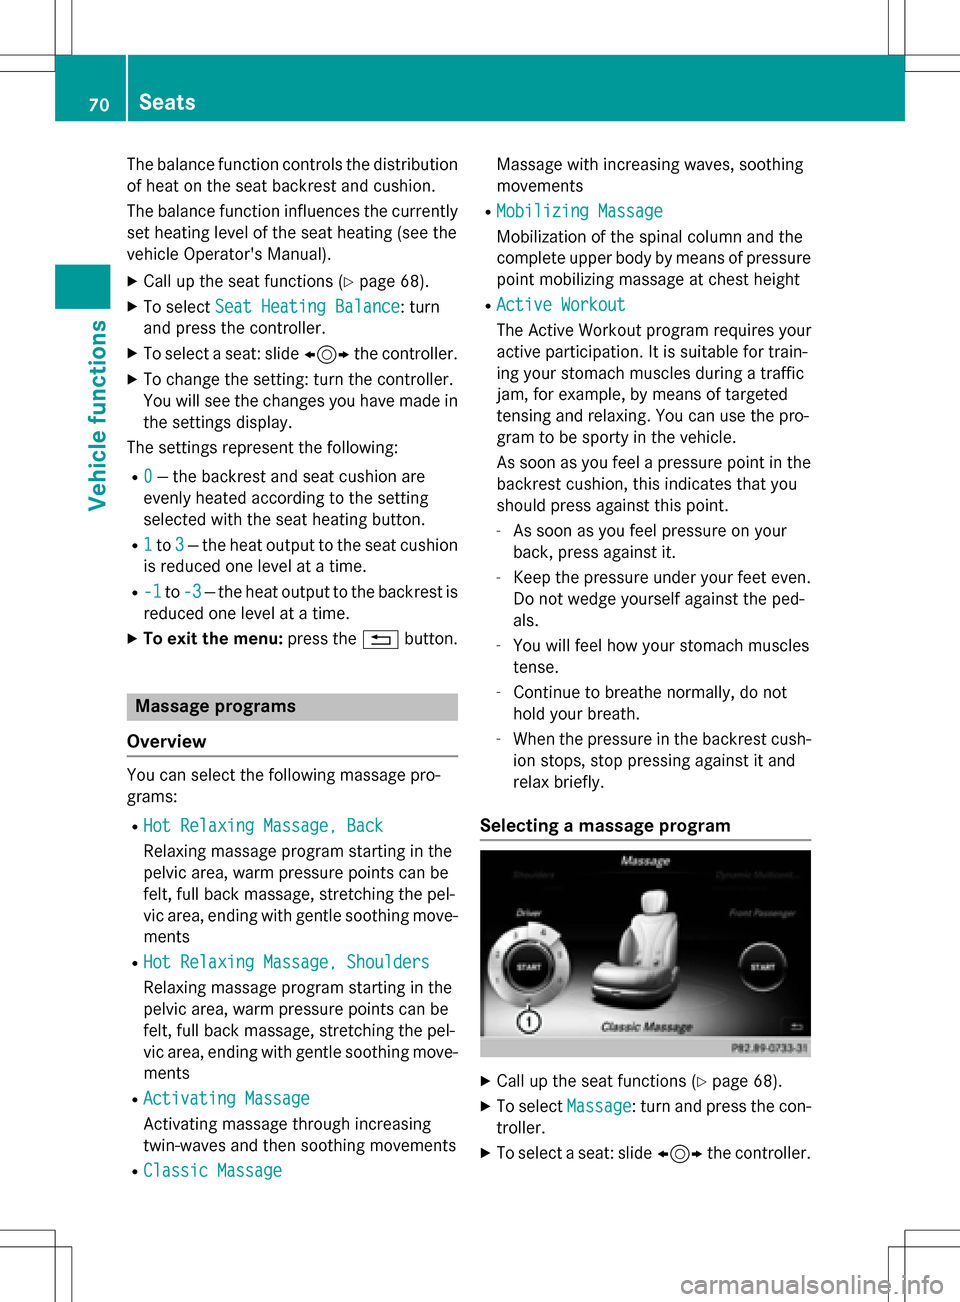
The balance function controls the distribution
of heat on the seat backrest and cushion.
The balance function influences the currently
set heating level of the seat heating (see the
vehicle Operator's Manual).
XCall up the seat functions (Ypage 68).
XTo selectSeat Heating Balance: turn
and press the controller.
XTo select a seat: slide 1the controller.
XTo change the setting: turn the controller.
You will see the changes you have made in
the settings display.
The settings represent the following:
R0— the backrest and seat cushion are
evenly heated according to the setting
selected with the seat heating button.
R1to 3— the heat output to the seat cushion
is reduced one level at a time.
R-1to -3— the heat output to the backrest is
reduced one level at a time.
XTo exit the menu: press the%button.
Massage programs
Overview
You can select the following massage pro-
grams:
RHot Relaxing Massage, Back
Relaxing massage program starting in the
pelvic area, warm pressure points can be
felt, full back massage, stretching the pel-
vic area, ending with gentle soothing move-
ments
RHot Relaxing Massage, Shoulders
Relaxing massage program starting in the
pelvic area, warm pressure points can be
felt, full back massage, stretching the pel-
vic area, ending with gentle soothing move-
ments
RActivating Massage
Activating massage through increasing
twin-waves and then soothing movements
RClassic Massage
Massage with increasing waves, soothing
movements
RMobilizing Massage
Mobilization of the spinal column and the
complete upper body by means of pressure
point mobilizing massage at chest height
RActive Workout
The Active Workout program requires your
active participation. It is suitable for train-
ing your stomach muscles during a traffic
jam, for example, by means of targeted
tensing and relaxing. You can use the pro-
gram to be sporty in the vehicle.
As soon as you feel a pressure point in the backrest cushion, this indicates that you
should press against this point.
-As soon as you feel pressure on your
back, press against it.
-Keep the pressure under your feet even.
Do not wedge yourself against the ped-
als.
-You will feel how your stomach muscles
tense.
-Continue to breathe normally, do not
hold your breath.
-When the pressure in the backrest cush-
ion stops, stop pressing against it and
relax briefly.
Selecting a massage program
XCall up the seat functions (Ypage 68).
XTo select Massage: turn and press the con-
troller.
XTo select a seat: slide 1the controller.
70Seats
Vehicle functions