clock setting MERCEDES-BENZ S-Class SEDAN 2016 W222 Comand Manual
[x] Cancel search | Manufacturer: MERCEDES-BENZ, Model Year: 2016, Model line: S-Class SEDAN, Model: MERCEDES-BENZ S-Class SEDAN 2016 W222Pages: 298, PDF Size: 9.16 MB
Page 35 of 298

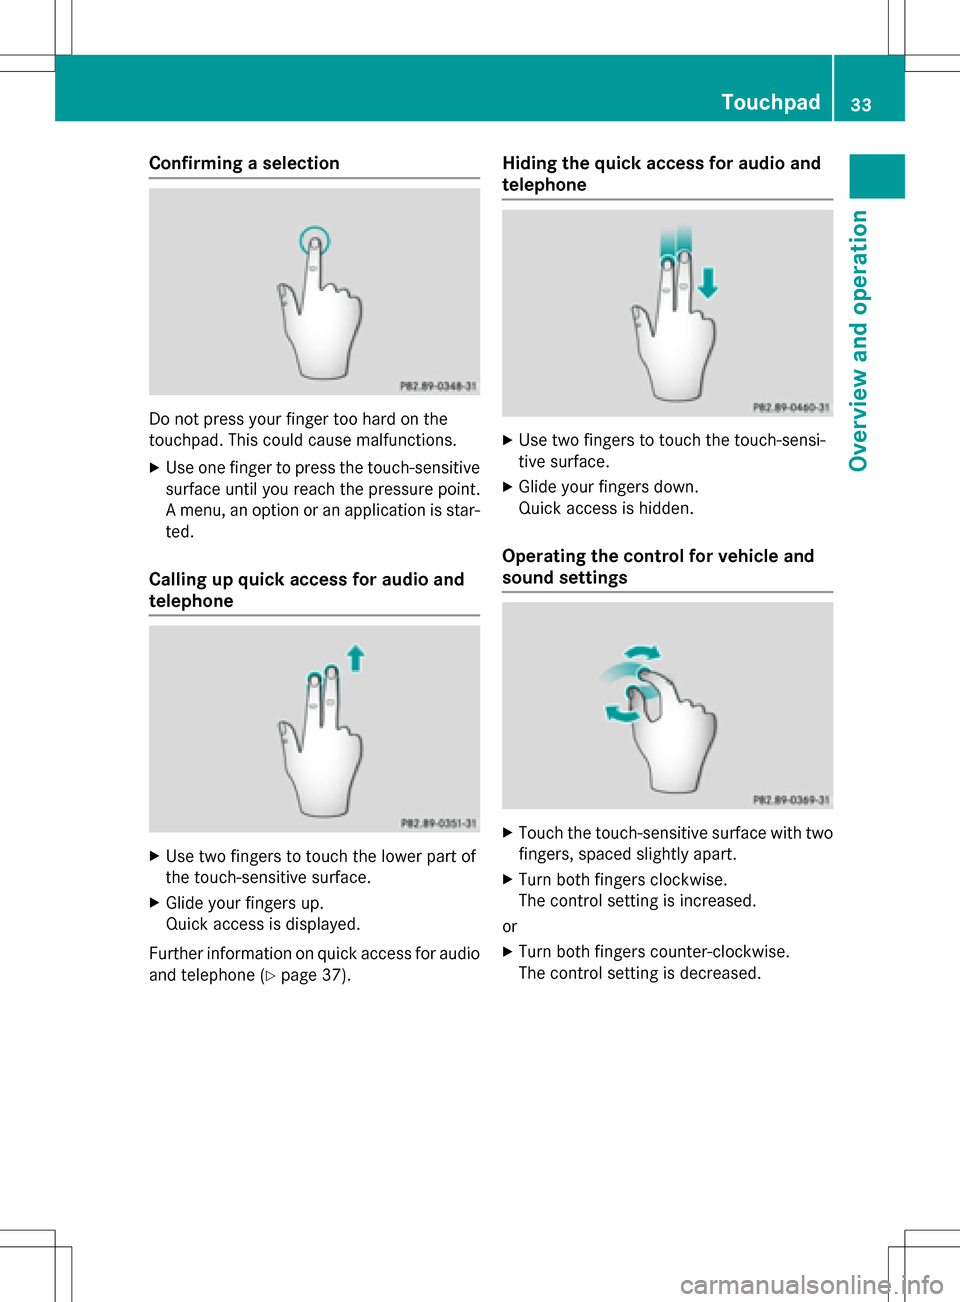
Confirming a selection
Do not press your finger too hard on the
touchpad. This could cause malfunctions.
XUse one finger to press the touch-sensitive
surface until you reach the pressure point.
A menu, an option or an application is star-
ted.
Calling up quick access for audio and
telephone
XUse two fingers to touch the lower part of
the touch-sensitive surface.
XGlide your fingers up.
Quick access is displayed.
Further information on quick access for audio
and telephone (
Ypage 37).
Hiding the quick access for audio and
telephone
XUse two fingers to touch the touch-sensi-
tive surface.
XGlide your fingers down.
Quick access is hidden.
Operating the control for vehicle and
sound settings
XTouch the touch-sensitive surface with two fingers, spaced slightly apart.
XTurn both fingers clockwise.
The control setting is increased.
or
XTurn both fingers counter-clockwise.
The control setting is decreased.
Touchpad33
Overview and operation
Page 50 of 298

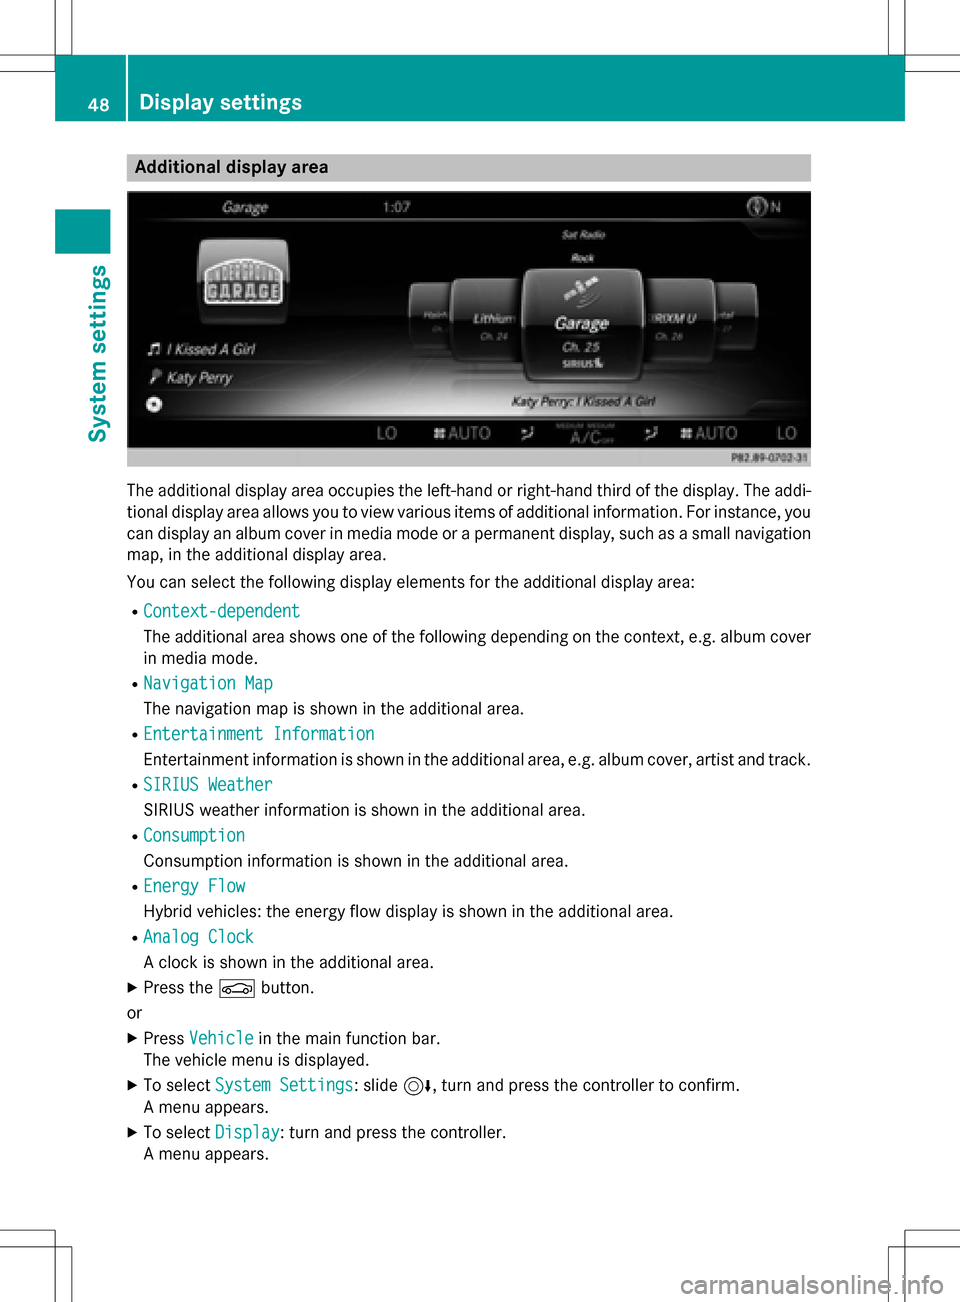
Additional display area
The additional display area occupies theleft-han dor right-hand third of th edisplay. The addi-
tional display area allows you to vie wvarious items of additional information .Fo rinstance ,you
can display an album cover in media mod eor apermanen tdisplay, suchasa sma ll navigation
map, in th eadditional display area.
You can select th efollowin gdisplay elements for th eadditional display area:
RContext-dependent
The additional area shows on eof th efollowin gdepending on th econtext, e.g. album cover
in media mode.
RNavigatio nMap
The navigation map is shown in th eadditional area.
REntertainmen tInformation
Entertainmen tinformation is shown in th eadditional area, e.g. album cover ,art ist and track .
RSIRIUS Weathe r
SIRIUS weather information is shown in th eadditional area.
RConsumption
Consumption information is shown in th eadditional area.
REnergy Flo w
Hybrid vehicles: th eenerg yflo wdisplay is shown in th eadditional area.
RAnalog Clock
A clock is shown in th eadditional area.
XPress th eØ button.
or
XPress Vehicl ein themain function bar.
The vehicl emen uis displayed.
XTo select System Settings:slide 6,turnand pre ssthecontroller to confirm .
A men uappears.
XTo select Display:tur nand press th econtroller .
A men uappears.
48Display settings
System settings
Page 52 of 298

Setting summer and standard time
You can use theDaylight Saving Time
menu to set automatic summer time change-
over or switch the summer time setting on or
off. The changeover to summer time advan-
ces the time by one hour.
TheDaylight Saving Time
menu or the
Automatic
option is not available in all coun-
tries.
XPress the Øbutton.
or
XPress Vehiclein the main function bar.
The vehicle menu is displayed.
XTo select Time: slide6, turn and press
the controller to confirm.
A menu appears.
XTo select Daylight Saving Time: turn
and press the controller.
A list of available options for setting sum-
mer time appears.
XTo select Auto,Onor Off: turn and press
the controller.
SettingFunction
AutomaticThe summer and
standard time are
automatically
changed over.
OnThe clock is
advanced one hour
ahead of standard
time.
OffThe standard time
for the chosen time
zone is selected.
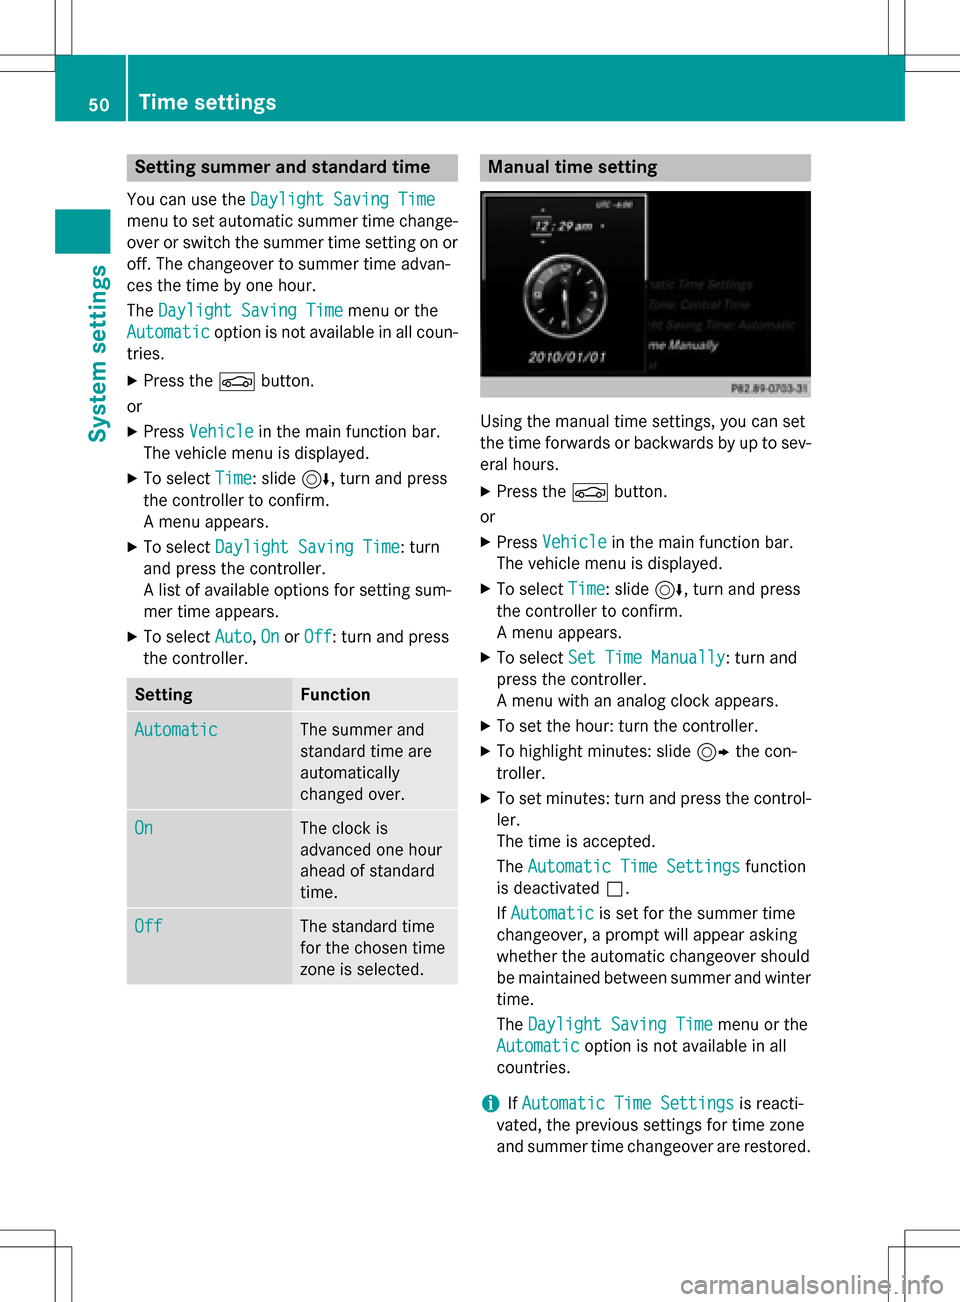
Manual time setting
Using the manual time settings, you can set
the time forwards or backwards by up to sev-
eral hours.
XPress the Øbutton.
or
XPress Vehiclein the main function bar.
The vehicle menu is displayed.
XTo select Time: slide6, turn and press
the controller to confirm.
A menu appears.
XTo select Set Time Manually: turn and
press the controller.
A menu with an analog clock appears.
XTo set the hour: turn the controller.
XTo highlight minutes: slide 9the con-
troller.
XTo set minutes: turn and press the control-
ler.
The time is accepted.
The Automatic Time Settings
function
is deactivated ª.
If Automatic
is set for the summer time
changeover, a prompt will appear asking
whether the automatic changeover should
be maintained between summer and winter time.
The Daylight Saving Time
menu or the
Automatic
option is not available in all
countries.
iIf Automatic Time Settingsis reacti-
vated, the previous settings for time zone
and summer time changeover are restored.
50Time settings
System settings
Page 282 of 298

?Retaininglugs
ABatterie s
The remot econtrol contain stw otyp eAAA,
1. 5 V batteries.
XTo ope nth ebatter ycompartment :
remove battery compartmen tcover =on
th ebac kof th eremot econtrol .
XPush catch tab ;down and tak eoff bat -
tery compartmen tcover =.
XRemove discharged batterie sA from th e
tray.
XInser tth ene wbatteries. Observ eth epolar -
it y marking son th ebatterie sand battery
compartmen twhen doin gso.
Left-han dbattery: th epositive pole (+)
mus tfac eupwards.
Right-hand battery: th epositive pole (+)
mus tfac edownwards.
XTo close th ebatter ycompartment :
inser tbattery compartmen tcover =start -
in g wit hretainin glugs ?into th ebattery
compartmen tand allow catch tab ;to
engage in place.
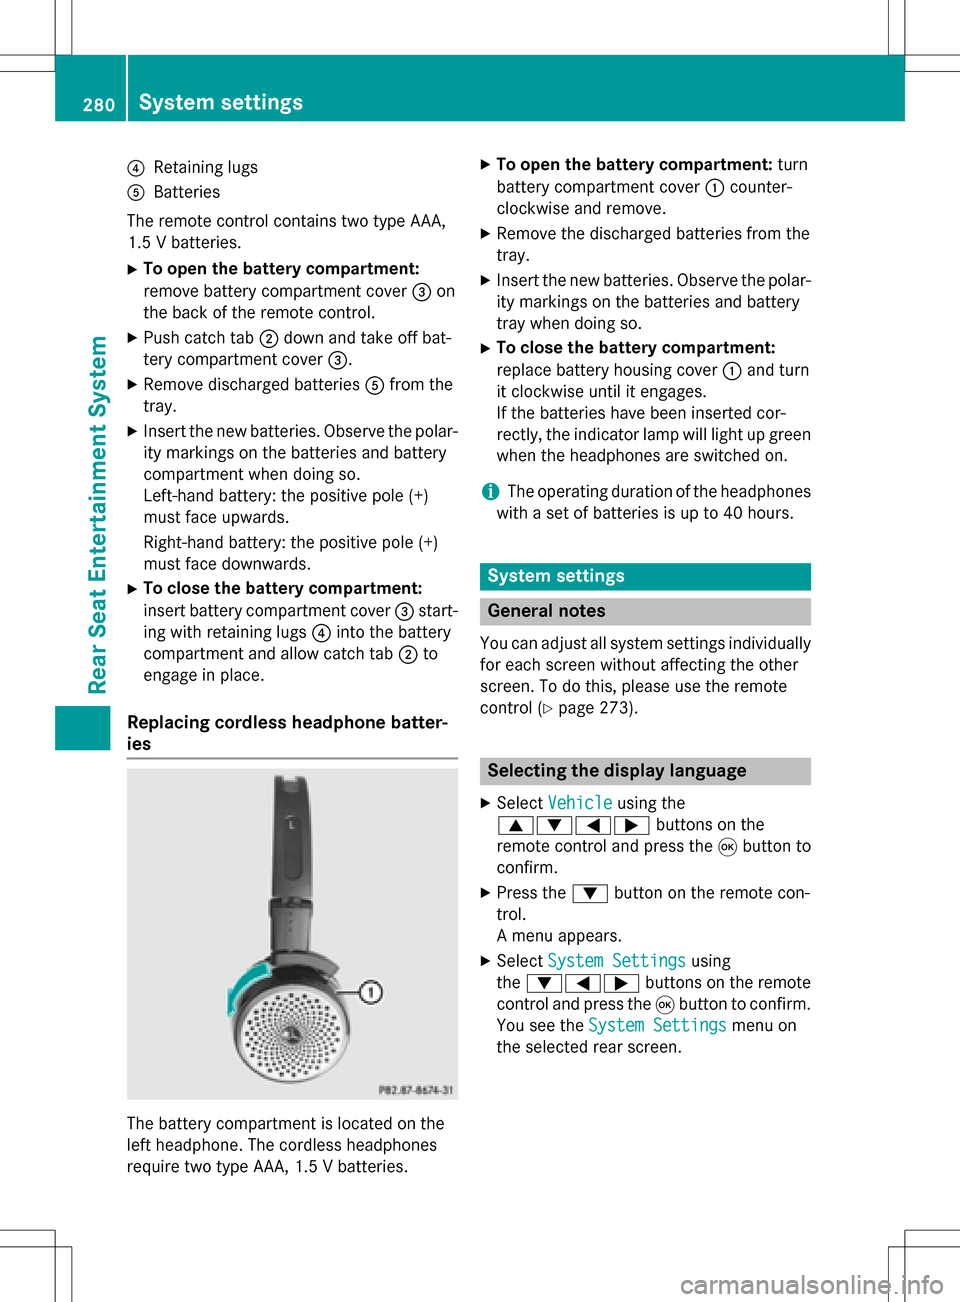
Replacing cordless headphon ebatter -
ies
The battery compartmen tis locate don th e
lef theadphone .The cordless headphone s
require tw otyp eAAA, 1. 5 Vbatteries.
XTo ope nth ebatter ycompartment :tur n
battery compartmen tcover :counter-
clockwise and remove .
XRemove thedischarged batterie sfrom th e
tray.
XInser tth ene wbatteries. Observ eth epolar -
it y marking son th ebatterie sand battery
tray when doin gso.
XTo close th ebatter ycompartment :
replace battery housin gcover :and tur n
it clockwise until it engages.
If th ebatterie shav ebeen inserte dcor-
rectly, th eindicato rlamp will ligh tup green
when th eheadphone sare switched on .
iThe operating duration of th eheadphone s
wit h a set of batterie sis up to 40 hours.
System settings
Genera lnotes
You can adjust all system setting sindividually
for eac hscree nwithout affecting th eother
screen. To do this, pleas euse th eremot e
control (
Ypage 273).
Selecting th edispla ylanguage
XSelec tVehicl eusingth e
9:= ;buttons on th e
remot econtrol and press th e9 butto nto
confirm .
XPress th e: buttonon th eremot econ-
trol.
A men uappears.
XSelec tSystem Settingsusin g
th e:=; buttons on theremot e
control and press th e9 butto nto confirm .
You see th eSystem Settings
men uon
th eselected rear screen.
280System settings
Rear Seat Entertainment System