audio MERCEDES-BENZ SL-Class 2017 R131 Comand Manual
[x] Cancel search | Manufacturer: MERCEDES-BENZ, Model Year: 2017, Model line: SL-Class, Model: MERCEDES-BENZ SL-Class 2017 R131Pages: 202, PDF Size: 6.35 MB
Page 28 of 202
XPress the touchpad.
A symbol is shown.
XTo selectp: glide your finger to the left or
right and press.
XTo select the input line: swipe up or down and
press.
The selected input line is active and character
entry can be continued.
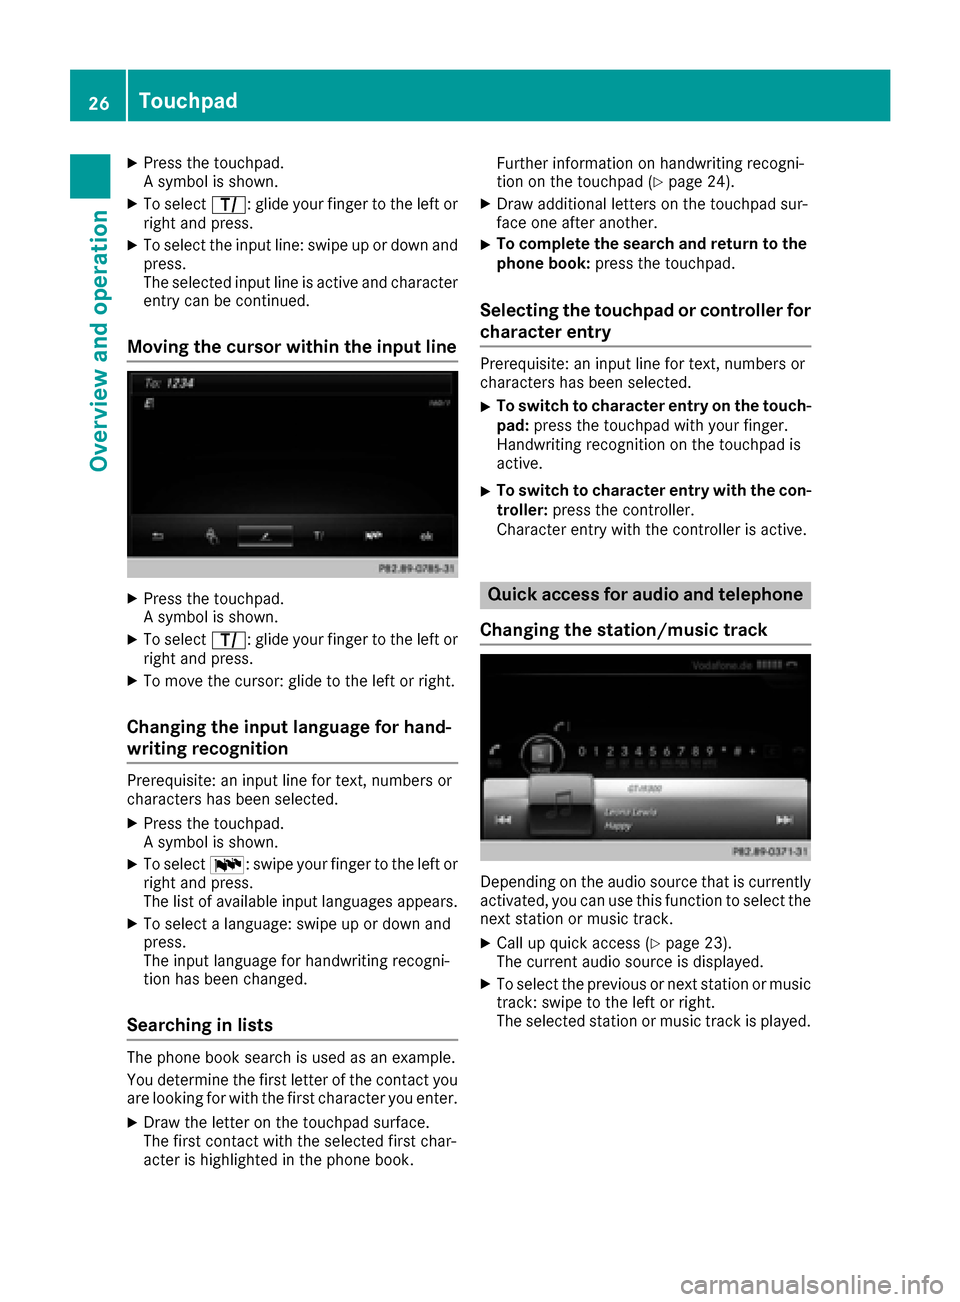
Moving the cursor within the input line
XPress the touchpad.
A symbol is shown.
XTo select p: glide your finger to the left or
right and press.
XTo move the cursor: glide to the left or right.
Changing the input language for hand-
writing recognition
Prerequisite: an input line for text, numbers or
characters has been selected.
XPress the touchpad.
A symbol is shown.
XTo select B: swipe your finger to the left or
right and press.
The list of available input languages appears.
XTo select a language: swipe up or down and
press.
The input language for handwriting recogni-
tion has been changed.
Searching in lists
The phone book search is used as an example.
You determine the first letter of the contact you
are looking for with the first character you enter.
XDraw the letter on the touchpad surface.
The first contact with the selected first char-
acter is highlighted in the phone book. Further information on handwriting recogni-
tion on the touchpad (
Ypage 24).
XDraw additional letters on the touchpad sur-
face one after another.
XTo complete the search and return to the
phone book: press the touchpad.
Selecting the touchpad or controller for
character entry
Prerequisite: an input line for text, numbers or
characters has been selected.
XTo switch to character entry on the touch-
pad:press the touchpad with your finger.
Handwriting recognition on the touchpad is
active.
XTo switch to character entry with the con- troller: press the controller.
Character entry with the controller is active.
Quick access for audio and telephone
Changing the station/music track
Depending on the audio source that is currently
activated, you can use this function to select the
next station or music track.
XCall up quick access (Ypage 23).
The current audio source is displayed.
XTo select the previous or next station or music
track: swipe to the left or right.
The selected station or music track is played.
26Touchpad
Overview and operation
Page 29 of 202
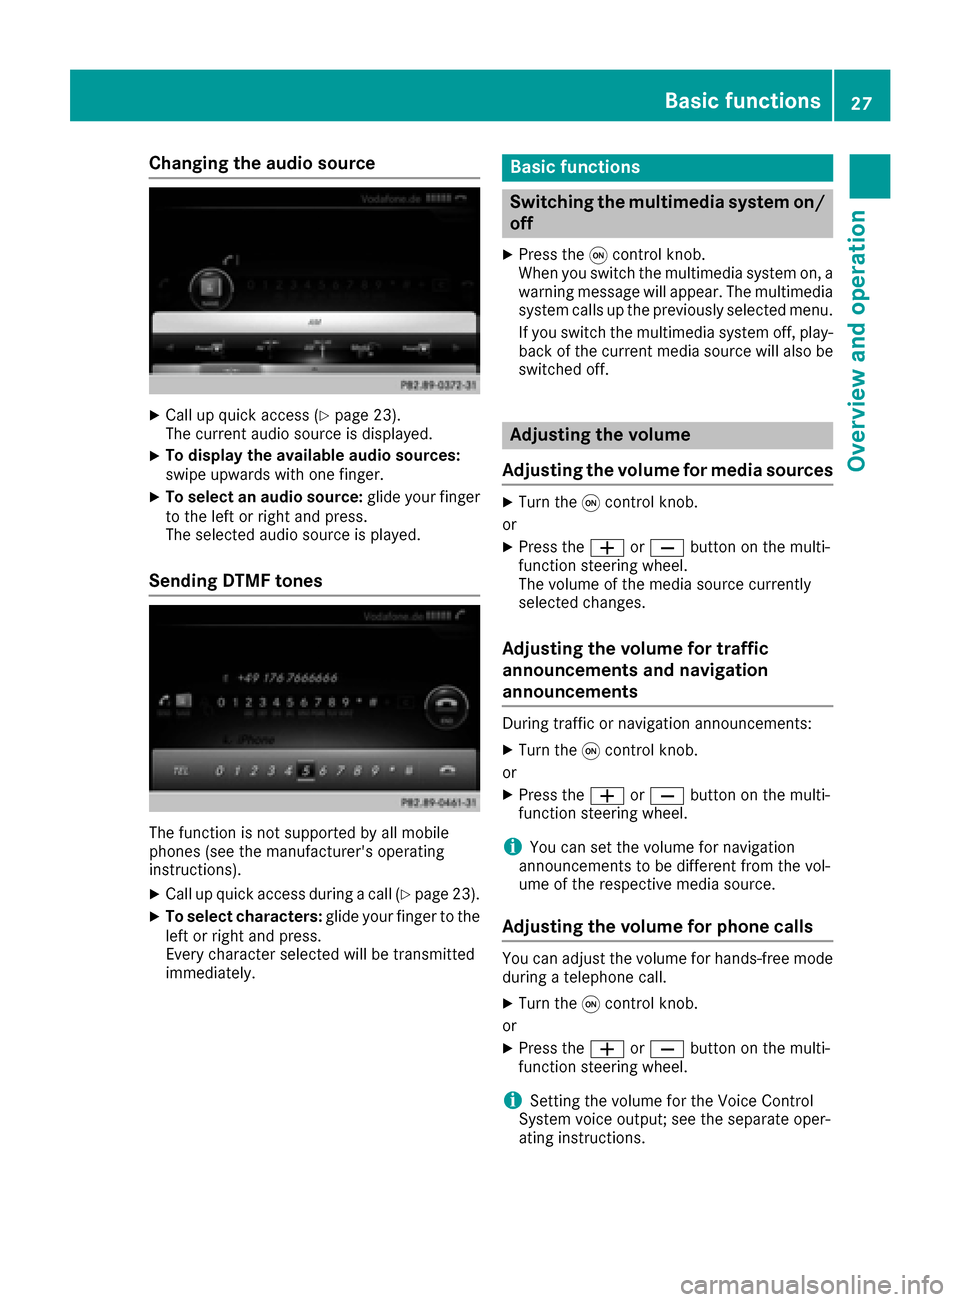
Changing the audio source
XCall up quick access (Ypage 23).
The current audio source is displayed.
XTo display the available audio sources:
swipe upwards with one finger.
XTo select an audio source: glide your finger
to the left or right and press.
The selected audio source is played.
Sending DTMF tones
The function is not supported by all mobile
phones (see the manufacturer's operating
instructions).
XCall up quick access during a call (Ypage 23).
XTo select characters: glide your finger to the
left or right and press.
Every character selected will be transmitted
immediately.
Basic functions
Switching the multimedia system on/
off
XPress the qcontrol knob.
When you switch the multimedia system on, a
warning message will appear. The multimedia
system calls up the previously selected menu.
If you switch the multimedia system off, play- back of the current media source will also be
switched off.
Adjusting the volume
Adjusting the volume for media sources
XTurn the qcontrol knob.
or
XPress the WorX button on the multi-
function steering wheel.
The volume of the media source currently
selected changes.
Adjusting the volume for traffic
announcements and navigation
announcements
During traffic or navigation announcements:
XTurn the qcontrol knob.
or
XPress the WorX button on the multi-
function steering wheel.
iYou can set the volume for navigation
announcements to be different from the vol-
ume of the respective media source.
Adjusting the volume for phone calls
You can adjust the volume for hands-free mode
during a telephone call.
XTurn the qcontrol knob.
or
XPress the WorX button on the multi-
function steering wheel.
iSetting the volume for the Voice Control
System voice output; see the separate oper-
ating instructions.
Basic functions27
Overview and operation
Page 30 of 202
Switching the sound on or off
Media source sound
XPress the 8button on the control panel or
on the multifunction steering wheel.
The sound is switched off. If the audio output
is switched off, the status line will show the
8 symbol. If you switch the media source
or change the volume, the sound is automat-
ically switched on.
iEven if the sound is switched off, you will still
hear navigation system announcements.
Switching navigation announcements
off and on again
XTo switch navigation announcements off:
press the 8button during an announce-
ment.
The Spoken driving recommendations
have been deactivated.message
appears.
XTo switch navigation announcements on
again: switch the multimedia system off and
then on again (
Ypage 27).
or
XStart a new route calculation (Ypage 59).
or
XSelect +: while route guidance is active,
show the menu and press the controller
(
Ypage 74).
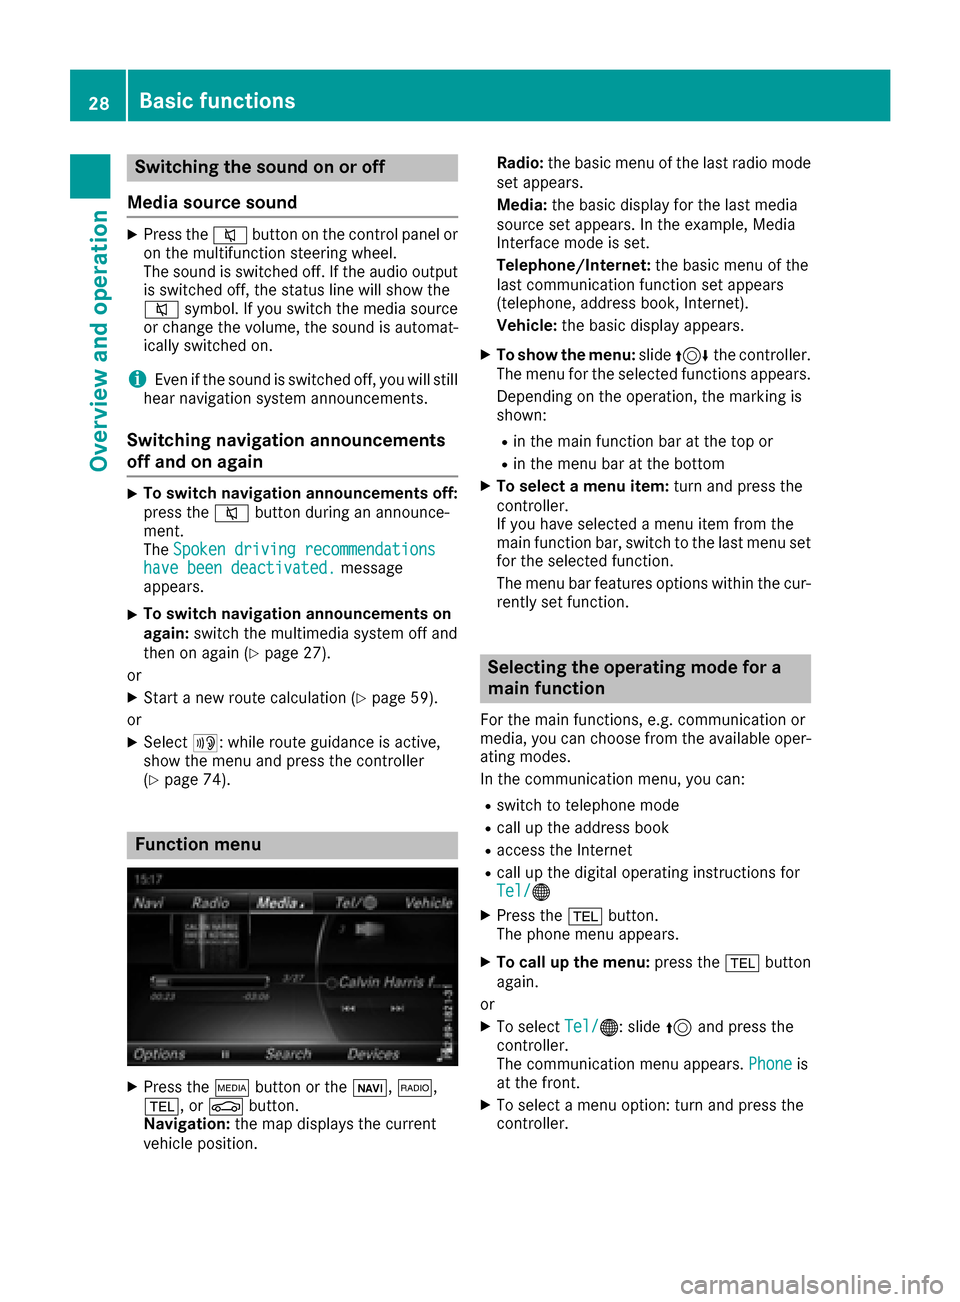
Function menu
XPress the Õbutton or the ß,$,
%, or Øbutton.
Navigation: the map displays the current
vehicle position. Radio:
the basic menu of the last radio mode
set appears.
Media: the basic display for the last media
source set appears. In the example, Media
Interface mode is set.
Telephone/Internet: the basic menu of the
last communication function set appears
(telephone, address book, Internet).
Vehicle: the basic display appears.
XTo show the menu: slide4 the controller.
The menu for the selected functions appears.
Depending on the operation, the marking is
shown:
Rin the main function bar at the top or
Rin the menu bar at the bottom
XTo select a menu item: turn and press the
controller.
If you have selected a menu item from the
main function bar, switch to the last menu set
for the selected function.
The menu bar features options within the cur-
rently set function.
Selecting the operating mode for a
main function
For the main functions, e.g. communication or
media, you can choose from the available oper-
ating modes.
In the communication menu, you can:
Rswitch to telephone mode
Rcall up the address book
Raccess the Internet
Rcall up the digital operating instructions for
Tel/®
XPress the %button.
The phone menu appears.
XTo call up the menu: press the%button
again.
or
XTo select Tel/®: slide5and press the
controller.
The communication menu appears. Phone
is
at the front.
XTo select a menu option: turn and press the
controller.
28Basic functions
Overview and operation
Page 34 of 202
Adding favorites
Adding predefined favorites
XPress th efavorite sbutto non th econtroller .
The favorite sare displayed.
XTo sho wthemen ubar :slid e6 thecon-
troller .
XTo select Reassign:tur nand press th econ-
troller .
The categorie sfor th eavailable favorite sare
displayed.
XTo select acategory: turnth econtroller and
press to confirm .
The corresponding favorite sare displayed.
XTo select afavorite: turnand press th econ-
troller .
XTo add afavorit eat th edesired position:
tur nand press th econtroller .
If there is already afavorite at this position ,
then this will be deleted.
Adding your own favorites
You can creat eyour own favorite sto help you to
use these functions, for example:
RCallin gup telephon enumber sfrom th etele-
phone book
RSelecting radi ostation s
RSkippin gto aspecific plac ein atrack or an
audio book
RCallin gup favore dmedia
RSelecting navigation destination sfor rout e
calculation
The exampl edescribes how to add acontact's
telephon enumber as afavorite .
XCall up th ephone book (Ypage 102).
XSelectth econtact .
XTo add atelephone number as afavorit e
at th edesired position: press and hold the
favorite sbutto non th econtroller until th e
favorite sare displayed.
XTurn and press th econtroller .
If there is already afavorite at this position ,it
will be delete dand replace dby ane wone.
Renaming favorites
XPress th efavorite sbutto non th econtroller .
The favorite sare displayed.
XTo select afavorit eto be renamed: turnth e
controller .
XTo showthemen ubar :slid e6 thecon-
troller .
XTo select Rename:tur nand press th econtrol -
ler .
XEnte rcharacters usin gth econtroller .
XTo finish th eentry :select OK.
The favorite is renamed .
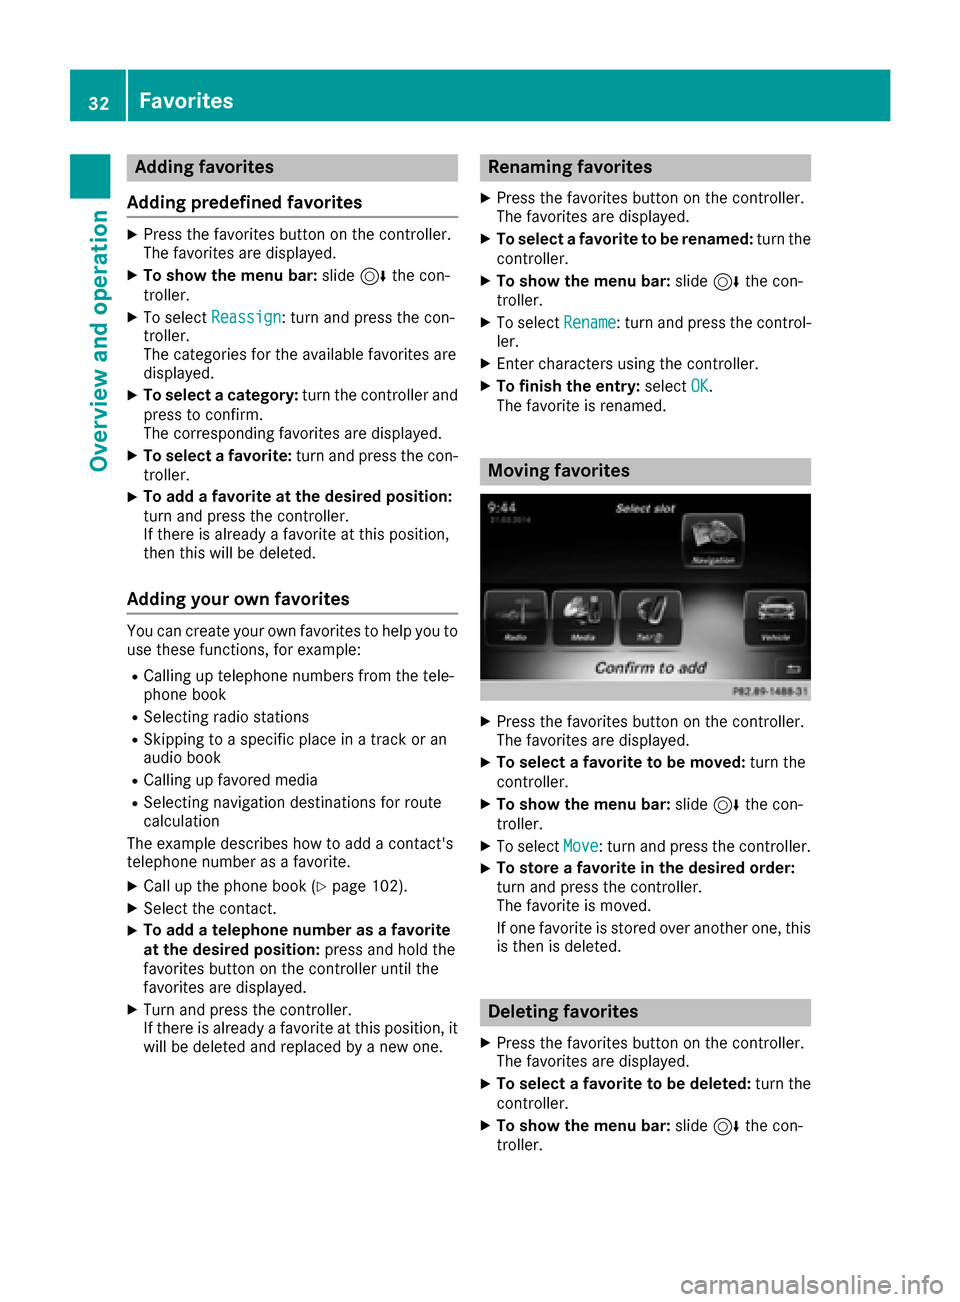
Moving favorites
XPress thefavorite sbutto non th econtroller .
The favorite sare displayed.
XTo select afavorit eto be moved: turnth e
controller .
XTo showthemen ubar :slid e6 thecon-
troller .
XTo select Move:tur nand press th econtroller .
XTo storeafavorit ein th edesired order:
tur nand press th econtroller .
The favorite is moved.
If on efavorite is store dove ranother one, this
is then is deleted.
Deleting favorites
XPress th efavorite sbutto non th econtroller .
The favorite sare displayed.
XTo select afavorit eto be deleted: turnth e
controller .
XTo showthemen ubar :slid e6 thecon-
troller .
32Favorites
Overview and operation
Page 43 of 202
Bluetooth®settings
General information about Blue-
tooth®
Bluetooth®-capable devices, e. g. mobile
phones, need to comply with a certain profile in
order to be connected to the multimedia sys-
tem. Every Bluetooth
®device has its own spe-
cific Bluetooth®name.
Bluetooth®technology is a standard for short-
range wireless data transmissions up to approx-
imately 10 m.
You can use Bluetooth
®to connect your mobile
phone to the multimedia system, for example:
Ruse the hands-free system
Restablish an Internet connection
Rlisten to music using Bluetooth®Audio
Rexchange vCards
Bluetooth®is a registered trademark of Blue-
tooth Special Interest Group (SIG) Inc.
Activating/deactivating Bluetooth®
X
Press the Øbutton.
or
XPress Vehiclein the main function bar.
The vehicle menu is displayed.
XTo select System Settings: slide6, turn
and press the controller.
A menu appears.
XTo select Activate Bluetooth: turn and
press the controller.
This switches Bluetooth
®on O or off ª.
Setting the system language
This function allows you to determine the lan-
guage for the menu displays and the navigation
messages. The selected language affects the
characters available for entry.
iThe navigation announcements are not
available in all languages. If a language is not
available, the navigation announcements will
be in English.
iWhen you set the system language, the lan-
guage of the Voice Control System will
change accordingly. If it is not supported by the Voice Control System, English will be
selected.
XPress the
Øbutton.
or
XPress Vehiclein the main function bar.
The vehicle menu is displayed.
XTo select System Settings: slide6, turn
and press the controller.
A menu appears.
XTo select Language: turn and press the con-
troller.
The list of languages appears. The #dot indi-
cates the current setting.
XSelect the desired language.
The multimedia system loads the selected
language and sets it.
Calling up the favorite functions
The favorites function can be called up as fol-
lows:
Rvia the System Settingsmenu
Rvia the Favorites button on the controller
(Ypage 21)
Rvia the Favorites button on the touchpad
(Ypage 22)
Calling up the Favorites function via the sys-
tem menu
XPress the Øbutton.
or
XPress Vehiclein the main function bar.
The vehicle menu is displayed.
XTo select System Settings: slide6and
press the controller.
A menu appears.
XTo select Favorite Functions: press the
controller.
The favorites are displayed.
XTo select the desired function, e.g. Phone‐book: turn and press the controller.
A menu appears.
Calling up the Favorites function using the
controller
XPress the favorites button on the controller.
The favorites are displayed.
XTo select the desired function, e.g. Phone‐book: turn and press the controller.
Calling up the favorite functions41
System settings
Z
Page 58 of 202
XTo avoid/use route options:selectAvoid
Options.
A menu appears.
XSelect one of the options.
O: using or avoiding route options is enabled
ª: using or avoiding route options is disabled
RAvoid Area(Ypage 86)
You can define areas that you would like to
avoid.
RAvoid Highways
RAvoid Ferries
RAvoid Auto Trains
RAvoid Tunnels
RAvoid Unpaved Roads
The function is not available in all countries.
RUse Toll Roads
The route calculation includes roads which
require you to pay a usage fee (toll).
RNumberofOccupantsintheVehicle:
If your vehicle meets the access conditions
for carpool lanes, you can use this function.
Navigation includes carpool lanes if the car-
pool lanes option is activated.
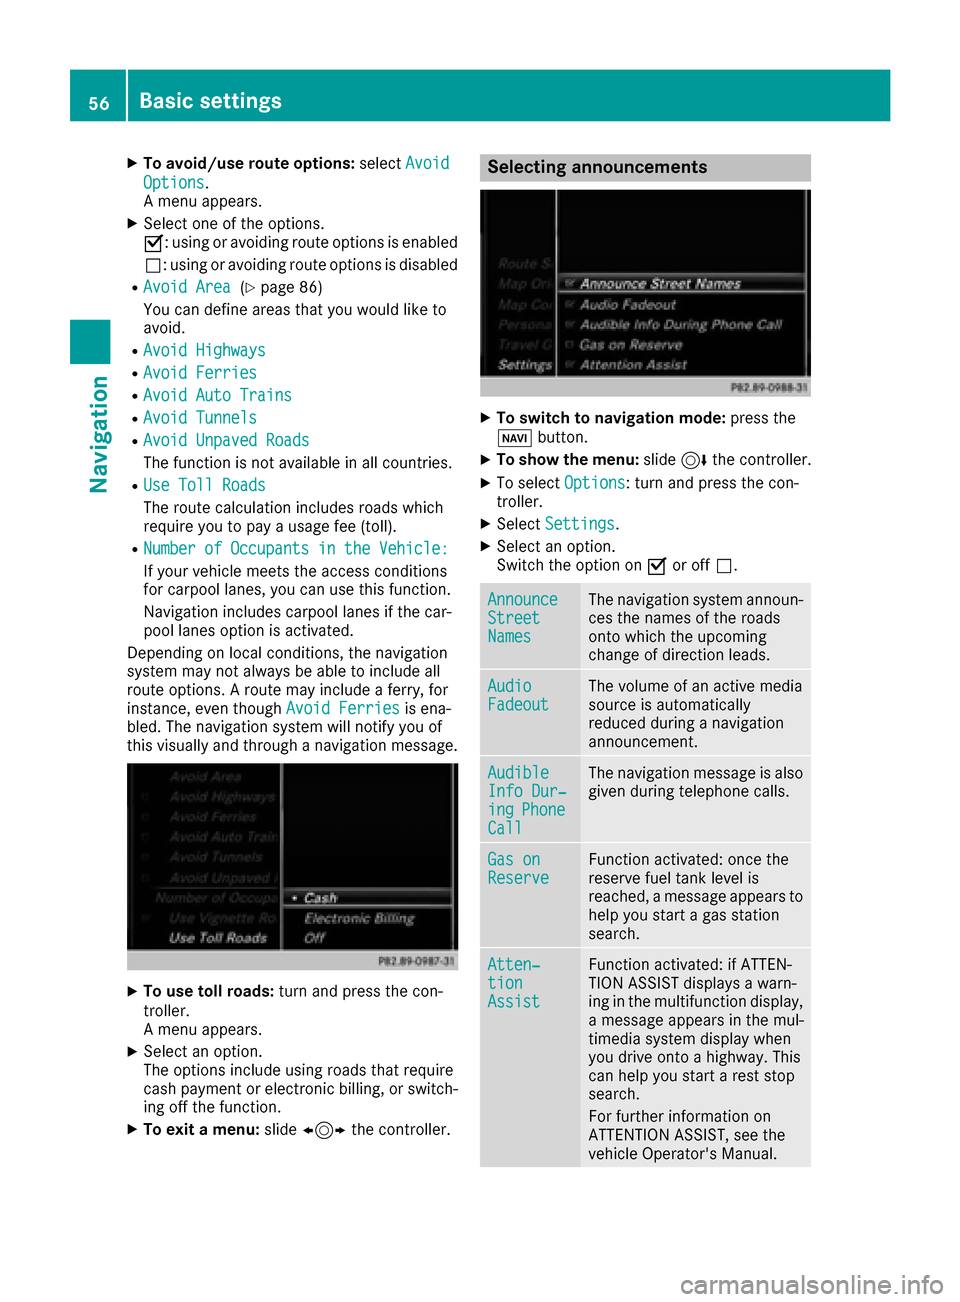
Depending on local conditions, the navigation
system may not always be able to include all
route options. A route may include a ferry, for
instance, even though Avoid Ferries
is ena-
bled. The navigation system will notify you of
this visually and through a navigation message.
XTo use toll roads: turn and press the con-
troller.
A menu appears.
XSelect an option.
The options include using roads that require
cash payment or electronic billing, or switch-
ing off the function.
XTo exit a menu: slide1 the controller.
Selecting announcements
XTo switch to navigation mode: press the
Ø button.
XTo show the menu: slide6the controller.
XTo select Options: turn and press the con-
troller.
XSelect Settings.
XSelect an option.
Switch the option on Oor off ª.
AnnounceStreetNames
The navigation system announ-
ces the names of the roads
onto which the upcoming
change of direction leads.
AudioFadeoutThe volume of an active media
source is automatically
reduced during a navigation
announcement.
AudibleInfo Dur‐ingPhoneCall
The navigation message is also
given during telephone calls.
Gas onReserveFunction activated: once the
reserve fuel tank level is
reached, a message appears to
help you start a gas station
search.
Atten‐tionAssist
Function activated: if ATTEN-
TION ASSIST displays a warn-
ing in the multifunction display,
a message appears in the mul-
timedia system display when
you drive onto a highway. This
can help you start a rest stop
search.
For further information on
ATTENTION ASSIST, see the
vehicle Operator's Manual.
56Basic settings
Navigation
Page 125 of 202
briefly terminate the mobile phone's USB con-
nection to the vehicle.
Android Auto™
Introduction
Functions on mobile phones with the Android™
operating system can be used with Android
Auto™:
RAndroid Auto™-capable apps from the mobile
phone are shown in the multimedia system.
RAudio content from the mobile phone is
played back in the multimedia system.
Only one mobile phone at a time can be con-
nected to the multimedia system via Android
Auto™.
Various multimedia system functions such as
the navigation system are not available while
using Android Auto™.
The availability of Android Auto™ and Android
Auto™ apps may vary by country.
The provider is responsible for its application
and related services and content.
Connecting a mobile phone via
Android Auto™
Requirements:
RFor safety reasons, the first time Android
Auto™ is activated on the multimedia system,
the vehicle must be stationary.
RThe mobile phone supports Android Auto™
from Android™ 5.0.
RThe Android Auto™ app is installed on the
mobile phone.
RIn order to use the telephone functions, a
mobile phone needs to be connected with the
multimedia system via Bluetooth
®.
RThe full range of functions for Android Auto™
is only possible with an Internet connection.
RThe mobile phone is connected to the USB
port ç on the multimedia system via a USB
cable.
The multimedia system automatically estab-
lishes a connection to the mobile phone via
Bluetooth
®. If this is unsuccessful, an error mes-
sage will appear. In this case, you should con-
nect the mobile phone manually via Bluetooth
®
(Ypage 93). Starting Android Auto™
Multimedia system
XTo call up the telephone menu: press the
%
button.
XTo show the main function bar: slide 5the
controller.
XTo select Tel/®: turn and press the control-
ler.
XTo select Android Auto: turn and press the
controller.
You see a message informing you that no
Android Auto™ device is connected.
Mobile phone
XConnect the mobile phone to the USB port
ç in the center console.
When activated manually a message appears
on the display of the multimedia system when
Android Auto™ is started.
XTo confirm the message: press the controller.
The Android Auto™ app is shown in the mul-
timedia system display.
Setting up automatic connection
XTo call up the telephone menu: press the
% button.
XTo display the main function bar: slide 5the
controller.
XTo select Tel/®: turn and press the control-
ler.
XTo select Android Auto: turn and press the
controller.
XTo switch to the menu bar: slide 6the con-
troller.
XTo select Options: turn and press the con-
troller.
XTo select Start Android Auto Automati‐cally: turn and press the controller.
XAllow automatic connection O.
Android Auto™ starts automatically as soon
as the mobile phone is connected to the USB
port ç of the multimedia system.
Calling up the sound settings for
Android Auto™
If Android Auto™ is active, you can change the
sound settings in the radio menu.
Android Auto™123
Telephone
Z
Page 134 of 202
XTo show the menu:press the%button.
XTo select 3: turn and press the controller.
A menu appears. The #dot indicates the cur-
rent setting.
XSelect Jump From Link To Link.
If a website has been called up and the con-
troller is turned, the cursor jumps from link to
link.
Directional scrolling
You can use this function to scroll up and down
on the web page.
XTo show the menu: press the%button.
XTo select 3: turn and press the controller.
A menu appears. The #dot indicates the cur-
rent setting.
XSelect Directional Scrolling.
If a website has been called up and the con-
troller is turned, the cursor moves up or down
depending on the direction of the turn.
Settings
Overview
XTo show the menu: press the%button.
XTo select 3: turn and press the controller.
A menu appears.
XSelect Settings.
You can activate or deactivate the following set-
tings:
RDownload Images Automatically
It may take some time to download the con-
tents of websites that contain a large amount
of images. Therefore, it may be useful to deac-
tivate this option.
RBlock Pop-Ups
Pop-ups are windows (usually with advertise-
ments) which are displayed automatically
when you call up a website. You can block
these displays.
RActivate Javascript
Javascript makes it possible to display and
interact with dynamic content on the website.
RAllow Cookies
Some websites save information in small text
files (cookies) on your system. You can deter-
mine whether cookies may be stored.
REnable Internet Audio
You can switch the browser's audio playback
on or off here.
RHide Scroll Bars
You can show or hide the scroll bar here.
RShow Link Target
You can display the link's URL here.
RCharacter Size
You can select the font size which is used
when displaying the website.
RCharacter Code
You can select a different character set here, e.g. if the characters of a website appear dis-
torted.
Changing settings
XTo select the desired setting: turn and press
the controller.
Switch the setting on Oor off ª.
Changing the character size or character
code
XSelect CharacterSizeorCharacterCode.
XTo select the setting you require: turn and
press the controller.
iIf you change the settings, the websites may
not be displayed correctly.
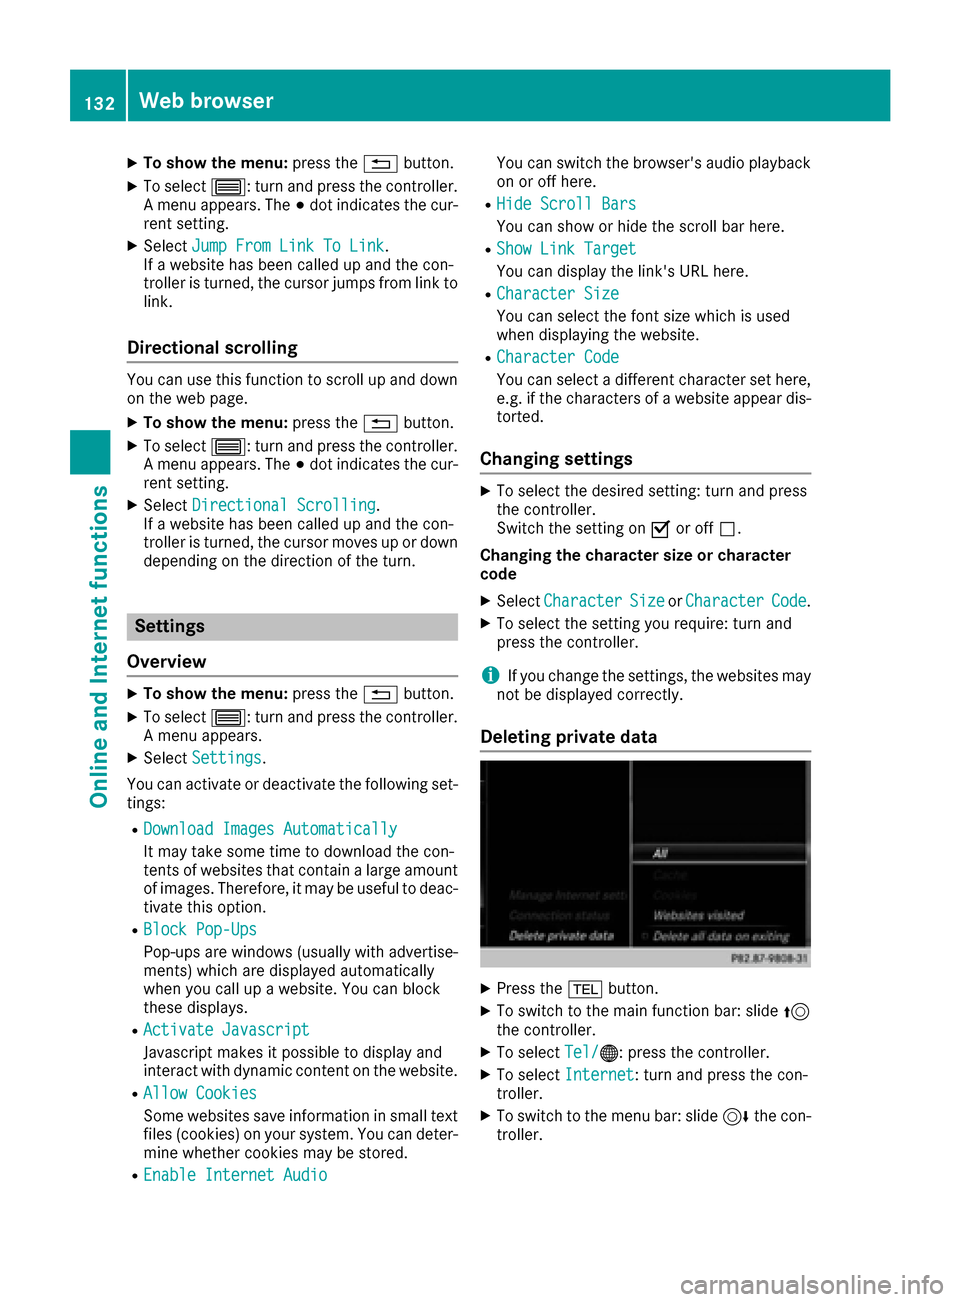
Deleting private data
XPress the %button.
XTo switch to the main function bar: slide 5
the controller.
XTo select Tel/®: press the controller.
XTo selectInternet: turn and press the con-
troller.
XTo switch to the menu bar: slide 6the con-
troller.
132Web browser
Online and Internet functions
Page 147 of 202
XTo selectMediain media mode: slide 5and
press the controller.
The menu appears with the available media
sources.
XTo select the media source: turn the control-
ler and press to confirm.
If the media source contains music or video
files, these will be played. The corresponding
basic menu will be shown.
Using the number keypad
XTo select a media source: press the corre-
sponding number key.
If the media source contains music or video
files, these will be played. The corresponding
basic menu will be shown.
XTo enter the track number: press the g
button.
A menu appears.
XUse the number keypad to enter the track
number.
The track is played.
Use the sbutton to show the track infor-
mation for the track that is currently playing.
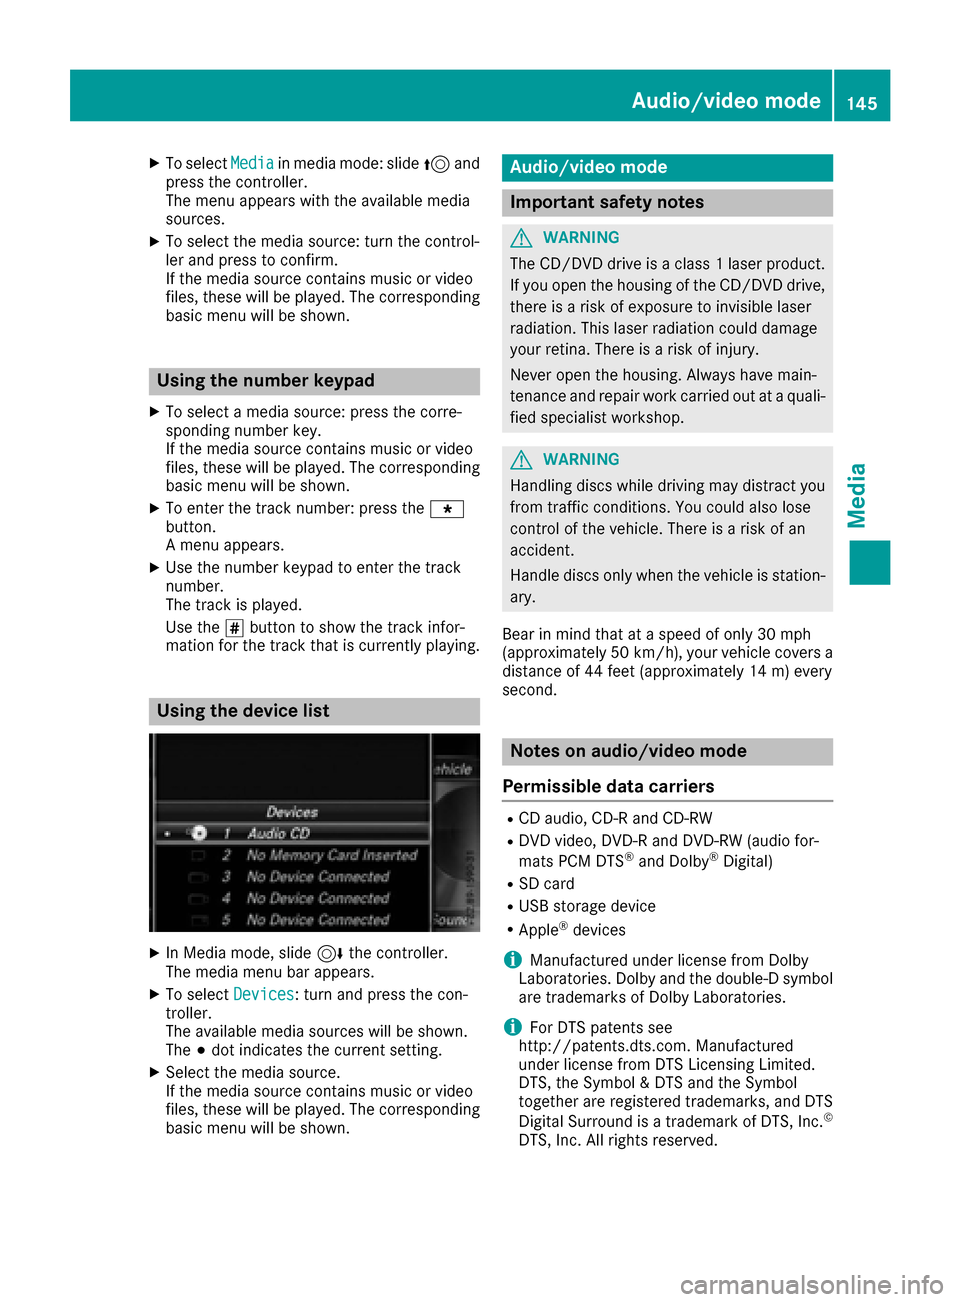
Using the device list
XIn Media mode, slide 6the controller.
The media menu bar appears.
XTo select Devices: turn and press the con-
troller.
The available media sources will be shown.
The #dot indicates the current setting.
XSelect the media source.
If the media source contains music or video
files, these will be played. The corresponding
basic menu will be shown.
Audio/video mode
Important safety notes
GWARNING
The CD/DVD drive is a class 1 laser product.
If you open the housing of the CD/DVD drive,
there is a risk of exposure to invisible laser
radiation. This laser radiation could damage
your retina. There is a risk of injury.
Never open the housing. Always have main-
tenance and repair work carried out at a quali- fied specialist workshop.
GWARNING
Handling discs while driving may distract you from traffic conditions. You could also lose
control of the vehicle. There is a risk of an
accident.
Handle discs only when the vehicle is station-
ary.
Bear in mind that at a speed of only 30 mph
(approximately 50 km/h) , your vehicle covers a
distance of 44 feet (approximately 14 m) every
second.
Notes on audio/video mode
Permissible data carriers
RCD audio, CD-R and CD-RW
RDVD video, DVD-R and DVD-RW (audio for-
mats PCM DTS®and Dolby®Digital)
RSD card
RUSB storage device
RApple®devices
iManufactured under license from Dolby
Laboratories. Dolby and the double-D symbol
are trademarks of Dolby Laboratories.
iFor DTS patents see
http://patents.dts.com. Manufactured
under license from DTS Licensing Limited.
DTS, the Symbol & DTS and the Symbol
together are registered trademarks, and DTS
Digital Surround is a trademark of DTS, Inc.
©
DTS, Inc. All rights reserved.
Audio/video mode145
Media
Z
Page 148 of 202

Permissible file systems
RISO 9660/Joliet standard for CDs
RUDF for video DVDs
RFAT16, FAT32, exFAT and NTFS for SD card
and USB storage media
RHFS and HFS+ for Apple®devices
iWriting access is not possible on NTFS.
Multisession CDs
For multisession CDs, the content of the first
session determines how the multimedia system
processes the CD. The multimedia system only
plays back one session and gives priority to the
first session on the CD.
File structure of a data carrier
When you create a disc with compressed music
files, the tracks can be organized in folders. A
folder may also contain subfolders. The disc
may contain no more than eight directory levels
(a root and seven sub-levels). Files beyond the
eighth level will not be recognized by the sys-
tem.
iThe multimedia system supports up to
25,000 files for all of the connected sources.
Track and file names
When you create a disc with compressed music
files, you can assign names to the tracks and
folders.
You should observe the following when assign-
ing track names:
Rtrack names must have at least one character
Rtrack names must have an extension of a sup-
ported audio/video format, e.g. mp3, aac or
m4v
Rthere must be a dot between the track name
and the extension
Example of a correct track name:
"Track1.mp3".
Permissible formats
The multimedia system supports the following
audio formats:
RMP3
RWMA
RCD-A
RAAC formats: .aac, .mp4, .m4a and .m4b
Copy-protected iTunes®music files with
the .m4p file extension are not supported.
The multimedia system supports the following
video formats:
RDVD-V
RMPEG
RWMV
RM4V
RAVI
Permissible bit and sampling rates
The multimedia system supports MP3 files of
the following type:
Rfixed and variable bit rates from 32 kbit/s to
320 kbit/s
Rsampling rates of 8 kHz to 48 kHz
The multimedia system supports WMA files of
the following type:
Rfixed bit rates from 5 kbit/s to 384 kbit/s
Rsampling rates of 8 kHz to 48 kHz
The multimedia system does not support WMA
files of the following type:
RDRM (Digital Rights Management) encrypted
files
Rvariable bit rate
RWMA Pro
R5.1 surround sound
iOnly use tracks with a bit rate of at least
128 kbit/s and a sampling rate of at least
44.1 kHz. Lower rates can cause a noticeable deterioration in quality. This is especially the
case if you have activated a surround sound
function.
Selecting an active partition (USB mass
storage devices only)
You can select this function for USB storage
devices when the storage device is partitioned.
Up to 9 partitions (primary or logical, FAT,
FAT32, exFAT and NTFS) are supported.
146Audio/video mode
Media