rear entertainment MERCEDES-BENZ SL ROADSTER 2012 Owner's Guide
[x] Cancel search | Manufacturer: MERCEDES-BENZ, Model Year: 2012, Model line: SL ROADSTER, Model: MERCEDES-BENZ SL ROADSTER 2012Pages: 637, PDF Size: 20.68 MB
Page 543 of 637

and turning
cVdthe COMAND controller
and press Wto confirm. X
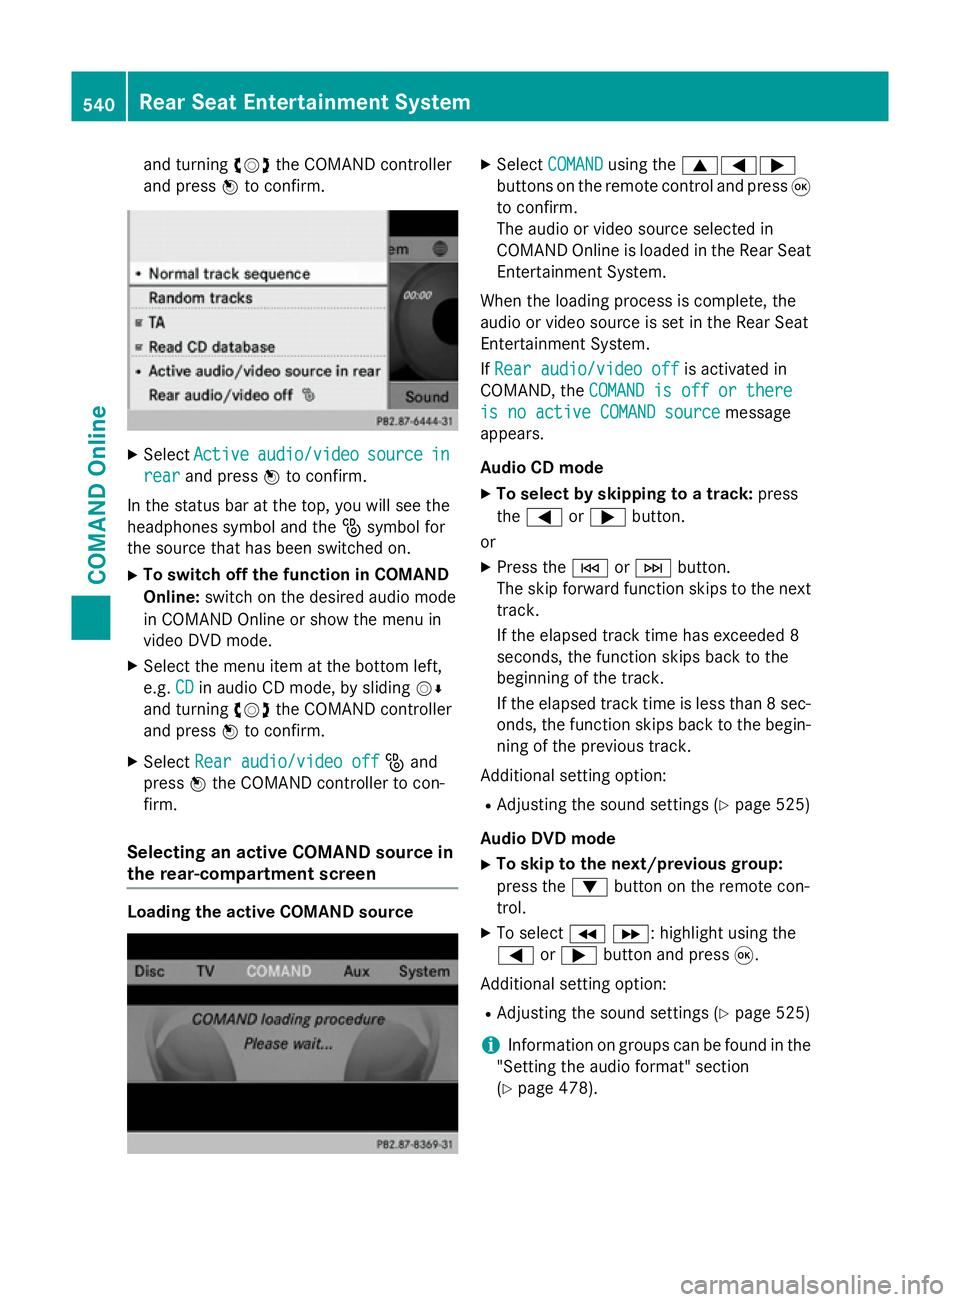
Select Active
Active audio/video
audio/video source
sourcein
in
rear
rear and press Wto confirm.
In the status bar at the top, you will see the
headphones symbol and the _symbol for
the source that has been switched on.
X To switch off the function in COMAND
Online: switch on the desired audio mode
in COMAND Online or show the menu in
video DVD mode.
X Select the menu item at the bottom left,
e.g. CD
CD in audio CD mode, by sliding VÆ
and turning cVdthe COMAND controller
and press Wto confirm.
X Select Rear audio/video off
Rear audio/video off _and
press Wthe COMAND controller to con-
firm.
Selecting an active COMAND source in
the rear-compartment screen Loading the active COMAND source X
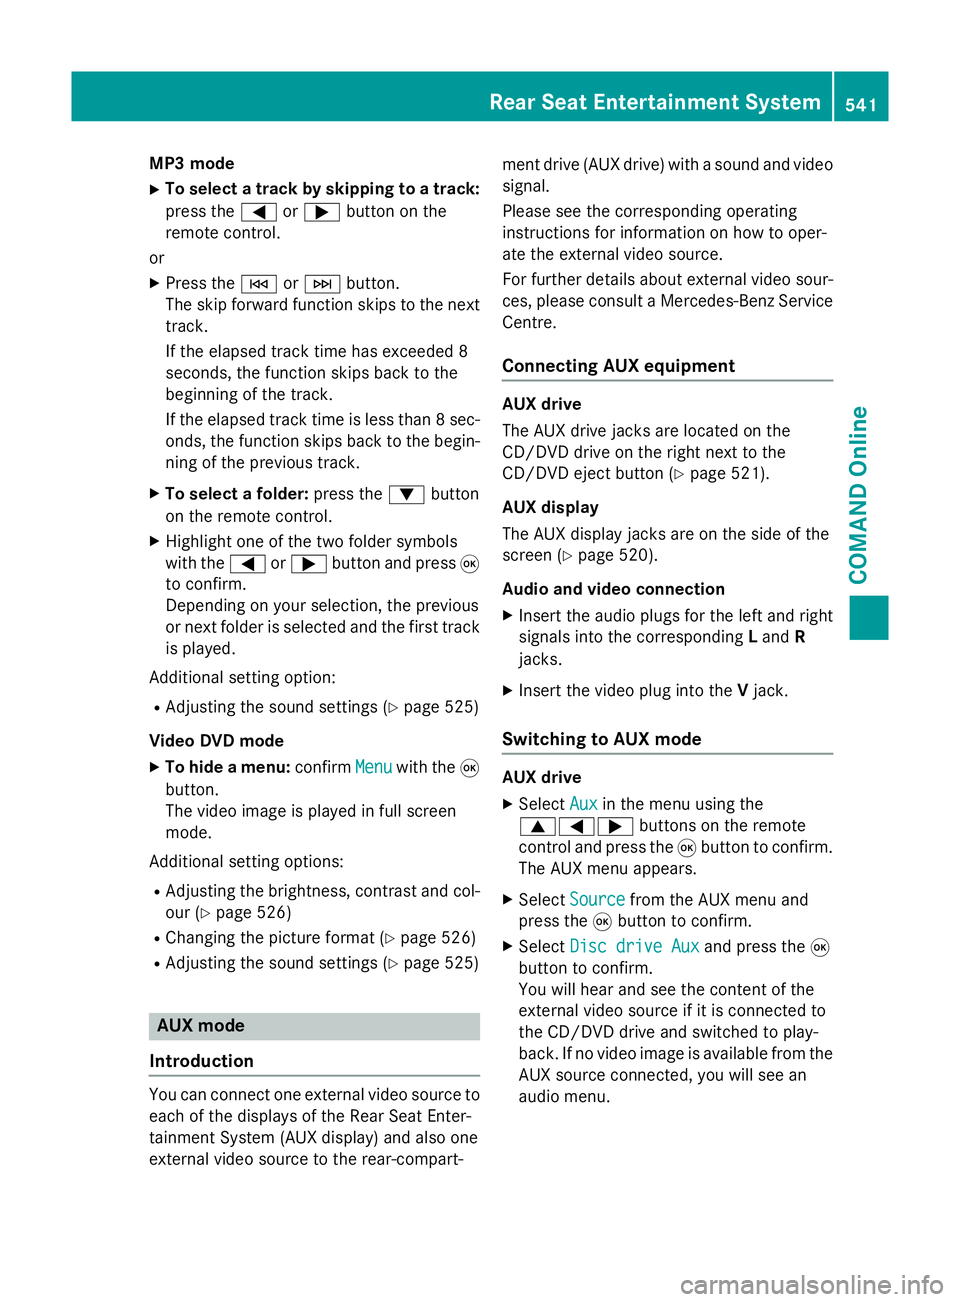
Select COMAND COMAND using the 9=;
buttons on the remote control and press 9
to confirm.
The audio or video source selected in
COMAND Online is loaded in the Rear Seat Entertainment System.
When the loading process is complete, the
audio or video source is set in the Rear Seat
Entertainment System.
If Rear audio/video off
Rear audio/video off is activated in
COMAND, the COMAND is off or there COMAND is off or there
is no active COMAND source
is no active COMAND source message
appears.
Audio CD mode
X To select by skipping to a track: press
the = or; button.
or X Press the EorF button.
The skip forward function skips to the next track.
If the elapsed track time has exceeded 8
seconds, the function skips back to the
beginning of the track.
If the elapsed track time is less than 8 sec- onds, the function skips back to the begin-
ning of the previous track.
Additional setting option:
R Adjusting the sound settings (Y page 525)
Audio DVD mode
X To skip to the next/previous group:
press the :button on the remote con-
trol.
X To select KL : highlight using the
= or; button and press 9.
Additional setting option: R Adjusting the sound settings (Y page 525)
i Information on groups can be found in the
"Setting the audio format" section
(Y page 478). 540
Rear Seat Entertainment SystemCOMAND Online
Page 544 of 637

MP3 mode
X To select a track by skipping to a track:
press the =or; button on the
remote control.
or X Press the EorF button.
The skip forward function skips to the next track.
If the elapsed track time has exceeded 8
seconds, the function skips back to the
beginning of the track.
If the elapsed track time is less than 8 sec- onds, the function skips back to the begin-
ning of the previous track.
X To select a folder: press the:button
on the remote control.
X Highlight one of the two folder symbols
with the =or; button and press 9
to confirm.
Depending on your selection, the previous
or next folder is selected and the first track
is played.
Additional setting option:
R Adjusting the sound settings (Y page 525)
Video DVD mode X To hide a menu: confirmMenu
Menu with the 9
button.
The video image is played in full screen
mode.
Additional setting options: R Adjusting the brightness, contrast and col-
our (Y page 526)
R Changing the picture format (Y page 526)
R Adjusting the sound settings (Y page 525)AUX mode
Introduction You can connect one external video source to
each of the displays of the Rear Seat Enter-
tainment System (AUX display) and also one
external video source to the rear-compart- ment drive (AUX drive) with a sound and video
signal.
Please see the corresponding operating
instructions for information on how to oper-
ate the external video source.
For further details about external video sour- ces, please consult a Mercedes-Benz Service
Centre.
Connecting AUX equipment AUX drive
The AUX drive jacks are located on the
CD/DVD drive on the right next to the
CD/DVD eject button (Y
page 521).
AUX display
The AUX display jacks are on the side of the
screen (Y page 520).
Audio and video connection X Insert the audio plugs for the left and right
signals into the corresponding Land R
jacks.
X Insert the video plug into the Vjack.
Switching to AUX mode AUX drive
X
Select Aux Auxin the menu using the
9=; buttons on the remote
control and press the 9button to confirm.
The AUX menu appears.
X Select Source
Source from the AUX menu and
press the 9button to confirm.
X Select Disc drive Aux
Disc drive Aux and press the9
button to confirm.
You will hear and see the content of the
external video source if it is connected to
the CD/DVD drive and switched to play-
back. If no video image is available from the AUX source connected, you will see an
audio menu. Rear Seat Entertainment System
541COMAND Online Z
Page 545 of 637

AUX display
X Select a screen using the thumbwheel on
the remote control (Y page 520) until "L
REAR" (left-hand screen) or " RREAR" (right-
hand screen) is highlighted in the window.
X Select Aux
Aux in the menu using the
9=; buttons on the remote
control and press the 9button to confirm.
X Select Source
Source from the AUX menu and
press the 9button to confirm.
X Select Display Aux
Display Aux and press the9but-
ton to confirm.
You will see and hear the content of the
video source if it is switched to playback. If no video image is available from the AUX
source connected, you will see an audio
menu.
Setting treble and bass X
Select Treble Treble orBass
Bass in the AUX menu
and press the 9button on the remote
control to confirm.
An adjustment scale appears.
X Select a setting using the 9or:
button and press the 9button to confirm.
Adjusting the brightness, contrast or
colour X
Select Display Display Aux
AuxorDisc
Disc drive
drive Aux
Auxin
the AUX menu and press the 9button to
confirm.
X Select Brightness
Brightness, Contrast
ContrastorColour
Colour
and press the 9button to confirm.
An adjustment scale appears.
X Select a setting using the 9or:
button and press the 9button to confirm. Changing the picture format X
Select Display
Display Aux
AuxorDisc
Disc drive
drive Aux
Auxin
the AUX menu and press the 9button to
confirm.
X Select 16:9 optimised
16:9 optimised ,4:3
4:3 orWide‐
Wide‐
screen
screen using the 9: buttons and
press the 9button to confirm.
The dot in front of a menu item indicates
the current setting. 542
Rear Seat Entertainment SystemCOMAND Online