air MERCEDES-BENZ SL600 2000 R129 Service Manual
[x] Cancel search | Manufacturer: MERCEDES-BENZ, Model Year: 2000, Model line: SL600, Model: MERCEDES-BENZ SL600 2000 R129Pages: 297, PDF Size: 8.33 MB
Page 183 of 297
179 Driving insturctions
Technical
data Instruments
and controlsOperationDrivingInstrument
cluster displayPractical hints Car care Index Tires
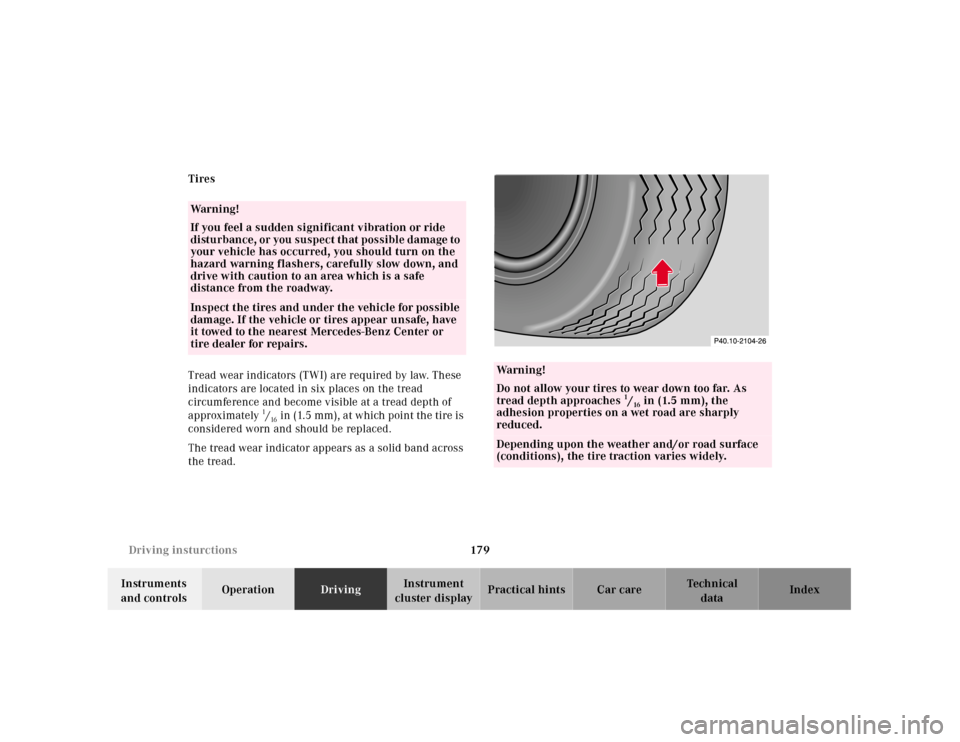
Tread wear indicators (TWI) are required by law. These
indicators are located in six places on the tread
circumference and become visible at a tread depth of
approximately
1/16 in (1.5 mm), at which point the tire is
considered worn and should be replaced.
The tread wear indicator appears as a solid band across
the tread.
Wa r n i n g !
If you feel a sudden significant vibration or ride
disturbance, or you suspect that possible damage to
your vehicle has occurred, you should turn on the
hazard warning flashers, carefully slow down, and
drive with caution to an area which is a safe
distance from the roadway.Inspect the tires and under the vehicle for possible
damage. If the vehicle or tires appear unsafe, have
it towed to the nearest Mercedes-Benz Center or
tire dealer for repairs.
Wa r n i n g !
Do not allow your tires to wear down too far. As
tread depth approaches
1/16 in (1.5 mm), the
adhesion properties on a wet road are sharply
reduced.
Depending upon the weather and/or road surface
(conditions), the tire traction varies widely.
Page 186 of 297
182 Driving insturctions
Technical
data Instruments
and controlsOperationDrivingInstrument
cluster displayPractical hints Car care Index
Winter driving instructions
The most important rule for slippery or icy roads is to
drive sensibly and to avoid abrupt acceleration, braking
and steering maneuvers. Do not use the cruise control
system under such conditions.
When the vehicle is in danger of skidding, move
selector lever to position “N”. Try to keep the vehicle
under control by corrective steering action.
Road salts and chemicals can adversely affect braking
efficiency. Increased pedal force may become necessary
to produce the normal brake effect. We therefore
recommend depressing the brake pedal periodically
when traveling at length on salt-strewn roads. This can
bring road salt impaired braking efficiency back to
normal. A prerequisite is, however, that this be done
without endangering other drivers on the road.
If th e veh ic le is pa rked af ter being d riven on salt treated
roads, th e bra king ef f iciency sh ou ld b e teste d as soon a s
possible after driving is resumed while observing the
safety rules in the previous paragraph.
Wa r n i n g !
If the vehicle becomes stuck in snow, make sure
that snow is kept clear of the exhaust pipe and
from around the vehicle with engine running.
Otherwise, deadly carbon monoxide (CO) gases may
enter vehicle interior resulting in unconsciousness
and death.To assure sufficient fresh air ventilation, open a
window slightly on the side of the vehicle not
facing the wind.
Page 188 of 297
184 Driving insturctions
Technical
data Instruments
and controlsOperationDrivingInstrument
cluster displayPractical hints Car care Index
Deep water
Caution!
D o not drive th rou gh f looded area s or wa ter of unknown
depth.
If you must drive through deep water, drive slowly to
prevent water from entering the engine compartment or
passenger compartment, being ingested by the air
intake, possibly causing damage to electrical
components or wiring, to engine or transmission that is
not covered by the Mercedes-Benz Limited Warranty.Traveling abroad
Abroad, there is a widely-spread Mercedes-Benz service
network at your disposal. If you plan to travel into areas
which are not listed in the index of your Center
directory, you should request pertinent information
from your authorized Mercedes-Benz Center.
Page 204 of 297
200 What you should know at the gas station
Technical
data Instruments
and controlsOperationDrivingInstrument
cluster displayPractical hints Car care Index
What you should know at the gas station
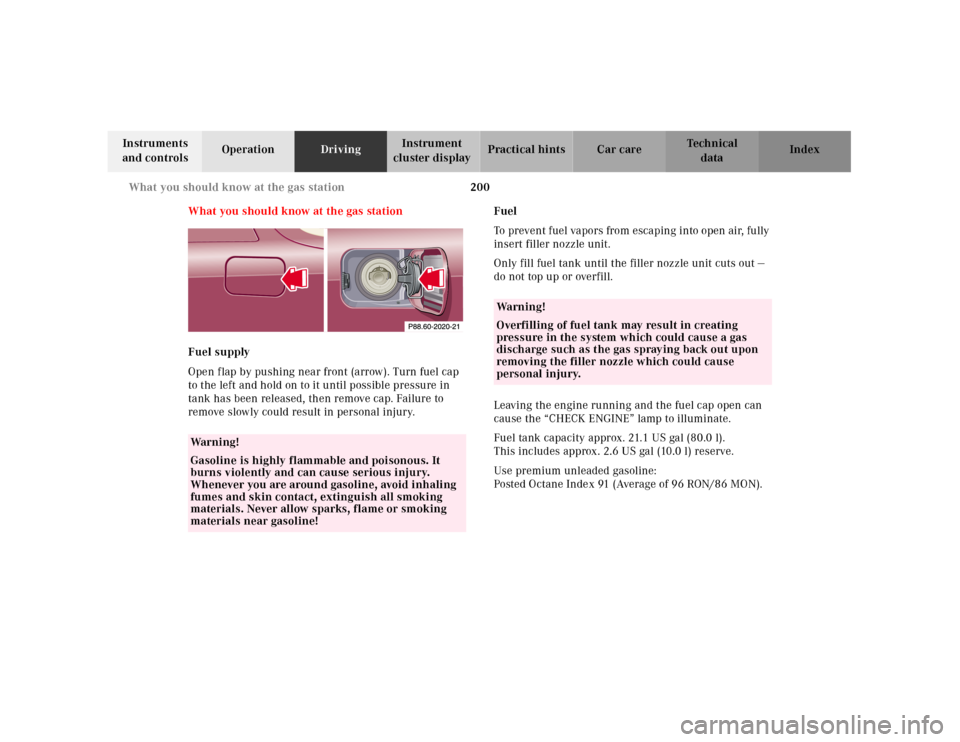
Fuel supply
Open flap by pushing near front (arrow). Turn fuel cap
to the left and hold on to it until possible pressure in
tank has been released, then remove cap. Failure to
remove slowly could result in personal injury.Fuel
To prevent fuel vapors from escaping into open air, fully
insert filler nozzle unit.
Only fill fuel tank until the filler nozzle unit cuts out —
do not top up or overfill.
Leaving the engine running and the fuel cap open can
cause the “CHECK ENGINE” lamp to illuminate.
Fuel tank capacity approx. 21.1 US gal (80.0 l).
This includes approx. 2.6 US gal (10.0 l) reserve.
Use premium unleaded gasoline:
Posted Octane Index 91 (Average of 96 RON/86 MON).
Wa r n i n g !
Gasoline is highly flammable and poisonous. It
burns violently and can cause serious injury.
Whenever you are around gasoline, avoid inhaling
fumes and skin contact, extinguish all smoking
materials. Never allow sparks, flame or smoking
materials near gasoline!
Wa r n i n g !
Overfilling of fuel tank may result in creating
pressure in the system which could cause a gas
discharge such as the gas spraying back out upon
removing the filler nozzle which could cause
personal injury.
Page 205 of 297
201 What you should know at the gas station
Technical
data Instruments
and controlsOperationDrivingInstrument
cluster displayPractical hints Car care Index •Engine oil
Engine oil level check, see page 82 or 221.
Fill quantity between upper and lower dipstick
marking level: 2.1 US qt (2.0 l).
Recommended engine oils, see page 276.
•Coolant
For normal replenishing, use water (potable water
quality).
For further information (e.g. anticorrosion/
antifreeze), see page 224.
•Spark plugs
Approved spark plugs, see page 275.
•Tire pressure
For tire pressure, refer to tire pressure label inside
the fuel filler flap.
•Air conditioner
R-134a refrigerant and special PAG lubricant,
see page 276.•Bulbs
High and low beams: Halogen type 9004,
low beam: Xenon, for model SL 600 (SL 500
optional)
high beam (models with Xenon): H 1 (55 W)
fog lamps: H1 (55 W),
turn signal, standing, side marker and parking
lamps, front: 2357 NA (28.5/8.3 W/30/2.2 cp), tail,
parking, standing and driver’s side rear fog lamp:
21 / 4 W,
turn signal lamps, rear: 21 W/32 cp,
side marker lamps, rear: 10W/6 cp,
sto p lamp s: 21 W /32 cp ,
backup lamps: 21 W/32 cp,
license plate lamps: 5W/4 cp.
Page 207 of 297
203 Contents – Instrument cluster display
Technical
data Instruments
and controlsOperation DrivingInstrument
cluster displayPractical hints Car care Index
Instrument cluster displayMalfunction and indicator
lamps in the instrument
cluster .........................................204
On-board diagnostic system
Check engine malfunction
indicator lamp .............................204
Brake warning lamp ..................204
Brake pad wear
indicator lamp .............................205
Seat belt warning lamp .............206
Supplemental restraint
system (SRS) indicator lamp ....206Fuel reserve and fuel cap
placement warning ................... 207
Electronic stability program
(ESP) - warning lamp ................ 207
BAS-/ESP malfunction
indicator lamp ............................ 207
ABS malfunction
indicator lamp ............................ 208
Low engine coolant
level warning lamp .................... 209
Low windshield and headlamp
washer system f luid leve l
warning lamp ..............................210
Low engine oil level
warning lamp ..............................210Charge indicator lamp ............... 211
Exterior lamp failure
indicator lamp ............................. 211
Roll bar warning lamp ............... 212
ADS indicator lamp .................... 212
High beam indicator lamp ........ 213
Additional function
indicator lamps
(in the odometer display) .......... 213
Malfunction and indicator
lamp (in the dashboard) .......... 213
Passenger airbag
indicator lamp ............................. 213
Page 210 of 297
206 Malfunction and indicator lamps
Technical
data Instruments
and controlsOperation DrivingInstrument
cluster displayPractical hints Car care Index
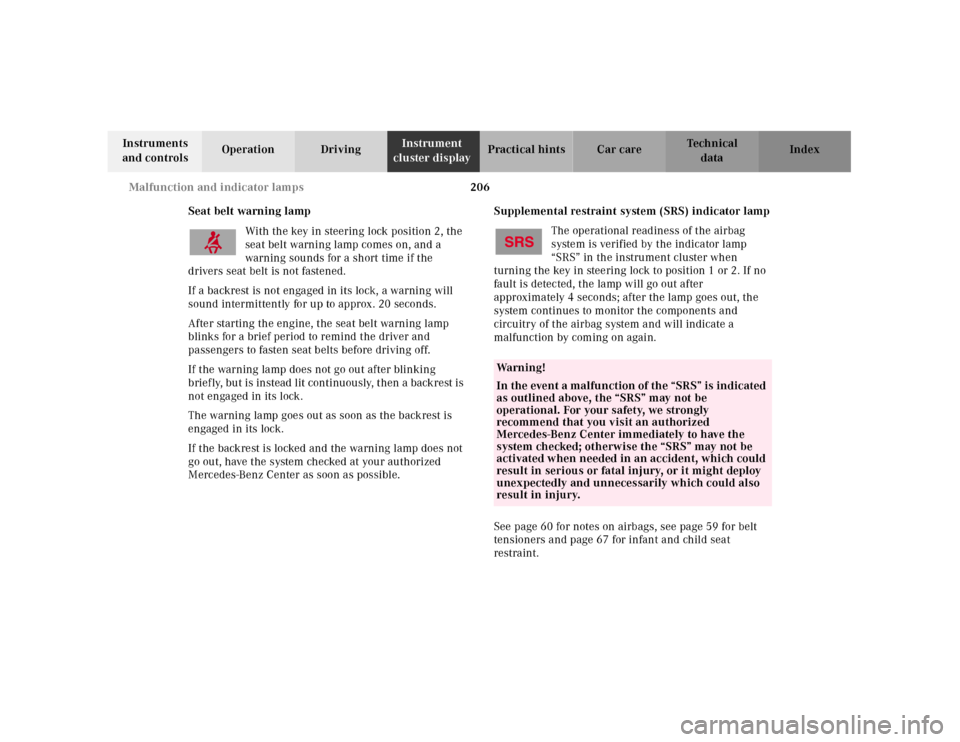
Seat belt warning lamp
With the key in steering lock position 2, the
seat belt warning lamp comes on, and a
warning sounds for a short time if the
drivers seat belt is not fastened.
If a backrest is not engaged in its lock, a warning will
sound intermittently for up to approx. 20 seconds.
After starting the engine, the seat belt warning lamp
blinks for a brief period to remind the driver and
passengers to fasten seat belts before driving off.
If the warning lamp does not go out after blinking
brief ly, but is instead lit continuously, then a backrest is
not engaged in its lock.
The warning lamp goes out as soon as the backrest is
engaged in its lock.
If the backrest is locked and the warning lamp does not
go out, have the system checked at your authorized
Mercedes-Benz Center as soon as possible.Supplemental restraint system (SRS) indicator lamp
The operational readiness of the airbag
system is verified by the indicator lamp
“SRS” in the instrument cluster when
turning the key in steering lock to position 1 or 2. If no
fault is detected, the lamp will go out after
approximately 4 seconds; after the lamp goes out, the
system continues to monitor the components and
circuitry of the airbag system and will indicate a
malfunction by coming on again.
See page 60 for notes on airbags, see page 59 for belt
tensioners and page 67 for infant and child seat
restraint.
Wa r n i n g !
In the event a malfu nction of th e “SRS” is indic ated
as outlined above, the “SRS” may not be
operational. For your safety, we strongly
recommend that you visit an authorized
Mercedes-Benz Center immediately to have the
system checked; otherwise the “SRS” may not be
activated when needed in an accident, which could
result in serious or fatal injury, or it might deploy
unexpectedly and unnecessarily which could also
result in injury.
Page 215 of 297
211 Malfunction and indicator lamps
Technical
data Instruments
and controlsOperation DrivingInstrument
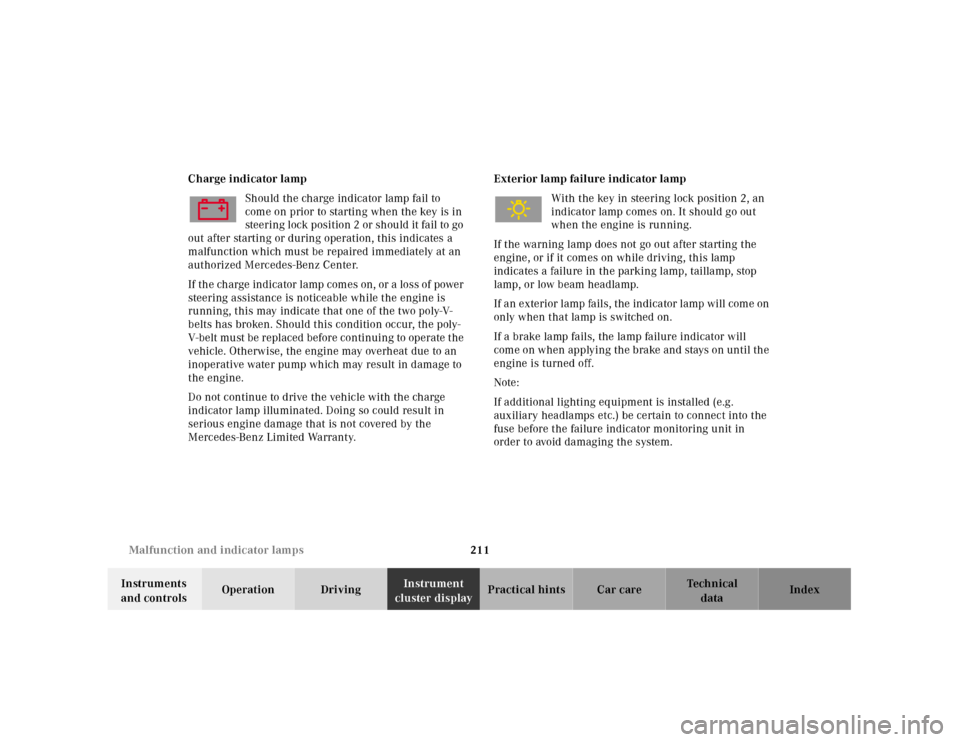
cluster displayPractical hints Car care Index Charge indicator lamp
Should the charge indicator lamp fail to
come on prior to starting when the key is in
steering l ock position 2 or sh ou ld it fa il to go
out after starting or during operation, this indicates a
malfunction which must be repaired immediately at an
authorized Mercedes-Benz Center.
If th e ch arge indica tor l amp com es on, or a loss of power
steering assistance is noticeable while the engine is
running, this may indicate that one of the two poly-V-
belts has broken. Should this condition occur, the poly-
V-belt mu st be repl aced before continuing to operate t he
vehicle. Otherwise, the engine may overheat due to an
inoperative water pump which may result in damage to
the engine.
Do not continue to drive the vehicle with the charge
indicator lamp illuminated. Doing so could result in
serious engine damage that is not covered by the
Mercedes-Benz Limited Warranty.Exterior lamp failure indicator lamp
With the key in steering lock position 2, an
indicator lamp comes on. It should go out
when the engine is running.
If the warning lamp does not go out after starting the
engine, or if it comes on while driving, this lamp
indicates a failure in the parking lamp, taillamp, stop
lamp, or low beam headlamp.
If a n exterior lamp fa ils, the indica tor lamp will com e on
only when that lamp is switched on.
If a brake lamp fails, the lamp failure indicator will
come on when applying the brake and stays on until the
engine is turned off.
Note:
If additional lighting equipment is installed (e.g.
auxiliary headlamps etc.) be certain to connect into the
fuse before the failure indicator monitoring unit in
order to avoid damaging the system.
Page 217 of 297
213 Malfunction and warning messages
Technical
data Instruments
and controlsOperation DrivingInstrument
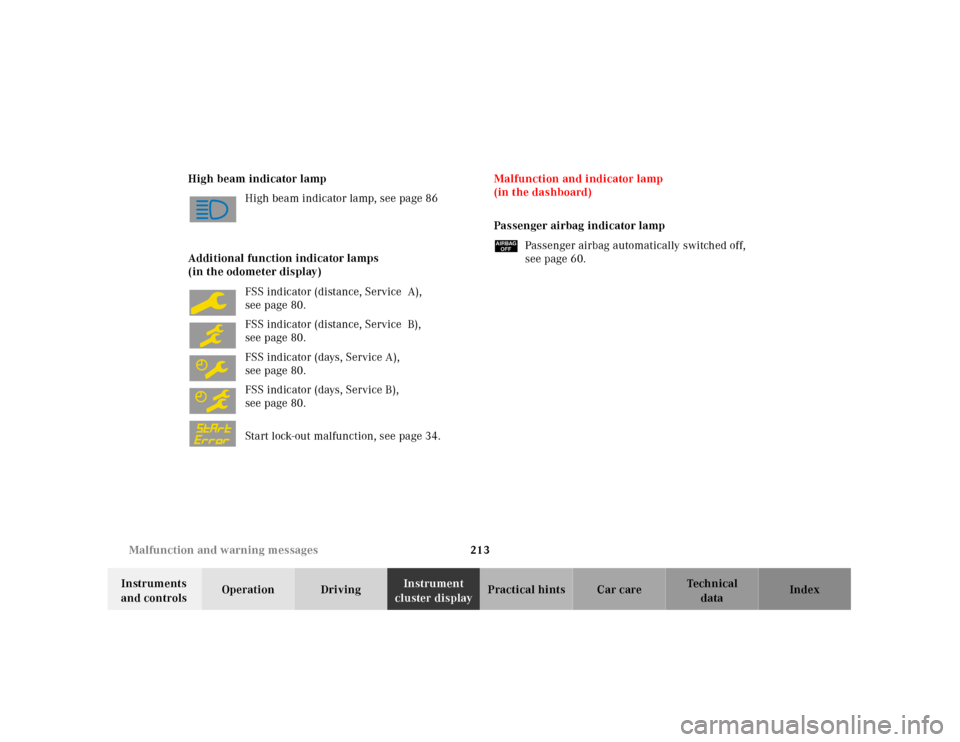
cluster displayPractical hints Car care Index High beam indicator lamp
High beam indicator lamp, see page 86
Additional function indicator lamps
(in the odometer display)
FSS indicator (distance, Service A),
seepage80.
FSS indicator (distance, Service B),
seepage80.
FSS indicator (days, Service A),
seepage80.
FSS indicator (days, Service B),
seepage80.
Start lock-out malfunction, see page 34.Malfunction and indicator lamp
(in the dashboard)
Passenger airbag indicator lamp
üPassenger airbag automatically switched off,
see page 60.
Page 222 of 297
218 Fuses
Technical
data Instruments
and controlsOperation DrivingInstrument
cluster displayPractical hintsCar care Index
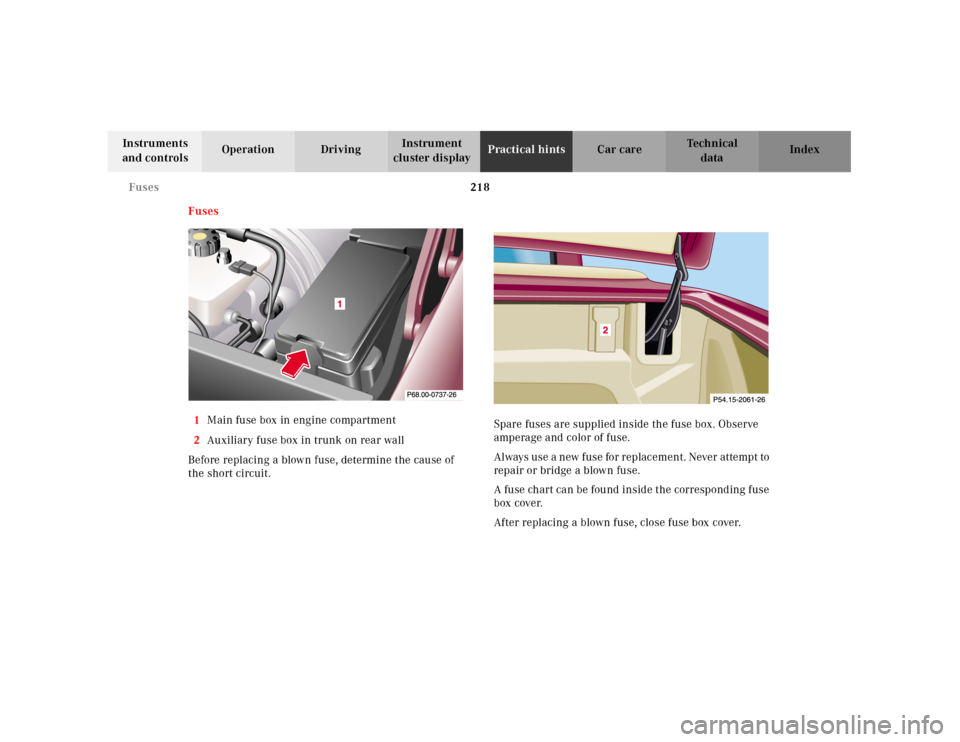
Fuses
1Main fuse box in engine compartment
2Auxiliary fuse box in trunk on rear wall
Before replacing a blown fuse, determine the cause of
the short circuit.Spare fuses are supplied inside the fuse box. Observe
amperage and color of fuse.
Always use a new fuse for replacement. Never attempt to
repair or bridge a blown fuse.
A fu se ch art ca n be fou nd insid e t he correspond ing f use
box cover.
After replacing a blown fuse, close fuse box cover.