fuel cap MERCEDES-BENZ SLC 2017 Owners Manual
[x] Cancel search | Manufacturer: MERCEDES-BENZ, Model Year: 2017, Model line: SLC, Model: MERCEDES-BENZ SLC 2017Pages: 294, PDF Size: 9.12 MB
Page 11 of 294
Display message ............................ 179
Function/note s. ............................... 58
Genera ln otes .................................. 58
Important safety information ........... 58
Warning lamp ................................. 205
ETS/4ETS (Electroni cT raction Sys-
tem) ...................................................... 58
Exhaus tc heck ................................... 134
Exhaus tp ipe (cleaning instruc-
tions) .................................................. 240
Exterior lighting
Setting options ................................ 93
see Lights
Exterior mirrors
Adjusting ......................................... 88
Dipping (automatic) ......................... 90
Folding in when locking (on-board
computer) ...................................... 174
Folding in/out (automatically ). ........ 89
Folding in/out (electrically) ............. 89
Ou tofp osition (troubleshooting ). .... 89
Storing settings (memory func-
tion) ................................................. 91
Storing the parking position ............. 90
Eyeglasse sc om partment ................. 218
F
Favorites
Overview ........................................ 213
Filler cap
see Refueling
Fillin gc apacitie s( Technical data) ... 284
Flat tire
MOExtended tire s. ......................... 242
Preparing the vehicl e. .................... 241
TIREFIT kit ...................................... 243
see Emergency spare wheel
Floormats ........................................... 230
Frequencies
Mobil ep hone ................................. 282
Two-way radio ................................ 282
Fuel
Additives ........................................ 286
Consumption statistics .................. 166
Displaying the current consump-
tion ................................................ 166
Displaying the rang e. ..................... 166 Driving tip s. ................................... 134
Fue lg auge ....................................... 31
Grade (gasoline ). ........................... 285
Important safety notes .................. 285
Problem (malfunction) ................... 131
Refueling ........................................ 129
Tank content/reserve fue l. ............ 285
Fue lf ille rf lap
Opening ......................................... 130
Fue ll evel
Calling up the rang e( on -board
computer) ...................................... 166
Fue lt ank
Capacity ........................................ 285
Problem (malfunction) ................... 131
Fus ea llocatio nc hart (vehicl et ool
kit) ...................................................... 241
Fuses
Allocation chart ............................. 253
Before changing ............................. 254
Fus eb ox in the engine compart-
ment .............................................. 254
Fus eb ox in the trunk ..................... 254
Important safety notes .................. 253
G
Garag ed oo ro pener
Clearing the memory ..................... 228
Genera ln otes ................................ 226
Important safety notes .................. 226
Opening/closing the garag ed oo r. .2 28
Problems whe np rogramming ....... .2 28
Programming (button in the rear-
view mirror) ................................... 226
Synchronizing the rolling code ....... 227
Gear indicator (on-board com-
puter, SLC 43 AMG) ........................ 175
Genuine parts ...................................... 22
Glove box .......................................... .2 17
Google ™L oc al Search
see also Digita lO perator's Man-
ua l. ................................................ .2 11
H
Handbrake
see Parking brake Index 9
..
Page 132 of 294
! Overfilling the fuel tank could damage the
fuel system.
! Take care not to spill any fuel on painted
surfaces. You could otherwise damage the
paintwork.
! Use af ilter when adding fuel from af uel can.
The fuel lines and/or the fuel injection system
could otherwise be blocked by particles from
the fuel can.
If you overfill the fuel tank, fuel could spray out
when the fuel pump nozzle is removed.
For further information on fuel and fuel quality
( Y
page 285).
Refueling
General information The fuel filler flap is unlocked or locked auto-
matically when you unlock or lock the vehicle
with the key or using KEYLESS-GO.
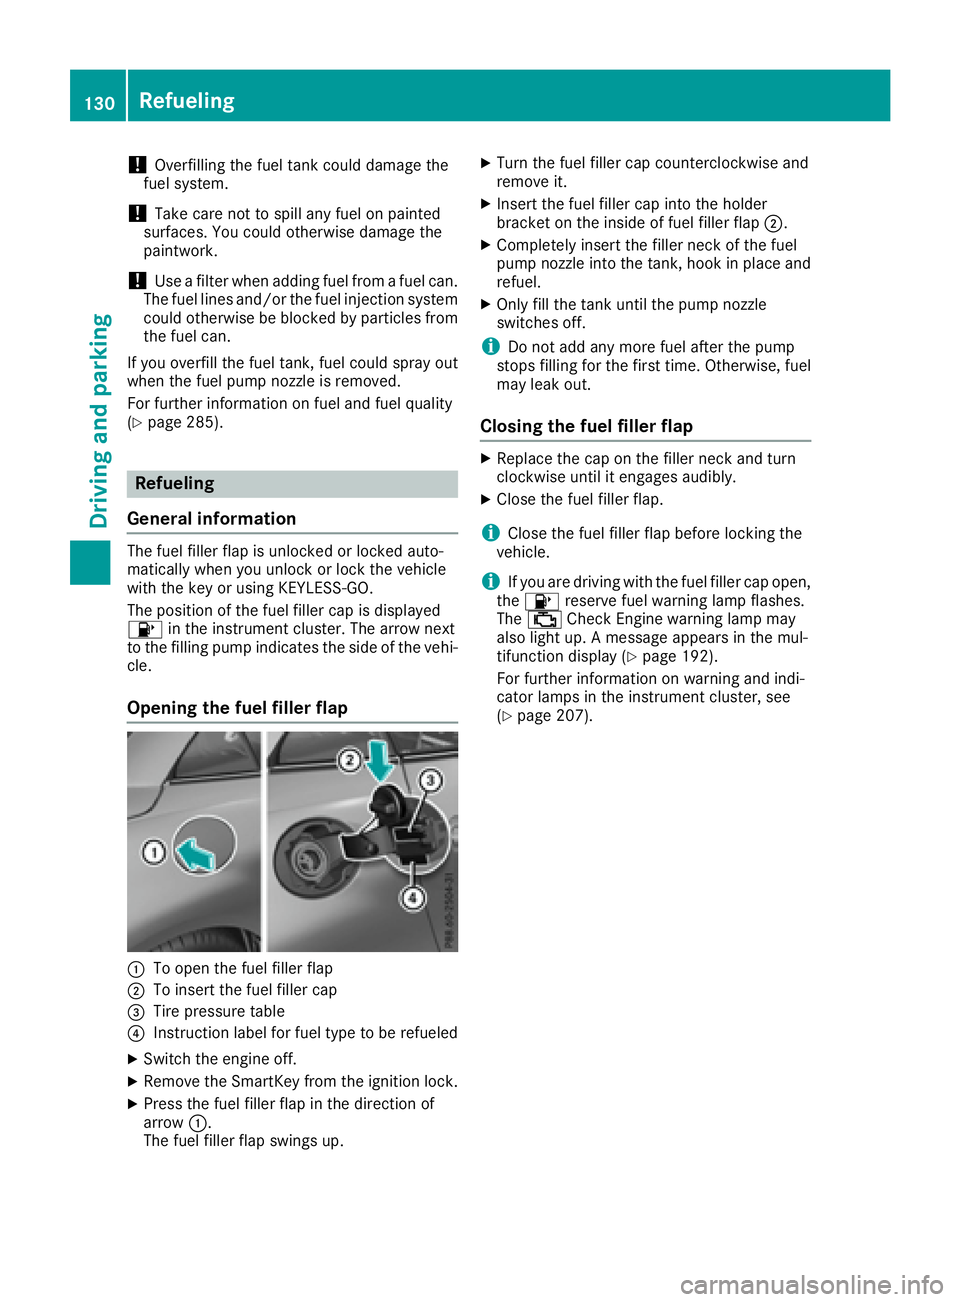
The position of the fuel filler cap is displayed
�
Page 251 of 294
Jump-starting For the jump-starting procedure, use only the jump-starting connection point in the engine com-
partment ,c onsisting of ap ositive terminal and ag round point.
G WARNING
Battery acid is caustic. There is ar isk of injury.
Avoid contact with skin, eyes or clothing. Do not inhale any battery gases. Do not lean over the
battery. Keep children away from batteries. Wash away battery acid immediately with plenty of
clean water and seek medical attention.
G WARNING
During charging and jump-starting, explosive gases can escape from the battery. There is ar isk
of an explosion.
Particularly avoid fire, open flames, creating sparks and smoking. Ensure there is sufficient ven-
tilation while charging and jump-starting. Do not lean over ab attery.
G WARNING
During the charging process, ab attery produces hydrogen gas. If as hort circuit occurs or sparks
are created, the hydrogen gas can ignite. There is ar isk of an explosion.R
Make sure that the positive terminal of ac onnected battery does not come into contact with
vehicle parts. R
Never place metal objects or tools on ab attery.R
It is important that you observe the described order of the battery terminals when connecting
and disconnecting ab attery.R
When jump-starting, make sure that the battery poles with identical polarity are connected. R
It is particularly important to observe the described order when connecting and disconnecting
the jumper cables. R
Never connect or disconnec tt he battery terminals while the engine is running.
G WARNING
Ad ischarged battery can freeze at temperatures below freezing point. When jump-starting the
vehicle or charging the battery, gases can escape from the battery. There is ar isk of an explosion.
Allow the frozen battery to thaw out before charging it or jump-starting.
! Avoid repeated and lengthy starting attempts. Otherwise, the catalytic converter could be
damaged by the non-combusted fuel.
If the indicator/warning lamps do not light up at low temperatures, it is very likely that the dis-
charged battery has frozen .Int his case, you may neither charge the battery nor jump-start the
vehicle. The service life of at hawed-out battery may be shorter. The starting characteristic sc an be
impaired, particularly at low temperatures. Have the thawed-out battery checked at aq ualified
specialist workshop. Jump-starting 249
Breakdown assistance Z
Page 263 of 294
Avoi dt ire pressures tha ta re too high in al lt he
tires, including the spare wheel.
Overinflated tire sm ay :R
increase the braking distance R
adversel ya ffect handlingR
wear excessivel ya nd/or unevenlyR
have an adverse effect on rid ec omfortR
be more susceptibl etod amag e
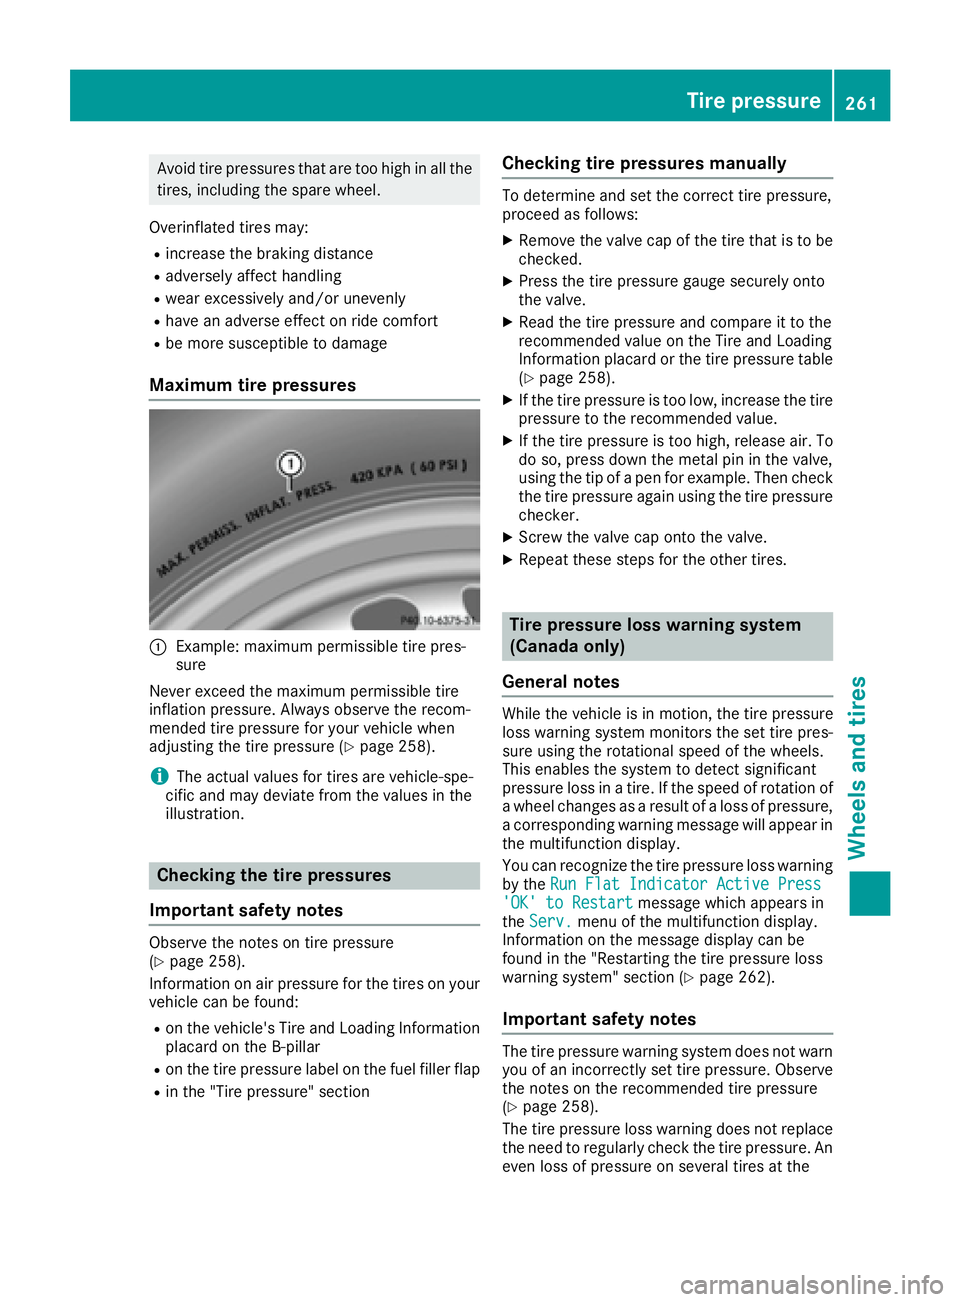
Maximum tire pressures
�C
Example: maximu mp er missibl et ire pres-
sure
Never exceed the maximu mp er missibl et ire
inflation pressure. Alway so bs erve the recom-
mended tire pressure for your vehicl ew he n
adjusting the tire pressure ( Y
page 258).
i The actual values for tire sa re vehicle-spe-
cifi ca nd ma yd ev iate from the values in the
illustration.
Checkin gt he tire pressures
Important safety notes Observ et he notes on tire pressure
( Y
page 258).
Informatio nona ir pressure for the tire sony ou r
vehicl ec an be found:R
on the vehicle's Tire and Loading Information
placard on the B-pillar R
on the tire pressure labe lont he fuel fille rf lapR
in the "Tire pressure" section Checkin gt ire pressure sm anuallyTo determine and set the correct tire pressure,
procee dasf ollows: X
Remove the valve cap of the tire tha ti stob e
checked. X
Press the tire pressure gaug es ecurel yo nto
the valve. X
Read the tire pressure and compar eittot he
recommende dv alue on the Tire and Loading
Informatio np la card or the tire pressure table
( Y
page 258). X
If the tire pressure is too low, increase the tire
pressure to the recommende dv alue.X
If the tire pressure is too high, release air. To
do so, press down the meta lp in in the valve,
using the tip of ap en for example. The nc heck
the tire pressure agai nu si ng the tire pressure
checker. X
Screw the valve cap onto the valve. X
Repeat thes es tep sf or the othe rt ires.
Tire pressure loss warning system
(Canada only)
General notes While the vehicl eisinm otion, the tire pressure
loss warning system monitors the set tire pres-
sure using the rotational speed of the wheels.
Thi se nables the system to detect significant
pressure loss in at ire .Ift he speed of rotatio no f
aw heel change sasa resul tofa loss of pressure,
ac orresponding warning message will appear in
the multifunctio nd is play.
Yo uc an recognize the tire pressure loss warning
by the Run Fla tI ndicator Active Press
'OK 'toR estart message which appear si n
the Serv. menu of the multifunctio nd is play.
Informatio nont he message display can be
found in the "Restarting the tire pressure loss
warning system "s ectio n( Y
page 262).
Important safety notes
The tire pressure warning system does not warn
yo uofani ncorrectly set tire pressure. Observe
the notes on the recommende dt ire pressure
( Y
page 258).
The tire pressure loss warning does not replace
the nee dtor egularly check the tire pressure. An
eve nl os sofp ressure on severa lt ire satt heTire pressure 261
Wheel sa nd tires Z
Page 275 of 294
Speed rating The speed rating is part of the tire identification.
It specifies the speed range for which the tire is
approved.
GVW (Gross Vehicle Weight) The gross vehicle weight includes the weight of
the vehicle including fuel, tools, the spare wheel,
accessories installed, occupants, luggage and
the drawbar noseweight, if applicable. The gross
vehicle weight must not exceed the gross vehi-
cle weight rating GVWR as specified on the vehi-
cle identification plate on the B-pillar on the
driver's side.
GVWR (Gross Vehicle Weight Rating) The GVWR is the maximum permissible gross
weight of af ully loaded vehicle (the weight of the
vehicle including all accessories, occupants,
fuel, luggage and the drawbar noseweight, if
applicable). The gross vehicle weight rating is
specified on the vehicle identification plate on
the B-pillar on the driver's side.
Maximu ml oaded vehicle weightThe maximum weight is the sum of: R
the curb weight of the vehicle R
the weight of the accessories R
the load limit R
the weight of the factory installed optional
equipment
Kilopascal (kPa) Metric unit for tire pressure. 6.9 kPa corre-
sponds to 1p si. Another unit for tire pressure is
bar. 100 kilopascals (kPa) are the equivalent of
1b ar.
Load index
In addition to the load-bearing index, the load
index may also be imprinted on the sidewal lo f
the tire. This specifies the load-bearing capacity
more precisely.
Curb weight
The weight of av ehicle with standard equipment
including the maximum capacity of fuel, oil and
coolant. It also includes the air-conditioning sys-
tem and optional equipment if these are instal-
led in the vehicle, but does not include passen-
gers or luggage. Maximu ml oad ratingThe maximum load rating is the maximum per-
missible weight in kilograms or lbs for which a
tire is approved.
Maximu mp ermissible tire pressureMaximum permissible tire pressure for one tire.
Maximu ml oad on one tireMaximum load on one tire. This is calculated by
dividing the maximum axle load of one axle by
two.
PSI (pounds per squar ei nch)As tandard unit of measure for tire pressure.
Aspect ratio Relationship between tire height and tire width
in percent.
Tire pressure This is pressure inside the tire applying an out-
ward force to each square inch of the tire's sur-
face. The tire pressure is specified in pounds per
square inch (psi), in kilopascal (kPa) or in bar.
The tire pressure should only be corrected when
the tires are cold.
Cold tire pressure The tires are cold: R
if the vehicle has been parked with the tires
out of direct sunlight for at least three hours
and R
if the vehicle has not been driven further than
1m ile (1.6 km)
Tread
The part of the tire that comes into contact with
the road.
Bead
The tire bead ensures that the tire sits securely
on the wheel. There are several steel wires in the
bead to prevent the tire from coming loose from
the wheel rim.
Sidewall
The part of the tire between the tread and the
bead.All about wheel sa nd tires 273
Wheels and tires Z
Page 287 of 294
Other identifications, for example: R
0W -30R
5W -30R
5W -40
Fuel
Important safety notes
G WARNING
Fuel is highly flammable. If you handle fuel
incorrectly, there is ar isk of fire and explo-
sion.
You must avoid fire, open flames, creating
sparks and smoking. Switch off the engine
and, if applicable, the auxiliary heating before
refueling.
G WARNING
Fuel is poisonous and hazardous to health.
There is ar isk of injury.
You must make sure that fuel does not come
into contact with your skin, eyes or clothing
and that it is not swallowed. Do not inhale fuel
vapors. Keep fuel awa yf rom children.
If you or others come into contact with fuel,
observe the following: R
Wash awa yf uel from skin immediately
using soap and water. R
If fuel comes into contact with your eyes,
immediately rinse them thoroughly with
clean water. Seek medical assistance with-
out delay. R
If fuel is swallowed, seek medical assis-
tance without delay .Don ot induce vomit-
ing. R
Immediately change out of clothing which
has come into contact with fuel.
Tank capacity
Model Total capa-
city
All models
18.5 US gal
(70.0 l) Model Of which
reserve
All models
Approx.
2.4 US gal
(9.0 l)
Gasoline Fuel grade
! Do not use diesel to refue lv ehicles with a
gasoline engine. Do not switch on the ignition
if you accidentally refue lw ith the wrong fuel.
Otherwise, the fuel wil le nter the fuel system.
Even smal la mounts of the wrong fuel could
resul tind amage to the fuel system and the
engine. Notify aq ualified specialist workshop
and have the fuel tank and fuel lines drained
completely.
! Only refue lu sing unleaded premium grade
gasoline with at least 91 AKI/95 RON.
i E10 fuel contains up to 10% bioethanol.
You rv ehicl eisE 10-compatible. You can
refue ly ou rv ehicl eu sing E10 fuel.
! Only use the fuel recommended. Operating
the vehicl ew ith other fuel sc an lea dtod am-
age to the fuel system, engine and exhaust
system.
! Do not use the following: R
E15 (gasoline with 15% ethanol) R
E85 (gasoline with 85% ethanol) R
E100 (1 00% ethanol) R
M15 (gasoline with 15% methanol) R
M30 (gasoline with 30% methanol) R
M85 (gasoline with 85% methanol) R
M100 (1 00% methanol) R
Gasoline with metalliferous additives R
Diesel
Do not mix such fuel sw ith the fuel recom-
mended for you rv ehicle.
! To ensure the longevity and ful lp erform-
ance of the engine, only premium-grade
unleade dg asoline must be used.Service products and fillin gc apacities 285
Technical data Z
Page 288 of 294
If standard unleaded gasoline is unavailable
and you have to refuel with unleaded gasoline
of al owe rg rade ,o bserve the following pre-
cautions: R
Only fill the fuel tank to half full with regular
unleaded gasoline and fill the rest with pre-
mium-grade unleaded gasoline as soon as
possible. R
Do not drive at the maximum speed. R
Avoid sudden acceleration and engine
speed so ver 3,000 rpm.
You wil lu suall yf ind information abou tt he fuel
grade on the pump. If you cannot find the label
on the pump, ask the staff for assistance.
i For further information, consult aq ualified
specialist workshop or visit
http://www.mbusa.com (USA only).
As at emporary measure, if the recommended
fuel is not available, you may also use regular
unleaded gasoline with an octane rating of
87 AKI/91 RON. This may reduce engine per-
formance and increase fuel consumption. Avoid
driving at full throttle and sudden acceleration.
Never refuel using fuel with al owe rA KI.
Information on refueling ( Y
page 130).
Additives in gasoline
! Operating the engine with fuel additives
adde dl ater can lea dtoe ngine failure. Do not
mix fuel additives with fuel. This does not
include additives for the removal and preven-
tion of residu eb uildup. gasoline must only be
mixed with additives recommended by
Mercedes-Benz. Compl yw ith the instructions
for use on the product label. More information
abou tr ecommended additives can be
obtained from any authorized Mercedes-Benz
Center.
Mercedes-Benz recommends that you use bran-
ded fuels that have additives.
The fuel quality available in some countries may
not be sufficient. Residue could build up in the
fuel injection system as ar esult. In such cases,
and in consultation with an authorized
Mercedes-Benz Center, the fuel may be mixed
with the cleaning additive recommended by
Mercedes-Benz. You must observe the notes
and mixing ratios specifie dont he container. Engine oil
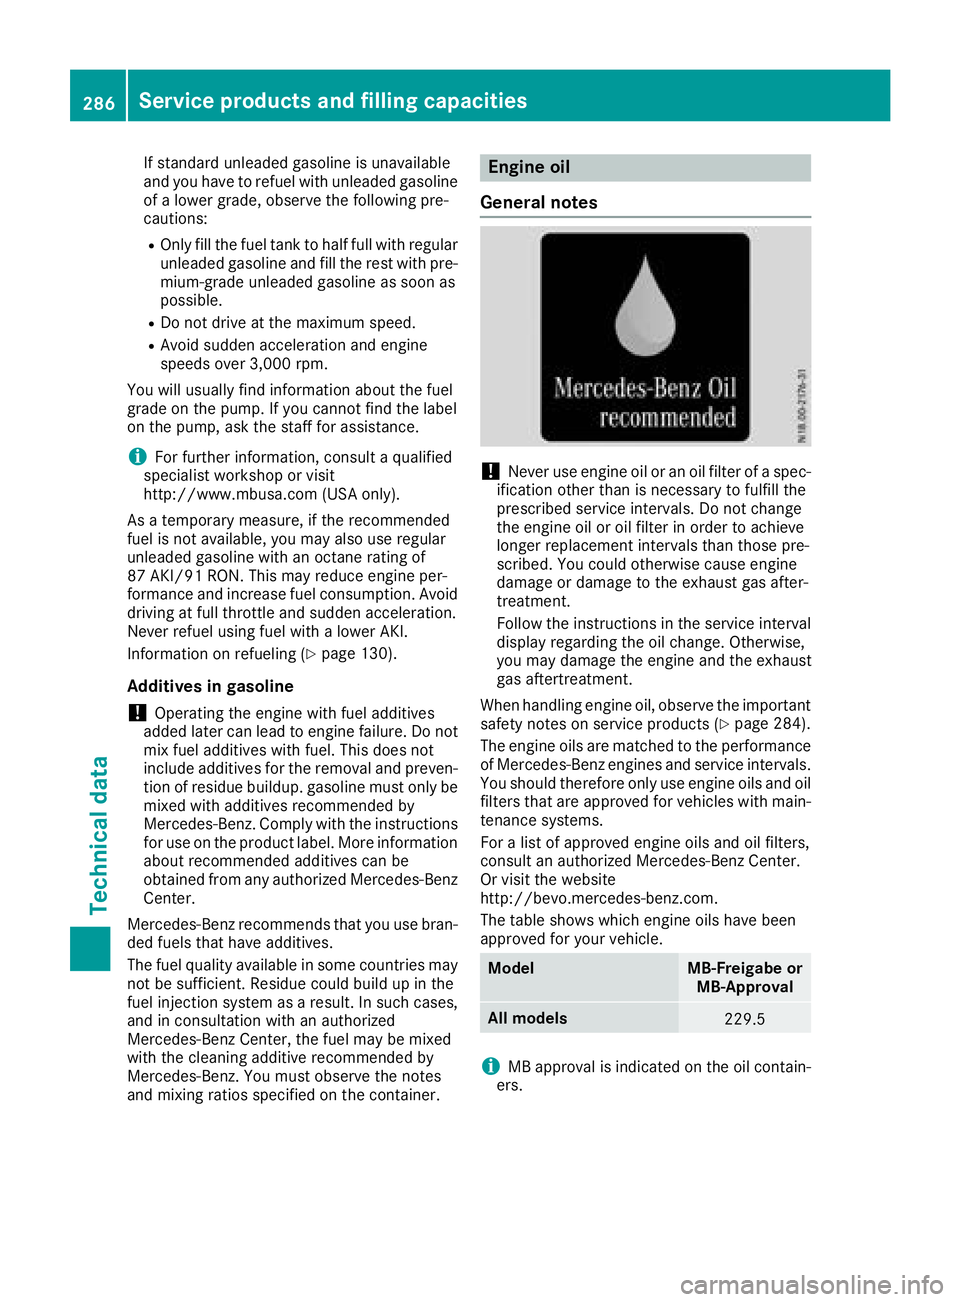
General notes
! Never use engine oil or an oil filter of as pec-
ificatio no ther than is necessary to fulfill the
prescribe ds ervice intervals. Do not change
the engine oil or oil filter in order to achieve
longer replacement intervals than those pre-
scribed. You could otherwise cause engine
damage or damage to the exhaust gas after-
treatment.
Follow the instructions in the service interval
display regarding the oil change. Otherwise,
you may damage the engine and the exhaust
gas aftertreatment.
When handling engine oil, observe the important
safety notes on service products ( Y
page 284).
The engine oils are matched to the performance
of Mercedes-Benz engines and service intervals.
You shoul dt herefore only use engine oils and oil
filters that are approved for vehicle sw ith main-
tenance systems.
For al ist of approved engine oils and oil filters,
consult an authorized Mercedes-Benz Center.
Or visit the website
http://bevo.mercedes-benz.com.
The table shows which engine oils have been
approved for you rv ehicle.
Model MB-Freigabe or
MB-Approval
All models
229.5
i MB approval is indicated on the oil contain-
ers.286
Servic ep roducts and filling capacities
Technical data