buttons MERCEDES-BENZ SLK-Class 2001 R170 Owner's Manual
[x] Cancel search | Manufacturer: MERCEDES-BENZ, Model Year: 2001, Model line: SLK-Class, Model: MERCEDES-BENZ SLK-Class 2001 R170Pages: 273
Page 29 of 273
26 Central locking system
Te ch n ica l
data Instruments
and controlsOperationDrivingInstrument
cluster displayPractical hints Car care Index
Locking and unlocking with remote control
Unlocking:
Press transmit button Œ. All turn signal lamps blink
once to indicate that the vehicle is unlocked.
The remote control can be programmed for two kinds of
unlocking modes (see below):
Selective unlocking mode –
Press transmit button Œ once to unlock driver’s door,
storage compartment in armrest, and fuel filler flap.
Press transmit button Πtwice to unlock both doors,
storage compartment in armrest, fuel filler flap, and
trunk.
Global unlocking mode –
Press transmit button Πonce to unlock both doors,
storage compartment in armrest, fuel filler flap, and
trunk.
Notes:
The presently active unlocking mode (selective or
global) can only be determined by unlocking the vehicle
with the remote control (see below for changing mode).If within 40 seconds of unlocking with the remote
control, neither door is opened, the key is not inserted
in the steering lock, or the central locking switch is not
activated, the vehicle will automatically lock.
Locking:
Press transmit button ‹ once. All turn signal lamps
blink three times to indicate that the vehicle is locked.
If the turn signal lamps do not blink, a door or trunk is
not closed properly.
Note:
If the vehicle cannot be locked or unlocked by pressing
the transmit button, then it may be necessary to change
the batteries in the remote control (if ok, battery check
lamp in transmitter will light briefly when transmitting)
or to synchronize the remote control, see page 224
and 225.
Choosing global or selective mode on remote control
Press and hold transmit buttons ‹ and Œ
simultaneously for five seconds to reprogram the
remote control. Battery check lamp will blink two times
indicating the completed mode change.
Page 32 of 273
29 Central locking system
Te ch n ica l
data Instruments
and controlsOperationDrivingInstrument
cluster displayPractical hints Car care Index When you lock the vehicle, both door lock buttons
should move down. If any one stays up, the respective
door is not properly closed.
You should then unlock the vehicle, open and reclose
this door, and lock the vehicle again. Each individual
door can be locked with the respective door lock button
– the driver’s door can only be locked when it is closed.
If the vehicle has previously been locked from the
outside, only the door being opened from the inside will
unlock, and the alarm will come on. The other door, the
trunk, the storage compartment in armrest, and fuel
filler f lap remain locked.Notes:
In case of a malfunction in the central locking system
the doors can be locked and unlocked individually.
To lock, turn key in driver’s door lock to position 3 or
push down lock buttons.
To unlock, turn key in driver’s door lock to position 2 or
pull inside door handles.
Page 96 of 273
93 Audio system
Te ch n ica l
data Instruments
and controlsOperationDrivingInstrument
cluster displayPractical hints Car care Index 10Soft keys for
radio band selection, see page 97
tone controls, see page 95
scan, see page 98
Tape eject, see page 100
Tape track select, see page 100
Dolby, see page 101
CD random / repeat, see page 105
11Tape mode selector, see page 99
Anti-theft system
If the power supply to the
radio has been
interrupted,“CODE” will
appear on the display when it
is next switched on. The radio
will only work after the five-digit code has been entered
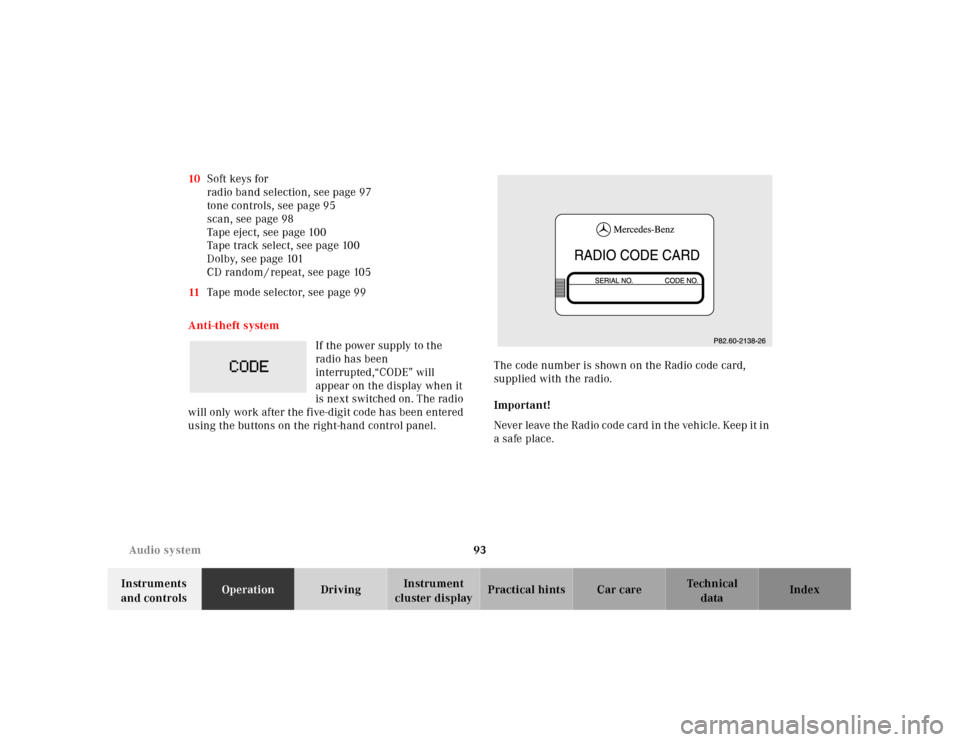
using the buttons on the right-hand control panel.The code number is shown on the Radio code card,
supplied with the radio.
Important!
Never leave the Radio code card in the vehicle. Keep it in
a safe place.
Page 97 of 273
94 Audio system
Te ch n ica l
data Instruments
and controlsOperationDrivingInstrument
cluster displayPractical hints Car care Index
Entering the code number
Switch on the radio.“CODE” will appear on the display.
Using the buttons on the alpha-numeric keypad, enter
the five digit code. Confirm by pressing the “OK” key.
If an incorrect code has been entered and confirmed,
“CODE” will reappear on the display. The correct code
must be entered once again.
If an incorrect code is entered
three times, “WAIT” will
appear on the display and the
radio will be locked out for
about 10 minutes.
Note:
Th e lock out time w il l only cou nt d own if th e ra dio is le ft
switched on.Button and soft key operation
In these instructions, the alpha-numeric keypad (right
side of radio face) and the function buttons (left side of
the radio face) are referred to as “buttons” and the four
keys under the display are referred to as “soft keys”.
Note:
Do not press directly on the radio display face.
Page 101 of 273
98 Audio system
Te ch n ica l
data Instruments
and controlsOperationDrivingInstrument
cluster displayPractical hints Car care Index
Scan tuning
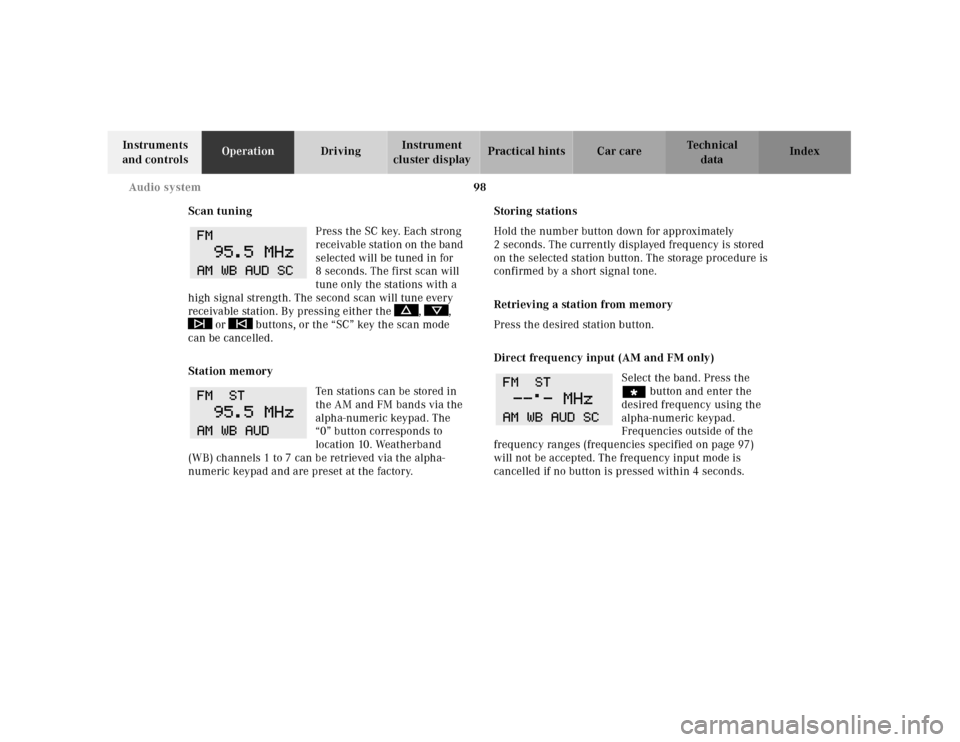
Press the SC key. Each strong
receivable station on the band
selected will be tuned in for
8 seconds. The first scan will
tune only the stations with a
high signal strength. The second scan will tune every
receivable station. By pressing either the , ,
or buttons, or the “SC” key the scan mode
can be cancelled.
Station memory
Ten stations can be stored in
the AM and FM bands via the
alpha-numeric keypad. The
“0” button corresponds to
location 10. Weatherband
(WB) channels 1 to 7 can be retrieved via the alpha-
numeric keypad and are preset at the factory.Storing stations
Hold the number button down for approximately
2 seconds. The currently displayed frequency is stored
on the selected station button. The storage procedure is
confirmed by a short signal tone.
Retrieving a station from memory
Press the desired station button.
Direct frequency input (AM and FM only)
Select the band. Press the
“ button and enter the
desired frequency using the
alpha-numeric keypad.
Frequencies outside of the
frequency ranges (frequencies specified on page 97)
will not be accepted. The frequency input mode is
cancelled if no button is pressed within 4 seconds.
Page 104 of 273
101 Audio system
Te ch n ica l
data Instruments
and controlsOperationDrivingInstrument
cluster displayPractical hints Car care Index Fast forward / reverse
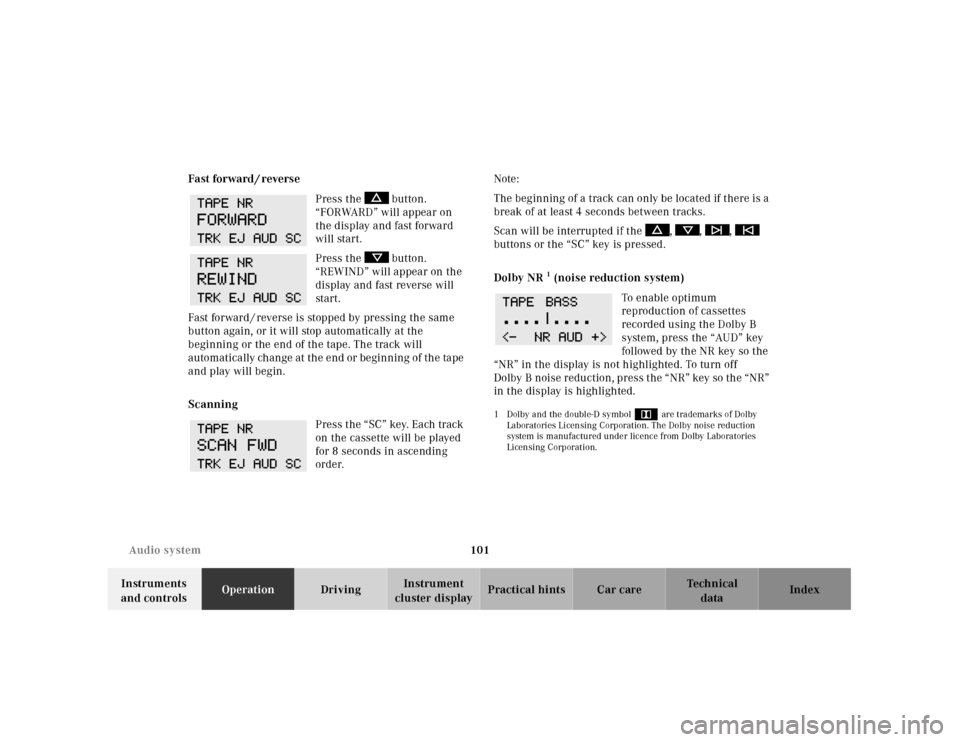
Press the button.
“FORWARD” will appear on
the display and fast forward
will start.
Press the button.
“REWIND” will appear on the
display and fast reverse will
start.
Fast forward / reverse is stopped by pressing the same
button again, or it will stop automatically at the
beginning or the end of the tape. The track will
automatically change at the end or beginning of the tape
and play will begin.
Scanning
Press the “SC” key. Each track
on the cassette will be played
for 8 seconds in ascending
order.Note:
The beginning of a track can only be located if there is a
break of at least 4 seconds between tracks.
Scan will be interrupted if the , , ,
buttons or the “SC” key is pressed.
Dolby NR
1 (noise reduction system)
To en abl e o pti mum
reproduction of cassettes
recorded using the Dolby B
system, press the “AUD” key
followed by the NR key so the
“NR” in the display is not highlighted. To turn off
Dolby B noise redu ction, press t he “ NR” key so th e “NR”
in the display is highlighted.
1 Dolby and the double-D symbol
Ù
are trademarks of Dolby
Laboratories Licensing Corporation. The Dolby noise reduction
system is manufactured under licence from Dolby Laboratories
Licensing Corporation.
Page 106 of 273
103 Audio system
Te ch n ica l
data Instruments
and controlsOperationDrivingInstrument
cluster displayPractical hints Car care Index CD changer installed
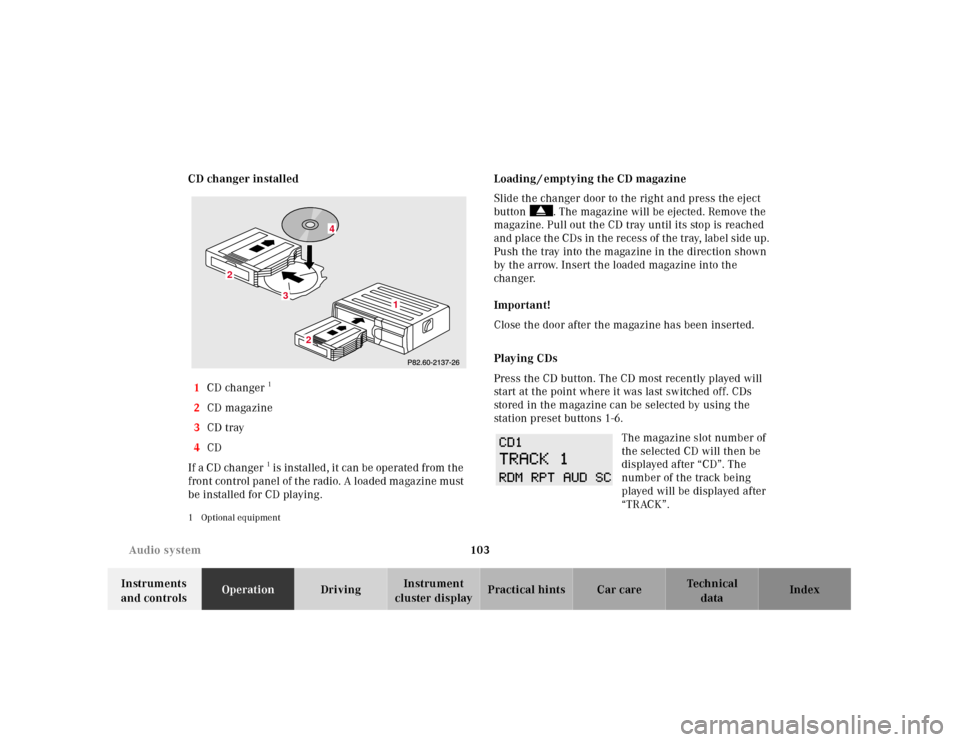
1CD changer
1
2CD magazine
3CD tray
4CD
If a CD ch anger1 is instal led , it can be operate d from t he
f ront control panel of t he radio. A loa ded ma ga zine must
be installed for CD playing.
1 Optional equipment
Loading / emptying the CD magazine
Slide the changer door to the right and press the eject
button . The magazine will be ejected. Remove the
magazine. Pull out the CD tray until its stop is reached
and place the CDs in the recess of the tray, label side up.
Push the tray into the magazine in the direction shown
by the arrow. Insert the loaded magazine into the
changer.
Important!
Close the door after the magazine has been inserted.
Playing CDs
Press the CD button. The CD most recently played will
start at the point where it was last switched off. CDs
stored in the magazine can be selected by using the
station preset buttons 1-6.
The magazine slot number of
the selected CD will then be
displayed after “CD”. The
number of the track being
played will be displayed after
“TRACK”.
3
2
2
1
4
Page 107 of 273
104 Audio system
Te ch n ica l
data Instruments
and controlsOperationDrivingInstrument
cluster displayPractical hints Car care Index
If there is no CD in the
selected magazine slot,
“NO CD” and the
corresponding slot number
will be displayed
(e.g.“NO CD3”). After the last track on a CD has been
played, the next CD will automatically be selected and
played.
Skipping tracks forwards / backwards
Press the button. The next track on the CD will be
played.
Press the button. If the track has been playing for
more than 10 seconds, it will revert to the start of that
track. If it has been playing for less than ten seconds it
will revert to the preceding track. To skip several tracks,
the respective button must be pressed until the desired
track is reached. If the beginning or end of the CD is
reached during the search, the first or last track will be
played.Fa st for wa rd / reve r se
Press the button and hold it down for audible fast
forward.
Press the button and hold it down for audible
reverse.
The search will stop when the
button is released. The
relative time of the track will
be displayed during the
search. The search mode will
cancel if the beginning or end of the CD is reached.
Scanning
Press the SC key. Each tra ck w il l be played for 8 second s
in ascending order. The search will stop at the track in
question if the , , , buttons or the
“SC” key is pressed.
Page 108 of 273
105 Audio system
Te ch n ica l
data Instruments
and controlsOperationDrivingInstrument
cluster displayPractical hints Car care Index Random play / repeat function
The tracks of the current CD are played in random order
when the random feature (RDM) is selected. Press the
RDM key to switch on, and press RDM again to switch
off.
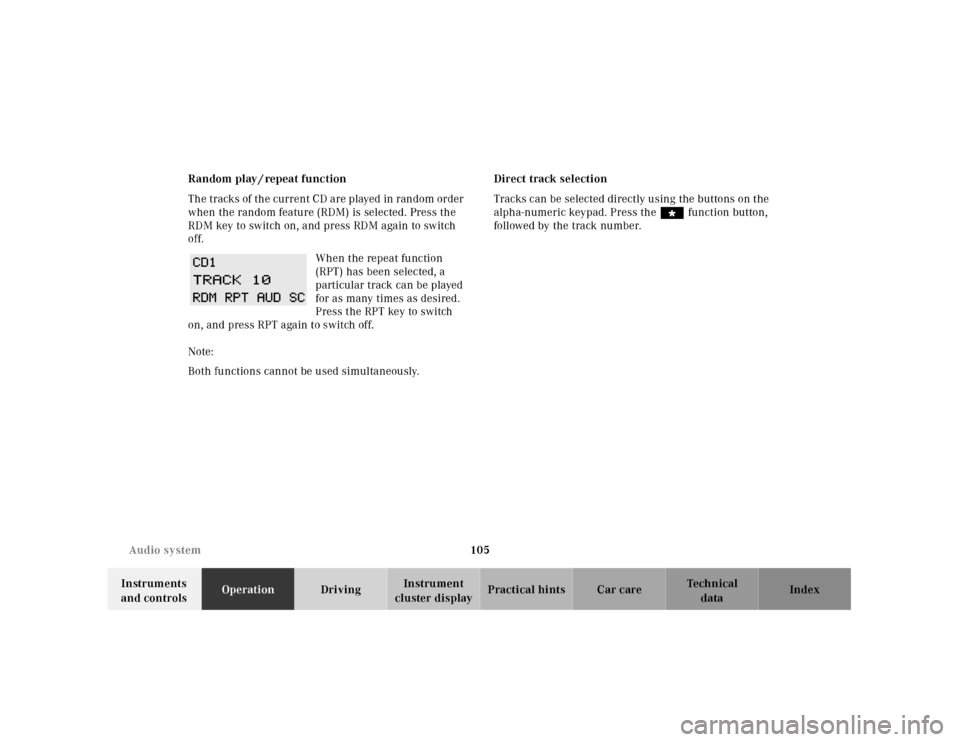
When the repeat function
(RPT) has been selected, a
particular track can be played
for as many times as desired.
Press the RPT key to switch
on, and press RPT again to switch off.
Note:
Both functions cannot be used simultaneously.Direct track selection
Tracks can be selected directly using the buttons on the
alpha-numeric keypad. Press the “ function button,
followed by the track number.
Page 110 of 273
107 Audio system
Te ch n ica l
data Instruments
and controlsOperationDrivingInstrument
cluster displayPractical hints Car care Index Switching between name search and number search
Press ABC key - Name search
Press NUM key - Number search
Searching and selecting phone book entries by name
Press the ABC key. The current name is shown on the
display. The stored entries in alphabetical order can be
selected using the or button. By pressing the
or buttons, the stored entries can be selected
according to alphabetical initial letters (e.g. A-Adam,
B-Brown, M-Miller).
Searching and selecting phone book entries by
number
Press the NUM key. The current number is shown on
the display. The stored entries can be selected in
numerical order using the or button. By
pressing the or buttons, the stored entries
can be selected in increments of 5 (e.g. Entry no. 2,
Entry no.7, etc.).Placing a call
When a number or a name
has been selected using the
method described above,
press the SND key.
Manual repeat dialing (redial)
The last number entered can be re-selected by pressing
th e SND key once and th e cal l can be pl aced by pressing
the SND key a second time. The last dialed telephone
number is shown on the display. Using the , ,
or button, the numbers stored in the re-dial
memory of the telephone can be selected.
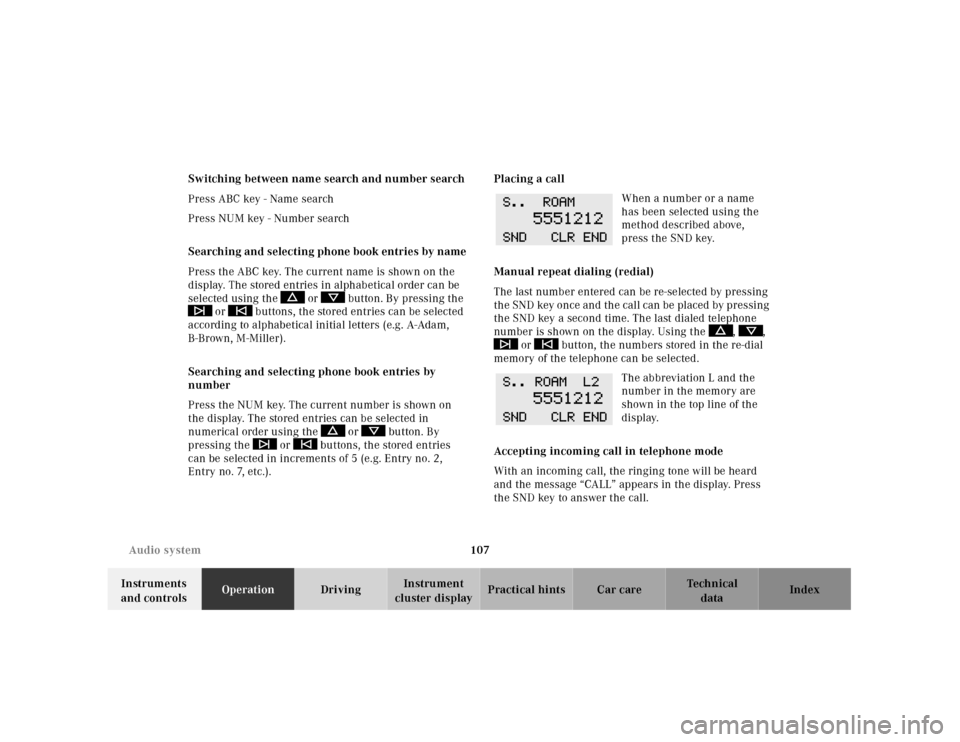
The abbreviation L and the
number in the memory are
shown in the top line of the
display.
Accepting incoming call in telephone mode
With an incoming call, the ringing tone will be heard
and the message “CALL” appears in the display. Press
the SND key to answer the call.