fog light MERCEDES-BENZ SLS AMG GT ROADSTER 2015 C197 Owner's Manual
[x] Cancel search | Manufacturer: MERCEDES-BENZ, Model Year: 2015, Model line: SLS AMG GT ROADSTER, Model: MERCEDES-BENZ SLS AMG GT ROADSTER 2015 C197Pages: 290, PDF Size: 6.24 MB
Page 11 of 290
Opening/closing the garage door .. 213
Programming (button in the rear-
view mirror) ................................... 212
Gasoline ............................................. 282
Gear indicator .................................... 123
Gear or selector lever (cleaning
guidelines) ......................................... 229
Genuine parts ...................................... 18
Glove box ...........................................2 00H
Hazard warning lamps ........................ 98
Head bags ............................................ 42
Headlamp cleaning system Notes ............................................. 286
Headlamps
Adding fluid to cleaning system ..... 221
Cleaning system (capacity )............ 286
Cleaning system (function) .............. 99
Cleaning system (notes) ................ 286
Fogging up ....................................... 99
see Automati cheadlamp mode
Hea dlevel heatin g(AIRSCARF) .......... 88
Heating see Climate control
High-beam headlamps
Switching on/of f.............................. 98
High-beam headlamps (display
message) ............................................ 175
Hil lstart assist .................................. 121
Hood Closing ........................................... 219
Displa ymessage ............................ 184
Important safety notes .................. 218
Opening ......................................... 218
Hydroplaning ..................................... 137 I
Ignitio nlock ....................................... 119
see Key positions
Immobilizer .......................................... 58
Indicator lamps see Warning and indicator lamps
Indicators
see Turn signals Instrument cluster
Overview .......................................... 27
Setting s......................................... 157
Warning and indicator lamps ........... 28
Instrument cluste rlighting .............. 158
Interior lighting Automati ccontrol ............................ 99
Delayed switch-off (on-board
computer) ...................................... 159
Emergency lighting ........................ 100
Manua lcontrol ............................... 100
Overview .......................................... 99
Reading lamp ................................... 99 J
Jack Storage location ............................ 234
Using ............................................. 272
Jump starting (engine) ...................... 242 K
KEYLESS-GO start function Displa ymessage ............................ 185
Start/Sto pbutton .......................... 119
Starting the engine ........................ 120
Ke yp ositions
SmartKey ....................................... 119
Kickdown ........................................... 124
Driving tip s.................................... 124
Knee bag .............................................. 41 L
Lamps see Warning and indicator lamps
Lap time (RACETIMER) ...................... 161
License plate lamp Changing bulb s.............................. 101
License plate lamp (display mes-
sage) ................................................... 175
Lights Activating/deactivating the inter-
iorl ighting delaye dswitch-off ........ 159
Automati cheadlamp mod e.............. 96
Displa ymessage ............................ 173
Driving abroa d................................. 96 Index
9
Page 98 of 290
Useful information
i This Operator's Manual describes all
models and all standard and optional equip- ment of your vehicle available at the time of
publication of the Operator's Manual.
Country-specific differences are possible.
Please not ethat your vehicle may not be
equipped with all feature sdescribed. This
also applies to safety-related system sand
functions.
i Please read the information on qualified
specialist workshops (Y page 23).Exterior lighting
Genera
lnotes
For reason sofsafety, Mercedes-Benz recom-
mends that you drive with the lights switched on even during the daytime. In some coun-
tries ,operation of the headlamps varies due
to legal requirements and self-imposed obli-
gations. Driving abroad
Converting to symmetrical low beam
when driving abroad: switchthe headlamps
to symmetrical low beam in countries in
which traffic drives on the opposite side of the
road to the country where the vehicle is reg-
istered. This prevents glare to oncoming traf- fic. Symmetrical lights do not illuminate as
large an area of the edge of the road.
Have the headlamps converted at aqualified
specialist workshop, e.g. an authorized
Mercedes-Benz Center, as close to the border
as possible before drivin ginthesecountries.
Converting to asymmetrical low beam
after returning: have the headlamps con-
verted back to asymmetrical low beam at a
qualified specialist workshop, e.g. an author-
ized Mercedes-Benz Center, as soon as pos-
sible after crossing the border again. Setting the exterior lighting
Setting options Exterior lightin
gcan be set using:
R the light switch
R the combination switc h(Ypage 98)
R the on-board computer (Y page 158)
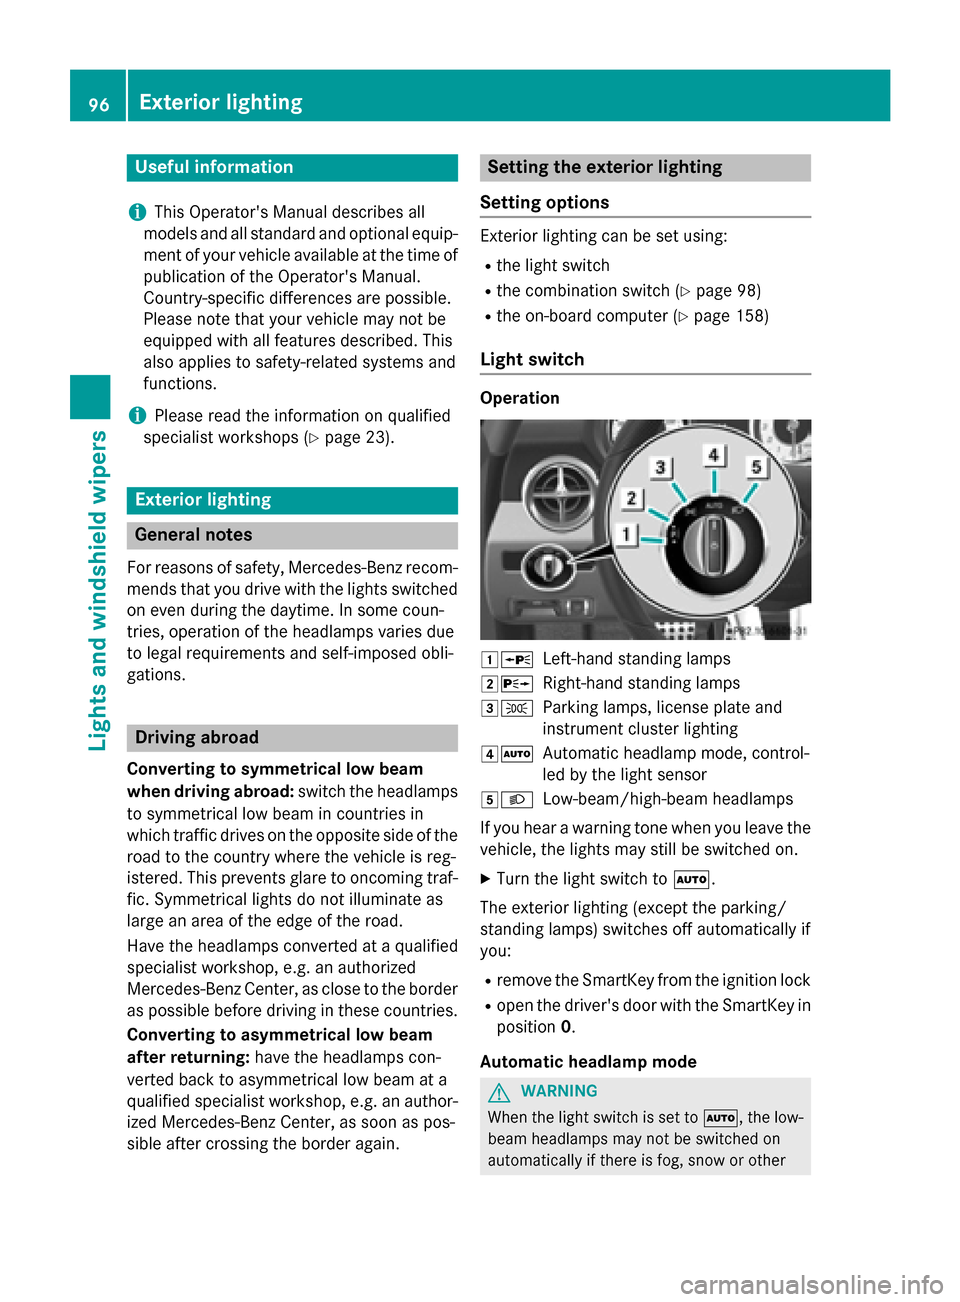
Light switch Operation
00470063
Left-handstanding lamps
00480064 Right-hand standing lamps
00490060 Parkinglamps, licens eplate and
instrumen tcluster lighting
004A0058 Automatic headlamp mode, control-
led by the light sensor
004B0058 Low-beam/high-beam headlamps
If you hear awarnin gton ew hen you leave the
vehicle, the lights may still be switched on.
X Turn the light switc hto0058.
The exterior lightin g(except the parking/
standing lamps) switches off automatically if
you:
R remov ethe SmartKey from the ignition lock
R open the driver' sdoor with the SmartKey in
position 0.
Automatic headlamp mode G
WARNING
When the light switc hisset to 0058,t he low-
beam headlamps may not be switched on
automatically if ther eisfog, snow or other 96
Exterior lightingLights and windshield wipers
Page 99 of 290
causes of poo
rvisibility du etothe weather
conditions such as spray. There is ariskofan
accident.
In such situations, turn the light switch to
0058.
The automatic headlamp feature is only an
aid. The driver is responsibl efor the vehicle's
lighting at al ltimes.
0058 is the favored light switch setting. The
light setting is automaticall yselected accord-
ing to the brightnes softhe ambient light
(exception: poo rvisibility du etoweathe rcon-
ditions such as fog, snow or spray):
R SmartKey in position 1in the ignition lock:
the parking lamps are switched on or off
automaticall ydepending on the brightness
of the ambient light.
R With the engine running: if yo uhavea cti-
vate dthe daytime running lamps function
via the on-board computer, the daytime
running lamps or the low-bea mheadlamps
and parking lamps are switched on or off
automaticall ydepending on the brightness
of the ambient light.
Onl yfor Canada:
The daytime running lamps improve the visi-
bility of your vehicle during the day. The day- time running lamps function is required by law
in Canada. It cannot therefore be deactivated.
Whe nthe engine is running and the vehicle is
stationary: if yo umove the selector lever from
ad rive position to P,the daytime running
lamps/low-bea mheadlamp sgooutafter
three minutes.
Whe nthe engine is running, the vehicle is
stationar yand in bright ambient light: if you
turn the light switch to 0060,the daytime
running lamps and parking lamps switch on.
If the engine is running and yo uturn the light
switch to 0058,the manual settings take
precedence over the daytime running lamps.
USA only:
The daytime running lamps improve the visi-
bility of your vehicle during the day. To do this,
the daytime running lamps function mus tbeswitched on using the on-board computer
(Y
page 158).
If the engine is running and yo uturn the light
switch to 0060or0058,t he manual settings
take precedence over the daytime running
lamps.
i In the USA, the daytime running lamps are
deactivated upon delivery from the factory.
X To switc honautomati cheadlamp
mode: turn the light switch to 0058.
Low-beam headlamps
Even if the light senso rdoesn ot detect that it
is dark, the parking lamps and low-beam
headlamp sswitch on whe nthe ignition is
switched on and the light switch is set to the 0058 position. Thi sisaparticularly useful
function in the event of rai nand fog.
X To switc honthe low-beam headlamps:
turn the SmartKey in the ignition lock to
position 2or star tthe engine.
X Turn the light switch to 0058.
The green 0058indicator lamp in the instru-
ment cluster lights up.
Parking lamps ! If the battery ha
sbeene xcessivel ydis-
charged ,the parking lamps or standing
lamps are automaticall yswitched off to
enabl ethe next engine start. Alway spark
your vehicle safel yand sufficiently lit
according to lega lstandards. Avoi dthe
continuou suseof the 0060parking lamps
for several hours. If possible ,switch on the
0064 right or the 0063left standing lamp.
X To switc hon:turn the light switch to 0060.
Standing lamps
Switching on the standing lamps ensures the corresponding sid eofthe vehicle is illumi-
nated. Exterio
rlighting
97Lights and windshieldw ipers Z
Page 101 of 290
The hazard warning lamps switch off auto-
matically if the vehicle exceeds aspeed of
6m ph(10 km/h) again after afull brake appli-
cation.
i The hazard warning lamps still operate if
the ignition is switched off. Headlam
pcleaning system
The headlamps are cleaned automatically if
the "Wipe with washer fluid" function is oper-
ated five times (Y page 101) while the lights
are on and the engine is running. When you
switch off the ignition ,the automatic head-
lamp cleaning system is reset and counting is
resumed from 0. Headlamps fogged up on the inside
The headlamps may fog up on the inside if
there is high atmospheric humidity.
X Drive with the headlamps switched on.
The level of moisture diminishes, depend-
ing on the length of the journey and the
weather conditions (humidity and temper-
ature).
If the level of moisture does not diminish:
X Have the headlamps checked at aqualified
specialist workshop. Interior lighting
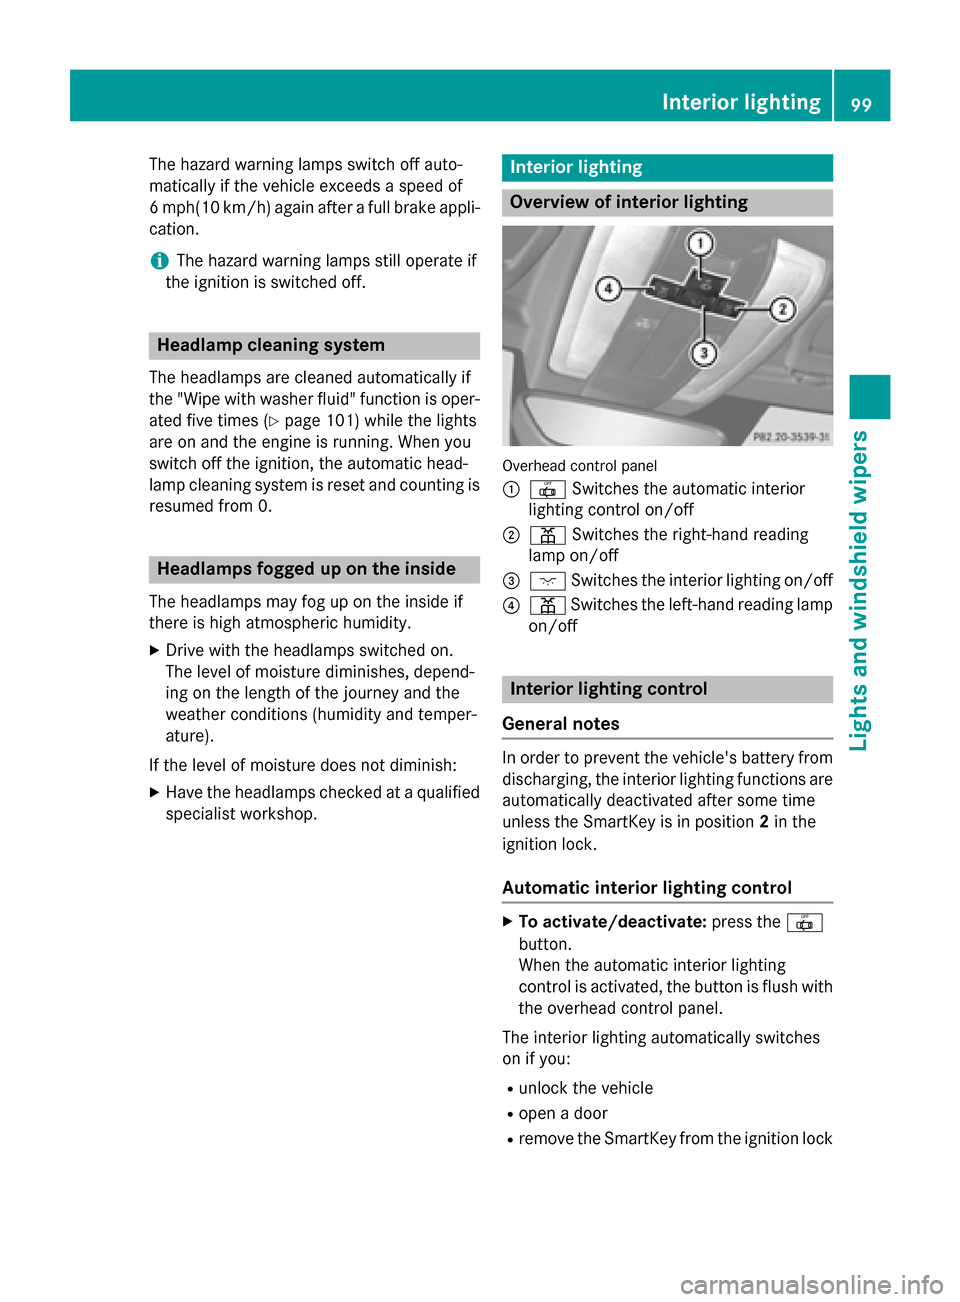
Overview of interior lighting
Overhead control panel
0043
0033 Switches the automatic interior
lighting control on/off
0044 003D Switches the right-hand reading
lamp on/off
0087 004A Switches the interior lighting on/off
0085 003D Switches the left-hand reading lamp
on/off Interior lighting control
General notes In order to prevent the vehicle's battery from
discharging, the interior lighting functions are
automatically deactivated after some time
unless the SmartKey is in position 2in the
ignition lock.
Automatic interior lighting control X
To activate/deactivate: press the0033
button.
When the automatic interior lighting
control is activated, the button is flush with
the overhead control panel.
The interior lighting automatically switches
on if you:
R unlock the vehicle
R open adoor
R remove the SmartKey from the ignition lock Interior lighting
99Lights and windshield wipers Z
Page 110 of 290
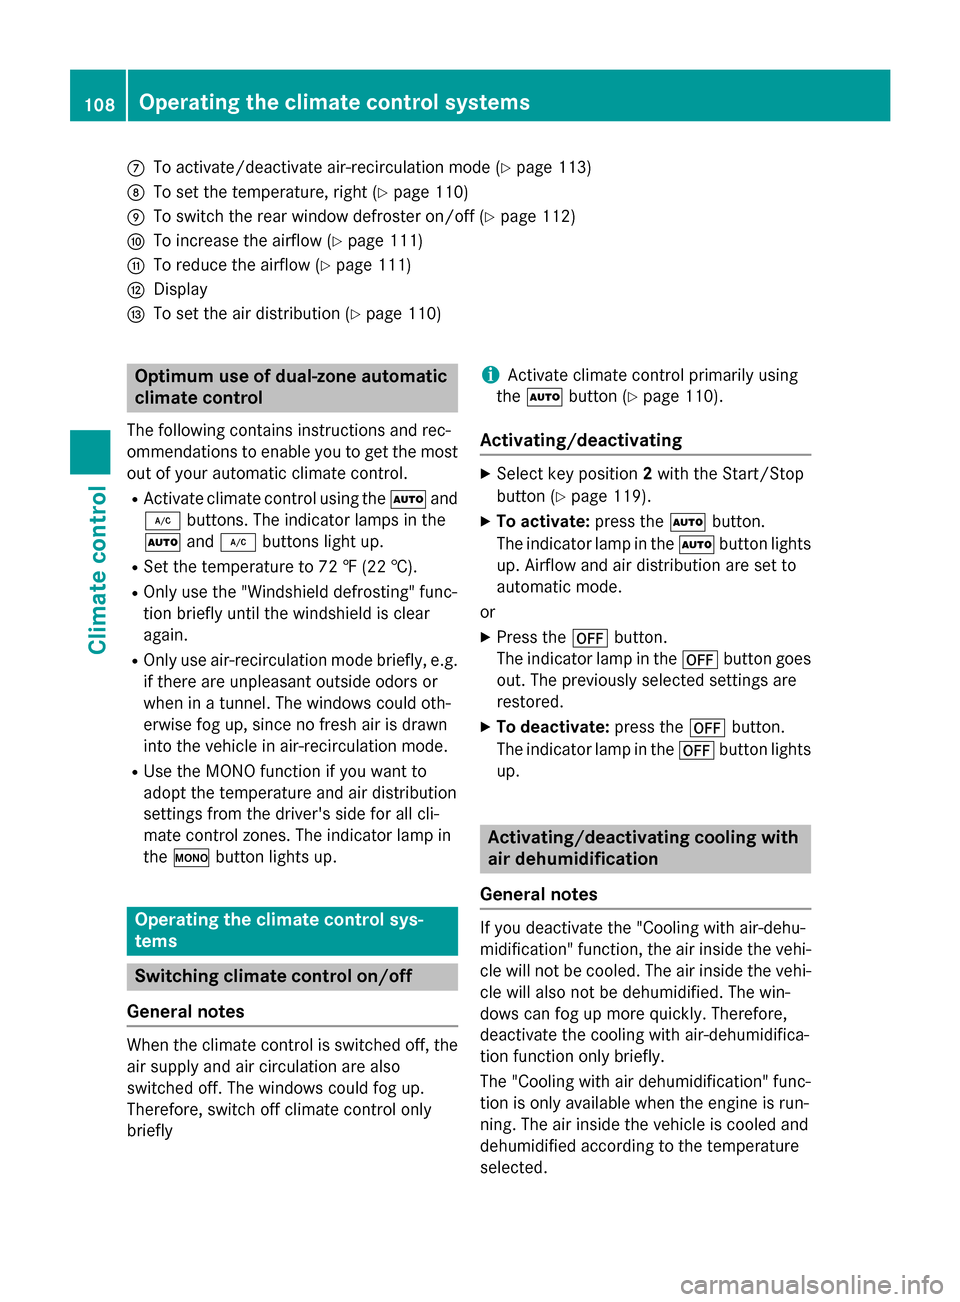
006B
To activate/deactivat eair-recirculation mode (Y page 113)
006C To set the temperature, right (Y page 110)
006D To switch the rear window defroster on/of f(Ypage 112)
006E To increase the airflow (Y page 111)
006F To reduce the airflow (Y page 111)
0070 Display
0071 To set the air distribution (Y page 110)Optimum use of dual-zone automatic
climate control
The following contains instructions and rec-
ommendations to enable you to get the most
out of your automatic climate control.
R Activate climate control using the 0058and
005A buttons. The indicator lamps in the
0058 and005A button slight up.
R Set the temperature to 72 ‡(22 †).
R Only use the "Windshield defrosting" func-
tion briefly until the windshield is clear
again.
R Only use air-recirculation mode briefly, e.g.
if there are unpleasant outside odors or
when in atunnel. The windows could oth-
erwise fog up, since no fresh air is drawn
into the vehicle in air-recirculation mode.
R Use the MONO function if you want to
adopt the temperature and air distribution
settings from the driver's side for all cli-
mate control zones. The indicator lamp in
the 005B button lights up. Operating the climate control sys-
tems
Switching climate control on/off
General notes When the climate control is switched off, the
air supply and air circulation are also
switched off. The windows could fog up.
Therefore, switch off climate control only
briefly i
Activate climate control primarily using
the 0058 button (Y page 110).
Activating/deactivating X
Select key position 2with the Start/Stop
button (Y page 119).
X To activate: press the0058button.
The indicator lamp in the 0058button lights
up. Airflow and air distribution are set to
automatic mode.
or X Press the 0078button.
The indicator lamp in the 0078button goes
out. The previously selected settings are
restored.
X To deactivate: press the0078button.
The indicator lamp in the 0078button lights
up. Activating/deactivating cooling with
air dehumidification
General notes If you deactivate the "Cooling with air-dehu-
midification" function, the air inside the vehi-
cle will not be cooled. The air inside the vehi-
cle will also not be dehumidified. The win-
dows can fog up more quickly. Therefore,
deactivate the cooling with air-dehumidifica-
tion function only briefly.
The "Cooling with air dehumidification" func-
tion is only available when the engine is run-
ning. The air inside the vehicle is cooled and
dehumidified accordin gtothe temperature
selected. 108
Operating the climate control systemsClimate control
Page 112 of 290
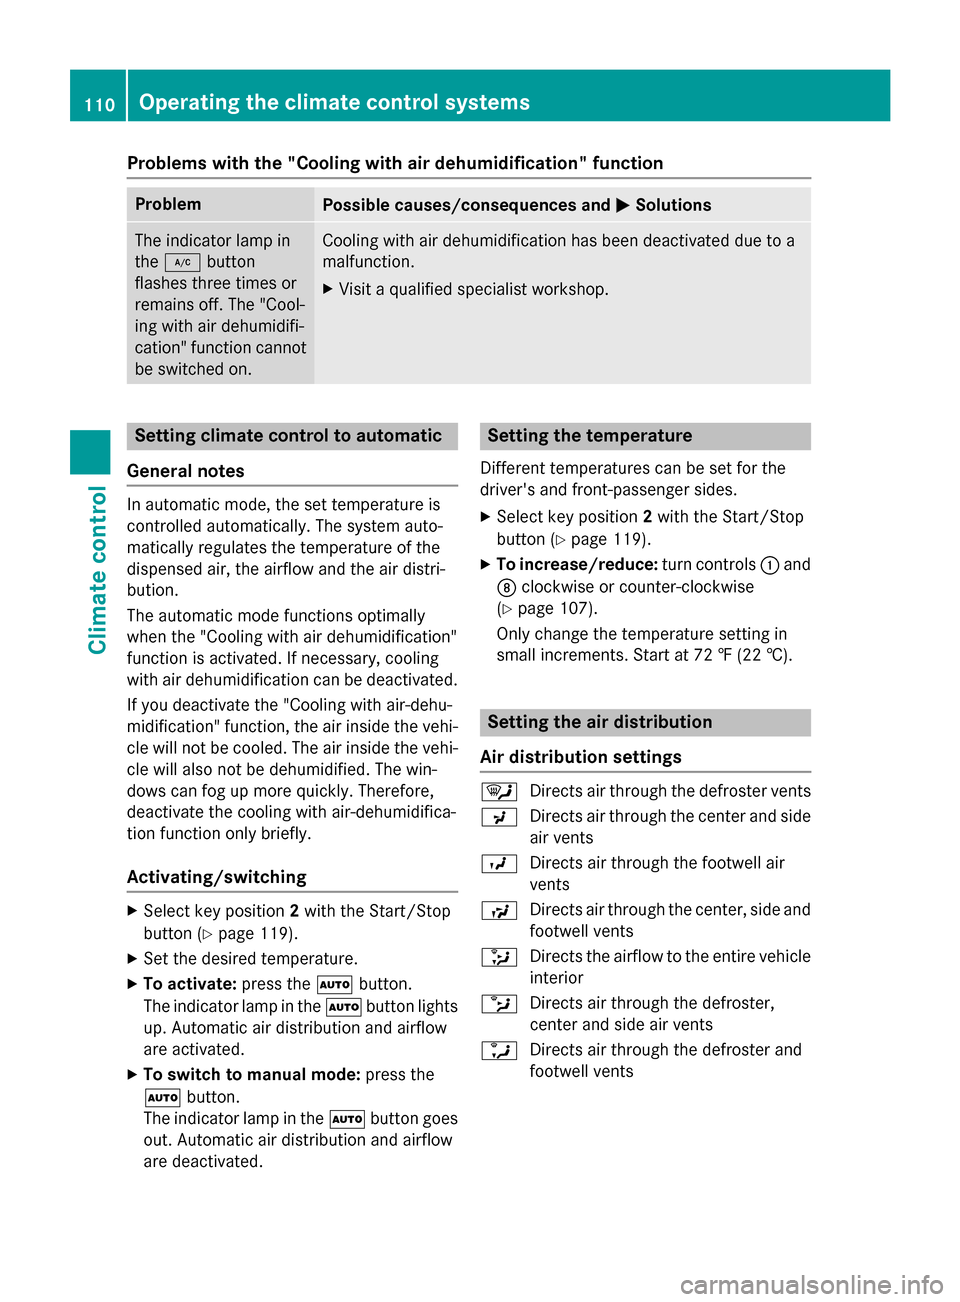
Problems with the "Cooling with air dehumidification" function
Problem
Possible causes/consequences and
0050
0050Solutions The indicator lamp in
the
005A button
flashes three times or
remains off. The "Cool-
ing with air dehumidifi-
cation" function cannot
be switched on. Cooling with air dehumidification has been deactivated due to a
malfunction.
X Visit aqualified specialist workshop. Setting climate control to automatic
General notes In automatic mode, the set temperature is
controlled automatically. The system auto-
matically regulates the temperature of the
dispensed air, the airflow and the air distri-
bution.
The automatic mode functions optimally
when the "Cooling with air dehumidification"
function is activated. If necessary, cooling
with air dehumidification can be deactivated.
If you deactivate the "Cooling with air-dehu-
midification" function, the air inside the vehi- cle will not be cooled. The air inside the vehi-
cle will also not be dehumidified. The win-
dows can fog up more quickly. Therefore,
deactivate the cooling with air-dehumidifica-
tion function only briefly.
Activating/switching X
Select key position 2with the Start/Stop
button (Y page 119).
X Set the desired temperature.
X To activate: press the0058button.
The indicator lamp in the 0058button lights
up. Automatic air distribution and airflow
are activated.
X To switch to manualm ode:press the
0058 button.
The indicator lamp in the 0058button goes
out. Automatic air distribution and airflow
are deactivated. Setting the temperature
Differentt emperatures can be set for the
driver's and front-passenger sides.
X Select key position 2with the Start/Stop
button (Y page 119).
X To increase/reduce: turn controls0043and
006C clockwise or counter-clockwise
(Y page 107).
Only change the temperature settingin
small increments. Start at 72 ‡(22 †). Setting the air distribution
Air distribution settings 0061
Directsa ir through the defroster vents
009C Directsa ir through the center and side
air vents
009B Directsa ir through the footwell air
vents
009F Directsa ir through the center, side and
footwell vents
008F Directst he airflow to the entire vehicle
interior
0087 Directsa ir through the defroster,
center and side air vents
0086 Directsa ir through the defroster and
footwell vents 110
Operating the climate control systemsClimatec
ontrol
Page 114 of 290
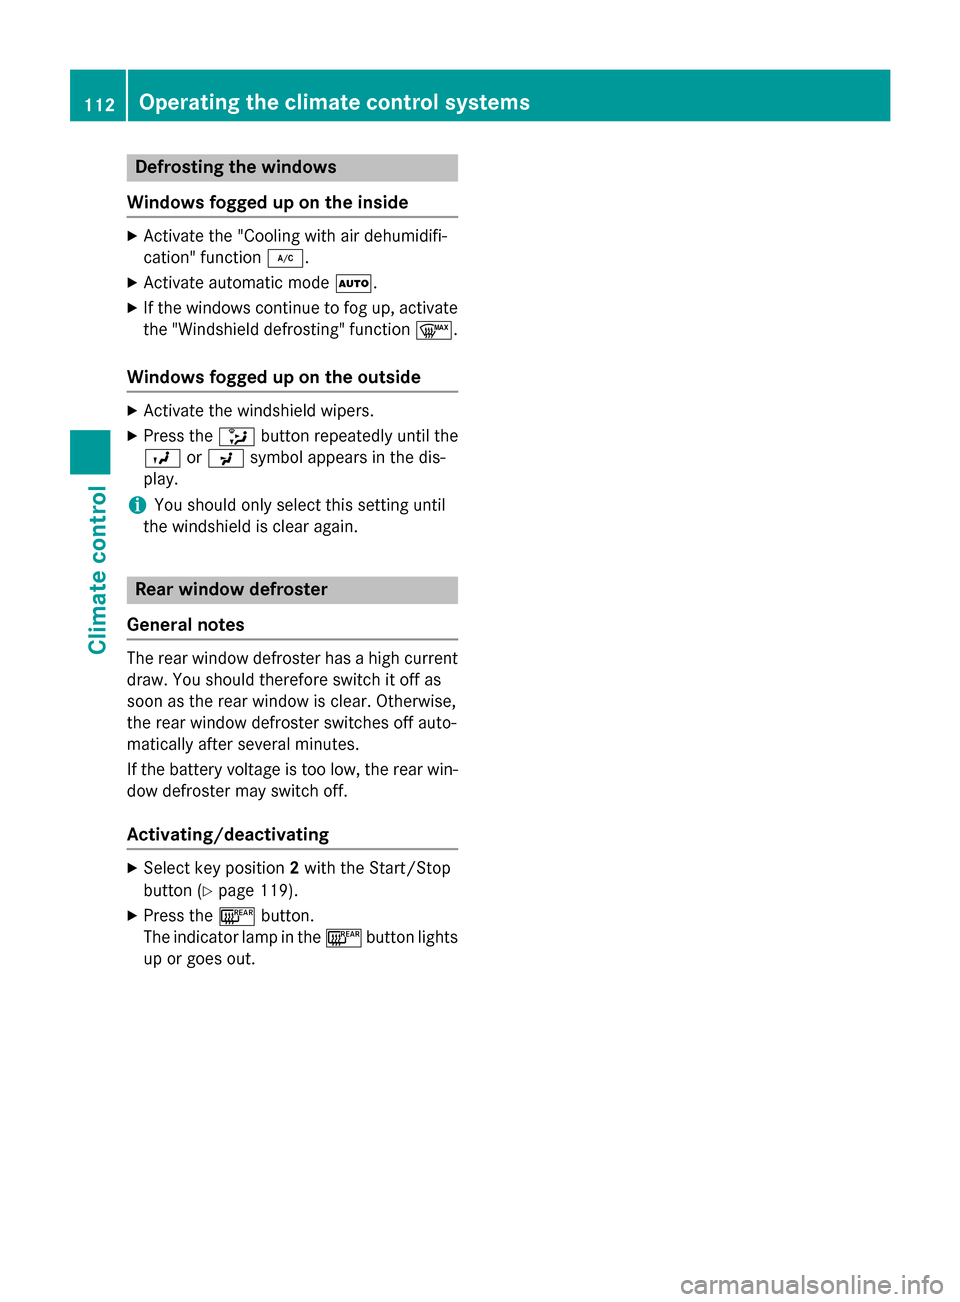
Defrosting th
ewindows
Windows fogged up on th einside X
Activat ethe "Coolin gwitha ir dehumidifi-
cation "function 005A.
X Activat eautomatic mode 0058.
X If th ewindows continue to fo gup, activate
th e" Windshield defrosting" function 0064.
Windows fogged up on th eoutside X
Activat ethe windshield wipers.
X Press the 008Fbuttonrepeatedly until the
009B or009C symbol appears in th edis-
play.
i You should only selec
tthiss etting until
th ew indshield is clear again. Rea
rwindow defroster
General notes The rea
rwindow defroster has ahighc urrent
draw. You should therefore switch it of fas
soo nast herea rwindow is clear .Otherwise,
th er earw indow defroster switches of fauto-
matically after severa lminutes.
If th ebattery voltage is to olow, th erearw in-
dow defroster may switch off.
Activating/deactivating X
Selec tkey position 2wit hthe Start/Stop
butto n(Ypage 119).
X Press the 006Cbutton.
The indicator lamp in the 006Cbuttonlights
up or goe sout. 112
Operating th
eclimat econt rol systemsClimat econt rol
Page 115 of 290
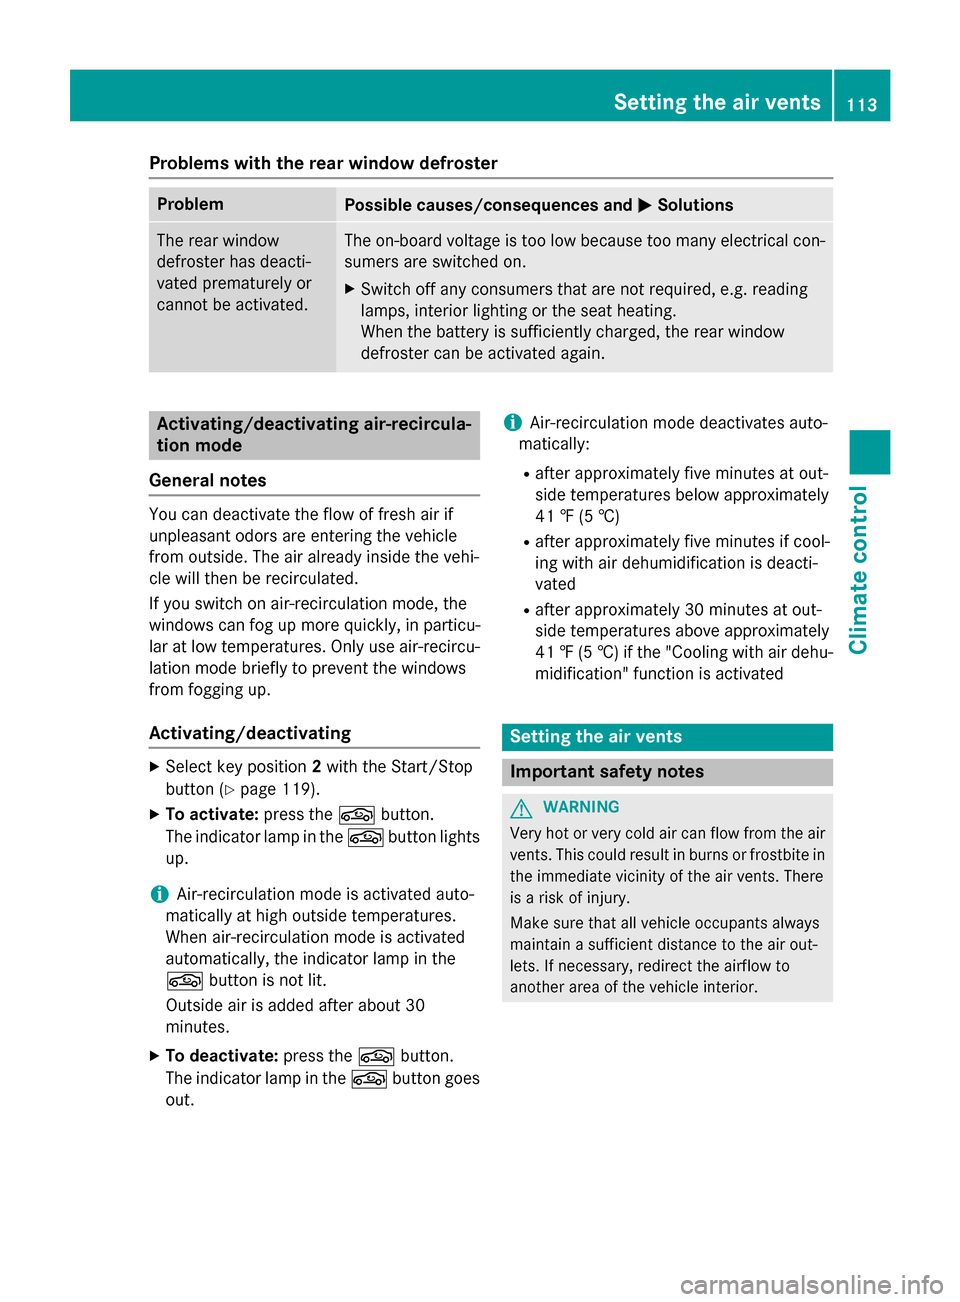
Problems with the rear window defroster
Problem
Possible causes/consequences and
0050
0050Solutions The rear window
defroster has deacti-
vated prematurely or
cannot be activated. The on-board voltage is too low because too many electrical con-
sumers are switched on.
X Switch off any consumers that are not required, e.g. reading
lamps, interior lighting or the seat heating.
When the battery is sufficiently charged, the rear window
defroster can be activated again. Activating/deactivating air-recircula-
tion mode
General notes You can deactivate the flow of fresh air if
unpleasant odors are enteringt
he vehicle
from outside. The air already inside the vehi-
cle will then be recirculated.
If you switch on air-recirculation mode, the
windows can fog up more quickly, in particu-
lar at low temperatures. Only use air-recircu-
lation mode briefly to prevent the windows
from fogging up.
Activating/deactivating X
Select key position 2with the Start/Stop
button (Y page 119).
X To activate: press the0072button.
The indicator lamp in the 0072button lights
up.
i Air-recirculation mode is activated auto-
matically at high outside temperatures.
When air-recirculation mode is activated
automatically, the indicator lamp in the
0072 button is not lit.
Outside air is added after about 30
minutes.
X To deactivate: press the0072button.
The indicator lamp in the 0072button goes
out. i
Air-recirculation mode deactivates auto-
matically:
R after approximately five minutes at out-
side temperatures below approximately
41 ‡(5†)
R after approximately five minutes if cool-
ing with air dehumidification is deacti-
vated
R after approximately 30 minutes at out-
side temperatures above approximately
41 ‡(5†)ift he "Cooling with air dehu-
midification" function is activated Setting the air vents
Important safety notes
G
WARNING
Very hot or very cold air can flow from the air vents. This could result in burns or frostbitein the immediate vicinity of the air vents. There
is ar isk of injury.
Make sure that all vehicle occupants always
maintain asufficient distance to the air out-
lets. If necessary, redirect the airflow to
another area of the vehicle interior. Setting the air vents
113Climatecontrol Z
Page 146 of 290
Problems with PARKTRONIC
Problem
Possible causes/consequences and
0050
0050Solutions Only the red segments
in the PARKTRONIC
warning displaysa
re lit.
You also hear awarning
tone for approximately
two seconds.
PARKTRONIC is deacti-
vated after approx-
imately 20 seconds,
and the indicator lamp
in the PARKTRONIC
button lights up. PARKTRONIC has malfunctioned and has switched off.
X If problems persist, have PARKTRONIC checked at aqualified
specialist workshop. Only the red segments
in the PARKTRONIC
warning displaysa
re lit.
PARKTRONIC is deacti-
vated after approx-
imately 20 seconds. The PARKTRONIC sensors are dirty or there is interference.
X Cleant he PARKTRONIC sensors (Y page 228).
X Switch the ignition back on. The problem may be caused by an external source of radio or
ultrasound waves.
X See if PARKTRONIC functions in adifferent location. Rear view camera
Important safety notes The rear view camera is only an aid. It is not a
replacement for your attention to your imme-
diate surroundings. You are always responsi-
ble for safe maneuvering and parking. When
maneuvering or parking, make sure that there are no persons, animals or objectsint he area
in which you are maneuvering.
Under the following circumstances, the rear
view camera will not function, or will function
in alimited manner:
R if the trunk lid is open
R in heavy rain, snow or fog
R at night or in very dark places
R if the camera is exposed to very bright light
R if the area is lit by fluorescent light or LED
lighting (the display may flicker) R
if there is asudden change in temperature,
e.g. when driving into aheated garage in
winter
R if the camera lens is dirty or obstructed
R if the rear of your vehicle is damaged. In this
event, have the camera position and setting checked at aqualified specialist workshop
The field of vision and other functions of the
rear view camera may be restricted due to
additional accessories on the rear of the vehi-
cle (e.g. license plate holder, bicycle rack).
General notes Rear view camera
0043is an optical parking aid.
It shows the area behind your vehicle in the
COMAND display. 144
Driving systemsDriving and parking
Page 148 of 290
with
,ora ltering th edevic ewill void any
warranties, and is not permitted by the
FCC. Do not tamper with ,alter ,oru se in
any non-approved way.
An yu nauthorize dmodification to this
devic ecould void th euser’s authorit yto
operate th eequipment.
Monitorin grange of th esensors In particular
,the detection of obstacles can
be impaired if:
R dirt on th esensor soranythin gelse cover-
ing th esensors
R there is poor visibility, e.g .due to fog ,heavy
rain or snow
R an arrow vehicle travelin ginfront,e.g.a
motorbik eorbicycle
R ther oad has ver ywide lanes
R ther oad has narrow lanes
R you are not driving in th emiddle of th elane
R there are barriers or similar lane borders
Vehicles in th emonitorin grange are then not
indicated. Example (Roadster)
Blin dSpotA ssist monitors th earea up to 10 ft
(3 m) behi nd your vehicl eand directl ynext to
your vehicle, as shown in the diagram. If the lanes ar
enarrow ,vehicles driving in the
lane beyond the lane next to your vehicl emay
be indicated ,especially if the vehicles ar enot
driving in the middl eoftheirlan e. Thi smaybe
the cas eifthe vehicles ar edriving on the inner
side of thei rlan e.
Due to the nature of the system:
R warning smaybe issued in error when driv-
ing close to crash barriers or similar solid
lane borders.
R warning smaybe interrupte dwhend riving
alongsid eparticularly long vehicles, e.g.
trucks, for aprolonge dtime.
The two sensors for Blind Spo tAssist are
integrated into the side softhe rea rbum per.
Make sure tha tthe bumpe risfreeofd irt, ice
or slus hinthe vicinity of the sensors .The
rada rsensors must not be covered ,e.g.by
overhanging loads. Following asevere impact
or in the event of damage to the bumpers,
have the functio nofthe rada rsensors
checked at aquali fied specialist workshop.
Blind Spo tAssist ma yotherwise not work
properly.
Indicator and warning display 0043
Yellow indicator lamp/red warning lamp
Whe nBlind Spo tAssist is activated ,indicator
lamp 0043in the exterio rmirrors lights up yel-
lo wuptoas peed of 20 mph (30 km/h) .At
speed sabove 20 mph (30 km/h), the indica-
tor lamp goe soutand Blind Spo tAssist is
operational.
If av ehicl eisd etecte dwithi nt he blind spot
monitoring range at speed sabove 20 mph 146
Driving systemsDriving an
dparking