check engine light MERCEDES-BENZ SLS AMG ROADSTER 2014 Owners Manual
[x] Cancel search | Manufacturer: MERCEDES-BENZ, Model Year: 2014, Model line: SLS AMG ROADSTER, Model: MERCEDES-BENZ SLS AMG ROADSTER 2014Pages: 292, PDF Size: 37.82 MB
Page 6 of 292
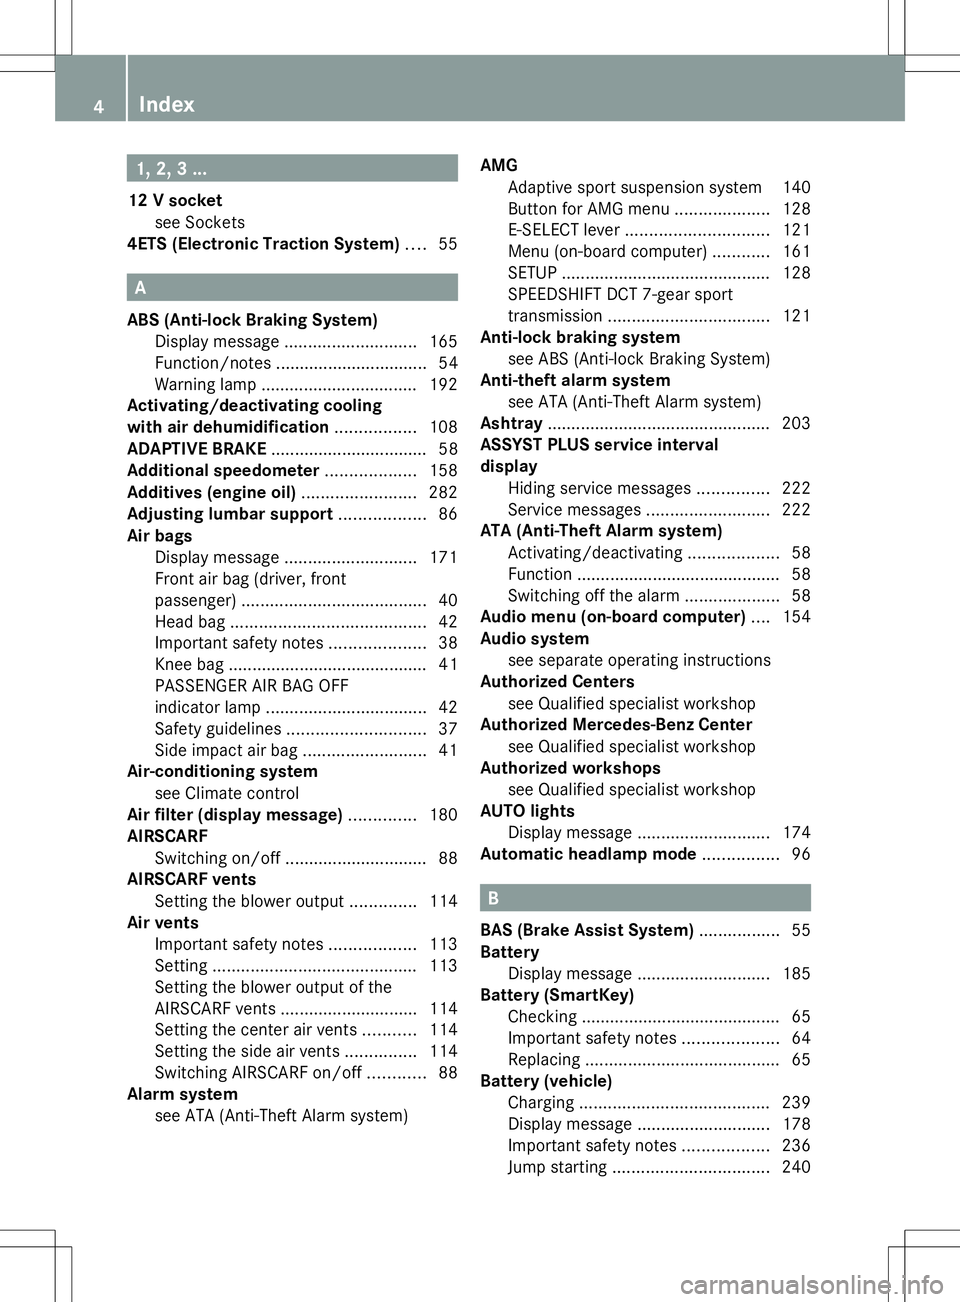
1, 2, 3 ...
12 V socket see Sockets
4ETS (Electronic Traction System) ....55 A
ABS (Anti-lock Braking System) Display message ............................ 165
Function/notes ................................ 54
Warning lamp ................................. 192
Activating/deactivating cooling
with air dehumidification .................108
ADAPTIVE BRAKE ................................. 58
Additional speedometer ...................158
Additives (engine oil) ........................282
Adjusting lumbar support ..................86
Air bags Display message ............................ 171
Front air bag (driver, front
passenger) ....................................... 40
Head bag ......................................... 42
Important safety notes ....................38
Knee bag .......................................... 41
PASSENGER AIR BAG OFF
indicator lamp .................................. 42
Safety guidelines ............................. 37
Side impact air bag ..........................41
Air-conditioning system
see Climate control
Air filter (display message) ..............180
AIRSCARF Switching on/off .............................. 88
AIRSCARF vents
Setting the blower output ..............114
Air vents
Important safety notes ..................113
Setting ........................................... 113
Setting the blower output of the
AIRSCARF vents ............................ .114
Setting the center air vents ...........114
Setting the side air vents ...............114
Switching AIRSCARF on/off ............88
Alarm system
see ATA (Anti-Theft Alarm system) AMG
Adaptive sport suspension system 140
Button for AMG menu ....................128
E-SELECT leve r.............................. 121
Menu (on-board computer) ............161
SETUP ............................................ 128
SPEEDSHIFT DCT 7-gear sport
transmission .................................. 121
Anti-lock braking system
see ABS (Anti-lock Braking System)
Anti-theft alarm system
see ATA (Anti-Theft Alarm system)
Ashtray ............................................... 203
ASSYST PLUS service interval
display
Hiding service messages ...............222
Service messages ..........................222
ATA (Anti-Theft Alarm system)
Activating/deactivating ...................58
Function .......................................... .58
Switching off the alarm ....................58
Audio menu (on-board computer) ....154
Audio system see separate operating instructions
Authorized Centers
see Qualified specialist workshop
Authorized Mercedes-Benz Center
see Qualified specialist workshop
Authorized workshops
see Qualified specialist workshop
AUTO lights
Display message ............................ 174
Automatic headlamp mode ................96 B
BAS (Brake Assist System) .................55
Battery Display message ............................ 185
Battery (SmartKey)
Checking .......................................... 65
Important safety notes ....................64
Replacing ......................................... 65
Battery (vehicle)
Charging ........................................ 239
Display message ............................ 178
Important safety notes ..................236
Jump starting ................................. 2404
Index
Page 8 of 292
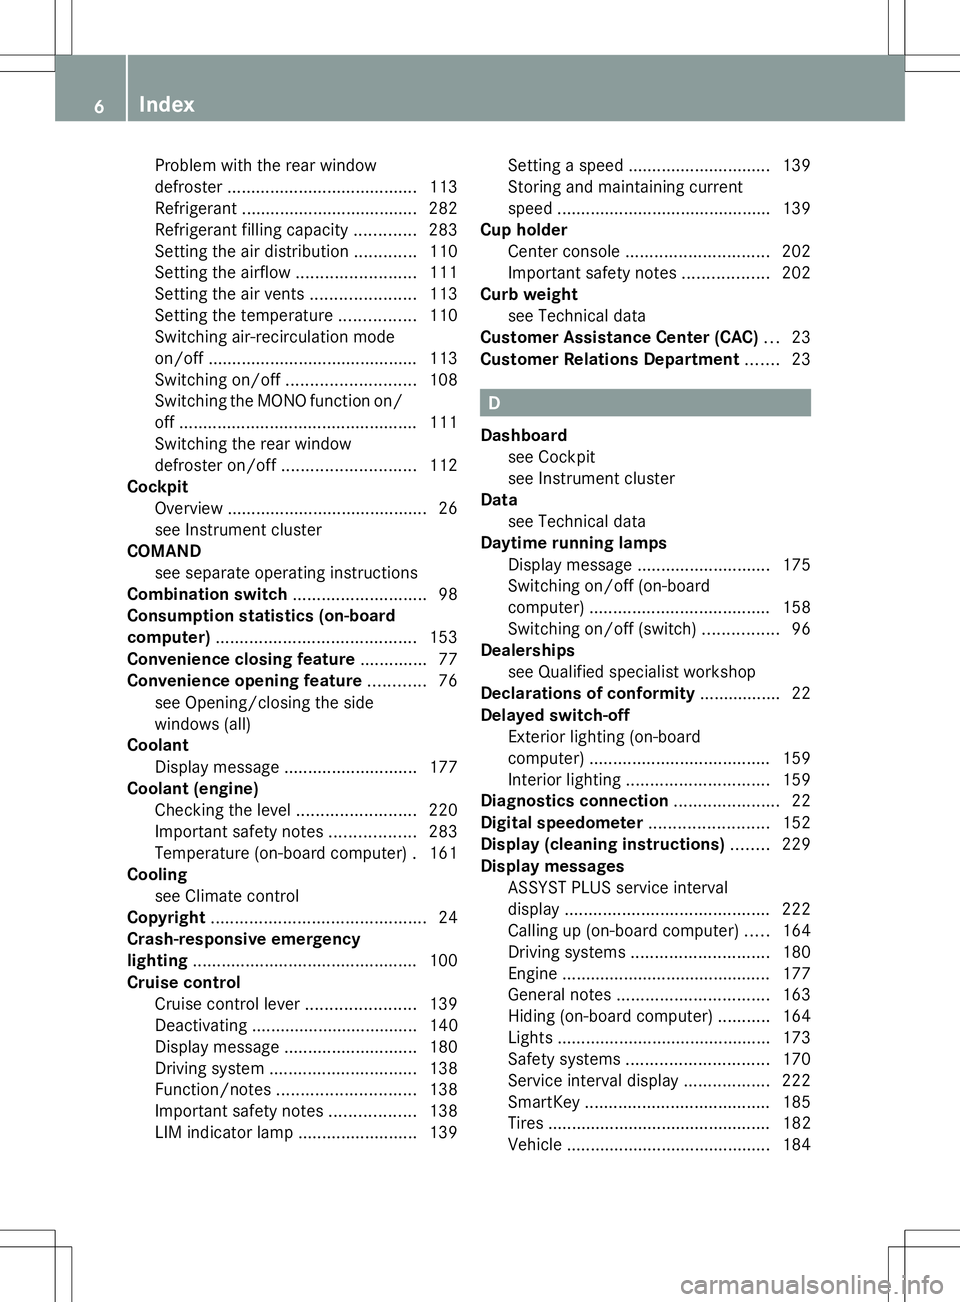
Problem with the rear window
defroster
........................................ 113
Refrigerant ..................................... 282
Refrigerant filling capacity .............283
Setting the air distribution .............110
Setting the airflow .........................111
Setting the air vents ......................113
Setting the temperature ................110
Switching air-recirculation mode
on/off ............................................ 113
Switching on/off ........................... 108
Switching the MONO function on/
off .................................................. 111
Switching the rear window
defroster on/off ............................ 112
Cockpit
Overview .......................................... 26
see Instrument cluster
COMAND
see separate operating instructions
Combination switch ............................98
Consumption statistics (on-board
computer) .......................................... 153
Convenience closing feature ..............77
Convenience opening feature ............76
see Opening/closing the side
windows (all)
Coolant
Display message ............................ 177
Coolant (engine)
Checking the level .........................220
Important safety notes ..................283
Temperature (on-board computer) .161
Cooling
see Climate control
Copyright ............................................. 24
Crash-responsive emergency
lighting ............................................... 100
Cruise control Cruise control lever .......................139
Deactivating ................................... 140
Display message ............................ 180
Driving system ............................... 138
Function/notes ............................. 138
Important safety notes ..................138
LIM indicator lamp .........................139Setting a speed
.............................. 139
Storing and maintaining current
speed ............................................ .139
Cup holder
Center console .............................. 202
Important safety notes ..................202
Curb weight
see Technical data
Customer Assistance Center (CAC) ...23
Customer Relations Department .......23 D
Dashboard see Cockpit
see Instrument cluster
Data
see Technical data
Daytime running lamps
Display message ............................ 175
Switching on/off (on-board
computer) ...................................... 158
Switching on/off (switch) ................96
Dealerships
see Qualified specialist workshop
Declarations of conformity ................. 22
Delayed switch-off Exterior lighting (on-board
computer) ...................................... 159
Interior lighting .............................. 159
Diagnostics connection ......................22
Digital speedometer .........................152
Display (cleaning instructions) ........229
Display messages ASSYST PLUS service interval
displa y........................................... 222
Calling up (on-board computer) .....164
Driving systems ............................. 180
Engine ............................................ 177
General notes ................................ 163
Hiding (on-board computer) ...........164
Lights ............................................ .173
Safety systems .............................. 170
Service interval displa y.................. 222
SmartKey ....................................... 185
Tires ............................................... 182
Vehicle .......................................... .184 6
Index
Page 10 of 292
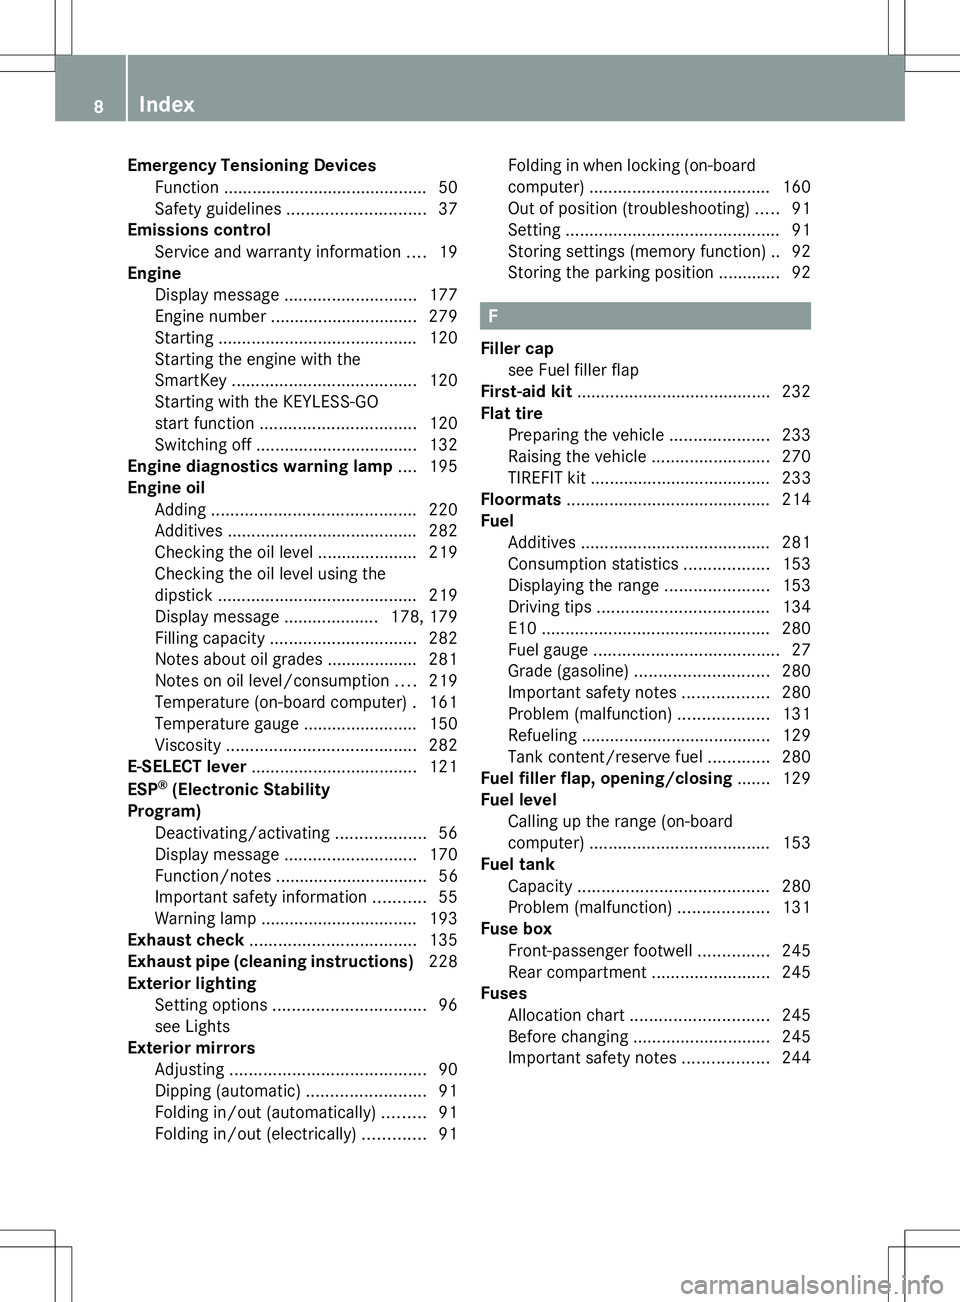
Emergency Tensioning Devices
Function .......................................... .50
Safety guideline s............................. 37
Emissions control
Service and warranty information ....19
Engine
Display message ............................ 177
Engine number ............................... 279
Starting .......................................... 120
Starting the engine with the
SmartKey ....................................... 120
Starting with the KEYLESS-GO
start function ................................. 120
Switching off .................................. 132
Engine diagnostics warning lamp ....195
Engine oil Adding ........................................... 220
Additives ........................................ 282
Checking the oil level ..................... 219
Checking the oil level using the
dipstick .......................................... 219
Display message .................... 178, 179
Filling capacity ............................... 282
Notes about oil grades ................... 281
Notes on oil level/consumption ....219
Temperature (on-board computer) .161
Temperature gauge ........................ 150
Viscosity ........................................ 282
E-SELECT lever ................................... 121
ESP ®
(Electronic Stability
Program) Deactivating/activating ...................56
Display message ............................ 170
Function/notes ................................ 56
Important safety information ...........55
Warning lamp ................................. 193
Exhaust check ................................... 135
Exhaust pipe (cleaning instructions) 228
Exterior lighting Setting options ................................ 96
see Lights
Exterior mirrors
Adjusting ......................................... 90
Dipping (automatic) .........................91
Folding in/out (automatically). ........91
Folding in/out (electrically). ............91Folding in when locking (on-board
computer)
...................................... 160
Out of position (troubleshooting) .....91
Setting ............................................. 91
Storing settings (memory function) .. 92
Storing the parking position ............. 92 F
Filler cap see Fuel filler flap
First-aid kit ......................................... 232
Flat tire Preparing the vehicle .....................233
Raising the vehicle .........................270
TIREFIT kit ...................................... 233
Floormats ........................................... 214
Fuel Additives ........................................ 281
Consumption statistics ..................153
Displaying the range ......................153
Driving tips .................................... 134
E10 ................................................ 280
Fuel gauge ....................................... 27
Grade (gasoline) ............................ 280
Important safety notes ..................280
Problem (malfunction) ...................131
Refueling ........................................ 129
Tank content/reserve fuel .............280
Fuel filler flap, opening/closing ....... 129
Fuel level Calling up the range (on-board
computer) ...................................... 153
Fuel tank
Capacity ........................................ 280
Problem (malfunction) ...................131
Fuse box
Front-passenger footwell ...............245
Rear compartment .........................245
Fuses
Allocation chart ............................. 245
Before changing ............................. 245
Important safety notes ..................2448
Index
Page 16 of 292
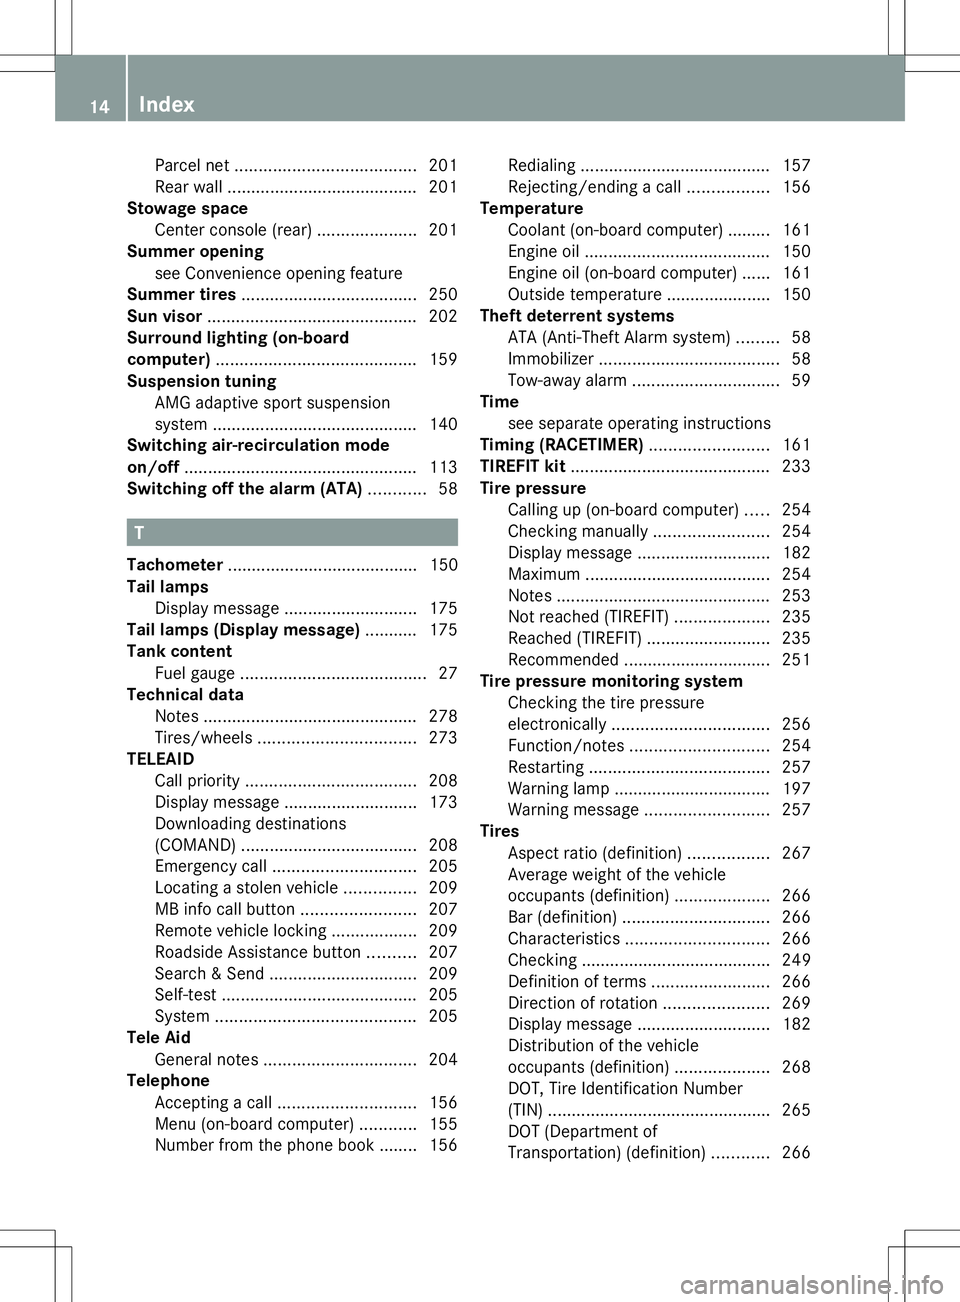
Parcel net
...................................... 201
Rear wall ........................................ 201
Stowage space
Center console (rear) .....................201
Summer opening
see Convenience opening feature
Summer tires ..................................... 250
Sun visor ............................................ 202
Surround lighting (on-board
computer) .......................................... 159
Suspension tuning AMG adaptive sport suspension
system ........................................... 140
Switching air-recirculation mode
on/off ................................................. 113
Switching off the alarm (ATA) ............58 T
Tachometer ........................................ 150
Tail lamps Display message ............................ 175
Tail lamps (Display message) ........... 175
Tank content Fuel gauge ....................................... 27
Technical data
Notes ............................................. 278
Tires/wheels ................................. 273
TELEAID
Call priority .................................... 208
Display message ............................ 173
Downloading destinations
(COMAND) ..................................... 208
Emergency call .............................. 205
Locating a stolen vehicle ...............209
MB info call button ........................207
Remote vehicle locking ..................209
Roadside Assistance button ..........207
Search & Send ............................... 209
Self-test ......................................... 205
System .......................................... 205
Tele Aid
General notes ................................ 204
Telephone
Accepting a call ............................. 156
Menu (on-board computer) ............155
Number from the phone book ....... .156 Redialing
........................................ 157
Rejecting/ending a call .................156
Temperature
Coolant (on-board computer) ......... 161
Engine oil ....................................... 150
Engine oil (on-board computer) ...... 161
Outside temperature ..................... .150
Theft deterrent systems
ATA (Anti-Theft Alarm system) .........58
Immobilizer ...................................... 58
Tow-away alarm ............................... 59
Time
see separate operating instructions
Timing (RACETIMER) .........................161
TIREFIT kit .......................................... 233
Tire pressure Calling up (on-board computer) .....254
Checking manually ........................254
Display message ............................ 182
Maximum ....................................... 254
Notes ............................................. 253
Not reached (TIREFIT) ....................235
Reached (TIREFIT) ..........................235
Recommended ............................... 251
Tire pressure monitoring system
Checking the tire pressure
electronically ................................. 256
Function/notes ............................. 254
Restarting ...................................... 257
Warning lamp ................................. 197
Warning message .......................... 257
Tires
Aspect ratio (definition) .................267
Average weight of the vehicle
occupants (definition) ....................266
Bar (definition) ............................... 266
Characteristics .............................. 266
Checking ........................................ 249
Definition of terms .........................266
Direction of rotatio n...................... 269
Display message ............................ 182
Distribution of the vehicle
occupants (definition) ....................268
DOT, Tire Identification Number
(TIN) .............................................. .265
DOT (Department of
Transportation) (definition) ............266 14
Index
Page 39 of 292
SRS (Supplemental Restraint System)
Introduction SRS reduces the risk of occupants coming
into contact with the vehicle's interior in the
event of an accident. It can also reduce the
effect of the forces to which occupants are
subjected during an accident.
SRS consists of:
R 6 SRS warning lamp
R air bags
R air bag control unit (with crash sensors)
R Emergency Tensioning Devices
R seat belt force limiters
SRS warning lamp G
WARNING
If SRS is malfunctioning, child restraint
system components may be triggered
unintentionally or might not be triggered at all
in the event of an accident with a high rate of
vehicle deceleration. There is an increased
risk of injury, possibly even fatal.
Have SRS checked and repaired immediately
at a qualified specialist workshop.
SRS functions are checked regularly when
you switch on the ignition and when the
engine is running. Therefore, malfunctions
can be detected in good time.
The 6 SRS warning lamp in the instrument
cluster lights up when the ignition is switched
on. It goes out no later than a few seconds
after the engine is started.
The SRS components are in operational
readiness when the 6SRS indicator lamp
goes out while the engine is running. There is a malfunction if:
R
the 6 SRS warning lamp does not light
up when the ignition is switched on
R the engine is running and the 6SRS
warning lamp does not go out after a few
seconds
R the engine is running and the 6SRS
warning lamp lights up again
Safety guidelines for seat belts,
Emergency Tensioning Devices (ETDs)
and air bags G
WARNING
R Damaged seat belts or seat belts that have
been subjected to stress in an accident
must be replaced. Their anchoring points
must also be checked. Only use seat belts
installed or supplied by an authorized
Mercedes-Benz Center.
R Air bags and pyrotechnic Emergency
Tensioning Devices (ETDs) contain
perchlorate material, which may require
special handling and regard for the
environment. Check your national disposal
guidelines. California residents, see
www.dtsc.ca.gov/HazardousWaste/
Perchlorate/index.cfm .
R Air bags and ETDs are designed to function
on a one-time-only basis. An air bag or ETD
that has deployed must be replaced.
R Do not pass seat belts over sharp edges.
They could tear.
R Do not make any modification that could
change the effectiveness of the seat belts.
R Do not bleach or dye seat belts as this may
severely weaken them. In a crash they may
not be able to provide adequate protection.
R No modifications of any kind may be made
to any components or wiring of the SRS.
R Do not change or remove any component
or part of the SRS.
R Do not install additional trim material, seat
covers, badges, etc. over the steering
wheel hub, front-passenger front air bag Occupant safety
37Safety
Z
Page 57 of 292
on the ABS warning lamp (Y
page 192) and
display messages which may be shown in the
instrument cluster (Y page 165).
ABS regulates brake pressure in such a way
that the wheels do not lock when you brake.
This allows you to continue steering the
vehicle when braking.
ABS works from a speed of about
5 mph(8 km/h) upwards, regardless of road-
surface conditions. ABS works on slippery
surfaces, even if you only brake gently.
The ! warning lamp in the instrument
cluster lights up when the ignition is switched
on. It goes out when the engine is running.
Braking X
If ABS intervenes: continue to depress the
brake pedal vigorously until the braking
situation is over.
X To make a full brake application:
depress the brake pedal with full force.
If ABS intervenes when braking, you will feel
a pulsing in the brake pedal.
The pulsating brake pedal can be an
indication of hazardous road conditions, and
functions as a reminder to take extra care
while driving. BAS (Brake Assist System)
i Observe the "Important safety notes"
section (Y page 54). G
WARNING
If BAS is malfunctioning, the braking distance
in an emergency braking situation is
increased. There is a risk of an accident.
In an emergency braking situation, depress
the brake pedal with full force. ABS prevents
the wheels from locking.
BAS operates in emergency braking
situations. If you depress the brake pedal
quickly, BAS automatically boosts the braking
force, thus shortening the stopping distance. The brakes will function as usual once you
release the brake pedal. BAS is deactivated. ESP
®
(Electronic Stability Program)
General notes i
Observe the "Important safety notes"
section (Y page 54).
ESP ®
monitors driving stability and traction,
i.e. power transmission between the tires and
the road surface.
If ESP ®
detects that the vehicle is deviating
from the direction desired by the driver, one
or more wheels are braked to stabilize the
vehicle. The engine output is also modified to
keep the vehicle on the desired course within
physical limits. ESP ®
assists the driver when
pulling away on wet or slippery roads. ESP ®
can also stabilize the vehicle during braking.
ETS (Electronic Traction System) i
Observe the "Important safety notes"
section (Y page 54).
Traction control is part of ESP ®
.
Traction control brakes the drive wheels
individually if they spin. This enables you to
pull away and accelerate on slippery surfaces,
for example if the road surface is slippery on
one side.
Traction control remains active, even if you
deactivate ESP ®
.
Important safety notes G
WARNING
If ESP ®
is malfunctioning, ESP ®
is unable to
stabilize the vehicle. Additionally, further
driving safety systems are deactivated. This
increases the risk of skidding and an accident.
Drive on carefully. Have ESP ®
checked at a
qualified specialist workshop. Driving safety systems
55Safety Z
Page 65 of 292
G
WARNING
When leaving the vehicle, always remove the
SmartKey from the ignition lock. Always take
the SmartKey with you and lock the vehicle.
Do not leave children unsupervised in the
vehicle, even if they are secured in a child
restraint system, and do not give them access
to an unlocked vehicle. A child's unsupervised
access to a vehicle could result in an accident
and/or serious personal injury. They could:
R injure themselves on vehicle parts
R be seriously or fatally injured by extreme
heat or cold
R injure themselves or have an accident with
vehicle equipment that may still be in
operation even after the SmartKey has
been removed from the ignition, such as the
seat adjustment, steering wheel
adjustment or memory function.
If children open a door, they could cause
severe or even fatal injury to other persons; if
they get out of the vehicle, they could injure
themselves when doing so or be seriously or
even fatally injured by any passing traffic.
Do not expose the child restraint system to
direct sunlight. The child restraint system's
metal parts, for example, could become very
hot, and a child could be burned on these
parts. G
WARNING
If you attach heavy or large objects to the
SmartKey, the SmartKey could be
unintentionally turned in the ignition lock. This
could cause the engine to be switched off.
There is a risk of an accident.
Do not attach any heavy or large objects to
the SmartKey. Remove any bulky key rings
before inserting the SmartKey into the
ignition lock.
! Keep the SmartKey away from strong
magnetic fields. Otherwise, the remote
control function could be affected.
Strong magnetic fields can occur in the
vicinity of powerful electrical installations. :
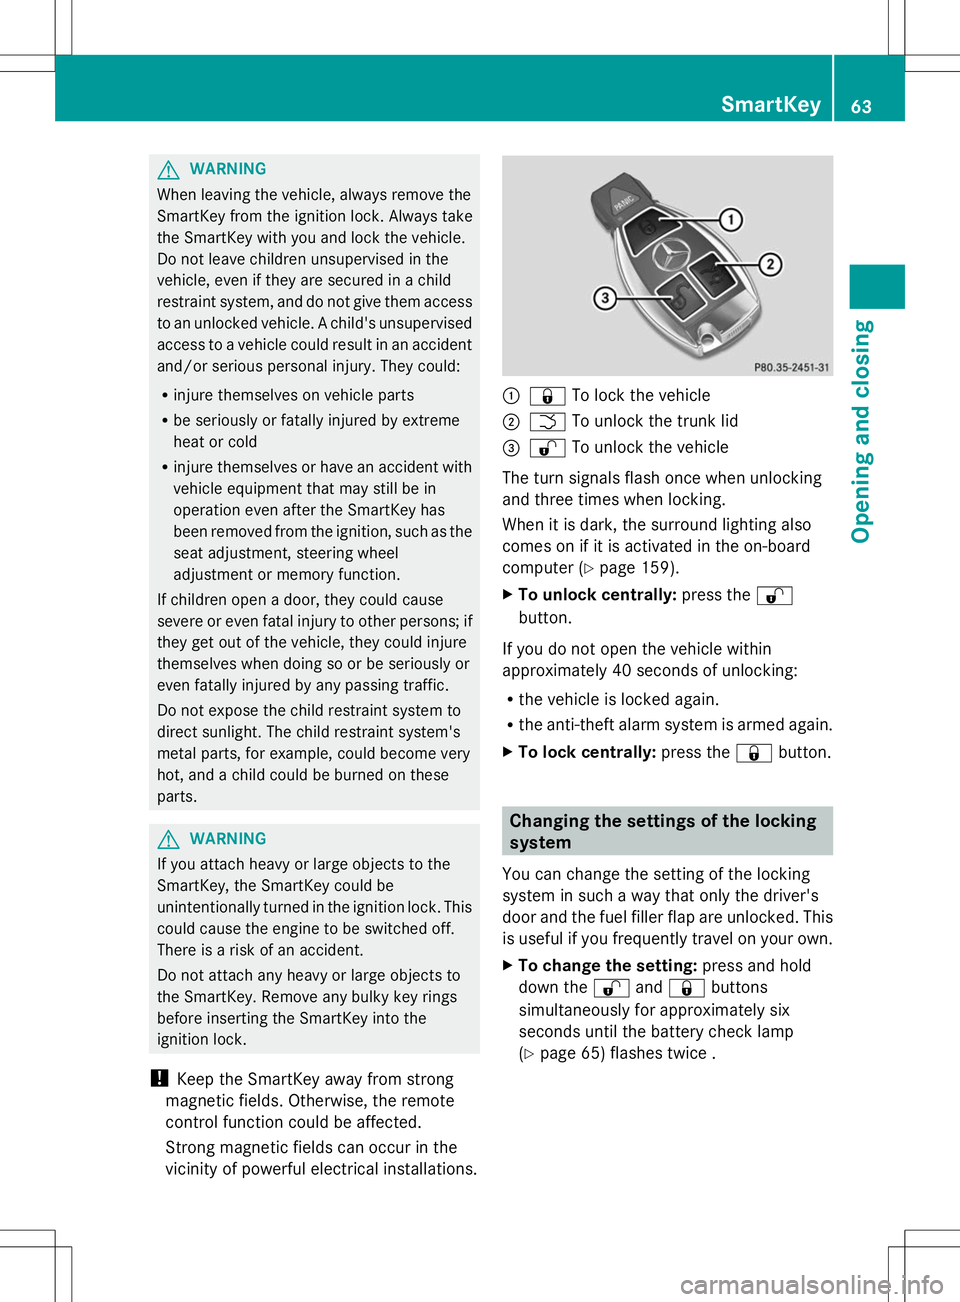
& To lock the vehicle
; F To unlock the trunk lid
= % To unlock the vehicle
The turn signals flash once when unlocking
and three times when locking.
When it is dark, the surround lighting also
comes on if it is activated in the on-board
computer (Y page 159).
X To unlock centrally: press the%
button.
If you do not open the vehicle within
approximately 40 seconds of unlocking:
R the vehicle is locked again.
R the anti-theft alarm system is armed again.
X To lock centrally: press the&button. Changing the settings of the locking
system
You can change the setting of the locking
system in such a way that only the driver's
door and the fuel filler flap are unlocked. This
is useful if you frequently travel on your own.
X To change the setting: press and hold
down the %and& buttons
simultaneously for approximately six
seconds until the battery check lamp
(Y page 65) flashes twice . SmartKey
63Opening and closing Z
Page 69 of 292
Problem Possible causes/consequences and
M
MSolutions The engine cannot be
started using the
SmartKey. The on-board voltage is too low.
X
Switch off non-essential consumers, e.g. seat heating or interior
lighting, and try to start the engine again.
X Remove the SmartKey and reinsert it into the ignition lock.
X Start the engine within 30 seconds of inserting the SmartKey
into the ignition lock.
X Repeat if necessary.
If this does not work:
X Check the starter battery and charge it if necessary
(Y page 236).
or
X Jump-start the vehicle (Y page 240).
or
X Consult a qualified specialist workshop. The SmartKey cannot
be turned in the ignition
lock. The SmartKey has been in position
0for a considerable time.
X Remove the SmartKey and reinsert it into the ignition lock.
X Check the starter battery and charge it if necessary
(Y page 236).
X Start the engine. The on-board voltage is too low.
X
Switch off non-essential consumers, e.g. seat heating or interior
lighting, and try to turn the SmartKey again.
If this does not work:
X Check the starter battery and charge it if necessary
(Y page 236).
or
X Jump-start the vehicle (Y page 240).
or
X Consult a qualified specialist workshop. SmartKey
67Opening and closing Z
Page 101 of 292
only the turn signal lamp on the
corresponding side of the vehicle will flash.
X To switch off the hazard warning
lamps: press button :.
The hazard warning lamps switch off
automatically if the vehicle exceeds a speed
of 6 mph(10 km/h) again after a full brake
application.
i The hazard warning lamps still operate if
the ignition is switched off. Headlamp cleaning system
The headlamps are cleaned automatically if
the "Wipe with washer fluid" function is
operated five times (Y page 101) while the
lights are on and the engine is running. When
you switch off the ignition, the automatic
headlamp cleaning system is reset and
counting is resumed from 0. Headlamps fogged up on the inside
The headlamps may fog up on the inside if
there is high atmospheric humidity.
X Drive with the headlamps switched on.
The level of moisture diminishes,
depending on the length of the journey and
the weather conditions (humidity and
temperature).
If the level of moisture does not diminish:
X Have the headlamps checked at a qualified
specialist workshop. Interior lighting
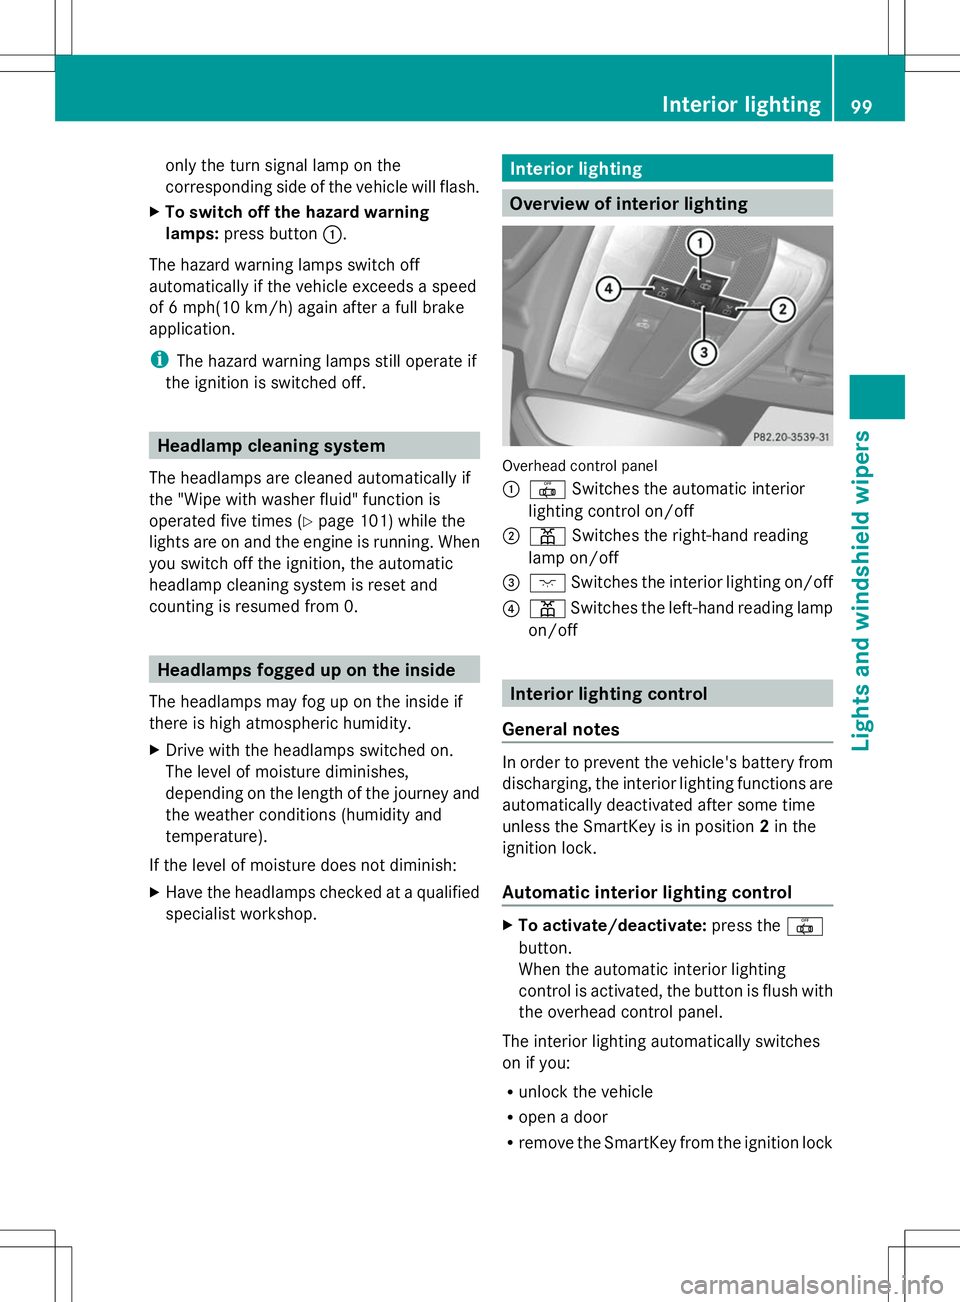
Overview of interior lighting
Overhead control panel
:
| Switches the automatic interior
lighting control on/off
; p Switches the right-hand reading
lamp on/off
= c Switches the interior lighting on/off
? p Switches the left-hand reading lamp
on/off Interior lighting control
General notes In order to prevent the vehicle's battery from
discharging, the interior lighting functions are
automatically deactivated after some time
unless the SmartKey is in position
2in the
ignition lock.
Automatic interior lighting control X
To activate/deactivate: press the|
button.
When the automatic interior lighting
control is activated, the button is flush with
the overhead control panel.
The interior lighting automatically switches
on if you:
R unlock the vehicle
R open a door
R remove the SmartKey from the ignition lock Interior lighting
99Lights and windshield wipers Z
Page 102 of 292
The interior light is activated for a short while
when the SmartKey is removed from the
ignition lock. You can activate this delayed
switch-off using the on-board computer
(Y page 159).
Manual interior lighting control X
To switch the interior lighting on/off:
press the cbutton.
X To switch the reading lamps on/off:
press the pbutton. Crash-responsive emergency lighting
The interior lighting is activated automatically
if the vehicle is involved in an accident.
X To switch off the crash-responsive
emergency lighting: press the hazard
warning lamp button.
or
X Lock and then unlock the vehicle using the
key. Replacing bulbs
Important safety notes
Xenon bulbs G
DANGER
Xenon bulbs carry a high voltage. You can get
an electric shock if you remove the cover of
the Xenon bulb and touch the electrical
contacts. There is a risk of fatal injury.
Never touch the parts or the electrical
contacts of the Xenon bulb. Always have work
on the Xenon bulbs carried out at a qualified
specialist workshop.
If your vehicle is equipped with Xenon bulbs,
you can recognize this by the following: the
cone of light from the Xenon bulbs moves
from the top to the bottom and back again
when you start the engine. For this to be observed, the lights must be switched on
before starting the engine.
Bulbs and lamps are an important aspect of
vehicle safety. You must therefore make sure
that these function correctly at all times.
Have the headlamp setting checked regularly.
Other bulbs
G
WARNING
Bulbs, lamps and connectors can get very hot
when operating. If you change a bulb, you
could burn yourself on these components.
There is a risk of injury.
Allow these components to cool down before
changing a bulb.
There are bulbs other than the Xenon bulbs
that you cannot replace. Replace only the
bulbs listed (Y page 101). Have the bulbs that
you cannot replace yourself changed at a
qualified specialist workshop.
If you require assistance changing bulbs,
consult a qualified specialist workshop.
Do not touch the glass tube of new bulbs with
your bare hands. Even minor contamination
can burn into the glass surface and reduce
the service life of the bulbs. Always use a lint-
free cloth or only touch the base of the bulb
when installing.
Only use bulbs of the correct type.
If the new bulb still does not light up, consult
a qualified specialist workshop.
Bulbs and lamps are an important aspect of
vehicle safety. You must therefore make sure
that these function correctly at all times.
Have the headlamp setting checked regularly. Changing the front bulbs
You cannot replace the bulbs at the front
yourself. Contact a qualified specialist
workshop which has the necessary specialist
knowledge and tools to carry out the work
required. Mercedes-Benz recommends that 100
Replacing bulbsLights and windshield wipers