rear view mirror MERCEDES-BENZ SPRINTER 2017 MY17 Operator’s Manual
[x] Cancel search | Manufacturer: MERCEDES-BENZ, Model Year: 2017, Model line: SPRINTER, Model: MERCEDES-BENZ SPRINTER 2017Pages: 286, PDF Size: 4.36 MB
Page 4 of 286
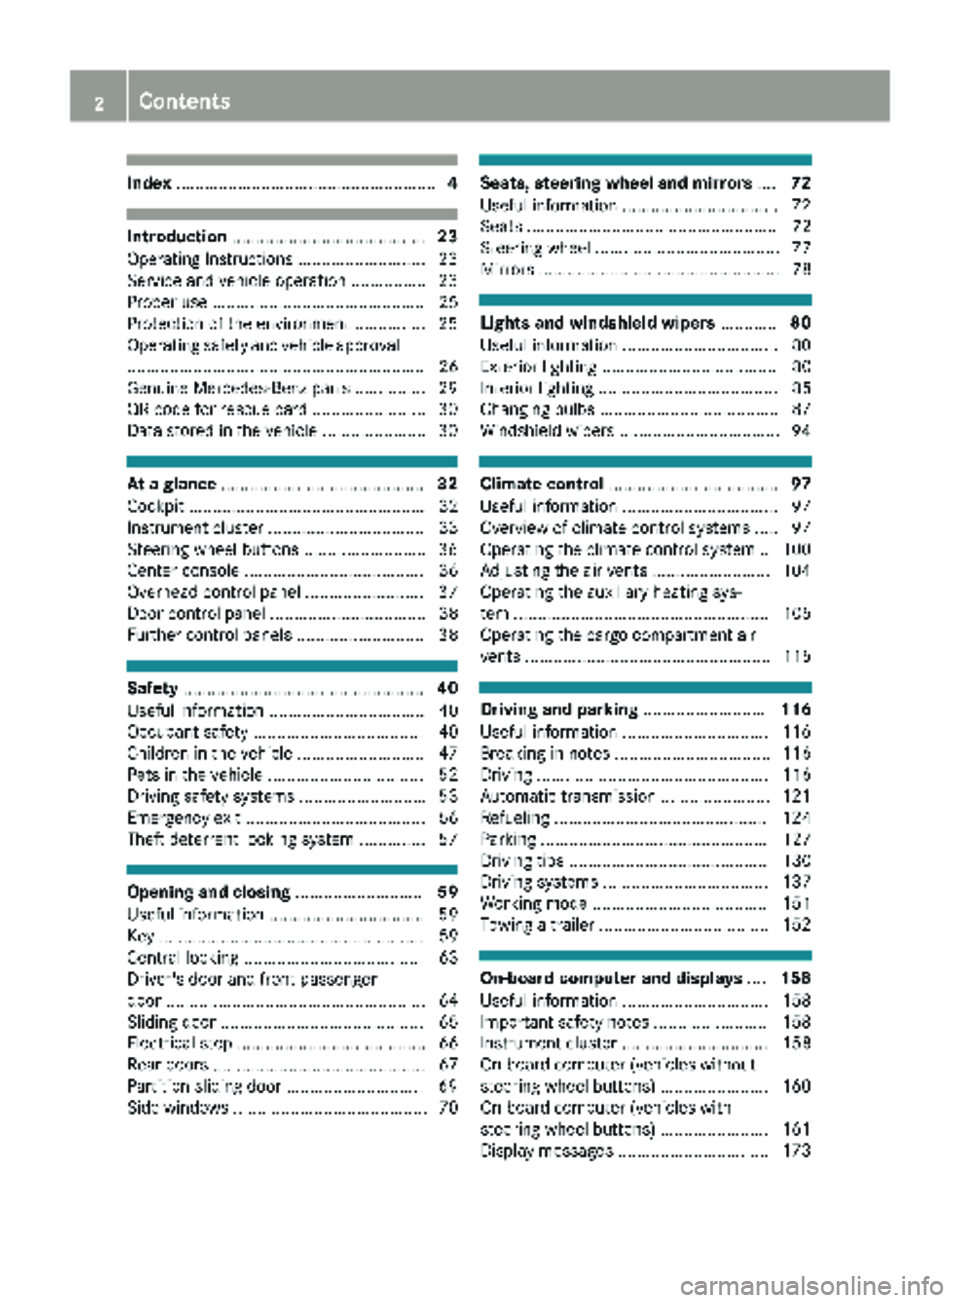
Index....................................................... 4
Introduction......................................... 23
Operating Instructions .......................... .23
Service and vehicle operation ................ 23
Proper use ............................................. 25
Protection of the environment ............... 25
Operating safety and vehicle approval
............................................................... 26
Genuine Mercedes-Benz parts ............... 29
QR code for rescue card ........................ 30
Data stored in the vehicle ...................... 30
At a glance ........................................... 32
Cockpit .................................................. 32
Instrument cluster ................................. 33
Steering wheel buttons .......................... 36
Center console ...................................... 36
Overhead control panel ......................... 37
Door control panel ................................. 38
Further control panels ........................... 38
Safety ................................................... 40
Useful information ................................. 40
Occupant safety .................................... 40
Children in the vehicle ........................... 47
Pets in the vehicle ................................. 52
Driving safety systems ........................... 53
Emergency exit ...................................... 56
Theft deterrent locking system .............. 57
Opening and closing ...........................59
Useful information ................................. 59
Key ........................................................ 59
Central locking ...................................... 63
Driver's door and front passenger
door ....................................................... 64
Sliding door ........................................... 65
Electrical step ........................................ 66
Rear doors ............................................. 67
Partition sliding door ............................. 69
Side windows ......................................... 70
Seats, steering wheel and mirrors ....72
Useful information ................................. 72
Seats ..................................................... 72
Steering wheel ....................................... 77
Mirrors ................................................... 78
Lights and windshield wipers ............80
Useful information ................................. 80
Exterior lighting ..................................... 80
Interior lighting ...................................... 85
Changing bulbs ...................................... 87
Windshield wipers .................................. 94
Climate control .................................... 97
Useful information ................................. 97
Overview of climate control systems ..... 97
Operating the climate control system .. 100
Adjusting the air vents ......................... 104
Operating the auxiliary heating sys-
tem ...................................................... 105
Operating the cargo compartment air
vents .................................................... 115
Driving and parking ..........................116
Useful information ............................... 116
Breaking-in notes ................................. 116
Driving ................................................. 116
Automatic transmission ....................... 121
Refueling ............................................. 124
Parking ................................................ 127
Driving tips .......................................... 130
Driving systems ................................... 137
Working mode ..................................... 151
Towing a trailer .................................... 152
On-board computer and displays ....158
Useful information ............................... 158
Important safety notes ........................ 158
Instrument cluster ............................... 158
On-board computer (vehicles without
steering wheel buttons) ....................... 160
On-board computer (vehicles with
steering wheel buttons) ....................... 161
Display messages ................................ 173
2Contents
Page 9 of 286
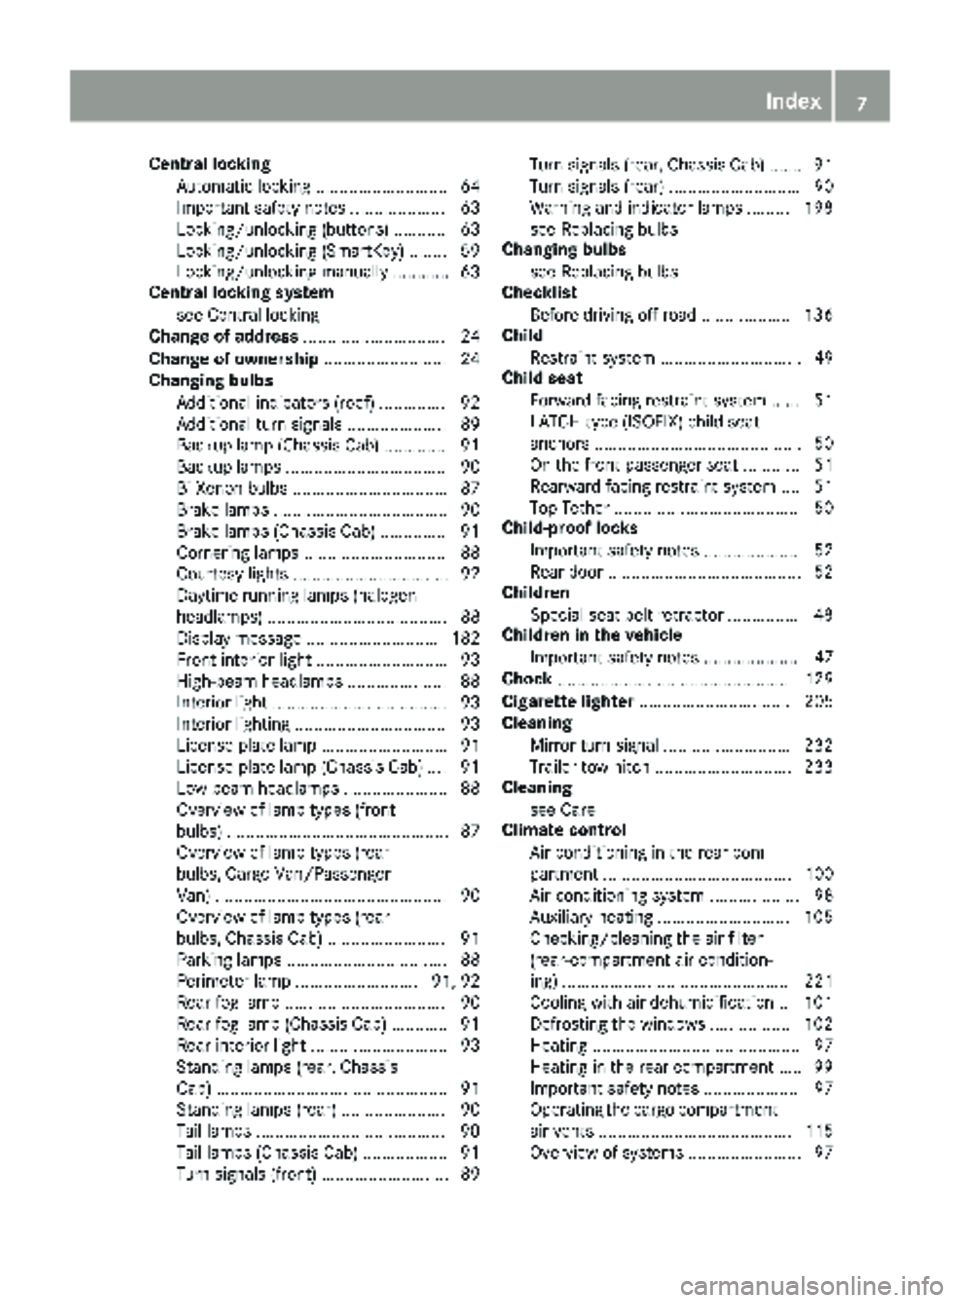
Central lockingAutomatic locking ............................ 64
Important safety notes .................... 63
Locking/unlocking (buttons) ........... 63
Locking/unlocking (SmartKey) ........ 59
Locking/unlocking manually ............ 63
Central locking system
see Central locking
Change of address .............................. 24
Change of ownership .......................... 24
Changing bulbs
Additional indicators (roof) .............. 92
Additional turn signals ..................... 89
Backup lamp (Chassis Cab) ............. 91
Backup lamps .................................. 90
Bi-Xenon bulbs ................................. 87
Brake lamps ..................................... 90
Brake lamps (Chassis Cab) .............. 91
Cornering lamps .............................. 88
Courtesy lights ................................. 92
Daytime running lamps (halogen
headlamps) ...................................... 88
Display message ............................ 182
Front interior light ............................ 93
High-beam headlamps ..................... 88
Interior light ..................................... 93
Interior lighting ................................ 93
License plate lamp ........................... 91
License plate lamp (Chassis Cab) .... 91
Low-beam headlamps ...................... 88
Overview of lamp types (front
bulbs) ............................................... 87
Overview of lamp types (rear
bulbs, Cargo Van/Passenger
Van) ................................................. 90
Overview of lamp types (rear
bulbs, Chassis Cab) ......................... 91
Parking lamps .................................. 88
Perimeter lamp .......................... 91, 92
Rear fog lamp .................................. 90
Rear fog lamp (Chassis Cab) ............ 91
Rear interior light ............................. 93
Standing lamps (rear, Chassis
Cab) ................................................. 91
Standing lamps (rear) ...................... 90
Tail lamps ........................................ 90
T
ail lamps (Chassis Cab) .................. 91
Turn signals (front) ........................... 89 Turn signals (rear, Chassis Cab) ....... 91
Turn signals (rear) ............................ 90
Warning and indicator lamps ......... 198
see Replacing bulbs
Changing bulbs
see Replacing bulbs
Checklist
Before driving off-road ................... 136
Child
Restraint system .............................. 49
Child seat
Forward-facing restraint system ...... 51
LATCH-type (ISOFIX) child seat
anchors ............................................ 50
On the front-passenger seat ............ 51
Rearward-facing restraint system .... 51
Top Tether ....................................... 50
Child-proof locks
Important safety notes .................... 52
Rear door ......................................... 52
Children
Special seat belt retractor ............... 48
Children in the vehicle
Important safety notes .................... 47
Chock ................................................. 129
Cigarette lighter ................................ 205
Cleaning
Mirror turn signal ........................... 232
Trailer tow hitch ............................. 233
Cleaning
see Care
Climate control
Air conditioning in the rear com-
partment ........................................ 100
Air-conditioning system ................... 98
Auxiliary heating ............................ 105
Checking/cleaning the air filter
(rear-compartment air condition-
ing) ................................................ 221
Cooling with air dehumidification .. 101
Defrosting the windows ................. 102
Heating ............................................ 97
Heating in the rear compartment ..... 99
Important safety notes .................... 97
Operating the cargo compartment
air vents ......................................... 115
Overview of systems ........................ 97
Index7
Page 16 of 286
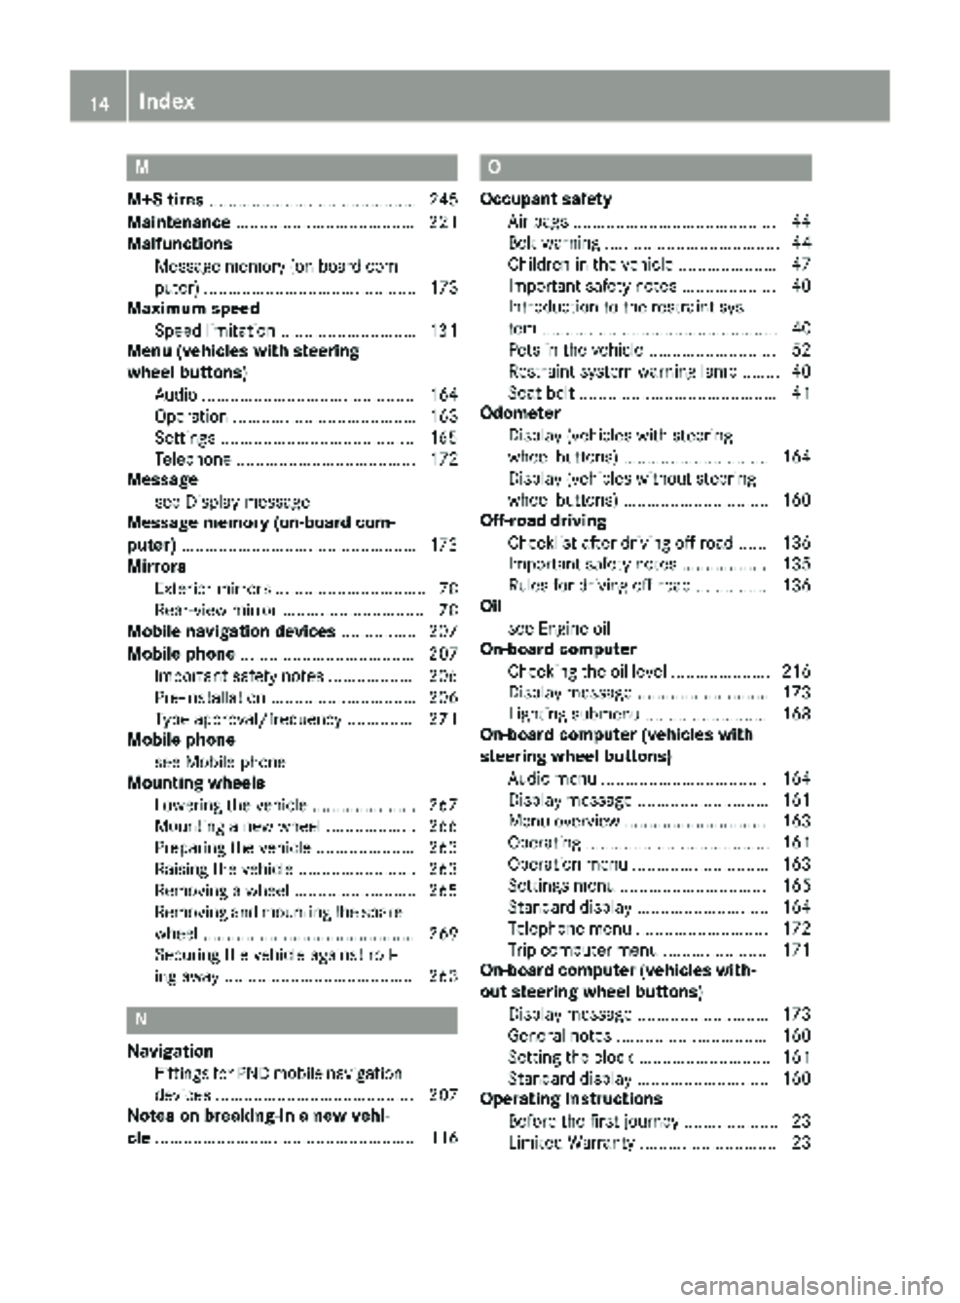
M
M+S tires............................................ 245
Maintenance ...................................... 221
Malfunctions
Message memory (on-board com-
puter) ............................................. 173
Maximum speed
Speed limitation ............................. 131
Menu (vehicles with steering
wheel buttons)
Audio ............................................. 164
Operation ....................................... 163
Settings .........................................1 65
Telephone ...................................... 172
Message
see Display message
Message memory (on-board com-
puter) ..................................................1 73
Mirrors
Exterior mirrors ................................ 78
Rear-view mirror .............................. 78
Mobile navigation devices ................ 207
Mobile phone ..................................... 207
Important safety notes .................. 206
Pre-installation ............................... 206
Type approval/frequency .............. 271
Mobile phone
see Mobile phone
Mounting wheels
Lowering the vehicle ......................2 67
Mounting a new wheel ................... 266
Preparing the vehicle ..................... 263
Raising the vehicle ......................... 263
Removing a wheel .......................... 265
Removing and mounting the spare wheel ............................................. 269
Securing the vehicle against roll-
ing away ........................................ 263
N
Navigation
Fittings for PND mobile navigation
devices .......................................... 207
Notes on breaking-in a new vehi-
cle ....................................................... 116
O
Occupant safety
Air bags ...........................................4 4
Belt warning ..................................... 44
Children in the vehicle ..................... 47
Important safety notes ....................4 0
Introduction to the restraint sys-
tem .................................................. 40
Pets in the vehicle ........................... 52
Restraint system warning lamp ........ 40
Seat belt .......................................... 41
Odometer
Display (vehicles with steering
wheel buttons) ............................... 164
Display (vehicles without steering
wheel buttons) ............................... 160
Off-road driving
Checklist after driving off-road ...... 136
Important safety notes .................. 135
Rules for driving off-road ............... 136
Oil
see Engine oil
On-board computer
Checking the oil level .....................2 16
Display message ............................ 173
Lighting submenu .......................... 168
On-board computer (vehicles with
steering wheel buttons)
Audio menu ................................... 164
Display message ............................ 161
Menu overview .............................. 163
Operating ....................................... 161
Operation menu .............................1 63
Settings menu ............................... 165
Standard display ............................ 164
Telephone menu ............................ 172
Trip computer menu ......................1 71
On-board computer (vehicles with-
out steering wheel buttons)
Display message ............................ 173
General notes ................................ 160
Setting the clock ............................ 161
Standard display ............................ 160
Operating Instructions
Before the first journey .................... 23
Limited Warranty .............................2 3
14Index
Page 18 of 286
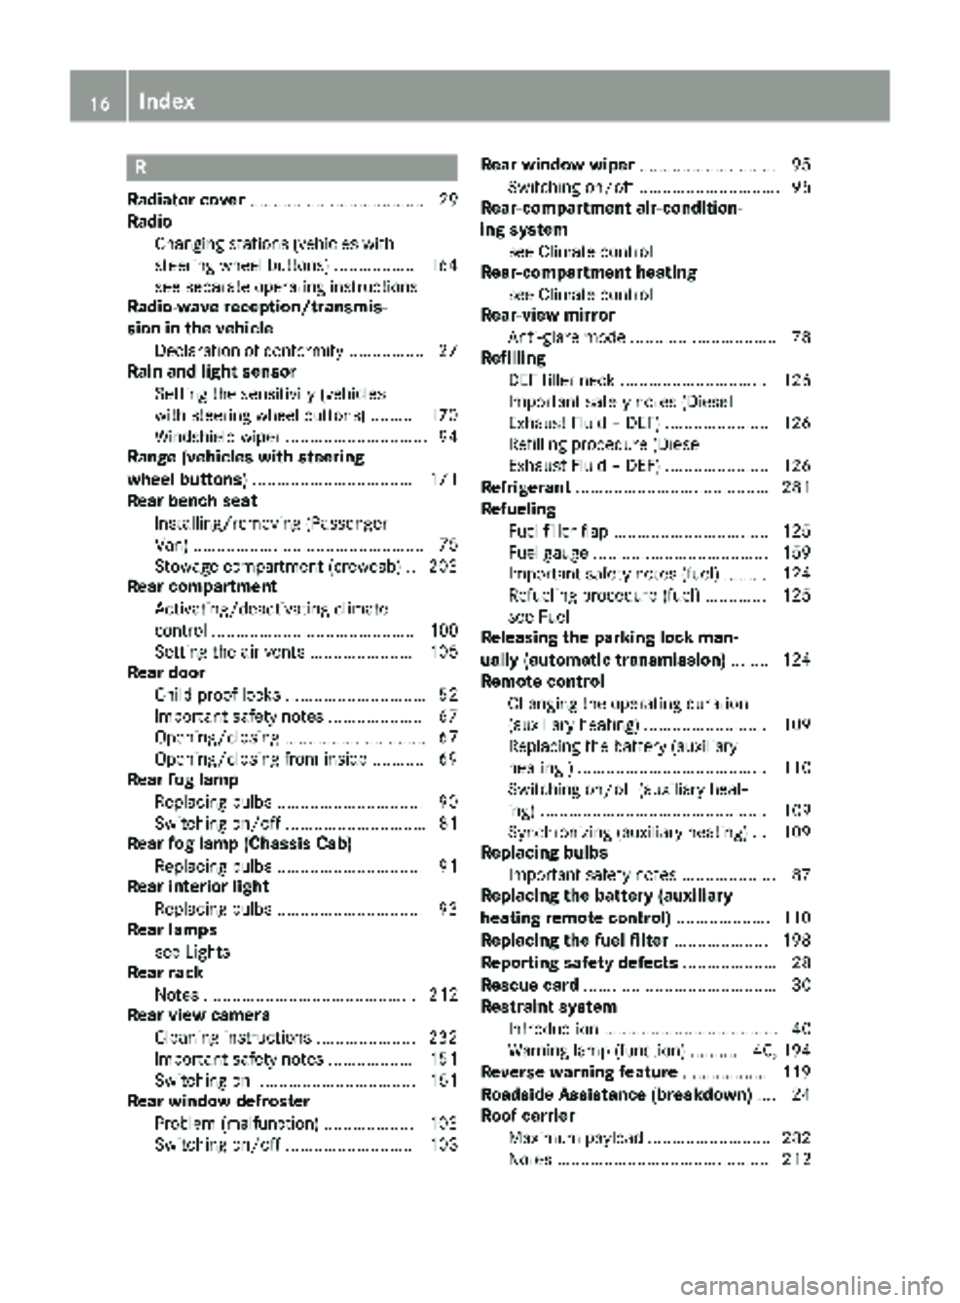
R
Radiator cover..................................... 29
Radio
Changing stations (vehicles with
steering wheel buttons) ................. 164
see separate operating instructions
Radio-wave reception/transmis-
sion in the vehicle
Declaration of conformity ................ 27
Rain and light sensor
Setting the sensitivity (vehicles
with steering wheel buttons) ......... 170
Windshield wiper .............................. 94
Range (vehicles with steering
wheel buttons) .................................. 171
Rear bench seat
Installing/removing (Passenger
Van) ................................................. 75
Stowage compartment (crewcab) .. 203
Rear compartment
Activating/deactivating climate
control ........................................... 100
Setting the air vents ...................... 105
Rear door
Child-proof locks .............................. 52
Important safety notes .................... 67
Opening/closing .............................. 67
Opening/closing from inside ........... 69
Rear fog lamp
Replacing bulbs ............................... 90
Switching on/off .............................. 81
Rear fog lamp (Chassis Cab)
Replacing bulbs ............................... 91
Rear interior light
Replacing bulbs ............................... 93
Rear lamps
see Lights
Rear rack
Notes ............................................. 212
Rear view camera
Cleaning instructions ..................... 232
Important safety notes .................. 151
Switching on .................................. 151
Rear window defroster
Problem (malfunction) ................... 103
Switching on/off ........................... 103 Rear window wiper
............................. 95
Switching on/off .............................. 95
Rear-compartment air-condition-
ing system
see Climate control
Rear-compartment heating
see Climate control
Rear-view mirror
Anti-glare mode ............................... 78
Refilling
DEF filler neck ............................... 126
Important safety notes (Diesel
Exhaust Fluid – DEF) ...................... 126
Refilling procedure (Diesel
Exhaust Flu id – DEF) ...................... 126
Re
frigerant ......................................... 281
Refueling
Fuel filler flap ................................. 125
Fuel gauge ..................................... 159
Important safety notes (fuel) ......... 124
Refueling procedure (fuel) ............. 125
see Fuel
Releasing the parking lock man-
ually (automatic transmission) ........ 124
Remote control
Changing the operating duration
(auxiliary heating) .......................... 109
Replacing the battery (auxiliary
heating ) ........................................ 110
Switching on/off (auxiliary heat-
ing) ................................................ 109
Synchronizing (auxiliary heating) ... 109
Replacing bulbs
Important safety notes .................... 87
Replacing the battery (auxiliary
heating remote control) .................... 110
Replacing the fuel filter .................... 198
Reporting safety defects .................... 28
Rescue card ......................................... 30
Restraint system
Introduction ..................................... 40
Warning lamp (function) .......... 40, 194
Reverse warning feature .................. 119
Roadside Assistance (breakdown) .... 24
Roof carrier
Maximum payload .......................... 282
Notes ............................................. 212
16Index
Page 34 of 286
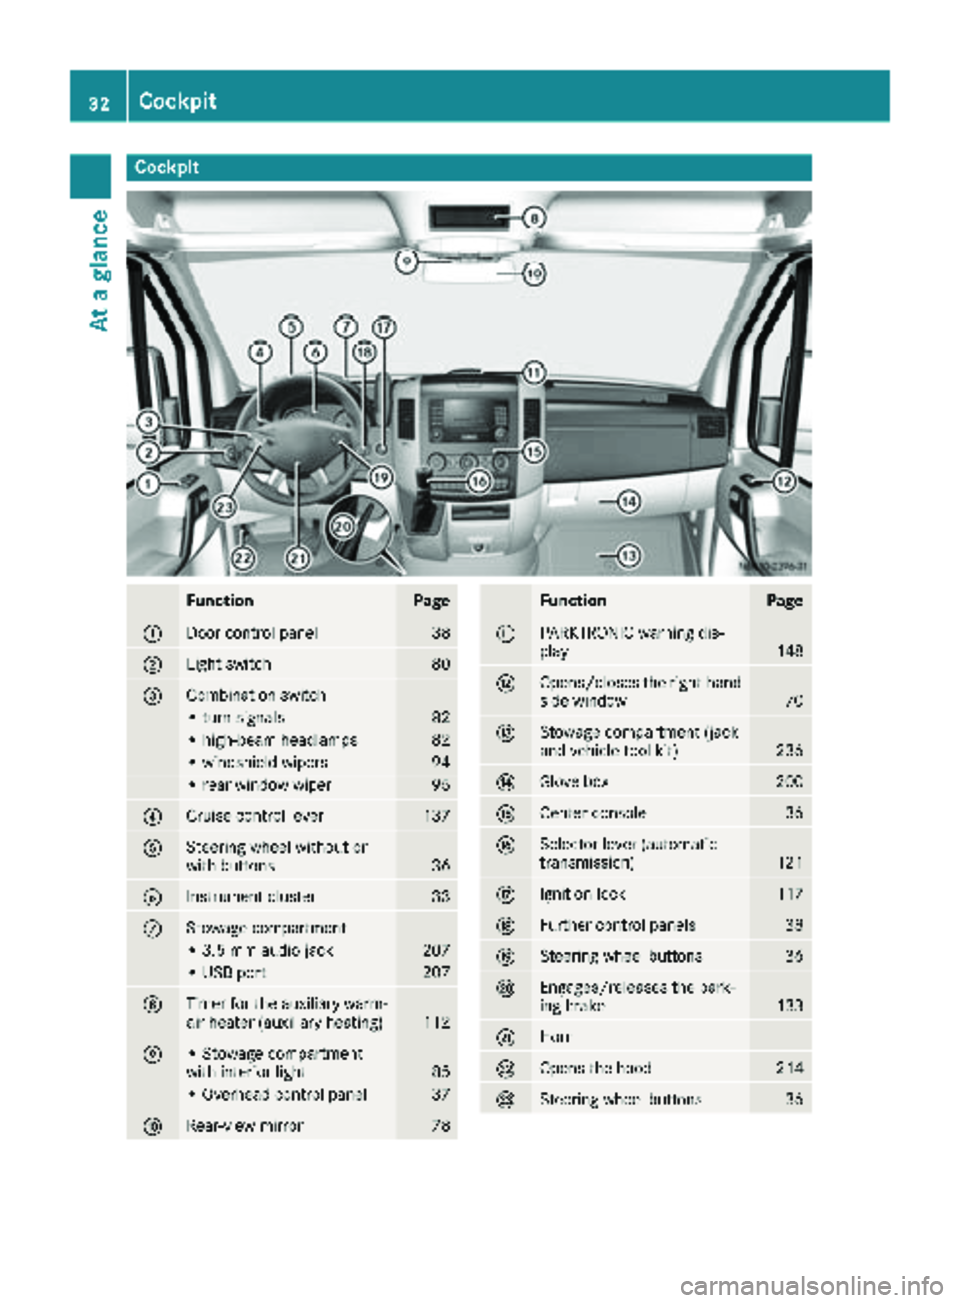
Cockpit
FunctionPage
:Door control panel38
;Light switch80
=Combination switch
• turn signals82
• high-beam headlamps82
• windshield wipers94
• rear window wiper95
?Cruise control lever137
ASteering wheel without or
with buttons36
BInstrument cluster33
CStowage compartment
• 3.5 mm audio jack207
• USB port207
DTimer for the auxiliary warm-
air heater (auxiliary heating)112
E• Stowage compartment
with interior light85
• Overhead control panel37
FRear-view mirror78
FunctionPage
GPARKTRONIC warning dis-
play148
HOpens/closes the right-hand
side window70
IStowage compartment (jack
and vehicle tool kit)236
JGlove box200
KCenter console36
LSelector lever (automatic
transmission)121
MIgnition lock117
NFurther control panels38
OSteering wheel buttons36
PEngages/releases the park-
ing brake133
QHorn
ROpens the hood214
SSteering wheel buttons36
32Cockpit
At a glance
Page 60 of 286
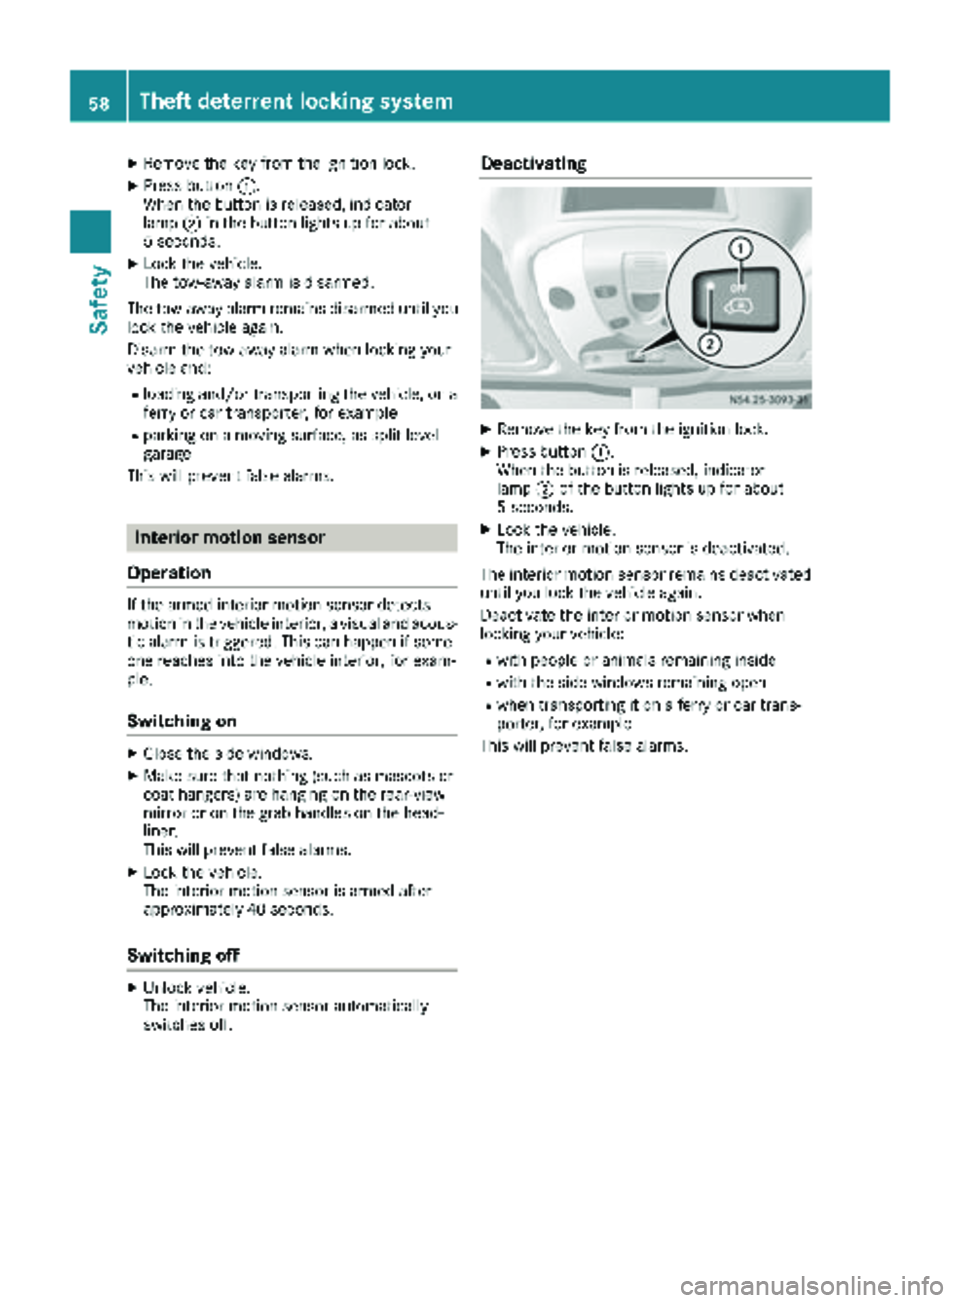
XRemove theke yfrom th eignition lock.
XPress butto n:.
When th ebutto nis released, indicator
lamp ;in th ebutto nlights up for about
5 seconds.
XLoc kth evehicle.
The tow-away alarm is disarmed .
The tow-away alarm remain sdisarmed until you
loc kth evehicl eagain .
Disar mthetow-away alarm when lockin gyour
vehicl eand :
Rloadin gand/o rtransporting th evehicle, on a
ferry or car transporter, for exampl e
Rparking onamoving surface, as split-level
garage
This will preven tfals ealarms.
Interior motion sensor
Operation
If th earmed interior motion sensor detects
motion in th evehicl einterior, avisual and acous-
ti c alarm is triggered .This can happe nif some-
on ereaches int oth evehicl einterior, for exam-
ple.
Switching on
XClose th eside windows .
XMakesur ethat nothing (suc has mascots or
coat hangers) are hangin gon th erear-view
mirror or on th egrab handles on th ehead-
liner.
This will preven tfals ealarms.
XLoc kth evehicle.
The interior motion sensor is armed after
approximately 40 seconds.
Switching off
XUnloc kvehicle.
The interior motion sensor automatically
switches off .
Deactivating
XRemove theke yfrom th eignition lock.
XPress butto n:.
When th ebutto nis released, indicator
lamp ;of th ebutto nlights up for about
5 seconds.
XLoc kth evehicle.
The interior motion sensor is deactivated.
The interior motion sensor remain sdeactivated
until you loc kth evehicl eagain .
Deactivat eth einterior motion sensor when
lockin gyour vehicle:
Rwit hpeople or animals remaining inside
Rwit hth eside windows remaining open
Rwhen transporting it on aferry or car trans -
porter, for exampl e
This will preven tfals ealarms.
58Theft deterrent locking system
Safety
Page 78 of 286
XTo install the rear bench seat:observe the
prescribed installation position of the bench
seat.
Install the two-seat bench seat only on the
driver's side.
XCheck mounting shells ;on the vehicle
floor.
XPosition the bench seat in the direction of
travel in corresponding mounting shells ;.
XSlide the bench seat forwards until you hear
the locking mechanisms engage.
XCheck levers:on the anchorages of the
bench seat.
All levers :must be flush to the vehicle floor.
Head restraints
GWARNING
If head restraints are not installed and adjus-
ted correctly, they cannot provide protection
as intended. There is an increased risk of
injury in the head and neck area, e.g. in the
event of an accident or when braking.
Always drive with the head restraints instal-
led. Before driving off, make sure for every
vehicle occupant that the center of the head
restraint supports the back of the head at
about eye level.
Do not change over the head restraints for the
front and rear seats. Otherwise, it will not be
possible to correctly adjust the height and angle
of the head restraints.
Adjust the head restraint so that it is as close as
possible to your head.
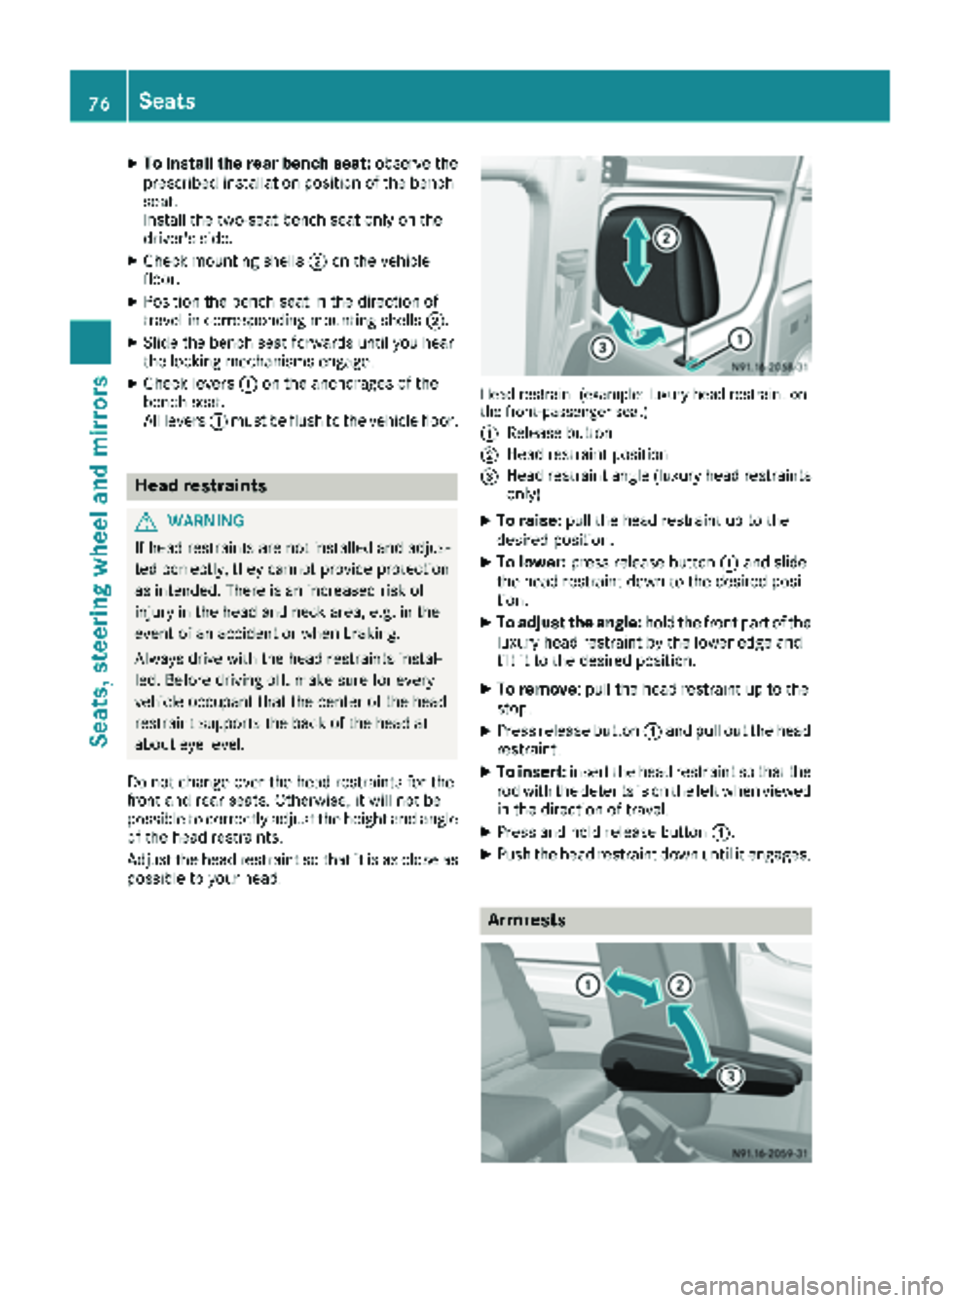
Head restraint (example: luxury head restraint on
the front-passenger seat)
:
Release button
;Head restraint position
=Head restraint angle (luxury head restraints only)
XTo raise: pull the head restraint up to the
desired position.
XTo lower: press release button :and slide
the head restraint down to the desired posi-
tion.
XTo adjust the angle: hold the front part of the
luxury head restraint by the lower edge and
tilt it to the desired position.
XTo remove: pull the head restraint up to the
stop.
XPress release button :and pull out the head
restraint.
XTo insert: insert the head restraint so that the
rod with the detents is on the left when viewed in the direction of travel.
XPress and hold release button :.
XPush the head restraint down until it engages.
Armrests
76Seats
Seats, steeringwheel and mirrors
Page 80 of 286
When leaving the vehicle, always take the
SmartKey with you and lock the vehicle. Never
leave children unsupervised in the vehicle.
The steering wheel can still be adjusted if the
key has been removed.
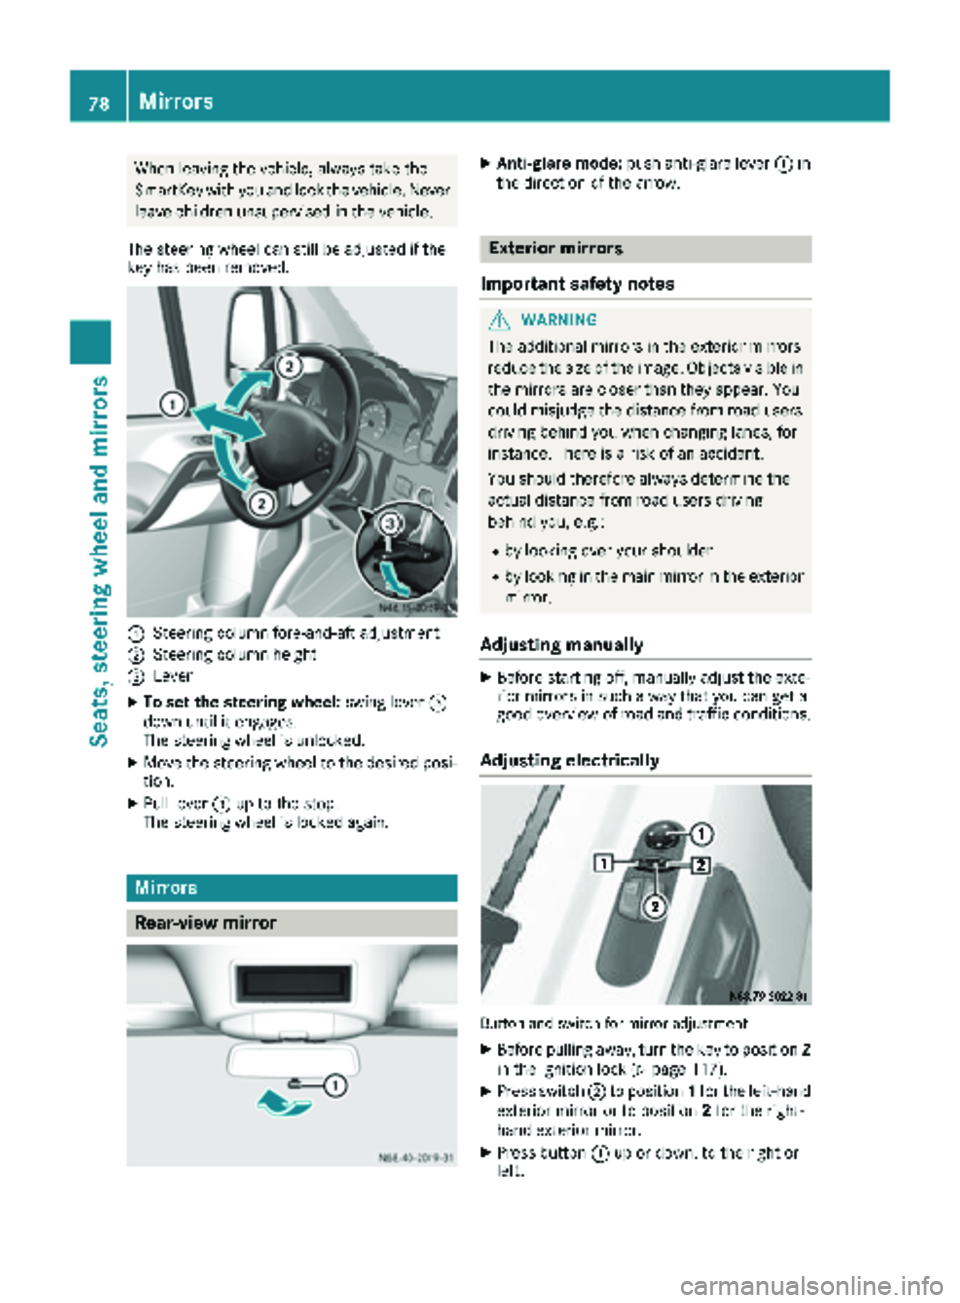
:Steering column fore-and-aft adjustment
;Steering column height
=Lever
XTo set the steering wheel: swing lever=
down until it engages.
The steering wheel is unlocked.
XMove the steering wheel to the desired posi-
tion.
XPull lever =up to the stop.
The steering wheel is locked again.
Mirrors
Rear-view mirror
XAnti-glare mode: push anti-glare lever :in
the direction of the arrow.
Exterior mirrors
Important safety notes
GWARNING
The additional mirrors in the exterior mirrors
reduce the size of the image. Objects visible in
the mirrors are closer than they appear. You
could misjudge the distance from road users
driving behind you when changing lanes, for
instance. There is a risk of an accident.
You should therefore always determine the
actual distance from road users driving
behind you, e.g.:
Rby looking over your shoulder
Rby looking in the main mirror in the exterior
mirror.
Adjusting manually
XBefore starting off, manually adjust the exte-
rior mirrors in such a way that you can get a
good overview of road and traffic conditions.
Adjusting electrically
Button and switch for mirror adjustment
XBefore pulling away, turn the key to position 2
in the ignition lock (Ypage 117).
XPress switch ;to position 1for the left-hand
exterior mirror or to position 2for the right-
hand exterior mirror.
XPress button :up or down, to the right or
left.
78Mirrors
Seats, steering wheel and mirrors
Page 157 of 286
Most federal states and all Canadian provinces
require by law:
Rsafety chains between the towing vehicle andthe trailer. The chains should be cross-wound
under the trailer drawbar. They must be fas-
tened to the vehicle's trailer coupling, not to
the bumper or the axle.
Leave enough slack in the chains. This allows you to drive round tight corners.
Ra separate brake system for certain types of
trailer.
Ra safety shut-off for braked trailers. Find out
the specific requirements according to the
applicable laws.
If the trailer becomes detached from the tow-
ing vehicle, the safety feature applies the
trailer brakes.
Towing a trailer
There are numerous legal requirements con-
cerning the towing of a trailer, e.g. speed restric-tions.
Many states require a separate functional brak-
ing system for your trailer once a certain weight limit is exceeded. For your safety, it is recom-
mended to use a separate functional braking
system on any towed vehicle.
Make sure your vehicle/trailer combination
complies with local laws. This not only means
where you live, but also anywhere you are driv-
ing to. Information is available from the police
and local authorities.
Observe the following when towing a trailer:
RPractice driving around bends, stopping and
backing up at a place where there is no traffic.This enables you to gain experience and get
used to the new handling characteristics.
RBefore driving, check:
-that the trailer tow hitch and ball coupling
are secure
-that the safety switch for a braked trailer is
functioning properly
-that the safety chains are secure and not
damaged
-that the electrical connections are secure
-that the lights are working
-that the wheels are in good order and the
tire pressure is correct
RAdjust the exterior mirrors to provide an
unobstructed view of the rear section of the
trailer.
RIf the trailer is equipped with an individual
braking system, check before each journey
whether the brakes are functioning correctly.
RIf the trailer has electronically controlled
brakes, pull the vehicle/trailer combination
away carefully. Brake manually using the
brake controller and check that the brakes
are working.
RSecure the load on the trailer according to the
applicable specifications and current stand-
ards on securing loads (
Ypage 210).
RWhen driving with a trailer, check at regular
intervals that the load is secured and that the
brakes and lights are working.
RBear in mind that the handling will be less
stable when towing a trailer than when driving
without one. Avoid sudden steering move-
ments.
RThe vehicle/trailer combination is heavier,
accelerates more slowly and has a decreased
gradient climbing capability and a longer
braking distance.
It is more susceptible to crosswinds and
requires cautious steering.
RIf possible, do not brake suddenly, but rather
moderately at first so that the trailer can acti-
vate its brakes. Then increase the force on the
brake pedal.
RIf the automatic transmission repeatedly
shifts between gears when driving on inclines,
restrict the shift range. Select shift range 4,3,
2 or 1.
Driving in a low gear and at a low speed
reduces the risk of damaging the engine.
RWhen driving on a downhill gradient, shift to a
low gear and take advantage of the engine's
braking effect.
Avoid continuous brake application as this
may overheat the vehicle brakes and, if instal-
led, the trailer brakes.
RIf the coolant temperature increases dramat-
ically while the air-conditioning system is
switched on, switch off the air-conditioning
system.
Coolant heat can also be dissipated by
switching the airflow and the temperature of
Towing a trailer155
Driving and parking
Z
Page 234 of 286
!Do not fold the windshield wipers away from
the windshield unless the hood is closed. Oth-
erwise, you could damage the hood.
!Do not pull the wiper blade. Otherwise, the
wiper blade could be damaged.
!Do not clean wiper blades too often and do
not rub them too hard. Otherwise, the graph-
ite coating could be damaged. This could
cause wiper noise.
!Hold the wiper arm securely when folding
back. The windshield could be damaged if the
wiper arm smacks against it suddenly.
XTurn the SmartKey to position 0in the ignition
lock or remove the SmartKey.
XFold the windshield wiper arms away from the
windshield until you feel them engage.
XCarefully clean the wiper blades with a damp
cloth.
XFold back the wiper arms before switching on
the ignition.
Cleaning the exterior lighting
!Only use cleaning agents or cleaning cloths
which are suitable for plastic light lenses.
Unsuitable cleaning agents or cleaning cloths
could scratch or damage the plastic light len- ses.
XClean the plastic covers of the exterior light-
ing with a damp sponge and a mild cleaning
agent, e.g. car shampoo for Sprinter vehicles,
or with cleaning cloths.
Cleaning the mirror turn signal
!Only use cleaning agents or cleaning cloths
that are suitable for plastic lenses. Unsuitable
cleaning agents or cleaning cloths could
scratch or damage the plastic lenses of the
mirror turn signals.
XClean the plastic lenses of the mirror turn sig-
nals in the exterior mirror housing using a wet
sponge and mild cleaning agent, e.g. car
shampoo or cleaning cloths.
Cleaning the sensors
!Do not use dry, coarse or hard cloths and do
not scrub. You will otherwise scratch or dam-
age the sensors. If you clean the sensors with a power washer
or steam cleaner, observe the information
provided by the manufacturer regarding the
distance to be maintained between the vehi-
cle and the nozzle of the power washer.
PARKTRONIC sensors (example: front bumper, left
side of vehicle)
XClean all sensors :in the front and rear
bumpers with water, shampoo and a soft
cloth.
Cleaning the rear view camera
!Do not use dry, coarse or hard cloths and do
not scrub. You could otherwise scratch or
damage the lens of the reversing camera.
When cleaning the vehicle with a high-pres-
sure or steam cleaner, observe a minimum
distance of 1.6 ft (50 cm) to the rear view
camera. Do not aim directly at the rear view
camera. You could otherwise damage the rear
view camera.
Rear view camera in the middle of the roof above
the high-mounted brake lamp
:
Camera lens
XClean camera lens :with clean water and a
soft cloth.
232Care
Maintenance and care