parking brake Mercury Grand Marquis 2000 s User Guide
[x] Cancel search | Manufacturer: MERCURY, Model Year: 2000, Model line: Grand Marquis, Model: Mercury Grand Marquis 2000Pages: 224, PDF Size: 1.61 MB
Page 141 of 224
When driving with the temporary spare tiredo not:
²exceed 80 km/h (50 mph) under any circumstances
²load the vehicle beyond maximum vehicle load rating listed on the
Safety Compliance Label
²tow a trailer
²use tire chains
²drive through an automatic car wash, because of the vehicle's reduced
ground clearance
²try to repair the temporary spare tire or remove it from its wheel
²use the wheel for any other type of vehicle
Tire change procedure
To prevent the vehicle from moving when you change a tire, be
sure the parking brake is set, then block (in both directions) the
wheel that is diagonally opposite (other side and end of the vehicle) to
the tire being changed.
If the vehicle slips off the jack, you or someone else could be
seriously injured.
1. Park on a level surface, activate hazard flashers and set parking brake.
2. Place gearshift lever in P (Park) and turn engine OFF.
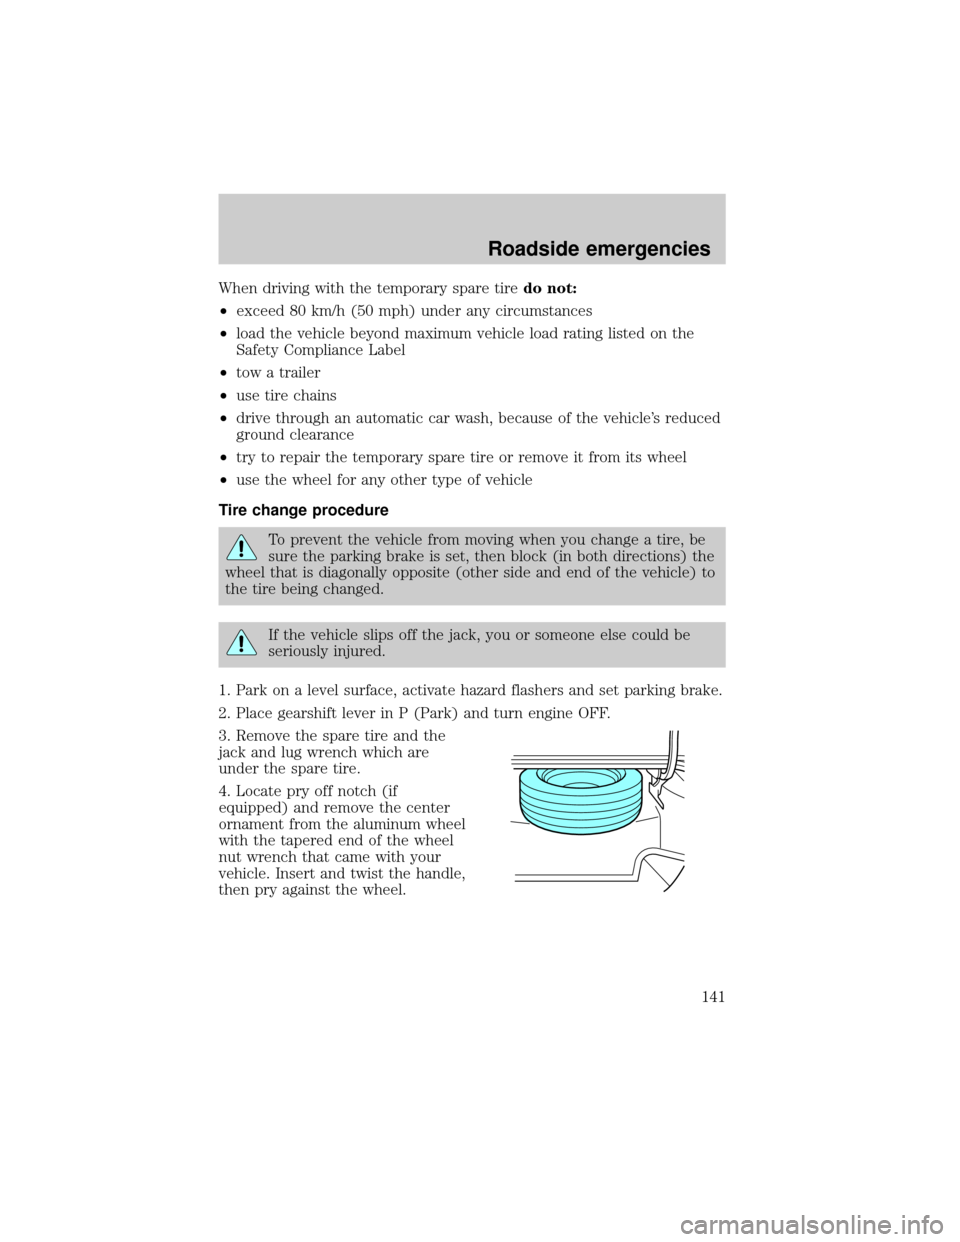
3. Remove the spare tire and the
jack and lug wrench which are
under the spare tire.
4. Locate pry off notch (if
equipped) and remove the center
ornament from the aluminum wheel
with the tapered end of the wheel
nut wrench that came with your
vehicle. Insert and twist the handle,
then pry against the wheel.
Roadside emergencies
141
Page 145 of 224
Do not attempt to push start your vehicle. Automatic
transmissions do not have push-start capability.
Preparing your vehicle
1.Use only a 12±volt supply to start your vehicle.
2. Do not disconnect the battery of the disabled vehicle as this could
damage the vehicle's electrical system.
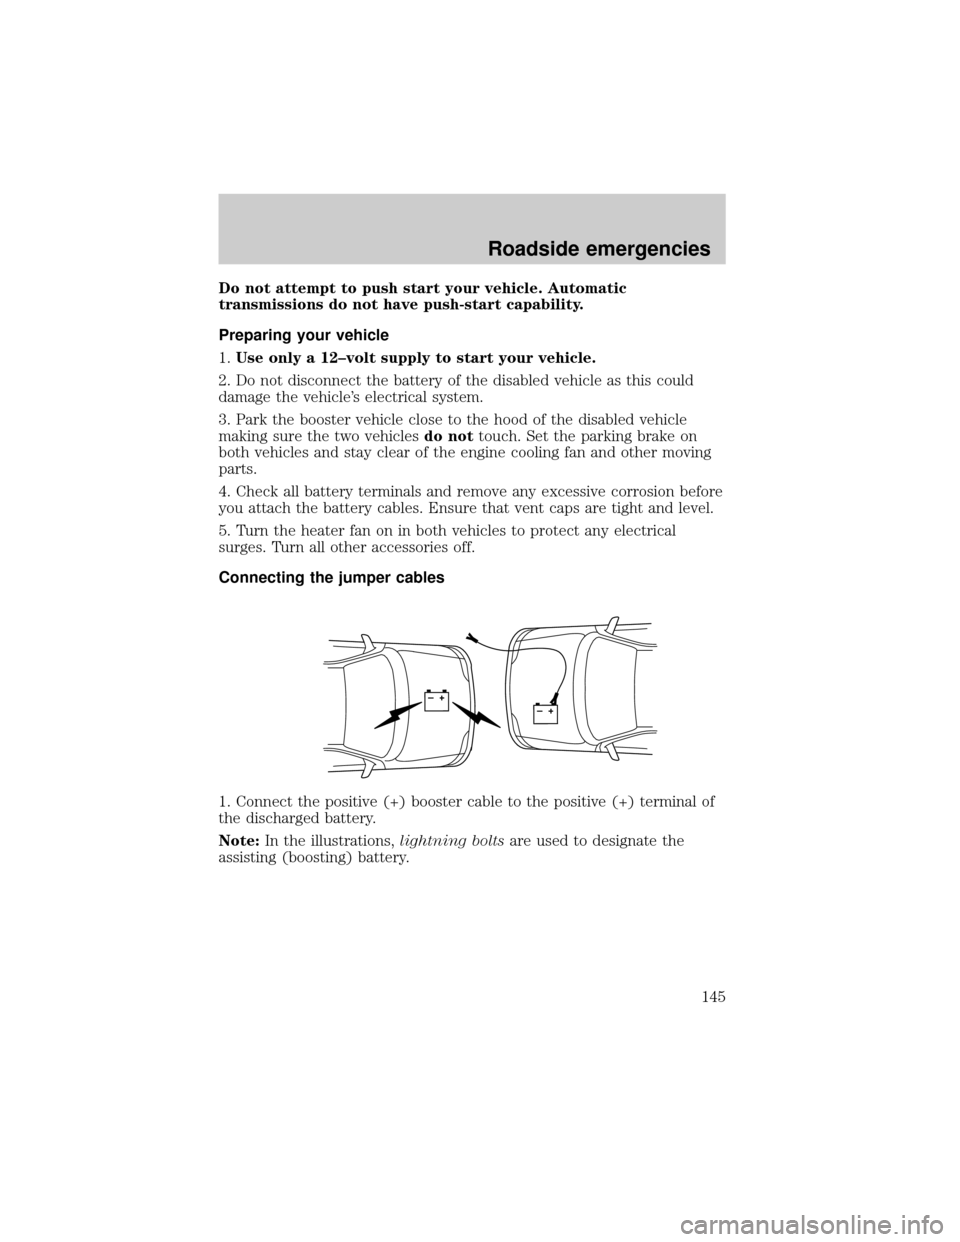
3. Park the booster vehicle close to the hood of the disabled vehicle
making sure the two vehiclesdo nottouch. Set the parking brake on
both vehicles and stay clear of the engine cooling fan and other moving
parts.
4. Check all battery terminals and remove any excessive corrosion before
you attach the battery cables. Ensure that vent caps are tight and level.
5. Turn the heater fan on in both vehicles to protect any electrical
surges. Turn all other accessories off.
Connecting the jumper cables
1. Connect the positive (+) booster cable to the positive (+) terminal of
the discharged battery.
Note:In the illustrations,lightning boltsare used to designate the
assisting (boosting) battery.
+–+–
Roadside emergencies
145
Page 151 of 224

Working with the engine off
1. Set the parking brake and ensure the gearshift is securely latched in P
(Park).
2. Turn off the engine and remove the key.
3. Block the wheels to prevent the vehicle from moving unexpectedly.
Working with the engine on
1. Set the parking brake and ensure the gearshift is securely latched in P
(Park).
2. Block the wheels to prevent the vehicle from moving unexpectedly.
Do not start your engine with the air cleaner removed and do
not remove it while the engine is running.
OPENING THE HOOD
1. Inside the vehicle, pull the hood
release handle located under the
instrument panel.
2. Go to the front of the vehicle and
release the auxiliary latch that is
located under the front of the hood.
3. Lift the hood until the lift
cylinders hold it open.
HOOD
Maintenance and care
151
Page 153 of 224

ENGINE OIL
Checking the engine oil
Refer to the Scheduled Maintenance Guide for the appropriate intervals
for checking the engine oil.
1. Make sure the vehicle is on level ground.
2. Turn the engine off and wait a few minutes for the oil to drain into the
oil pan.
3. Set the parking brake and ensure the gearshift is securely latched in P
(Park).
4. Open the hood. Protect yourself from engine heat.
5. Locate and carefully remove the
engine oil level indicator (dipstick).
6. Wipe the indicator clean. Insert the indicator fully, then remove it
again.
DO NOT OVERFILL MIN
MAX
Maintenance and care
153
Page 165 of 224

Automatic transmission fluid expands when warmed. To obtain an
accurate fluid check, drive the vehicle until it is at normal operating
temperature (approximately 30 km [20 miles]). If your vehicle has been
operated for an extended period at high speeds, in city traffic during hot
weather or pulling a trailer, the vehicle should be turned off for about 30
minutes to allow fluid to cool before checking.
1. Drive the vehicle 30 km (20 miles) or until it reaches normal operating
temperature.
2. Park the vehicle on a level surface and engage the parking brake.
3. With the parking brake engaged and your foot on the brake pedal,
start the engine and move the gearshift lever through all of the gear
ranges. Allow sufficient time for each gear to engage.
4. Latch the gearshift lever in P (Park) and leave the engine running.
5. Remove the dipstick, wiping it clean with a clean, dry lint free rag. If
necessary, refer toIdentifying components in the engine compartment
in this chapter for the location of the dipstick.
6. Install the dipstick making sure it is fully seated in the filler tube.
7. Remove the dipstick and inspect the fluid level. The fluid should be in
the designated area for normal operating temperature or ambient
temperature.
Low fluid level
Do not drive the vehicle if the fluid
level is at the bottom of the dipstick
and the ambient temperature is
above 10ÉC (50ÉF).
Correct fluid level
The transmission fluid should be checked at normal operating
temperature 66ÉC-77ÉC (150ÉF-170ÉF) on a level surface. The normal
operating temperature can be reached after approximately 30 km (20
miles) of driving.
You can check the fluid without driving if the ambient temperature is
above 10ÉC (50ÉF). However, if fluid is added at this time, an overfill
condition could result when the vehicle reaches normal operating
temperature.
DON’T ADD
Maintenance and care
165
Page 168 of 224

When lifting a plastic-cased battery, excessive pressure on the
end walls could cause acid to flow through the vent caps,
resulting in personal injury and/or damage to the vehicle or battery.
Lift the battery with a battery carrier or with your hands on opposite
corners.
Keep batteries out of reach of children. Batteries contain sulfuric
acid. Avoid contact with skin, eyes or clothing. Shield your eyes
when working near the battery to protect against possible splashing of
acid solution. In case of acid contact with skin or eyes, flush
immediately with water for a minimum of 15 minutes and get prompt
medical attention. If acid is swallowed, call a physician immediately.
Because your vehicle's engine is electronically controlled by a computer,
some control conditions are maintained by power from the battery. When
the battery is disconnected or a new battery is installed, the engine must
relearn its idle and fuel trim strategy for optimum driveability and
performance. To begin this process:
1. With the vehicle at a complete stop, set the parking brake.
2. Put the gearshift in P (Park), turn off all accessories and start the
engine.
3. Run the engine until it reaches normal operating temperature.
4. Allow the engine to idle for at least one minute.
5. Turn the A/C on and allow the engine to idle for at least one minute.
6. With your foot on the brake pedal and with the A/C on, put the
vehicle in D (Drive) and allow the engine to idle for at least one minute.
7. Drive the vehicle to complete the relearning process.
²The vehicle may need to be driven 16 km (10 miles) or more to
relearn the idle and fuel trim strategy.
²If you do not allow the engine to relearn its idle trim, the idle
quality of your vehicle may be adversely affected until the idle
trim is eventually relearned.
If the battery has been disconnected or a new battery has been installed,
the clock must be reset once the battery is reconnected.
Maintenance and care
168
Page 187 of 224

5. Turn the headlamps on and make sure they work properly. If the
headlamp was correctly aligned before you changed the bulb, you should
not need to align it again.
Replacing front parking lamp/turn signal bulbs
The park/turn lamp bulbs can be replaced with out removing the
headlamp assembly.
1. Make sure headlamp switch is in OFF position, then open the hood.
2. Remove the protective cover by turning the three knobs to the unlock
position.
3. Disconnect the electrical
connector from the bulb by pulling
rearward.
4. Rotate the bulb socket
counterclockwise and remove from
lamp assembly.
5. Carefully pull bulb straight out of
the socket and push in the new bulb
until it snaps, locking it into
position.
6. To complete installation, follow the removal procedure in reverse
order.
Replacing tail lamp/brake/turn lamp bulbs
The tail lamp, the brake lamp and the turn signal lamp bulbs are located
in the tail lamp assembly. Follow the same steps to replace either bulb.
Maintenance and care
187
Page 218 of 224

anti-lock brakes (ABS) .....11,119
brake ..........................................11
charging system ........................12
check engine ...............................9
high beam .................................11
low coolant ................................10
low fuel ........................................8
oil pressure ...............................12
overdrive off ..............................13
safety belt .................................10
speed control ............................65
traction control active ..............13
turn signal indicator .................11
Load limits .................................127
GAWR ......................................127
GVWR ......................................127
trailer towing ..........................127
Locks
autolock .....................................76
childproof ..................................74
doors ..........................................73
Lubricant specifications ....198,200
Lug nuts, anti-theft ...................143
Lumbar support, seats ...............91
Message center ...........................20
reset button ..............................20
select button .............................21
Mirrors
automatic dimming
rearview mirror .........................69
cleaning ...................................192
side view mirrors (power) .......73
Motorcraft parts .................180,197
Octane rating ............................179
Odometer .....................................17
Oil (see Engine oil) ..................153
Overdrive ..............................61,125
Panic alarm feature,
remote entry system ..................78
Parking brake ............................119
Parts (see Motorcraft parts) ....197Power distribution box
(see Fuses) ...............................138
Power door locks ...................73,76
Power steering ..........................122
fluid, checking and adding ....164
fluid, refill capacity ................197
fluid, specifications ..........198,200
Radio ............................................35
Relays .................................135,140
Remote entry system ............75,78
illuminated entry ......................79
locking/unlocking doors ...........75
opening the trunk .....................78
panic alarm ...............................78
replacement/additional
transmitters ...............................80
replacing the batteries .............79
Safety belts (see Safety
restraints) ...........14,91,92,93,94,95
Safety defects, reporting ..........214
Safety restraints ......91,92,93,94,95
belt minder ...............................97
cleaning the
safety belts .......................100,195
extension assembly ..................96
for adults .........................92,93,94
for children ......................105,106
lap belt ......................................95
warning light
and chime ...................10,14,96,97
Safety seats for children ..........107
Seat belts
(see Safety restraints) ...............91
Seats ............................................87
child safety seats ....................107
cleaning ............................195,196
SecuriLock passive
anti-theft system ....................80,81
Servicing your vehicle ..............150
Spark plugs,
specifications ......................197,200
Index
218