ignition Mercury Grand Marquis 2001 s User Guide
[x] Cancel search | Manufacturer: MERCURY, Model Year: 2001, Model line: Grand Marquis, Model: Mercury Grand Marquis 2001Pages: 240, PDF Size: 1.86 MB
Page 21 of 240
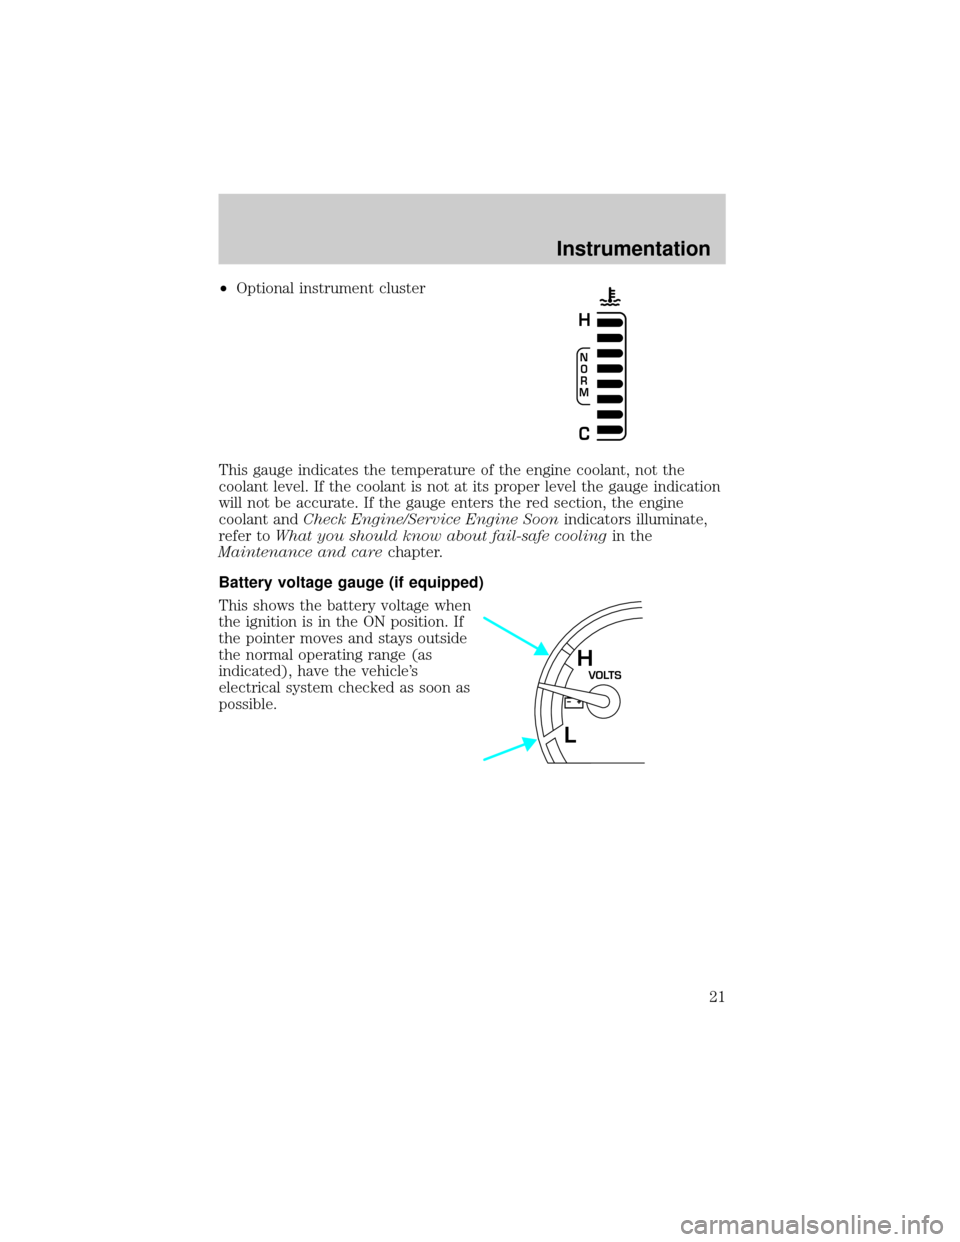
²Optional instrument cluster
This gauge indicates the temperature of the engine coolant, not the
coolant level. If the coolant is not at its proper level the gauge indication
will not be accurate. If the gauge enters the red section, the engine
coolant andCheck Engine/Service Engine Soonindicators illuminate,
refer toWhat you should know about fail-safe coolingin the
Maintenance and carechapter.
Battery voltage gauge (if equipped)
This shows the battery voltage when
the ignition is in the ON position. If
the pointer moves and stays outside
the normal operating range (as
indicated), have the vehicle's
electrical system checked as soon as
possible.
N
O
R
M
H
C
VOLTSH
L
Instrumentation
21
Page 22 of 240
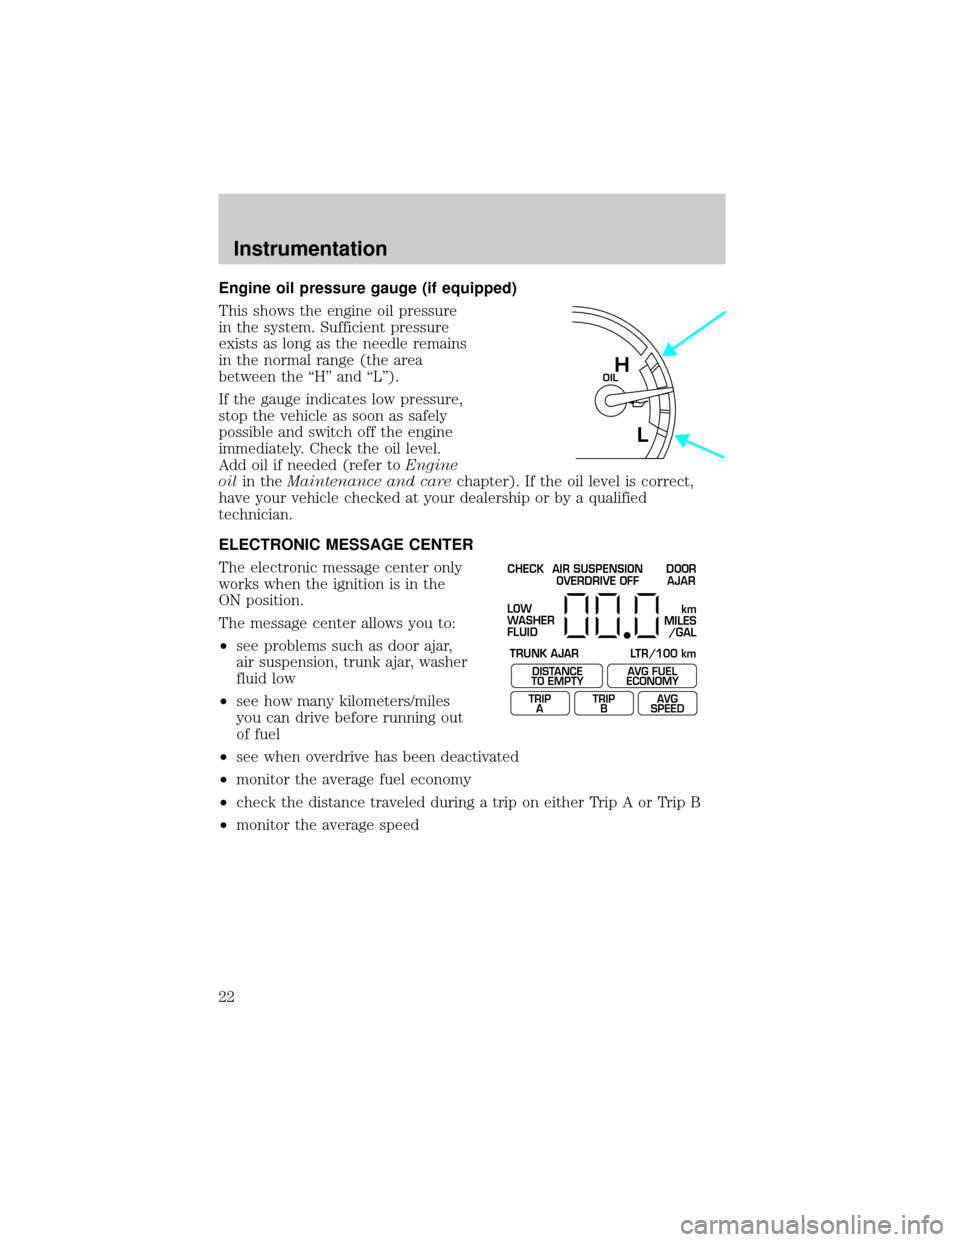
Engine oil pressure gauge (if equipped)
This shows the engine oil pressure
in the system. Sufficient pressure
exists as long as the needle remains
in the normal range (the area
between the ªHº and ªLº).
If the gauge indicates low pressure,
stop the vehicle as soon as safely
possible and switch off the engine
immediately. Check the oil level.
Add oil if needed (refer toEngine
oilin theMaintenance and carechapter). If the oil level is correct,
have your vehicle checked at your dealership or by a qualified
technician.
ELECTRONIC MESSAGE CENTER
The electronic message center only
works when the ignition is in the
ON position.
The message center allows you to:
²see problems such as door ajar,
air suspension, trunk ajar, washer
fluid low
²see how many kilometers/miles
you can drive before running out
of fuel
²see when overdrive has been deactivated
²monitor the average fuel economy
²check the distance traveled during a trip on either Trip A or Trip B
²monitor the average speed
OILH
L
CHECK
TRUNK AJAR LTR/100 kmAIR SUSPENSION
OVERDRIVE OFFDOOR
AJAR
LOW
WASHER
FLUID
DISTANCE
TO EMPTY
TRIP
AAVG FUEL
ECONOMY
TRIP
BAVG
SPEED
km
MILES
/GAL
Instrumentation
22
Page 24 of 240
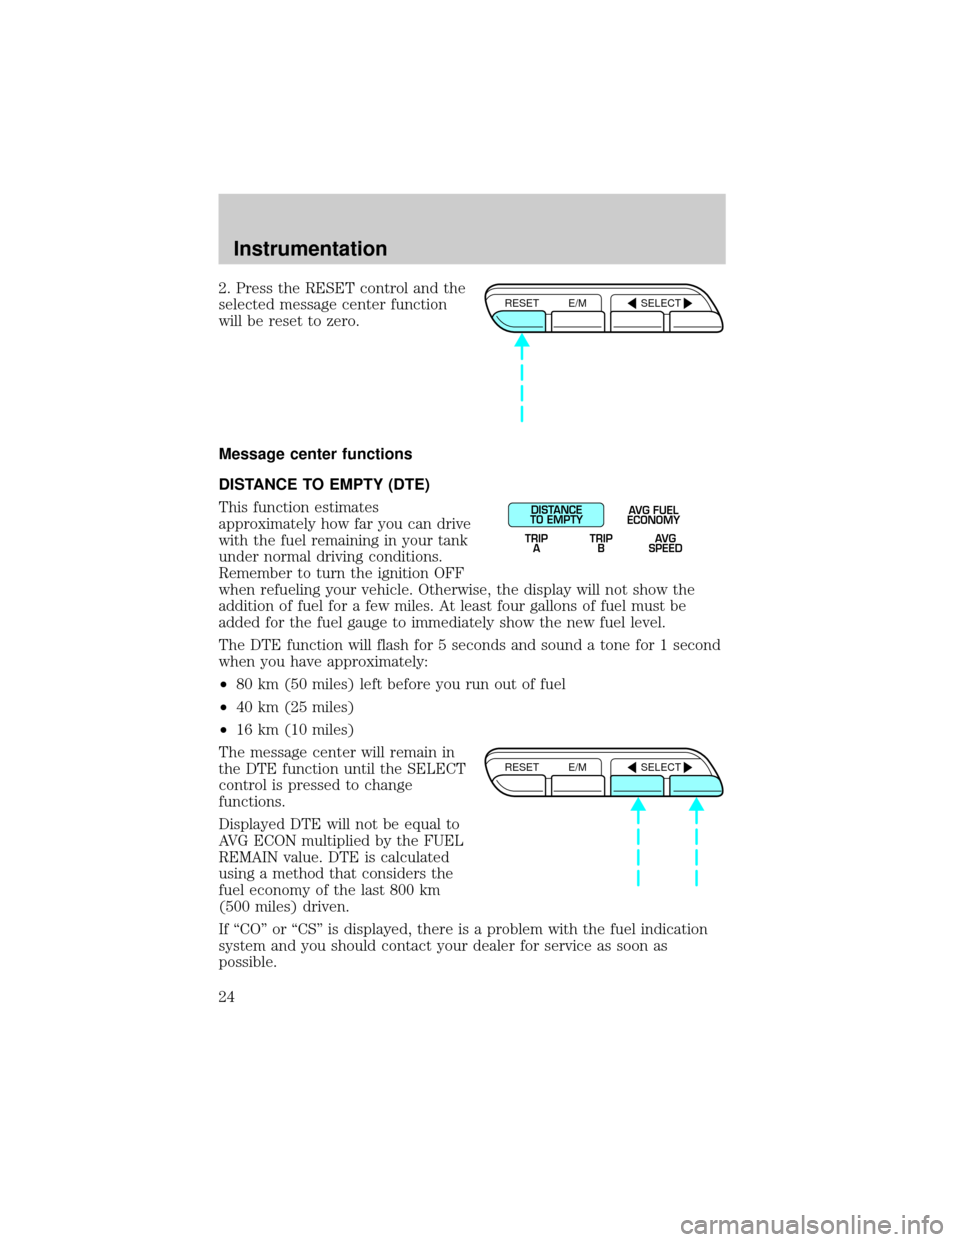
2. Press the RESET control and the
selected message center function
will be reset to zero.
Message center functions
DISTANCE TO EMPTY (DTE)
This function estimates
approximately how far you can drive
with the fuel remaining in your tank
under normal driving conditions.
Remember to turn the ignition OFF
when refueling your vehicle. Otherwise, the display will not show the
addition of fuel for a few miles. At least four gallons of fuel must be
added for the fuel gauge to immediately show the new fuel level.
The DTE function will flash for 5 seconds and sound a tone for 1 second
when you have approximately:
²80 km (50 miles) left before you run out of fuel
²40 km (25 miles)
²16 km (10 miles)
The message center will remain in
the DTE function until the SELECT
control is pressed to change
functions.
Displayed DTE will not be equal to
AVG ECON multiplied by the FUEL
REMAIN value. DTE is calculated
using a method that considers the
fuel economy of the last 800 km
(500 miles) driven.
If ªCOº or ªCSº is displayed, there is a problem with the fuel indication
system and you should contact your dealer for service as soon as
possible.RESET E/M SELECT
DISTANCE
TO EMPTY
TRIP
AAVG FUEL
ECONOMY
TRIP
BAVG
SPEED
RESET E/M SELECT
Instrumentation
24
Page 28 of 240
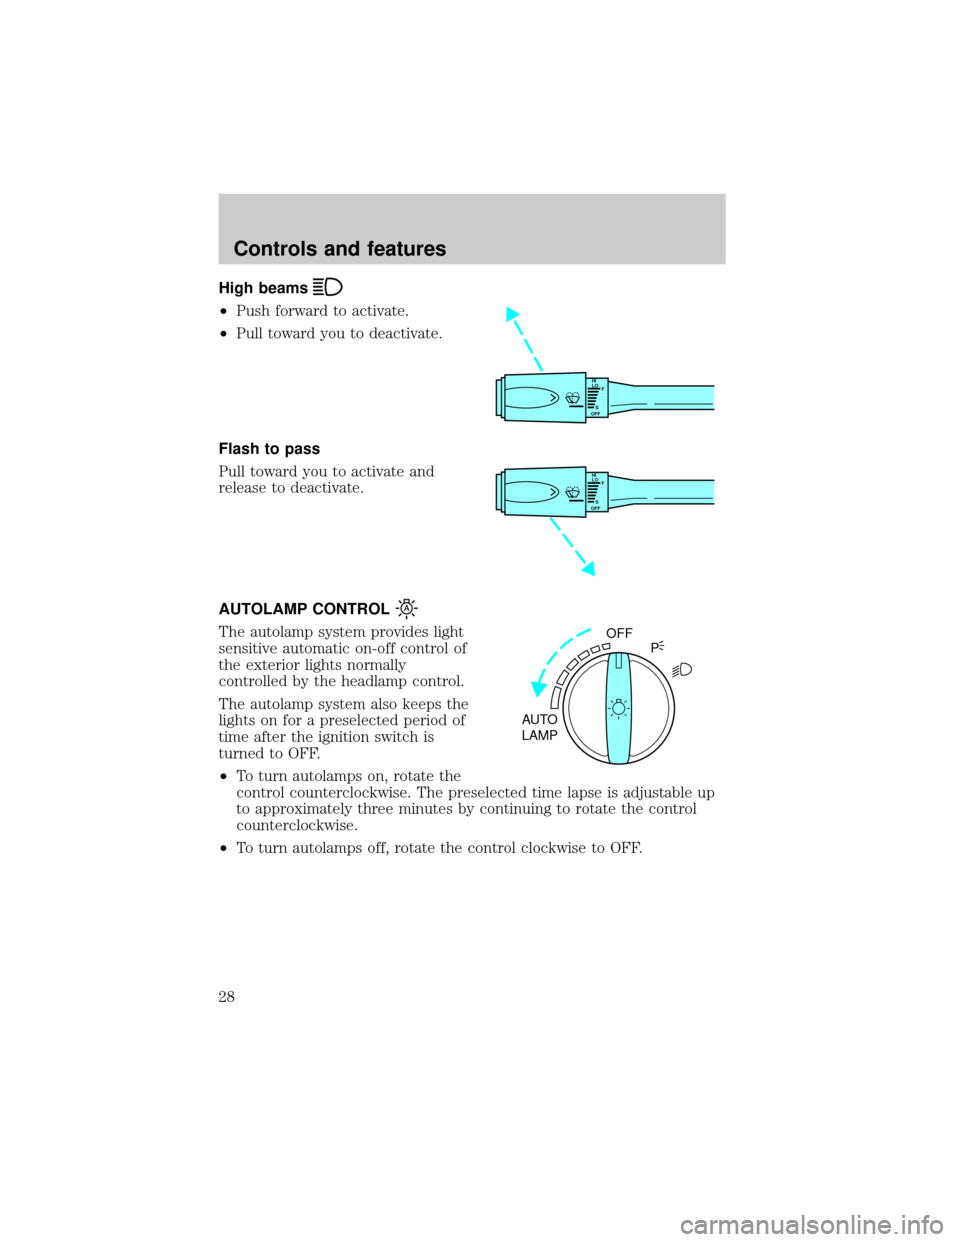
High beams
²Push forward to activate.
²Pull toward you to deactivate.
Flash to pass
Pull toward you to activate and
release to deactivate.
AUTOLAMP CONTROL
The autolamp system provides light
sensitive automatic on-off control of
the exterior lights normally
controlled by the headlamp control.
The autolamp system also keeps the
lights on for a preselected period of
time after the ignition switch is
turned to OFF.
²To turn autolamps on, rotate the
control counterclockwise. The preselected time lapse is adjustable up
to approximately three minutes by continuing to rotate the control
counterclockwise.
²To turn autolamps off, rotate the control clockwise to OFF.
HI
LO
F
S
OFF
HI
LO
F
S
OFF
OFF
AUTO
LAMPP
Controls and features
28
Page 32 of 240
To aid in side window defogging/demisting in cold weather conditions:
1. Select MIX
2. Set the temperature control to full heat
3. Set the fan speed to HI
4. Direct the outer panel vents towards to side windows
To increase airflow to the outer panel vents, close the central panel
vents.
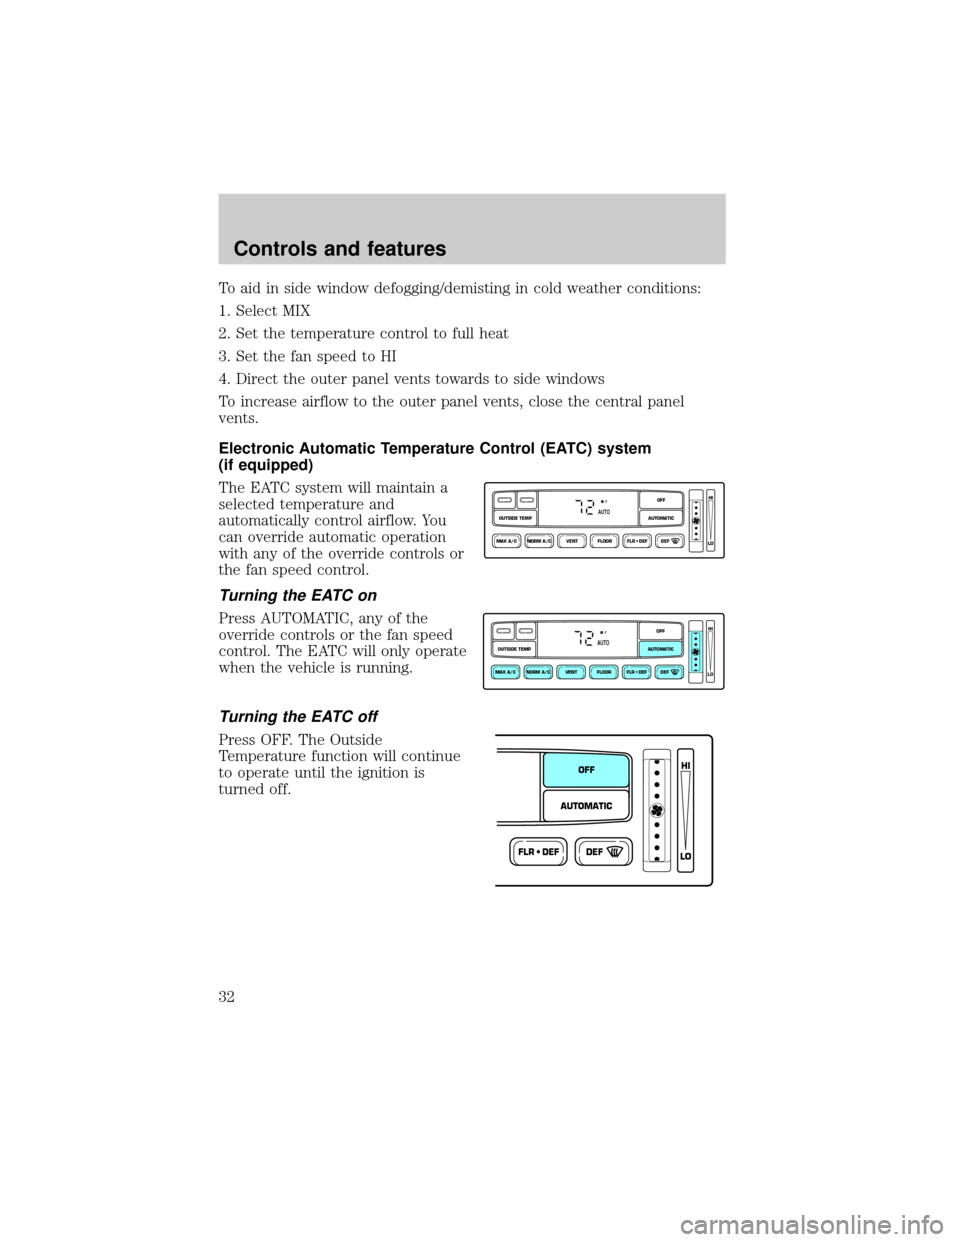
Electronic Automatic Temperature Control (EATC) system
(if equipped)
The EATC system will maintain a
selected temperature and
automatically control airflow. You
can override automatic operation
with any of the override controls or
the fan speed control.
Turning the EATC on
Press AUTOMATIC, any of the
override controls or the fan speed
control. The EATC will only operate
when the vehicle is running.
Turning the EATC off
Press OFF. The Outside
Temperature function will continue
to operate until the ignition is
turned off.
NORM A/CVENT FLOOR FLR • DEF DEF
HI
LO
MAX A/C
OUTSIDE TEMP AUTOMATICOFF
FAUTO
NORM A/CVENT FLOOR FLR • DEF DEF
HI
LO
MAX A/C
OUTSIDE TEMP AUTOMATICOFF
FAUTO
FLR • DEFDEF
HI
LO
AUTOMATICOFF
Controls and features
32
Page 38 of 240
To increase airflow to the outer panel vents, close the central panel
vents.
Do not place objects on top of the instrument panel, as these
objects may become projectiles in a collision or sudden stop.
REAR WINDOW DEFROSTER
The rear defroster control is located
on the instrument panel.
Press the rear defroster control to
clear the rear window of thin ice
and fog.
²A small LED will illuminate when
the rear defroster is activated.
The ignition must be in the ON position to operate the rear window
defroster.
The defroster turns off automatically after 10 minutes or when the
ignition is turned to the OFF position. To manually turn off the defroster
before 10 minutes have passed, push the control again.
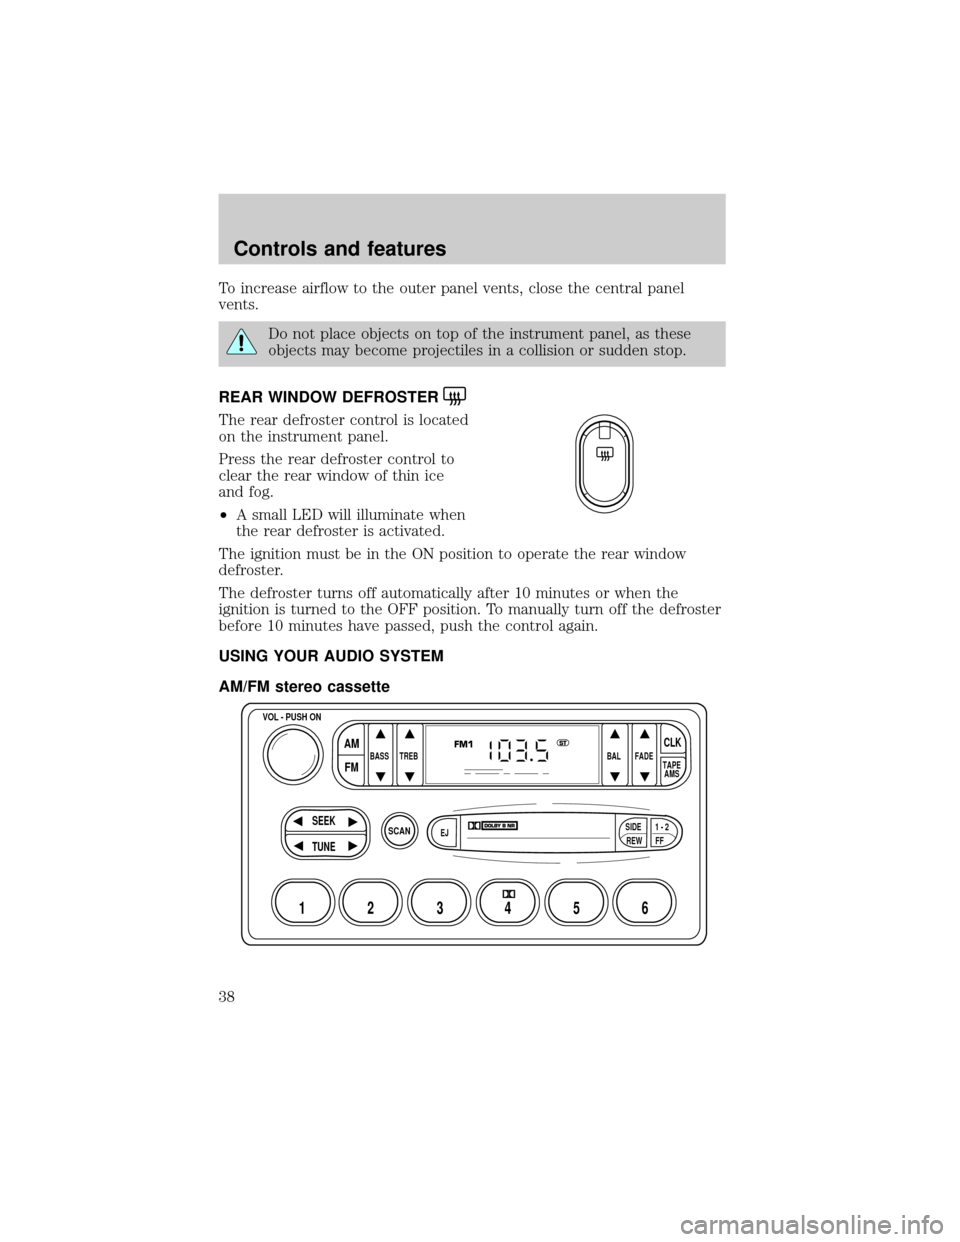
USING YOUR AUDIO SYSTEM
AM/FM stereo cassette
SCAN
BASS TREB BAL FADE
SIDE
EJ
REW FF1 - 2TAPE
AMS
VOL - PUSH ON
SEEK
TUNE
AM
FMCLK
12 3456
FM1ST
Controls and features
38
Page 39 of 240
Volume/power control
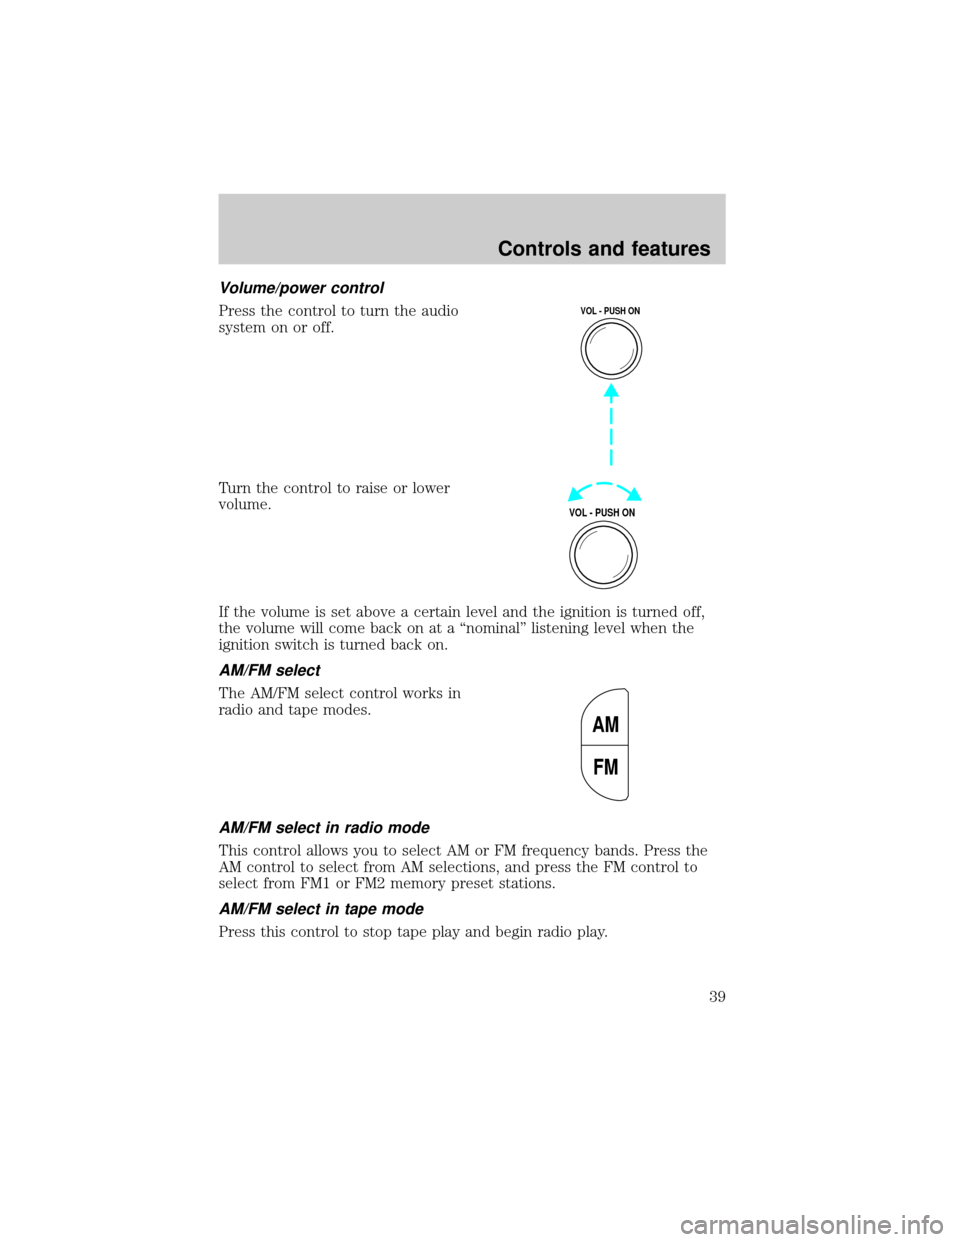
Press the control to turn the audio
system on or off.
Turn the control to raise or lower
volume.
If the volume is set above a certain level and the ignition is turned off,
the volume will come back on at a ªnominalº listening level when the
ignition switch is turned back on.
AM/FM select
The AM/FM select control works in
radio and tape modes.
AM/FM select in radio mode
This control allows you to select AM or FM frequency bands. Press the
AM control to select from AM selections, and press the FM control to
select from FM1 or FM2 memory preset stations.
AM/FM select in tape mode
Press this control to stop tape play and begin radio play.
VOL - PUSH ON
VOL - PUSH ON
AM
FM
Controls and features
39
Page 45 of 240
Volume/power control
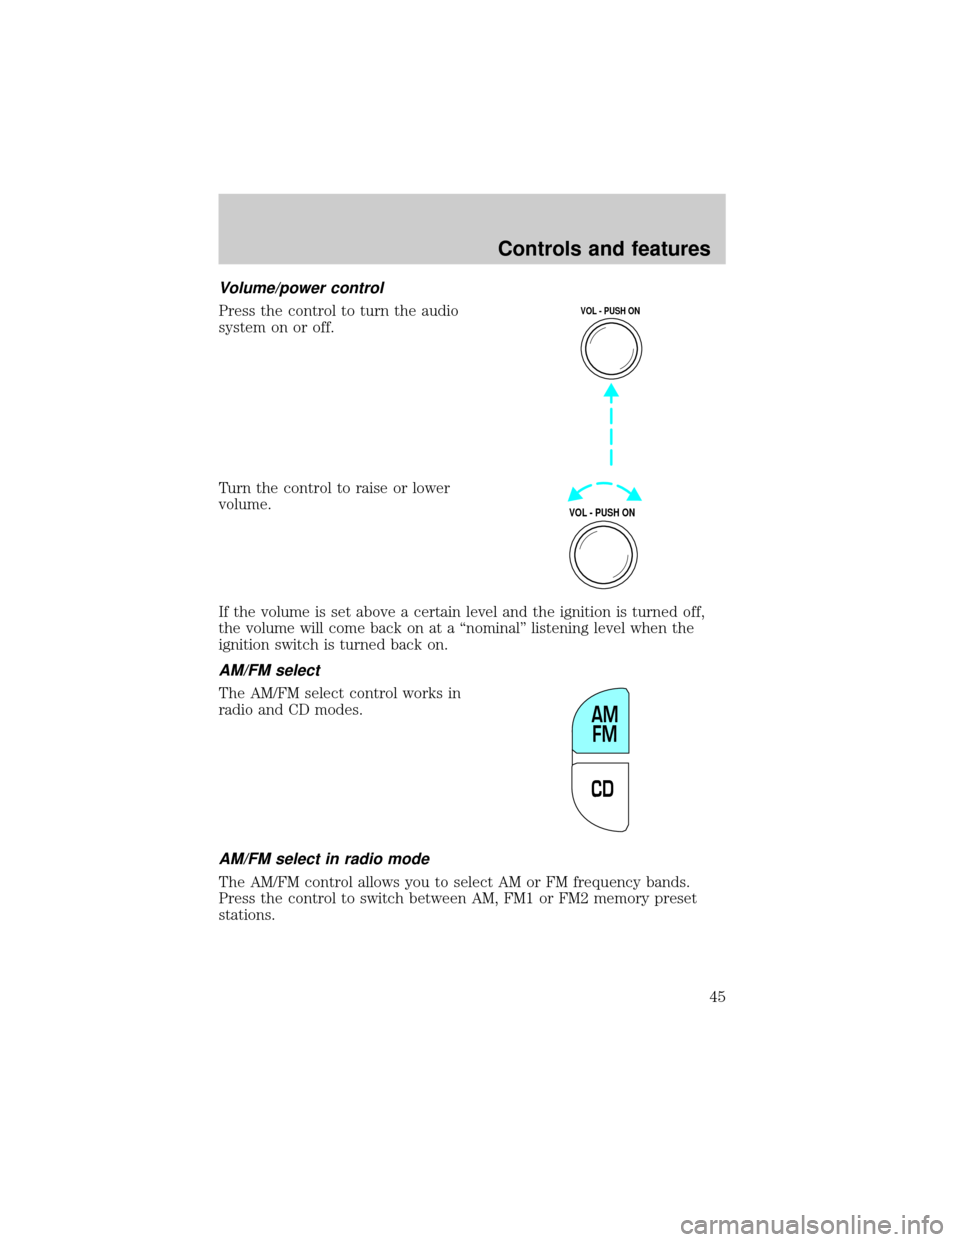
Press the control to turn the audio
system on or off.
Turn the control to raise or lower
volume.
If the volume is set above a certain level and the ignition is turned off,
the volume will come back on at a ªnominalº listening level when the
ignition switch is turned back on.
AM/FM select
The AM/FM select control works in
radio and CD modes.
AM/FM select in radio mode
The AM/FM control allows you to select AM or FM frequency bands.
Press the control to switch between AM, FM1 or FM2 memory preset
stations.
VOL - PUSH ON
VOL - PUSH ON
CDAM
FM
Controls and features
45
Page 51 of 240
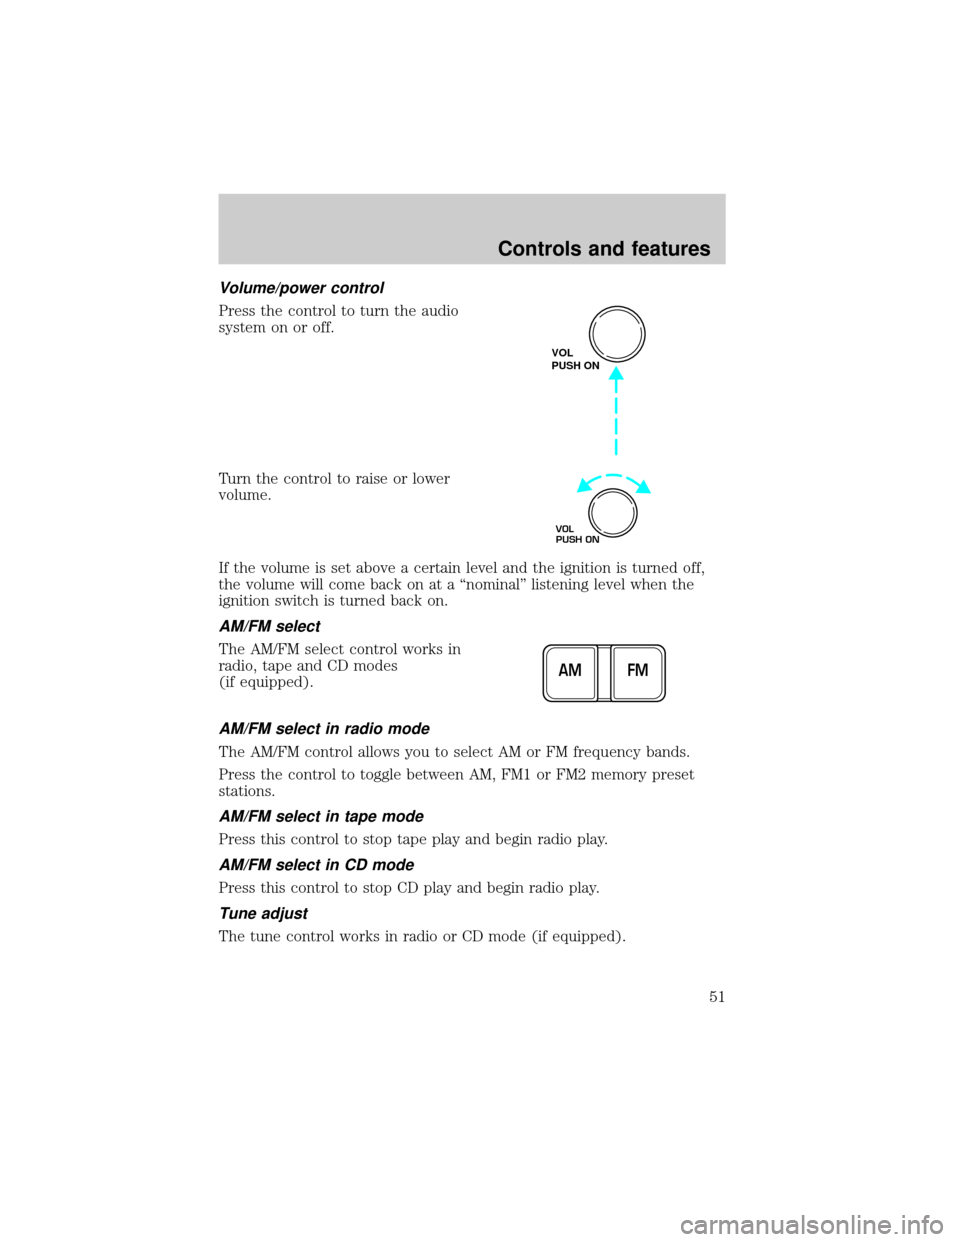
Volume/power control
Press the control to turn the audio
system on or off.
Turn the control to raise or lower
volume.
If the volume is set above a certain level and the ignition is turned off,
the volume will come back on at a ªnominalº listening level when the
ignition switch is turned back on.
AM/FM select
The AM/FM select control works in
radio, tape and CD modes
(if equipped).
AM/FM select in radio mode
The AM/FM control allows you to select AM or FM frequency bands.
Press the control to toggle between AM, FM1 or FM2 memory preset
stations.
AM/FM select in tape mode
Press this control to stop tape play and begin radio play.
AM/FM select in CD mode
Press this control to stop CD play and begin radio play.
Tune adjust
The tune control works in radio or CD mode (if equipped).
VOL
PUSH ON
VOL
PUSH ON
FM AM
Controls and features
51
Page 66 of 240
Cornering lamps
When the turn signal is used and the headlamps are on, the cornering
lamps will light either the right or left side depending on the direction of
the turn.
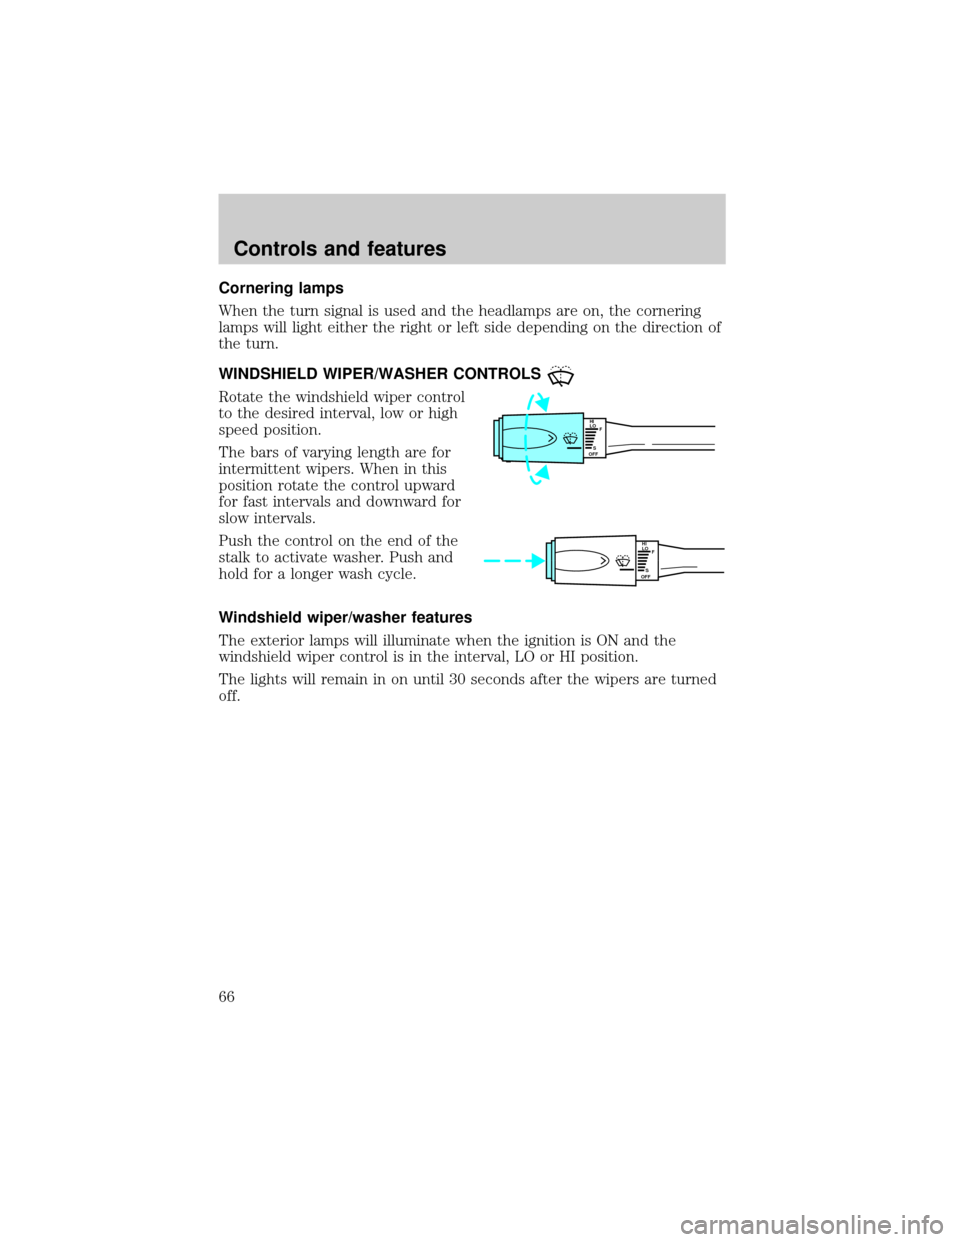
WINDSHIELD WIPER/WASHER CONTROLS
Rotate the windshield wiper control
to the desired interval, low or high
speed position.
The bars of varying length are for
intermittent wipers. When in this
position rotate the control upward
for fast intervals and downward for
slow intervals.
Push the control on the end of the
stalk to activate washer. Push and
hold for a longer wash cycle.
Windshield wiper/washer features
The exterior lamps will illuminate when the ignition is ON and the
windshield wiper control is in the interval, LO or HI position.
The lights will remain in on until 30 seconds after the wipers are turned
off.
HI
LO
F
S
OFF
HI
LO
F
S
OFF
Controls and features
66