reset Mercury Grand Marquis 2001 s User Guide
[x] Cancel search | Manufacturer: MERCURY, Model Year: 2001, Model line: Grand Marquis, Model: Mercury Grand Marquis 2001Pages: 240, PDF Size: 1.86 MB
Page 47 of 240
Scan function
The scan function works in radio or
CD mode.
Scan function in radio mode
Press the SCN control to hear a brief sampling of all listenable stations
on the frequency band. Press the SCN control again to stop the scan
mode.
Scan function in CD or CD changer mode (if equipped)
Press the SCN control to hear a short sampling of all selections on the
current CD. (The CD scans in a forward direction, wrapping back to the
first track at the end of the CD.) To stop on a particular selection, press
the control again.
Radio station memory preset
The radio is equipped with four or six station memory preset controls.
These controls can be used to select up to four or six preset AM
stations and eight or twelve FM stations (four to six in FM1 and four to
six in FM2).
Setting memory preset stations
1. Select the frequency band with the AM/FM select control.
2. Select a station. Refer toTune adjustorSeek functionfor more
information on selecting a station.
3. Press and hold a memory preset control until the sound returns,
indicating the station is held in memory on the control you selected.
SCN
12 3456
Controls and features
47
Page 49 of 240
![Mercury Grand Marquis 2001 s User Guide CD select
To begin CD play (if CD[s] are
loaded), press the CD control. The
first track of the disc will begin
playing. After that, CD play will
begin where it stopped last. Press
the control again to Mercury Grand Marquis 2001 s User Guide CD select
To begin CD play (if CD[s] are
loaded), press the CD control. The
first track of the disc will begin
playing. After that, CD play will
begin where it stopped last. Press
the control again to](/img/33/10917/w960_10917-48.png)
CD select
To begin CD play (if CD[s] are
loaded), press the CD control. The
first track of the disc will begin
playing. After that, CD play will
begin where it stopped last. Press
the control again to begin CD
changer play (if equipped).
Do not insert any promotional (odd shaped or sized) discs, or
discs with removable labels into the CD player as jamming may
occur.
Rewind
The rewind control works in CD mode.
To rewind in CD mode, press the
CD control (preset 1).
Press the control again to deactivate
rewind mode.
Fast forward
The fast forward control works in CD mode.
To fast forward in CD changer
mode, press the CD control
(preset 2).
Press the control again to deactivate
fast forward mode.
Eject function
Press the control to stop and eject a
CD.
Compression feature
Compression adjust brings soft and
loud CD passages together for a
more consistent listening level.
Press the COMP control to activate and deactivate compression adjust.
AM
FM
CD
CD
1
CD
2
EJ
COMP
Controls and features
49
Page 51 of 240
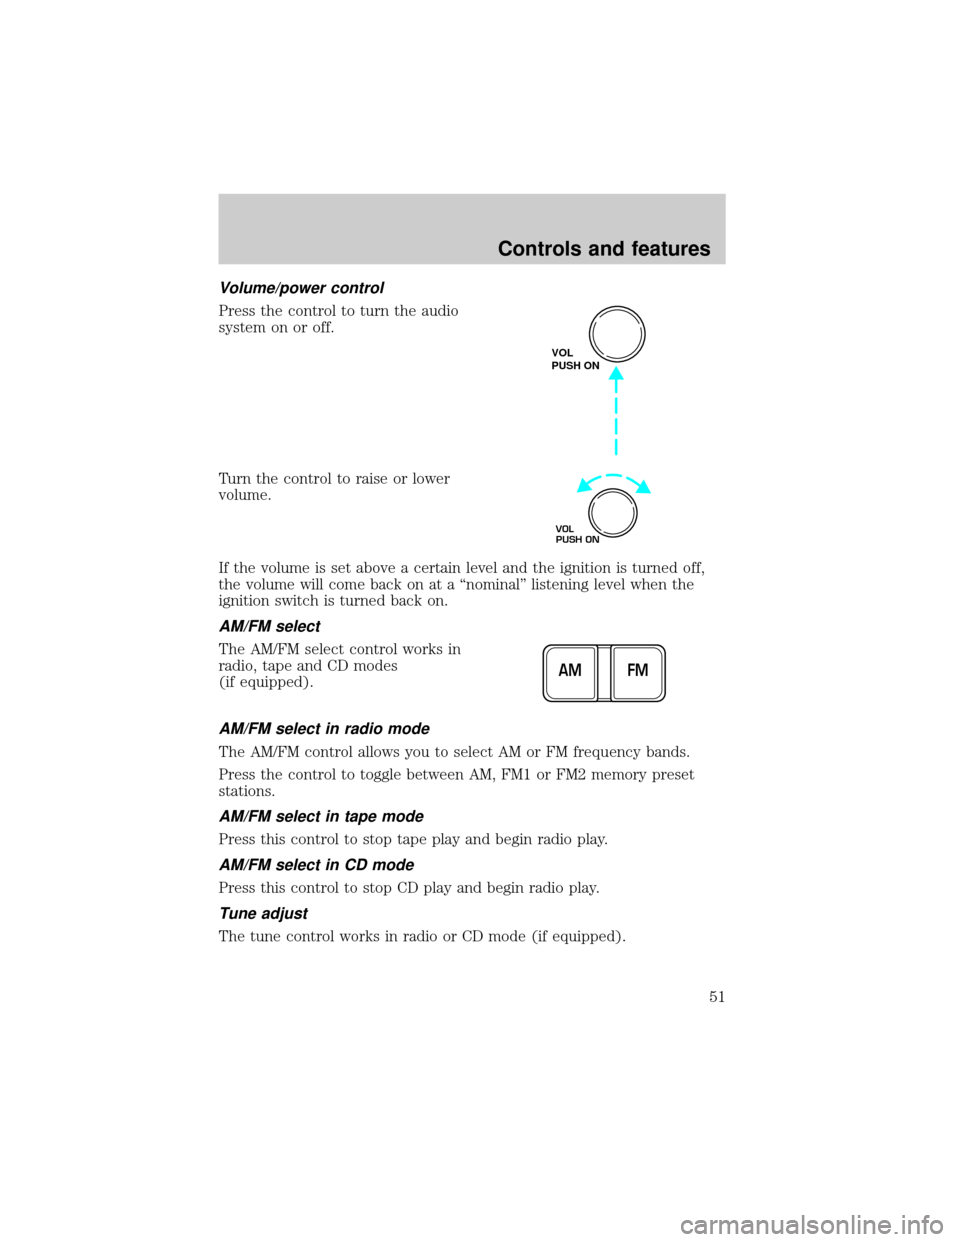
Volume/power control
Press the control to turn the audio
system on or off.
Turn the control to raise or lower
volume.
If the volume is set above a certain level and the ignition is turned off,
the volume will come back on at a ªnominalº listening level when the
ignition switch is turned back on.
AM/FM select
The AM/FM select control works in
radio, tape and CD modes
(if equipped).
AM/FM select in radio mode
The AM/FM control allows you to select AM or FM frequency bands.
Press the control to toggle between AM, FM1 or FM2 memory preset
stations.
AM/FM select in tape mode
Press this control to stop tape play and begin radio play.
AM/FM select in CD mode
Press this control to stop CD play and begin radio play.
Tune adjust
The tune control works in radio or CD mode (if equipped).
VOL
PUSH ON
VOL
PUSH ON
FM AM
Controls and features
51
Page 53 of 240
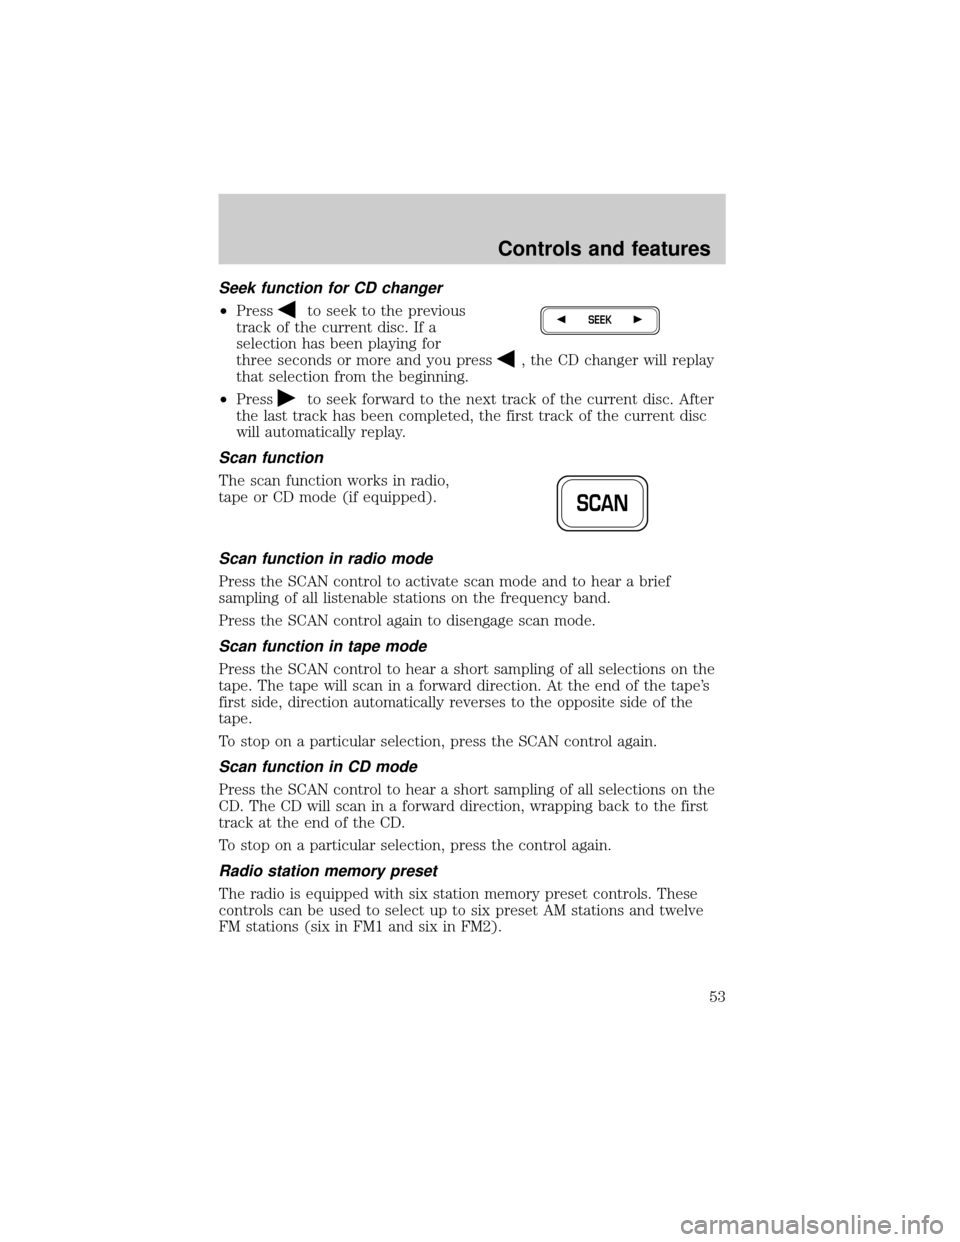
Seek function for CD changer
²Pressto seek to the previous
track of the current disc. If a
selection has been playing for
three seconds or more and you press
, the CD changer will replay
that selection from the beginning.
²Press
to seek forward to the next track of the current disc. After
the last track has been completed, the first track of the current disc
will automatically replay.
Scan function
The scan function works in radio,
tape or CD mode (if equipped).
Scan function in radio mode
Press the SCAN control to activate scan mode and to hear a brief
sampling of all listenable stations on the frequency band.
Press the SCAN control again to disengage scan mode.
Scan function in tape mode
Press the SCAN control to hear a short sampling of all selections on the
tape. The tape will scan in a forward direction. At the end of the tape's
first side, direction automatically reverses to the opposite side of the
tape.
To stop on a particular selection, press the SCAN control again.
Scan function in CD mode
Press the SCAN control to hear a short sampling of all selections on the
CD. The CD will scan in a forward direction, wrapping back to the first
track at the end of the CD.
To stop on a particular selection, press the control again.
Radio station memory preset
The radio is equipped with six station memory preset controls. These
controls can be used to select up to six preset AM stations and twelve
FM stations (six in FM1 and six in FM2).
SEEK
SCAN
Controls and features
53
Page 54 of 240
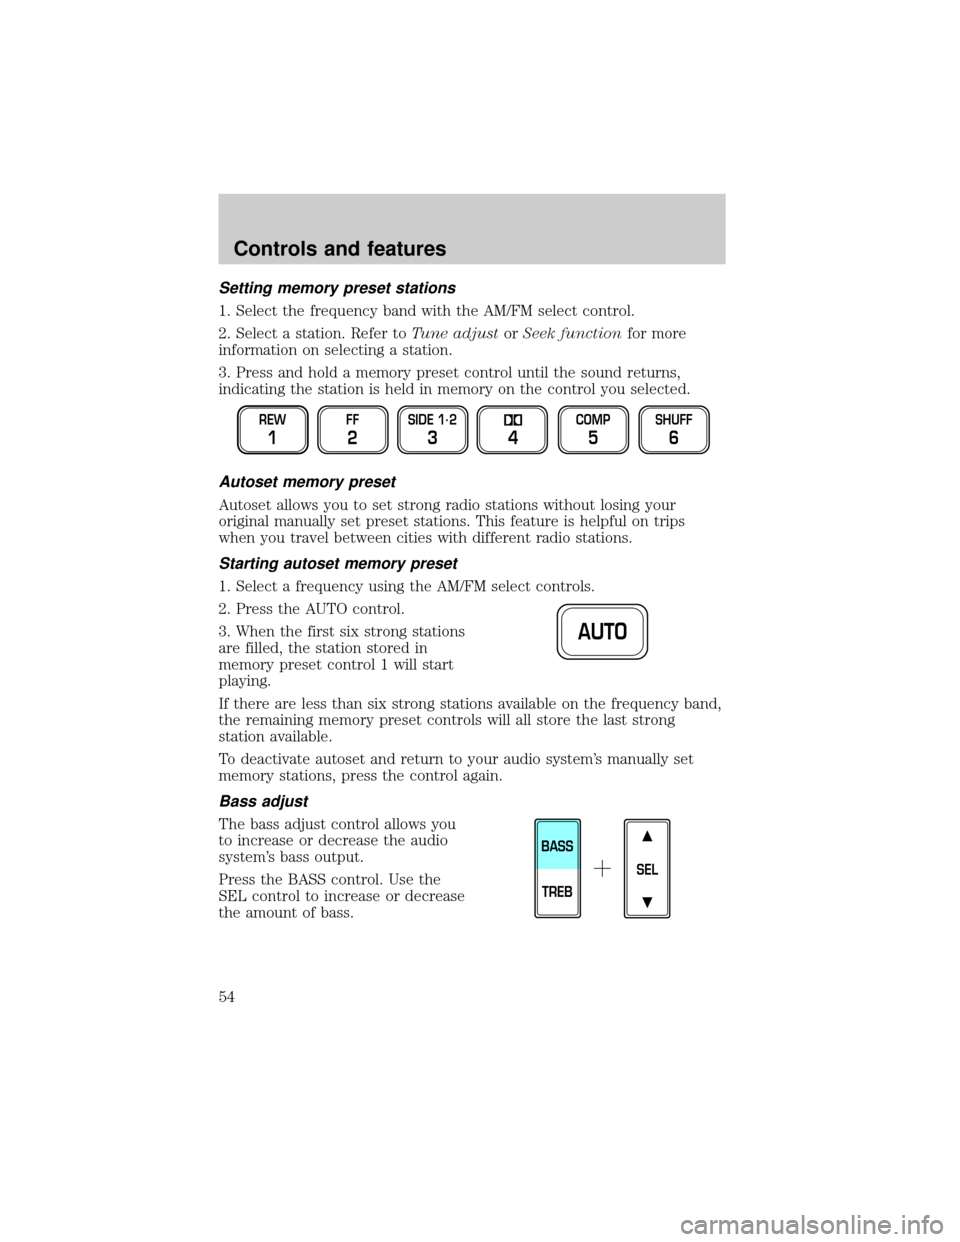
Setting memory preset stations
1. Select the frequency band with the AM/FM select control.
2. Select a station. Refer toTune adjustorSeek functionfor more
information on selecting a station.
3. Press and hold a memory preset control until the sound returns,
indicating the station is held in memory on the control you selected.
Autoset memory preset
Autoset allows you to set strong radio stations without losing your
original manually set preset stations. This feature is helpful on trips
when you travel between cities with different radio stations.
Starting autoset memory preset
1. Select a frequency using the AM/FM select controls.
2. Press the AUTO control.
3. When the first six strong stations
are filled, the station stored in
memory preset control 1 will start
playing.
If there are less than six strong stations available on the frequency band,
the remaining memory preset controls will all store the last strong
station available.
To deactivate autoset and return to your audio system's manually set
memory stations, press the control again.
Bass adjust
The bass adjust control allows you
to increase or decrease the audio
system's bass output.
Press the BASS control. Use the
SEL control to increase or decrease
the amount of bass.
REW
1
FF
2
SIDE 1.
2
34
COMP
5
SHUFF
6
AUTO
SEL
BASS
TREB
Controls and features
54
Page 73 of 240
Indicator light (if equipped)
This light comes on when either the
SET ACCEL or RES controls are
pressed. It turns off when the speed
control OFF control is pressed, the brake is applied or the ignition is
turned to the OFF position.
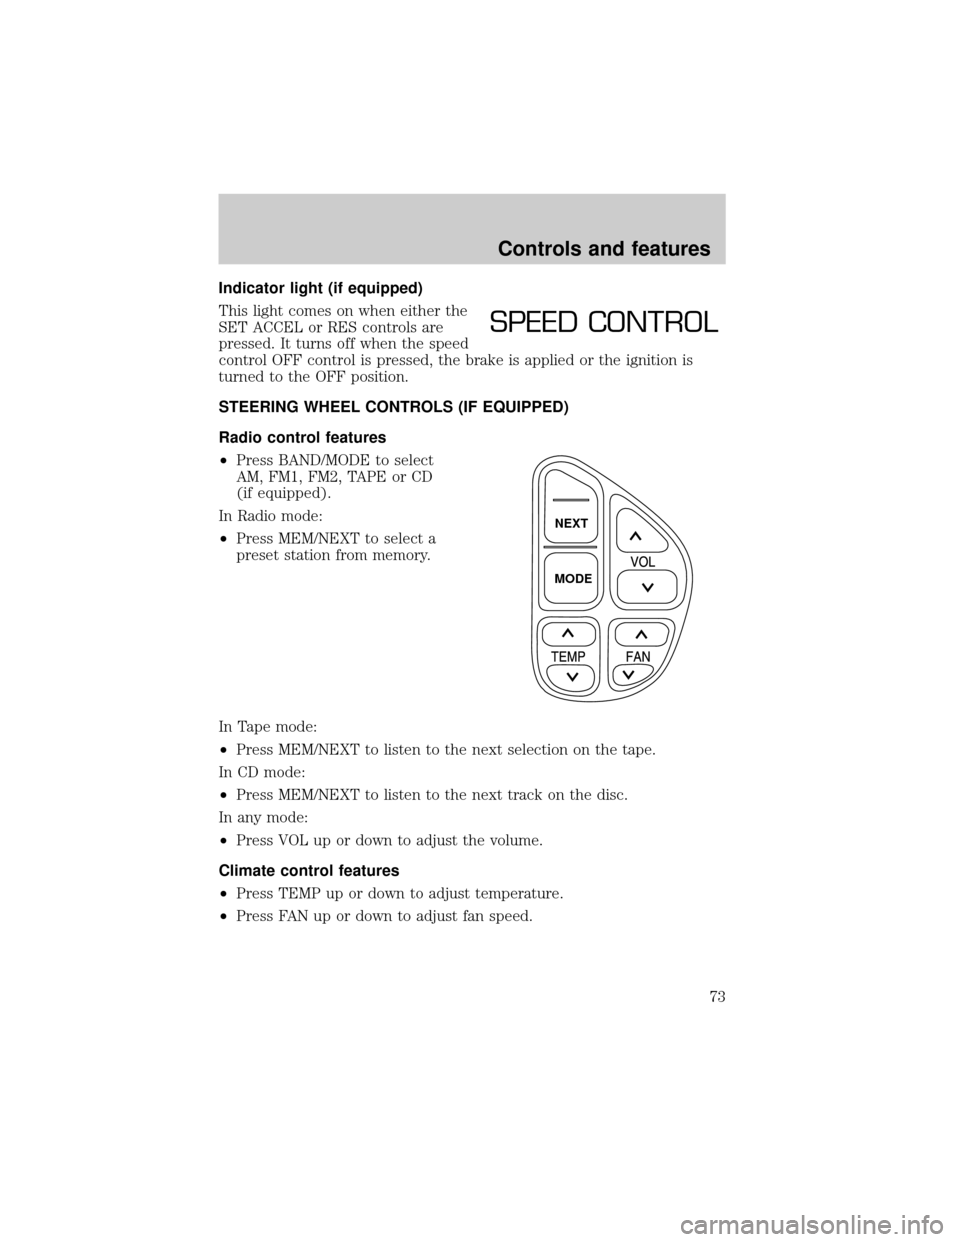
STEERING WHEEL CONTROLS (IF EQUIPPED)
Radio control features
²Press BAND/MODE to select
AM, FM1, FM2, TAPE or CD
(if equipped).
In Radio mode:
²Press MEM/NEXT to select a
preset station from memory.
In Tape mode:
²Press MEM/NEXT to listen to the next selection on the tape.
In CD mode:
²Press MEM/NEXT to listen to the next track on the disc.
In any mode:
²Press VOL up or down to adjust the volume.
Climate control features
²Press TEMP up or down to adjust temperature.
²Press FAN up or down to adjust fan speed.
SPEED CONTROL
NEXT
MODE
Controls and features
73
Page 150 of 240
Roadside coverage beyond basic warranty
In the United States, you may purchase additional roadside assistance
coverage beyond this period through the Ford Auto Club by contacting
your Ford or Lincoln Mercury dealer.
Similarly in Canada, for uninterrupted Roadside Assistance coverage, you
may purchase extended coverage prior to your Basic Warranty's Roadside
Assistance expiring. For more information and enrollment, contact
1±877±294±2582 or visit our website at www.ford.ca.
HAZARD FLASHER
Use only in an emergency to warn traffic of vehicle breakdown,
approaching danger, etc. The hazard flashers can be operated when the
ignition is off.
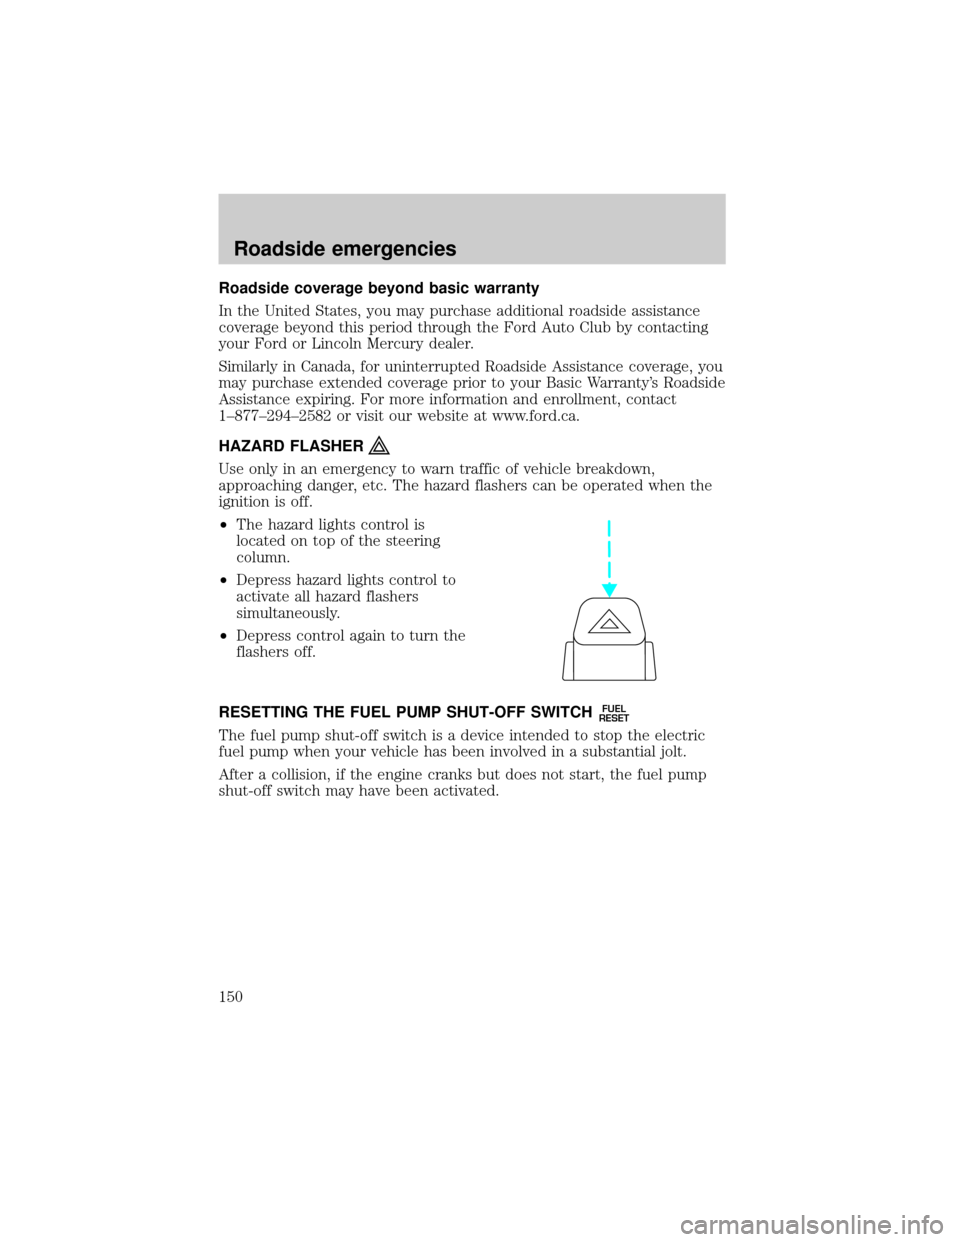
²The hazard lights control is
located on top of the steering
column.
²Depress hazard lights control to
activate all hazard flashers
simultaneously.
²Depress control again to turn the
flashers off.
RESETTING THE FUEL PUMP SHUT-OFF SWITCH
FUEL
RESET
The fuel pump shut-off switch is a device intended to stop the electric
fuel pump when your vehicle has been involved in a substantial jolt.
After a collision, if the engine cranks but does not start, the fuel pump
shut-off switch may have been activated.
Roadside emergencies
150
Page 151 of 240
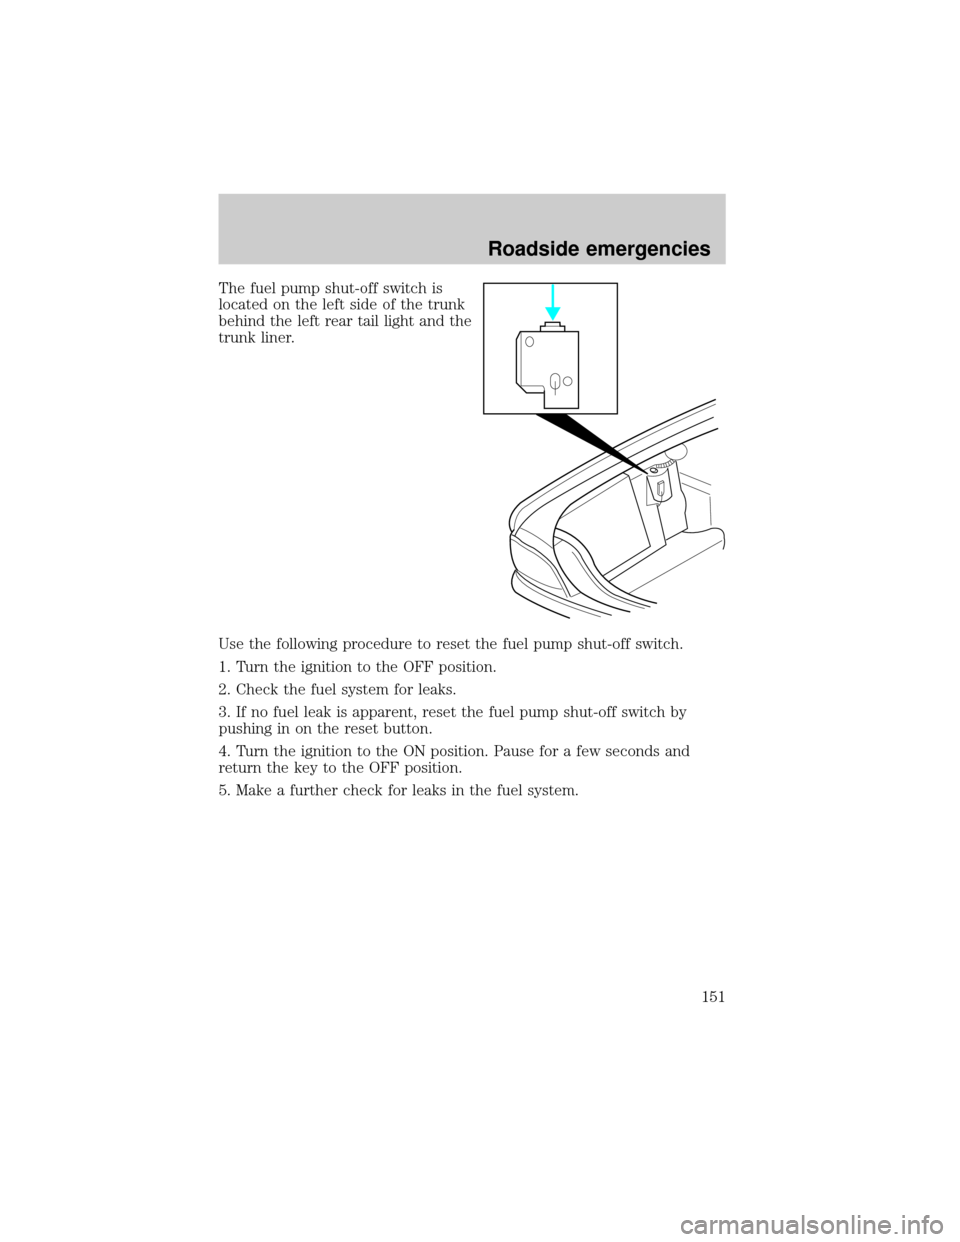
The fuel pump shut-off switch is
located on the left side of the trunk
behind the left rear tail light and the
trunk liner.
Use the following procedure to reset the fuel pump shut-off switch.
1. Turn the ignition to the OFF position.
2. Check the fuel system for leaks.
3. If no fuel leak is apparent, reset the fuel pump shut-off switch by
pushing in on the reset button.
4. Turn the ignition to the ON position. Pause for a few seconds and
return the key to the OFF position.
5. Make a further check for leaks in the fuel system.
Roadside emergencies
151
Page 181 of 240
How fail-safe cooling works
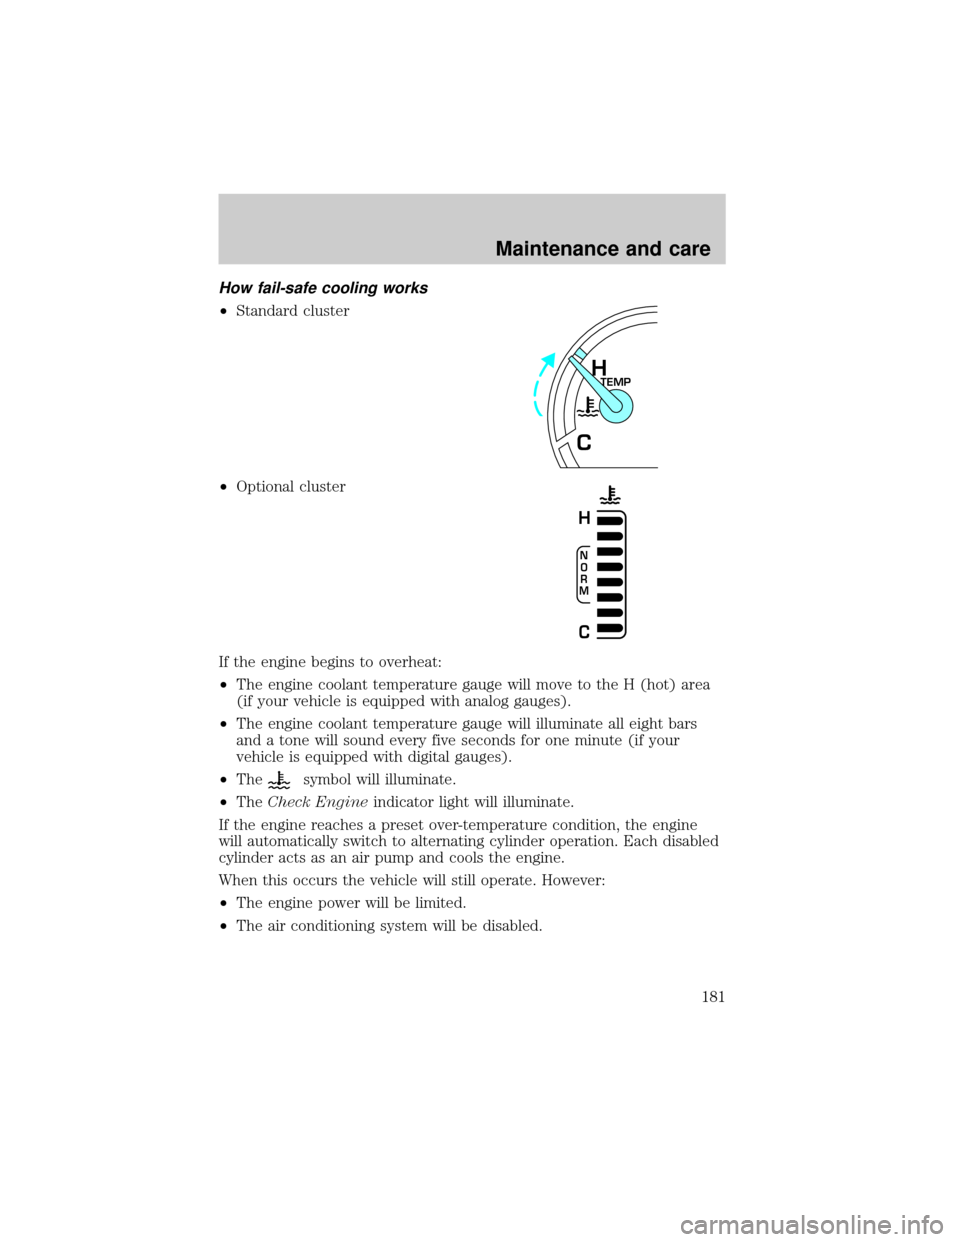
²Standard cluster
²Optional cluster
If the engine begins to overheat:
²The engine coolant temperature gauge will move to the H (hot) area
(if your vehicle is equipped with analog gauges).
²The engine coolant temperature gauge will illuminate all eight bars
and a tone will sound every five seconds for one minute (if your
vehicle is equipped with digital gauges).
²The
symbol will illuminate.
²TheCheck Engineindicator light will illuminate.
If the engine reaches a preset over-temperature condition, the engine
will automatically switch to alternating cylinder operation. Each disabled
cylinder acts as an air pump and cools the engine.
When this occurs the vehicle will still operate. However:
²The engine power will be limited.
²The air conditioning system will be disabled.
TEMPH
C
N
O
R
M
H
C
Maintenance and care
181
Page 188 of 240
²The vehicle may need to be driven 16 km (10 miles) or more to
relearn the idle and fuel trim strategy.
²If you do not allow the engine to relearn its idle trim, the idle
quality of your vehicle may be adversely affected until the idle
trim is eventually relearned.
If the battery has been disconnected or a new battery has been installed,
the clock must be reset once the battery is reconnected.
²Always dispose of automotive
batteries in a responsible manner.
Follow your local authorized
standards for disposal. Call your
local authorized recycling center
to find out more about recycling
automotive batteries.
AIR FILTER MAINTENANCE
Refer to the scheduled maintenance guide for the appropriate intervals
for changing the air filter element.
When changing the air filter element, use only the Motorcraft air filter
element listed. Refer toMotorcraft Part Numbers.
Note:Do not start your engine with the air cleaner removed and do not
remove it while the engine is running.
Changing the air filter element
1. Loosen the clamp that secures the air inlet tube to the engine air filter
cover and disconnect the tube from the cover.
2. Release the clamps that secure the air filter housing cover.
3. Carefully separate the two halves of the air filter housing.
4. Remove the air filter element from the air filter housing.
5. Wipe the air filter housing and cover clean to remove any dirt or
debris and to ensure good sealing.
LEAD
RETURN
RECYCLE
Maintenance and care
188