key Mercury Grand Marquis 2001 Owner's Manuals
[x] Cancel search | Manufacturer: MERCURY, Model Year: 2001, Model line: Grand Marquis, Model: Mercury Grand Marquis 2001Pages: 240, PDF Size: 1.86 MB
Page 11 of 240
Engine coolant temperature (if equipped)
Refer toEngine coolantin the
Maintenance and specifications
chapter. If light stays on or
continues to turn on after the
vehicle warms up, have your vehicle
serviced.
Never remove the coolant recovery cap while the engine is
running or hot.
Illuminates when the engine coolant temperature is high. Stop the
vehicle as soon as safely possible, switch off the engine and let it cool.
Refer toEngine coolantin theMaintenance and carechapter. If light
stays on or continues to turn on after the vehicle warms up, have your
vehicle serviced.
This light also illuminates briefly when the ignition key is turned to ON.
Safety belt
Momentarily illuminates when the
ignition is turned to the ON position
to remind you to fasten your safety
belts. For more information, refer to
theSeating and safety restraints
chapter.
Instrumentation
11
Page 16 of 240

Safety belt warning chime
Sounds to remind you to fasten your safety belts.
For information on the safety belt warning chime, refer to theSeating
and safety restraintschapter.
Belt minder chime
Sounds intermittently to remind you to fasten your safety belts.
For information on the safety belt minder chime, refer to theSeating
and safety restraintschapter.
Supplemental restraint system (SRS) warning chime
For information on the SRS warning chime, refer to theSeating and
safety restraintschapter.
Key-in-ignition warning chime
Sounds when the key is left in the ignition in the OFF/LOCK or ACC
position and the driver's door is opened.
Headlamps on warning chime
Sounds when the headlamps or parking lamps are on, the ignition is off
(and the key is not in the ignition) and the driver's door is opened.
Instrumentation
16
Page 17 of 240
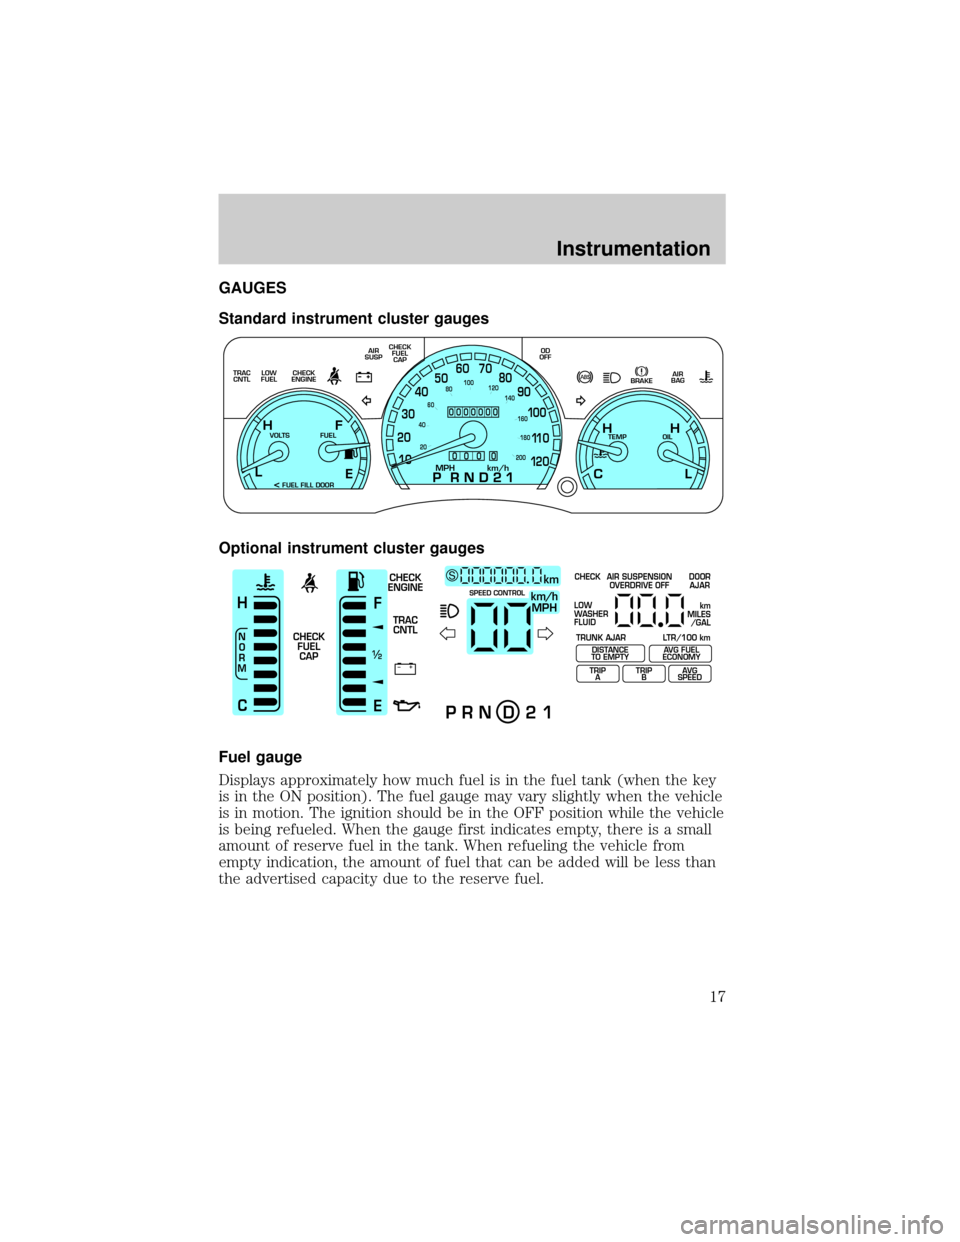
GAUGES
Standard instrument cluster gauges
Optional instrument cluster gauges
Fuel gauge
Displays approximately how much fuel is in the fuel tank (when the key
is in the ON position). The fuel gauge may vary slightly when the vehicle
is in motion. The ignition should be in the OFF position while the vehicle
is being refueled. When the gauge first indicates empty, there is a small
amount of reserve fuel in the tank. When refueling the vehicle from
empty indication, the amount of fuel that can be added will be less than
the advertised capacity due to the reserve fuel.
E
LOW
FUEL TRAC
CNTLCHECK
ENGINECHECK
FUEL
CAP AIR
SUSPOD
OFF
BRAKEAIR
BAG
TEMP OIL VOLTS FUEL
MPH km/h10 203040506070
80
90
10 0
11 0
12 020 406080100
120
140
160
180
200
H H
L C F H
L
< FUEL FILL DOOR
0000000
0
0 0 0
+ –
F
E
/2 1
N
O
R
M
H
Ckm/h
MPH
km SCHECK
ENGINE
TRAC
CNTL
CHECK
FUEL
CAPSPEED CONTROL
P R N D 2 1
CHECK
TRUNK AJAR LTR/100 kmAIR SUSPENSION
OVERDRIVE OFFDOOR
AJAR
LOW
WASHER
FLUID
TRIP
ATRIP
BAVG
SPEED
km
MILES
/GAL
DISTANCE
TO EMPTYAVG FUEL
ECONOMY
Instrumentation
17
Page 27 of 240
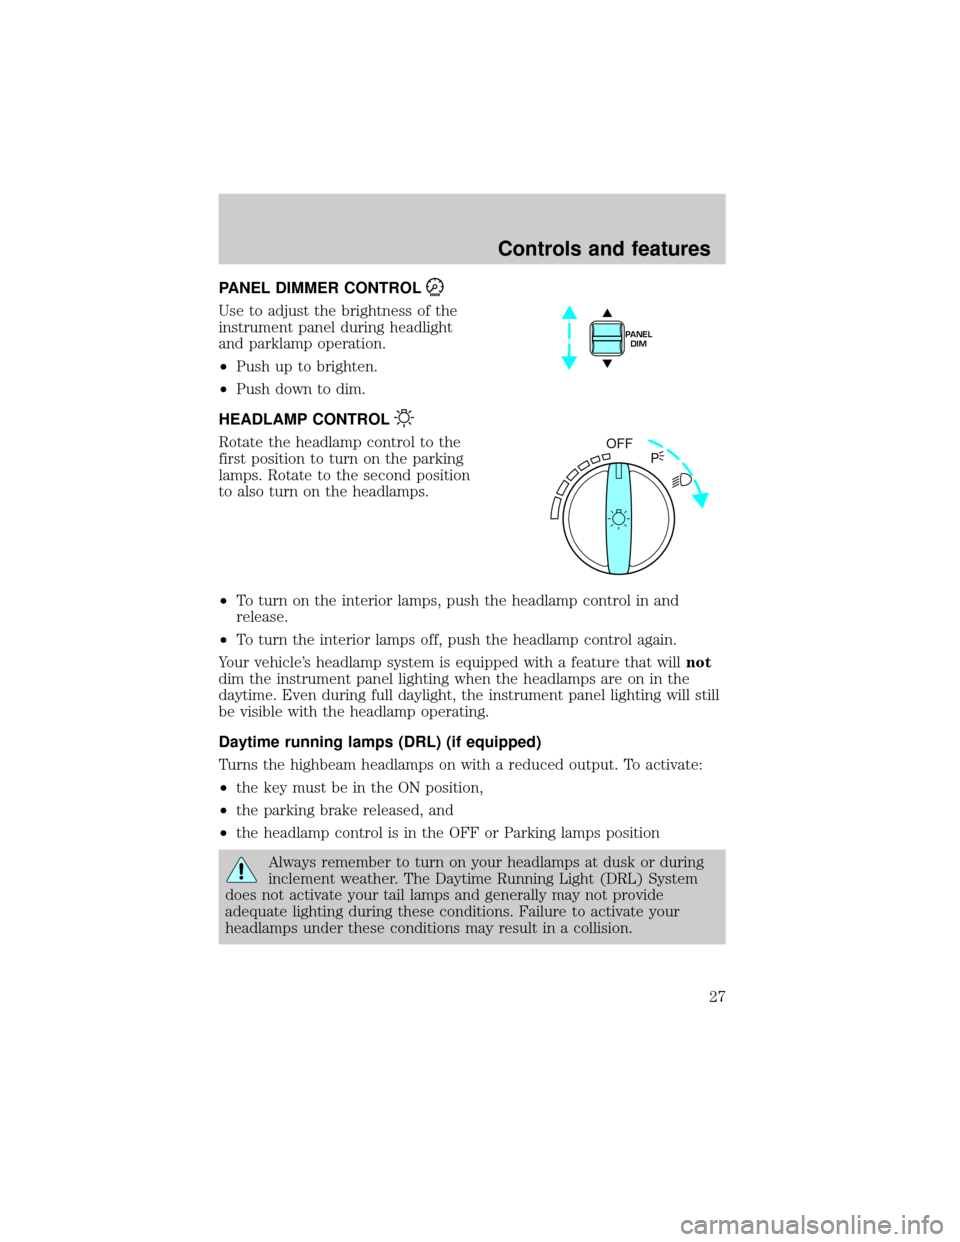
PANEL DIMMER CONTROL
Use to adjust the brightness of the
instrument panel during headlight
and parklamp operation.
²Push up to brighten.
²Push down to dim.
HEADLAMP CONTROL
Rotate the headlamp control to the
first position to turn on the parking
lamps. Rotate to the second position
to also turn on the headlamps.
²To turn on the interior lamps, push the headlamp control in and
release.
²To turn the interior lamps off, push the headlamp control again.
Your vehicle's headlamp system is equipped with a feature that willnot
dim the instrument panel lighting when the headlamps are on in the
daytime. Even during full daylight, the instrument panel lighting will still
be visible with the headlamp operating.
Daytime running lamps (DRL) (if equipped)
Turns the highbeam headlamps on with a reduced output. To activate:
²the key must be in the ON position,
²the parking brake released, and
²the headlamp control is in the OFF or Parking lamps position
Always remember to turn on your headlamps at dusk or during
inclement weather. The Daytime Running Light (DRL) System
does not activate your tail lamps and generally may not provide
adequate lighting during these conditions. Failure to activate your
headlamps under these conditions may result in a collision.
PANEL
DIM
OFF
P
Controls and features
27
Page 67 of 240
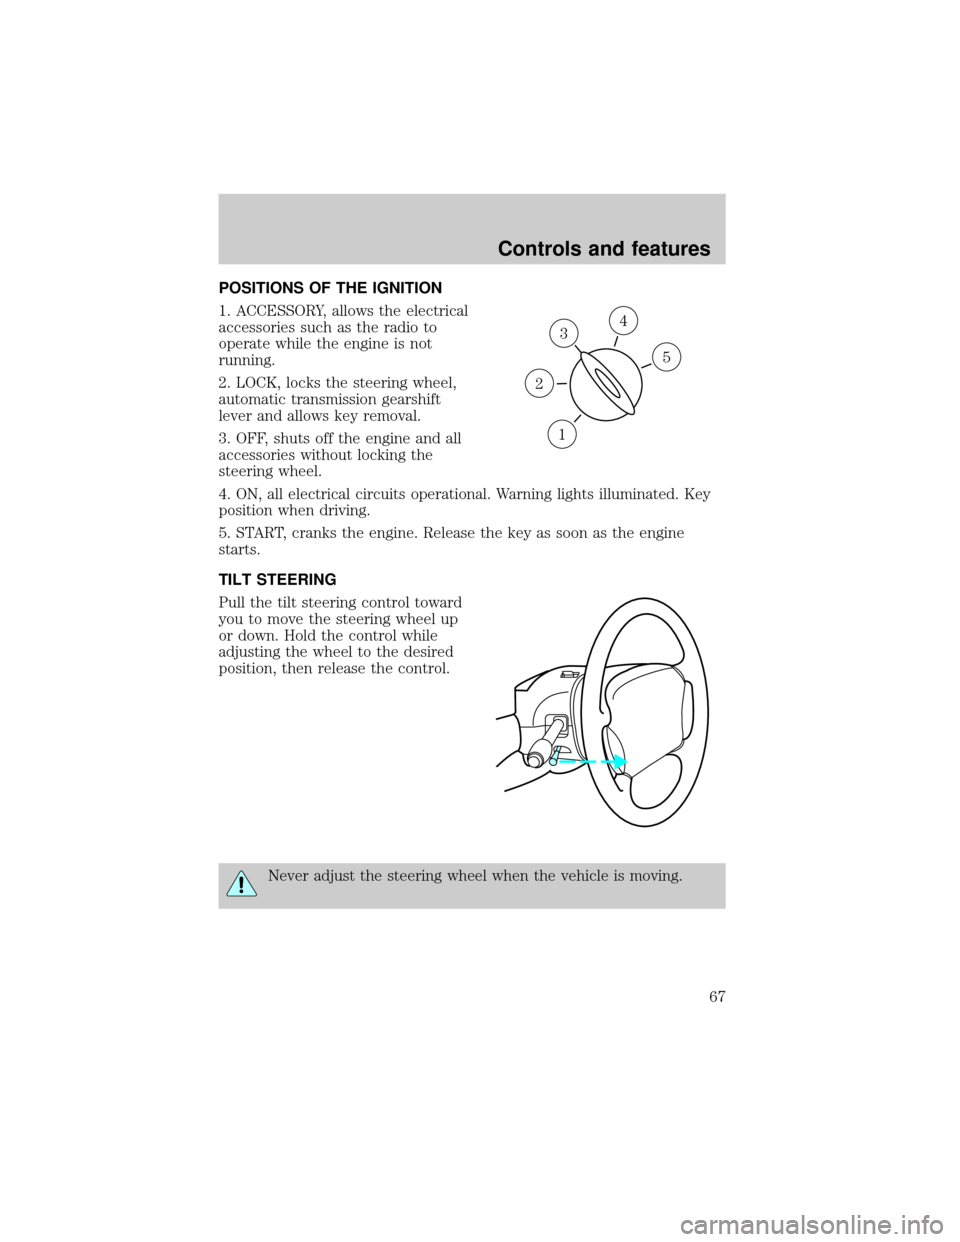
POSITIONS OF THE IGNITION
1. ACCESSORY, allows the electrical
accessories such as the radio to
operate while the engine is not
running.
2. LOCK, locks the steering wheel,
automatic transmission gearshift
lever and allows key removal.
3. OFF, shuts off the engine and all
accessories without locking the
steering wheel.
4. ON, all electrical circuits operational. Warning lights illuminated. Key
position when driving.
5. START, cranks the engine. Release the key as soon as the engine
starts.
TILT STEERING
Pull the tilt steering control toward
you to move the steering wheel up
or down. Hold the control while
adjusting the wheel to the desired
position, then release the control.
Never adjust the steering wheel when the vehicle is moving.
3
1
2
5
4
Controls and features
67
Page 82 of 240
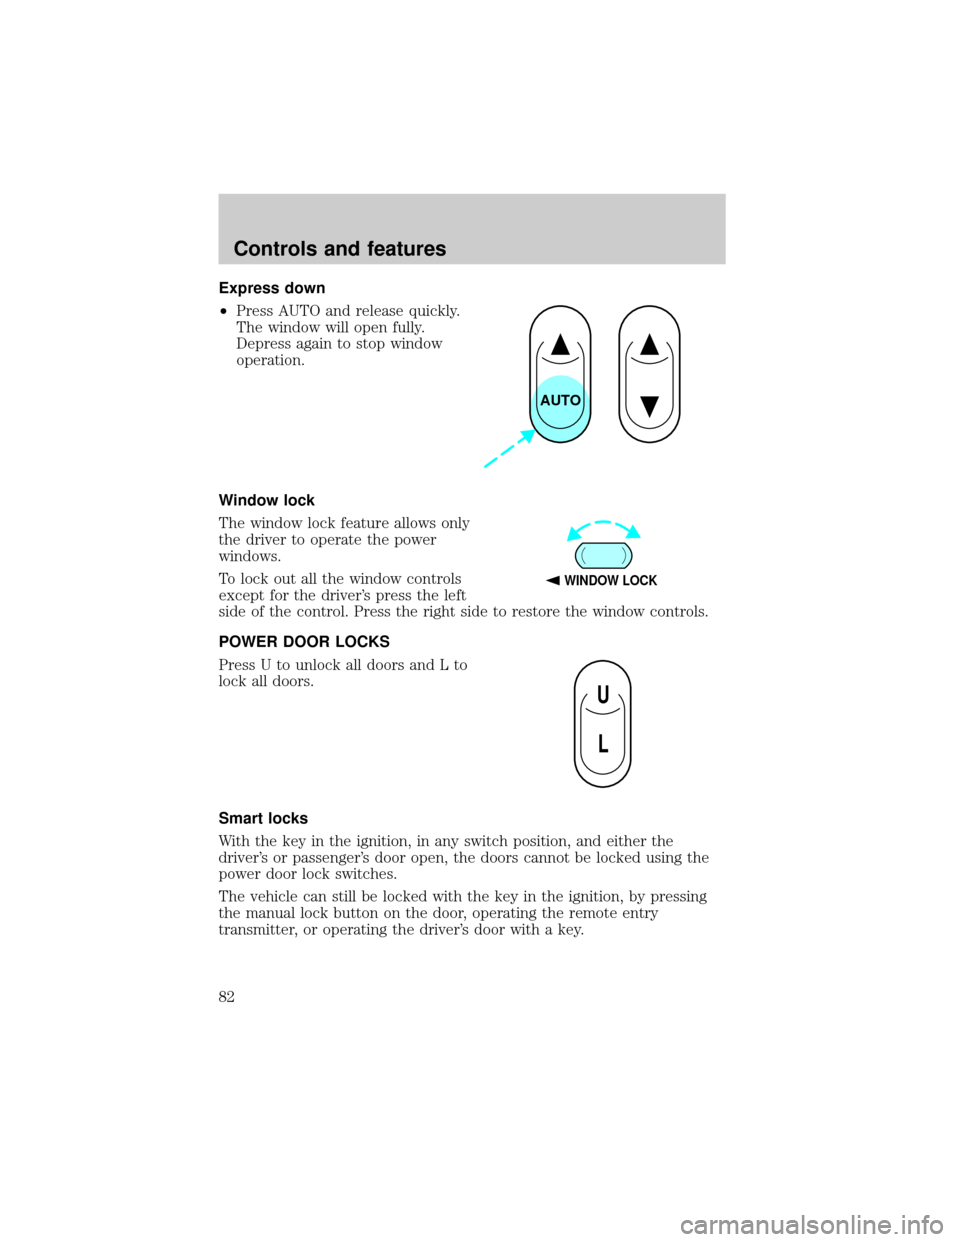
Express down
²Press AUTO and release quickly.
The window will open fully.
Depress again to stop window
operation.
Window lock
The window lock feature allows only
the driver to operate the power
windows.
To lock out all the window controls
except for the driver's press the left
side of the control. Press the right side to restore the window controls.
POWER DOOR LOCKS
Press U to unlock all doors and L to
lock all doors.
Smart locks
With the key in the ignition, in any switch position, and either the
driver's or passenger's door open, the doors cannot be locked using the
power door lock switches.
The vehicle can still be locked with the key in the ignition, by pressing
the manual lock button on the door, operating the remote entry
transmitter, or operating the driver's door with a key.
AUTO
WINDOW LOCK
U
L
Controls and features
82
Page 84 of 240
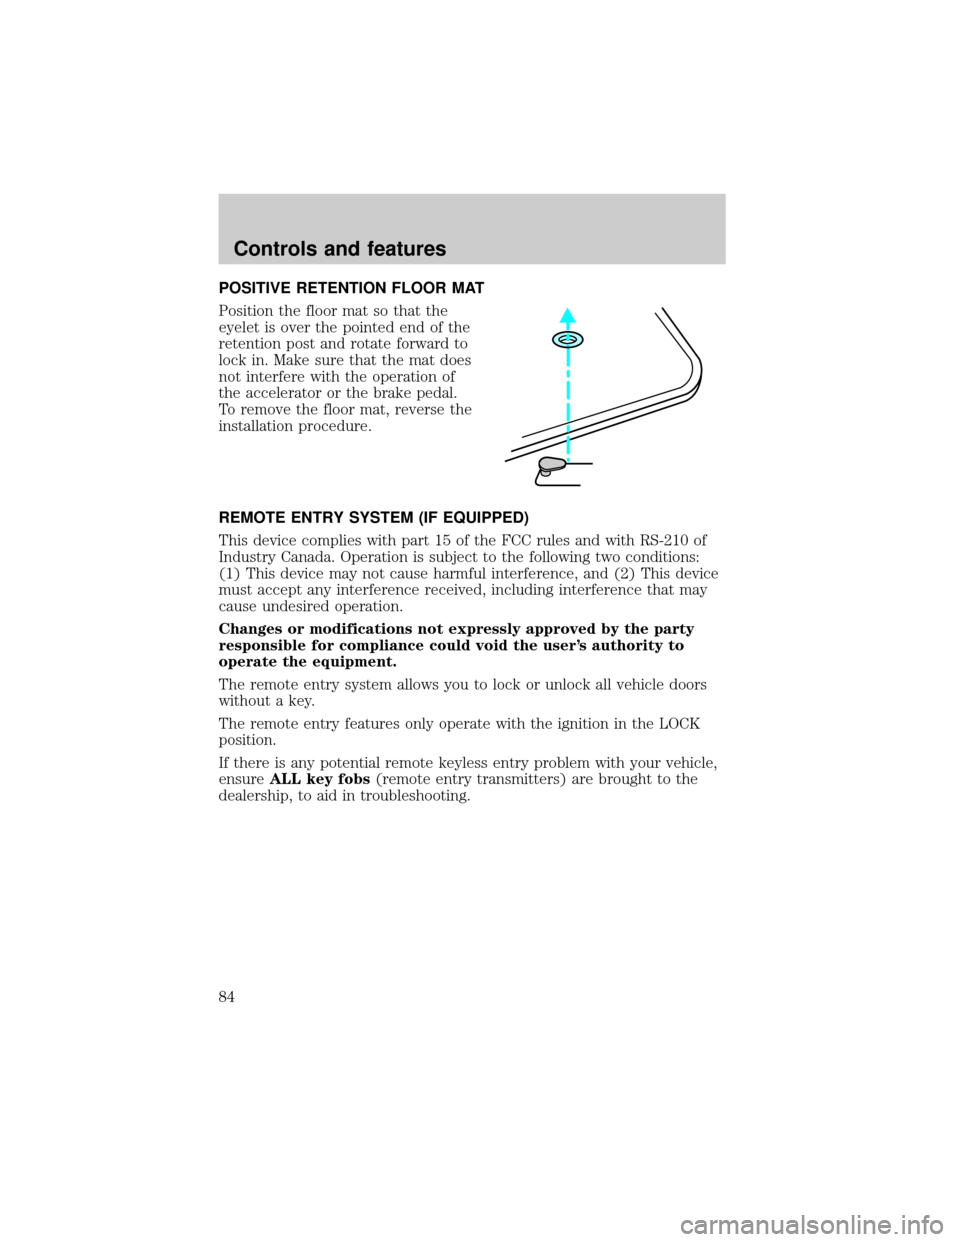
POSITIVE RETENTION FLOOR MAT
Position the floor mat so that the
eyelet is over the pointed end of the
retention post and rotate forward to
lock in. Make sure that the mat does
not interfere with the operation of
the accelerator or the brake pedal.
To remove the floor mat, reverse the
installation procedure.
REMOTE ENTRY SYSTEM (IF EQUIPPED)
This device complies with part 15 of the FCC rules and with RS-210 of
Industry Canada. Operation is subject to the following two conditions:
(1) This device may not cause harmful interference, and (2) This device
must accept any interference received, including interference that may
cause undesired operation.
Changes or modifications not expressly approved by the party
responsible for compliance could void the user's authority to
operate the equipment.
The remote entry system allows you to lock or unlock all vehicle doors
without a key.
The remote entry features only operate with the ignition in the LOCK
position.
If there is any potential remote keyless entry problem with your vehicle,
ensureALL key fobs(remote entry transmitters) are brought to the
dealership, to aid in troubleshooting.
Controls and features
84
Page 85 of 240
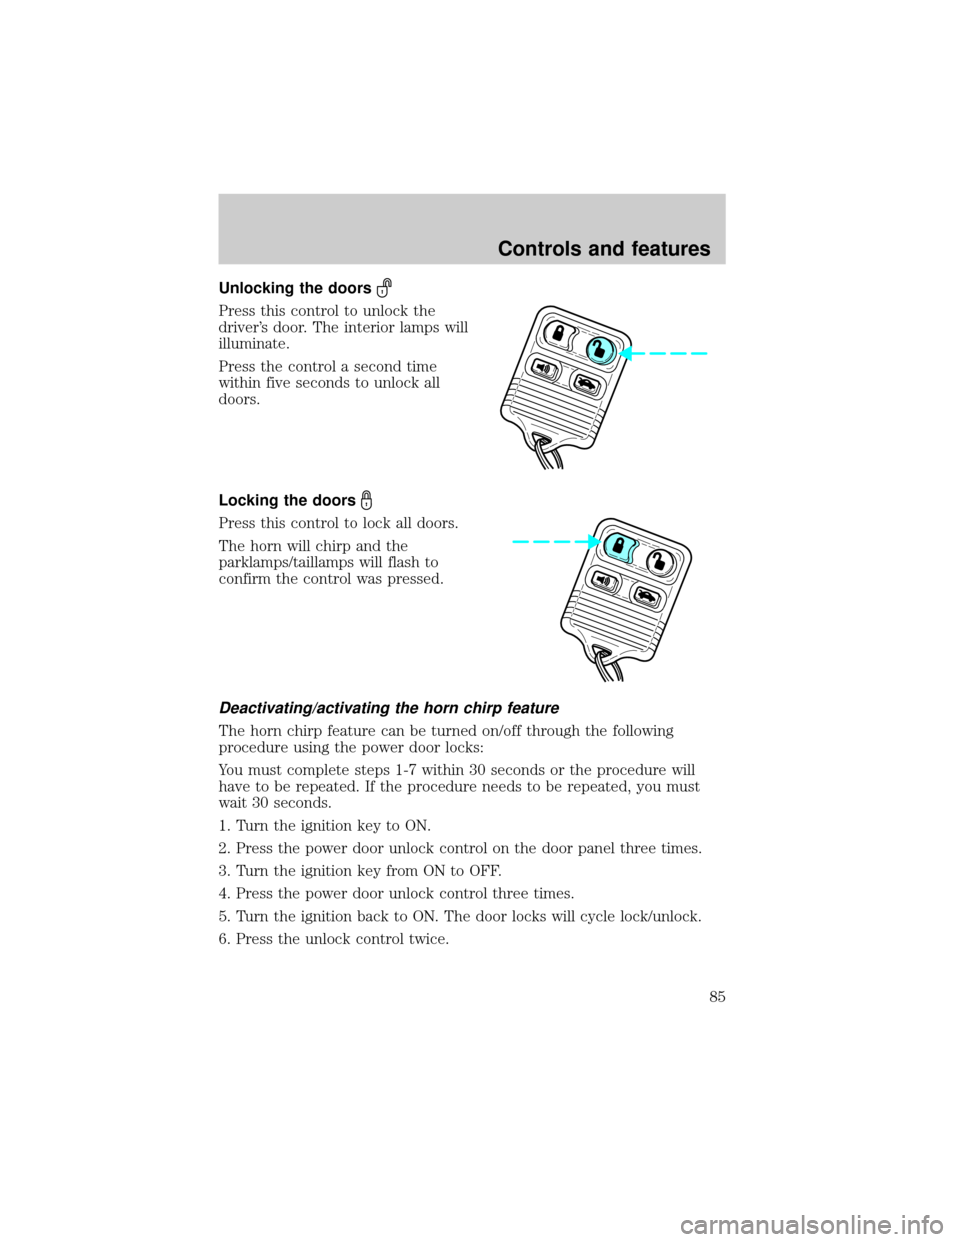
Unlocking the doors
Press this control to unlock the
driver's door. The interior lamps will
illuminate.
Press the control a second time
within five seconds to unlock all
doors.
Locking the doors
Press this control to lock all doors.
The horn will chirp and the
parklamps/taillamps will flash to
confirm the control was pressed.
Deactivating/activating the horn chirp feature
The horn chirp feature can be turned on/off through the following
procedure using the power door locks:
You must complete steps 1-7 within 30 seconds or the procedure will
have to be repeated. If the procedure needs to be repeated, you must
wait 30 seconds.
1. Turn the ignition key to ON.
2. Press the power door unlock control on the door panel three times.
3. Turn the ignition key from ON to OFF.
4. Press the power door unlock control three times.
5. Turn the ignition back to ON. The door locks will cycle lock/unlock.
6. Press the unlock control twice.
Controls and features
85
Page 86 of 240

7. After a five to ten second delay, the door locks will cycle lock/unlock
to confirm successful programming.
8. Turn the ignition to OFF.
This feature can also be turned
on/off through the following
procedure using the keyless entry
keypad.
1. Enter the keyless entry keypad factory-set code.
2. Within 5 seconds press and hold 7/8 control.
3. Within 5 seconds with 7/8 held down, press and release 1/2 control.
4. Release 7/8 control. The doors will lock/unlock to confirm successful
programming.
Autolock (if equipped)
This feature automatically locks all vehicle doors when:
²all doors are closed
²the ignition is in the ON position and
²you shift into any gear.
Relock
The autolock feature repeats when:
²any door, except the drivers, is opened then closed while the engine is
running and
²you put the vehicle in motion.
Deactivating/activating the autolock feature
Before following the procedure, make sure that the ignition is OFF and
all vehicle doors are closed.
Automatic door locks can be turned on/off with the keyless entry keypad
through the following procedure:
You must complete steps 1-5 within 30 seconds or the procedure will
have to be repeated. If the procedure needs to be repeated, you must
wait 30 seconds.
1. Enter the keyless entry keypad factory code.
2. Within 5 seconds, press and hold control 7/8.
123
45678
90
Controls and features
86
Page 87 of 240
3. Within 5 seconds (while holding down control 7/8), press and release
control 3/4.
4. Release control 7/8.
The door will lock/unlock to confirm the feature has been disabled. Once
disabled, the feature can be enabled by repeating the same sequence.
Automatic door locks can also be turned on/off through the following
procedure:
You must complete steps 1-7 within 30 seconds or the procedure will
have to be repeated. If the procedure needs to be repeated, you must
wait 30 seconds.
1. Turn the ignition key to ON.
2. Press the power door unlock control on the door panel three times.
3. Turn the ignition key from ON to OFF.
4. Press the power door unlock control three times.
5. Turn the ignition back to ON.
6. Press the unlock control once. After a five to ten second delay, the
door will lock/unlock to confirm successful programming.
7. Turn the ignition to OFF.
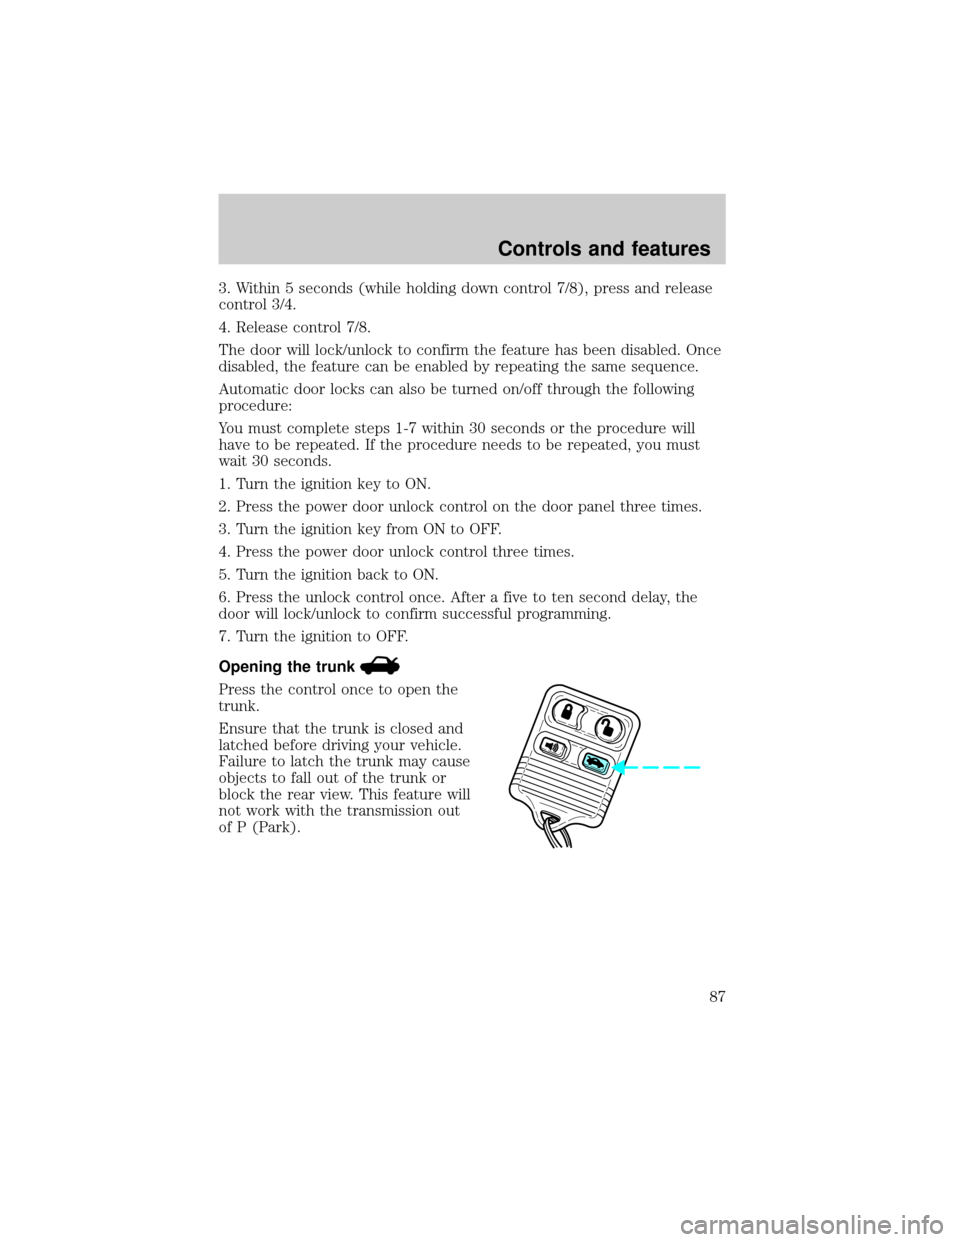
Opening the trunk
Press the control once to open the
trunk.
Ensure that the trunk is closed and
latched before driving your vehicle.
Failure to latch the trunk may cause
objects to fall out of the trunk or
block the rear view. This feature will
not work with the transmission out
of P (Park).
Controls and features
87