wheel Mercury Grand Marquis 2006 s Service Manual
[x] Cancel search | Manufacturer: MERCURY, Model Year: 2006, Model line: Grand Marquis, Model: Mercury Grand Marquis 2006Pages: 272, PDF Size: 2.47 MB
Page 179 of 272
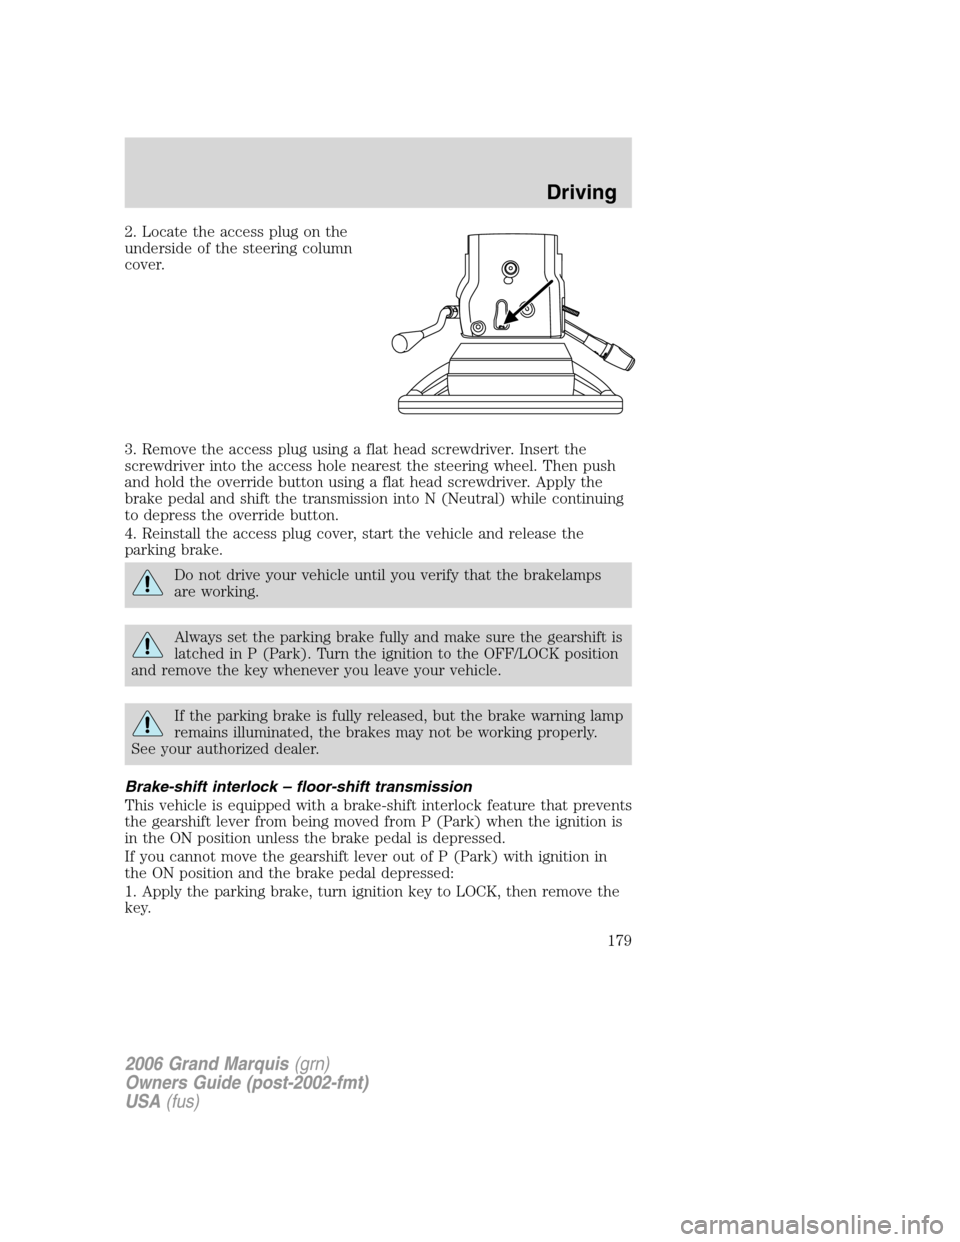
2. Locate the access plug on the
underside of the steering column
cover.
3. Remove the access plug using a flat head screwdriver. Insert the
screwdriver into the access hole nearest the steering wheel. Then push
and hold the override button using a flat head screwdriver. Apply the
brake pedal and shift the transmission into N (Neutral) while continuing
to depress the override button.
4. Reinstall the access plug cover, start the vehicle and release the
parking brake.
Do not drive your vehicle until you verify that the brakelamps
are working.
Always set the parking brake fully and make sure the gearshift is
latched in P (Park). Turn the ignition to the OFF/LOCK position
and remove the key whenever you leave your vehicle.
If the parking brake is fully released, but the brake warning lamp
remains illuminated, the brakes may not be working properly.
See your authorized dealer.
Brake-shift interlock – floor-shift transmission
This vehicle is equipped with a brake-shift interlock feature that prevents
the gearshift lever from being moved from P (Park) when the ignition is
in the ON position unless the brake pedal is depressed.
If you cannot move the gearshift lever out of P (Park) with ignition in
the ON position and the brake pedal depressed:
1. Apply the parking brake, turn ignition key to LOCK, then remove the
key.
2006 Grand Marquis(grn)
Owners Guide (post-2002-fmt)
USA(fus)
Driving
179
Page 180 of 272
2. Insert the key and turn it to ACC.Apply the brake pedal and shift
to N (Neutral).
When the key is in the ignition and in the ACC position, the
automatic transmission shift lever can be moved from the P
(Park) position without the brake pedal depressed. To avoid unwanted
vehicle movement, always set the parking brake.
3. Start the vehicle.
If it is necessary to use the above procedure to move the gearshift lever,
it is possible that a fuse has blown or the vehicle’s brakelamps are not
operating properly. Refer toFuses and relaysin theRoadside
Emergencieschapter.
Do not drive your vehicle until you verify that the brakelamps
are working.
Always set the parking brake fully and make sure the gearshift is
latched in P (Park). Turn the ignition to the LOCK position and
remove the key whenever you leave your vehicle.
If the parking brake is fully released, but the brake warning lamp
remains illuminated, the brakes may not be working properly.
See your authorized dealer.
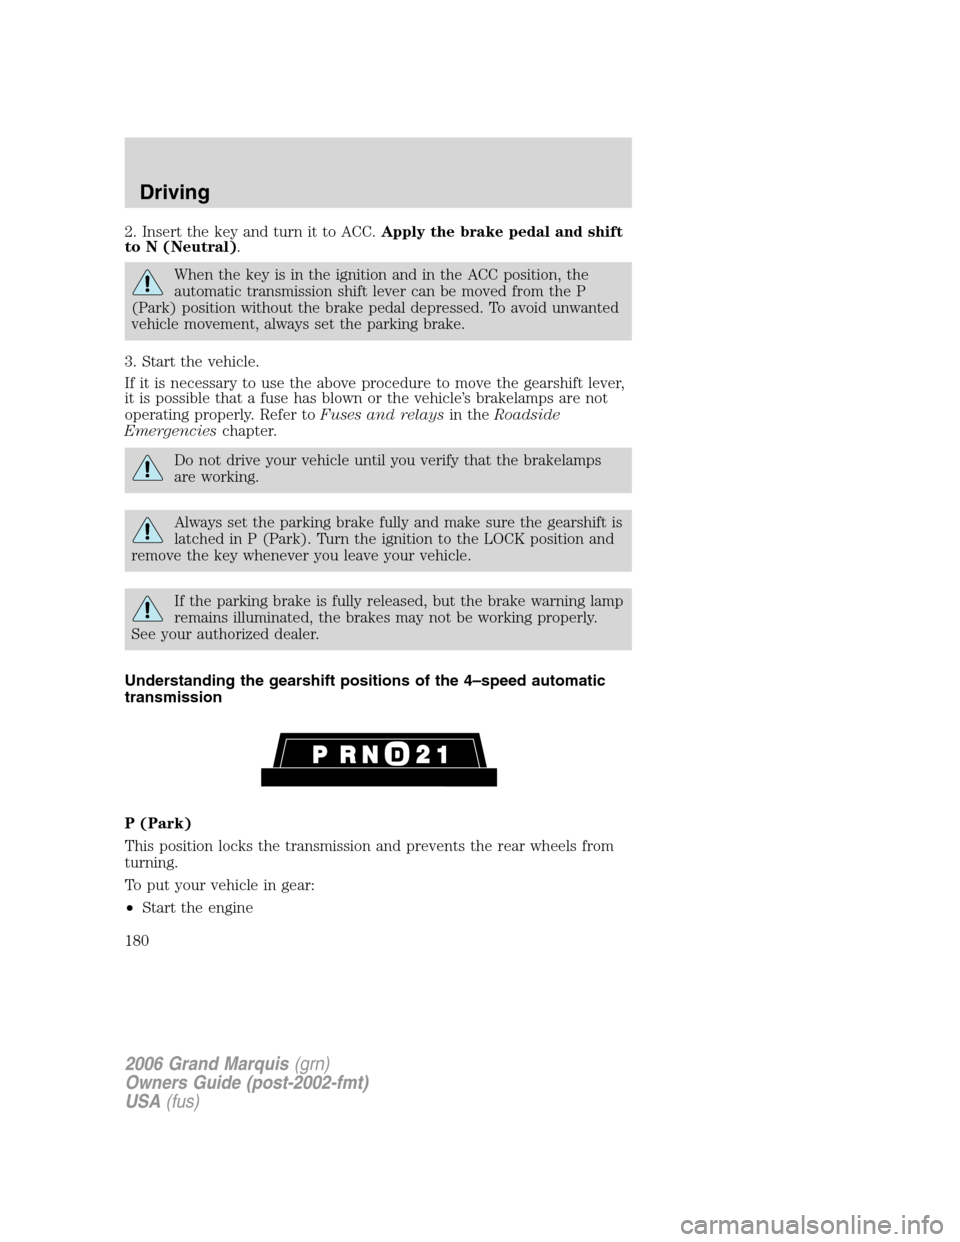
Understanding the gearshift positions of the 4–speed automatic
transmission
P (Park)
This position locks the transmission and prevents the rear wheels from
turning.
To put your vehicle in gear:
•Start the engine
2006 Grand Marquis(grn)
Owners Guide (post-2002-fmt)
USA(fus)
Driving
180
Page 183 of 272
1 (First)
•Provides maximum engine braking.
•Allows upshifts by moving gearshift lever.
•Will not downshift into 1 (First) at high speeds; allows for 1 (First)
when vehicle reaches slower speeds.
Forced downshifts
•Allowed in
(Overdrive) or Drive.
•Depress the accelerator to the floor.
•Allows transmission to select an appropriate gear.
If your vehicle gets stuck in mud or snow
If your vehicle gets stuck in mud or snow, it may be rocked out by
shifting between forward and reverse gears, stopping between shifts in a
steady pattern. Press lightly on the accelerator in each gear.
Do not rock the vehicle if the engine is not at normal operating
temperature or damage to the transmission may occur.
Do not rock the vehicle for more than a minute or damage to the
transmission and tires may occur, or the engine may overheat.
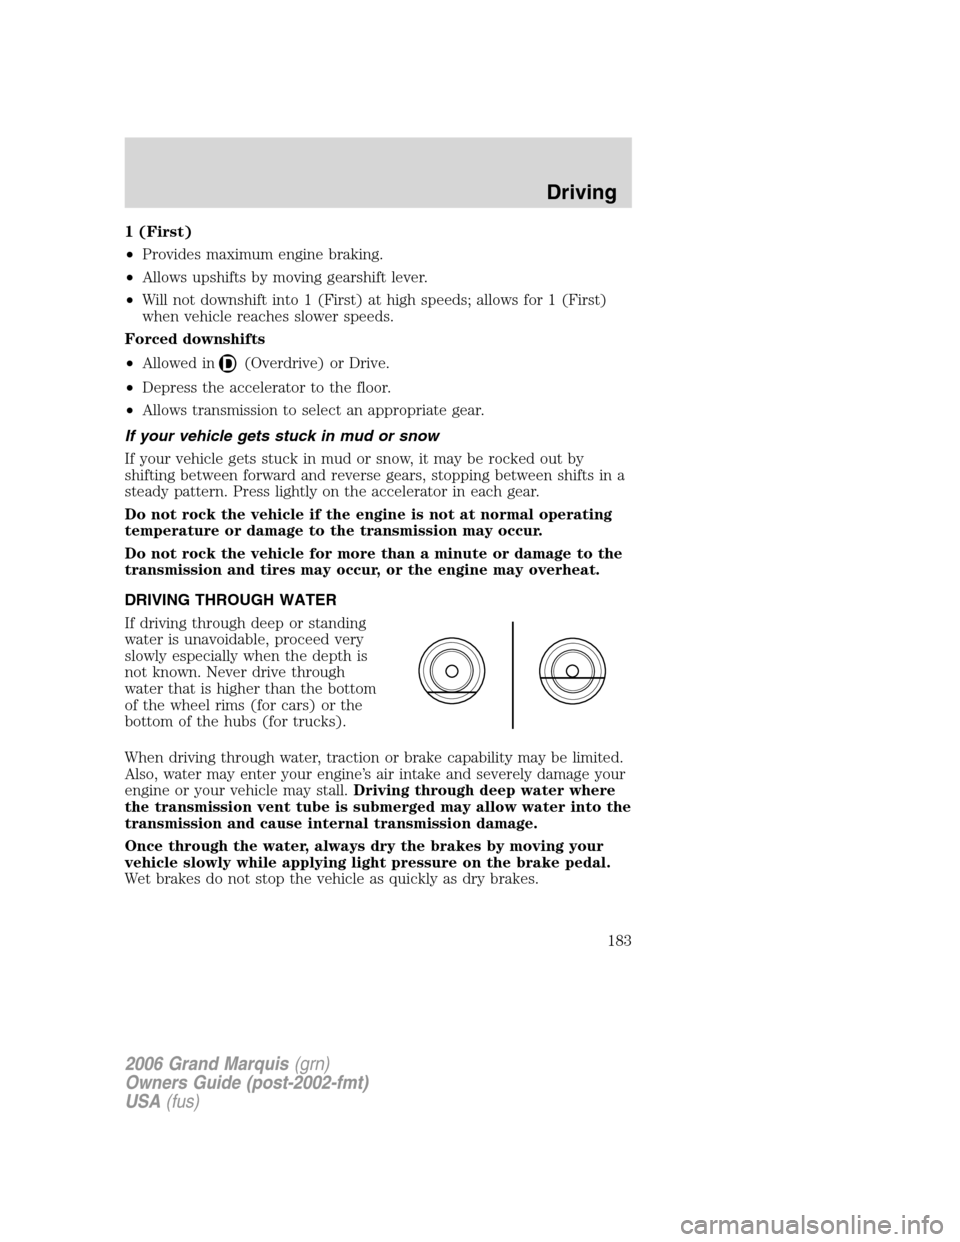
DRIVING THROUGH WATER
If driving through deep or standing
water is unavoidable, proceed very
slowly especially when the depth is
not known. Never drive through
water that is higher than the bottom
of the wheel rims (for cars) or the
bottom of the hubs (for trucks).
When driving through water, traction or brake capability may be limited.
Also, water may enter your engine’s air intake and severely damage your
engine or your vehicle may stall.Driving through deep water where
the transmission vent tube is submerged may allow water into the
transmission and cause internal transmission damage.
Once through the water, always dry the brakes by moving your
vehicle slowly while applying light pressure on the brake pedal.
Wet brakes do not stop the vehicle as quickly as dry brakes.
2006 Grand Marquis(grn)
Owners Guide (post-2002-fmt)
USA(fus)
Driving
183
Page 188 of 272
COLOR
Fuse
ratingMini
fusesStandard
fusesMaxi
fusesCartridge
maxi
fusesFuse link
cartridge
50A — — Red Red Red
60A — — Blue — Yellow
70A — — Tan — Brown
80A — — Natural — Black
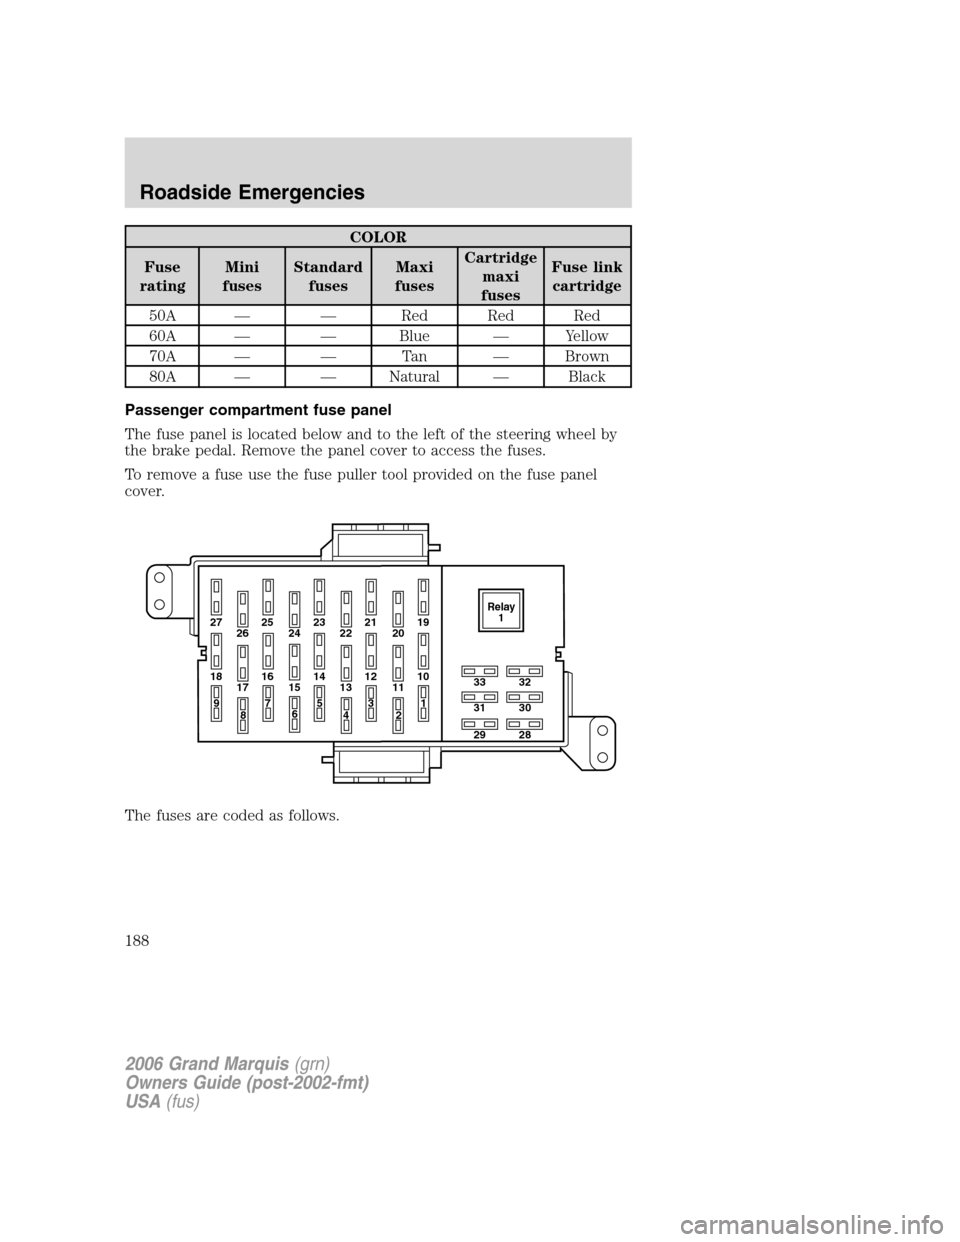
Passenger compartment fuse panel
The fuse panel is located below and to the left of the steering wheel by
the brake pedal. Remove the panel cover to access the fuses.
To remove a fuse use the fuse puller tool provided on the fuse panel
cover.
The fuses are coded as follows.
27 25
26 2423 21
2219
20
18 16
17 1514 12
1310
33
31
2932
30
28 11
97
8653
41
2Relay
1
2006 Grand Marquis(grn)
Owners Guide (post-2002-fmt)
USA(fus)
Roadside Emergencies
188
Page 195 of 272
CHANGING THE TIRES
If you get a flat tire while driving:
•do not brake heavily.
•gradually decrease the vehicle’s speed.
•hold the steering wheel firmly.
•slowly move to a safe place on the side of the road.
Your vehicle may be equipped with a conventional spare tire that is
different in one or more of the following: type, brand, size, speed rating
and tread design. If this is the case, this dissimilar spare tire is still rated
for your vehicle loads (GAWR and GVWR).
The use of tire sealants may damage your tires.
Dissimilar spare tire/wheel information
Failure to follow these guidelines could result in an increased
risk of loss of vehicle control, injury or death.
If you have a dissimilar spare tire/wheel, then it is intended for
temporary use only. This means that if you need to use it, you should
replace it as soon as possible with a road tire/wheel that is the same size
and type as the road tires and wheels that were originally provided by
Ford. If the dissimilar spare tire or wheel is damaged, it should be
replaced rather than repaired.
A dissimilar spare tire/wheel is defined as a spare tire and/or wheel that
is different in brand, size or appearance from the road tires and wheels
and can be one of three types:
1.T-type mini-spare:This spare tire begins with the letter “T” for tire
size and may have “Temporary Use Only” molded in the sidewall
2.Full-size dissimilar spare with label on wheel:This spare tire has
a label on the wheel that states: “THIS TIRE AND WHEEL FOR
TEMPORARY USE ONLY”
When driving with one of the dissimilar spare tires listed above,do not:
•Exceed 50 mph (80 km/h)
•Load the vehicle beyond maximum vehicle load rating listed on the
Safety Compliance Label
2006 Grand Marquis(grn)
Owners Guide (post-2002-fmt)
USA(fus)
Roadside Emergencies
195
Page 196 of 272
•Tow a trailer
•Use snow chains on the end of the vehicle with the dissimilar spare
tire
•Use more than one dissimilar spare tire at a time
•Use commercial car washing equipment
•Try to repair the dissimilar spare tire
Use of one of the dissimilar spare tires listed above at any one wheel
location can lead to impairment of the following:
•Handling, stability and braking performance
•Comfort and noise
•Ground clearance and parking at curbs
•Winter weather driving capability
•Wet weather driving capability
For vehicles equipped with 4WD, it is not recommended that the vehicle
be operated in 4WD modes with a temporary emergency spare tire. If
4WD operation is necessary, do not operate above speeds of 10 mph
(16 km/h) or for distances above 50 miles (80 km).
3.Full-size dissimilar spare without label on wheel
When driving with the full-size dissimilar spare tire/wheel,do not:
•Exceed 70 mph (113 km/h)
•Use more than one dissimilar spare tire/wheel at a time
•Use commercial car washing equipment
•Use snow chains on the end of the vehicle with the dissimilar spare
tire/wheel
The usage of a full-size dissimilar spare tire/wheel can lead to
impairment of the following:
•Handling, stability and braking performance
•Comfort and noise
•Ground clearance and parking at curbs
•Winter weather driving capability
•Wet weather driving capability
•All-Wheel driving capability (if applicable)
•Load leveling adjustment (if applicable)
2006 Grand Marquis(grn)
Owners Guide (post-2002-fmt)
USA(fus)
Roadside Emergencies
196
Page 197 of 272
When driving with the full-size dissimilar spare tire/wheel additional
caution should be given to:
•Towing a trailer
•Driving vehicles equipped with a camper body
•Driving vehicles with a load on the cargo rack
Drive cautiously when using a full-size dissimilar spare tire/wheel and
seek service as soon as possible.
Full-size Matching Spare Tire/Wheel Information
This spare tire/wheel will match the road tire/wheel. When driving with
the full size matching spare tire/wheel, do not exceed 70 mph (113
km/h). It is intended for temporary use only. This means if you need to
use it, you should replace it as soon as possible.
Tire change procedure
To help prevent the vehicle from moving when you change a tire,
be sure the parking brake is set, then block (in both directions)
the wheel that is diagonally opposite (other side and end of the
vehicle) to the tire being changed.
If the vehicle slips off the jack, you or someone else could be
seriously injured.
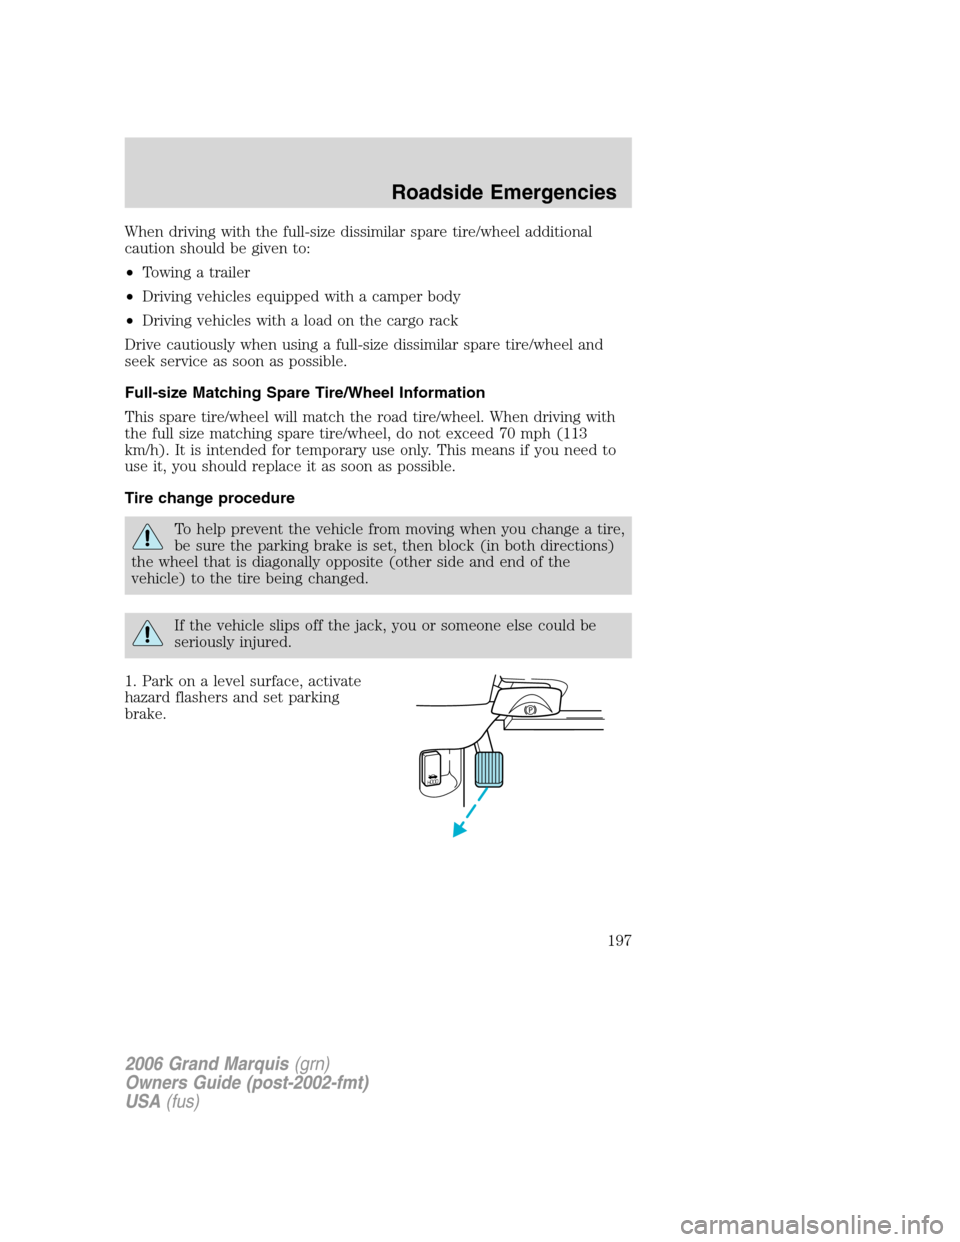
1. Park on a level surface, activate
hazard flashers and set parking
brake.
HOOD
2006 Grand Marquis(grn)
Owners Guide (post-2002-fmt)
USA(fus)
Roadside Emergencies
197
Page 198 of 272
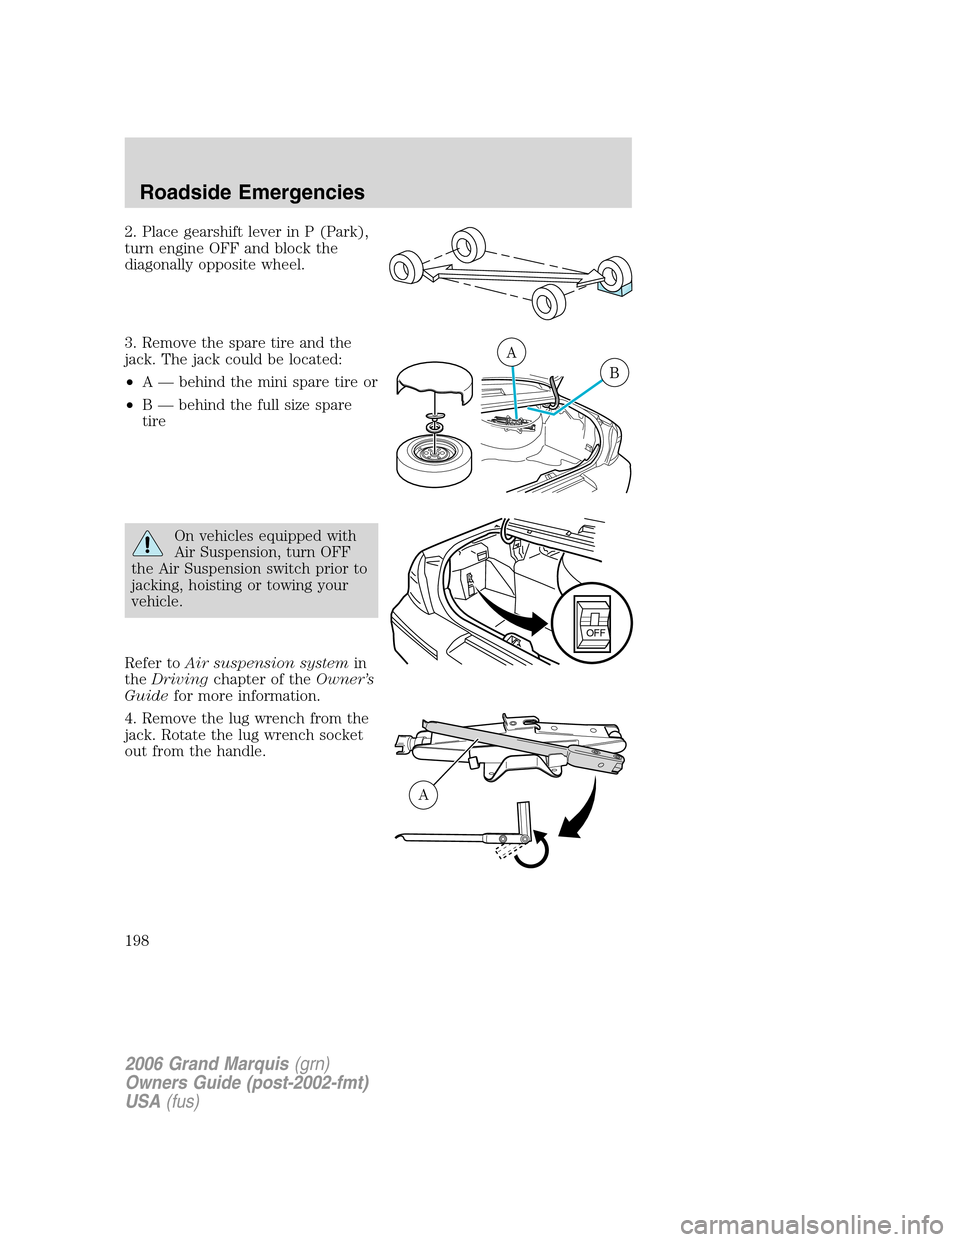
2. Place gearshift lever in P (Park),
turn engine OFF and block the
diagonally opposite wheel.
3. Remove the spare tire and the
jack. The jack could be located:
•A — behind the mini spare tire or
•B — behind the full size spare
tire
On vehicles equipped with
Air Suspension, turn OFF
the Air Suspension switch prior to
jacking, hoisting or towing your
vehicle.
Refer toAir suspension systemin
theDrivingchapter of theOwner’s
Guidefor more information.
4. Remove the lug wrench from the
jack. Rotate the lug wrench socket
out from the handle.
OFF
A
2006 Grand Marquis(grn)
Owners Guide (post-2002-fmt)
USA(fus)
Roadside Emergencies
198
Page 199 of 272

5. Locate pry off notch (if
equipped) and remove the center
ornament from the aluminum wheel
with the tapered end of the wheel
nut wrench that came with your
vehicle. Insert and twist the handle,
then pry against the wheel.
6. If equipped with a full
wheelcover, remove the wheelcover
center ornament then loosen the five black plastic nuts which retain the
wheelcover using the lug wrench.
7. Loosen each wheel metal lug nut one-half turn counterclockwise but
do not remove them until the wheel is raised off the ground.
Before placing the jack under the vehicle, NOTE the jack location
markings:
JACK LOCATION
The jack location markings can be
foundon the lower outer edge of
the body.
•Locate the jack locator mark (B)
on the body (C) near the tire you
are changing, then place the jack
(D)under the frame (A) of
the vehiclealigning it with the
mark (B).
•Position the jack according to the
following guides and turn the jack
handle clockwise until the wheel
is completely off the ground.
A
D
B
C
2006 Grand Marquis(grn)
Owners Guide (post-2002-fmt)
USA(fus)
Roadside Emergencies
199
Page 200 of 272

To lessen risk of personal
injury, do not put any part
of your body under the vehicle
while changing a tire. Do not start
the engine when your vehicle is
on the jack. The jack is ONLY
meant for changing the tire.
•Never use the rear differential
as a jacking point.
8. Remove the metal lug nuts with the lug wrench.
9. Replace the flat tire/wheel assembly with the spare tire/wheel
assembly, making sure the valve stem is facing outward. Reinstall lug
nuts until the wheel is snug against the hub. Do not fully tighten the lug
nuts until the wheel has been lowered.
10. Lower the vehicle by turning the jack handle counterclockwise.
11. Remove the jack and fully
tighten the lug nuts in the order
shown. Refer toWheel lug nut
torque specificationslater in this
chapter for the proper lug nut
torque specification.
12. For full size spare aluminum
wheel, firmly install the center
ornament. If equipped with a full
size spare tire/wheel assembly and
lug nut retained full wheelcover, install the wheelcover by tightening the
five black plastic nuts in the order shown on the wheelcover using the
lug wrench with about 80 lb. in. (9 N•m) torque. Then firmly install the
wheelcover center ornament.
13. Put flat tire, jack and lug wrench away.
14. Turn on the air suspension switch (if equipped).
WHEEL LUG NUT TORQUE SPECIFICATIONS
Retighten the lug nuts to the specified torque at 500 miles (800 km)
after any wheel disturbance (tire rotation, changing a flat tire, wheel
removal, etc.).
1
4 3
2 5
2006 Grand Marquis(grn)
Owners Guide (post-2002-fmt)
USA(fus)
Roadside Emergencies
200