light Mercury Grand Marquis 2009 s Repair Manual
[x] Cancel search | Manufacturer: MERCURY, Model Year: 2009, Model line: Grand Marquis, Model: Mercury Grand Marquis 2009Pages: 270, PDF Size: 1.95 MB
Page 165 of 270
Preparing to tow
Use the proper equipment for towing a trailer and make sure it is
properly attached to your vehicle. Contact your authorized dealer or a
reliable trailer dealer as soon as possible if you require assistance.
Hitches
Do not use hitches that clamp onto the vehicle bumper. Use a load
carrying hitch. You must distribute the load in your trailer so that
10–15% of the total weight of the trailer is on the tongue.
Safety chains
Always connect the trailer’s safety chains to the frame or hook retainers
of the vehicle hitch. To connect the trailer’s safety chains, cross the
chains under the trailer tongue and allow slack for turning corners.
If you use a rental trailer, follow the instructions that the rental agency
gives to you.
Do not attach safety chains to the bumper.
Trailer brakes
Electric brakes and manual, automatic or surge-type trailer brakes are
safe if installed properly and adjusted to the manufacturer’s
specifications. The trailer brakes must meet local and Federal
regulations.
WARNING:Do not connect a trailer’s hydraulic brake system
directly to your vehicle’s brake system. Your vehicle may not
have enough braking power and your chances of having a collision
greatly increase.
The braking system of the tow vehicle is rated for operation at the
GVWR not GCWR.
Trailer lamps
Trailer lamps are required on most towed vehicles. Make sure all running
lights, brake lights, turn signals and hazard lights are working. Contact
your authorized dealer or trailer rental agency for proper instructions
and equipment for hooking up trailer lamps.
2009 Grand Marquis(grn)
Owners Guide(own2002), 2nd Printing
USA(fus)
Tires, Wheels and Loading
165
Page 168 of 270
STARTING
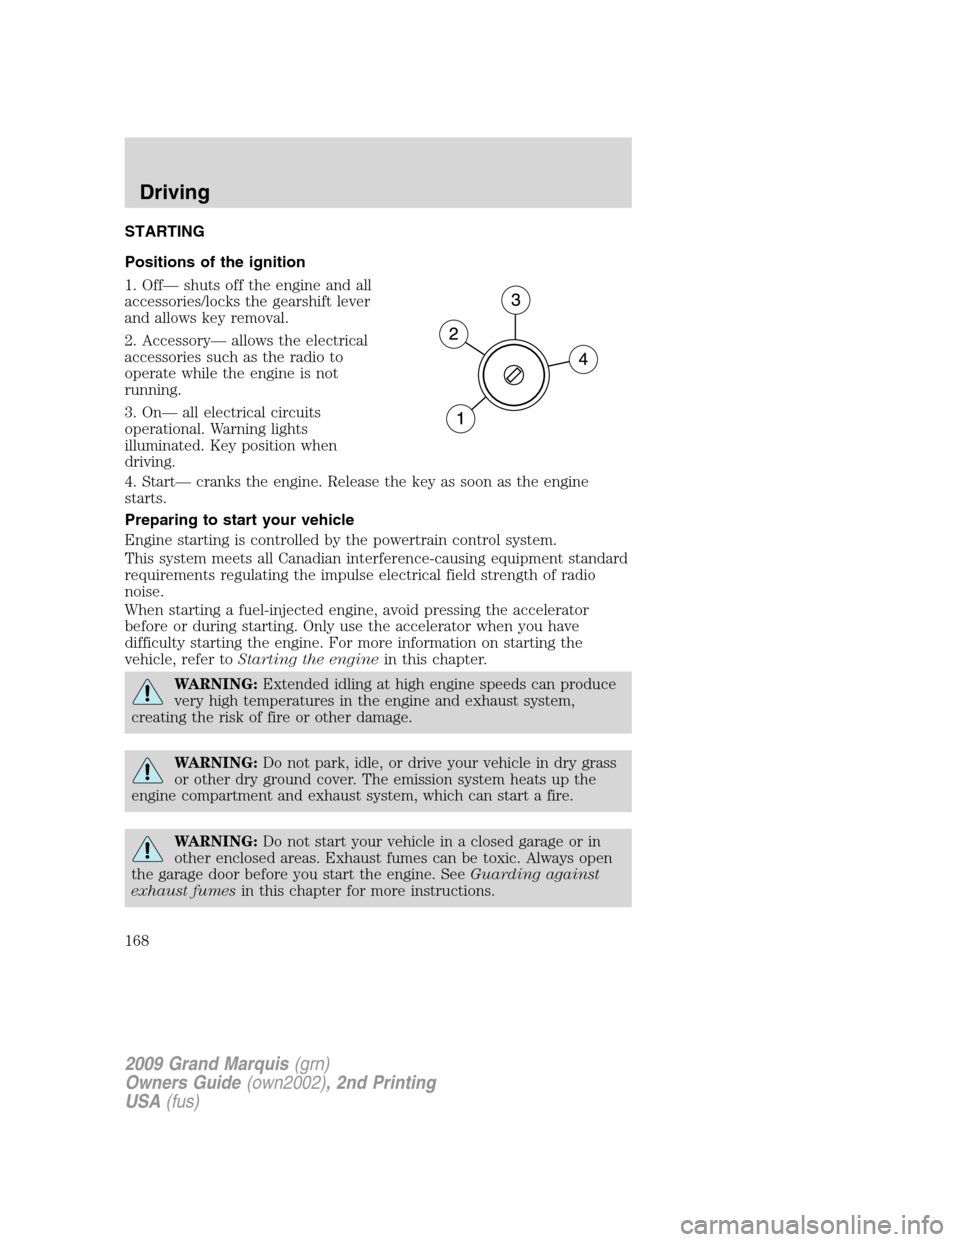
Positions of the ignition
1. Off— shuts off the engine and all
accessories/locks the gearshift lever
and allows key removal.
2. Accessory— allows the electrical
accessories such as the radio to
operate while the engine is not
running.
3. On— all electrical circuits
operational. Warning lights
illuminated. Key position when
driving.
4. Start— cranks the engine. Release the key as soon as the engine
starts.
Preparing to start your vehicle
Engine starting is controlled by the powertrain control system.
This system meets all Canadian interference-causing equipment standard
requirements regulating the impulse electrical field strength of radio
noise.
When starting a fuel-injected engine, avoid pressing the accelerator
before or during starting. Only use the accelerator when you have
difficulty starting the engine. For more information on starting the
vehicle, refer toStarting the enginein this chapter.
WARNING:Extended idling at high engine speeds can produce
very high temperatures in the engine and exhaust system,
creating the risk of fire or other damage.
WARNING:Do not park, idle, or drive your vehicle in dry grass
or other dry ground cover. The emission system heats up the
engine compartment and exhaust system, which can start a fire.
WARNING:Do not start your vehicle in a closed garage or in
other enclosed areas. Exhaust fumes can be toxic. Always open
the garage door before you start the engine. SeeGuarding against
exhaust fumesin this chapter for more instructions.
2009 Grand Marquis(grn)
Owners Guide(own2002), 2nd Printing
USA(fus)
Driving
168
Page 170 of 270
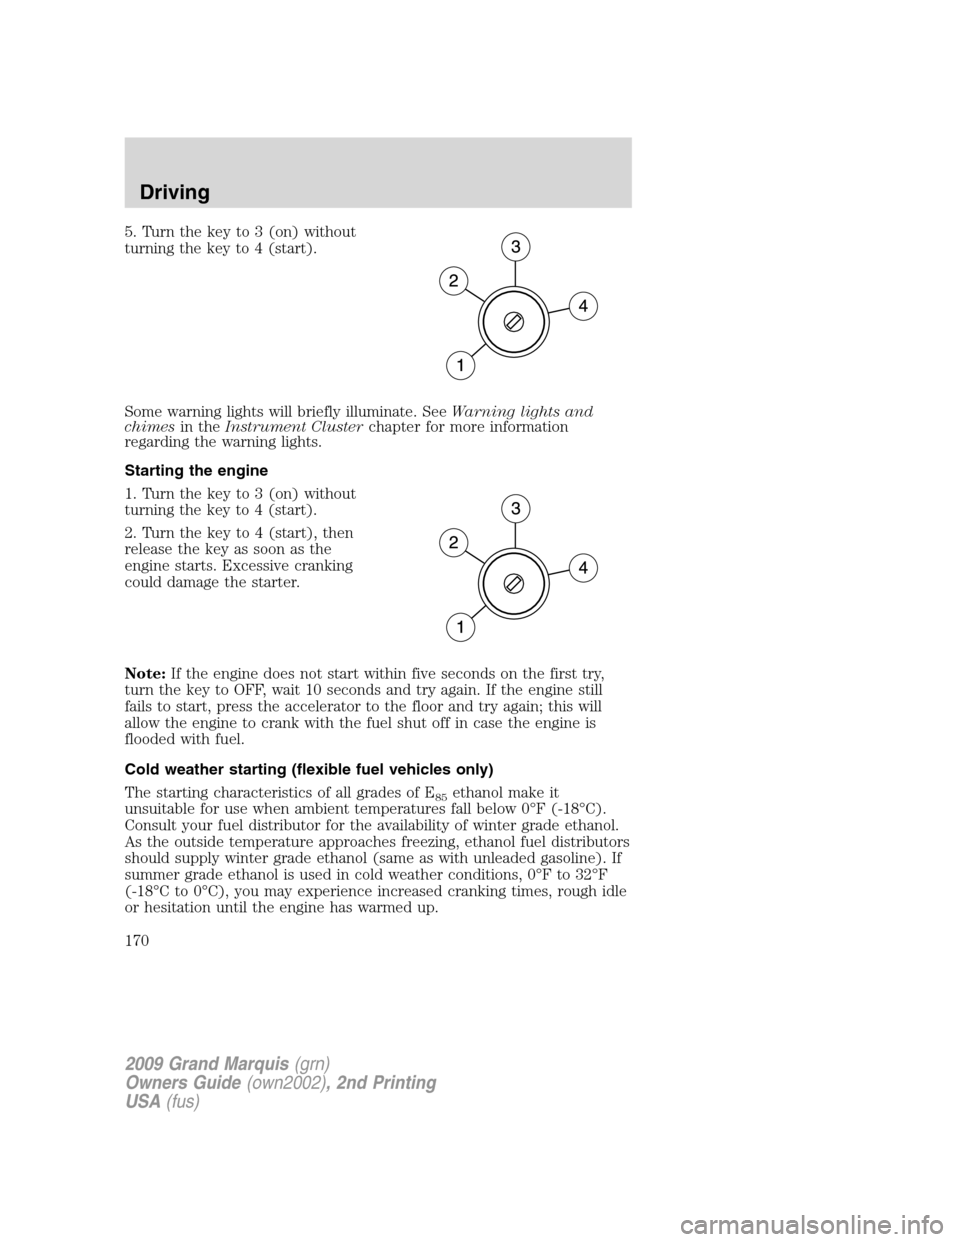
5. Turn the key to 3 (on) without
turning the key to 4 (start).
Some warning lights will briefly illuminate. SeeWarning lights and
chimesin theInstrument Clusterchapter for more information
regarding the warning lights.
Starting the engine
1. Turn the key to 3 (on) without
turning the key to 4 (start).
2. Turn the key to 4 (start), then
release the key as soon as the
engine starts. Excessive cranking
could damage the starter.
Note:If the engine does not start within five seconds on the first try,
turn the key to OFF, wait 10 seconds and try again. If the engine still
fails to start, press the accelerator to the floor and try again; this will
allow the engine to crank with the fuel shut off in case the engine is
flooded with fuel.
Cold weather starting (flexible fuel vehicles only)
The starting characteristics of all grades of E
85ethanol make it
unsuitable for use when ambient temperatures fall below 0°F (-18°C).
Consult your fuel distributor for the availability of winter grade ethanol.
As the outside temperature approaches freezing, ethanol fuel distributors
should supply winter grade ethanol (same as with unleaded gasoline). If
summer grade ethanol is used in cold weather conditions, 0°F to 32°F
(-18°C to 0°C), you may experience increased cranking times, rough idle
or hesitation until the engine has warmed up.
2009 Grand Marquis(grn)
Owners Guide(own2002), 2nd Printing
USA(fus)
Driving
170
Page 174 of 270
however, they may be heard at any time while braking and can be
aggravated by environmental conditions such as cold, heat, moisture,
road dust, salt or mud. If a “metal-to-metal,” “continuous grinding” or
“continuous squeal” sound is present while braking, the brake linings
may be worn-out and should be inspected by an authorized dealer.
Refer toBrake system warning
lightin theInstrument Cluster
chapter for information on the brake
system warning light.
WARNING:If you are driving down a long or steep hill, shift to
a lower gear. Do not apply your brakes continuously, as they may
overheat and become less effective.
Under normal operating conditions, brake dust may accumulate on the
wheels. Some brake dust is inevitable as brakes wear and does not
contribute to brake noise. The use of modern friction materials with
emphasis on improved performance and environmental considerations
can lead to more dust than in the past. Brake dust can be cleaned by
weekly washing with soapy water and a soft sponge. Heavier deposits can
be removed with Motorcraft Wheel and Tire Cleaner (ZC-37–A).
Anti-lock brake system (ABS)
This vehicle is equipped with an anti-lock braking system (ABS). A noise
from the hydraulic pump motor and pulsation in the pedal may be
observed during ABS braking events. Pedal pulsation coupled with noise
while braking under panic conditions or on loose gravel, bumps, wet or
snowy roads is normal and indicates proper functioning of the vehicle’s
anti-lock brake system. If the vehicle has continuous vibration or shudder
in the steering wheel while braking, the vehicle should be inspected by
an authorized dealer.
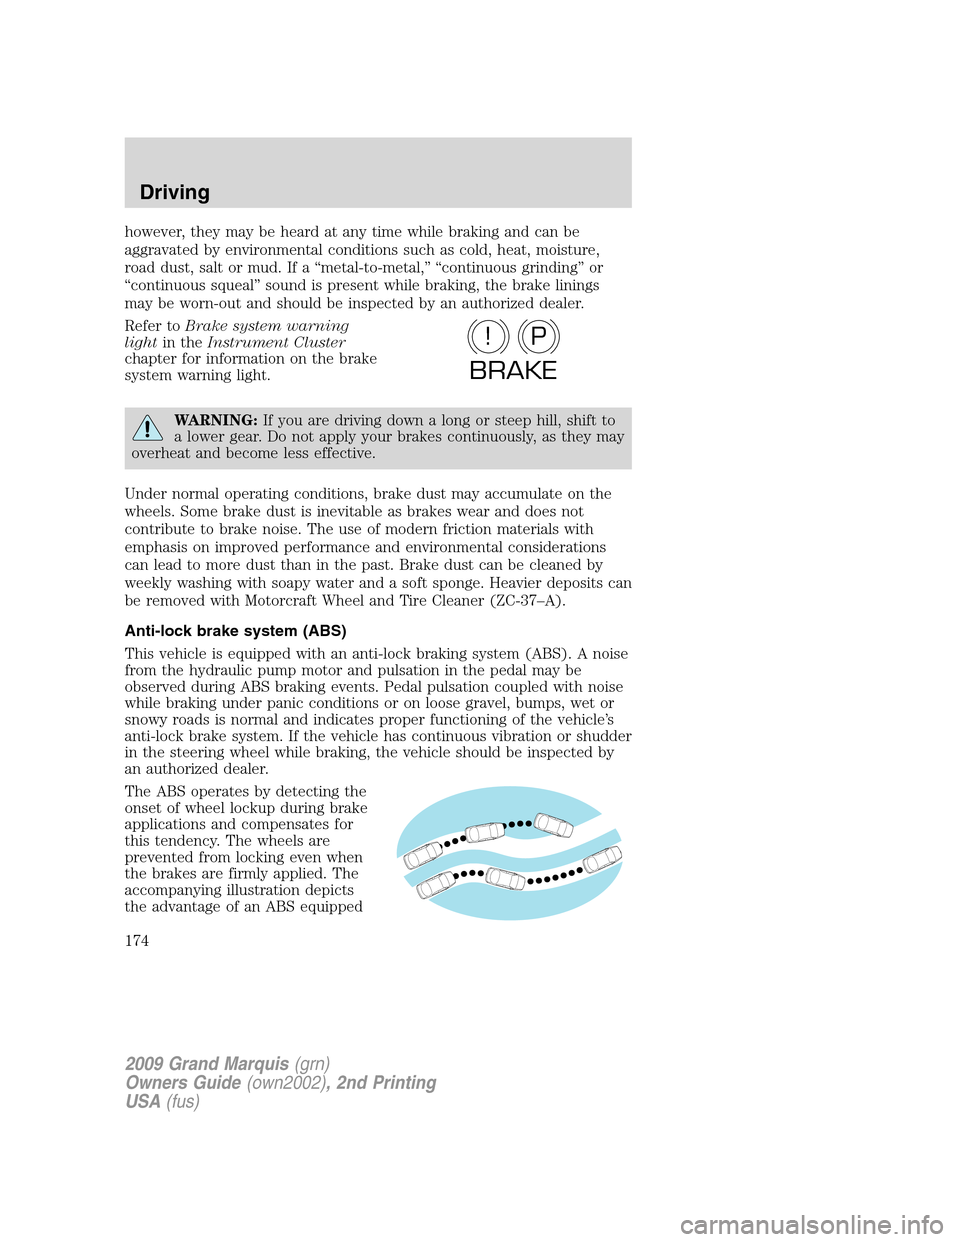
The ABS operates by detecting the
onset of wheel lockup during brake
applications and compensates for
this tendency. The wheels are
prevented from locking even when
the brakes are firmly applied. The
accompanying illustration depicts
the advantage of an ABS equipped
P!
BRAKE
2009 Grand Marquis(grn)
Owners Guide(own2002), 2nd Printing
USA(fus)
Driving
174
Page 175 of 270
vehicle (on bottom) to a non-ABS equipped vehicle (on top) during hard
braking with loss of front braking traction.
Using ABS
•In an emergency or when maximum efficiency from the four-wheel
ABS is required, apply continuous force on the brake. The four wheel
ABS will be activated immediately, thus allowing you to retain steering
control of your vehicle and, providing there is sufficient space, will
enable you to avoid obstacles and bring the vehicle to a controlled
stop.
•The anti-lock system does not reduce stopping distance. Always leave
enough room between your vehicle and the vehicle in front of you to
stop.
•We recommend that you familiarize yourself with this braking
technique. However, avoid taking any unnecessary risks.
ABS warning lamp
The ABS warning lamp in the
instrument cluster momentarily
illuminates when the ignition is
turned on. If the light does not
illuminate momentarily at start up,
remains on or continues to flash, the ABS needs to be serviced.
With the ABS light on, the anti-lock
brake system is disabled and normal
braking is still effective unless the
brake warning light also remains
illuminated with parking brake
released. If your brake warning lamp illuminates, have your vehicle
serviced immediately.
ABS
P!
BRAKE
2009 Grand Marquis(grn)
Owners Guide(own2002), 2nd Printing
USA(fus)
Driving
175
Page 177 of 270
TRACTION CONTROL™
The Traction Control™ system helps you maintain the stability and
steerability of your vehicle, especially on slippery road surfaces such as
snow- or ice-covered roads and gravel roads. The system will allow your
vehicle to make better use of available traction in these conditions.
During Traction Control™ operation,
the traction control active light will
illuminate, you may hear an electric
motor type of sound coming from
the engine compartment, and the
engine may not “rev-up” when you
push further on the accelerator. This is normal system behavior and
should be no reason for concern.
WARNING:Aggressive driving in any road conditions can cause
you to lose control of your vehicle increasing the risk of severe
personal injury or property damage. The occurrence of a Traction
Control™ event is an indication that at least some of the tires have
exceeded their ability to grip the road; this may lead to an increased
risk of loss of vehicle control, vehicle rollover, personal injury and
death. If you experience a severe road event, SLOW DOWN.
The Traction Control™ switch is
located on the instrument panel.
The Traction Control™ system will
automatically turn on every time the
ignition is turned off and on. The
Traction Control™ system should
normally be left on.
If you should become stuck in snow or ice or on a very slippery road
surface, try switching the Traction Control™ system off by pressing the
switch on the instrument panel. Switching the Traction Control™ system
off may allow excess wheel spin to “dig” the vehicle out and enable a
successful “rocking” maneuver.
When the Traction Control™ system is off, an indicator light will
illuminate and will remain on until the system is turned back on or the
ignition is turned off and on. Remember to switch the Traction Control™
system back on once the vehicle is no longer stuck.
If a system fault is detected, the traction control active light will
illuminate, the Traction Control™ button will not turn the system on or
off and your vehicle should be serviced by an authorized dealer.
2009 Grand Marquis(grn)
Owners Guide(own2002), 2nd Printing
USA(fus)
Driving
177
Page 181 of 270
To put your vehicle in P (Park):
•Come to a complete stop
•Move the gearshift lever and securely latch it in P (Park)
WARNING:Always set the parking brake fully and make sure
the gearshift is latched in P (Park). Turn the ignition to the off
position and remove the key whenever you leave your vehicle.
R (Reverse)
With the gearshift lever in R (Reverse), the vehicle will move backward.
Always come to a complete stop before shifting into and out of R
(Reverse).
N (Neutral)
With the gearshift lever in N (Neutral), the vehicle can be started and is
free to roll. Hold the brake pedal down while in this position.
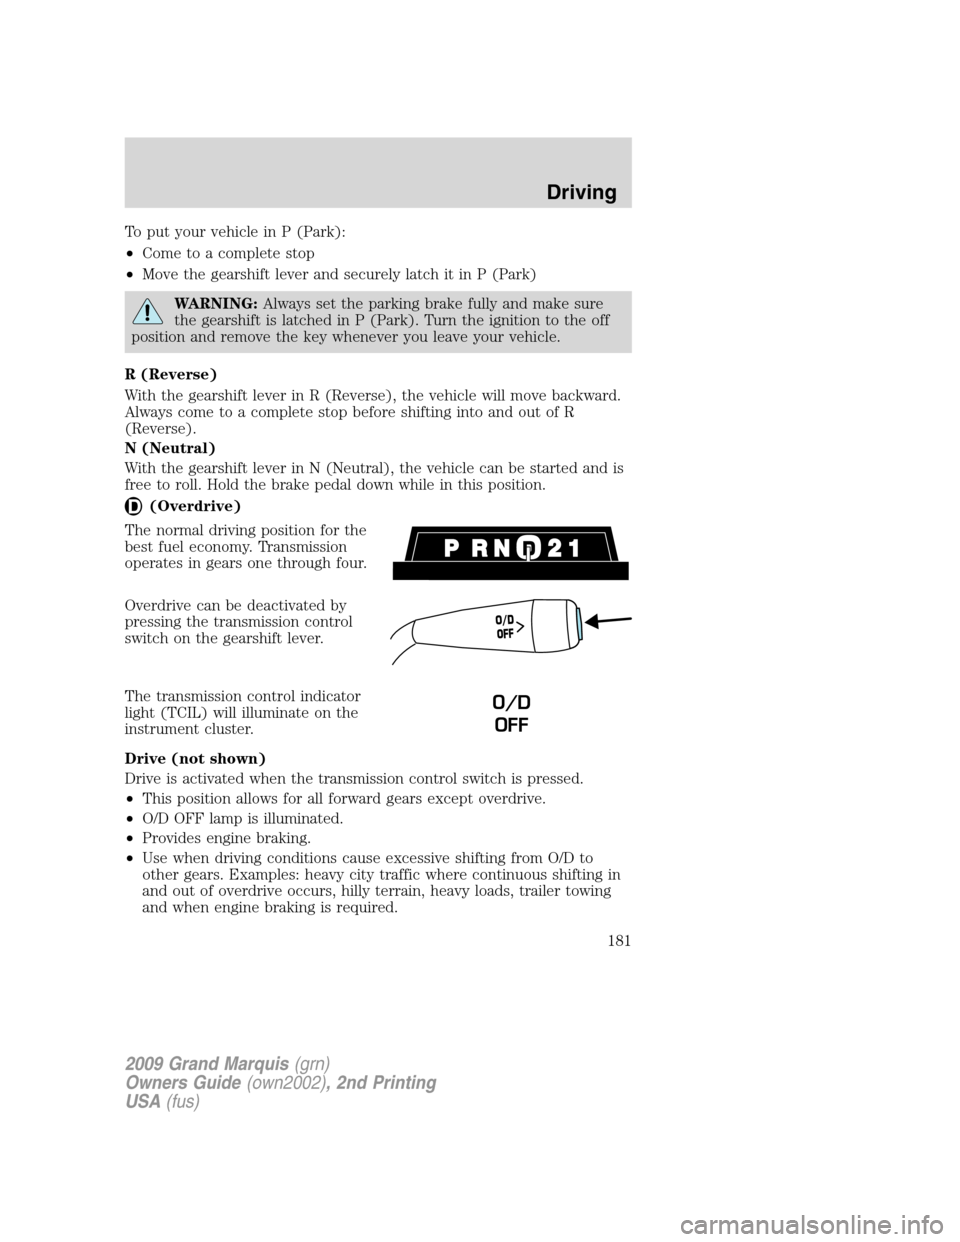
(Overdrive)
The normal driving position for the
best fuel economy. Transmission
operates in gears one through four.
Overdrive can be deactivated by
pressing the transmission control
switch on the gearshift lever.
The transmission control indicator
light (TCIL) will illuminate on the
instrument cluster.
Drive (not shown)
Drive is activated when the transmission control switch is pressed.
•This position allows for all forward gears except overdrive.
•O/D OFF lamp is illuminated.
•Provides engine braking.
•Use when driving conditions cause excessive shifting from O/D to
other gears. Examples: heavy city traffic where continuous shifting in
and out of overdrive occurs, hilly terrain, heavy loads, trailer towing
and when engine braking is required.
O
/
D
O
F
F
O/D
OFF
2009 Grand Marquis(grn)
Owners Guide(own2002), 2nd Printing
USA(fus)
Driving
181
Page 182 of 270
•To return to O/D (overdrive mode), press the transmission control
switch. The O/D OFF lamp will not be illuminated.
•O/D (Overdrive) is automatically returned each time the key is turned
off.
2 (Second)
This position allows for second gear only.
•Provides engine braking.
•Use to start-up on slippery roads.
•To return to
(Overdrive), move the gearshift lever into the
(Overdrive) position.
•Selecting 2 (Second) at higher speeds will cause the transmission to
downshift to second gear at the appropriate vehicle speed.
1 (First)
•Provides maximum engine braking.
•Allows upshifts by moving gearshift lever.
•Will not downshift into 1 (First) at high speeds; allows for 1 (First)
when vehicle reaches slower speeds.
Forced downshifts
•Allowed in
(Overdrive) or Drive.
•Press the accelerator to the floor.
•Allows transmission to select an appropriate gear.
If your vehicle gets stuck in mud or snow
If your vehicle gets stuck in mud or snow, it may be rocked out by
shifting between forward and reverse gears, stopping between shifts in a
steady pattern. Press lightly on the accelerator in each gear.
Do not rock the vehicle if the engine is not at normal operating
temperature or damage to the transmission may occur.
Do not rock the vehicle for more than a minute or damage to the
transmission and tires may occur, or the engine may overheat.
2009 Grand Marquis(grn)
Owners Guide(own2002), 2nd Printing
USA(fus)
Driving
182
Page 183 of 270
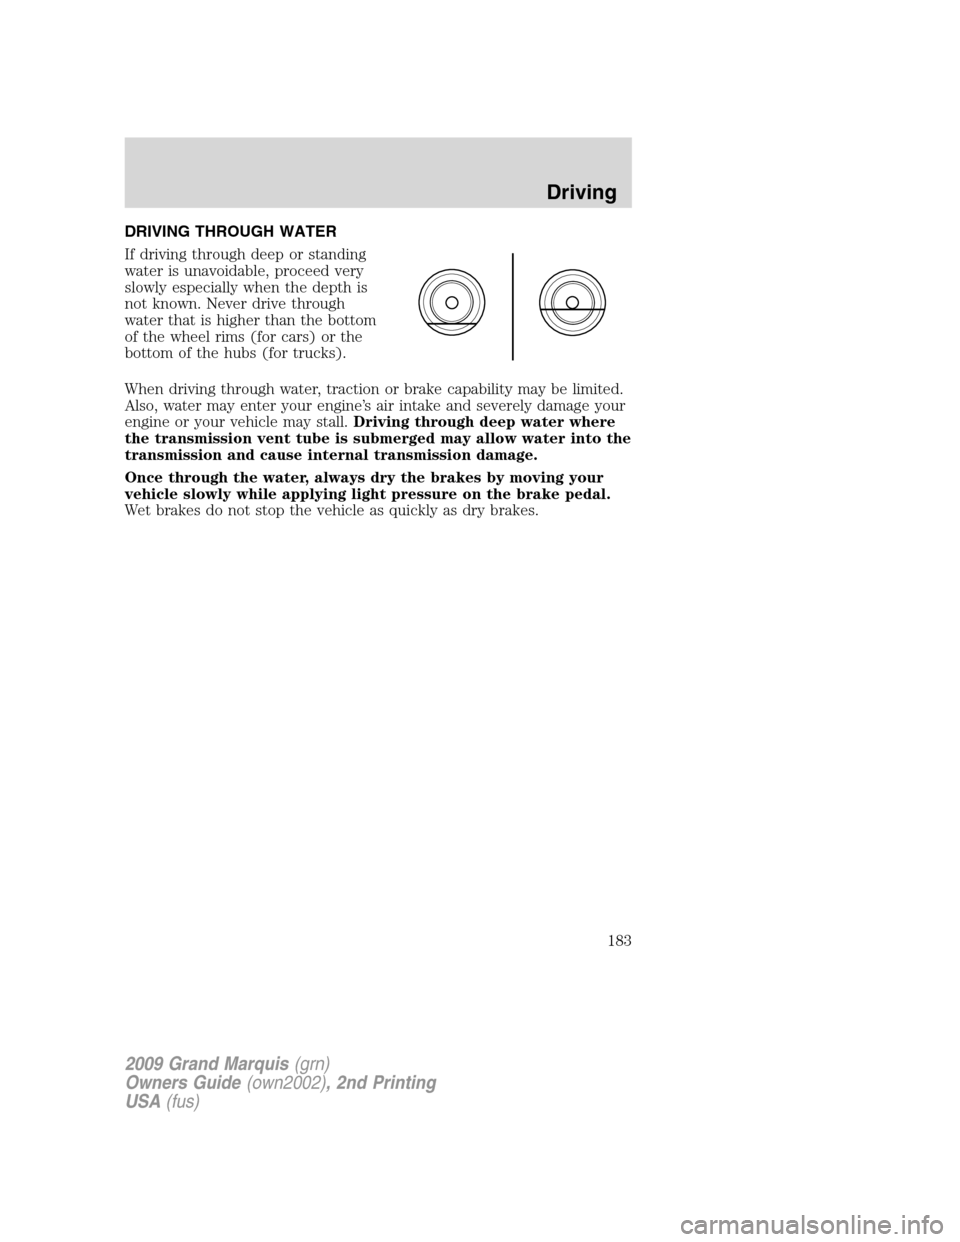
DRIVING THROUGH WATER
If driving through deep or standing
water is unavoidable, proceed very
slowly especially when the depth is
not known. Never drive through
water that is higher than the bottom
of the wheel rims (for cars) or the
bottom of the hubs (for trucks).
When driving through water, traction or brake capability may be limited.
Also, water may enter your engine’s air intake and severely damage your
engine or your vehicle may stall.Driving through deep water where
the transmission vent tube is submerged may allow water into the
transmission and cause internal transmission damage.
Once through the water, always dry the brakes by moving your
vehicle slowly while applying light pressure on the brake pedal.
Wet brakes do not stop the vehicle as quickly as dry brakes.
2009 Grand Marquis(grn)
Owners Guide(own2002), 2nd Printing
USA(fus)
Driving
183
Page 185 of 270
•emergency travel expense reimbursement
•travel planning benefits
In Canada, for uninterrupted Roadside Assistance coverage, you may
purchase extended coverage prior to your Basic Warranty’s Roadside
Assistance expiring. For more information and enrollment, contact
1–877–294–2582 or visit our website at www.ford.ca.
Using roadside assistance
Complete the roadside assistance identification card and place it in your
wallet for quick reference. In the United States, this card is found in the
Owner Guide portfolio in the glove compartment. In Canada, the card is
found in theCustomer Information Guidein the glove compartment.
U.S. Ford, Mercury and Lincoln vehicle customers who require Roadside
Assistance, call 1-800-241-3673.
Canadian customers who require roadside assistance, call 1-800-665-2006.
If you need to arrange roadside assistance for yourself, Ford Motor
Company will reimburse a reasonable amount for towing to the nearest
dealership within 35 miles. To obtain reimbursement information, U.S.
Ford, Mercury and Lincoln vehicle customers call 1-800-241-3673.
Customers will be asked to submit their original receipts.
Canadian customers who need to obtain reimbursement information, call
1–800–665–2006.
HAZARD FLASHER
Use only in an emergency to warn traffic of vehicle breakdown,
approaching danger, etc. The hazard flashers can be operated when the
ignition is off.
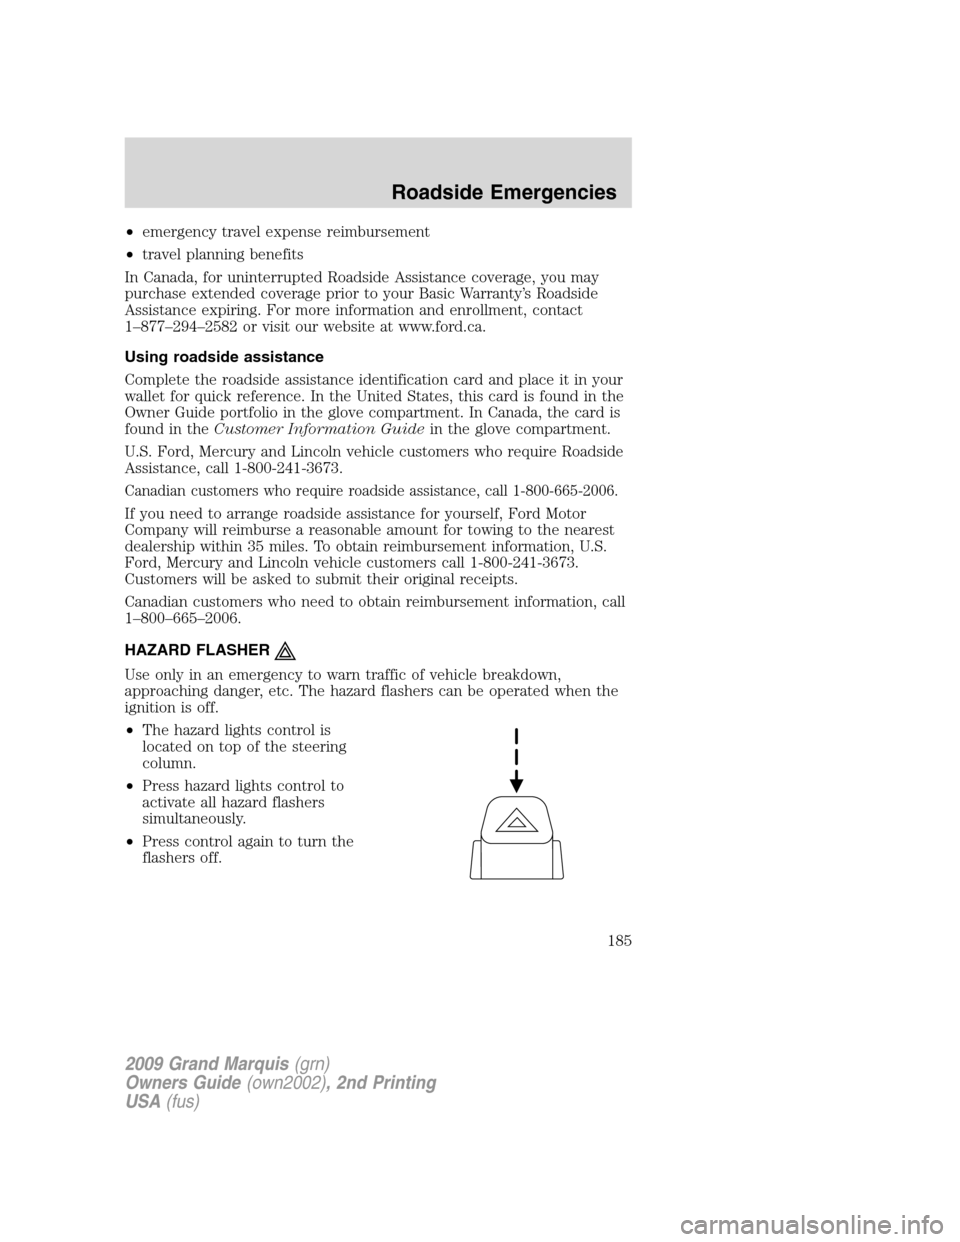
•The hazard lights control is
located on top of the steering
column.
•Press hazard lights control to
activate all hazard flashers
simultaneously.
•Press control again to turn the
flashers off.
2009 Grand Marquis(grn)
Owners Guide(own2002), 2nd Printing
USA(fus)
Roadside Emergencies
185