Key Mercury Grand Marquis 2009 Owner's Manuals
[x] Cancel search | Manufacturer: MERCURY, Model Year: 2009, Model line: Grand Marquis, Model: Mercury Grand Marquis 2009Pages: 270, PDF Size: 1.95 MB
Page 1 of 270
Introduction 4
Instrument Cluster 12
Warning lights and chimes 12
Gauges 17
Entertainment Systems 20
AM/FM stereo 20
AM/FM stereo with CD 22
AM/FM stereo cassette with CD 25
AM/FM stereo with in-dash six CD 30
Climate Controls 37
Manual heating and air conditioning 37
Automatic temperature control 38
Rear window defroster 40
Lights 41
Headlamps 41
Turn signal control 45
Bulb replacement 46
Driver Controls 52
Windshield wiper/washer control 52
Steering wheel adjustment 53
Power windows 55
Mirrors 56
Speed control 58
Message center 62
Locks and Security 72
Keys 72
Locks 72
Anti-theft system 80
Table of Contents
1
2009 Grand Marquis(grn)
Owners Guide(own2002), 2nd Printing
USA(fus)
Page 17 of 270
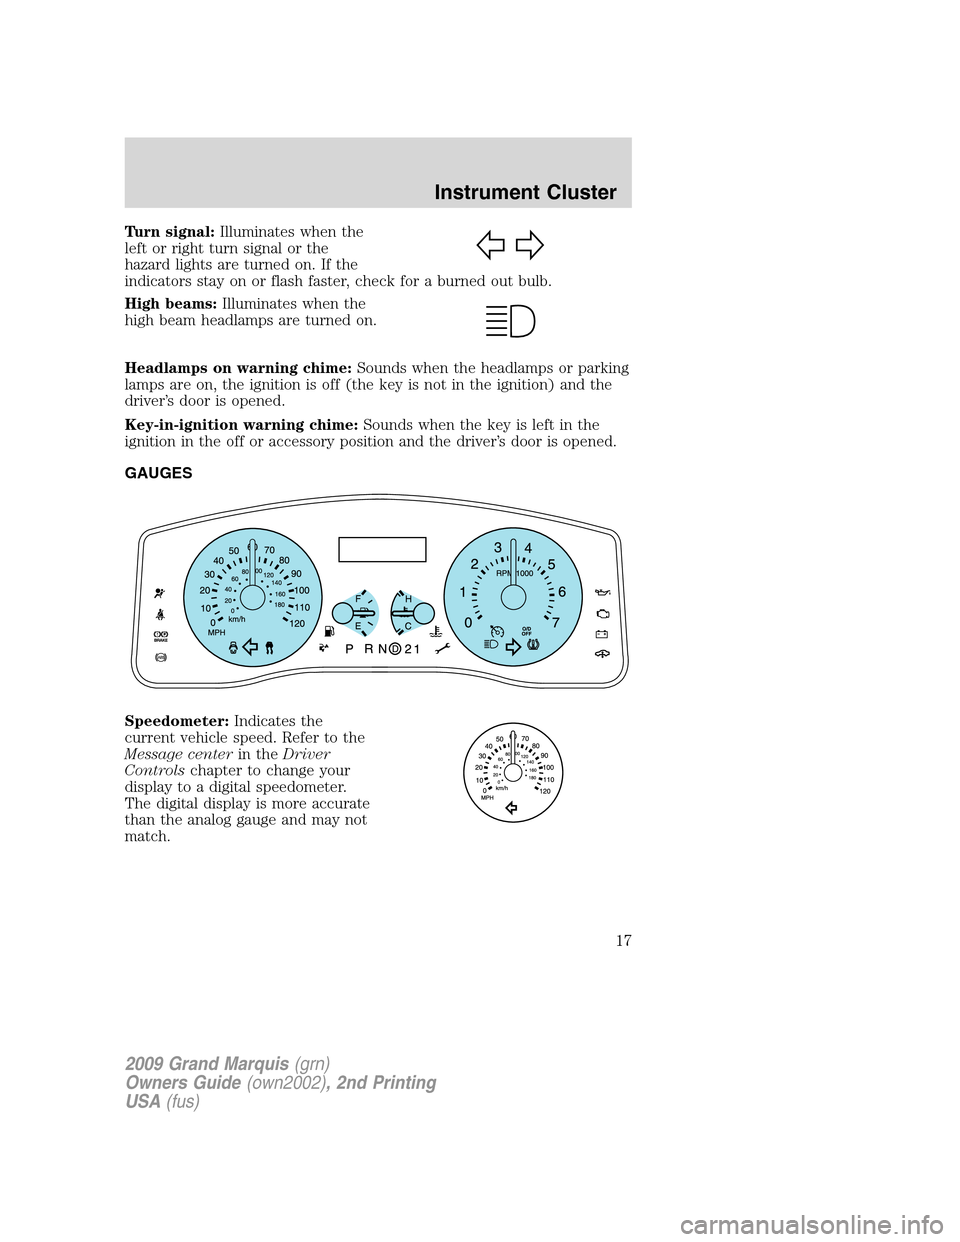
Turn signal:Illuminates when the
left or right turn signal or the
hazard lights are turned on. If the
indicators stay on or flash faster, check for a burned out bulb.
High beams:Illuminates when the
high beam headlamps are turned on.
Headlamps on warning chime:Sounds when the headlamps or parking
lamps are on, the ignition is off (the key is not in the ignition) and the
driver’s door is opened.
Key-in-ignition warning chime:Sounds when the key is left in the
ignition in the off or accessory position and the driver’s door is opened.
GAUGES
Speedometer:Indicates the
current vehicle speed. Refer to the
Message centerin theDriver
Controlschapter to change your
display to a digital speedometer.
The digital display is more accurate
than the analog gauge and may not
match.
2009 Grand Marquis(grn)
Owners Guide(own2002), 2nd Printing
USA(fus)
Instrument Cluster
17
Page 42 of 270
5. At the desired autolamp time delay, place the headlamp switch in the
off position.
•At this point, the exterior lamps turn off and the time delay is set.
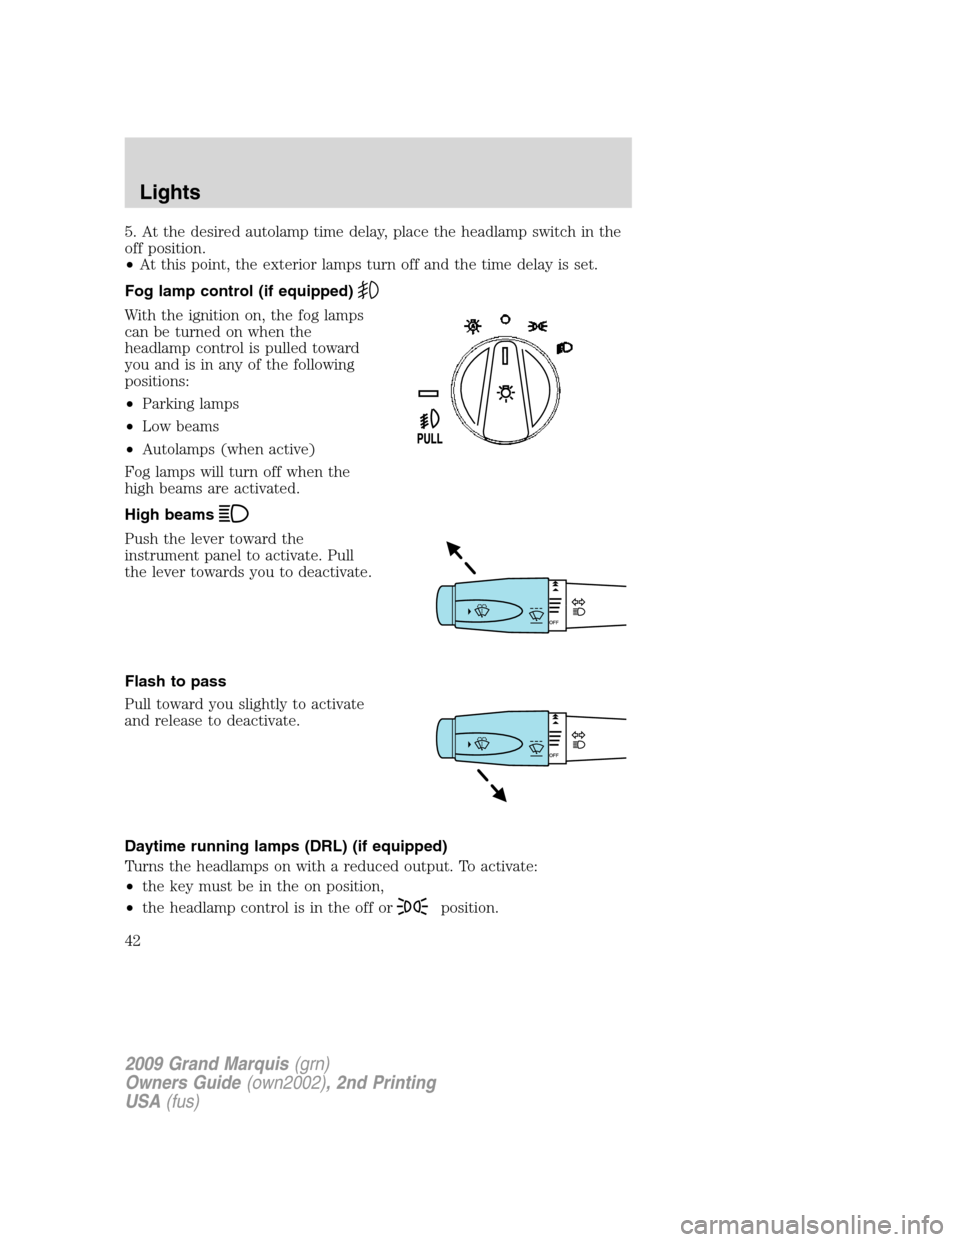
Fog lamp control (if equipped)
With the ignition on, the fog lamps
can be turned on when the
headlamp control is pulled toward
you and is in any of the following
positions:
•Parking lamps
•Low beams
•Autolamps (when active)
Fog lamps will turn off when the
high beams are activated.
High beams
Push the lever toward the
instrument panel to activate. Pull
the lever towards you to deactivate.
Flash to pass
Pull toward you slightly to activate
and release to deactivate.
Daytime running lamps (DRL) (if equipped)
Turns the headlamps on with a reduced output. To activate:
•the key must be in the on position,
•the headlamp control is in the off or
position.
2009 Grand Marquis(grn)
Owners Guide(own2002), 2nd Printing
USA(fus)
Lights
42
Page 45 of 270
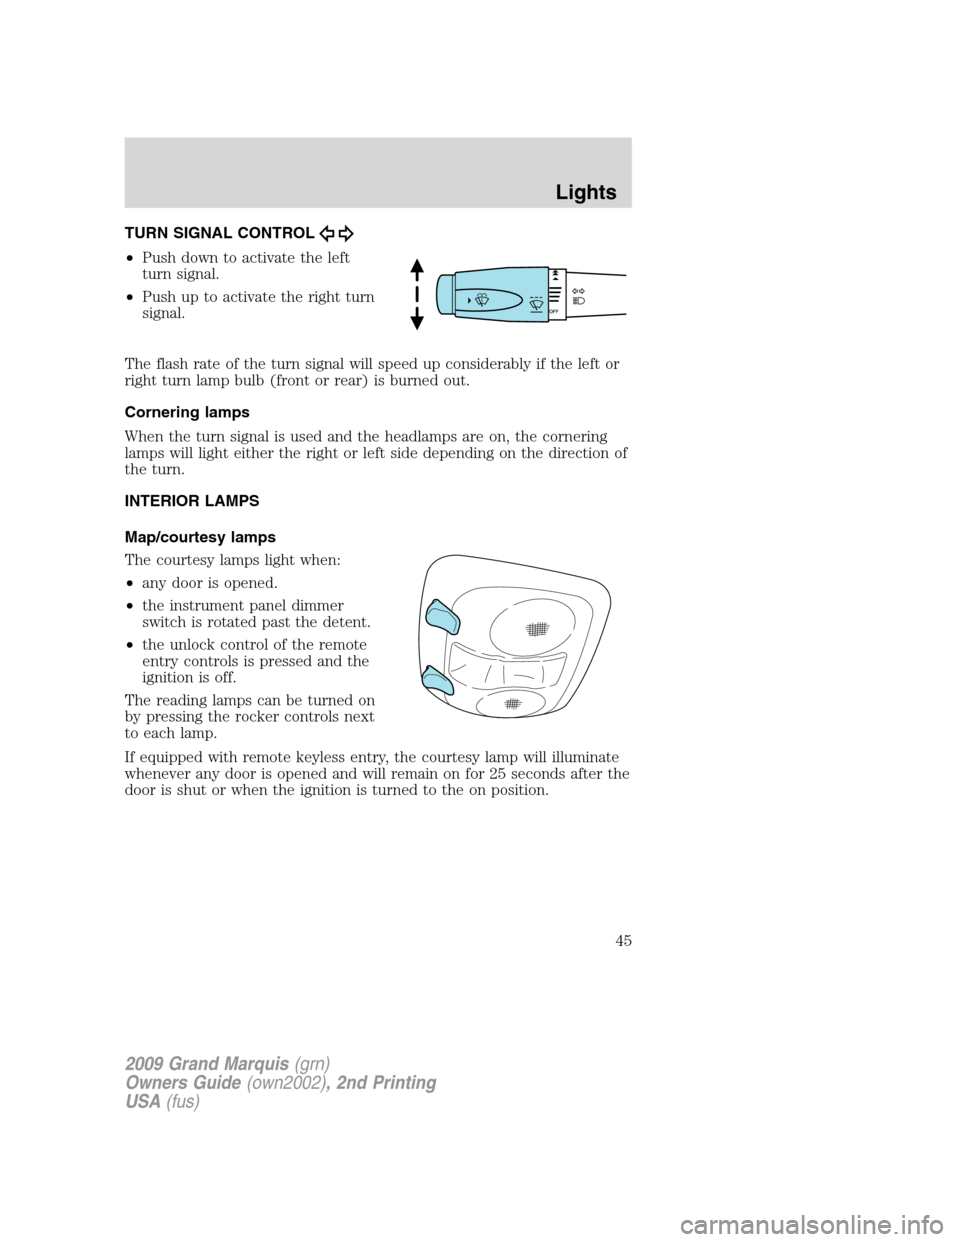
TURN SIGNAL CONTROL
•Push down to activate the left
turn signal.
•Push up to activate the right turn
signal.
The flash rate of the turn signal will speed up considerably if the left or
right turn lamp bulb (front or rear) is burned out.
Cornering lamps
When the turn signal is used and the headlamps are on, the cornering
lamps will light either the right or left side depending on the direction of
the turn.
INTERIOR LAMPS
Map/courtesy lamps
The courtesy lamps light when:
•any door is opened.
•the instrument panel dimmer
switch is rotated past the detent.
•the unlock control of the remote
entry controls is pressed and the
ignition is off.
The reading lamps can be turned on
by pressing the rocker controls next
to each lamp.
If equipped with remote keyless entry, the courtesy lamp will illuminate
whenever any door is opened and will remain on for 25 seconds after the
door is shut or when the ignition is turned to the on position.
2009 Grand Marquis(grn)
Owners Guide(own2002), 2nd Printing
USA(fus)
Lights
45
Page 68 of 270
•They will not reappear until an ignition off-on cycle has been
completed.
This acts as a reminder that these warning conditions still exist within
the vehicle.
Warning display Status
Door ajar Warning cannot be reset
Coolant over temperature Warning returns after 10 minutes
Powertrain malfunction
Check fuel cap
Check air suspension
Fuel level low
Overdrive ON/OFF Warning returns after the ignition key
is turned from off to on.
Trunk ajar
Low tire pressure
Tire pressure monitor fault
Tire pressure sensor fault
Check compass module
Low washer fluid
Change engine oil
DOOR AJAR— Displayed when a door is not completely closed.
POWERTRAIN MALFUNCTION— Displayed when the powertrain is
not operating properly. If the warning stays on or continues to come on,
contact your authorized dealer as soon as possible.
COOLANT OVER TEMPERATURE— Displayed when the engine
coolant is overheating. Stop the vehicle as soon as safely possible, turn
off the engine and let it cool. Check the coolant and coolant level. Refer
toEngine coolantin theMaintenance and Specificationschapter. If
the warning stays on or continues to come on, contact your authorized
dealer as soon as possible.
WARNING:Never remove the coolant reservoir cap while the
engine is running or hot.
CHECK FUEL CAP— Displayed when the fuel filler cap is not
properly installed. Check the fuel filler cap for proper installation. Refer
toFuel filler capin theMaintenance and Specificationschapter.
2009 Grand Marquis(grn)
Owners Guide(own2002), 2nd Printing
USA(fus)
Driver Controls
68
Page 71 of 270
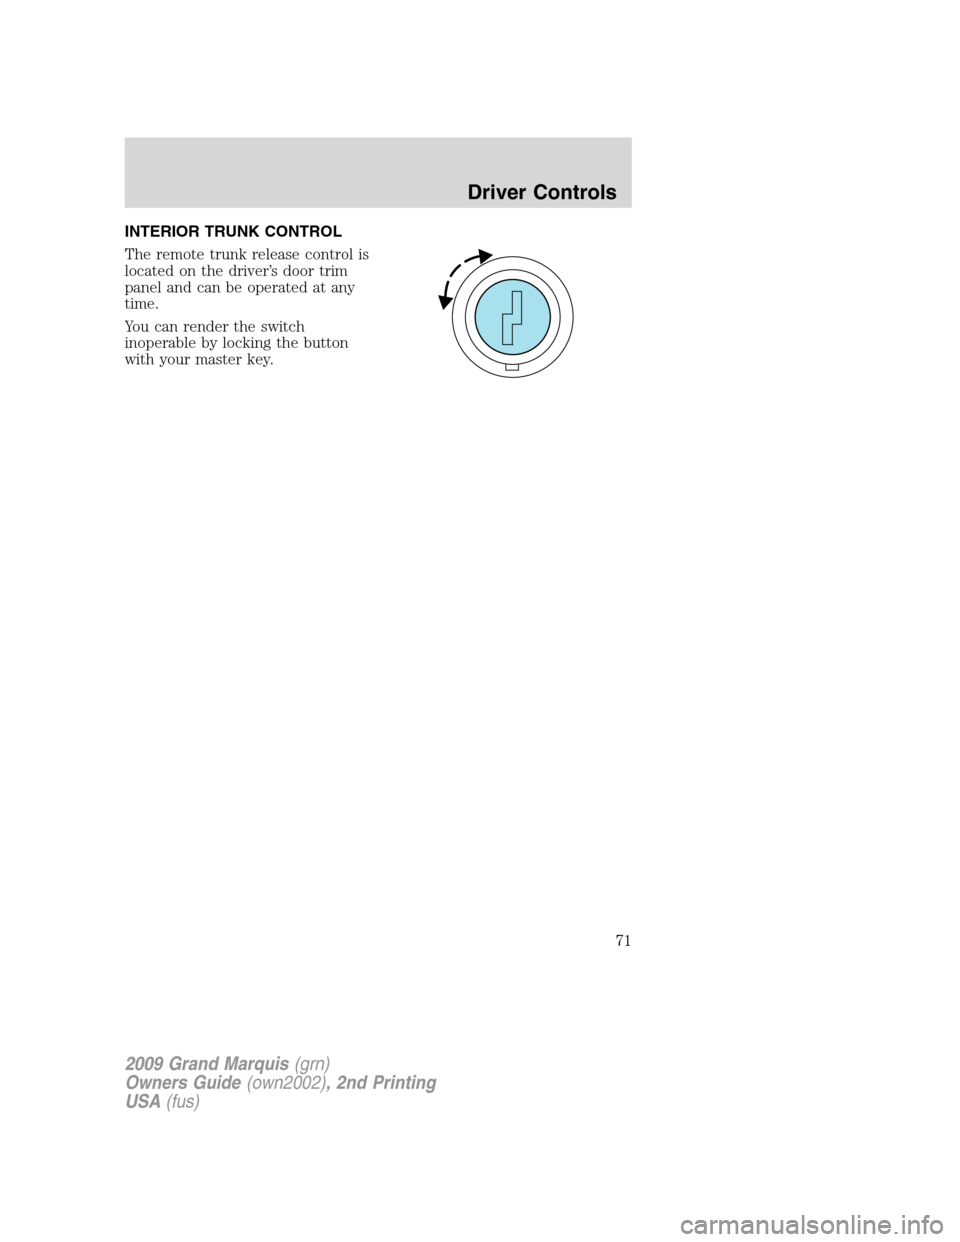
INTERIOR TRUNK CONTROL
The remote trunk release control is
located on the driver’s door trim
panel and can be operated at any
time.
You can render the switch
inoperable by locking the button
with your master key.
2009 Grand Marquis(grn)
Owners Guide(own2002), 2nd Printing
USA(fus)
Driver Controls
71
Page 72 of 270
KEYS
The vehicle is equipped with a master key which will access the vehicle’s
doors, trunk, glove box, ignition and remote trunk release.
POWER DOOR LOCKS
•Press the
control to unlock all
doors.
•Press the
control to lock all
doors.
Smart locks (if equipped)
With the key in any ignition position, and either the driver’s or
passenger’s door open, the doors cannot be locked using the power door
lock switches.
The vehicle may still be locked with the key in the ignition, and
performing one of the following actions:
•Pressing the manual lock button on the door.
•Operating the remote entry transmitter (if equipped).
•Operating the keyless entry keypad (if equipped).
•Operating the driver’s door with a key.
Autolock (if equipped)
This feature automatically locks all vehicle doors when:
•all doors are closed,
•the engine is running,
•you shift into any gear, putting the vehicle in motion, and
•the vehicle’s speed is greater than 3 mph (5 km/h).
Auto-relock
The autolock feature repeats when:
•a door is opened and closed while the engine is running,
•you shift into any gear, putting the vehicle in motion, and
•the vehicle’s speed is greater than 3 mph (5 km/h).
2009 Grand Marquis(grn)
Owners Guide(own2002), 2nd Printing
USA(fus)
Locks and Security
72
Page 75 of 270
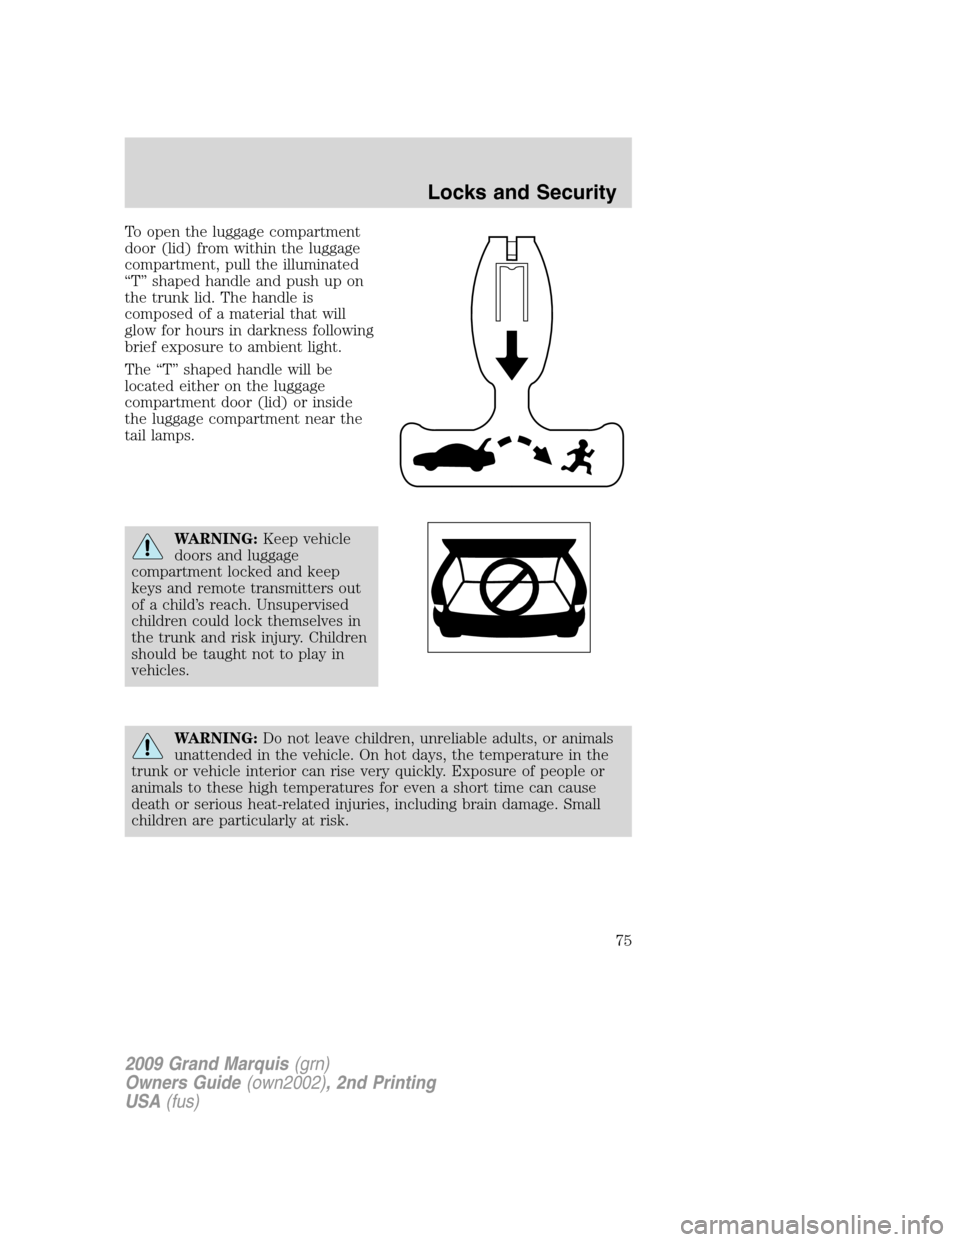
To open the luggage compartment
door (lid) from within the luggage
compartment, pull the illuminated
“T” shaped handle and push up on
the trunk lid. The handle is
composed of a material that will
glow for hours in darkness following
brief exposure to ambient light.
The “T” shaped handle will be
located either on the luggage
compartment door (lid) or inside
the luggage compartment near the
tail lamps.
WARNING:Keep vehicle
doors and luggage
compartment locked and keep
keys and remote transmitters out
of a child’s reach. Unsupervised
children could lock themselves in
the trunk and risk injury. Children
should be taught not to play in
vehicles.
WARNING:Do not leave children, unreliable adults, or animals
unattended in the vehicle. On hot days, the temperature in the
trunk or vehicle interior can rise very quickly. Exposure of people or
animals to these high temperatures for even a short time can cause
death or serious heat-related injuries, including brain damage. Small
children are particularly at risk.
2009 Grand Marquis(grn)
Owners Guide(own2002), 2nd Printing
USA(fus)
Locks and Security
75
Page 76 of 270
REMOTE ENTRY SYSTEM (IF EQUIPPED)
This device complies with part 15 of the FCC rules and with RSS-210 of
Industry Canada. Operation is subject to the following two conditions:
(1) This device may not cause harmful interference, and (2) This device
must accept any interference received, including interference that may
cause undesired operation.
Radio type approval numbers for remote entry receiver
If the type approval of your remote entry system is inspected in one of
the countries listed in the following table, refer to the corresponding
approval number:
Remote entry receiver certification numbers
Gabon 01070305/ARTEL/GABTEL
Jordan CAZ/ENG/CA/04/11/1
Zambia TRC/LPD/2004/28
Changes or modifications not expressly approved by the party
responsible for compliance could void the user’s authority to
operate the equipment.
The typical operating range for your remote entry transmitter is
approximately 33 feet (10 meters). A decrease in operating range could
be caused by:
•weather conditions,
•nearby radio towers,
•structures around the vehicle, or
•other vehicles parked next to your vehicle.
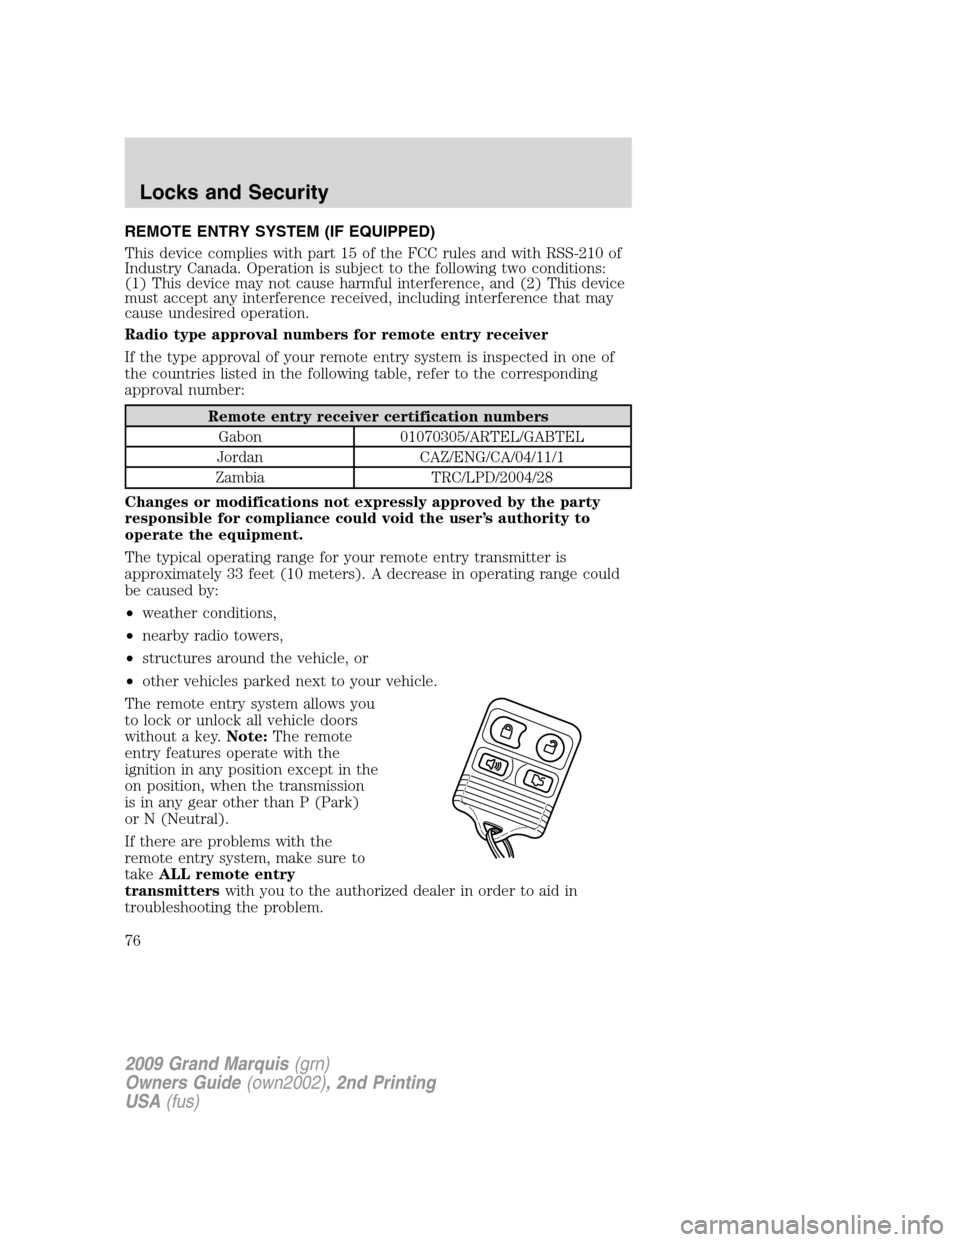
The remote entry system allows you
to lock or unlock all vehicle doors
without a key.Note:The remote
entry features operate with the
ignition in any position except in the
on position, when the transmission
is in any gear other than P (Park)
or N (Neutral).
If there are problems with the
remote entry system, make sure to
takeALL remote entry
transmitterswith you to the authorized dealer in order to aid in
troubleshooting the problem.
2009 Grand Marquis(grn)
Owners Guide(own2002), 2nd Printing
USA(fus)
Locks and Security
76
Page 78 of 270
Replacing the battery
The remote entry transmitter uses one coin type three-volt lithium
battery CR2032 or equivalent.
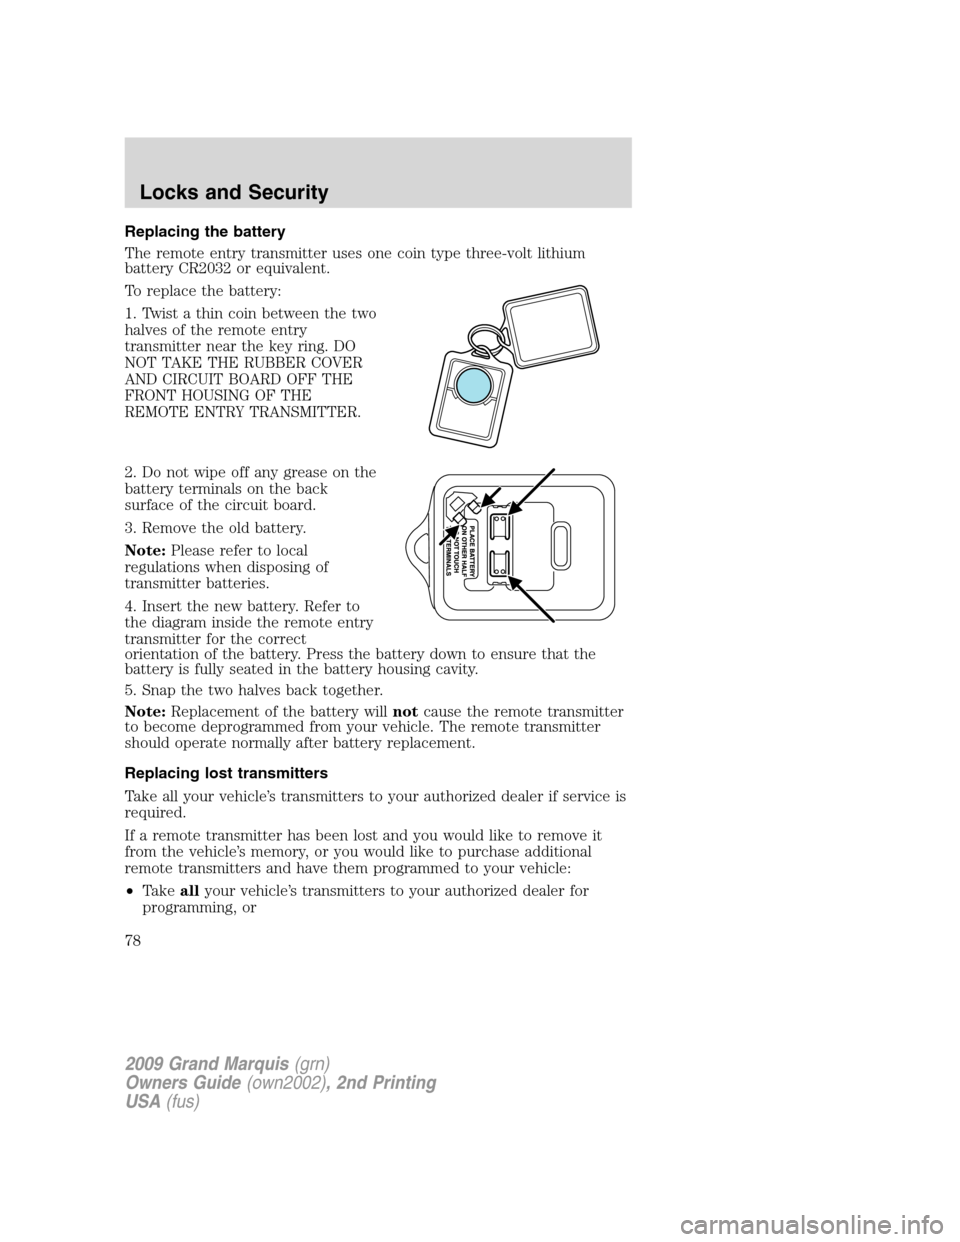
To replace the battery:
1. Twist a thin coin between the two
halves of the remote entry
transmitter near the key ring. DO
NOT TAKE THE RUBBER COVER
AND CIRCUIT BOARD OFF THE
FRONT HOUSING OF THE
REMOTE ENTRY TRANSMITTER.
2. Do not wipe off any grease on the
battery terminals on the back
surface of the circuit board.
3. Remove the old battery.
Note:Please refer to local
regulations when disposing of
transmitter batteries.
4. Insert the new battery. Refer to
the diagram inside the remote entry
transmitter for the correct
orientation of the battery. Press the battery down to ensure that the
battery is fully seated in the battery housing cavity.
5. Snap the two halves back together.
Note:Replacement of the battery willnotcause the remote transmitter
to become deprogrammed from your vehicle. The remote transmitter
should operate normally after battery replacement.
Replacing lost transmitters
Take all your vehicle’s transmitters to your authorized dealer if service is
required.
If a remote transmitter has been lost and you would like to remove it
from the vehicle’s memory, or you would like to purchase additional
remote transmitters and have them programmed to your vehicle:
•Takeallyour vehicle’s transmitters to your authorized dealer for
programming, or
2009 Grand Marquis(grn)
Owners Guide(own2002), 2nd Printing
USA(fus)
Locks and Security
78