key Mercury Marauder 2003 s Owner's Guide
[x] Cancel search | Manufacturer: MERCURY, Model Year: 2003, Model line: Marauder, Model: Mercury Marauder 2003Pages: 232, PDF Size: 2.29 MB
Page 132 of 232

Do not drive your vehicle until you verify that the brakelamps
are working.
Always set the parking brake fully and make sure the gearshift is
latched in P (Park). Turn the ignition to the LOCK position and
remove the key whenever you leave your vehicle.
If the parking brake is fully released, but the brake warning lamp
remains illuminated, the brakes may not be working properly.
See your dealer or a qualified service technician.
Driving with a 4±speed automatic transmission
Understanding gearshift positions
To put your vehicle in gear, start the engine, depress the brake pedal,
then move gearshift lever out of P (Park).
Hold the brake pedal down while you move the gearshift lever
from P (Park) to another position. If you do not hold the brake
pedal down, your vehicle may move unexpectedly and injure someone.
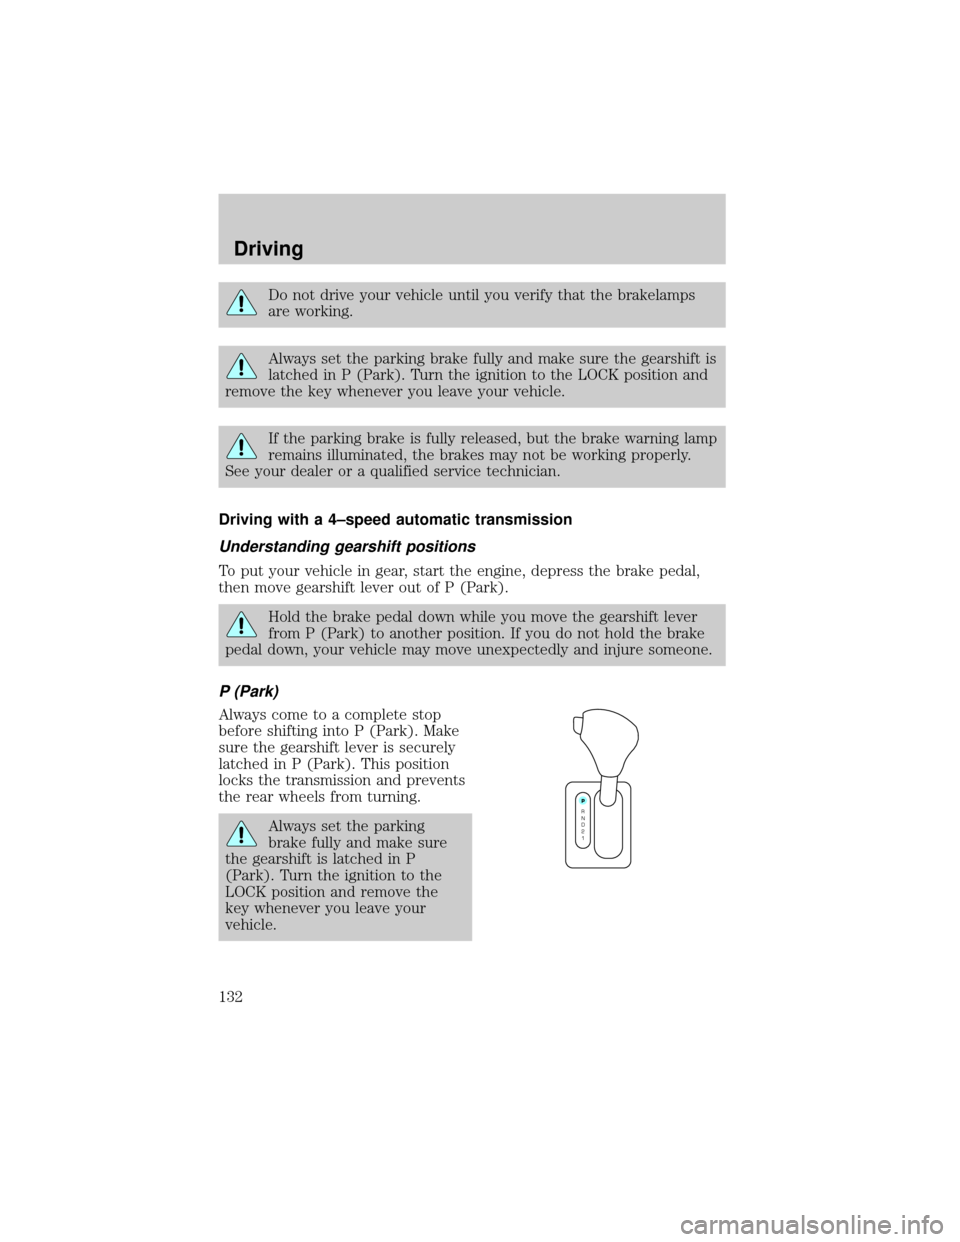
P (Park)
Always come to a complete stop
before shifting into P (Park). Make
sure the gearshift lever is securely
latched in P (Park). This position
locks the transmission and prevents
the rear wheels from turning.
Always set the parking
brake fully and make sure
the gearshift is latched in P
(Park). Turn the ignition to the
LOCK position and remove the
key whenever you leave your
vehicle.
P
R
N
D
2
1
Driving
132
Page 144 of 232

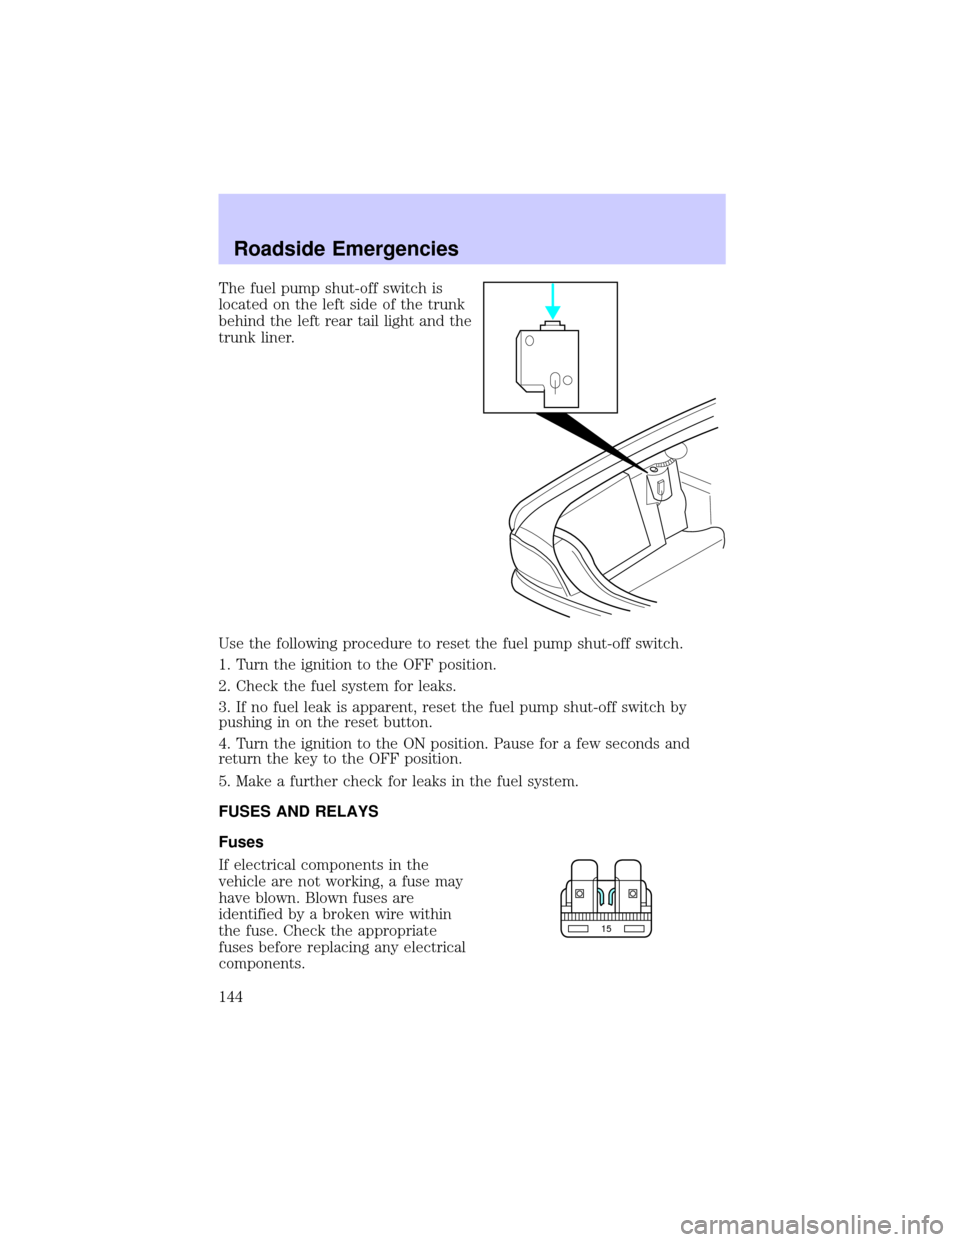
The fuel pump shut-off switch is
located on the left side of the trunk
behind the left rear tail light and the
trunk liner.
Use the following procedure to reset the fuel pump shut-off switch.
1. Turn the ignition to the OFF position.
2. Check the fuel system for leaks.
3. If no fuel leak is apparent, reset the fuel pump shut-off switch by
pushing in on the reset button.
4. Turn the ignition to the ON position. Pause for a few seconds and
return the key to the OFF position.
5. Make a further check for leaks in the fuel system.
FUSES AND RELAYS
Fuses
If electrical components in the
vehicle are not working, a fuse may
have blown. Blown fuses are
identified by a broken wire within
the fuse. Check the appropriate
fuses before replacing any electrical
components.
15
Roadside Emergencies
144
Page 179 of 232

SERVICE RECOMMENDATIONS
To help you service your vehicle:
²We highlight do-it-yourself items in the engine compartment for easy
location.
²We provide a scheduled maintenance guide which makes tracking
routine service easy.
If your vehicle requires professional service, your dealership can provide
the necessary parts and service. Check yourWarranty Guide/Owner
Information Guideto find out which parts and services are covered.
Use only recommended fuels, lubricants, fluids and service parts
conforming to specifications. Motorcraft parts are designed and built to
provide the best performance in your vehicle.
PRECAUTIONS WHEN SERVICING YOUR VEHICLE
²Do not work on a hot engine.
²Make sure that nothing gets caught in moving parts.
²Do not work on a vehicle with the engine running in an enclosed
space, unless you are sure you have enough ventilation.
²Keep all open flames and other burning (cigarettes) material away
from the battery and all fuel related parts.
Working with the engine off
1. Set the parking brake and shift to P (Park).
2. Turn off the engine and remove the key.
3. Block the wheels.
Working with the engine on
1. Set the parking brake and shift to P (Park).
2. Block the wheels.
Note:Do not start your engine with the air cleaner removed and do not
remove it while the engine is running.
Maintenance and Specifications
179
Page 218 of 232

FORD ACCESSORIES FOR YOUR VEHICLE
A wide selection of genuine Ford accessories are available for your
vehicle through your local authorized Ford, Lincoln, Mercury or Ford of
Canada dealer. These quality accessories have been specifically
engineered to fulfill your automotive needs; they are custom designed to
complement the style and aerodynamic appearance of your vehicle. In
addition, each accessory is made from high quality materials and meets
or exceeds Ford's rigorous engineering and safety specifications. Ford
Motor Company will repair or replace any properly dealer-installed Ford
accessory found to be defective in factory-supplied materials or
workmanship during the warranty period, as well as any component
damaged by the defective accessory. The accessory will be warranted for
whichever provides you the greatest benefit:
²12 months or 20,000 km (12,000 miles) (whichever occurs first), or
²the remainder of your new vehicle limited warranty.
This means that genuine Ford accessories purchased along with your
new vehicle and installed by the dealer are covered for the full length of
your New Vehicle's Limited Warranty Ð 3 years or 60,000 km (36,000
miles) (whichever occurs first). Contact your dealer for details and a
copy of the warranty.
Not all accessories are available for all models.
Vehicle Security
Air bag anti-theft locks
Locking gas cap
Remote keyless entry
Styled wheel locks
Vehicle security systems
Comfort and convenience
Cargo organizer
Electrochromic compass mirror
Engine block heaters
Remote start system
Accessories
218
Page 224 of 232

H
Hazard flashers .........................143
Head restraints ...........................88
Headlamps ...................................38
aiming ........................................40
autolamp system .......................38
bulb specifications ....................43
daytime running lights .............39
flash to pass ..............................40
high beam ...........................14, 39
replacing bulbs .........................44
turning on and off ....................38
warning chime ..........................14
Heating
heating and air conditioning
system .......................................33
HomeLink universal
transceiver (see Garage
door opener) ...................56, 68, 70
Hood ..........................................180
I
Ignition ...............................122, 214
Infant seats
(see Safety seats) .....................114
Inspection/maintenance (I/M)
testing ........................................202
Instrument panel
cleaning ...................................176
cluster ........................................10
lighting up panel and
interior .......................................40
J
Jack ............................................151
positioning ...............................151
storage .....................................151Jump-starting your vehicle ......156
K
Keyless entry system .................82
autolock .....................................81
keypad .......................................82
programming entry code .........83
Keys .......................................84±86
key in ignition chime ...............14
positions of the ignition .........122
L
Lamps
autolamp system .......................38
bulb replacement
specifications chart ..................43
cargo lamps ...............................40
daytime running light ...............39
fog lamps ...................................39
headlamps .................................38
headlamps, flash to pass ..........40
instrument panel, dimming .....40
interior lamps .....................42±43
replacing bulbs ....... 43±45, 47±48
Lane change indicator
(see Turn signal) ........................42
Lights, warning and indicator ....10
air bag ........................................12
air suspension ...........................13
anti-lock brakes (ABS) ....12, 127
brake ..........................................11
charging system ........................12
check engine .............................10
fuel cap light .............................11
high beam .................................14
low coolant ................................13
low fuel ......................................13
overdrive off ..............................13
safety belt .................................12
Index
224