reset Mercury Marauder 2003 Owner's Manuals
[x] Cancel search | Manufacturer: MERCURY, Model Year: 2003, Model line: Marauder, Model: Mercury Marauder 2003Pages: 232, PDF Size: 2.29 MB
Page 5 of 232
Fuel pump shut-off switchIn the event of an accident the
safety switch will automatically cut off the fuel supply to the
engine. The switch can also be activated through sudden vibration (e.g.
collision when parking). To reset the switch, refer to theFuel pump
shut-off switchin theRoadside emergencieschapter.
SAFETY AND ENVIRONMENT PROTECTION
Warning symbols in this guide
How can you reduce the risk of personal injury and prevent possible
damage to others, your vehicle and its equipment? In this guide, answers
to such questions are contained in comments highlighted by the warning
triangle symbol. These comments should be read and observed.
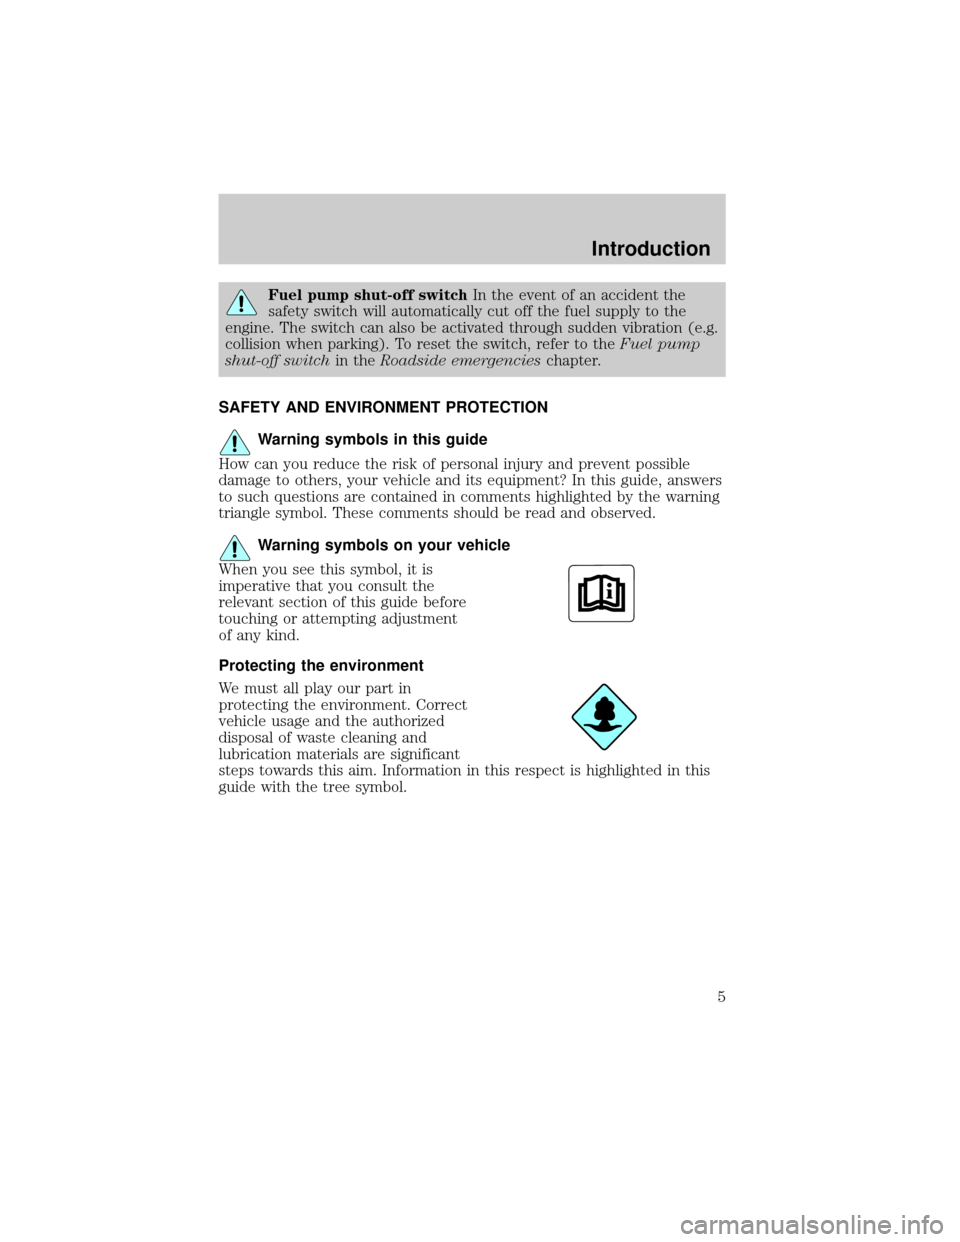
Warning symbols on your vehicle
When you see this symbol, it is
imperative that you consult the
relevant section of this guide before
touching or attempting adjustment
of any kind.
Protecting the environment
We must all play our part in
protecting the environment. Correct
vehicle usage and the authorized
disposal of waste cleaning and
lubrication materials are significant
steps towards this aim. Information in this respect is highlighted in this
guide with the tree symbol.
Introduction
5
Page 8 of 232
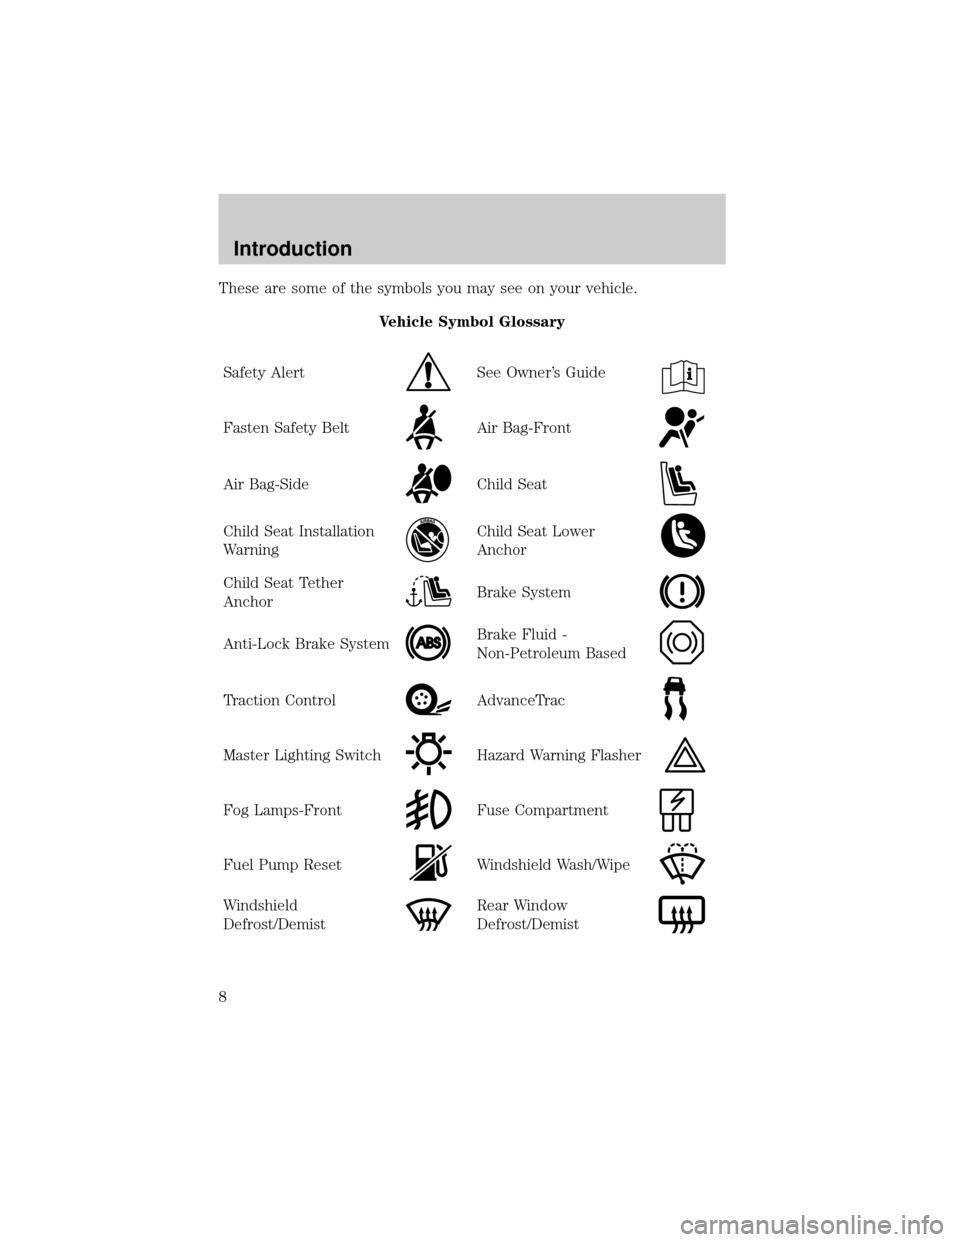
These are some of the symbols you may see on your vehicle.
Vehicle Symbol Glossary
Safety Alert
See Owner's Guide
Fasten Safety BeltAir Bag-Front
Air Bag-SideChild Seat
Child Seat Installation
WarningChild Seat Lower
Anchor
Child Seat Tether
AnchorBrake System
Anti-Lock Brake SystemBrake Fluid -
Non-Petroleum Based
Traction ControlAdvanceTrac
Master Lighting SwitchHazard Warning Flasher
Fog Lamps-FrontFuse Compartment
Fuel Pump ResetWindshield Wash/Wipe
Windshield
Defrost/DemistRear Window
Defrost/Demist
Introduction
8
Page 18 of 232
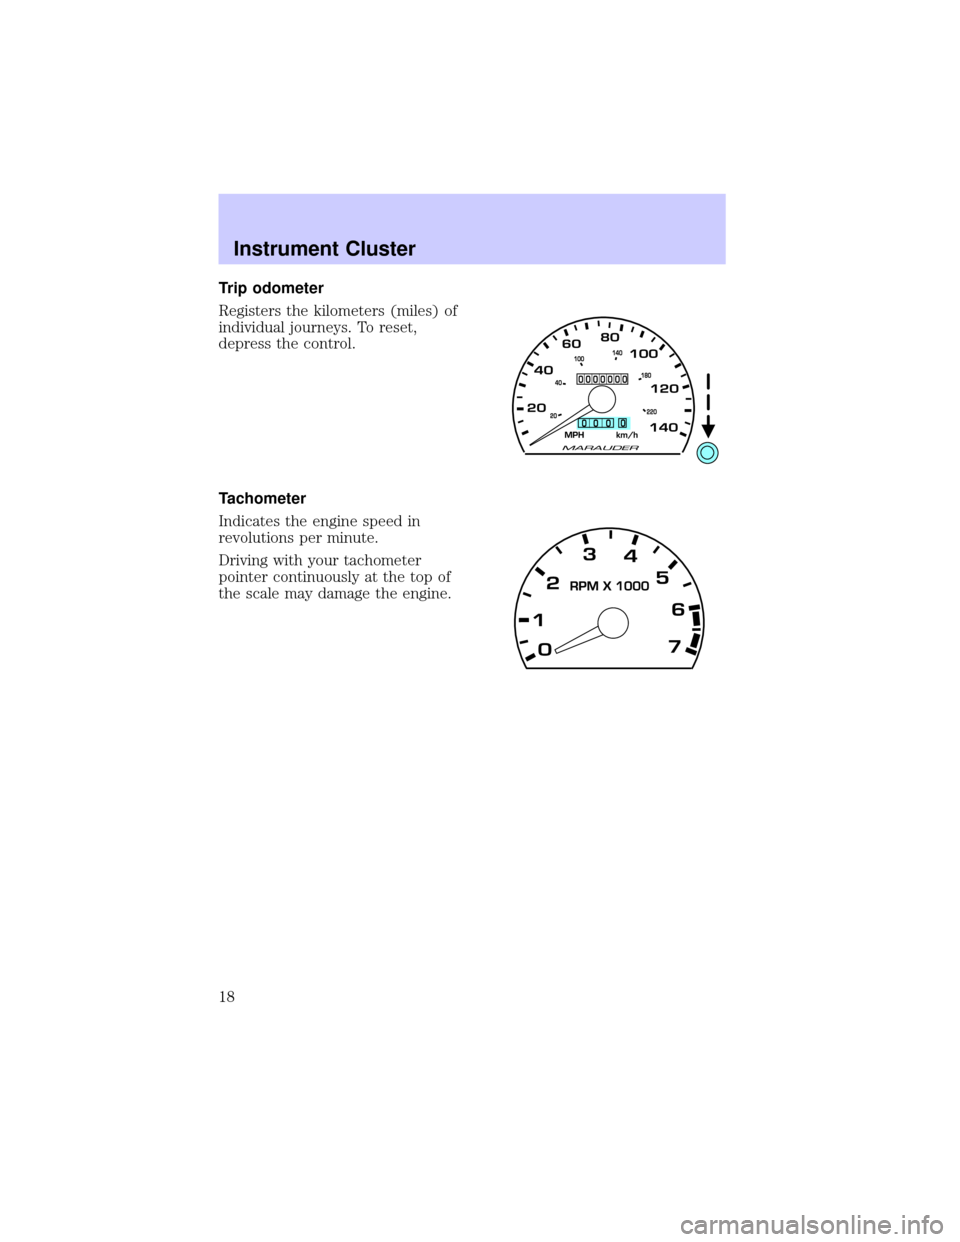
Trip odometer
Registers the kilometers (miles) of
individual journeys. To reset,
depress the control.
Tachometer
Indicates the engine speed in
revolutions per minute.
Driving with your tachometer
pointer continuously at the top of
the scale may damage the engine.
Instrument Cluster
18
Page 22 of 232
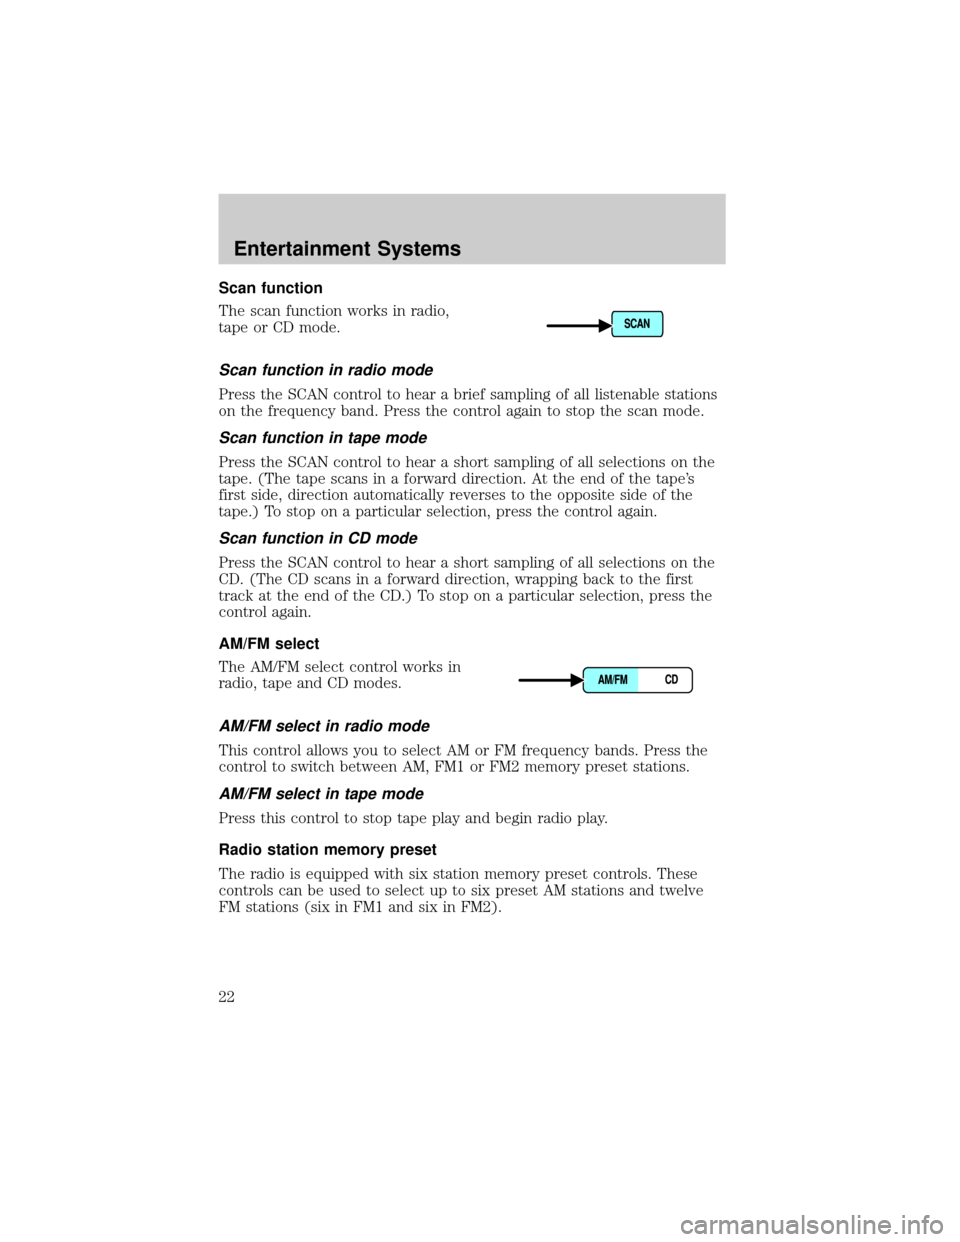
Scan function
The scan function works in radio,
tape or CD mode.
Scan function in radio mode
Press the SCAN control to hear a brief sampling of all listenable stations
on the frequency band. Press the control again to stop the scan mode.
Scan function in tape mode
Press the SCAN control to hear a short sampling of all selections on the
tape. (The tape scans in a forward direction. At the end of the tape's
first side, direction automatically reverses to the opposite side of the
tape.) To stop on a particular selection, press the control again.
Scan function in CD mode
Press the SCAN control to hear a short sampling of all selections on the
CD. (The CD scans in a forward direction, wrapping back to the first
track at the end of the CD.) To stop on a particular selection, press the
control again.
AM/FM select
The AM/FM select control works in
radio, tape and CD modes.
AM/FM select in radio mode
This control allows you to select AM or FM frequency bands. Press the
control to switch between AM, FM1 or FM2 memory preset stations.
AM/FM select in tape mode
Press this control to stop tape play and begin radio play.
Radio station memory preset
The radio is equipped with six station memory preset controls. These
controls can be used to select up to six preset AM stations and twelve
FM stations (six in FM1 and six in FM2).
Entertainment Systems
22
Page 23 of 232
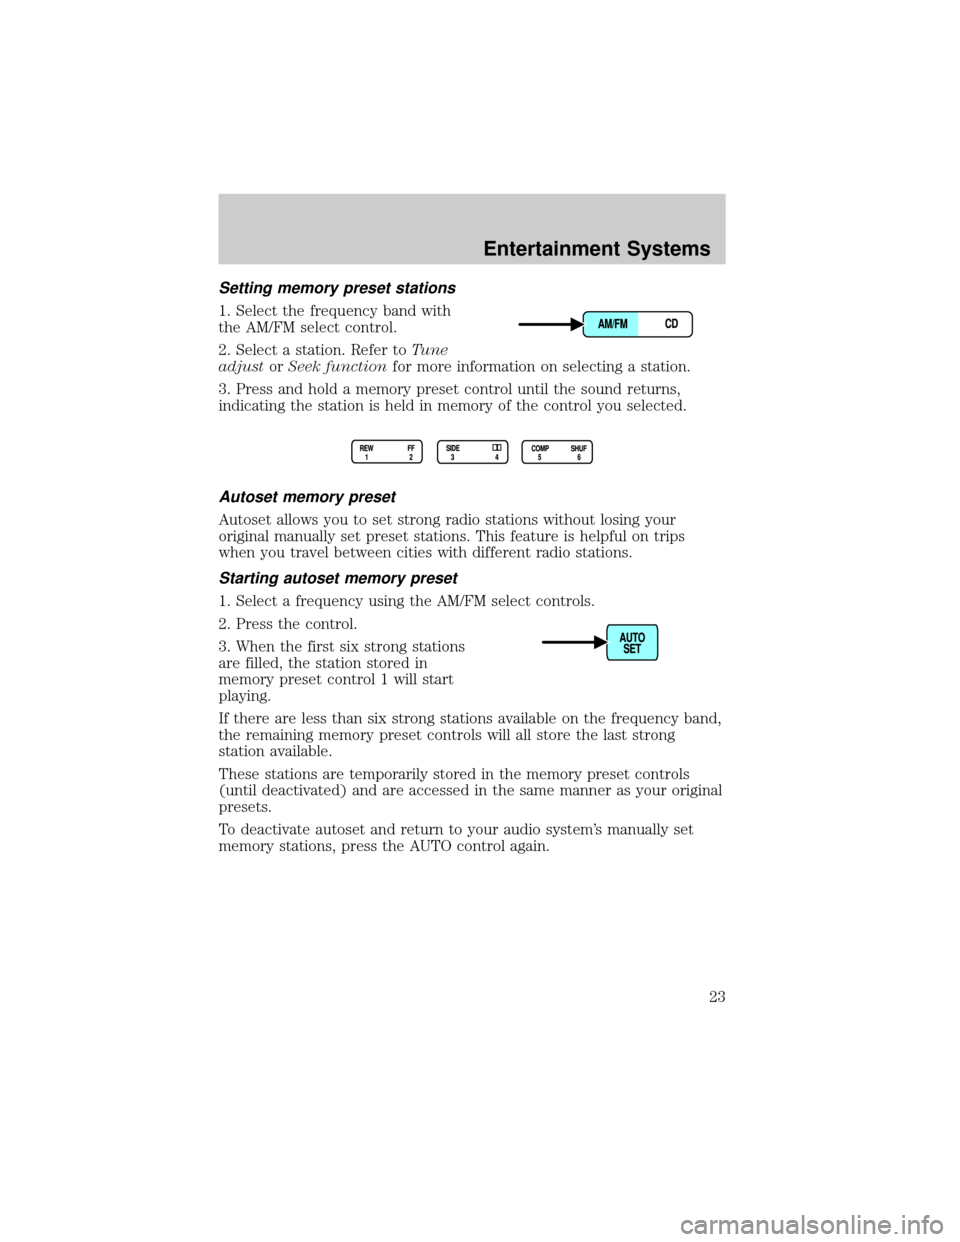
Setting memory preset stations
1. Select the frequency band with
the AM/FM select control.
2. Select a station. Refer toTune
adjustorSeek functionfor more information on selecting a station.
3. Press and hold a memory preset control until the sound returns,
indicating the station is held in memory of the control you selected.
Autoset memory preset
Autoset allows you to set strong radio stations without losing your
original manually set preset stations. This feature is helpful on trips
when you travel between cities with different radio stations.
Starting autoset memory preset
1. Select a frequency using the AM/FM select controls.
2. Press the control.
3. When the first six strong stations
are filled, the station stored in
memory preset control 1 will start
playing.
If there are less than six strong stations available on the frequency band,
the remaining memory preset controls will all store the last strong
station available.
These stations are temporarily stored in the memory preset controls
(until deactivated) and are accessed in the same manner as your original
presets.
To deactivate autoset and return to your audio system's manually set
memory stations, press the AUTO control again.
Entertainment Systems
23
Page 54 of 232
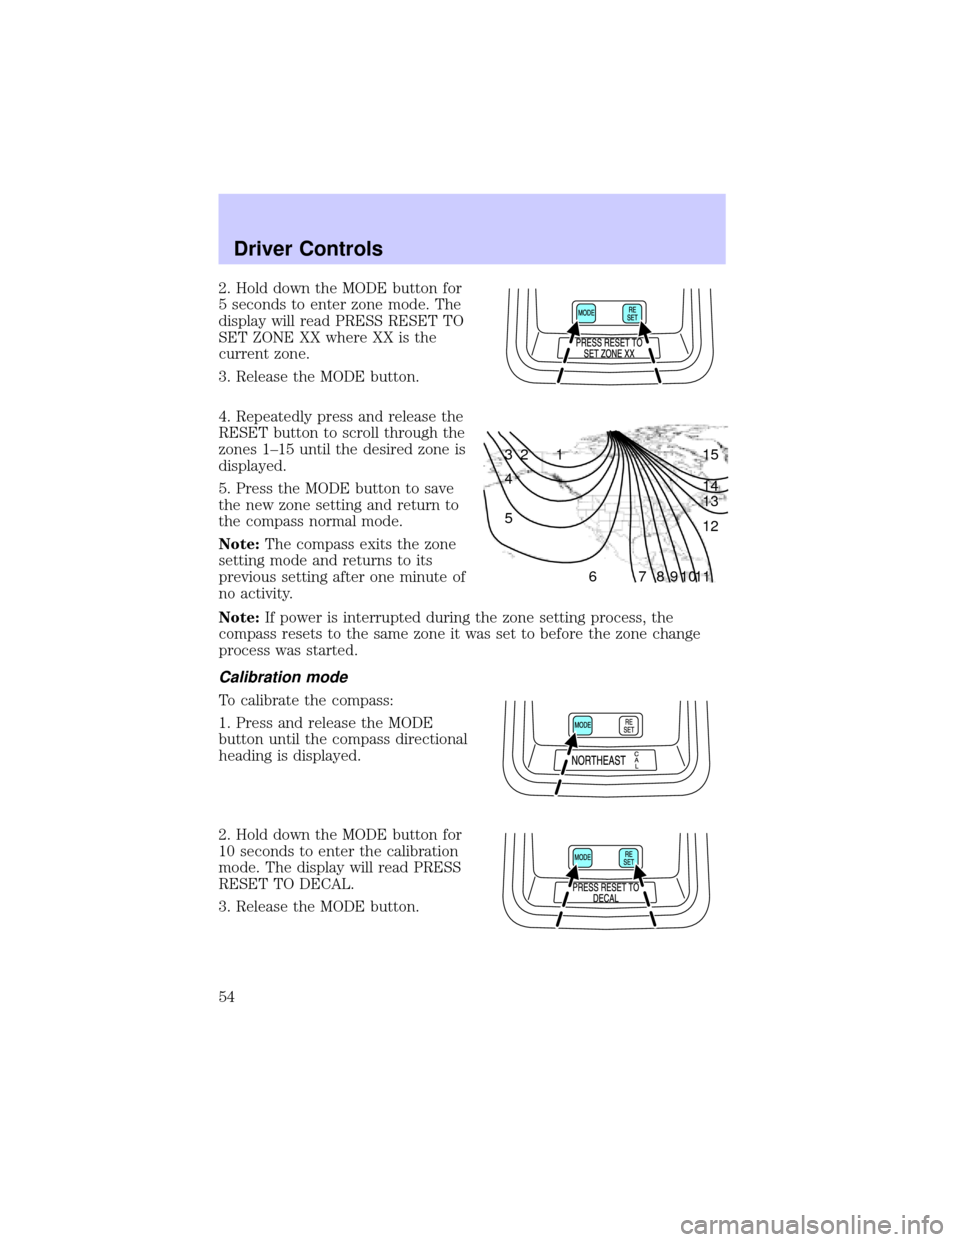
2. Hold down the MODE button for
5 seconds to enter zone mode. The
display will read PRESS RESET TO
SET ZONE XX where XX is the
current zone.
3. Release the MODE button.
4. Repeatedly press and release the
RESET button to scroll through the
zones 1±15 until the desired zone is
displayed.
5. Press the MODE button to save
the new zone setting and return to
the compass normal mode.
Note:The compass exits the zone
setting mode and returns to its
previous setting after one minute of
no activity.
Note:If power is interrupted during the zone setting process, the
compass resets to the same zone it was set to before the zone change
process was started.
Calibration mode
To calibrate the compass:
1. Press and release the MODE
button until the compass directional
heading is displayed.
2. Hold down the MODE button for
10 seconds to enter the calibration
mode. The display will read PRESS
RESET TO DECAL.
3. Release the MODE button.
1 2 3
4
5
6 7 8 9 101112 13 14 15
Driver Controls
54
Page 55 of 232
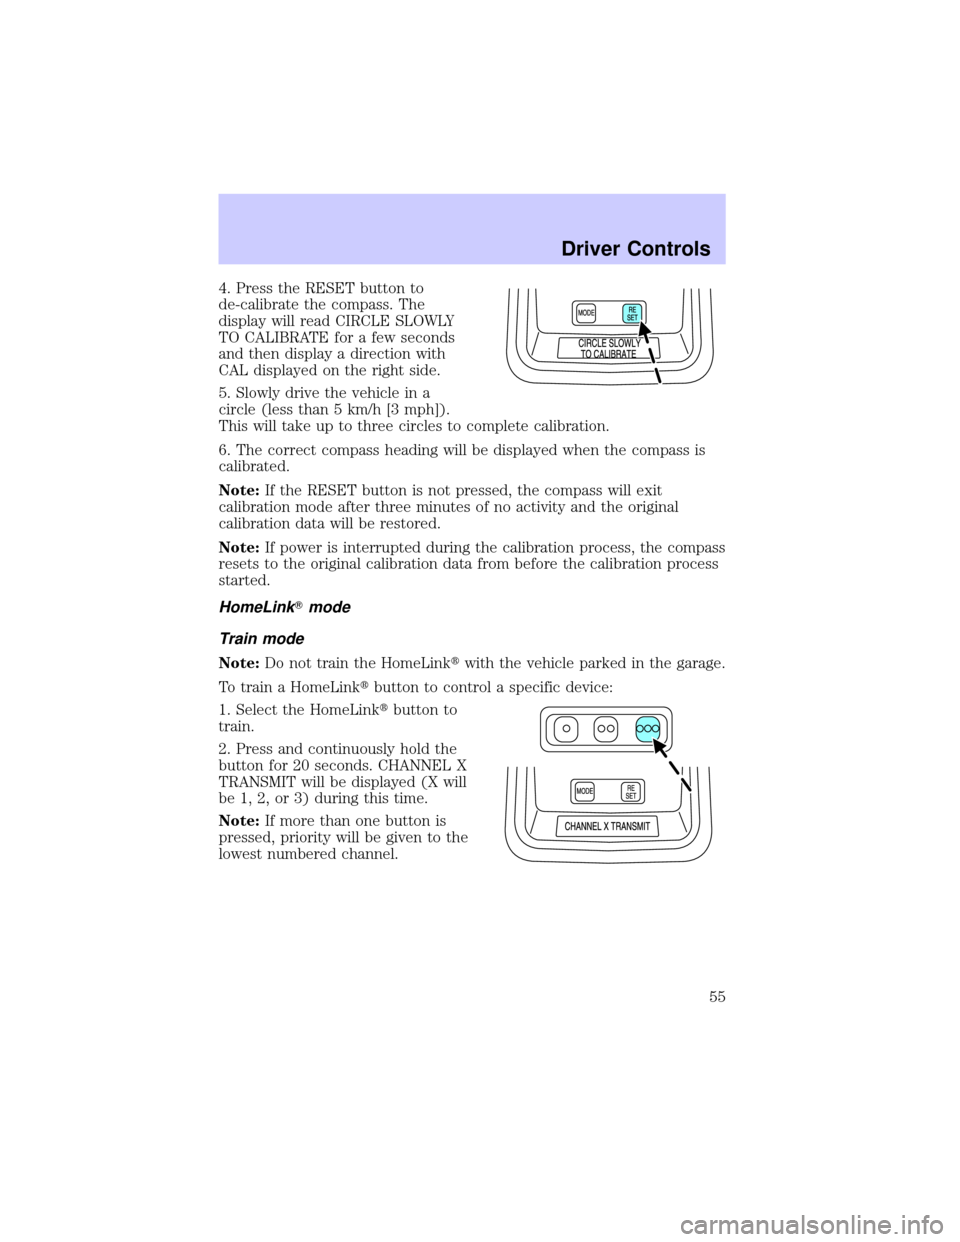
4. Press the RESET button to
de-calibrate the compass. The
display will read CIRCLE SLOWLY
TO CALIBRATE for a few seconds
and then display a direction with
CAL displayed on the right side.
5. Slowly drive the vehicle in a
circle (less than 5 km/h [3 mph]).
This will take up to three circles to complete calibration.
6. The correct compass heading will be displayed when the compass is
calibrated.
Note:If the RESET button is not pressed, the compass will exit
calibration mode after three minutes of no activity and the original
calibration data will be restored.
Note:If power is interrupted during the calibration process, the compass
resets to the original calibration data from before the calibration process
started.
HomeLinkTmode
Train mode
Note:Do not train the HomeLinktwith the vehicle parked in the garage.
To train a HomeLinktbutton to control a specific device:
1. Select the HomeLinktbutton to
train.
2. Press and continuously hold the
button for 20 seconds. CHANNEL X
TRANSMIT will be displayed (X will
be 1, 2, or 3) during this time.
Note:If more than one button is
pressed, priority will be given to the
lowest numbered channel.
Driver Controls
55
Page 67 of 232
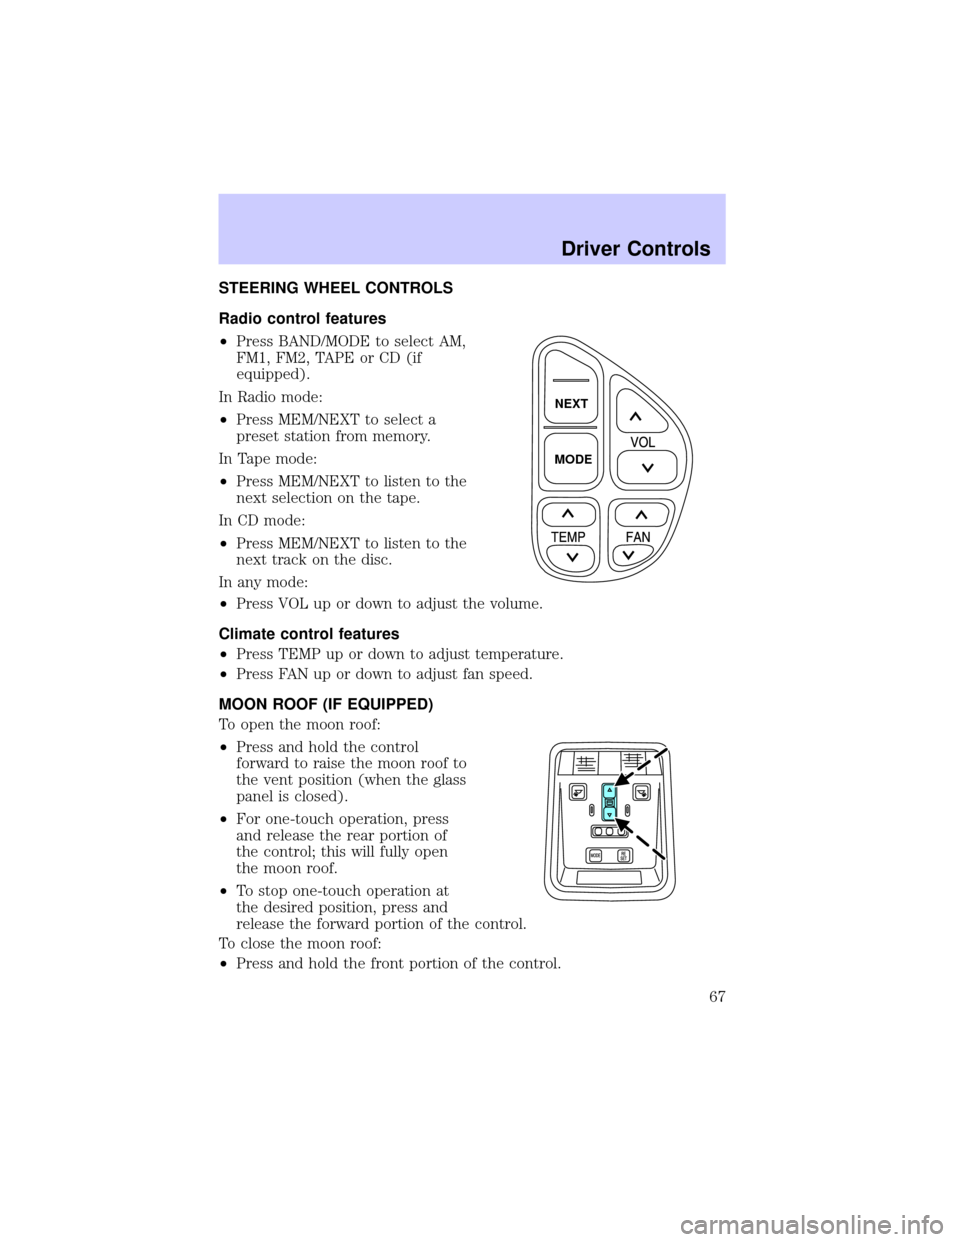
STEERING WHEEL CONTROLS
Radio control features
²Press BAND/MODE to select AM,
FM1, FM2, TAPE or CD (if
equipped).
In Radio mode:
²Press MEM/NEXT to select a
preset station from memory.
In Tape mode:
²Press MEM/NEXT to listen to the
next selection on the tape.
In CD mode:
²Press MEM/NEXT to listen to the
next track on the disc.
In any mode:
²Press VOL up or down to adjust the volume.
Climate control features
²Press TEMP up or down to adjust temperature.
²Press FAN up or down to adjust fan speed.
MOON ROOF (IF EQUIPPED)
To open the moon roof:
²Press and hold the control
forward to raise the moon roof to
the vent position (when the glass
panel is closed).
²For one-touch operation, press
and release the rear portion of
the control; this will fully open
the moon roof.
²To stop one-touch operation at
the desired position, press and
release the forward portion of the control.
To close the moon roof:
²Press and hold the front portion of the control.
NEXT
MODE
Driver Controls
67
Page 89 of 232
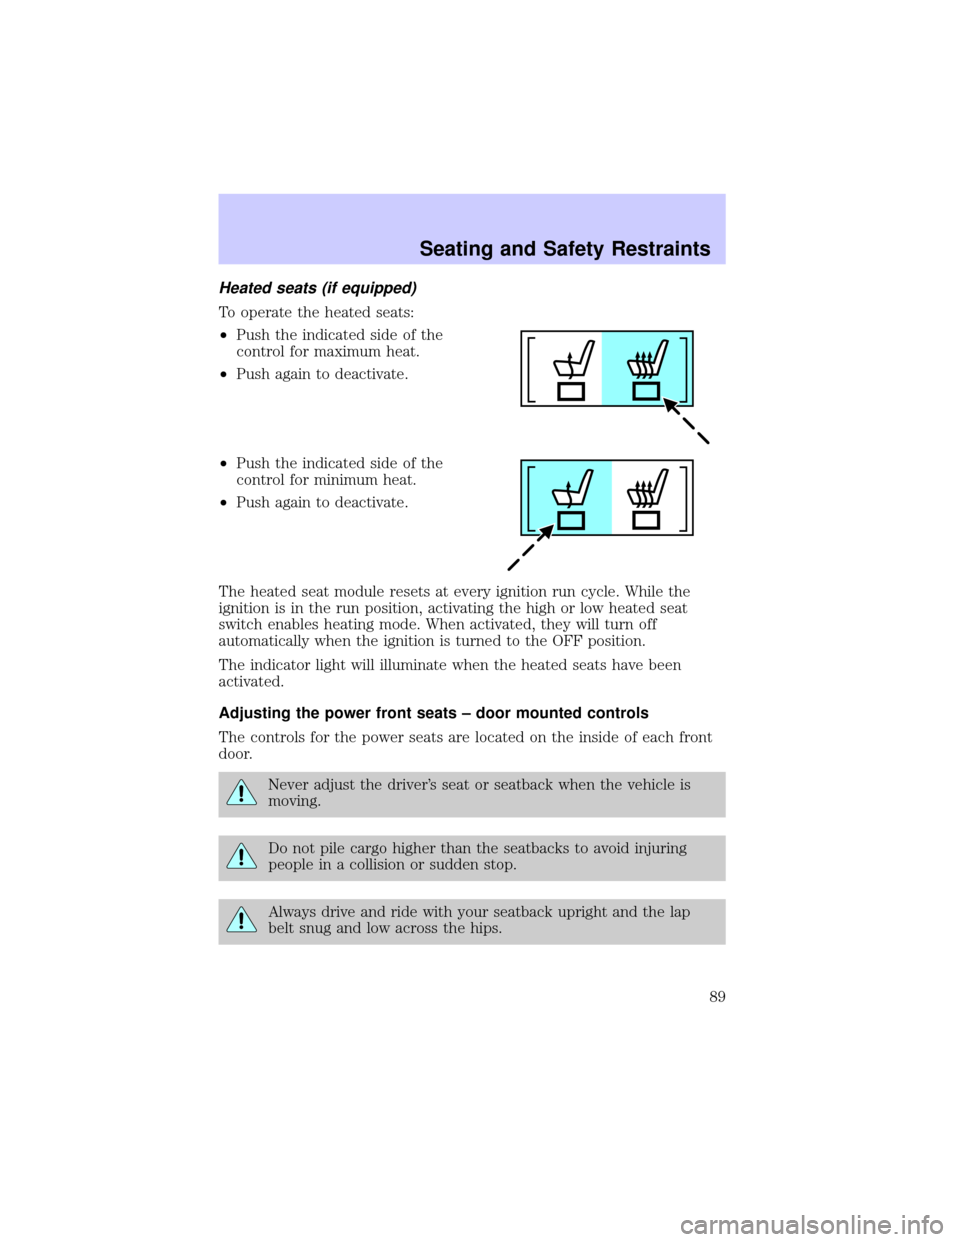
Heated seats (if equipped)
To operate the heated seats:
²Push the indicated side of the
control for maximum heat.
²Push again to deactivate.
²Push the indicated side of the
control for minimum heat.
²Push again to deactivate.
The heated seat module resets at every ignition run cycle. While the
ignition is in the run position, activating the high or low heated seat
switch enables heating mode. When activated, they will turn off
automatically when the ignition is turned to the OFF position.
The indicator light will illuminate when the heated seats have been
activated.
Adjusting the power front seats ± door mounted controls
The controls for the power seats are located on the inside of each front
door.
Never adjust the driver's seat or seatback when the vehicle is
moving.
Do not pile cargo higher than the seatbacks to avoid injuring
people in a collision or sudden stop.
Always drive and ride with your seatback upright and the lap
belt snug and low across the hips.
Seating and Safety Restraints
89
Page 143 of 232
Canadian customers who require roadside assistance, call
1±800±665±2006.
If you need to arrange roadside assistance for yourself, Ford Motor
Company will reimburse a reasonable amount. To obtain reimbursement
information, U.S. Ford or Mercury vehicles customers call
1-800-241-3673; Lincoln vehicle customers call 1±800±521±4140.
Canadian customers who need to obtain reimbursement information, call
1±800±665±2006.
ROADSIDE COVERAGE BEYOND BASIC WARRANTY
In the United States, you may purchase additional roadside assistance
coverage beyond this period through the Ford Auto Club by contacting
your Ford or Lincoln Mercury dealer.
Similarly in Canada, for uninterrupted Roadside Assistance coverage, you
may purchase extended coverage prior to your Basic Warranty's Roadside
Assistance expiring. For more information and enrollment, contact
1±877±294±2582 or visit our website at www.ford.ca.
HAZARD FLASHER
Use only in an emergency to warn traffic of vehicle breakdown,
approaching danger, etc. The hazard flashers can be operated when the
ignition is off.
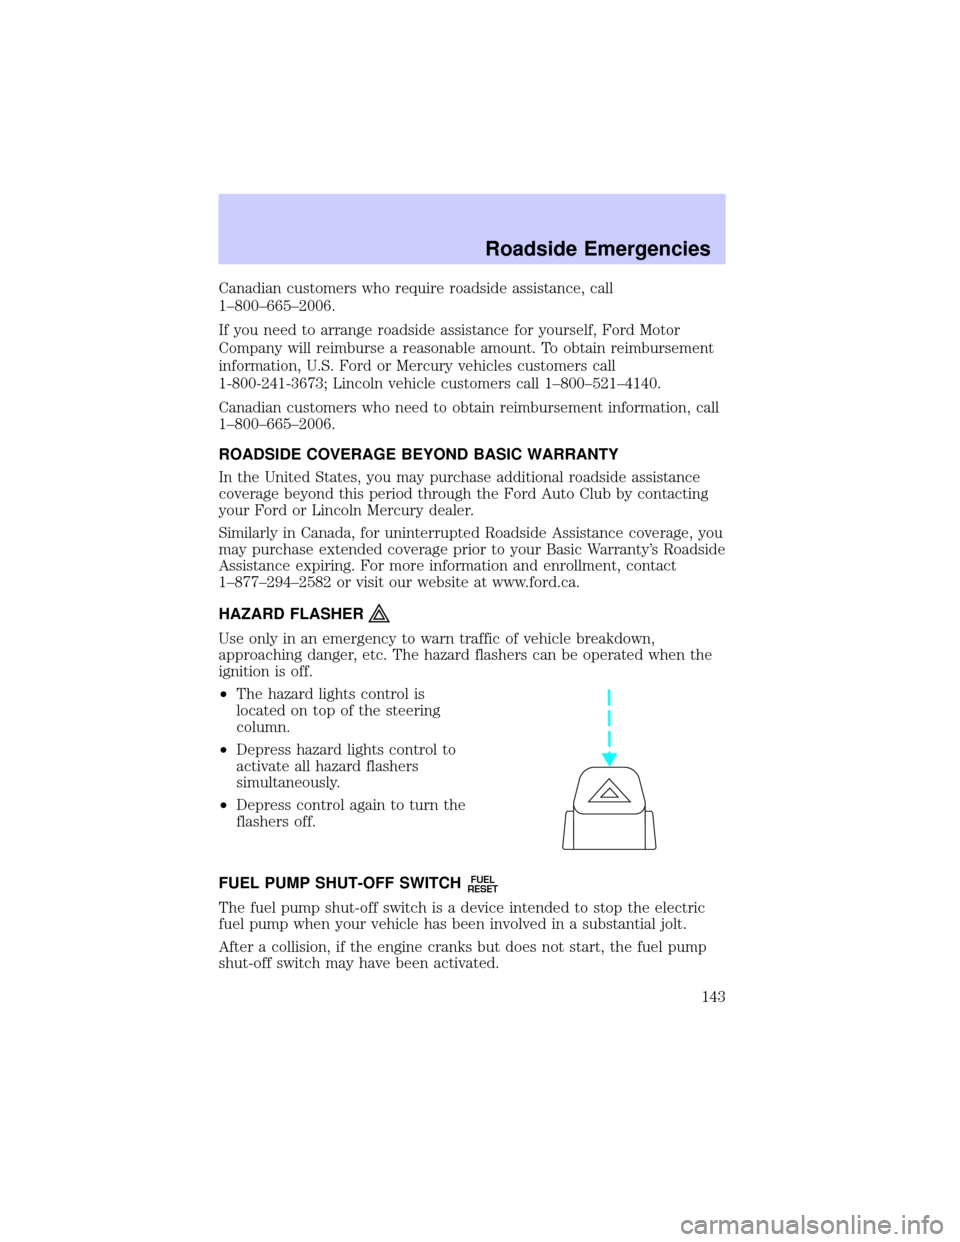
²The hazard lights control is
located on top of the steering
column.
²Depress hazard lights control to
activate all hazard flashers
simultaneously.
²Depress control again to turn the
flashers off.
FUEL PUMP SHUT-OFF SWITCH
FUEL
RESET
The fuel pump shut-off switch is a device intended to stop the electric
fuel pump when your vehicle has been involved in a substantial jolt.
After a collision, if the engine cranks but does not start, the fuel pump
shut-off switch may have been activated.
Roadside Emergencies
143