seats Mercury Marauder 2004 Owner's Manuals
[x] Cancel search | Manufacturer: MERCURY, Model Year: 2004, Model line: Marauder, Model: Mercury Marauder 2004Pages: 224, PDF Size: 3.21 MB
Page 7 of 224
To access this information, special equipment must be directly connected
to the recording modules. Ford Motor Company and Ford of Canada do
not access event data recorder information without obtaining consent,
unless pursuant to court order or where required by law enforcement,
other government authorities or other third parties acting with lawful
authority. Other parties may seek to access the information
independently of Ford Motor Company and Ford of Canada.
Special instructions
For your added safety, your vehicle is fitted with sophisticated electronic
controls.
Please read the sectionSupplemental restraint system (SRS)
in theSeating and Safety Restraintschapter. Failure to follow
the specific warnings and instructions could result in personal injury.
Front seat mounted rear-facing child or infant seats should
NEVERbe placed in front of an active passenger air bag.
2004 Marauder(mdr)
Owners Guide (post-2002-fmt)
USA English(fus)
Introduction
7
Page 19 of 224
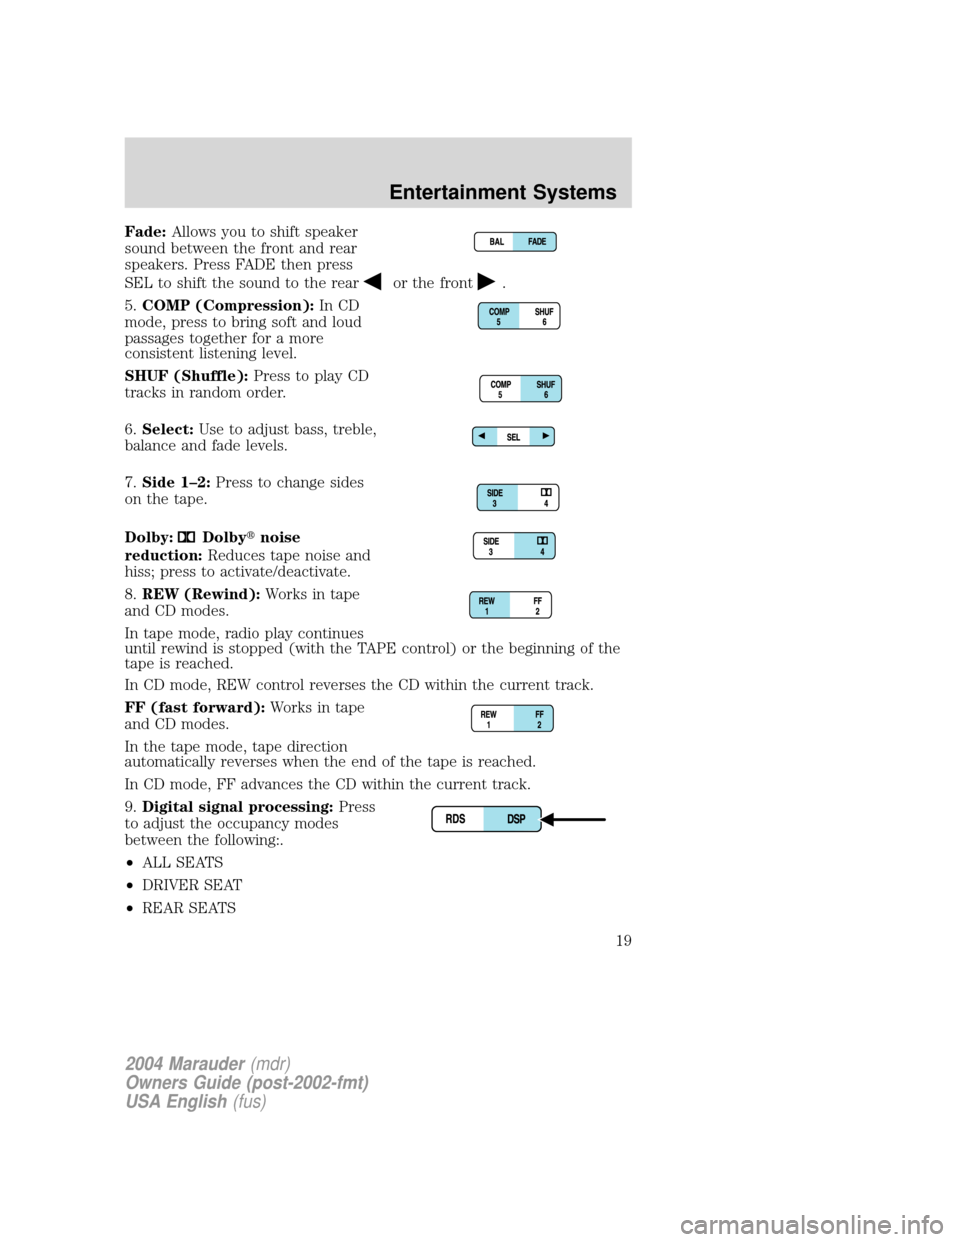
Fade:Allows you to shift speaker
sound between the front and rear
speakers. Press FADE then press
SEL to shift the sound to the rear
or the front.
5.COMP (Compression):In CD
mode, press to bring soft and loud
passages together for a more
consistent listening level.
SHUF (Shuffle):Press to play CD
tracks in random order.
6.Select:Use to adjust bass, treble,
balance and fade levels.
7.Side 1±2:Press to change sides
on the tape.
Dolby:
Dolbytnoise
reduction:Reduces tape noise and
hiss; press to activate/deactivate.
8.REW (Rewind):Works in tape
and CD modes.
In tape mode, radio play continues
until rewind is stopped (with the TAPE control) or the beginning of the
tape is reached.
In CD mode, REW control reverses the CD within the current track.
FF (fast forward):Works in tape
and CD modes.
In the tape mode, tape direction
automatically reverses when the end of the tape is reached.
In CD mode, FF advances the CD within the current track.
9.Digital signal processing:Press
to adjust the occupancy modes
between the following:.
²ALL SEATS
²DRIVER SEAT
²REAR SEATS
2004 Marauder(mdr)
Owners Guide (post-2002-fmt)
USA English(fus)
Entertainment Systems
19
Page 25 of 224
8.Norm A/C:Uses outside air to cool the vehicle . Air flows from the
instrument panel vents only.
9.Max A/C:Uses recirculated air to cool the vehicle. Air flows from the
instrument panel vents only. This mode will help prevent unpleasant
odors from entering the vehicle.
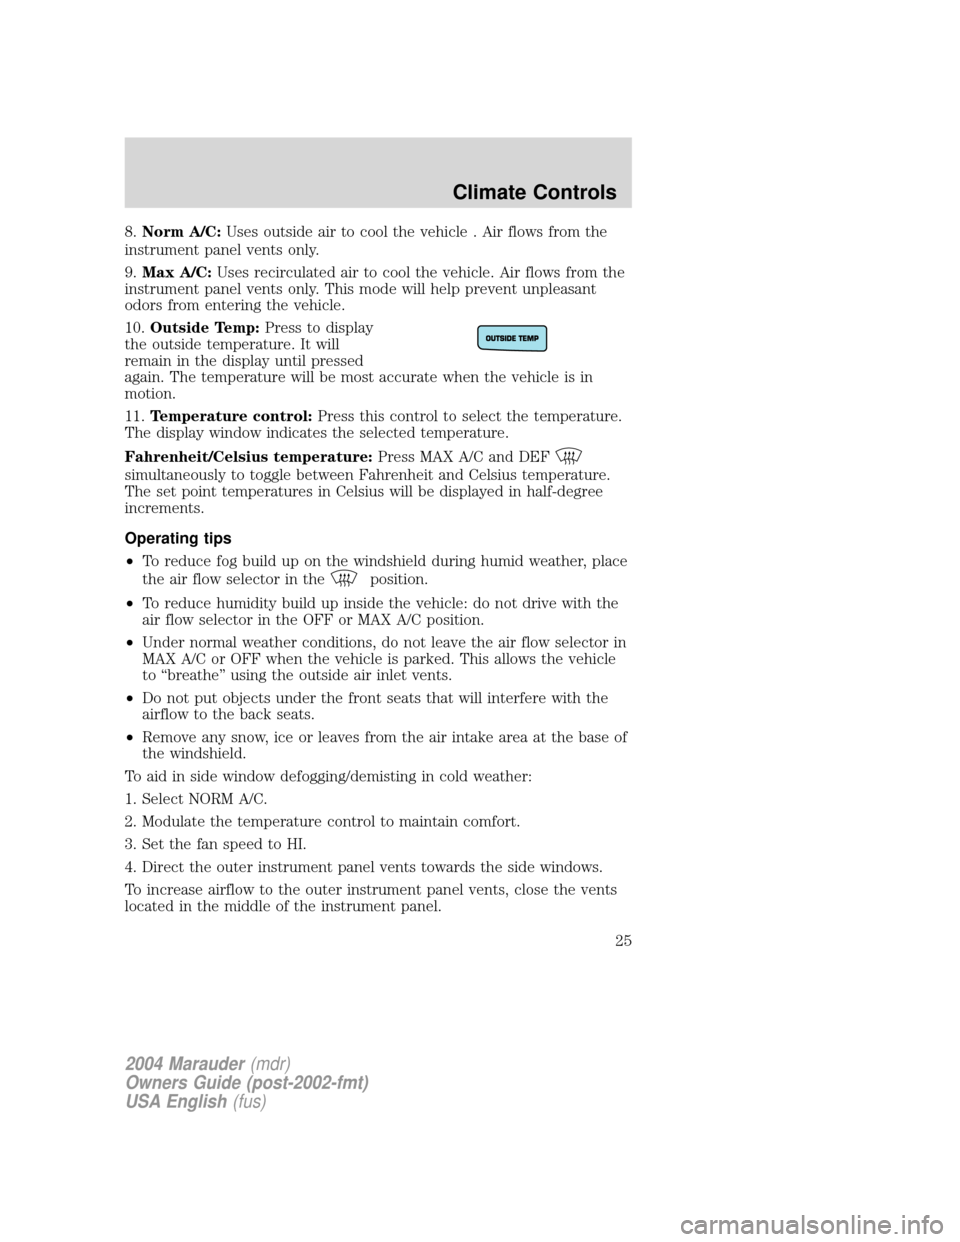
10.Outside Temp:Press to display
the outside temperature. It will
remain in the display until pressed
again. The temperature will be most accurate when the vehicle is in
motion.
11.Temperature control:Press this control to select the temperature.
The display window indicates the selected temperature.
Fahrenheit/Celsius temperature:Press MAX A/C and DEF
simultaneously to toggle between Fahrenheit and Celsius temperature.
The set point temperatures in Celsius will be displayed in half-degree
increments.
Operating tips
²To reduce fog build up on the windshield during humid weather, place
the air flow selector in the
position.
²To reduce humidity build up inside the vehicle: do not drive with the
air flow selector in the OFF or MAX A/C position.
²Under normal weather conditions, do not leave the air flow selector in
MAX A/C or OFF when the vehicle is parked. This allows the vehicle
to ªbreatheº using the outside air inlet vents.
²Do not put objects under the front seats that will interfere with the
airflow to the back seats.
²Remove any snow, ice or leaves from the air intake area at the base of
the windshield.
To aid in side window defogging/demisting in cold weather:
1. Select NORM A/C.
2. Modulate the temperature control to maintain comfort.
3. Set the fan speed to HI.
4. Direct the outer instrument panel vents towards the side windows.
To increase airflow to the outer instrument panel vents, close the vents
located in the middle of the instrument panel.
2004 Marauder(mdr)
Owners Guide (post-2002-fmt)
USA English(fus)
Climate Controls
25
Page 74 of 224
SEATING
Adjustable head restraints
Your vehicle's seats are equipped with head restraints which are
vertically adjustable. The purpose of these head restraints is to help limit
head motion in the event of a rear collision. To properly adjust your head
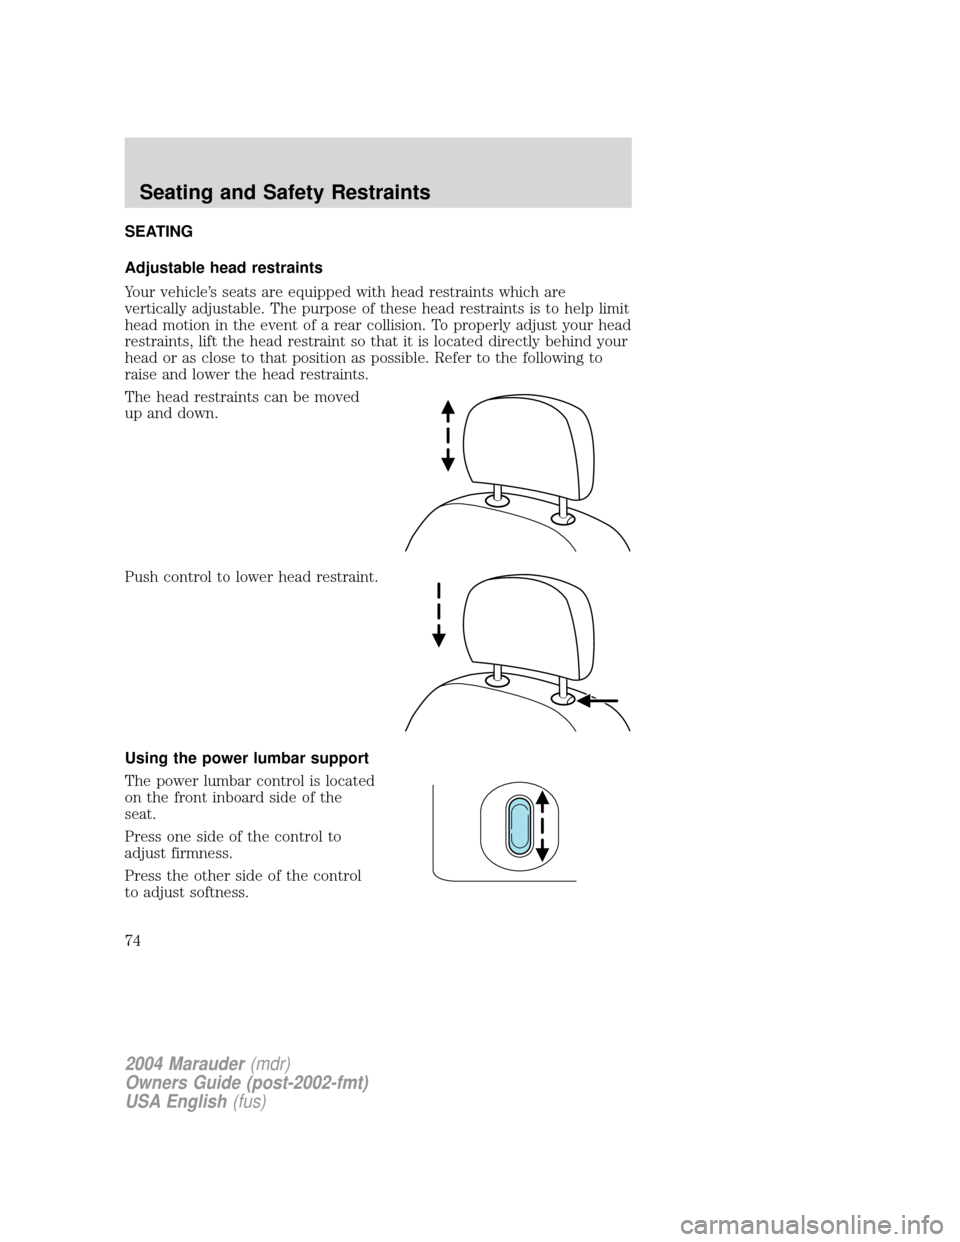
restraints, lift the head restraint so that it is located directly behind your
head or as close to that position as possible. Refer to the following to
raise and lower the head restraints.
The head restraints can be moved
up and down.
Push control to lower head restraint.
Using the power lumbar support
The power lumbar control is located
on the front inboard side of the
seat.
Press one side of the control to
adjust firmness.
Press the other side of the control
to adjust softness.
2004 Marauder(mdr)
Owners Guide (post-2002-fmt)
USA English(fus)
Seating and Safety Restraints
Seating and Safety Restraints
74
Page 75 of 224
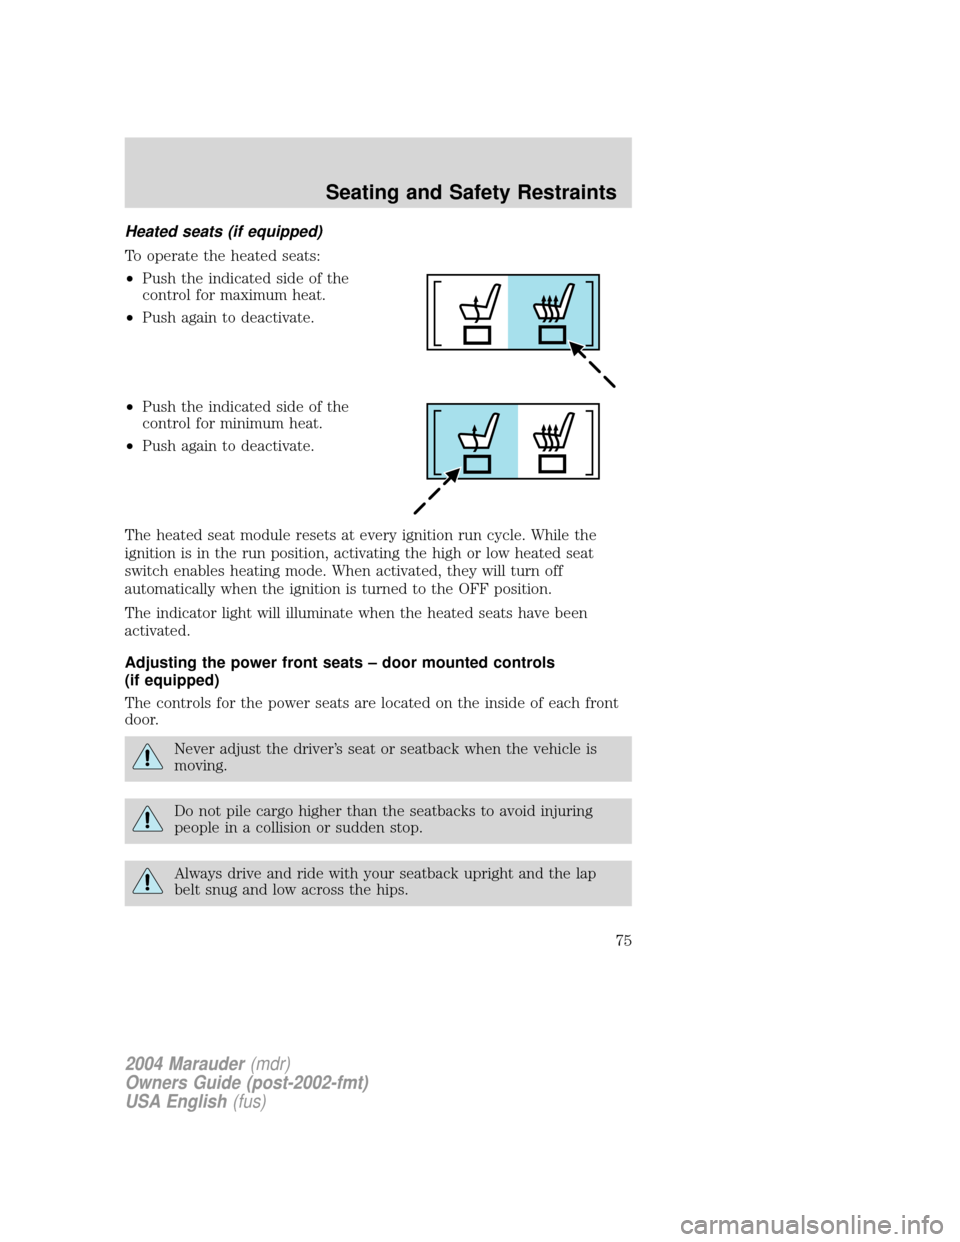
Heated seats (if equipped)
To operate the heated seats:
²Push the indicated side of the
control for maximum heat.
²Push again to deactivate.
²Push the indicated side of the
control for minimum heat.
²Push again to deactivate.
The heated seat module resets at every ignition run cycle. While the
ignition is in the run position, activating the high or low heated seat
switch enables heating mode. When activated, they will turn off
automatically when the ignition is turned to the OFF position.
The indicator light will illuminate when the heated seats have been
activated.
Adjusting the power front seats ± door mounted controls
(if equipped)
The controls for the power seats are located on the inside of each front
door.
Never adjust the driver's seat or seatback when the vehicle is
moving.
Do not pile cargo higher than the seatbacks to avoid injuring
people in a collision or sudden stop.
Always drive and ride with your seatback upright and the lap
belt snug and low across the hips.
2004 Marauder(mdr)
Owners Guide (post-2002-fmt)
USA English(fus)
Seating and Safety Restraints
75
Page 80 of 224
Safety restraints precautions
Always drive and ride with your seatback upright and the lap
belt snug and low across the hips.
To reduce the risk of injury, make sure children sit in the back
seat where they can be properly restrained.
Never let a passenger hold a child on his or her lap while the
vehicle is moving. The passenger cannot protect the child from
injury in a collision.
All occupants of the vehicle, including the driver, should always
properly wear their safety belts, even when an air bag
supplemental restraint system (SRS) is provided.
It is extremely dangerous to ride in a cargo area, inside or
outside of a vehicle. In a collision, people riding in these areas
are more likely to be seriously injured or killed. Do not allow people to
ride in any area of your vehicle that is not equipped with seats and
safety belts. Be sure everyone in your vehicle is in a seat and using a
safety belt properly.
In a rollover crash, an unbelted person is significantly more likely
to die than a person wearing a safety belt.
Each seating position in your vehicle has a specific safety belt
assembly which is made up of one buckle and one tongue that
are designed to be used as a pair. 1) Use the shoulder belt on the
outside shoulder only. Never wear the shoulder belt under the arm. 2)
Never swing the safety belt around your neck over the inside shoulder.
3) Never use a single belt for more than one person.
Always transport children 12 years old and under in the back
seat and always properly use appropriate child restraints.
2004 Marauder(mdr)
Owners Guide (post-2002-fmt)
USA English(fus)
Seating and Safety Restraints
80
Page 81 of 224
Safety belts and seats can become hot in a vehicle that has been
closed up in sunny weather; they could burn a small child. Check
seat covers and buckles before you place a child anywhere near them.
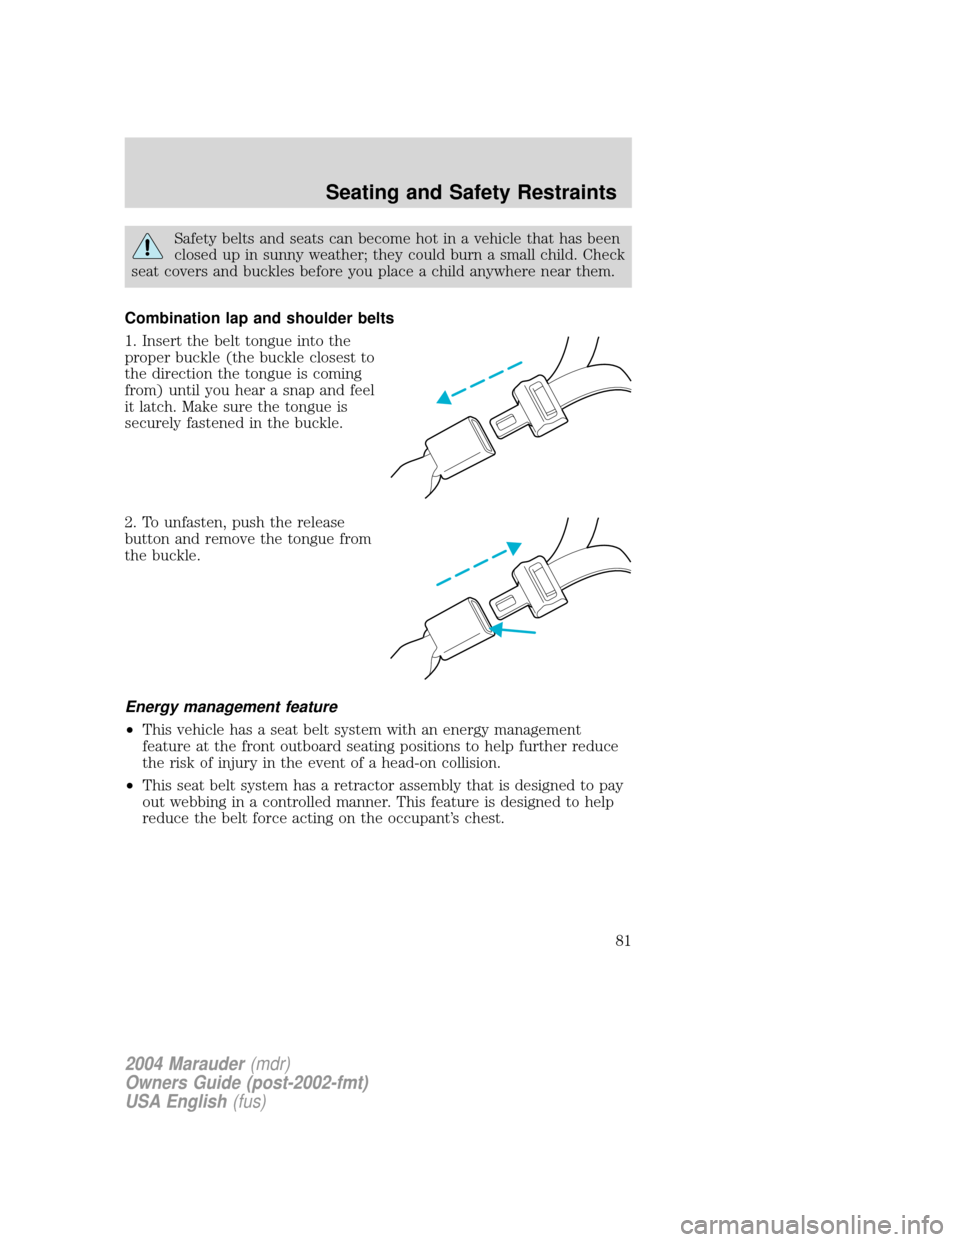
Combination lap and shoulder belts
1. Insert the belt tongue into the
proper buckle (the buckle closest to
the direction the tongue is coming
from) until you hear a snap and feel
it latch. Make sure the tongue is
securely fastened in the buckle.
2. To unfasten, push the release
button and remove the tongue from
the buckle.
Energy management feature
²This vehicle has a seat belt system with an energy management
feature at the front outboard seating positions to help further reduce
the risk of injury in the event of a head-on collision.
²This seat belt system has a retractor assembly that is designed to pay
out webbing in a controlled manner. This feature is designed to help
reduce the belt force acting on the occupant's chest.
2004 Marauder(mdr)
Owners Guide (post-2002-fmt)
USA English(fus)
Seating and Safety Restraints
81
Page 82 of 224
The front outboard and rear safety restraints in the vehicle are
combination lap and shoulder belts. The front outboard passenger and
rear seat safety belts have three types of locking modes described below:
Vehicle sensitive mode
This is the normal retractor mode, which allows free shoulder belt length
adjustment to your movements and locking in response to vehicle
movement. For example, if the driver brakes suddenly or turns a corner
sharply, or the vehicle receives an impact of approximately 8 km/h (5
mph) or more, the combination safety belts will lock to help reduce
forward movement of the driver and passengers.
Webbing extraction sensitive mode
The webbing sensitive locking mode locks the webbing and prevents
more belt from being pulled out if the belt is pulled out too quickly. The
belt will unlock when you stop pulling on it.
Automatic locking mode
In this mode, the shoulder belt is pre-locked. The belt will still retract to
remove any slack in the shoulder belt.
The automatic locking mode is not available on the driver safety belt.
When to use the automatic locking mode
²Any timea child safety seat is installed in a passenger front outboard
or any rear seating position. Children 12 years old and under should
be properly restrained in the rear seat whenever possible. Refer to
Safety Restraints for ChildrenorSafety Seats for Childrenlater in
this chapter.
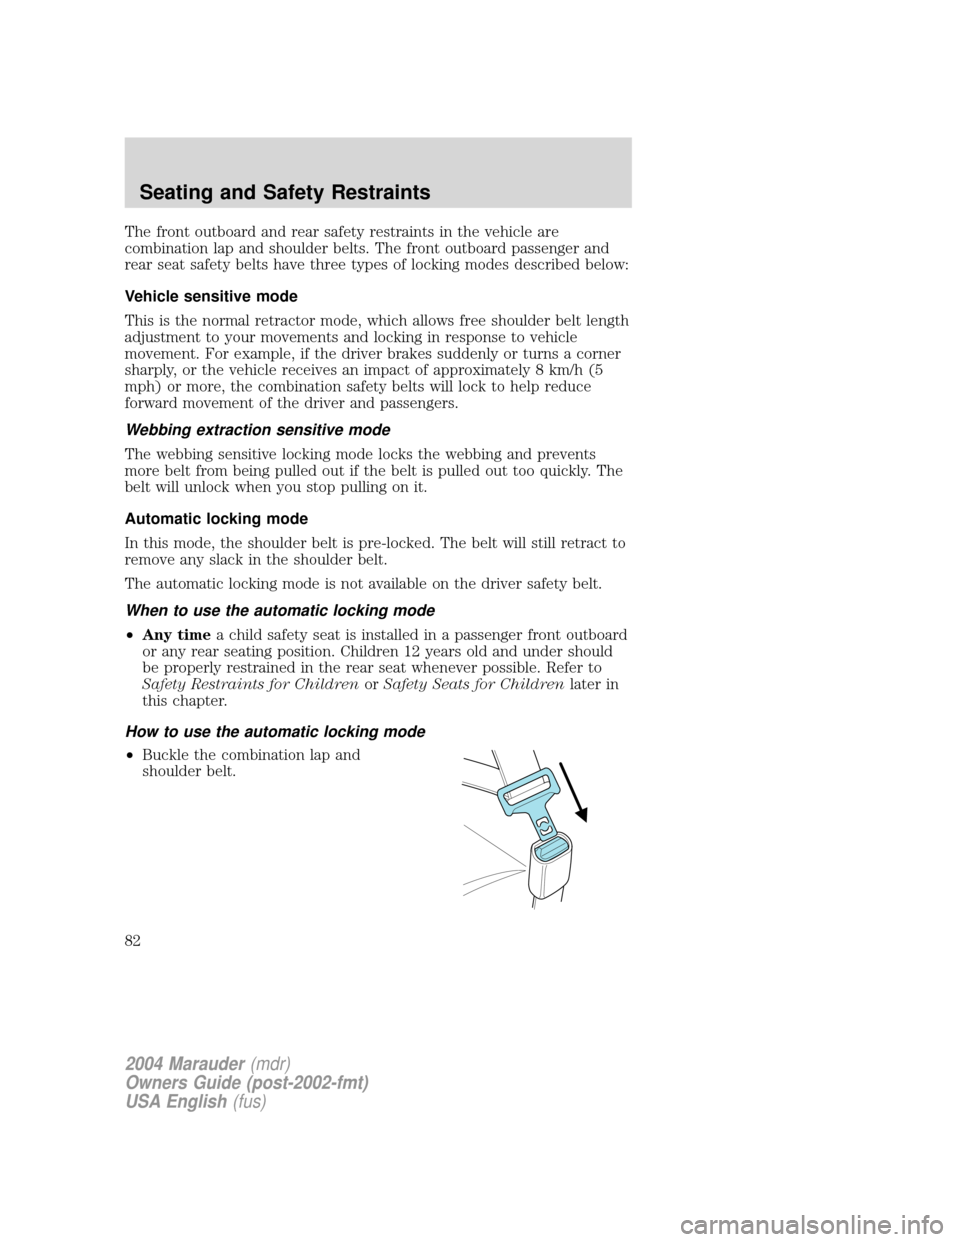
How to use the automatic locking mode
²Buckle the combination lap and
shoulder belt.
2004 Marauder(mdr)
Owners Guide (post-2002-fmt)
USA English(fus)
Seating and Safety Restraints
82
Page 83 of 224
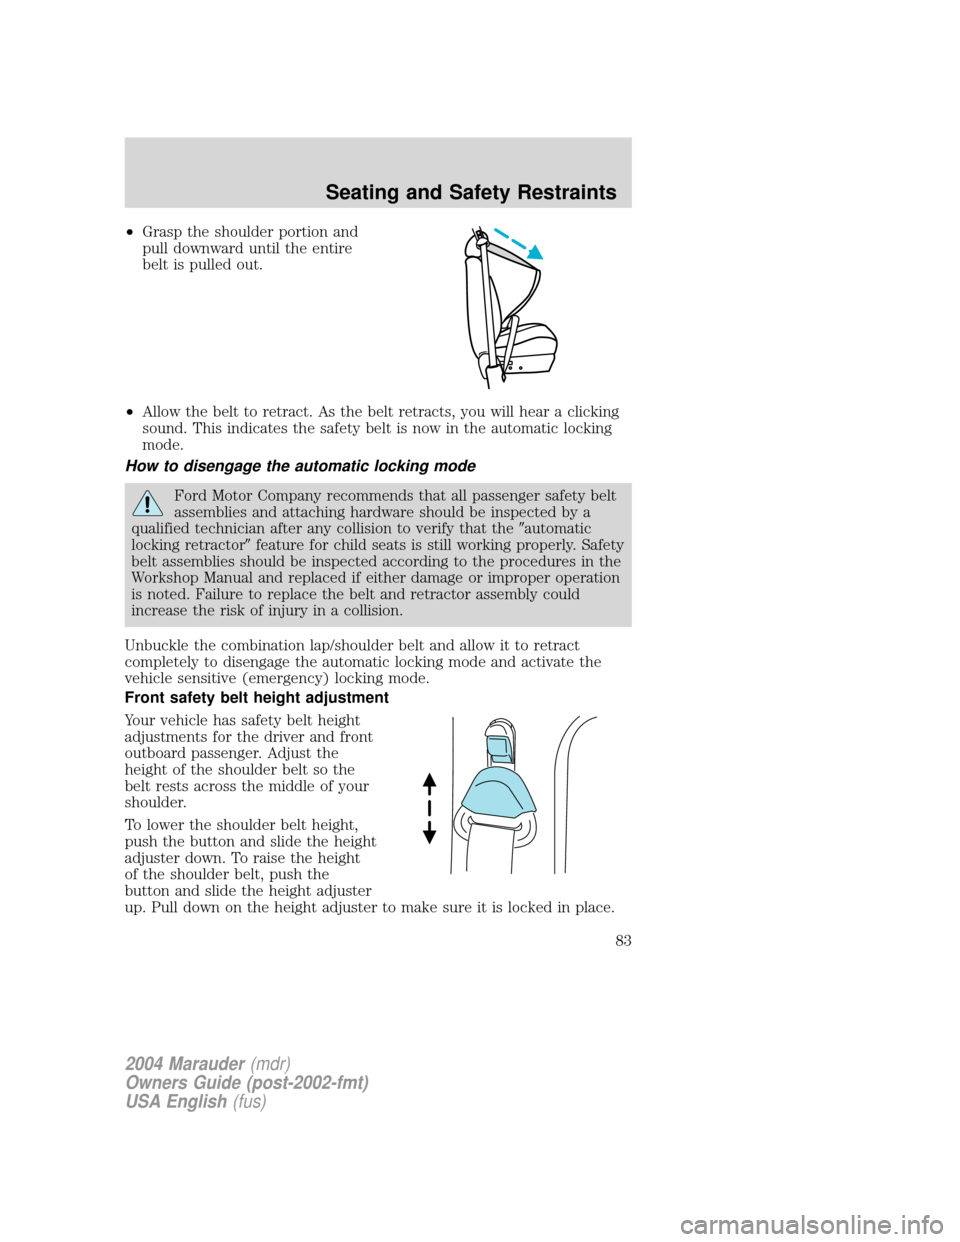
²Grasp the shoulder portion and
pull downward until the entire
belt is pulled out.
²Allow the belt to retract. As the belt retracts, you will hear a clicking
sound. This indicates the safety belt is now in the automatic locking
mode.
How to disengage the automatic locking mode
Ford Motor Company recommends that all passenger safety belt
assemblies and attaching hardware should be inspected by a
qualified technician after any collision to verify that the9automatic
locking retractor9feature for child seats is still working properly. Safety
belt assemblies should be inspected according to the procedures in the
Workshop Manual and replaced if either damage or improper operation
is noted. Failure to replace the belt and retractor assembly could
increase the risk of injury in a collision.
Unbuckle the combination lap/shoulder belt and allow it to retract
completely to disengage the automatic locking mode and activate the
vehicle sensitive (emergency) locking mode.
Front safety belt height adjustment
Your vehicle has safety belt height
adjustments for the driver and front
outboard passenger. Adjust the
height of the shoulder belt so the
belt rests across the middle of your
shoulder.
To lower the shoulder belt height,
push the button and slide the height
adjuster down. To raise the height
of the shoulder belt, push the
button and slide the height adjuster
up. Pull down on the height adjuster to make sure it is locked in place.
2004 Marauder(mdr)
Owners Guide (post-2002-fmt)
USA English(fus)
Seating and Safety Restraints
83
Page 93 of 224
If the air bag has deployed,the air bag will not function
again and must be replaced immediately.If the air bag is not
replaced, the unrepaired area will increase the risk of injury in a
collision.
If the safety belt pretensioners deploy in an accident, they will
not function again ( belt will not extract or retract) and must be
replaced immediately. Failure to replace the retractor assemblies will
increase the risk of injury.
Determining if the system is operational
The SRS uses a readiness light in the instrument cluster or a tone to
indicate the condition of the system. Refer toAir bag readinesssection
in theInstrument Clusterchapter. Routine maintenance of the air bag is
not required.
A difficulty with the system is indicated by one or more of the following:
²The readiness light will either
flash or stay lit.
²The readiness light will not
illuminate immediately after
ignition is turned on.
²A series of five beeps will be heard. The tone pattern will repeat
periodically until the problem and/or light are repaired.
If any of these things happen, even intermittently, have the SRS serviced
at your dealership or by a qualified technician immediately. Unless
serviced, the system may not function properly in the event of a
collision.
Side air bag system
Do not place objects or mount equipment on or near the air bag
cover on the side of the seatbacks of the front seats or in front
seat areas that may come into contact with a deploying air bag. Failure
to follow these instructions may increase the risk of personal injury in
the event of a collision.
2004 Marauder(mdr)
Owners Guide (post-2002-fmt)
USA English(fus)
Seating and Safety Restraints
93