lock Mercury Mariner 2007 s User Guide
[x] Cancel search | Manufacturer: MERCURY, Model Year: 2007, Model line: Mariner, Model: Mercury Mariner 2007Pages: 280, PDF Size: 2.97 MB
Page 37 of 280
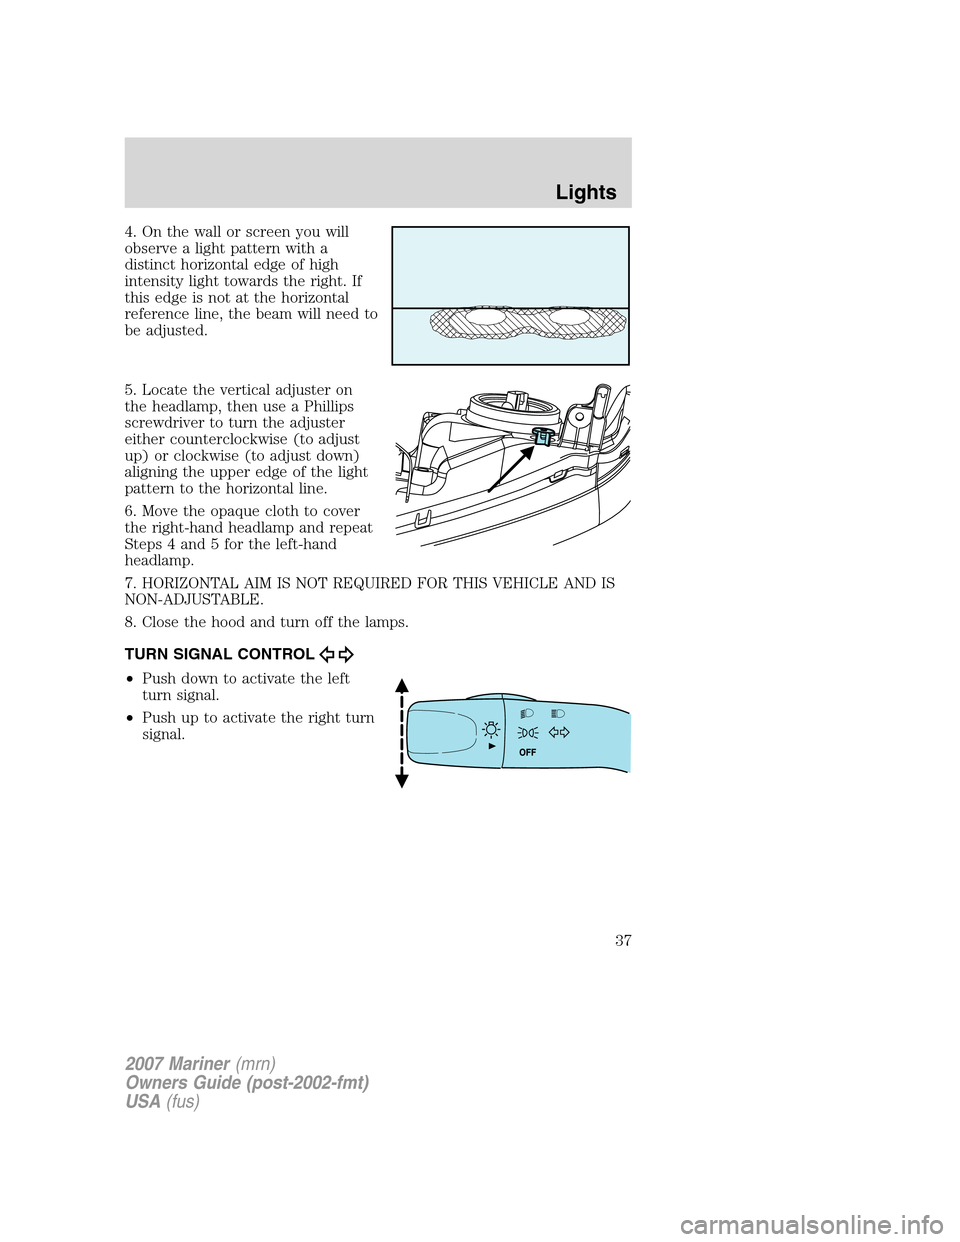
4. On the wall or screen you will
observe a light pattern with a
distinct horizontal edge of high
intensity light towards the right. If
this edge is not at the horizontal
reference line, the beam will need to
be adjusted.
5. Locate the vertical adjuster on
the headlamp, then use a Phillips
screwdriver to turn the adjuster
either counterclockwise (to adjust
up) or clockwise (to adjust down)
aligning the upper edge of the light
pattern to the horizontal line.
6. Move the opaque cloth to cover
the right-hand headlamp and repeat
Steps 4 and 5 for the left-hand
headlamp.
7. HORIZONTAL AIM IS NOT REQUIRED FOR THIS VEHICLE AND IS
NON-ADJUSTABLE.
8. Close the hood and turn off the lamps.
TURN SIGNAL CONTROL
•Push down to activate the left
turn signal.
•Push up to activate the right turn
signal.
2007 Mariner(mrn)
Owners Guide (post-2002-fmt)
USA(fus)
Lights
37
Page 40 of 280
Function Number of bulbs Trade number
Side turn-signal lamp 2 WY5W (amber)
Rear stop/turn/tail lamp 2 3157K or 4157K
Backup lamp 2 3156K
Foglamp (front) 2 H10
Center High-mount stop
lamp5
W5W
Rear license plate lamp 2 W5W
All replacement bulbs are clear in color except where noted.
To replace all instrument panel lights - see your authorized dealer.
Replacing the interior bulbs
Check the operation of all bulbs frequently.
Replacing exterior bulbs
Check the operation of all the bulbs frequently.
Replacing headlamp bulbs
1. Make sure that the headlamp control is in the OFF position.
2. Open the hood.
3. Disconnect the electrical connector from the bulb by depressing the
connector latch and then pulling rearward.
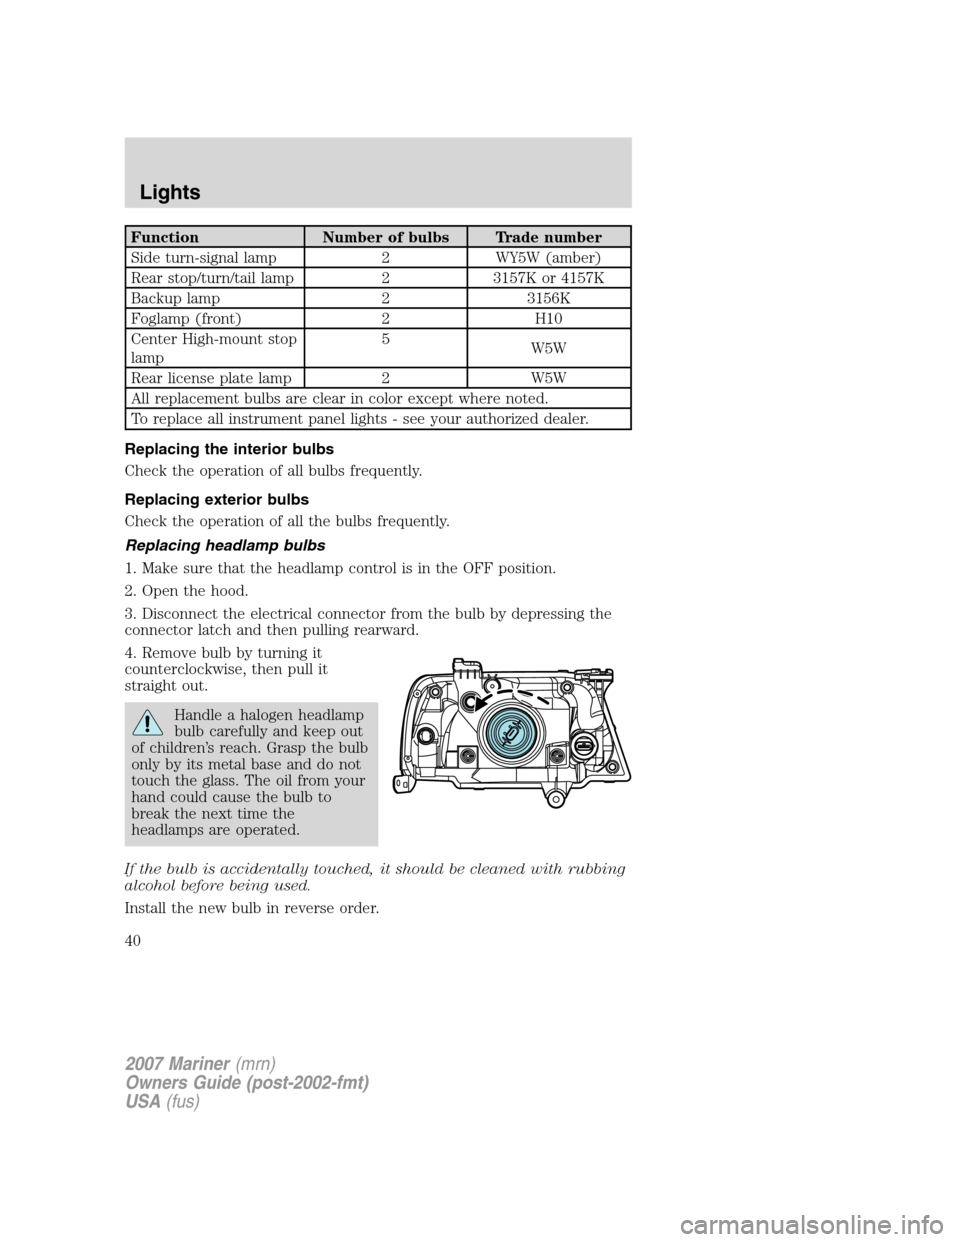
4. Remove bulb by turning it
counterclockwise, then pull it
straight out.
Handle a halogen headlamp
bulb carefully and keep out
of children’s reach. Grasp the bulb
only by its metal base and do not
touch the glass. The oil from your
hand could cause the bulb to
break the next time the
headlamps are operated.
If the bulb is accidentally touched, it should be cleaned with rubbing
alcohol before being used.
Install the new bulb in reverse order.
2007 Mariner(mrn)
Owners Guide (post-2002-fmt)
USA(fus)
Lights
40
Page 41 of 280
Replacing front parking lamp/turn signal bulbs
1. Make sure that the headlamp control is in the OFF position.
2. Open the hood.
3. Disconnect the electrical connector from the bulb socket by
depressing the connector latch and then pulling rearward.
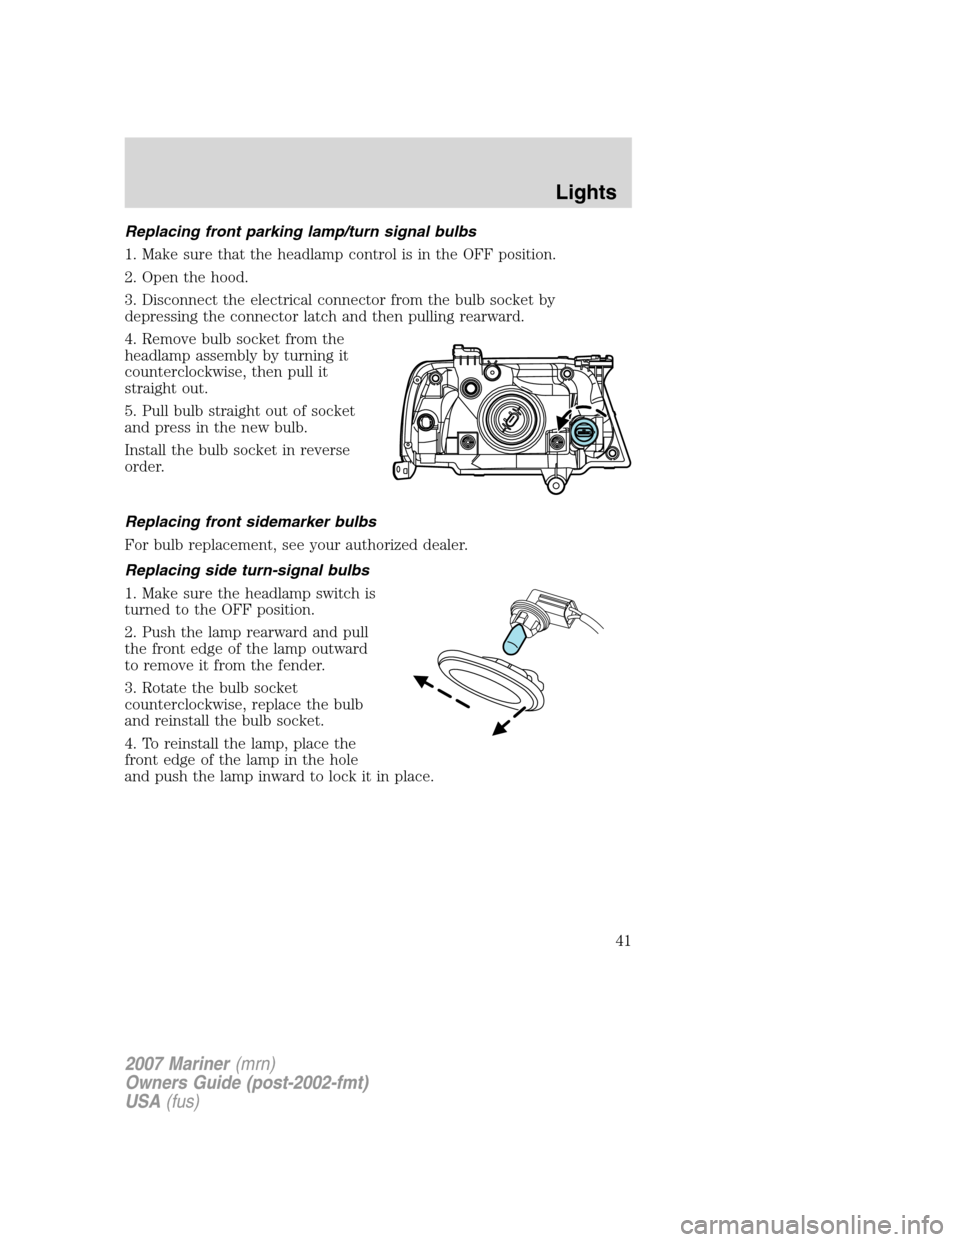
4. Remove bulb socket from the
headlamp assembly by turning it
counterclockwise, then pull it
straight out.
5. Pull bulb straight out of socket
and press in the new bulb.
Install the bulb socket in reverse
order.
Replacing front sidemarker bulbs
For bulb replacement, see your authorized dealer.
Replacing side turn-signal bulbs
1. Make sure the headlamp switch is
turned to the OFF position.
2. Push the lamp rearward and pull
the front edge of the lamp outward
to remove it from the fender.
3. Rotate the bulb socket
counterclockwise, replace the bulb
and reinstall the bulb socket.
4. To reinstall the lamp, place the
front edge of the lamp in the hole
and push the lamp inward to lock it in place.
2007 Mariner(mrn)
Owners Guide (post-2002-fmt)
USA(fus)
Lights
41
Page 42 of 280

Replacing brake/tail/turn/backup lamp bulbs
The brake/tail/turn/backup lamp bulbs are located in the tail lamp
assembly, one just below the other. Follow the same steps to replace
either bulb:
1. Make sure the headlamp switch is
in the OFF position and then open
the liftgate to expose the lamp
assemblies.
2. Remove the two screws from the
lamp assembly.
3. Carefully remove the lamp
assembly by pulling it rearward to
disengage snap features on the
outward side of the lamp.
4. Twist the bulb socket counterclockwise and remove from lamp
assembly.
5. Pull the bulb straight out of the
socket and push in the new bulb.
6. To complete installation, follow
the removal procedure in reverse
order.
Replacing license plate lamp bulbs
1. Make sure the headlamp switch is
in the OFF position and then pry
the license plate lamp assembly
(located above the license plate)
from the liftgate.
2. Remove bulb socket from lamp
assembly by turning
counterclockwise.
3. Pull the bulb out from the socket
and push in the new bulb.
4. Install the bulb socket in lamp assembly turning it clockwise.
5. To install, press the lamp assembly into liftgate.
2007 Mariner(mrn)
Owners Guide (post-2002-fmt)
USA(fus)
Lights
42
Page 45 of 280

Rear window wiper/washer controls
For intermittent operation of rear
wiper, rotate end of control upward
to the
position.
For normal speed rear wiper
operation, rotate control upward to
ON.
To activate the rear washer, rotate
the control to the
position and
release.
TILT STEERING WHEEL
To adjust the steering wheel:
1. Pull down the steering column tilt
lever.
2. Move the steering wheel up or
down until you find the desired
location.
3. Push the steering column tilt
lever up. This will lock the steering
wheel in position.
Never adjust the steering wheel when the vehicle is moving.
2007 Mariner(mrn)
Owners Guide (post-2002-fmt)
USA(fus)
Driver Controls
45
Page 48 of 280

Press and hold the bottom part of
the rocker switch to open the
window. Press and hold the top part
of the rocker switch to close the
window.
Note:The window switches will not
illuminate when the window lock
control is in the LOCKED position.
Rear Window Buffeting:When one or both of the rear windows are
open, the vehicle may demonstrate a wind throb or buffeting noise; this
noise can be alleviated by lowering a front window approximately two to
three inches.
One touch down
Allows the driver’s window to open
fully without holding the control
down. Press completely down on
AUTO and release quickly. Press the
top part of the switch to stop.
Window lock
The window lock feature disables all
the power windows except the
driver’s.
To lock out all the window controls
except for the driver’s window press
the right side of the control.
Note:The passenger window switches will not illuminate when the
window control is in the LOCKED position.
Press the left side to restore the window controls.
Accessory delay
With accessory delay, the window switches, moon roof (if equipped) and
audio system may be used for up to ten minutes after the ignition switch
is turned to the OFF position or until either front door is opened.
2007 Mariner(mrn)
Owners Guide (post-2002-fmt)
USA(fus)
Driver Controls
48
Page 49 of 280
AUTOMATIC DIMMING REAR VIEW MIRROR (IF EQUIPPED)
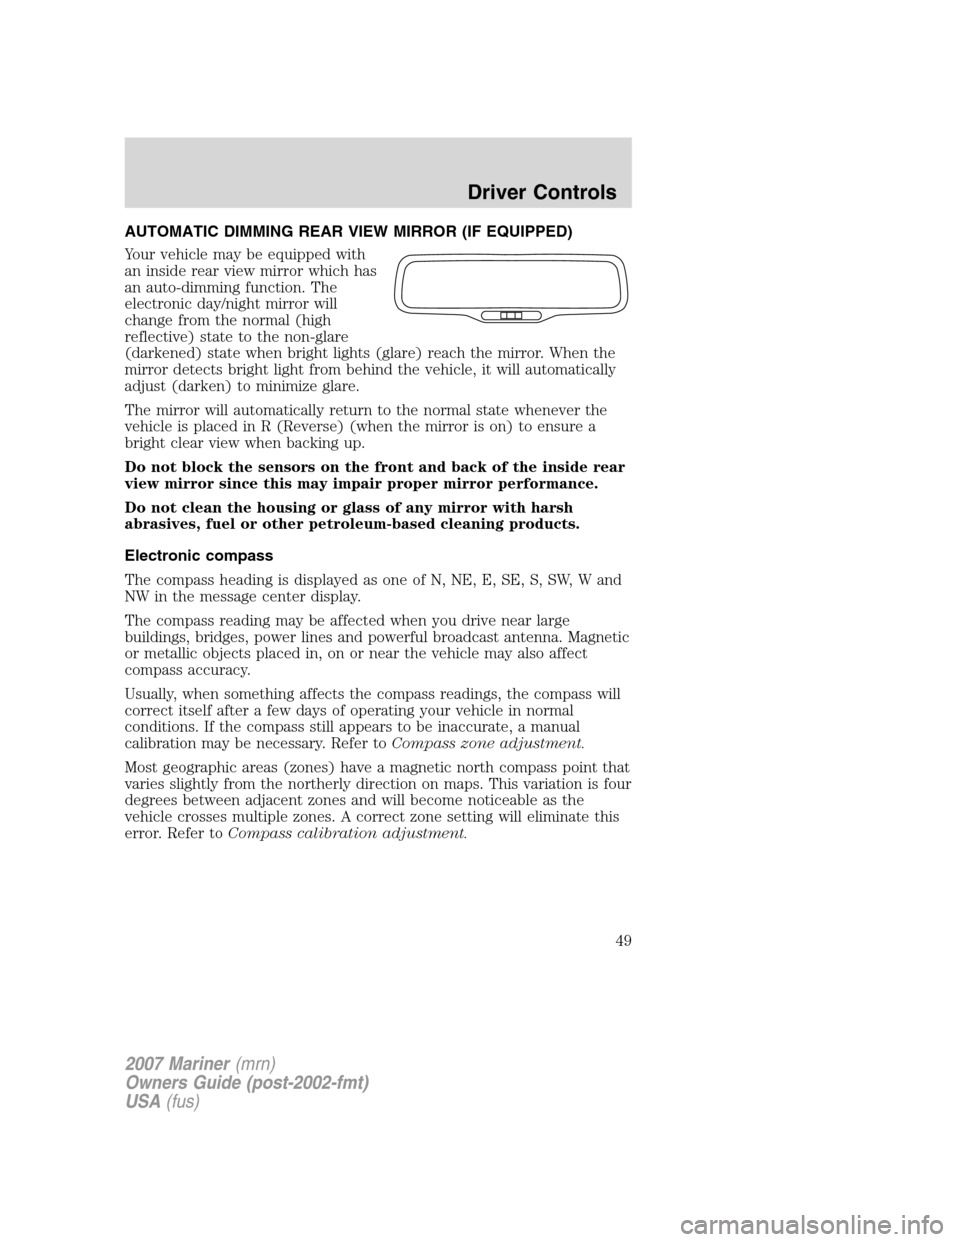
Your vehicle may be equipped with
an inside rear view mirror which has
an auto-dimming function. The
electronic day/night mirror will
change from the normal (high
reflective) state to the non-glare
(darkened) state when bright lights (glare) reach the mirror. When the
mirror detects bright light from behind the vehicle, it will automatically
adjust (darken) to minimize glare.
The mirror will automatically return to the normal state whenever the
vehicle is placed in R (Reverse) (when the mirror is on) to ensure a
bright clear view when backing up.
Do not block the sensors on the front and back of the inside rear
view mirror since this may impair proper mirror performance.
Do not clean the housing or glass of any mirror with harsh
abrasives, fuel or other petroleum-based cleaning products.
Electronic compass
The compass heading is displayed as one of N, NE, E, SE, S, SW, W and
NW in the message center display.
The compass reading may be affected when you drive near large
buildings, bridges, power lines and powerful broadcast antenna. Magnetic
or metallic objects placed in, on or near the vehicle may also affect
compass accuracy.
Usually, when something affects the compass readings, the compass will
correct itself after a few days of operating your vehicle in normal
conditions. If the compass still appears to be inaccurate, a manual
calibration may be necessary. Refer toCompass zone adjustment.
Most geographic areas (zones) have a magnetic north compass point that
varies slightly from the northerly direction on maps. This variation is four
degrees between adjacent zones and will become noticeable as the
vehicle crosses multiple zones. A correct zone setting will eliminate this
error. Refer toCompass calibration adjustment.
2007 Mariner(mrn)
Owners Guide (post-2002-fmt)
USA(fus)
Driver Controls
49
Page 51 of 280
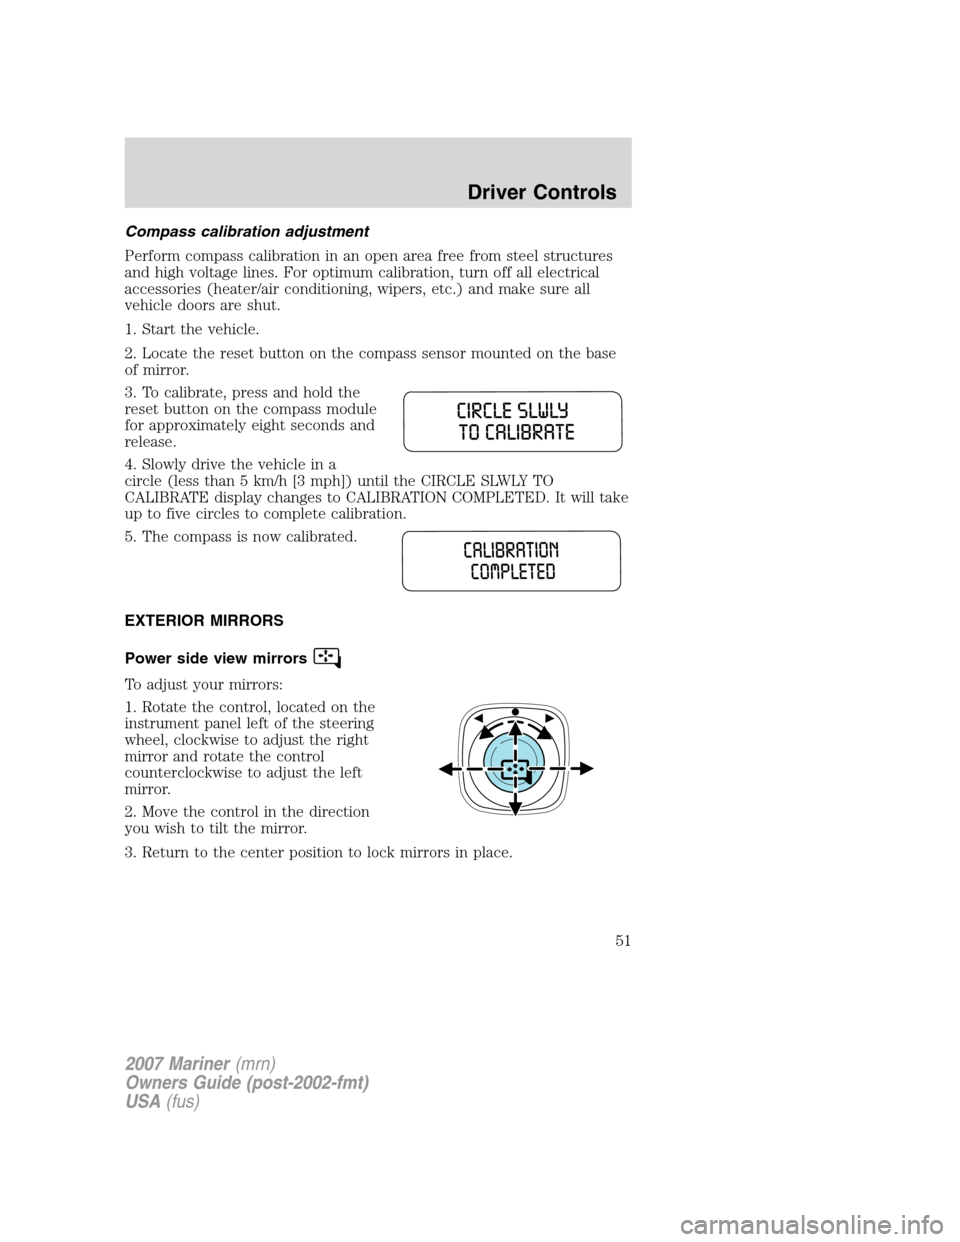
Compass calibration adjustment
Perform compass calibration in an open area free from steel structures
and high voltage lines. For optimum calibration, turn off all electrical
accessories (heater/air conditioning, wipers, etc.) and make sure all
vehicle doors are shut.
1. Start the vehicle.
2. Locate the reset button on the compass sensor mounted on the base
of mirror.
3. To calibrate, press and hold the
reset button on the compass module
for approximately eight seconds and
release.
4. Slowly drive the vehicle in a
circle (less than 5 km/h [3 mph]) until the CIRCLE SLWLY TO
CALIBRATE display changes to CALIBRATION COMPLETED. It will take
up to five circles to complete calibration.
5. The compass is now calibrated.
EXTERIOR MIRRORS
Power side view mirrors
To adjust your mirrors:
1. Rotate the control, located on the
instrument panel left of the steering
wheel, clockwise to adjust the right
mirror and rotate the control
counterclockwise to adjust the left
mirror.
2. Move the control in the direction
you wish to tilt the mirror.
3. Return to the center position to lock mirrors in place.
2007 Mariner(mrn)
Owners Guide (post-2002-fmt)
USA(fus)
Driver Controls
51
Page 61 of 280

Warnings Status
4WD locked temporarily (if
equipped)Temporary alert
4WD disabled temporarily (if
equipped)
4WD auto restored (if
equipped)
HIGH ENGINE TEMPERATURE.Displayed when the engine is
overheating. Stop the vehicle as soon as safely possible, turn off the
engine and let it cool. Check the coolant and coolant level. Refer to
Engine coolantin theMaintenance and Specificationschapter. If the
warning stays on or continues to come on, contact your authorized
dealer as soon as possible.
Never remove the coolant reservoir cap while the engine is
running or hot.
DRIVER DOOR AJAR.Displayed when the driver door is not
completely closed.
PASSENGER DOOR AJAR.Displayed when the passenger door is not
completely closed.
LEFT REAR DOOR AJAR.Displayed when the rear left door is not
completely closed.
RIGHT REAR DOOR AJAR.Displayed when the rear right door is not
completely closed.
LIFTGATE AJAR.Displayed when the liftgate or liftgate glass is not
completely closed.
PARK BRAKE ON.Displayed when the park brake is on. If the warning
stays on after the park brake is off, contact your authorized dealer as
soon as possible.
SERVICE EMISSION SYS.Displayed when the engine has defaulted to
a ’limp-home’ operation. If the warning stays on or continues to come on,
contact your authorized dealer as soon as possible.
CHECK FUEL CAP.Displayed when the fuel filler cap is not properly
installed. Check the fuel filler cap for proper installation. Refer toFuel
filler capin theMaintenance and Specificationschapter.
SERVICE BRAKE SYSTEM.Displayed when the braking system is not
operating properly. If the warning stays on or continues to come on,
contact your authorized dealer as soon as possible.
2007 Mariner(mrn)
Owners Guide (post-2002-fmt)
USA(fus)
Driver Controls
61
Page 63 of 280
4WD LOCKED TEMPORARILY (if equipped).Displayed when the
4X4 is temporarily locked. If the warning stays on or continues to come
on, contact your authorized dealer as soon as possible.
4WD DISABLED TEMPORARILY (if equipped).Displayed when the
4X4 is temporarily disabled. If the warning stays on or continues to come
on, contact your authorized dealer as soon as possible.
4WD AUTO RESTORED (if equipped).Displayed when the 4X4 is
restored to normal operations.
ENGINE OIL CHANGE SOON/ENGINE OIL CHANGE NOW.
Displayed when the engine oil life remaining is 5% or less. When oil life
left is between 5% and 0%, the ENGINE OIL CHANGE SOON message
will be displayed. When oil life left reaches 0%, the ENGINE OIL
CHANGE NOW message will be displayed.
An oil change is required whenever indicated by the message center.
USE ONLY RECOMMENDED ENGINE OILS.
To reset the oil monitoring system to 100% after each oil change
[approximately 5,000 miles (8,000 km) or 180 days] perform the
following:
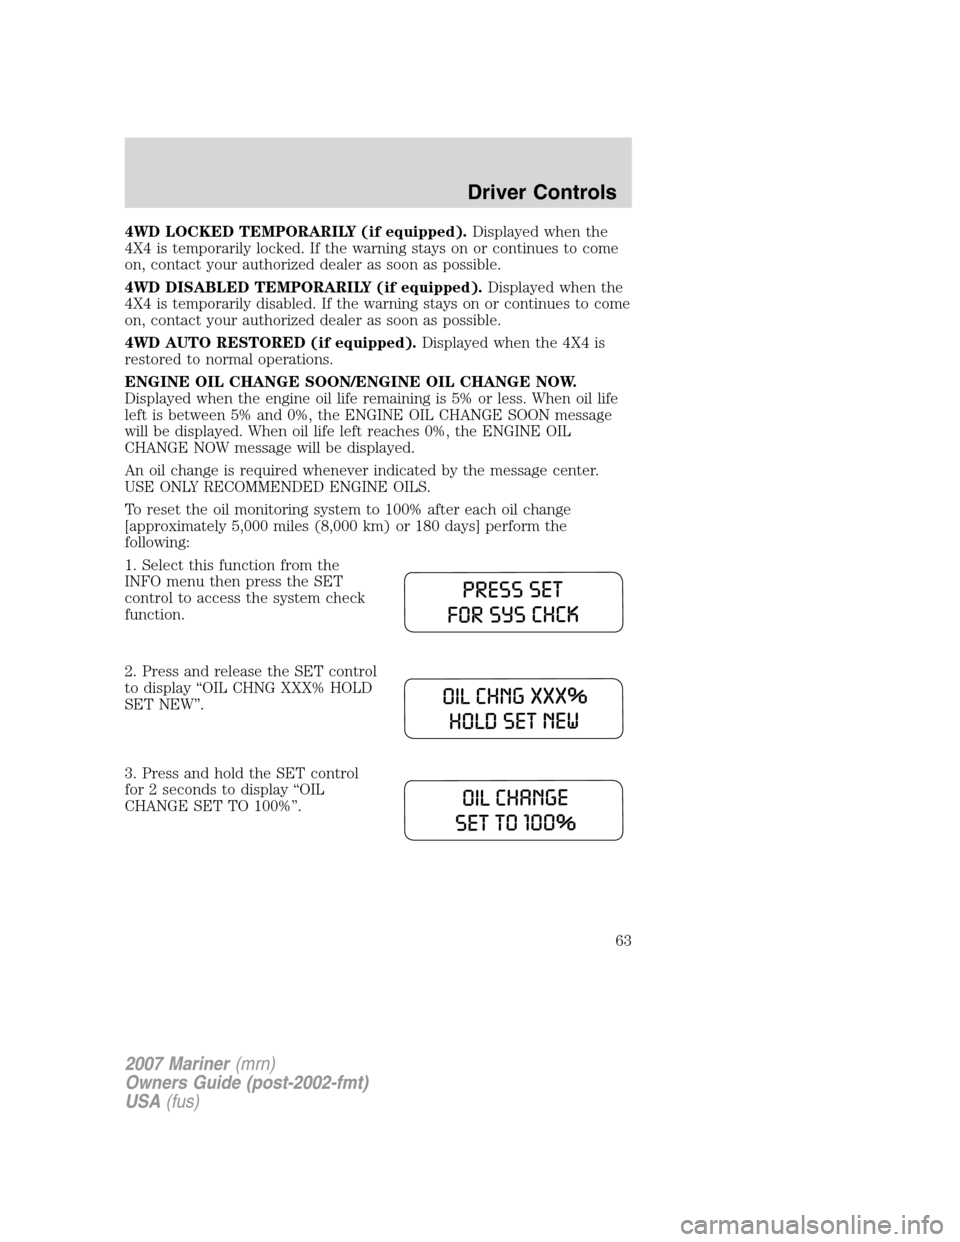
1. Select this function from the
INFO menu then press the SET
control to access the system check
function.
2. Press and release the SET control
to display “OIL CHNG XXX% HOLD
SET NEW”.
3. Press and hold the SET control
for 2 seconds to display “OIL
CHANGE SET TO 100%”.
2007 Mariner(mrn)
Owners Guide (post-2002-fmt)
USA(fus)
Driver Controls
63