lights Mercury Mariner 2008 s User Guide
[x] Cancel search | Manufacturer: MERCURY, Model Year: 2008, Model line: Mariner, Model: Mercury Mariner 2008Pages: 304, PDF Size: 2.66 MB
Page 47 of 304
BULB REPLACEMENT
Headlamp Condensation
The headlamps are vented to equalize pressure. When moist air enters
the headlamp(s) through the vents, there is a possibility that
condensation can occur. This condensation is normal and will clear
within 45 minutes of headlamp operation.
Using the right bulbs
Replacement bulbs are specified in the chart below. Headlamp bulbs
must be marked with an authorized “D.O.T.” for North America and an
“E” for Europe to ensure lamp performance, light brightness and pattern
and safe visibility. The correct bulbs will not damage the lamp assembly
or void the lamp assembly warranty and will provide quality bulb burn
time.
Function Number of bulbs Trade number
Headlamps (high and low
beams)2
H13
Park/turn/sidemarker lamps
(front)2
3457AK (amber)
Side turn (fender) 2 WY5W (amber)
Rear stop/turn/tail/sidemarker 2 3157K / 4157K
Backup lamp 2 921
Fog lamp (front) 2 9145
Center High-mount stop lamp 5 W5WL
Rear license plate lamp 2 168
All replacement bulbs are clear in color except where noted.
To replace all instrument panel lights - see your authorized dealer
Replacing the interior bulbs
Check the operation of all bulbs frequently.
Replacing exterior bulbs
Check the operation of all the bulbs frequently.
2008 Mariner(mrn)
Owners Guide (post-2002-fmt)
USA(fus)
Lights
47
Page 48 of 304
Replacing headlamp bulbs
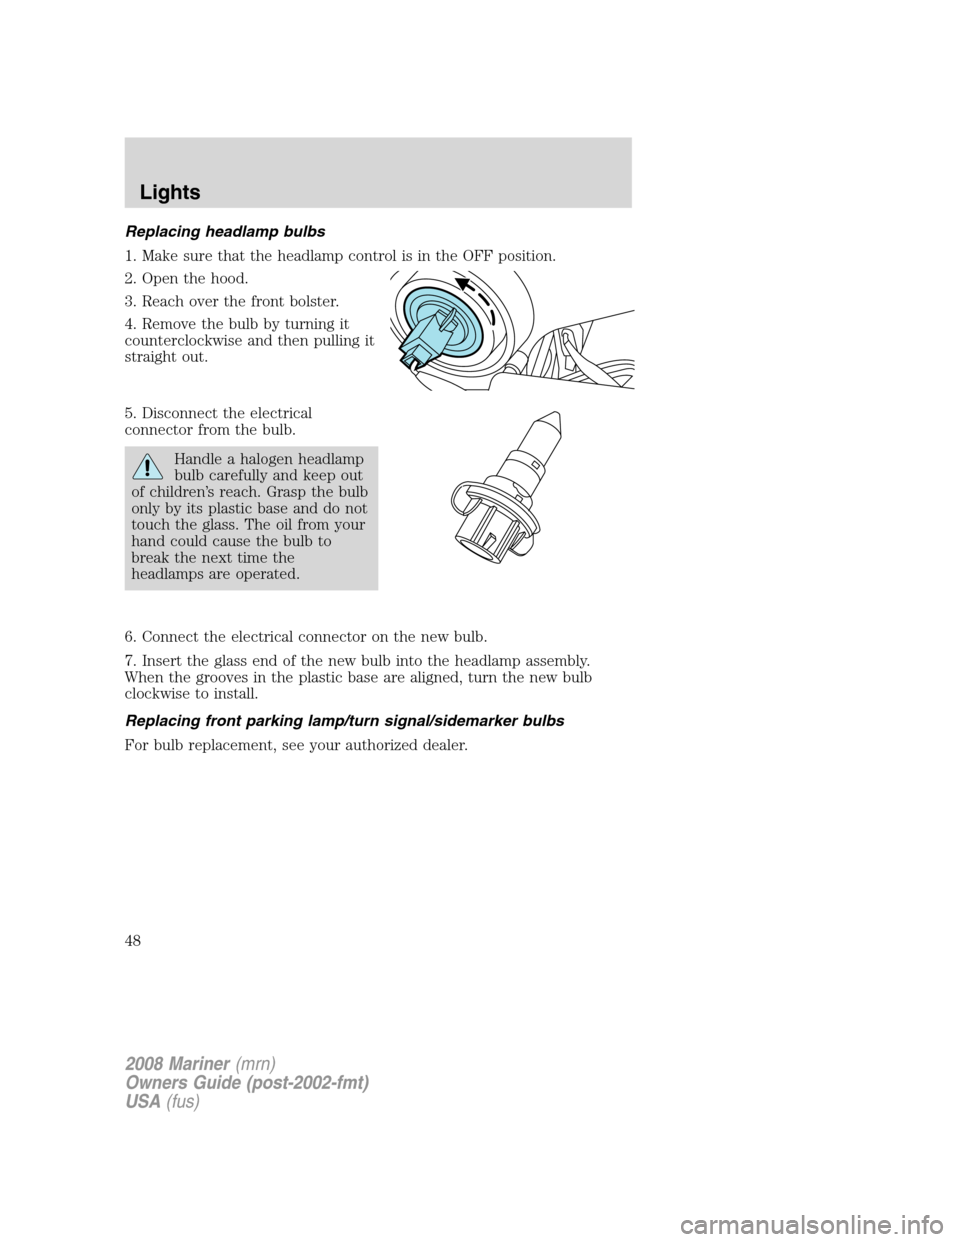
1. Make sure that the headlamp control is in the OFF position.
2. Open the hood.
3. Reach over the front bolster.
4. Remove the bulb by turning it
counterclockwise and then pulling it
straight out.
5. Disconnect the electrical
connector from the bulb.
Handle a halogen headlamp
bulb carefully and keep out
of children’s reach. Grasp the bulb
only by its plastic base and do not
touch the glass. The oil from your
hand could cause the bulb to
break the next time the
headlamps are operated.
6. Connect the electrical connector on the new bulb.
7. Insert the glass end of the new bulb into the headlamp assembly.
When the grooves in the plastic base are aligned, turn the new bulb
clockwise to install.
Replacing front parking lamp/turn signal/sidemarker bulbs
For bulb replacement, see your authorized dealer.
2008 Mariner(mrn)
Owners Guide (post-2002-fmt)
USA(fus)
Lights
48
Page 49 of 304

Replacing sidemarker bulbs
1. Make sure the headlamp switch is
turned to the OFF position.
2. Push the lamp rearward and pull
the front edge of the lamp outward
to remove it from the fender.
3. Rotate the bulb socket
counterclockwise, replace the bulb
and reinstall the bulb socket.
4. To reinstall the lamp, place the
front edge of the lamp in the hole
and push the lamp inward to lock it in place.
Replacing tail/stop/turn/backup lamp bulbs
The tail/stop/turn/sidemarker/backup lamp bulbs are located in the same
portion of the tail lamp assembly, one just below the other. Follow the
same steps to replace either bulb:
1. Make sure the headlamp switch is
in the OFF position and then open
the liftgate to expose the lamp
assembly screws.
2. Remove the two screws from the
lamp assembly.
3. Carefully remove the lamp
assembly away from the vehicle by
pulling the assembly straight out to
expose the bulb socket. DO NOT
TIP THE LAMP ASSEMBLY SIDEWAYS.
4. Rotate the bulb socket counterclockwise and remove from lamp
assembly.
5. Pull bulb straight out of socket and push in the new bulb.
6. Install the bulb socket into the lamp assembly and rotate clockwise.
7. Carefully install the tail lamp assembly on the vehicle and secure with
two screws.
2008 Mariner(mrn)
Owners Guide (post-2002-fmt)
USA(fus)
Lights
49
Page 50 of 304
Replacing license plate lamp bulbs
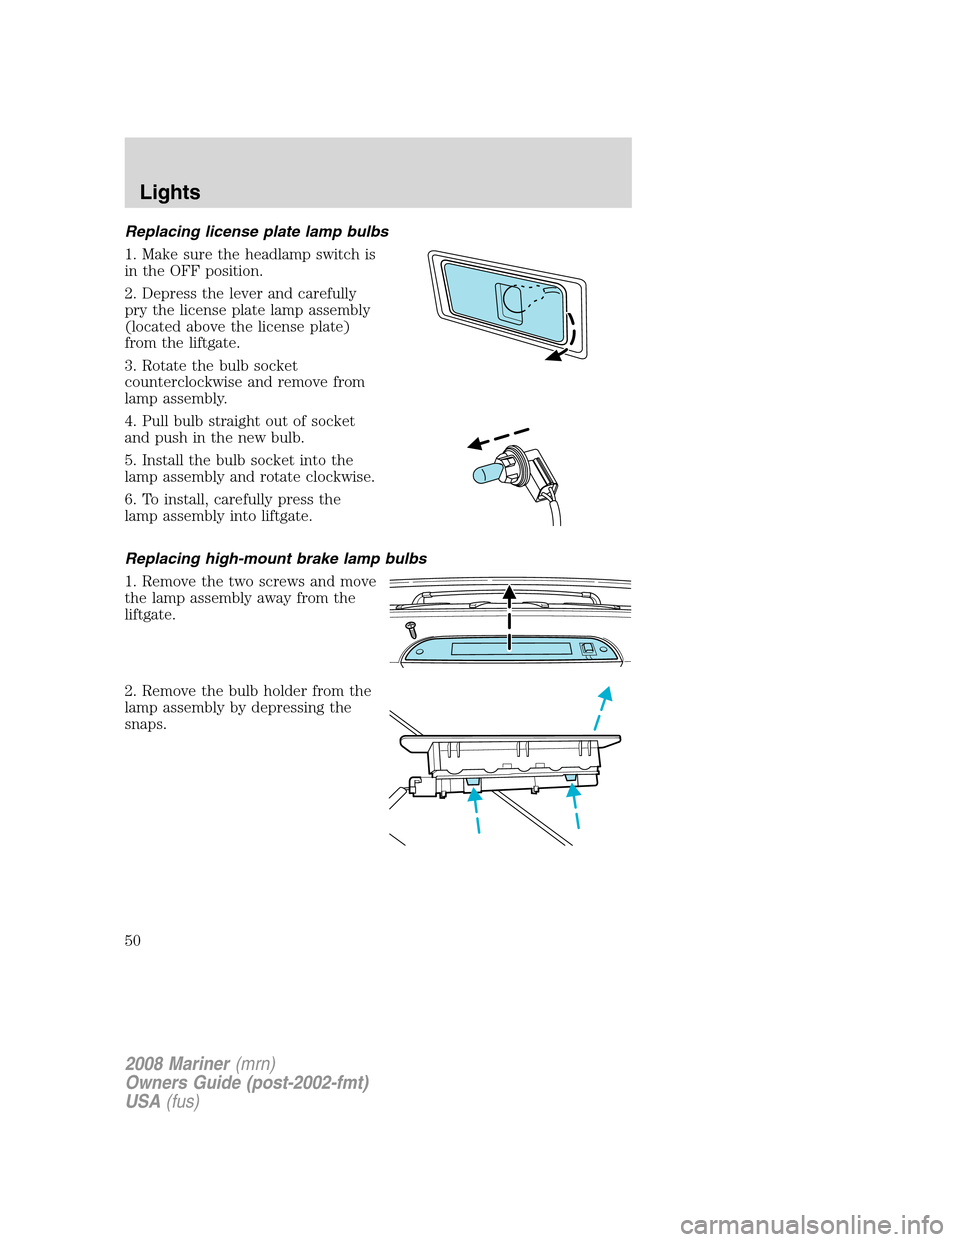
1. Make sure the headlamp switch is
in the OFF position.
2. Depress the lever and carefully
pry the license plate lamp assembly
(located above the license plate)
from the liftgate.
3. Rotate the bulb socket
counterclockwise and remove from
lamp assembly.
4. Pull bulb straight out of socket
and push in the new bulb.
5. Install the bulb socket into the
lamp assembly and rotate clockwise.
6. To install, carefully press the
lamp assembly into liftgate.
Replacing high-mount brake lamp bulbs
1. Remove the two screws and move
the lamp assembly away from the
liftgate.
2. Remove the bulb holder from the
lamp assembly by depressing the
snaps.
2008 Mariner(mrn)
Owners Guide (post-2002-fmt)
USA(fus)
Lights
50
Page 51 of 304
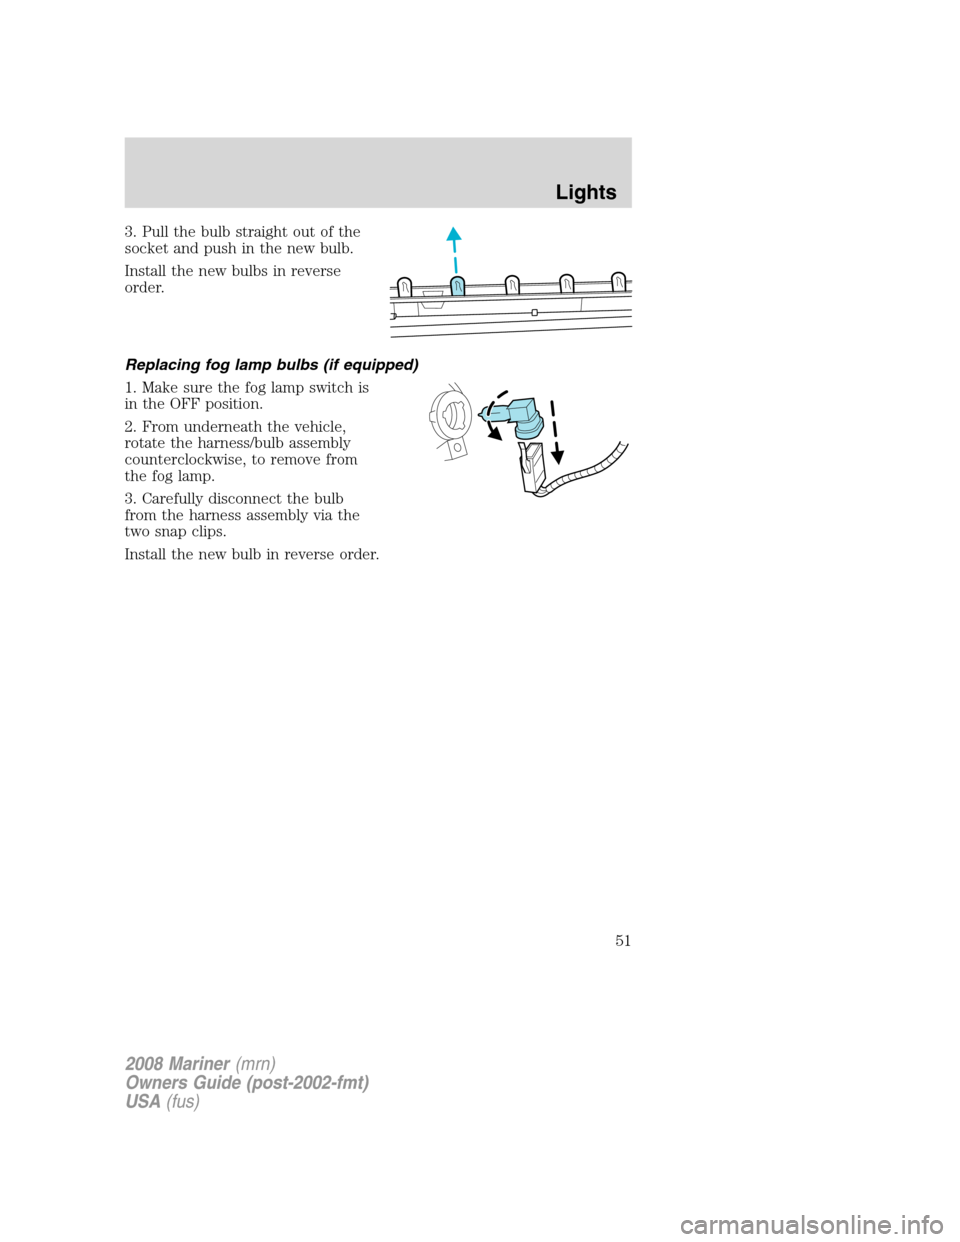
3. Pull the bulb straight out of the
socket and push in the new bulb.
Install the new bulbs in reverse
order.
Replacing fog lamp bulbs (if equipped)
1. Make sure the fog lamp switch is
in the OFF position.
2. From underneath the vehicle,
rotate the harness/bulb assembly
counterclockwise, to remove from
the fog lamp.
3. Carefully disconnect the bulb
from the harness assembly via the
two snap clips.
Install the new bulb in reverse order.
2008 Mariner(mrn)
Owners Guide (post-2002-fmt)
USA(fus)
Lights
51
Page 58 of 304
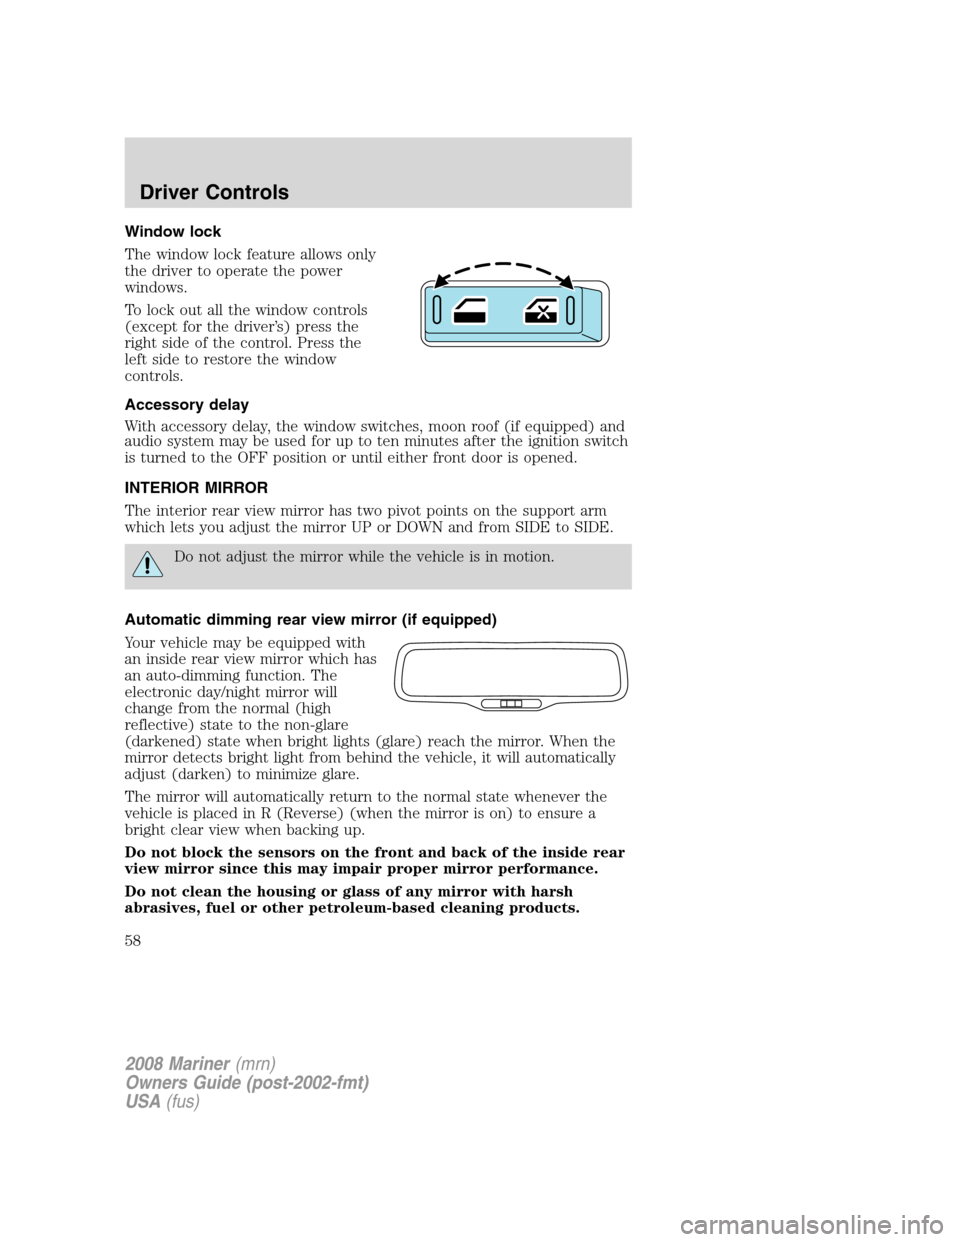
Window lock
The window lock feature allows only
the driver to operate the power
windows.
To lock out all the window controls
(except for the driver’s) press the
right side of the control. Press the
left side to restore the window
controls.
Accessory delay
With accessory delay, the window switches, moon roof (if equipped) and
audio system may be used for up to ten minutes after the ignition switch
is turned to the OFF position or until either front door is opened.
INTERIOR MIRROR
The interior rear view mirror has two pivot points on the support arm
which lets you adjust the mirror UP or DOWN and from SIDE to SIDE.
Do not adjust the mirror while the vehicle is in motion.
Automatic dimming rear view mirror (if equipped)
Your vehicle may be equipped with
an inside rear view mirror which has
an auto-dimming function. The
electronic day/night mirror will
change from the normal (high
reflective) state to the non-glare
(darkened) state when bright lights (glare) reach the mirror. When the
mirror detects bright light from behind the vehicle, it will automatically
adjust (darken) to minimize glare.
The mirror will automatically return to the normal state whenever the
vehicle is placed in R (Reverse) (when the mirror is on) to ensure a
bright clear view when backing up.
Do not block the sensors on the front and back of the inside rear
view mirror since this may impair proper mirror performance.
Do not clean the housing or glass of any mirror with harsh
abrasives, fuel or other petroleum-based cleaning products.
2008 Mariner(mrn)
Owners Guide (post-2002-fmt)
USA(fus)
Driver Controls
58
Page 70 of 304
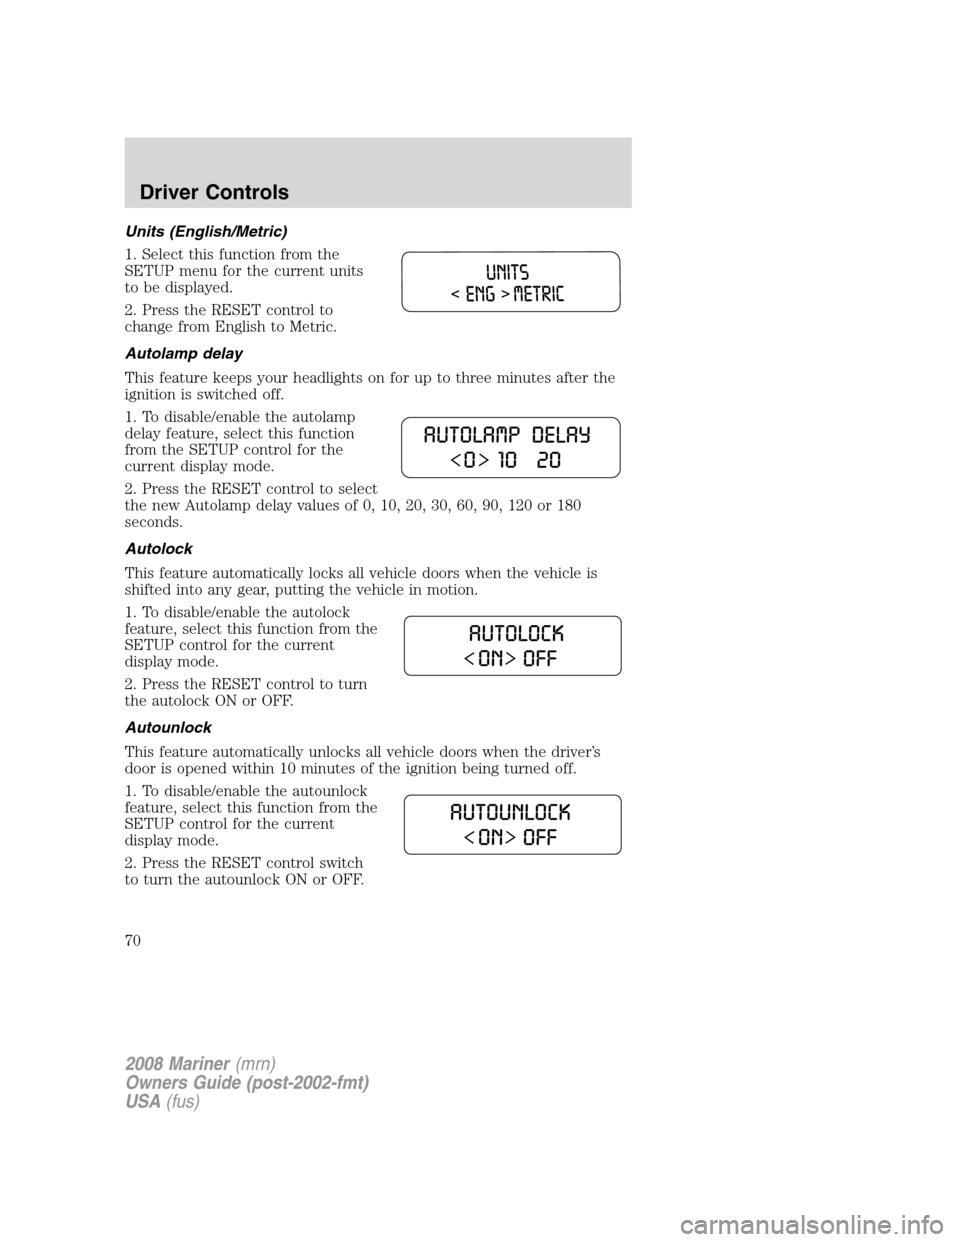
Units (English/Metric)
1. Select this function from the
SETUP menu for the current units
to be displayed.
2. Press the RESET control to
change from English to Metric.
Autolamp delay
This feature keeps your headlights on for up to three minutes after the
ignition is switched off.
1. To disable/enable the autolamp
delay feature, select this function
from the SETUP control for the
current display mode.
2. Press the RESET control to select
the new Autolamp delay values of 0, 10, 20, 30, 60, 90, 120 or 180
seconds.
Autolock
This feature automatically locks all vehicle doors when the vehicle is
shifted into any gear, putting the vehicle in motion.
1. To disable/enable the autolock
feature, select this function from the
SETUP control for the current
display mode.
2. Press the RESET control to turn
the autolock ON or OFF.
Autounlock
This feature automatically unlocks all vehicle doors when the driver’s
door is opened within 10 minutes of the ignition being turned off.
1. To disable/enable the autounlock
feature, select this function from the
SETUP control for the current
display mode.
2. Press the RESET control switch
to turn the autounlock ON or OFF.
2008 Mariner(mrn)
Owners Guide (post-2002-fmt)
USA(fus)
Driver Controls
70
Page 88 of 304
Illuminated entry
The interior lamps and puddle lamps (if equipped) illuminate when the
Integrated Keyhead Transmitter or the keyless entry system keypad is
used to unlock the door(s).
The illuminated entry system will turn off the interior lights if:
•the ignition is turned to the 3 (RUN) position, or
•the Integrated Keyhead Transmitter lock control is pressed, or
•the vehicle is locked using the keyless entry keypad, or
•after 25 seconds of illumination.
The inside lights will not turn off if:
•they have been turned on with the dimmer control, or
•any door is open.
Perimeter lamps illuminated entry
With the Integrated Keyhead Transmitter system, the following items will
illuminate when the
(unlock) control on the transmitter is pressed:
•Head lamps
•Park lamps
•Tail lamps
The lamps will automatically turn off:
•if the ignition switch is turned to the 3 (RUN) position, or
•the IKT
(lock) control is pressed, or
•after 25 seconds of illumination.
Note:On some vehicles, the perimeter lamps illuminated entry feature
will not activate in daylight conditions.
Deactivating/activating perimeter lamps illuminated entry
You may enable/disable this feature by having your vehicle serviced by
your authorized dealer.
You may also perform the following power door lock sequence to
enable/disable the perimeter lamps feature.Note:Before starting, ensure
the ignition is in the 1 (LOCK) position and all vehicle doors are closed.
You must complete Steps 1–5 within 30 seconds or the procedure will
have to be repeated. If the procedure needs to be repeated, wait a
minimum of 30 seconds before beginning again.
2008 Mariner(mrn)
Owners Guide (post-2002-fmt)
USA(fus)
Locks and Security
88
Page 89 of 304
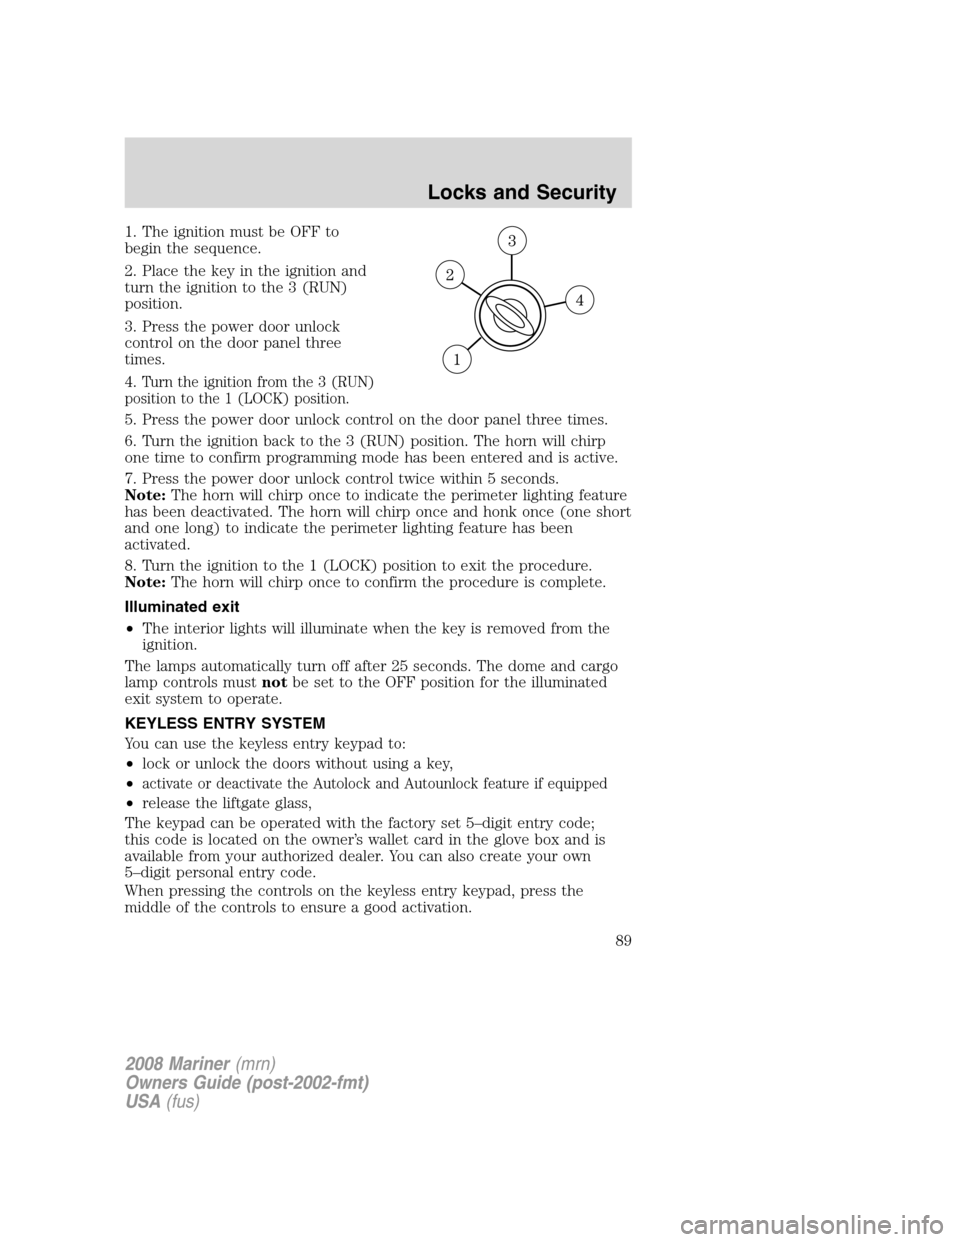
1. The ignition must be OFF to
begin the sequence.
2. Place the key in the ignition and
turn the ignition to the 3 (RUN)
position.
3. Press the power door unlock
control on the door panel three
times.
4.
Turn the ignition from the 3 (RUN)
position to the 1 (LOCK) position.
5. Press the power door unlock control on the door panel three times.
6. Turn the ignition back to the 3 (RUN) position. The horn will chirp
one time to confirm programming mode has been entered and is active.
7. Press the power door unlock control twice within 5 seconds.
Note:The horn will chirp once to indicate the perimeter lighting feature
has been deactivated. The horn will chirp once and honk once (one short
and one long) to indicate the perimeter lighting feature has been
activated.
8. Turn the ignition to the 1 (LOCK) position to exit the procedure.
Note:The horn will chirp once to confirm the procedure is complete.
Illuminated exit
•The interior lights will illuminate when the key is removed from the
ignition.
The lamps automatically turn off after 25 seconds. The dome and cargo
lamp controls mustnotbe set to the OFF position for the illuminated
exit system to operate.
KEYLESS ENTRY SYSTEM
You can use the keyless entry keypad to:
•lock or unlock the doors without using a key,
•
activate or deactivate the Autolock and Autounlock feature if equipped
•release the liftgate glass,
The keypad can be operated with the factory set 5–digit entry code;
this code is located on the owner’s wallet card in the glove box and is
available from your authorized dealer. You can also create your own
5–digit personal entry code.
When pressing the controls on the keyless entry keypad, press the
middle of the controls to ensure a good activation.
2008 Mariner(mrn)
Owners Guide (post-2002-fmt)
USA(fus)
Locks and Security
89
Page 105 of 304
•“Passenger airbag off” or “pass airbag off” indicator lamp
•Front crash severity sensor.
•Restraints Control Module (RCM) with impact and safing sensors.
•Restraint system warning light and back-up tone.
•The electrical wiring for the airbags, crash sensor(s), safety belt
pretensioners, front safety belt usage sensors, driver seat position
sensor, front passenger sensing system, and indicator lights.
How does the Personal Safety System™ work?
The Personal Safety System™ can adapt the deployment strategy of your
vehicle’s safety devices according to crash severity and occupant
conditions. A collection of crash and occupant sensors provides
information to the Restraints control module (RCM). During a crash, the
RCM may activate the safety belt pretensioners and/or either one or both
stages of the dual-stage airbag supplemental restraints based on crash
severity and occupant conditions.
The fact that the pretensioners or airbags did not activate for both front
seat occupants in a collision does not mean that something is wrong with
the system. Rather, it means the Personal Safety System™ determined
the accident conditions (crash severity, belt usage, etc.) were not
appropriate to activate these safety devices. Front airbags are designed
to activate only in frontal and near-frontal collisions (not rollovers, side
impacts or rear impacts) unless the collision causes sufficient
longitudinal deceleration. The pretensioners are designed to activate in
frontal, and in side collisions and rollovers.
Driver and passenger dual-stage airbag supplemental restraints
The dual-stage airbags offer the capability to tailor the level of airbag
inflation energy. A lower, less forceful energy level is provided for more
common, moderate-severity impacts. A higher energy level is used for
the most severe impacts. Refer toAirbag supplemental restraints
section in this chapter.
Front crash severity sensor
The front crash severity sensor enhances the ability to detect the
severity of an impact. Positioned up front, it provides valuable
information early in the crash event on the severity of the impact. This
allows your Personal Safety System™ to distinguish between different
levels of crash severity and modify the deployment strategy of the
dual-stage airbags and safety belt pretensioners.
2008 Mariner(mrn)
Owners Guide (post-2002-fmt)
USA(fus)
Seating and Safety Restraints
105