window Mercury Mariner 2008 s User Guide
[x] Cancel search | Manufacturer: MERCURY, Model Year: 2008, Model line: Mariner, Model: Mercury Mariner 2008Pages: 304, PDF Size: 2.66 MB
Page 53 of 304
Rear window wiper/washer controls
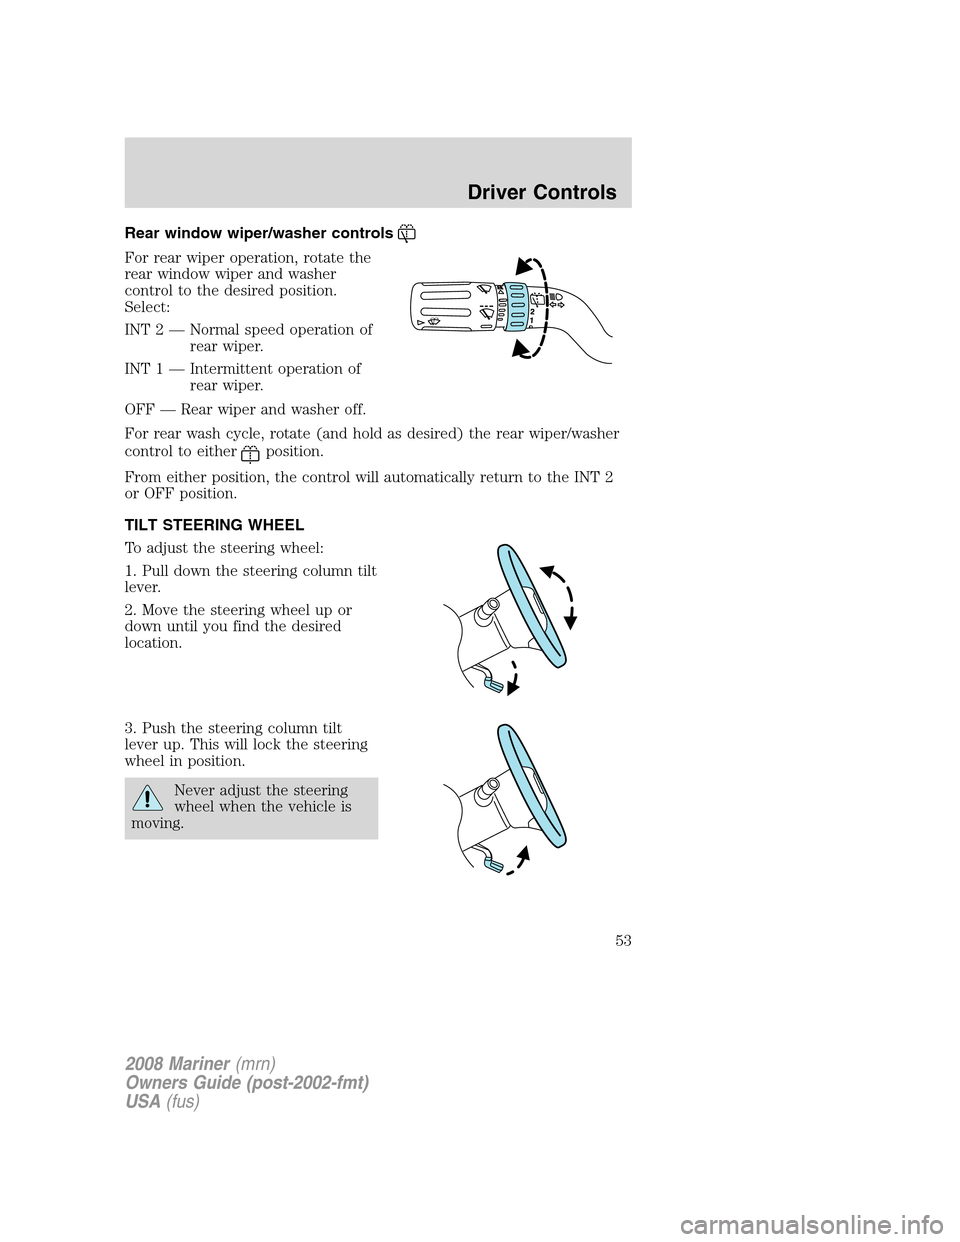
For rear wiper operation, rotate the
rear window wiper and washer
control to the desired position.
Select:
INT 2 — Normal speed operation of
rear wiper.
INT 1 — Intermittent operation of
rear wiper.
OFF — Rear wiper and washer off.
For rear wash cycle, rotate (and hold as desired) the rear wiper/washer
control to either
position.
From either position, the control will automatically return to the INT 2
or OFF position.
TILT STEERING WHEEL
To adjust the steering wheel:
1. Pull down the steering column tilt
lever.
2. Move the steering wheel up or
down until you find the desired
location.
3. Push the steering column tilt
lever up. This will lock the steering
wheel in position.
Never adjust the steering
wheel when the vehicle is
moving.
2008 Mariner(mrn)
Owners Guide (post-2002-fmt)
USA(fus)
Driver Controls
53
Page 57 of 304

POWER WINDOWS
Do not leave children unattended in the vehicle and do not let
children play with the power windows. They may seriously injure
themselves.
When closing the power windows, you should verify they are free
of obstructions and ensure that children and/or pets are not in
the proximity of the window openings.
Press and pull the window switches
to open and close windows.
•Push down (to the first detent)
and hold the switch to open.
•Pull up (to the first detent) and
hold the switch to close.
Rear Window Buffeting:When one or both of the rear windows are
open, the vehicle may demonstrate a wind throb or buffeting noise. This
noise can be alleviated by lowering a front window approximately two to
three inches.
One touch down (AUTO)
Allows the driver’s window to open
fully without holding the control
down. Push the switch completely
down to the second detent and
release quickly. The window will
open fully. Momentarily press the
switch to any position to stop the
window operation.
AUTO
2008 Mariner(mrn)
Owners Guide (post-2002-fmt)
USA(fus)
Driver Controls
57
Page 58 of 304
Window lock
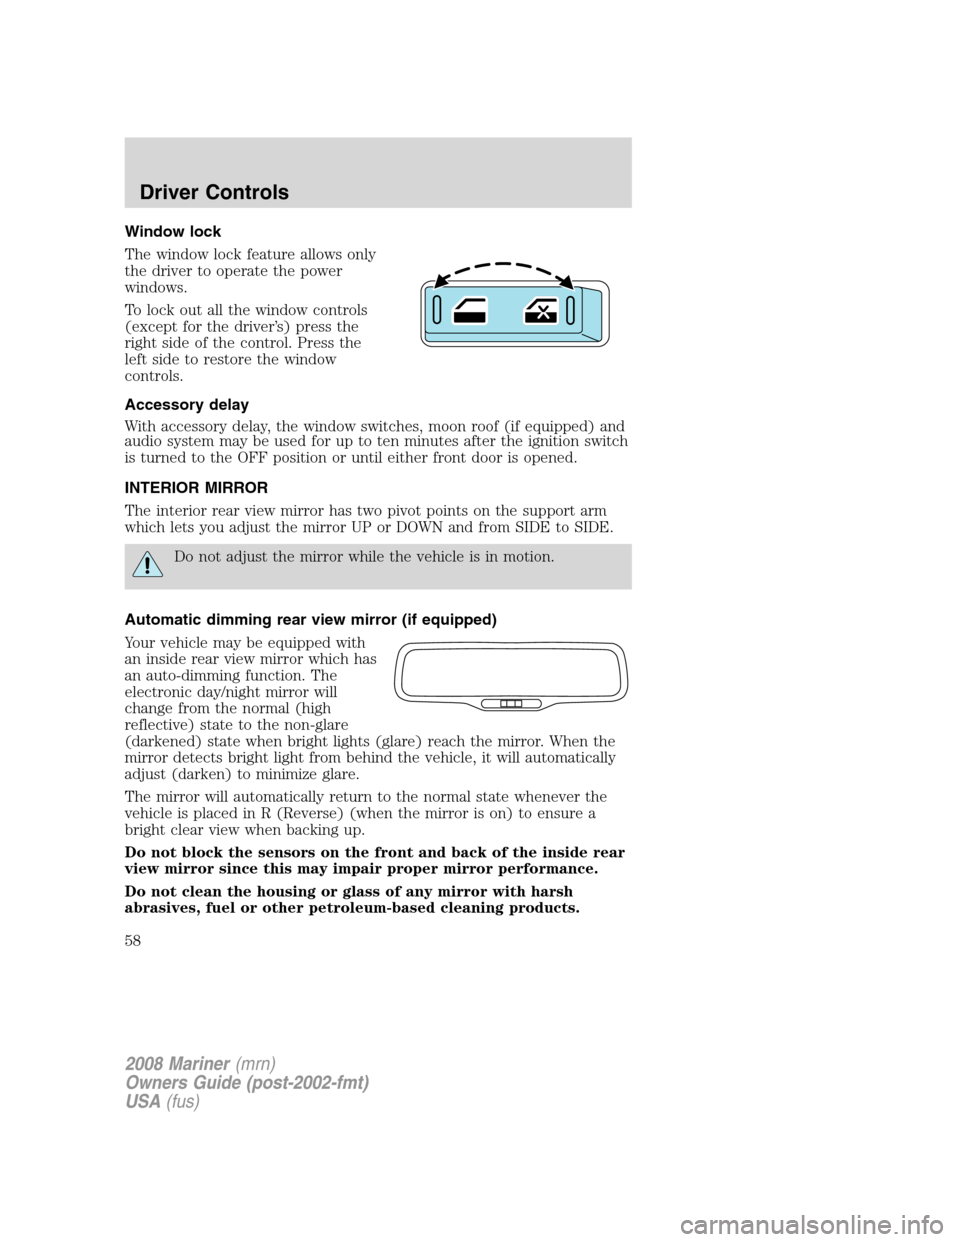
The window lock feature allows only
the driver to operate the power
windows.
To lock out all the window controls
(except for the driver’s) press the
right side of the control. Press the
left side to restore the window
controls.
Accessory delay
With accessory delay, the window switches, moon roof (if equipped) and
audio system may be used for up to ten minutes after the ignition switch
is turned to the OFF position or until either front door is opened.
INTERIOR MIRROR
The interior rear view mirror has two pivot points on the support arm
which lets you adjust the mirror UP or DOWN and from SIDE to SIDE.
Do not adjust the mirror while the vehicle is in motion.
Automatic dimming rear view mirror (if equipped)
Your vehicle may be equipped with
an inside rear view mirror which has
an auto-dimming function. The
electronic day/night mirror will
change from the normal (high
reflective) state to the non-glare
(darkened) state when bright lights (glare) reach the mirror. When the
mirror detects bright light from behind the vehicle, it will automatically
adjust (darken) to minimize glare.
The mirror will automatically return to the normal state whenever the
vehicle is placed in R (Reverse) (when the mirror is on) to ensure a
bright clear view when backing up.
Do not block the sensors on the front and back of the inside rear
view mirror since this may impair proper mirror performance.
Do not clean the housing or glass of any mirror with harsh
abrasives, fuel or other petroleum-based cleaning products.
2008 Mariner(mrn)
Owners Guide (post-2002-fmt)
USA(fus)
Driver Controls
58
Page 61 of 304
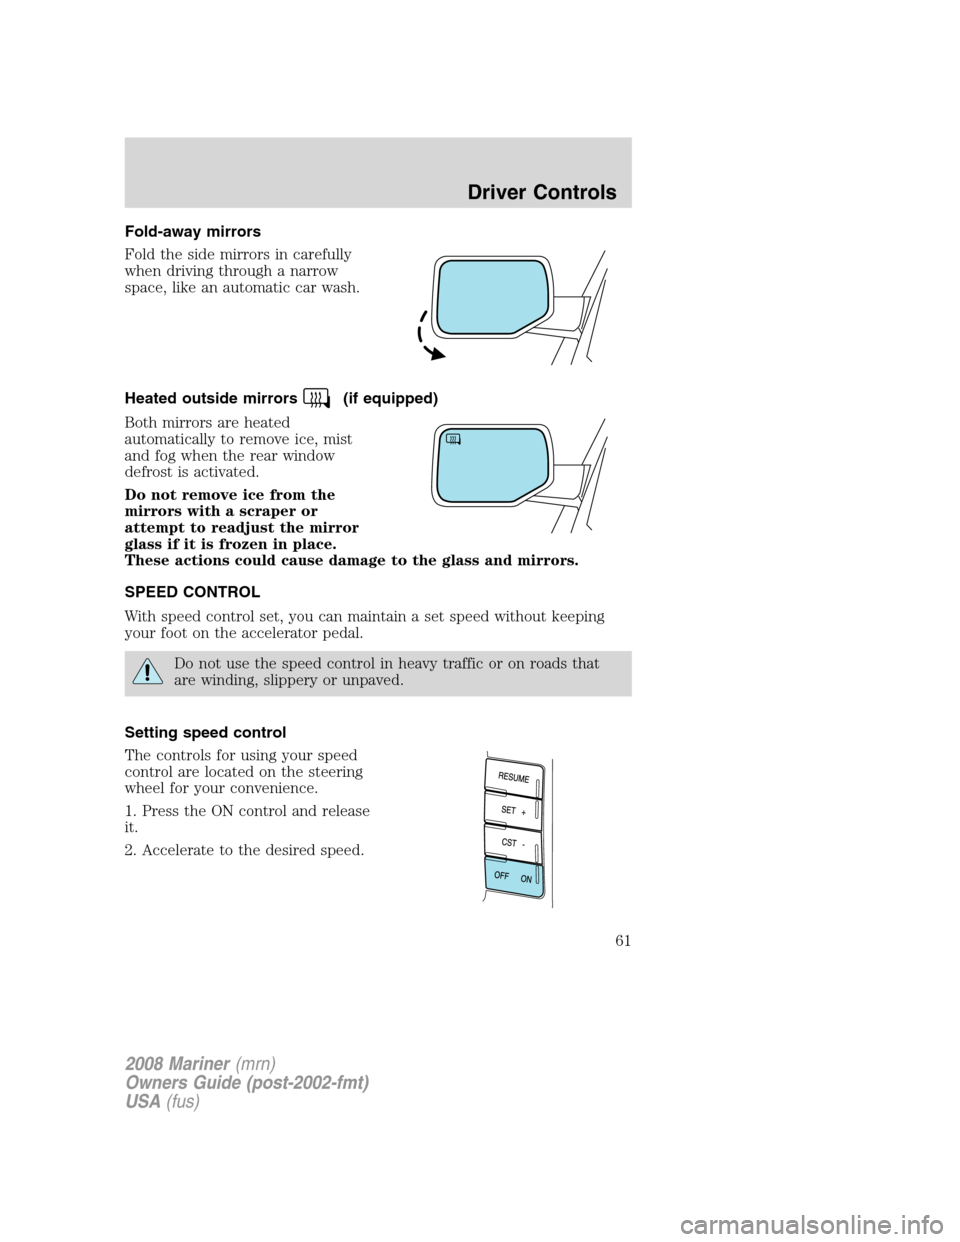
Fold-away mirrors
Fold the side mirrors in carefully
when driving through a narrow
space, like an automatic car wash.
Heated outside mirrors
(if equipped)
Both mirrors are heated
automatically to remove ice, mist
and fog when the rear window
defrost is activated.
Do not remove ice from the
mirrors with a scraper or
attempt to readjust the mirror
glass if it is frozen in place.
These actions could cause damage to the glass and mirrors.
SPEED CONTROL
With speed control set, you can maintain a set speed without keeping
your foot on the accelerator pedal.
Do not use the speed control in heavy traffic or on roads that
are winding, slippery or unpaved.
Setting speed control
The controls for using your speed
control are located on the steering
wheel for your convenience.
1. Press the ON control and release
it.
2. Accelerate to the desired speed.
2008 Mariner(mrn)
Owners Guide (post-2002-fmt)
USA(fus)
Driver Controls
61
Page 73 of 304
TIRE PRESSURE MONITOR FAULT.Displayed when the Tire
Pressure Monitoring System is malfunctioning. If the warning stays on or
continues to come on, have the system inspected by your authorized
dealer.
TIRE PRESSURE SENSOR FAULT.Displayed when a tire pressure
sensor is malfunctioning, or your spare tire is in use. For more
information on how the system operates under these conditions, refer to
Tire pressure monitoring systemin theTires, Wheels and Loading
chapter. If the warning stays on or continues to come on, have the
system inspected by your authorized dealer
XX% OIL LIFE CHANGE SOON/OIL CHANGE REQUIRED.
Displayed when the engine oil life remaining is 10% or less. When oil life
left is between 10% and 0%, the XX% OIL LIFE CHANGE SOON
message will be displayed. When oil life left reaches 0%, the OIL
CHANGE REQUIRED message will be displayed.
LIFTGATE
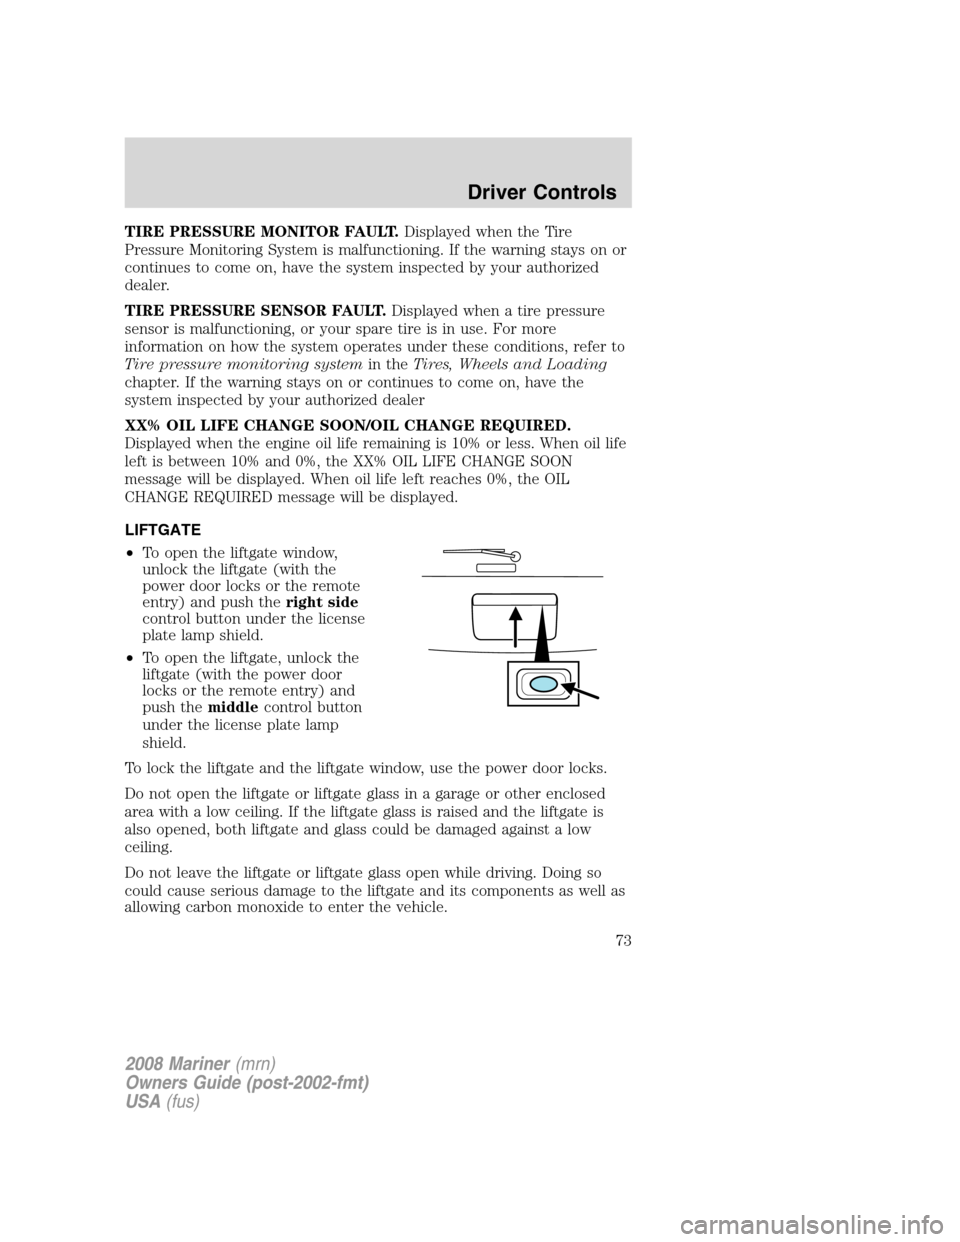
•To open the liftgate window,
unlock the liftgate (with the
power door locks or the remote
entry) and push theright side
control button under the license
plate lamp shield.
•To open the liftgate, unlock the
liftgate (with the power door
locks or the remote entry) and
push themiddlecontrol button
under the license plate lamp
shield.
To lock the liftgate and the liftgate window, use the power door locks.
Do not open the liftgate or liftgate glass in a garage or other enclosed
area with a low ceiling. If the liftgate glass is raised and the liftgate is
also opened, both liftgate and glass could be damaged against a low
ceiling.
Do not leave the liftgate or liftgate glass open while driving. Doing so
could cause serious damage to the liftgate and its components as well as
allowing carbon monoxide to enter the vehicle.
2008 Mariner(mrn)
Owners Guide (post-2002-fmt)
USA(fus)
Driver Controls
73
Page 74 of 304

Make sure that the liftgate door and/or window are closed to
prevent exhaust fumes from being drawn into the vehicle.
Exhaust fumes contain carbon monoxide which can injure your lungs
and cause drowsiness and even death. This will also prevent
passengers and cargo from falling out. If you must drive with the
liftgate door or window open, keep the vents open so outside air comes
into the vehicle.
CARGO AREA FEATURES
Cargo shade (if equipped)
If your vehicle has a cargo shade, you can use it to cover items in the
cargo area of your vehicle.
To install the shade:
•Insert the ends of the cargo
shade into the mounting features
located behind the rear seat on
the rear trim panels.
To operate the shade:
1. Grasp the rear edge of the cargo
shade and pull rearward.
2. Secure both ends of the support
rod into the retention slots located
on the rear quarter trim panels.
Ensure that the posts are properly latched in mounting features.
The cover may cause injury in a sudden stop or accident if it is
not securely installed.
Do not place any objects on the cargo area shade. They may
obstruct your vision or strike occupants of vehicle in the case of
a sudden stop or collision.
2008 Mariner(mrn)
Owners Guide (post-2002-fmt)
USA(fus)
Driver Controls
74
Page 80 of 304
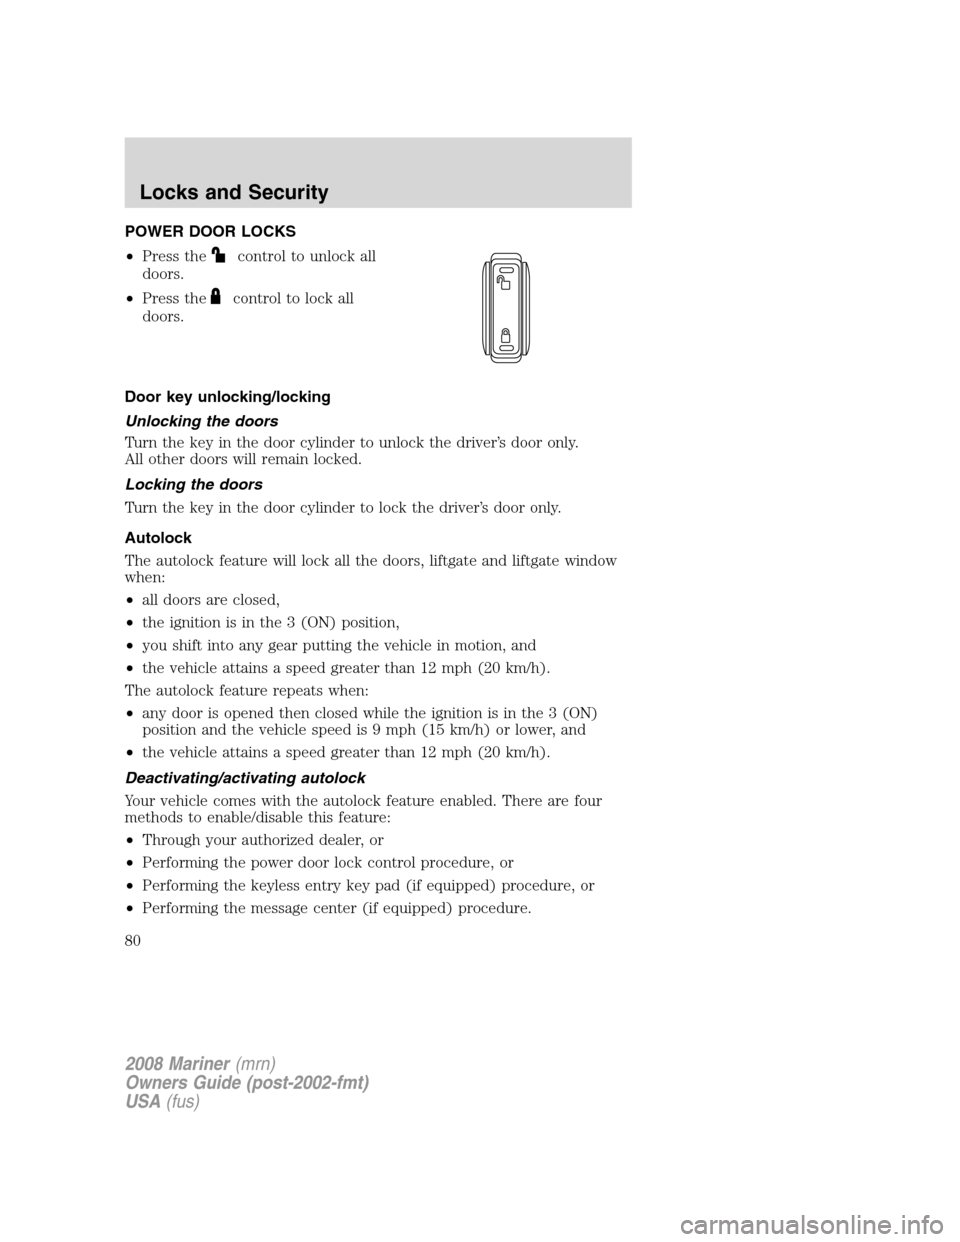
POWER DOOR LOCKS
•Press the
control to unlock all
doors.
•Press the
control to lock all
doors.
Door key unlocking/locking
Unlocking the doors
Turn the key in the door cylinder to unlock the driver’s door only.
All other doors will remain locked.
Locking the doors
Turn the key in the door cylinder to lock the driver’s door only.
Autolock
The autolock feature will lock all the doors, liftgate and liftgate window
when:
•all doors are closed,
•the ignition is in the 3 (ON) position,
•you shift into any gear putting the vehicle in motion, and
•the vehicle attains a speed greater than 12 mph (20 km/h).
The autolock feature repeats when:
•any door is opened then closed while the ignition is in the 3 (ON)
position and the vehicle speed is 9 mph (15 km/h) or lower, and
•the vehicle attains a speed greater than 12 mph (20 km/h).
Deactivating/activating autolock
Your vehicle comes with the autolock feature enabled. There are four
methods to enable/disable this feature:
•Through your authorized dealer, or
•Performing the power door lock control procedure, or
•Performing the keyless entry key pad (if equipped) procedure, or
•Performing the message center (if equipped) procedure.
2008 Mariner(mrn)
Owners Guide (post-2002-fmt)
USA(fus)
Locks and Security
80
Page 81 of 304
Note:The autolock feature can be activated/deactivated independently
of the autounlock feature.
Before following the activation or deactivation procedures, make sure
that the anti-theft system is not armed, ignition is in the 1 (OFF/LOCK)
position, and all vehicle doors, liftgate and liftgate window are closed.
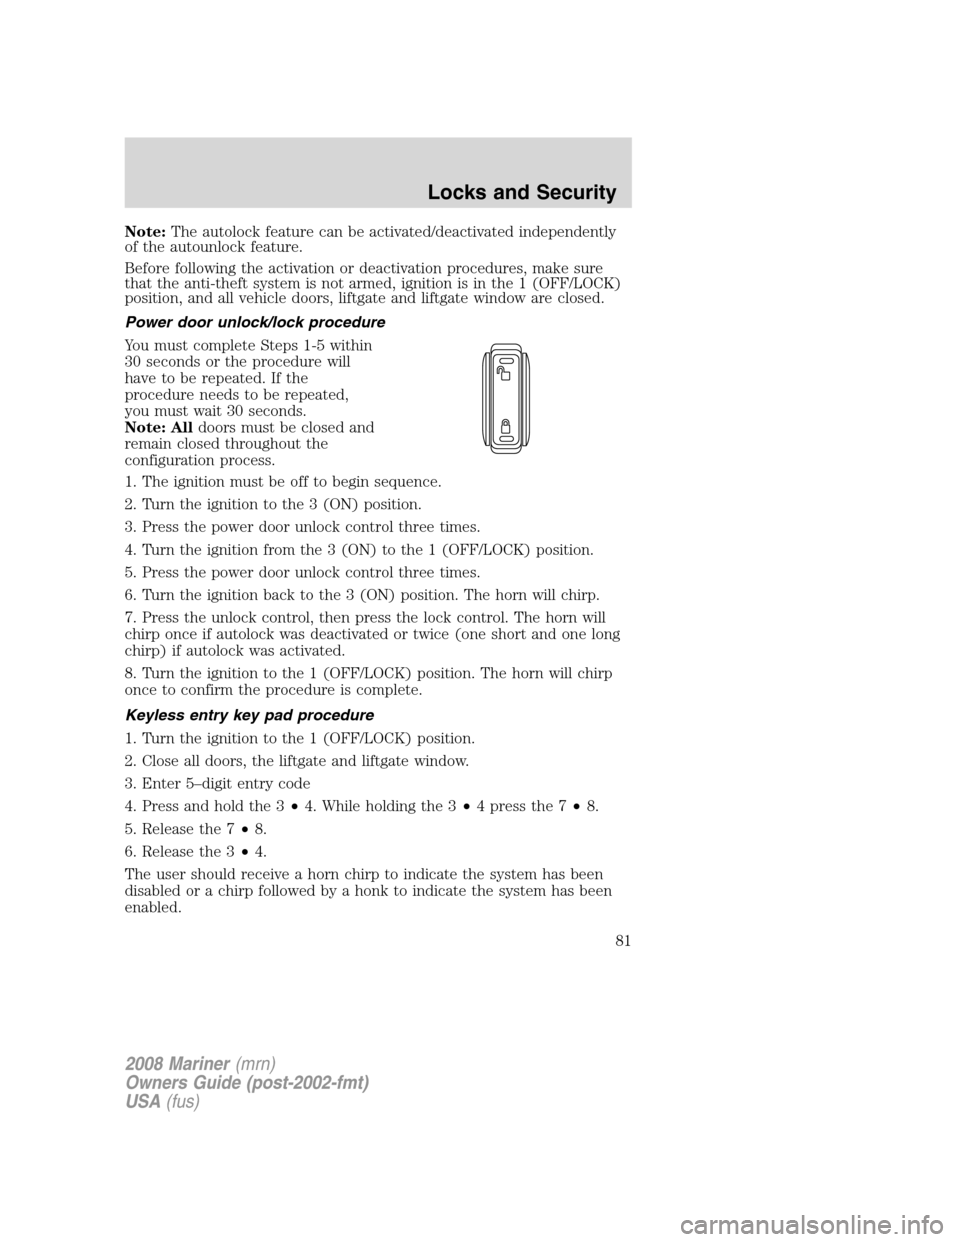
Power door unlock/lock procedure
You must complete Steps 1-5 within
30 seconds or the procedure will
have to be repeated. If the
procedure needs to be repeated,
you must wait 30 seconds.
Note: Alldoors must be closed and
remain closed throughout the
configuration process.
1. The ignition must be off to begin sequence.
2. Turn the ignition to the 3 (ON) position.
3. Press the power door unlock control three times.
4. Turn the ignition from the 3 (ON) to the 1 (OFF/LOCK) position.
5. Press the power door unlock control three times.
6. Turn the ignition back to the 3 (ON) position. The horn will chirp.
7. Press the unlock control, then press the lock control. The horn will
chirp once if autolock was deactivated or twice (one short and one long
chirp) if autolock was activated.
8. Turn the ignition to the 1 (OFF/LOCK) position. The horn will chirp
once to confirm the procedure is complete.
Keyless entry key pad procedure
1. Turn the ignition to the 1 (OFF/LOCK) position.
2. Close all doors, the liftgate and liftgate window.
3. Enter 5–digit entry code
4. Press and hold the 3•4. While holding the 3•4 press the 7•8.
5. Release the 7•8.
6. Release the 3•4.
The user should receive a horn chirp to indicate the system has been
disabled or a chirp followed by a honk to indicate the system has been
enabled.
2008 Mariner(mrn)
Owners Guide (post-2002-fmt)
USA(fus)
Locks and Security
81
Page 131 of 304
How does the Safety Canopy™ system work?
The design and development of the
Safety Canopy™ system included
recommended testing procedures
that were developed by a group of
automotive safety experts known as
the Side Airbag Technical Working
Group. These recommended testing
procedures help reduce the risk of
injuries related to the deployment of
side airbags (including the Safety
Canopy™).
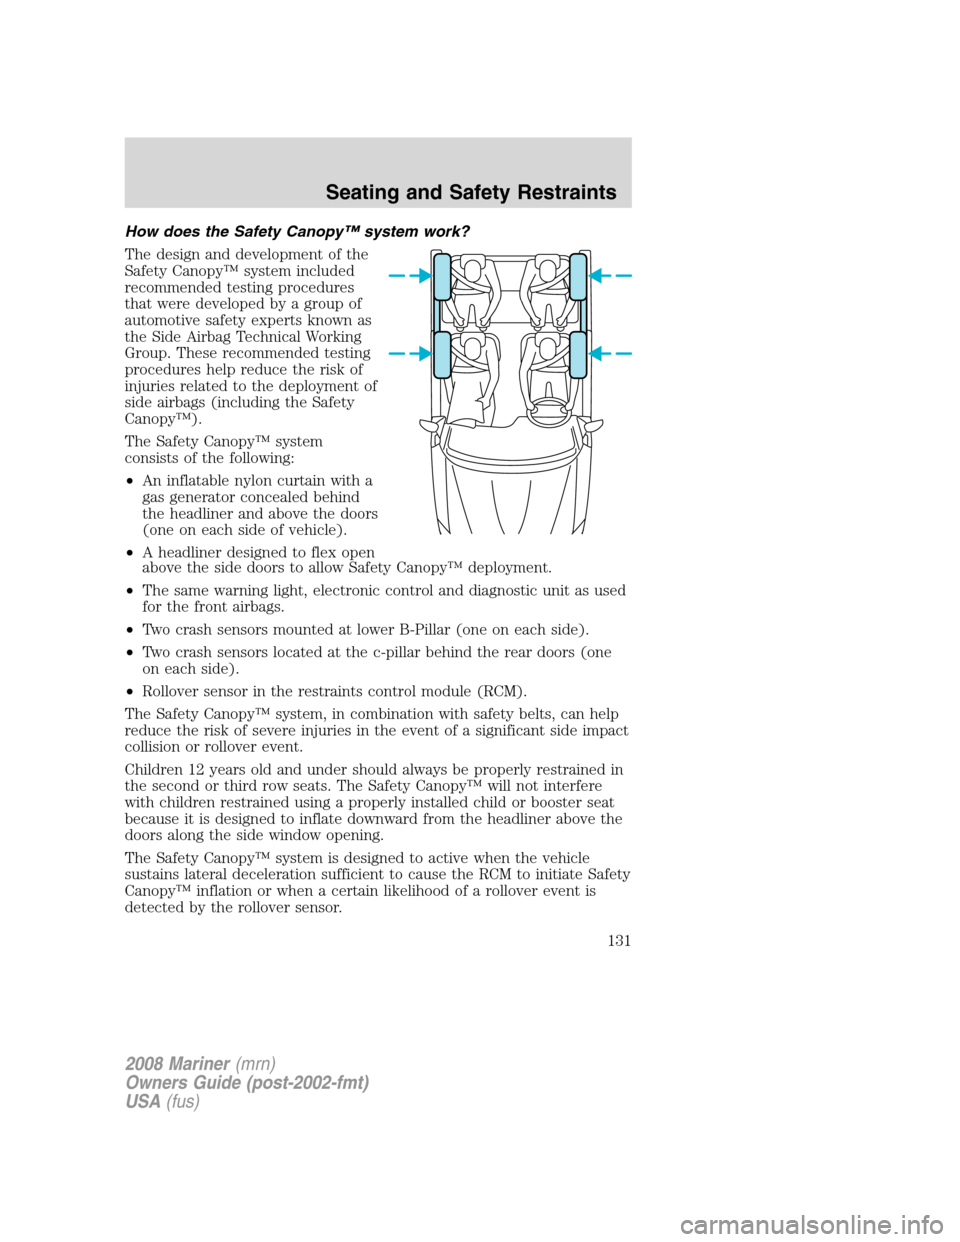
The Safety Canopy™ system
consists of the following:
•An inflatable nylon curtain with a
gas generator concealed behind
the headliner and above the doors
(one on each side of vehicle).
•A headliner designed to flex open
above the side doors to allow Safety Canopy™ deployment.
•The same warning light, electronic control and diagnostic unit as used
for the front airbags.
•Two crash sensors mounted at lower B-Pillar (one on each side).
•Two crash sensors located at the c-pillar behind the rear doors (one
on each side).
•Rollover sensor in the restraints control module (RCM).
The Safety Canopy™ system, in combination with safety belts, can help
reduce the risk of severe injuries in the event of a significant side impact
collision or rollover event.
Children 12 years old and under should always be properly restrained in
the second or third row seats. The Safety Canopy™ will not interfere
with children restrained using a properly installed child or booster seat
because it is designed to inflate downward from the headliner above the
doors along the side window opening.
The Safety Canopy™ system is designed to active when the vehicle
sustains lateral deceleration sufficient to cause the RCM to initiate Safety
Canopy™ inflation or when a certain likelihood of a rollover event is
detected by the rollover sensor.
2008 Mariner(mrn)
Owners Guide (post-2002-fmt)
USA(fus)
Seating and Safety Restraints
131
Page 132 of 304

The Safety Canopy™ is mounted to roof side-rail sheet metal, behind the
headliner, above the first and second row seats. The Safety Canopy™ is
designed to inflate between the side window area and occupants to
further enhance protection provided in side impact collisions and rollover
events.
The fact that the Safety Canopy™ did not activate in a collision does not
mean that something is wrong with the system. Rather, it means the
forces were not of the type sufficient to cause activation. The Safety
Canopy™ is designed to inflate in certain side impact collisions or
rollover events, not in rear impact, frontal or near-frontal collisions,
unless the collision causes sufficient lateral deceleration or rollover
likelihood.
Several Safety Canopy™
system components get hot
after inflation. Do not touch them
after inflation.
If the Safety Canopy™ system has deployed,the Safety
Canopy™ will not function again unless replaced. The
Safety Canopy™ system (including the A, B and C pillar trim)
must be inspected and serviced by an authorized dealer .If the
Safety Canopy™ is not replaced, the unrepaired area will increase the
risk of injury in a collision.
Determining if the system is operational
The SRS uses a readiness light in the instrument cluster or a tone to
indicate the condition of the system. Refer to theAirbag readiness
section in theInstrument Clusterchapter. Routine maintenance of the
side airbag is not required.
2008 Mariner(mrn)
Owners Guide (post-2002-fmt)
USA(fus)
Seating and Safety Restraints
132