engine Mercury Mariner 2009 s User Guide
[x] Cancel search | Manufacturer: MERCURY, Model Year: 2009, Model line: Mariner, Model: Mercury Mariner 2009Pages: 312, PDF Size: 2.27 MB
Page 42 of 312

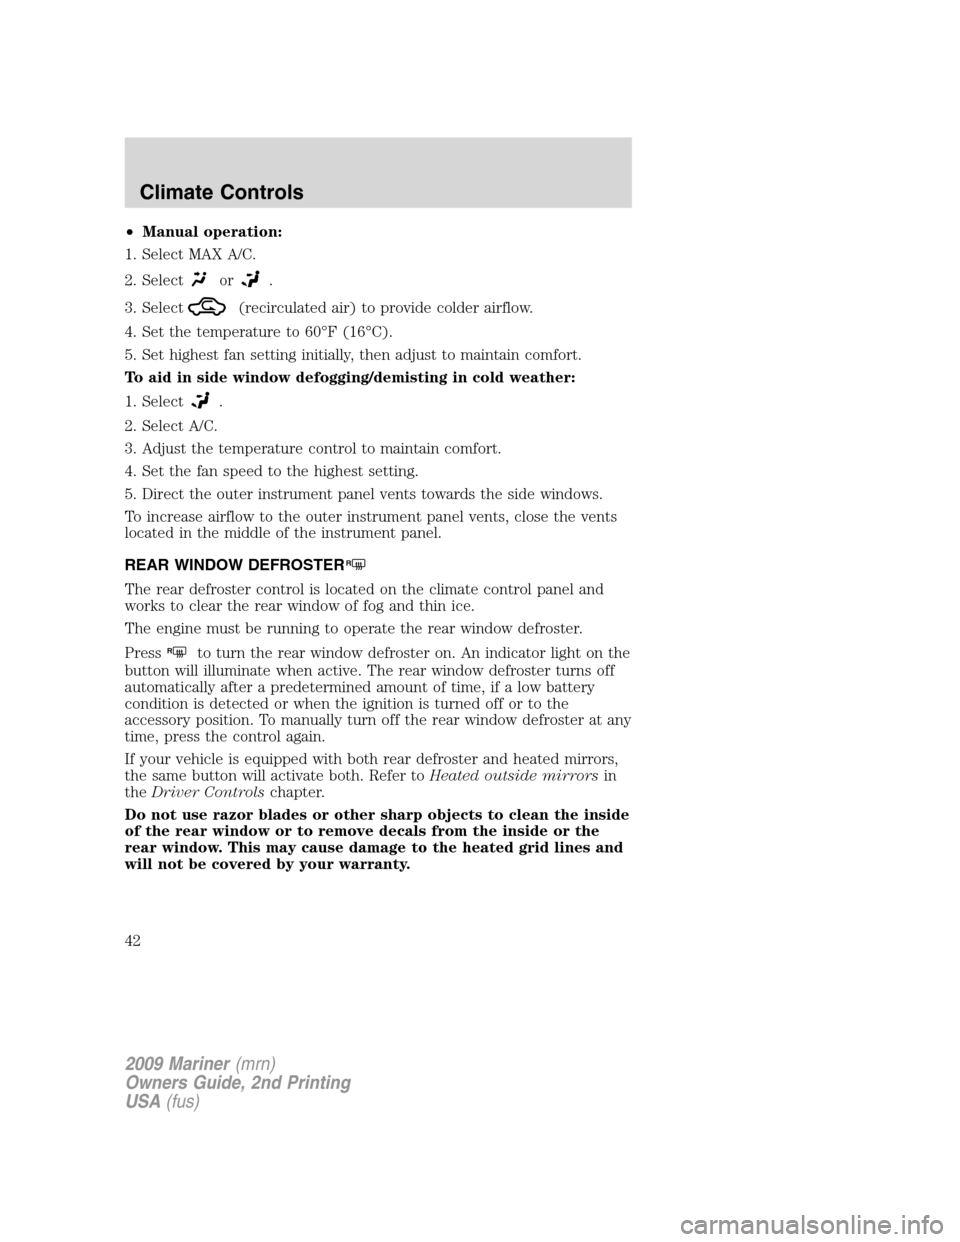
•Manual operation:
1. Select MAX A/C.
2. Select
or.
3. Select
(recirculated air) to provide colder airflow.
4. Set the temperature to 60°F (16°C).
5. Set highest fan setting initially, then adjust to maintain comfort.
To aid in side window defogging/demisting in cold weather:
1. Select
.
2. Select A/C.
3. Adjust the temperature control to maintain comfort.
4. Set the fan speed to the highest setting.
5. Direct the outer instrument panel vents towards the side windows.
To increase airflow to the outer instrument panel vents, close the vents
located in the middle of the instrument panel.
REAR WINDOW DEFROSTER
R
The rear defroster control is located on the climate control panel and
works to clear the rear window of fog and thin ice.
The engine must be running to operate the rear window defroster.
Press
Rto turn the rear window defroster on. An indicator light on the
button will illuminate when active. The rear window defroster turns off
automatically after a predetermined amount of time, if a low battery
condition is detected or when the ignition is turned off or to the
accessory position. To manually turn off the rear window defroster at any
time, press the control again.
If your vehicle is equipped with both rear defroster and heated mirrors,
the same button will activate both. Refer toHeated outside mirrorsin
theDriver Controlschapter.
Do not use razor blades or other sharp objects to clean the inside
of the rear window or to remove decals from the inside or the
rear window. This may cause damage to the heated grid lines and
will not be covered by your warranty.
2009 Mariner(mrn)
Owners Guide, 2nd Printing
USA(fus)
Climate Controls
42
Page 58 of 312

Most geographic areas (zones) have a magnetic north compass point that
varies slightly from the northerly direction on maps. This variation is four
degrees between adjacent zones and will become noticeable as the
vehicle crosses multiple zones. A correct zone setting will eliminate this
error. Refer toCompass zone adjustment.
Compass zone adjustment
1. Determine which magnetic zone
you are in for your geographic
location by referring to the zone
map.
2. Turn ignition to the on position.
3. Start the engine.
4. Press the SETUP control to select
the Update Zone function and
display the current ZONE XX in the
center stack display.
5. Continue to press the RESET
control until the correct zone
appears in the center stack display.
6. The direction will display after
the RESET control is released. The
zone is now updated.
1 2 3
4
5
6 7 8 9 101112 13 14 15
2009 Mariner(mrn)
Owners Guide, 2nd Printing
USA(fus)
Driver Controls
58
Page 61 of 312

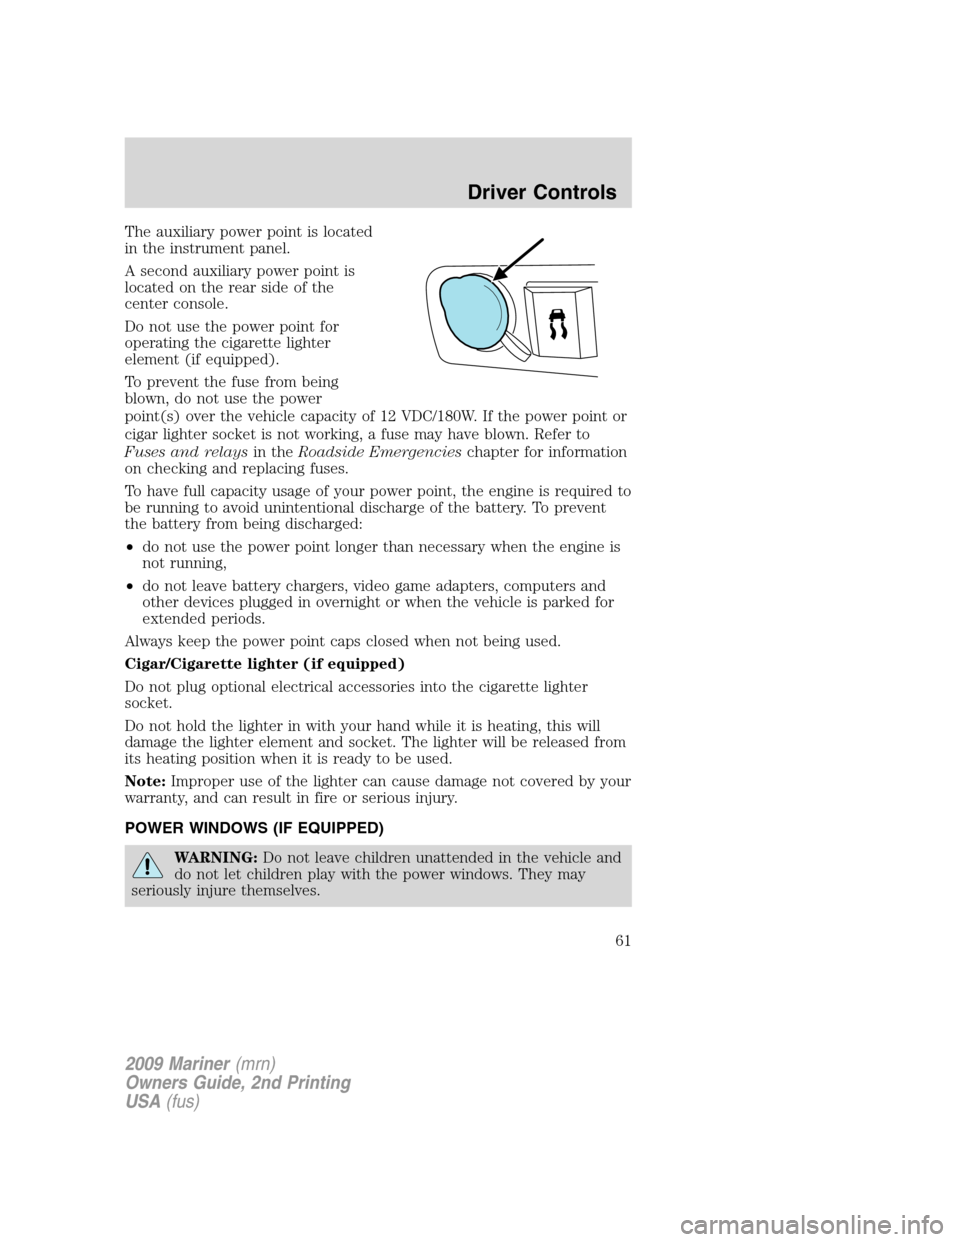
The auxiliary power point is located
in the instrument panel.
A second auxiliary power point is
located on the rear side of the
center console.
Do not use the power point for
operating the cigarette lighter
element (if equipped).
To prevent the fuse from being
blown, do not use the power
point(s) over the vehicle capacity of 12 VDC/180W. If the power point or
cigar lighter socket is not working, a fuse may have blown. Refer to
Fuses and relaysin theRoadside Emergencieschapter for information
on checking and replacing fuses.
To have full capacity usage of your power point, the engine is required to
be running to avoid unintentional discharge of the battery. To prevent
the battery from being discharged:
•do not use the power point longer than necessary when the engine is
not running,
•do not leave battery chargers, video game adapters, computers and
other devices plugged in overnight or when the vehicle is parked for
extended periods.
Always keep the power point caps closed when not being used.
Cigar/Cigarette lighter (if equipped)
Do not plug optional electrical accessories into the cigarette lighter
socket.
Do not hold the lighter in with your hand while it is heating, this will
damage the lighter element and socket. The lighter will be released from
its heating position when it is ready to be used.
Note:Improper use of the lighter can cause damage not covered by your
warranty, and can result in fire or serious injury.
POWER WINDOWS (IF EQUIPPED)
WARNING:Do not leave children unattended in the vehicle and
do not let children play with the power windows. They may
seriously injure themselves.
2009 Mariner(mrn)
Owners Guide, 2nd Printing
USA(fus)
Driver Controls
61
Page 65 of 312

Setting speed control
The controls for using your speed
control are located on the steering
wheel for your convenience.
1. Press the ON control and release
it.
2. Accelerate to the desired speed.
3. Press the SET + control and
release it.
4. Take your foot off the accelerator
pedal.
5. The indicator light
on the
instrument cluster will turn on.
Note:
•Vehicle speed may vary momentarily when driving up and down a
steep hill.
•If the vehicle speed increases above the set speed on a downhill, you
may want to apply the brakes to reduce the speed.
•If the vehicle speed decreases more than 10 mph (16 km/h) below
your set speed on an uphill, your speed control will disengage.
Disengaging speed control
To disengage the speed control:
•Tap the brake pedal or clutch pedal (if equipped)
Disengaging the speed control will not erase previous set speed.
Note:When you use the clutch pedal to disengage the speed control,
the engine speed may briefly increase, this is normal.
2009 Mariner(mrn)
Owners Guide, 2nd Printing
USA(fus)
Driver Controls
65
Page 74 of 312

Oil life
An oil change is required whenever indicated by the message center.
USE ONLY RECOMMENDED ENGINE OILS.
To reset the oil monitoring system to 100% after each oil change
[approximately 7,500 miles (12,000 km) or six months] perform the
following:
1. Press and release the SETUP
control to display “OIL LIFE =
XXX% HOLD RESET = NEW”.
2. Press and hold the RESET
control for two seconds and release.
Oil life is set to 100% and “OIL LIFE
SET TO 100%” is displayed.
3. While “OIL LIFE SET TO 100%”
is displayed, if a lower oil life start
value is desired, press and release the RESET control to reduce the start
value. Each press of the RESET control reduces the value by 10 percent.
Note:Oil life start value of 100% equals 7,500 miles (12,000 km) or six
months. For example, setting oil life start value to 60% sets the oil life
start value to 4,500 miles (7,200 km) and 108 days.
Units (English/Metric)
1. Select this function from the
SETUP menu for the current units
to be displayed.
2. Press the RESET control to
change from English to Metric.
2009 Mariner(mrn)
Owners Guide, 2nd Printing
USA(fus)
Driver Controls
74
Page 77 of 312

This acts as a reminder that these warning conditions still exist within
the vehicle.
Warnings Status
Driver door ajar Warning cannot be reset
Passenger door ajar
Rear left door ajar
Rear right door ajar
Park brake engaged Warning returns after
10 minutes if condition still
exists XXX miles to E fuel level low
Liftgate/Glass ajar Warning returns after the
ignition key is turned from
off to on. Check brake system
Check fuel fill inlet (if equipped)
Brake fluid level low
Low tire pressure
Tire pressure monitor fault
Tire pressure sensor fault
Oil life change soon
Oil change required
DRIVER DOOR AJAR— Displayed when the driver’s door is not
completely closed.
PASSENGER DOOR AJAR— Displayed when the passenger side door
is not completely closed.
REAR LEFT DOOR AJAR— Displayed when the rear left door is not
completely closed.
REAR RIGHT DOOR AJAR— Displayed when the rear right door is
not completely closed.
PARK BRAKE ENGAGED— Displayed when the manual park brake is
set, the engine is running and the vehicle is driven more than 3 mph
(5 km/h). If the warning stays on after the park brake is released,
contact your authorized dealer as soon as possible.
2009 Mariner(mrn)
Owners Guide, 2nd Printing
USA(fus)
Driver Controls
77
Page 78 of 312

XXX MILES TO E FUEL LEVEL LOW— Displayed as an early
reminder of a low fuel condition.
LIFTGATE / GLASS AJAR— Displayed when the liftgate or liftgate
glass is not completely closed. Press RESET to reset display.
CHECK BRAKE SYSTEM— Displayed when the braking system is not
operating properly. If the warning stays on or continues to come on,
contact your authorized dealer as soon as possible.
CHECK FUEL FILL INLET (if equipped)— Displayed when the fuel
fill inlet may not be properly closed. Refer toEasy Fuel™ “no cap” fuel
systemin theMaintenance and Specificationschapter.
BRAKE FLUID LEVEL LOW— Indicates the brake fluid level is low
and the brake system should be inspected immediately. Refer toBrake
fluidin theMaintenance and Specificationschapter.
LOW TIRE PRESSURE— Displayed when one or more tires on your
vehicle have low tire pressure. Refer toInflating your tiresin theTires,
Wheels and Loadingchapter.
TIRE PRESSURE MONITOR FAULT— Displayed when the Tire
Pressure Monitoring System is malfunctioning. If the warning stays on or
continues to come on, contact your authorized dealer as soon as
possible.
TIRE PRESSURE SENSOR FAULT— Displayed when a tire pressure
sensor is malfunctioning, or your spare tire is in use. For more
information on how the system operates under these conditions, refer to
Tire Pressure Monitoring System (TPMS)in theTires, Wheels and
Loadingchapter. If the warning stays on or continues to come on,
contact your authorized dealer as soon as possible.
OIL LIFE CHANGE SOON— Displayed when the engine oil life
remaining is 10% or less. When oil life left is between 10% and 0%, the
XX% OIL LIFE CHANGE SOON message will be displayed.
OIL CHANGE REQUIRED— Displayed when the oil life left reaches
0%, the OIL CHANGE REQUIRED message will be displayed.
2009 Mariner(mrn)
Owners Guide, 2nd Printing
USA(fus)
Driver Controls
78
Page 97 of 312

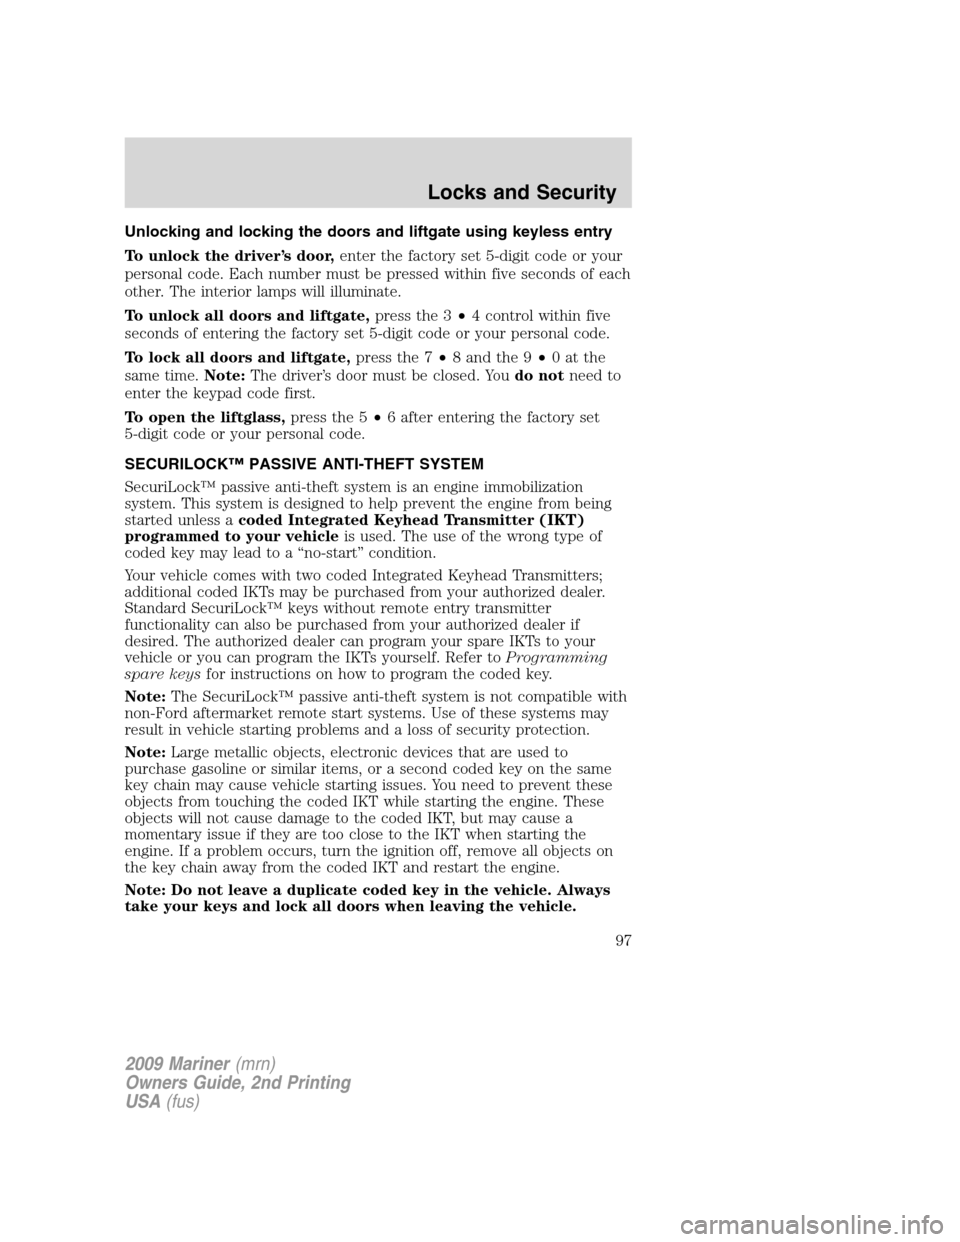
Unlocking and locking the doors and liftgate using keyless entry
To unlock the driver’s door,enter the factory set 5-digit code or your
personal code. Each number must be pressed within five seconds of each
other. The interior lamps will illuminate.
To unlock all doors and liftgate,press the 3•4 control within five
seconds of entering the factory set 5-digit code or your personal code.
To lock all doors and liftgate,press the 7•8 and the 9•0atthe
same time.Note:The driver’s door must be closed. Youdo notneed to
enter the keypad code first.
To open the liftglass,press the 5•6 after entering the factory set
5-digit code or your personal code.
SECURILOCK™ PASSIVE ANTI-THEFT SYSTEM
SecuriLock™ passive anti-theft system is an engine immobilization
system. This system is designed to help prevent the engine from being
started unless acoded Integrated Keyhead Transmitter (IKT)
programmed to your vehicleis used. The use of the wrong type of
coded key may lead to a “no-start” condition.
Your vehicle comes with two coded Integrated Keyhead Transmitters;
additional coded IKTs may be purchased from your authorized dealer.
Standard SecuriLock™ keys without remote entry transmitter
functionality can also be purchased from your authorized dealer if
desired. The authorized dealer can program your spare IKTs to your
vehicle or you can program the IKTs yourself. Refer toProgramming
spare keysfor instructions on how to program the coded key.
Note:The SecuriLock™ passive anti-theft system is not compatible with
non-Ford aftermarket remote start systems. Use of these systems may
result in vehicle starting problems and a loss of security protection.
Note:Large metallic objects, electronic devices that are used to
purchase gasoline or similar items, or a second coded key on the same
key chain may cause vehicle starting issues. You need to prevent these
objects from touching the coded IKT while starting the engine. These
objects will not cause damage to the coded IKT, but may cause a
momentary issue if they are too close to the IKT when starting the
engine. If a problem occurs, turn the ignition off, remove all objects on
the key chain away from the coded IKT and restart the engine.
Note: Do not leave a duplicate coded key in the vehicle. Always
take your keys and lock all doors when leaving the vehicle.
2009 Mariner(mrn)
Owners Guide, 2nd Printing
USA(fus)
Locks and Security
97
Page 99 of 312

keyless entry transmitter. A maximum of eight coded keys can be
programmed to your vehicle; only four of these eight keys can be IKTs
with remote entry functionality.
If your IKTs or standard SecuriLock™ coded keys are lost or stolen and
you don’t have an extra coded key, you will need to have your vehicle
towed to an authorized dealer. The key codes need to be erased from
your vehicle and new coded keys will need to be programmed.
Replacing coded keys can be very costly. Store an extra programmed key
away from the vehicle in a safe place to help prevent any
inconveniences. Please visit an authorized dealer to purchase additional
spare or replacement keys.
Programming spare keys
You can program your own Integrated Keyhead Transmitters or standard
SecuriLock™ coded keys to your vehicle. This procedure will program
both the engine immobilizer keycode and the remote entry transmitter
portion of the IKT to your vehicle.Note:A maximum of eight coded
keys can be programmed to your vehicle; only four of these eight can be
IKTs with remote entry functionality.
Tips:
•Only use Integrated Keyhead Transmitters (IKTs) or standard
SecuriLock™ keys.
•You must have two previously programmed coded keys (keys that
already operate your vehicle’s engine) and the new unprogrammed
key(s) readily accessible.
•If two previously programmed coded keys are not available, you must
take your vehicle to your authorized dealer to have the spare key(s)
programmed.
Please read and understand the
entire procedure before you begin.
1. Insert the first previously
programmedcoded keyinto the
ignition.
2. Turn the ignition from the 1 (off)
position to the 3 (on) position. Keep
the ignition in the 3 (on) position
for at least three seconds, but no
more than 10 seconds.
2009 Mariner(mrn)
Owners Guide, 2nd Printing
USA(fus)
Locks and Security
99
Page 100 of 312

3. Turn the ignition to the 1 (off) position and remove the firstcoded
keyfrom the ignition.
4. After three seconds but within 10 seconds of turning the ignition to
the 1 (off) position, insert the second previouslycoded keyinto the
ignition.
5. Turn the ignition from the 1 (off) position to the 3 (on) position. Keep
the ignition in the 3 (on) position for at least three seconds, but no more
than 10 seconds.
6. Turn the ignition to the 1 (off) position and remove the second
previously programmedcoded keyfrom the ignition.
7. After three seconds but within 20 seconds of turning the ignition to
the 1 (off) position and removing the previously programmedcoded
key,insert the new unprogrammed key (new key/valet key) into the
ignition.
8. Turn the ignition from the 1 (off) position to the 3 (on) position. Keep
the ignition in the 3 (on) position for at least six seconds.
9. Remove the newly programmedcoded keyfrom the ignition.
If the key has been successfully programmed it will start the vehicle’s
engine and will operate the remote entry system (if the new key is an
Integrated Keyhead Transmitter). The theft indicator light will illuminate
for three seconds and then go out to indicate successful programming.
If the key was not successfully programmed, it will not start your
vehicle’s engine and/or will not operate the remote entry features. The
theft indicator light may flash on and off. Wait 20 seconds and you may
repeat Steps 1 through 8. If failure repeats, bring your vehicle to your
authorized dealer to have the new key(s) programmed.
To program additional new unprogrammed key(s), wait 20 seconds and
then repeat this procedure from Step 1.
2009 Mariner(mrn)
Owners Guide, 2nd Printing
USA(fus)
Locks and Security
100