stop start Mercury Milan 2006 Owner's Manuals
[x] Cancel search | Manufacturer: MERCURY, Model Year: 2006, Model line: Milan, Model: Mercury Milan 2006Pages: 256, PDF Size: 2.45 MB
Page 11 of 256

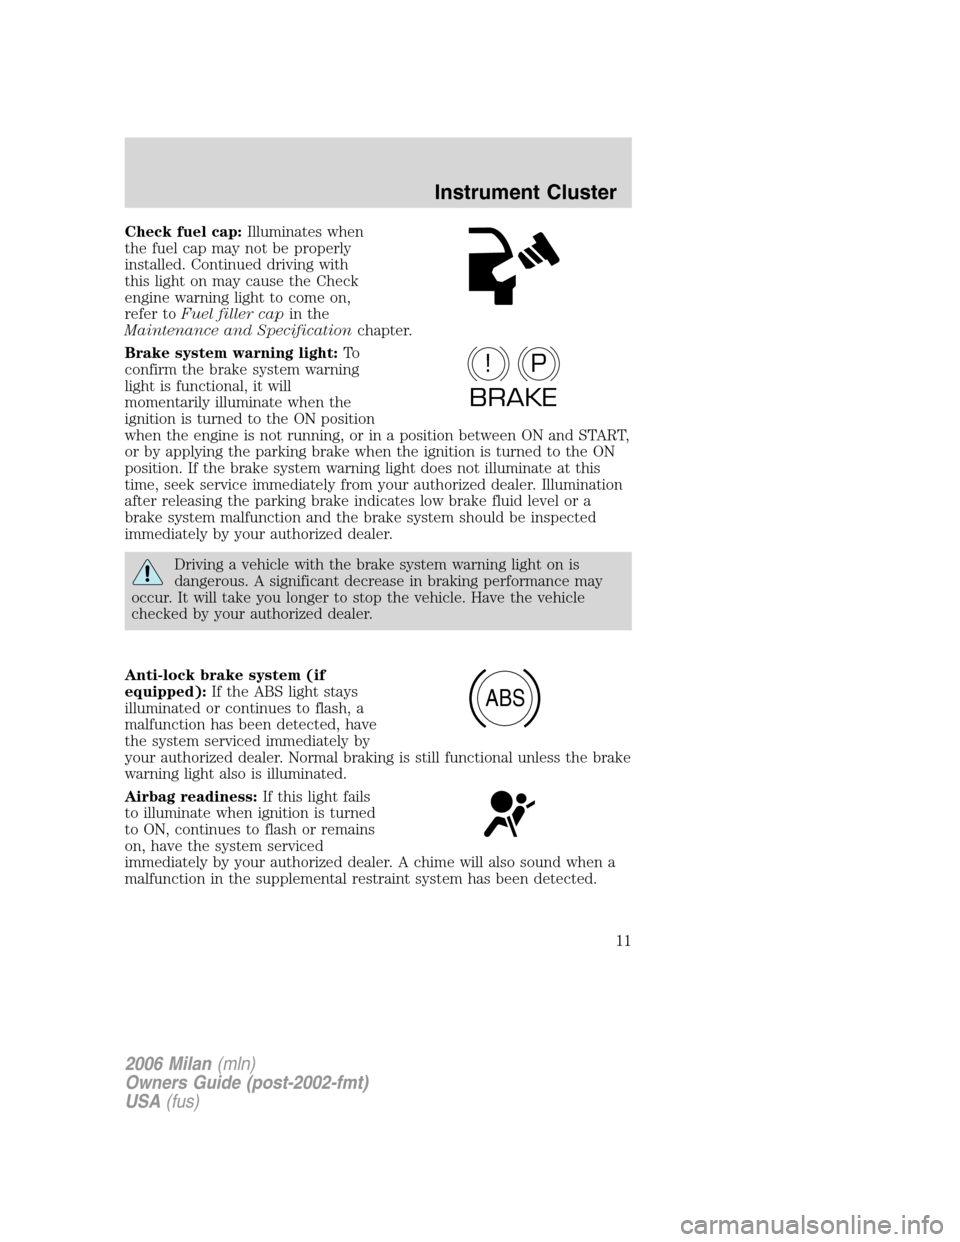
Check fuel cap:Illuminates when
the fuel cap may not be properly
installed. Continued driving with
this light on may cause the Check
engine warning light to come on,
refer toFuel filler capin the
Maintenance and Specificationchapter.
Brake system warning light:To
confirm the brake system warning
light is functional, it will
momentarily illuminate when the
ignition is turned to the ON position
when the engine is not running, or in a position between ON and START,
or by applying the parking brake when the ignition is turned to the ON
position. If the brake system warning light does not illuminate at this
time, seek service immediately from your authorized dealer. Illumination
after releasing the parking brake indicates low brake fluid level or a
brake system malfunction and the brake system should be inspected
immediately by your authorized dealer.
Driving a vehicle with the brake system warning light on is
dangerous. A significant decrease in braking performance may
occur. It will take you longer to stop the vehicle. Have the vehicle
checked by your authorized dealer.
Anti-lock brake system (if
equipped):If the ABS light stays
illuminated or continues to flash, a
malfunction has been detected, have
the system serviced immediately by
your authorized dealer. Normal braking is still functional unless the brake
warning light also is illuminated.
Airbag readiness:If this light fails
to illuminate when ignition is turned
to ON, continues to flash or remains
on, have the system serviced
immediately by your authorized dealer. A chime will also sound when a
malfunction in the supplemental restraint system has been detected.
P!
BRAKE
ABS
2006 Milan(mln)
Owners Guide (post-2002-fmt)
USA(fus)
Instrument Cluster
11
Page 141 of 256

This begins with the letters “DOT” and indicates that the tire meets all
federal standards. The next two numbers or letters are the plant code
designating where it was manufactured, the next two are the tire size
code and the last four numbers represent the week and year the tire was
built. For example, the numbers 317 mean the 31st week of 1997. After
2000 the numbers go to four digits. For example, 2501 means the 25th
week of 2001. The numbers in between are identification codes used for
traceability. This information is used to contact customers if a tire defect
requires a recall.
Tire Replacement Requirements
Your vehicle is equipped with tires designed to provide a safe ride and
handling capability.
Only use replacement tires and wheels that are the same size and
type (such as P-metric versus LT-metric or all-season versus
all-terrain) as those originally provided by Ford. Use of any tire or
wheel not recommended by Ford can affect the safety and performance
of your vehicle, which could result in an increased risk of loss of vehicle
control, vehicle rollover, personal injury and death. Additionally the use
of non-recommended tires and wheels could cause steering, suspension,
axle or transfer case/power transfer unit failure. If you have questions
regarding tire replacement, see an authorized dealer.
Important:Remember to replace the wheel valve stems when the road
tires are replaced on your vehicle.
It is recommended that the two front tires or two rear tires generally be
replaced as a pair.
Safety practices
Driving habits have a great deal to do with your tire mileage and safety.
•Observe posted speed limits
•Avoid fast starts, stops and turns
•Avoid potholes and objects on the road
•Do not run over curbs or hit the tire against a curb when parking
If your vehicle is stuck in snow, mud, sand, etc.,do notrapidly
spin the tires; spinning the tires can tear the tire and cause an
explosion. A tire can explode in as little as three to five seconds.
2006 Milan(mln)
Owners Guide (post-2002-fmt)
USA(fus)
Tires, Wheels and Loading
141
Page 159 of 256

Starting the engine
1. Turn the key to 3 (RUN) without
turning the key to 4 (START).
2. Turn the key to 4 (START), then
release the key as soon as the
engine starts. Excessive cranking
could damage the starter.
Note:If the engine does not start within five seconds on the first try,
turn the key to LOCK, wait 10 seconds and try again. If the engine still
fails to start, press the accelerator to the floor and try again; this will
allow the engine to crank with the fuel shut off in case the engine is
flooded with fuel.
Guarding against exhaust fumes
Carbon monoxide is present in exhaust fumes. Take precautions to avoid
its dangerous effects.
If you smell exhaust fumes inside your vehicle, have your dealer
inspect your vehicle immediately. Do not drive if you smell
exhaust fumes.
Important ventilating information
If the engine is idling while the vehicle is stopped for a long period of
time, open the windows at least one inch (2.5 cm) or adjust the heating
or air conditioning to bring in fresh air.
USING THE ENGINE BLOCK HEATER (IF EQUIPPED)
An engine block heater warms the engine coolant which aids in starting
and heater/defroster performance. Use of an engine block heater is
strongly recommended if you live in a region where temperatures reach
-10°F (-23°C) or below. For best results, plug the heater in at least three
hours before starting the vehicle. The heater can be plugged in the night
before starting the vehicle.
To reduce the risk of electrical shock, do not use your heater
with ungrounded electrical systems or two-pronged (cheater)
adapters.
2006 Milan(mln)
Owners Guide (post-2002-fmt)
USA(fus)
Driving
159
Page 160 of 256

BRAKES
Occasional brake noise is normal. If a metal-to-metal, continuous grinding
or continuous squeal sound is present, the brake linings may be worn-out
and should be inspected by an authorized dealer. If the vehicle has
continuous vibration or shudder in the steering wheel while braking, the
vehicle should be inspected by an authorized dealer.
Refer toBrake system warning
lightin theInstrument Cluster
chapter for information on the brake
system warning light.
Four-wheel anti-lock brake system (ABS) (if equipped)
Your vehicle may be equipped with an Anti-lock Braking System (ABS).
This system helps you maintain steering control during emergency stops
by keeping the brakes from locking. The ABS operates by detecting the
onset of wheel lockup during brake application and compensates for this
tendency. Noise from the ABS pump motor and brake pedal pulsation
may be observed during ABS braking; any pulsation or mechanical noise
you may feel or hear is normal. In addition, the ABS performs a
self-check after you start the engine and begin to drive away. A brief
mechanical noise may be heard during this test. This is normal.
ABS warning lamp
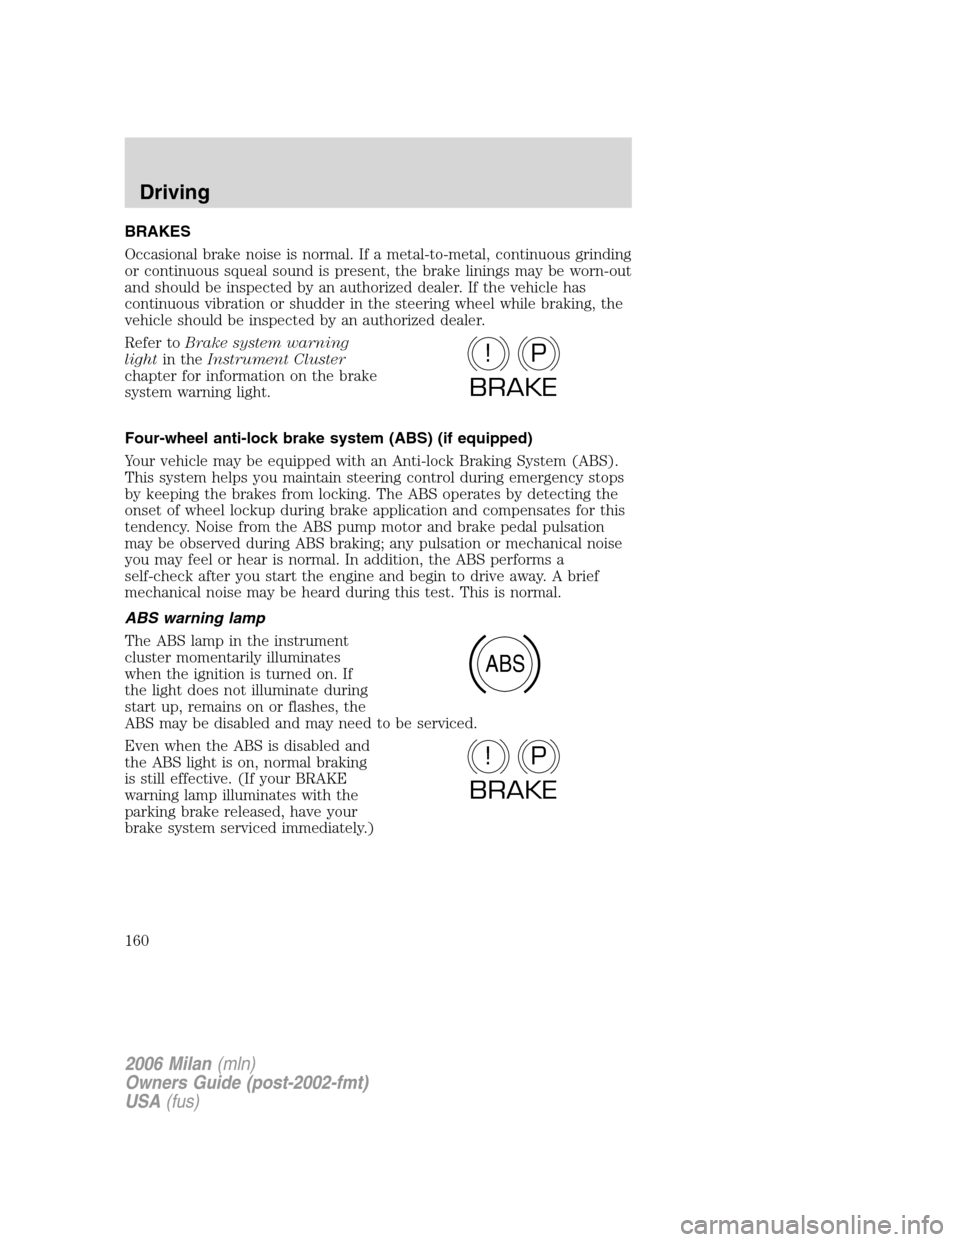
The ABS lamp in the instrument
cluster momentarily illuminates
when the ignition is turned on. If
the light does not illuminate during
start up, remains on or flashes, the
ABS may be disabled and may need to be serviced.
Even when the ABS is disabled and
the ABS light is on, normal braking
is still effective. (If your BRAKE
warning lamp illuminates with the
parking brake released, have your
brake system serviced immediately.)
P!
BRAKE
ABS
P!
BRAKE
2006 Milan(mln)
Owners Guide (post-2002-fmt)
USA(fus)
Driving
160
Page 167 of 256

To put your vehicle in P (Park):
•Come to a complete stop
•Move the gearshift lever and securely latch it in P (Park)
Always set the parking brake fully and make sure the gearshift is
latched in P (Park). Turn the ignition to the LOCK position and
remove the key whenever you leave your vehicle.
R (Reverse)
With the gearshift lever in R (Reverse), the vehicle will move backward.
Always come to a complete stop before shifting into and out of R
(Reverse).
N (Neutral)
With the gearshift lever in N (Neutral), the vehicle can be started and is
free to roll. Hold the brake pedal down while in this position.
D (Drive)
The normal driving position for the best fuel economy. Transaxle
operates in gears one through six.
L (Low)
Provides more engine braking when the accelerator pedal is released
than D (Drive).
If your vehicle gets stuck in mud or snow
If your vehicle gets stuck in mud or snow, it may be rocked out by
shifting between forward and reverse gears, stopping between shifts in a
steady pattern. Press lightly on the accelerator in each gear.
Do not rock the vehicle if the engine is not at normal operating
temperature or damage to the transmission may occur.
Do not rock the vehicle for more than a minute or damage to the
transmission and tires may occur, or the engine may overheat.
2006 Milan(mln)
Owners Guide (post-2002-fmt)
USA(fus)
Driving
167
Page 168 of 256

MANUAL TRANSMISSION OPERATION (IF EQUIPPED)
Using the clutch
The manual transaxle has a starter interlock that prevents cranking the
engine unless the clutch pedal is fully depressed.
To start the vehicle:
1. Make sure the parking brake is fully set.
2. Press the clutch pedal to the floor, then put the gearshift lever in the
neutral position.
3. Start the engine, then press the brake pedal and release the parking
brake.
4. Move the gearshift lever to the desired gear, then slowly release the
clutch pedal while slowly pressing on the accelerator.
Do not drive with your foot resting on the clutch pedal or use the clutch
pedal to hold your vehicle at a standstill while waiting on a hill. These
actions will reduce the life of the clutch.
Recommended shift speeds
Upshift according to the following chart:
Recommended upshifts (for best fuel economy) when
accelerating
5-speed manual transaxle
Shift from:
1 - 2 14 mph (23 km/h)
2 - 3 24 mph (39 km/h)
3 - 4 32 mph (51 km/h)
4 - 5 44 mph (71 km/h)
Reverse
1. Make sure that your vehicle is at a complete stop before you shift into
R (Reverse). Failure to do so may damage the transmission.
135
24
R
2006 Milan(mln)
Owners Guide (post-2002-fmt)
USA(fus)
Driving
168
Page 172 of 256

HAZARD FLASHER CONTROL
The hazard flasher is located on the
instrument panel by the radio. The
hazard flashers will operate when
the ignition is in any position or if
the key is not in the ignition.
Push in the flasher control and all
front and rear direction signals will flash. Press the flasher control again
to turn them off. Use it when your vehicle is disabled and is creating a
safety hazard for other motorists.
Note:With extended use, the flasher may run down your battery.
FUEL PUMP SHUT-OFF SWITCH
This device stops the electric fuel pump from sending fuel to the engine
when your vehicle has had a substantial jolt.
After an accident, if the engine cranks but does not start, this switch
may have been activated.
The fuel pump shut-off switch is
located in the front passenger
footwell area in the right upper
corner.
To reset the switch:
1. Turn the ignition to 1 (LOCK).
2. Check the fuel system for leaks.
3. If no leaks are apparent, reset the
switch by pushing in on the reset
button.
4. Turn the ignition to 3 (RUN).
5. Wait a few seconds and return
the key to 1 (LOCK).
6. Make another check for leaks.
2006 Milan(mln)
Owners Guide (post-2002-fmt)
USA(fus)
Roadside Emergencies
172
Page 216 of 256

Keep batteries out of reach of children. Batteries contain sulfuric
acid. Avoid contact with skin, eyes or clothing. Shield your eyes
when working near the battery to protect against possible splashing of
acid solution. In case of acid contact with skin or eyes, flush
immediately with water for a minimum of 15 minutes and get prompt
medical attention. If acid is swallowed, call a physician immediately.
Battery posts, terminals and related accessories contain lead and
lead compounds.Wash hands after handling.
Because your vehicle’s engine is electronically controlled by a computer,
some control conditions are maintained by power from the battery. When
the battery is disconnected or a new battery is installed, the engine must
relearn its idle and fuel trim strategy for optimum driveability and
performance. To begin this process:
1. With the vehicle at a complete stop, set the parking brake.
2. Put the gearshift in P (Park) (automatic transmission) or the neutral
position (manual transmission), turn off all accessories and start the
engine.
3. Run the engine until it reaches normal operating temperature.
4. Allow the engine to idle for at least one minute.
5. Turn the A/C on and allow the engine to idle for at least one minute.
6. Drive the vehicle to complete the relearning process.
•The vehicle may need to be driven 10 miles (16 km) or more to
relearn the idle and fuel trim strategy.
•If you do not allow the engine to relearn its idle trim, the idle
quality of your vehicle may be adversely affected until the idle
trim is eventually relearned.
When the battery is disconnected or a new battery installed, the
transmission must relearn its adaptive strategy. As a result of this, the
transmission may shift firmly. This operation is considered normal and
will not affect function or durability of the transmission. Over time the
adaptive learning process will fully update transmission operation to its
optimum shift feel.
If the battery has been disconnected or a new battery has been installed,
the clock and the preset radio stations must be reset once the battery is
reconnected.
2006 Milan(mln)
Owners Guide (post-2002-fmt)
USA(fus)
Maintenance and Specifications
216
Page 223 of 256

1. Pull off the road as soon as safely possible and turn off the engine.
2. Arrange for the vehicle to be taken to an authorized dealer.
3. If this is not possible, wait a short period for the engine to cool.
4. Check the coolant level and replenish if low.
Never remove the coolant reservoir cap while the engine is
running or hot.
5. Re-start the engine and take your vehicle to an authorized dealer.
Driving the vehicle without repairing the engine problem
increases the chance of engine damage. Take your vehicle to an
authorized dealer as soon as possible.
FUEL FILTER
For fuel filter replacement, see your authorized dealer.
WHAT YOU SHOULD KNOW ABOUT AUTOMOTIVE FUELS
Important safety precautions
Do not overfill the fuel tank. The pressure in an overfilled tank
may cause leakage and lead to fuel spray and fire.
The fuel system may be under pressure. If the fuel filler cap is
venting vapor or if you hear a hissing sound, wait until it stops
before completely removing the fuel filler cap. Otherwise, fuel may
spray out and injure you or others.
If you do not use the proper fuel filler cap, excessive vacuum in
the fuel tank may damage the fuel system or cause the fuel cap
to disengage in a collision, which may result in possible personal injury.
Automotive fuels can cause serious injury or death if misused or
mishandled.
Gasoline may contain benzene, which is a cancer-causing agent.
2006 Milan(mln)
Owners Guide (post-2002-fmt)
USA(fus)
Maintenance and Specifications
223
Page 225 of 256

Refueling
Fuel vapor burns violently and a fuel fire can cause severe
injuries. To help avoid injuries to you and others:
•Read and follow all the instructions on the pump island;
•Turn off your engine when you are refueling;
•Do not smoke if you are near fuel or refueling your vehicle;
•Keep sparks, flames and smoking materials away from fuel;
•Stay outside your vehicle and do not leave the fuel pump unattended
when refueling your vehicle — this is against the law in some places;
•Keep children away from the fuel pump; never let children pump fuel.
Use the following guidelines to avoid electrostatic charge build-up when
filling an ungrounded fuel container:
•Place approved fuel container on the ground.
•DO NOT fill a fuel container while it is in the vehicle (including the
cargo area).
•Keep the fuel pump nozzle in contact with the fuel container while
filling.
•DO NOT use a device that would hold the fuel pump handle in the fill
position.
Fuel Filler Cap
Your fuel tank filler cap has an indexed design with a 1/4 turn on/off
feature.
When fueling your vehicle:
1. Turn the engine off.
2. Carefully turn the filler cap counterclockwise 1/4 of a turn until it stops.
3. Pull to remove the cap from the fuel filler pipe.
4. To install the cap, align the tabs on the cap with the notches on the
filler pipe.
5. Turn the filler cap clockwise 1/4 of a turn until it clicks at least once.
If the
indicator comes on and stays on after you start the engine, the
fuel filler cap may not be properly installed. Turn off the engine, remove
the fuel filler cap, align the cap properly and reinstall it.
2006 Milan(mln)
Owners Guide (post-2002-fmt)
USA(fus)
Maintenance and Specifications
225