tow Mercury Milan 2007 Owner's Manuals
[x] Cancel search | Manufacturer: MERCURY, Model Year: 2007, Model line: Milan, Model: Mercury Milan 2007Pages: 280, PDF Size: 2.53 MB
Page 2 of 280
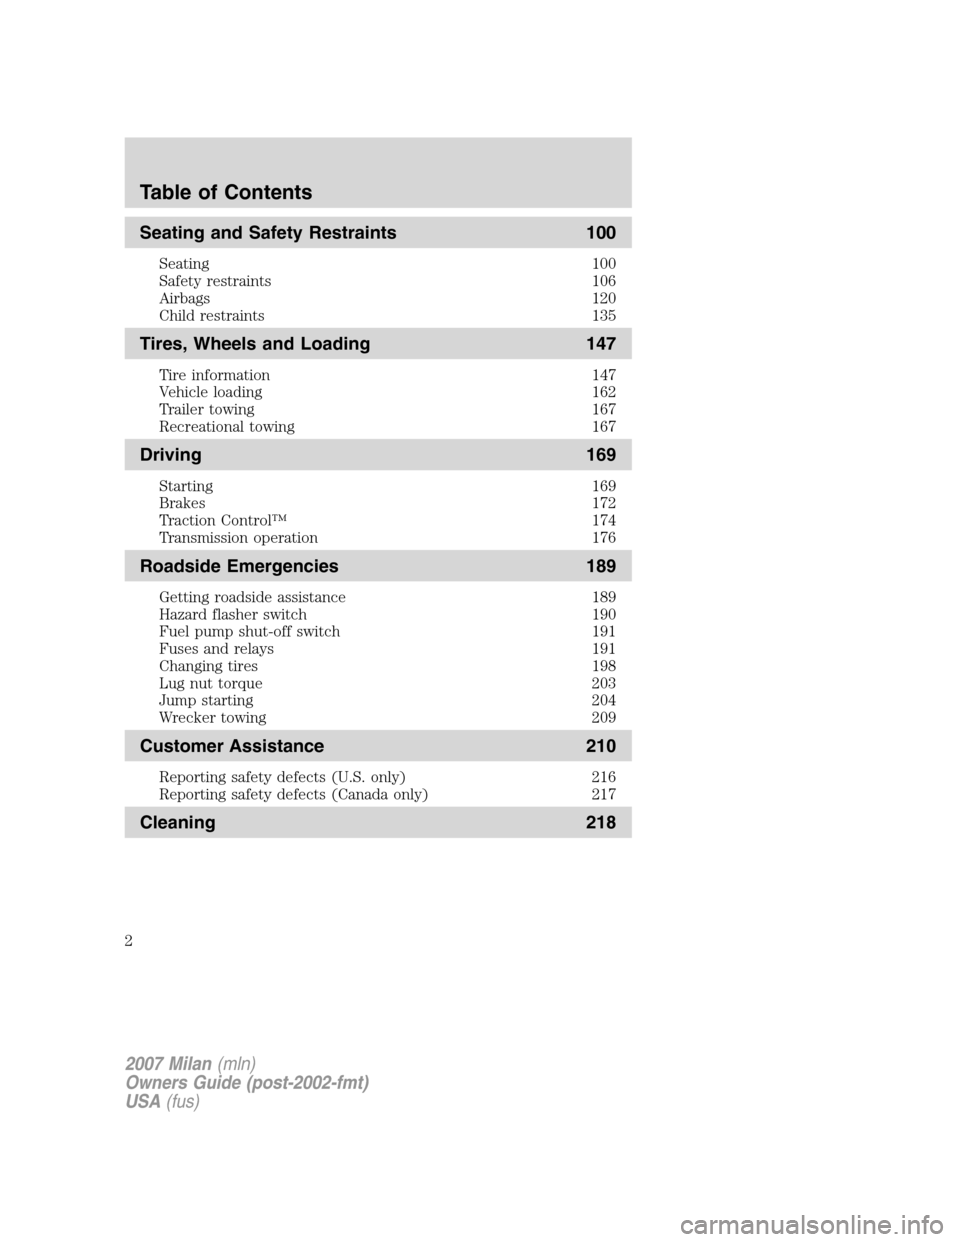
Seating and Safety Restraints 100
Seating 100
Safety restraints 106
Airbags 120
Child restraints 135
Tires, Wheels and Loading 147
Tire information 147
Vehicle loading 162
Trailer towing 167
Recreational towing 167
Driving 169
Starting 169
Brakes 172
Traction Control™ 174
Transmission operation 176
Roadside Emergencies 189
Getting roadside assistance 189
Hazard flasher switch 190
Fuel pump shut-off switch 191
Fuses and relays 191
Changing tires 198
Lug nut torque 203
Jump starting 204
Wrecker towing 209
Customer Assistance 210
Reporting safety defects (U.S. only) 216
Reporting safety defects (Canada only) 217
Cleaning 218
Table of Contents
2
2007 Milan(mln)
Owners Guide (post-2002-fmt)
USA(fus)
Page 5 of 280
SAFETY AND ENVIRONMENT PROTECTION
Warning symbols in this guide
How can you reduce the risk of personal injury to yourself or others? In
this guide, answers to such questions are contained in comments
highlighted by the warning triangle symbol. These comments should be
read and observed.
Warning symbols on your vehicle
When you see this symbol, it is
imperative that you consult the
relevant section of this guide before
touching or attempting adjustment
of any kind.
Protecting the environment
We must all play our part in
protecting the environment. Correct
vehicle usage and the authorized
disposal of waste, cleaning and
lubrication materials are significant
steps towards this aim. Information in this respect is highlighted in this
guide with the tree symbol.
BREAKING-IN YOUR VEHICLE
Your vehicle does not need an extensive break-in. Try not to drive
continuously at the same speed for the first 1,000 miles (1,600 km) of
new vehicle operation. Vary your speed frequently in order to give the
moving parts a chance to break in.
Do not add friction modifier compounds or special break-in oils during
the first few thousand miles (kilometers) of operation, since these
additives may prevent piston ring seating. SeeEngine oilin the
Maintenance and Specificationschapter for more information on oil
usage.
SPECIAL NOTICES
New Vehicle Limited Warranty
For a detailed description of what is covered and what is not covered by
your vehicle’s New Vehicle Limited Warranty, refer to theWarranty
Guidethat is provided to you along with yourOwner’s Guide.
2007 Milan(mln)
Owners Guide (post-2002-fmt)
USA(fus)
Introduction
5
Page 34 of 280
•Terrain: Hills, mountains, tall buildings, power lines, electric fences,
traffic lights and thunderstorms can interfere with your reception.
•Station overload: When you pass a broadcast tower, a stronger signal
may overtake a weaker one and play while the weak station frequency
is displayed.
CD/CD player care
Do:
•Handle discs by their edges only. Never touch the playing surface.
•Inspect discs before playing. Clean only with an approved CD cleaner
and wipe from the center out.
Don’t:
•Expose discs to direct sunlight or heat sources for extended periods
of time.
•Clean using a circular motion.
CD units are designed to play commercially pressed 4.75 in (12
cm) audio compact discs only. Due to technical incompatibility,
certain recordable and re-recordable compact discs may not
function correctly when used in Ford CD players. Dirty, warped
or damaged CDs, irregular shaped CDs, CDs with a scratch
protection film attached, and CDs with homemade paper
(adhesive) labels should not be inserted into the CD player. The
label may peel and cause the CD to become jammed. It is
recommended that homemade CDs be identified with permanent
felt tip marker rather than adhesive labels. Ballpoint pens may
damage CDs. Please contact your authorized dealer for further
information.
Audio system warranty and service
Refer to theWarranty Guidefor audio system warranty information. If
service is necessary, see your dealer or qualified technician.
MP3 track and folder structure
Your MP3 system recognizes MP3 individual tracks and folder structure
as follows:
•There are two different modes for MP3 disc playback: MP3 track mode
(system default) and MP3 folder mode. For more information on track
and folder mode, refer toSample MP3 structurein the following
section.
•MP3 track mode ignores any folder structure on the MP3 disc. The
player numbers each MP3 track on the disc (noted by the .mp3 file
extension) from T001 to T255.
2007 Milan(mln)
Owners Guide (post-2002-fmt)
USA(fus)
Entertainment Systems
34
Page 36 of 280
roof of your vehicle. The vehicle roof provides the best location for an
unobstructed, open view of the sky, a requirement of a satellite radio
system. Like AM/FM, there are several factors that can affect satellite
radio reception performance:
•Antenna obstructions: For optimal reception performance, keep the
antenna clear of snow and ice build-up and keep luggage and other
material as far away from the antenna as possible.
•Terrain: Hills, mountains, tall buildings, bridges, tunnels, freeway
overpasses, parking garages, dense tree foliage and thunderstorms can
interfere with your reception.
•Station overload: When you pass a ground based broadcast repeating
tower, a stronger signal may overtake a weaker one and result in an
audio mute.
Unlike AM/FM audible static, you will hear an audio mute when there is
a satellite radio signal interference. Your radio display may display NO
SIGNAL to indicate the interference.
SIRIUS satellite radio service:SIRIUS Satellite Radio is a subscription
based satellite radio service that broadcasts music, sports, news and
entertainment programming. A service fee is required in order to receive
SIRIUS service. Vehicles that are equipped with a factory installed
SIRIUS Satellite Radio system include:
•Hardware and limited subscription term, which begins on the date of
sale or lease of the vehicle.
•Online media player providing access to all 65 SIRIUS music channels
over the internet (U.S. customers only).
For information on extended subscription terms, contact SIRIUS at
1–888–539–7474.
Note:SIRIUS reserves the unrestricted right to change, rearrange, add
or delete programming including canceling, moving or adding particular
channels, and its prices, at any time, with or without notice to you. Ford
Motor Company shall not be responsible for any such programming
changes.
Satellite Radio Electronic Serial Number (ESN):This 12–digit
Satellite Serial Number is needed to activate, modify or track your
satellite radio account. You will need this number when communicating
with SIRIUS. While in Satellite Radio mode, you can view this number on
the radio display by pressing AUX and Preset 1 control simultaneously.
2007 Milan(mln)
Owners Guide (post-2002-fmt)
USA(fus)
Entertainment Systems
36
Page 38 of 280
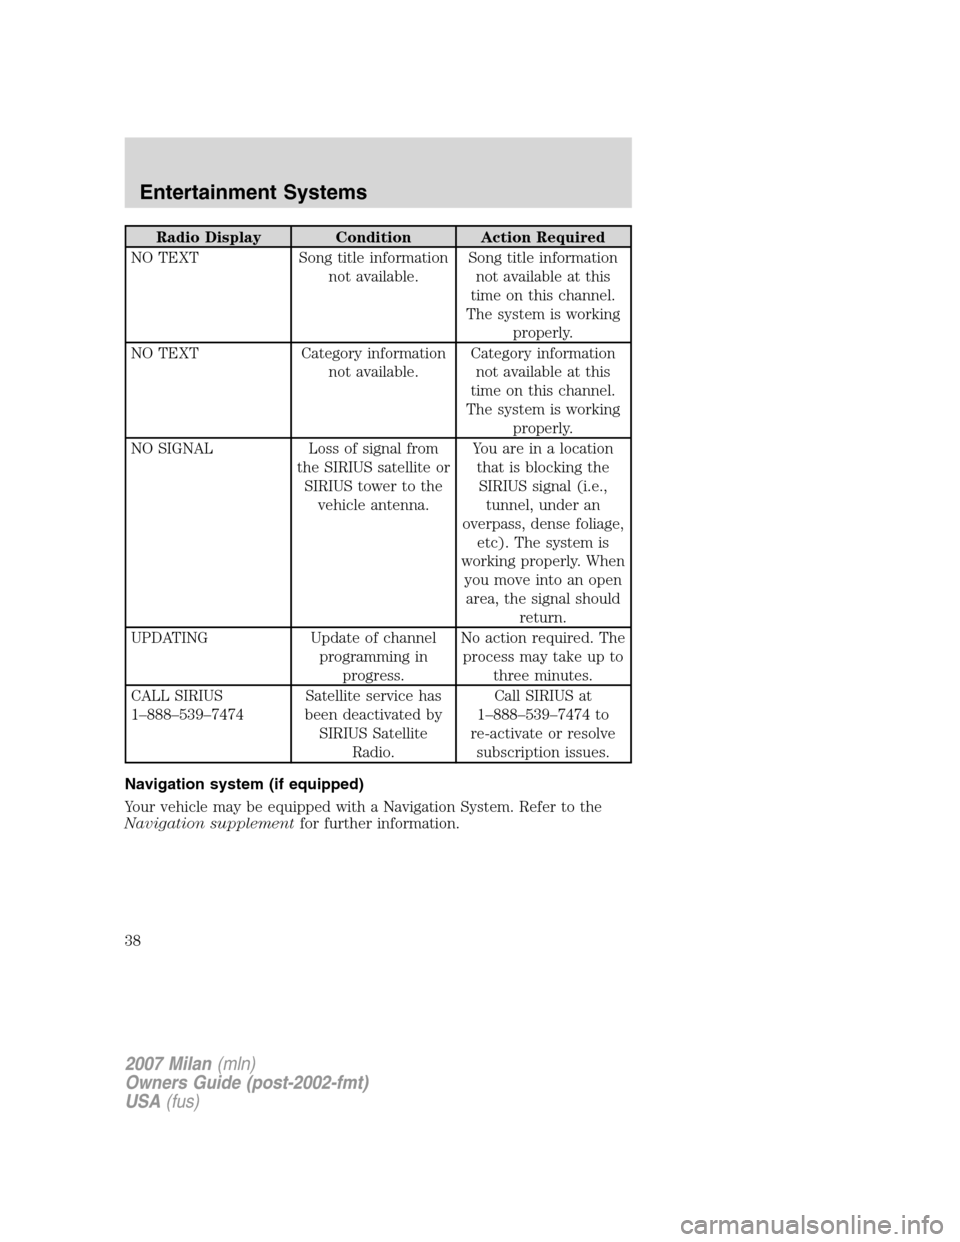
Radio Display Condition Action Required
NO TEXT Song title information
not available.Song title information
not available at this
time on this channel.
The system is working
properly.
NO TEXT Category information
not available.Category information
not available at this
time on this channel.
The system is working
properly.
NO SIGNAL Loss of signal from
the SIRIUS satellite or
SIRIUS tower to the
vehicle antenna.You are in a location
that is blocking the
SIRIUS signal (i.e.,
tunnel, under an
overpass, dense foliage,
etc). The system is
working properly. When
you move into an open
area, the signal should
return.
UPDATING Update of channel
programming in
progress.No action required. The
process may take up to
three minutes.
CALL SIRIUS
1–888–539–7474Satellite service has
been deactivated by
SIRIUS Satellite
Radio.Call SIRIUS at
1–888–539–7474 to
re-activate or resolve
subscription issues.
Navigation system (if equipped)
Your vehicle may be equipped with a Navigation System. Refer to the
Navigation supplementfor further information.
2007 Milan(mln)
Owners Guide (post-2002-fmt)
USA(fus)
Entertainment Systems
38
Page 40 of 280
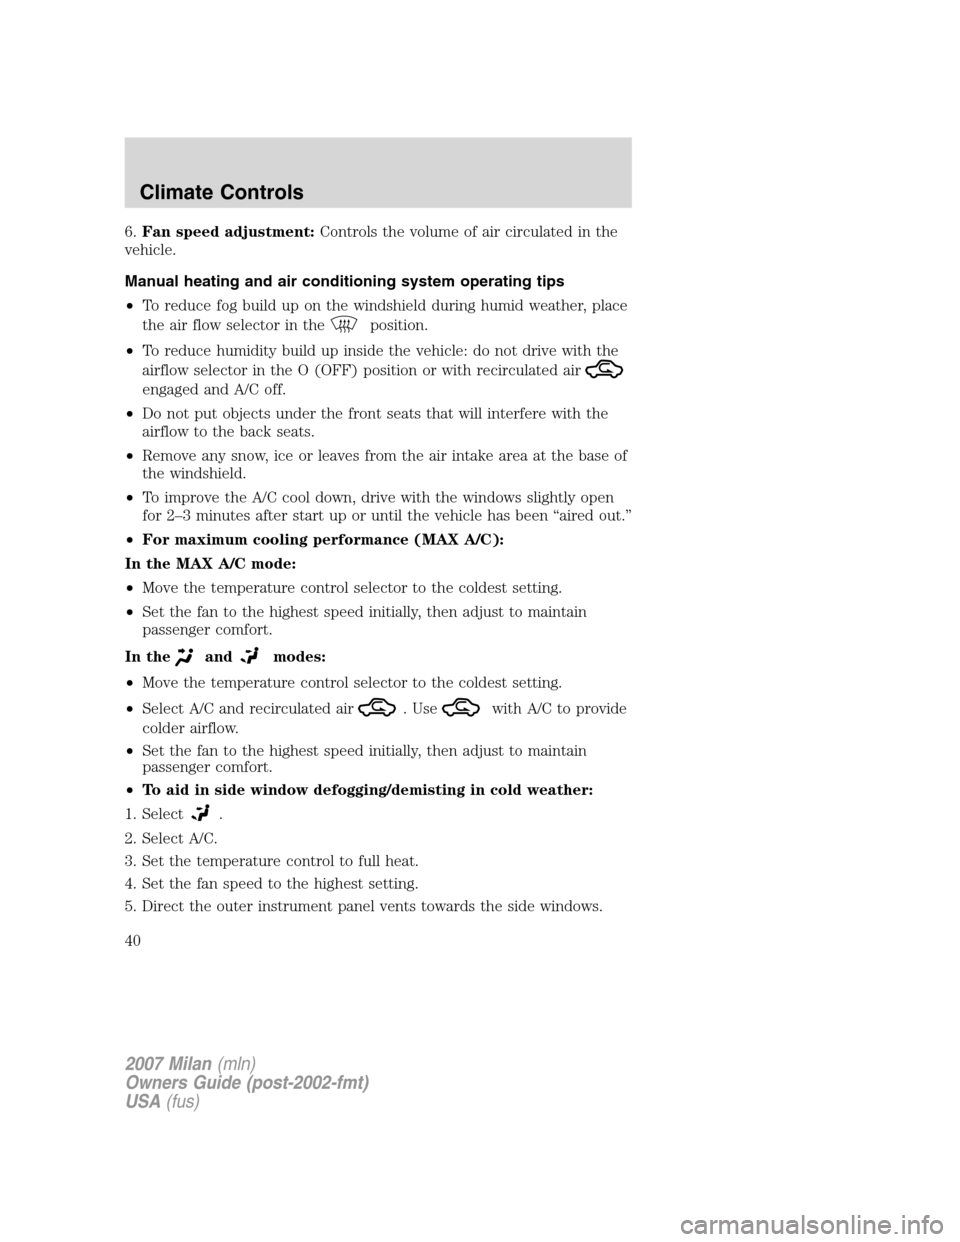
6.Fan speed adjustment:Controls the volume of air circulated in the
vehicle.
Manual heating and air conditioning system operating tips
•To reduce fog build up on the windshield during humid weather, place
the air flow selector in the
position.
•To reduce humidity build up inside the vehicle: do not drive with the
airflow selector in the O (OFF) position or with recirculated air
engaged and A/C off.
•Do not put objects under the front seats that will interfere with the
airflow to the back seats.
•Remove any snow, ice or leaves from the air intake area at the base of
the windshield.
•To improve the A/C cool down, drive with the windows slightly open
for 2–3 minutes after start up or until the vehicle has been “aired out.”
•For maximum cooling performance (MAX A/C):
In the MAX A/C mode:
•Move the temperature control selector to the coldest setting.
•Set the fan to the highest speed initially, then adjust to maintain
passenger comfort.
In the
andmodes:
•Move the temperature control selector to the coldest setting.
•Select A/C and recirculated air
. Usewith A/C to provide
colder airflow.
•Set the fan to the highest speed initially, then adjust to maintain
passenger comfort.
•To aid in side window defogging/demisting in cold weather:
1. Select
.
2. Select A/C.
3. Set the temperature control to full heat.
4. Set the fan speed to the highest setting.
5. Direct the outer instrument panel vents towards the side windows.
2007 Milan(mln)
Owners Guide (post-2002-fmt)
USA(fus)
Climate Controls
40
Page 46 of 280
2. Select A/C.
3. Adjust the temperature control to maintain comfort.
4. Set the fan speed to the highest setting.
5. Direct the outer instrument panel vents towards the side windows.
To increase airflow to the outer instrument panel vents, close the vents
located in the middle of the instrument panel.
Do not place objects on top of the instrument panel as these
objects may become projectiles in a collision or sudden stop.
REAR WINDOW DEFROSTER
R
The rear defroster control is located on the climate control panel and
works to clear the rear window of fog and thin ice.
The ignition must be in the 3 (RUN) position to operate the rear window
defroster.
The rear defroster turns off automatically after 10 minutes or when the
ignition is turned to the 1 (LOCK) position. To manually turn off the
defroster before 10 minutes have passed, push the control again.
Do not use razor blades or other sharp objects to clean the inside
of the rear window or to remove decals from the inside of the
rear window. This may cause damage to the heated grid lines and
will not be covered by your warranty.
2007 Milan(mln)
Owners Guide (post-2002-fmt)
USA(fus)
Climate Controls
46
Page 48 of 280
5. Wait the desired amount of time for the exit delay you want (up to
three minutes), then turn the headlamp switch to
. The headlamps
will turn off.
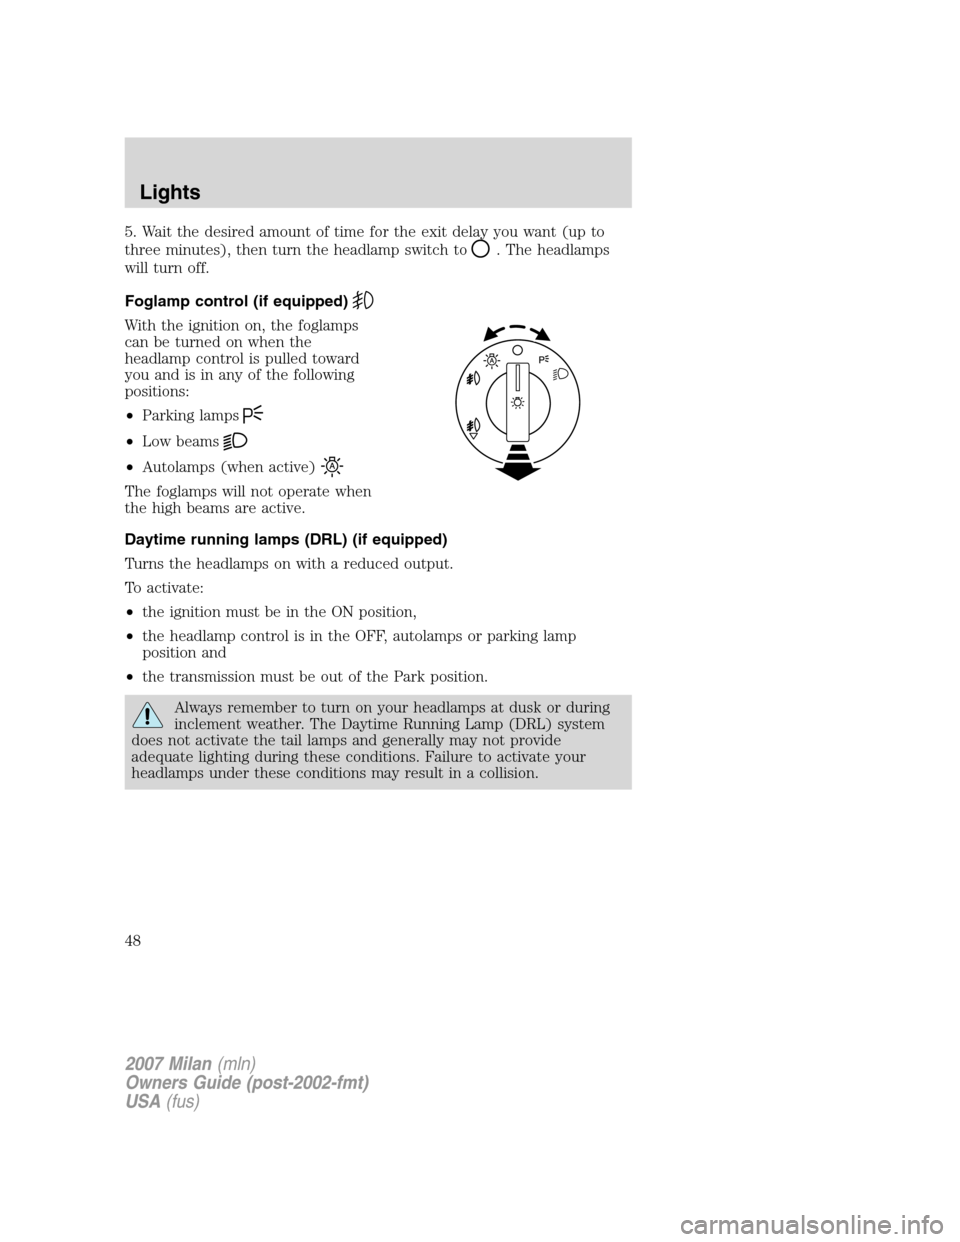
Foglamp control (if equipped)
With the ignition on, the foglamps
can be turned on when the
headlamp control is pulled toward
you and is in any of the following
positions:
•Parking lamps
•Low beams
•Autolamps (when active)
The foglamps will not operate when
the high beams are active.
Daytime running lamps (DRL) (if equipped)
Turns the headlamps on with a reduced output.
To activate:
•the ignition must be in the ON position,
•the headlamp control is in the OFF, autolamps or parking lamp
position and
•the transmission must be out of the Park position.
Always remember to turn on your headlamps at dusk or during
inclement weather. The Daytime Running Lamp (DRL) system
does not activate the tail lamps and generally may not provide
adequate lighting during these conditions. Failure to activate your
headlamps under these conditions may result in a collision.
2007 Milan(mln)
Owners Guide (post-2002-fmt)
USA(fus)
Lights
48
Page 49 of 280
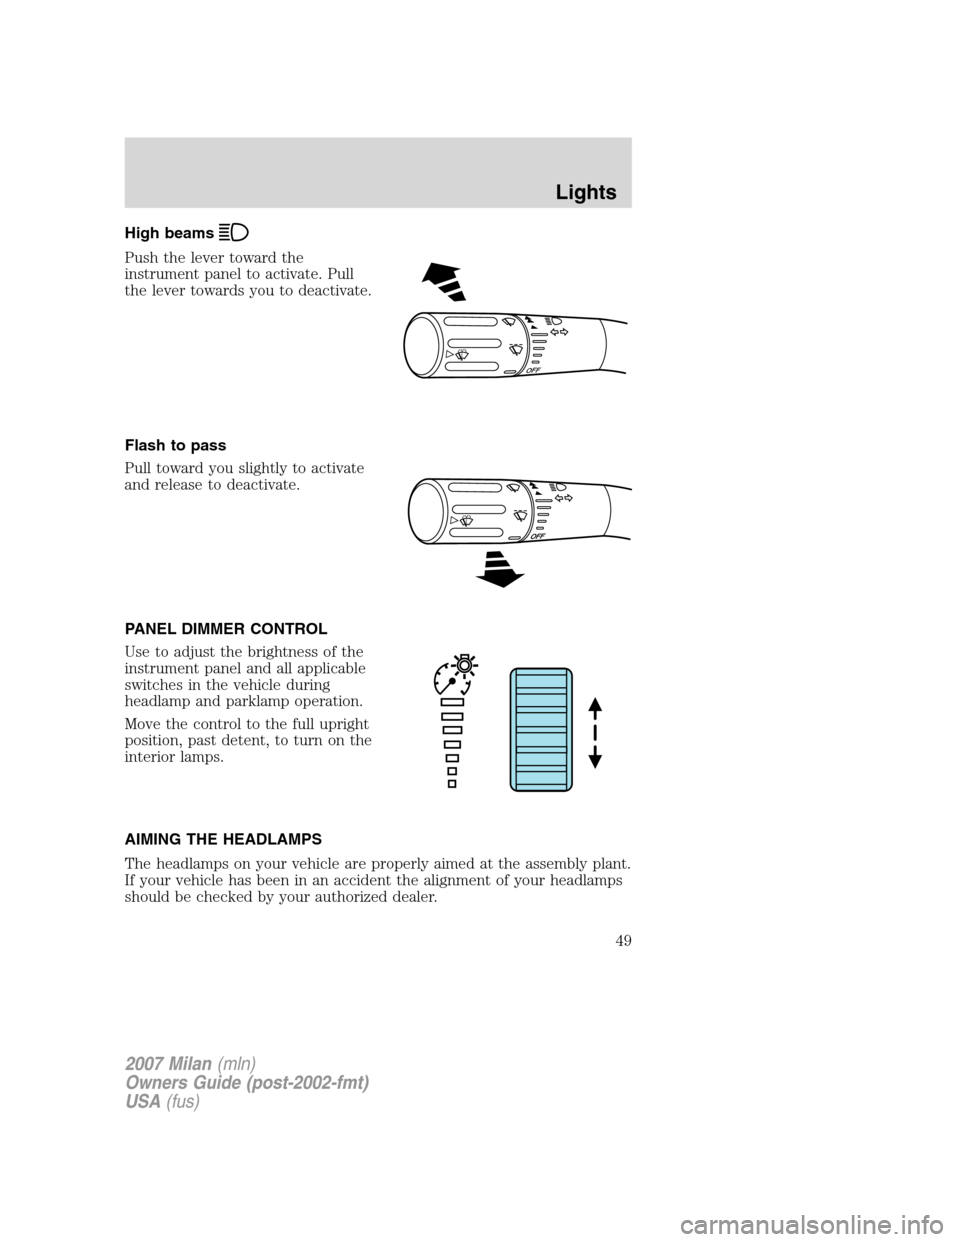
High beams
Push the lever toward the
instrument panel to activate. Pull
the lever towards you to deactivate.
Flash to pass
Pull toward you slightly to activate
and release to deactivate.
PANEL DIMMER CONTROL
Use to adjust the brightness of the
instrument panel and all applicable
switches in the vehicle during
headlamp and parklamp operation.
Move the control to the full upright
position, past detent, to turn on the
interior lamps.
AIMING THE HEADLAMPS
The headlamps on your vehicle are properly aimed at the assembly plant.
If your vehicle has been in an accident the alignment of your headlamps
should be checked by your authorized dealer.
OFF
2007 Milan(mln)
Owners Guide (post-2002-fmt)
USA(fus)
Lights
49
Page 58 of 280

Replacing front side marker bulbs
1. Make sure the headlamp control
is in the OFF position.
2. Pry the lamp away from the
vehicle at the rear of lamp at the
wheel opening. (Rotate lamp from
the wheel opening away from the
vehicle), as the lamp separates from
the vehicle, slide the lamp towards
the wheel opening to disengage
lamp.
3. Rotate the lamp clockwise while
holding the electrical connector in
place with your other hand. After
rotating the lamp 90 degrees
clockwise, pull and disengage the
wire harness and bulb from the
lamp.
4. With the bulb exposed, carefully remove the bulb from the socket by
grasping the bulb and pulling it away from the wire harness.
Replace with a new bulb, and reverse the removal steps to complete the
process.
Replacing stop/tail/turn/and side marker bulbs
Your vehicle is equipped with a rear lamp that has a stop/tail/turn/and
side marker lamp module containing integral multiple light emitting
diodes (LED). If one or more LEDs burn out, the complete lamp module
has to be replaced. See your authorized dealer for the replacement LED
module.
Replacing rear turn signal bulbs
1. Make sure the headlamp switch is in the OFF position and open the
trunk.
2. Lift out trunk floor carpeting panel to access a Luggage Scuff Plate
(Hard Molding) shingles and a Trunk Side Panel (dark grey, soft
wheelhouse side trim panel) at the lamp area.
3. Carefully pull/push the Trunk Side Panel (dark grey, soft wheelhouse
side trim panel) outboard to expose the lamp assembly. The most
effective point to grasp the Trunk Side Panel when pulling it out from
the Luggage Scuff Plate is at it’s bottom edge where that edge meets the
exposed sheet metal of the trunk floor.
2007 Milan(mln)
Owners Guide (post-2002-fmt)
USA(fus)
Lights
58