tow Mercury Mountaineer 1998 s Owner's Guide
[x] Cancel search | Manufacturer: MERCURY, Model Year: 1998, Model line: Mountaineer, Model: Mercury Mountaineer 1998Pages: 216, PDF Size: 1.72 MB
Page 139 of 216

The fuses are coded as follows.
Fuse/Relay
LocationFuse Amp
RatingDescription
1 7.5A Power Mirror Switch
2 7.5A Blower Motor Relay, PAD Module,
Air Bag Diagnostic Monitor
3 7.5A Trailer Tow Connector
4 10A Left Headlamp
5 10A Data Link Connector (DLC)
6 7.5A Air Bag Diagnostic Monitor,
Blower Motor Relay, Passive
Deactivation (PAD) Module
7 7.5A Trailer Tow Connector
8 10A Right Headlamp, Daytime Running
Lamps (DRL) Module, Foglamp
Relay
9 7.5A Stop Lamp Switch
10 7.5A Speed Control/Amplifier Assembly,
Brake Pressure Switch, Generic
electronic Module (GEM), Shift
Lock Actuator, Blend Door
Actuator, Main Light Switch,
RABS Resistor, A/C - Heater
Assembly, Flasher
11 7.5A Instrument Cluster, Main Light
Switch, RABS Resistor
12 10A Power Window Relay, Washer
Pump Relay
13 20A Stop Lamp Switch, Brake
Pressure Switch
14 20A Rear Anti-Lock Brake System
(RABS) Module
Roadside emergencies
139
Page 141 of 216

Fuse/Relay
LocationFuse Amp
RatingDescription
30 15A Park Lamp/Trailer Tow Relay
31 Ð NOT USED
32 10A Rear Blower
33 15A Headlamps, Daytime Running
Lamps (DRL) Module, Instrument
Cluster
34 7.5A Rear Integrated Control Panel, CD
35 10A RABS Test Connector
36 7.5A CD, Rear Integrated Control
Panel, Memory Seat, Message
Center
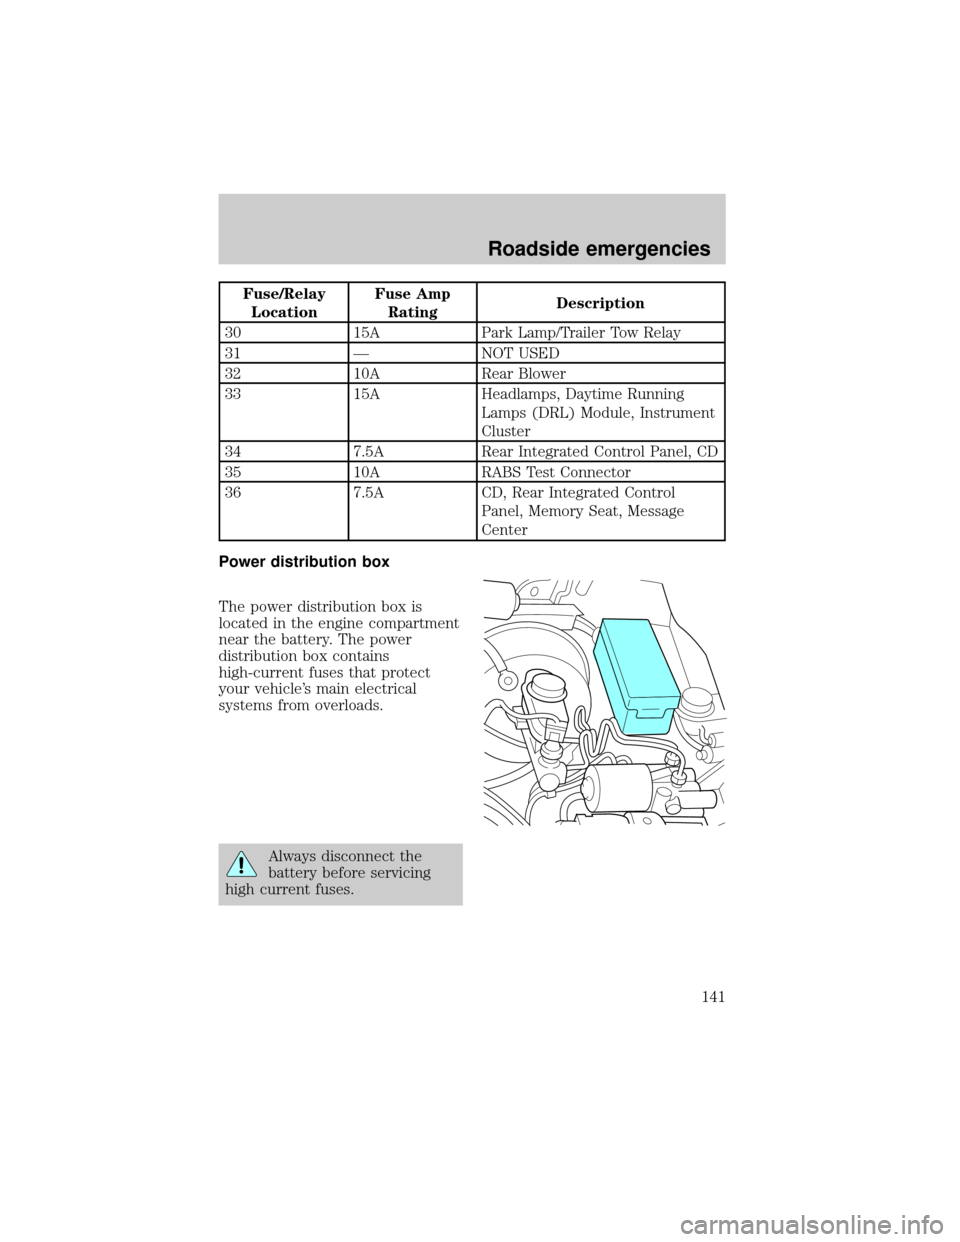
Power distribution box
The power distribution box is
located in the engine compartment
near the battery. The power
distribution box contains
high-current fuses that protect
your vehicle's main electrical
systems from overloads.
Always disconnect the
battery before servicing
high current fuses.
Roadside emergencies
141
Page 145 of 216

a tire could result in damage to
driveline components and make
the vehicle difficult to control.
Location of the spare tire and
tools
The spare tire and tools for your
vehicle are stowed in the following
locations:
Tool Location
Spare tire Under the vehicle, just in front of
the rear bumper
Jack, lug nut wrench Left rear quarter panel behind
interior trim
Jack handle Behind rear seats, under carpet
Removing the spare tire
1. Insert the jack handle into the
rear bumper opening.
The handle will stop moving and
forward resistance to turning will
be felt when properly engaged.
2. Turn the handle
counterclockwise until tire is
lowered to the ground, the tire can
be slid rearward and the cable is
slightly slack.
3. Remove the retainer from the
spare tire.
Stowing the spare
1. Lay the tire on the ground with
the valve stem facing up.
Roadside emergencies
145
Page 146 of 216

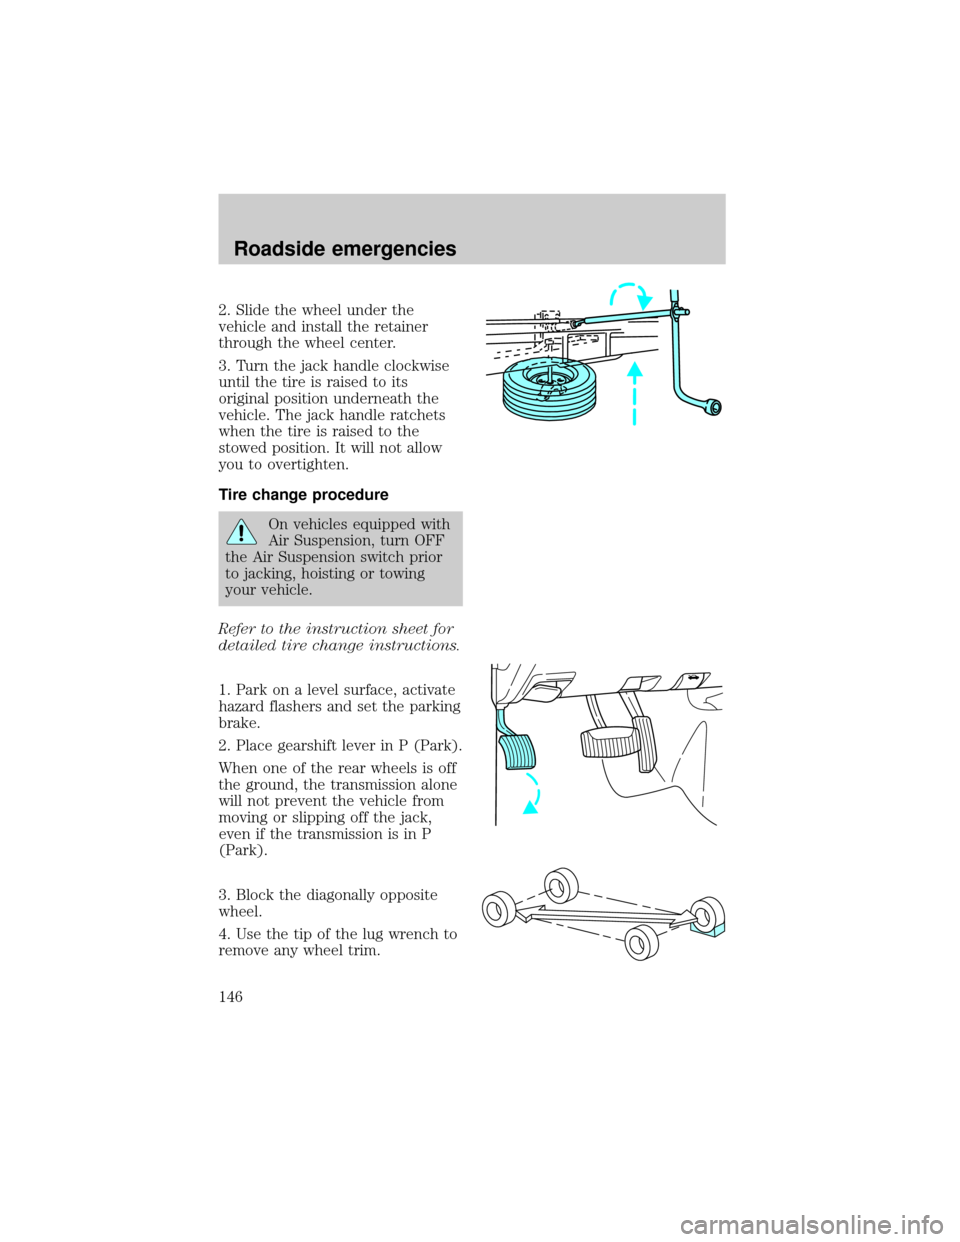
2. Slide the wheel under the
vehicle and install the retainer
through the wheel center.
3. Turn the jack handle clockwise
until the tire is raised to its
original position underneath the
vehicle. The jack handle ratchets
when the tire is raised to the
stowed position. It will not allow
you to overtighten.
Tire change procedure
On vehicles equipped with
Air Suspension, turn OFF
the Air Suspension switch prior
to jacking, hoisting or towing
your vehicle.
Refer to the instruction sheet for
detailed tire change instructions.
1. Park on a level surface, activate
hazard flashers and set the parking
brake.
2. Place gearshift lever in P (Park).
When one of the rear wheels is off
the ground, the transmission alone
will not prevent the vehicle from
moving or slipping off the jack,
even if the transmission is in P
(Park).
3. Block the diagonally opposite
wheel.
4. Use the tip of the lug wrench to
remove any wheel trim.
Roadside emergencies
146
Page 149 of 216

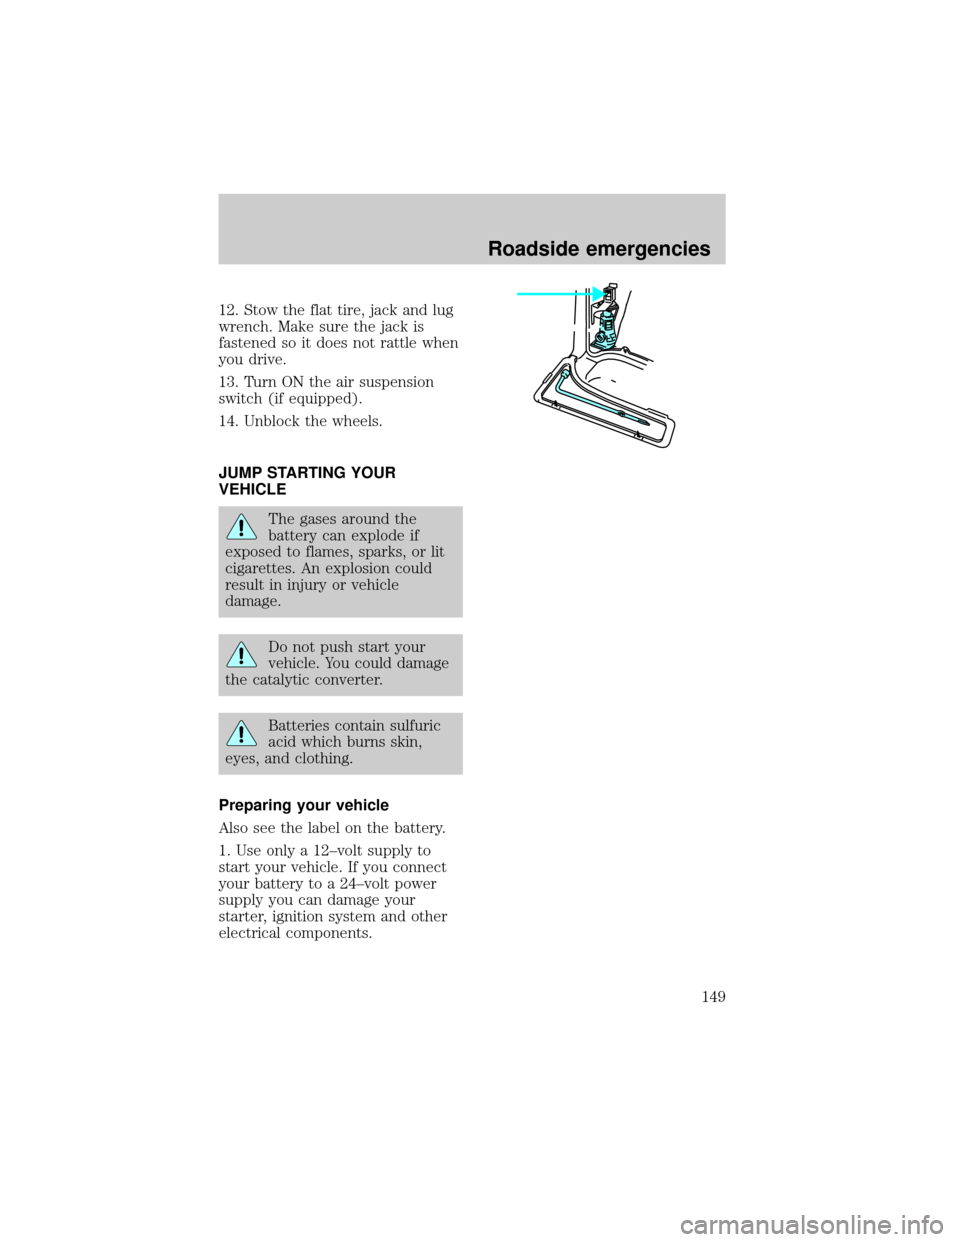
12. Stow the flat tire, jack and lug
wrench. Make sure the jack is
fastened so it does not rattle when
you drive.
13. Turn ON the air suspension
switch (if equipped).
14. Unblock the wheels.
JUMP STARTING YOUR
VEHICLE
The gases around the
battery can explode if
exposed to flames, sparks, or lit
cigarettes. An explosion could
result in injury or vehicle
damage.
Do not push start your
vehicle. You could damage
the catalytic converter.
Batteries contain sulfuric
acid which burns skin,
eyes, and clothing.
Preparing your vehicle
Also see the label on the battery.
1. Use only a 12±volt supply to
start your vehicle. If you connect
your battery to a 24±volt power
supply you can damage your
starter, ignition system and other
electrical components.
Roadside emergencies
149
Page 152 of 216

WRECKER TOWING
If you need to have your vehicle
towed, contact a professional
towing service or, if you are a
member, your roadside assistance
center.
If equipped with air suspension,
the air suspension control must be
turned to the OFF position.
The Ford approved towing
procedure is flatbed or wheel
lift with dollies.
On 4x2 vehicles, it is acceptable to
tow the vehicle with the front
wheels on the ground (without
dollies) and the rear wheels off the
ground.
Roadside emergencies
152
Page 153 of 216

If the vehicle is towed by other
means or incorrectly, vehicle
damage may occur.
Do not tow with slingbelt
equipment. Ford Motor Company
has not developed or approved a
slingbelt towing procedure.
When calling for a tow truck, tell
the operator what kind of vehicle
you have. A towing manual is
available from Ford Motor
Company for all authorized tow
truck operators. Have your tow
truck driver refer to this manual
for proper hook-up and towing
procedures for your vehicle.
Roadside emergencies
153
Page 161 of 216

Engine oil recommendations
Look for this certification mark.
Ford oil specification is
WSS-M2C153-G.
Use SAE 5W-30 motor oil certified
for gasoline engines by the
American Petroleum Institute.
Do not use supplemental engine oil
additives, oil treatments or engine
treatments. They are unnecessary
and could, under certain
conditions, lead to engine damage
which is not covered by your
warranty.
Changing the engine oil and
filter
Change your engine oil and filter
according to the following mileage
and time requirements, whichever
occurs first:
²Normal Schedule ± 8,000 km
(5,000 miles) or six months.
²Severe Duty Schedule - 5,000
km (3,000 miles) or three
months. Severe duty operation
would include extensive idling,
trailer towing, driving in severe
dust and police, taxi or delivery
service.
Maintenance and care
161
Page 176 of 216

turn the ignition to ACC, then turn
the wipers on. When the wipers
reach the vertical position, turn
the ignition to LOCK.
To replace the wiper blades:
1. Pull the wiper arm away from
the windshield and lock into the
service position.
2. Turn the blade at an angle from
the wiper arm. Push the lock pin
with a screwdriver to release the
blade and pull the wiper blade
down toward the windshield to
remove it from the arm.
3. Attach the new wiper to the
wiper arm and press it into place
until a click is heard.
INFORMATION ABOUT TIRE
QUALITY GRADES
New vehicles are fitted with tires
that have their Tire Quality Grade
(described below) molded into the
tire's sidewall. These Tire Quality
Grades are determined by
standards that the United States
Department of Transportation has
set.
Tire Quality Grades apply to new
pneumatic tires for use on
passenger cars. They do not apply
to deep tread, winter-type snow
tires, space-saver or temporary use
spare tires, tires with nominal rim
diameters of 10 to 12 inches or
limited production tires as defined
in Title 49 Code of Federal
Maintenance and care
176
Page 200 of 216

Cleaning the exterior lamps
Wash with the same detergent as
the exterior of your vehicle. Use
glass cleaner or tar remover if
necessary.
To avoid scratching the lamps, do
not use a dry paper towel,
chemical solvents or abrasive
cleaners.
Cleaning the wiper blades
If the wiper blades do not wipe
properly, clean the windshield and
wiper blades with undiluted
windshield wiper solution or a mild
detergent. Rinse thoroughly with
clean water. To avoid damaging the
blades, do not use fuel, kerosene,
paint thinner or other solvents.
Cleaning the instrument panel
Clean with a damp cloth, then dry
with a dry cloth.
Avoid cleaner or polish that
increases the gloss of the upper
portion of the instrument panel.
The dull finish in this area helps
protect the driver from undesirable
windshield reflection.
Cleaning the interior fabric
Remove dust and loose dirt with a
whisk broom or a vacuum cleaner.
Remove fresh spots immediately.
Follow the directions that come
with the cleaner.
Maintenance and care
200