instrument panel Mercury Mountaineer 1998 Owner's Manuals
[x] Cancel search | Manufacturer: MERCURY, Model Year: 1998, Model line: Mountaineer, Model: Mercury Mountaineer 1998Pages: 216, PDF Size: 1.72 MB
Page 4 of 216

012345
6
H
C
F
E
OFF
20
1030405060
70
80
90
110
200000000
oooo
10020406080100
120
140
160
180
UNLEADED
FUEL ONLY
RSM
SET
ACC
COAST OFF ON
SRS
H
H
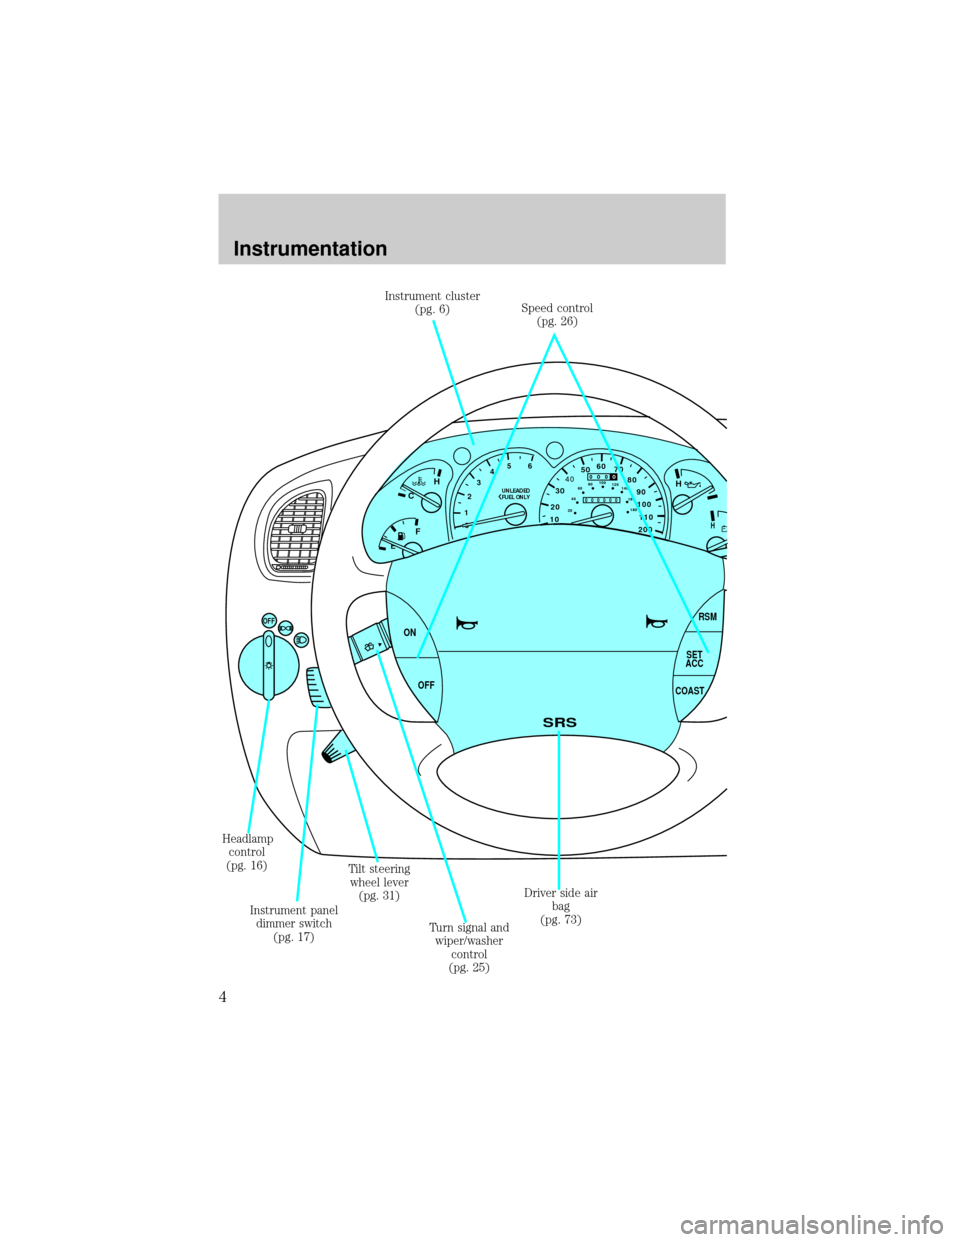
Instrument cluster
(pg. 6)Speed control
(pg. 26)
Driver side air
bag
(pg. 73) Headlamp
control
(pg. 16)
Instrument panel
dimmer switch
(pg. 17)Tilt steering
wheel lever
(pg. 31)
Turn signal and
wiper/washer
control
(pg. 25)
Instrumentation
4
Page 17 of 216

High beams
Push forward to activate.
Flash to pass
Pull back to activate and release to
deactivate.
PANEL DIMMER CONTROL
Use to adjust the brightness of the
instrument panel during headlight
and parklamp operation.
²Rotate up to brighten.
²Rotate down to dim.
Use to control the dome lamps.
²Rotate all the way up to turn on.
²Rotate all the way down to
override.
DIM
Controls and features
17
Page 19 of 216

while the system is working and
even after you have stopped the
vehicle.
Under normal conditions, your
vehicle's climate control system
should be left in any position other
than MAX A/C or OFF when the
vehicle is parked. This allows the
vehicle to ªbreatheº through the
outside air inlet duct.
²MAX A/C-Uses recirculated air
to cool the vehicle. MAX A/C is
noisier than A/C but more
economical and will cool the
inside of the vehicle faster.
Airflow will be from the
instrument panel registers. This
mode can also be used to
prevent undesirable odors from
entering the vehicle.
²A/C-Uses outside air to cool the
vehicle. It is quieter than MAX
A/C but not as economical.
Airflow will be from the
instrument panel registers.
²
(Vent)-Distributes outside
air through the instrument panel
registers. However, the air will
not be cooled below the outside
temperature because the air
conditioning does not operate in
this mode.
²OFF-Outside air is shut out and
the fan will not operate. For
short periods of time only, use
this mode to prevent
undesirable odors from entering
the vehicle.
Controls and features
19
Page 20 of 216

²(Panel and
floor)-Distributes outside air
through the instrument panel
registers and the floor ducts.
Heating and air conditioning
capabilities are provided in this
mode. For added customer
comfort, when the temperature
control knob is anywhere in
between the full hot and full
cold positions, the air
distributed through the floor
ducts will be slightly warmer
than the air sent to the
instrument panel registers.
²
(Floor)-Allows for maximum
heating by distributing outside
air through the floor ducts.
However, the air will not be
cooled below the outside
temperature because the air
conditioning does not operate in
this mode.
²
(Floor and
defrost)-Distributes outside air
through the windshield defroster
ducts and the floor ducts.
Heating and air conditioning
capabilities are provided in this
mode. For added customer
comfort, when the temperature
control knob is anywhere in
between the full hot and full
cold positions, the air
distributed through the floor
ducts will be slightly warmer
than the air sent to the
instrument panel registers. For
added customer comfort, when
the temperature control knob is
anywhere in between the full
Controls and features
20
Page 22 of 216

²Remove any snow, ice or leaves
from the air intake area (at the
bottom of the windshield under
the hood).
²If your vehicle has been parked
with the windows closed during
hot weather, the air conditioner
will do a much faster job of
cooling if you drive for two or
three minutes with the windows
open. This will force most of the
hot, stale air out of the vehicle.
Then operate your air
conditioner as you would
normally.
²When placing objects on top of
your instrument panel, be
careful to not place them over
the defroster outlets. These
objects can block airflow and
reduce your ability to see
through your windshield. Also,
avoid placing small objects on
top of your instrument panel.
These objects can fall down into
the defroster outlets and block
airflow and possibly damage
your climate control system.
Controls and features
22
Page 23 of 216

Rear console climate controls
(if equipped)
Depending on the equipment
package of your vehicle, the rear
console may not be equipped with
rear console audio/climate controls.
Turn the air distribution control to
the desired airflow position.
The instrument panel climate
controls must be on in order for
the rear climate control console
controls to work.
Turn the fan speed control to the
desired position.
Select
for air to flow through
these vents:
- VOLUME +
MODE
SEEK MEMORY
- VOLUME +
MODE
SEEK MEMORY
SEEK– VOLUME + BAND
MEMORY
Controls and features
23
Page 24 of 216

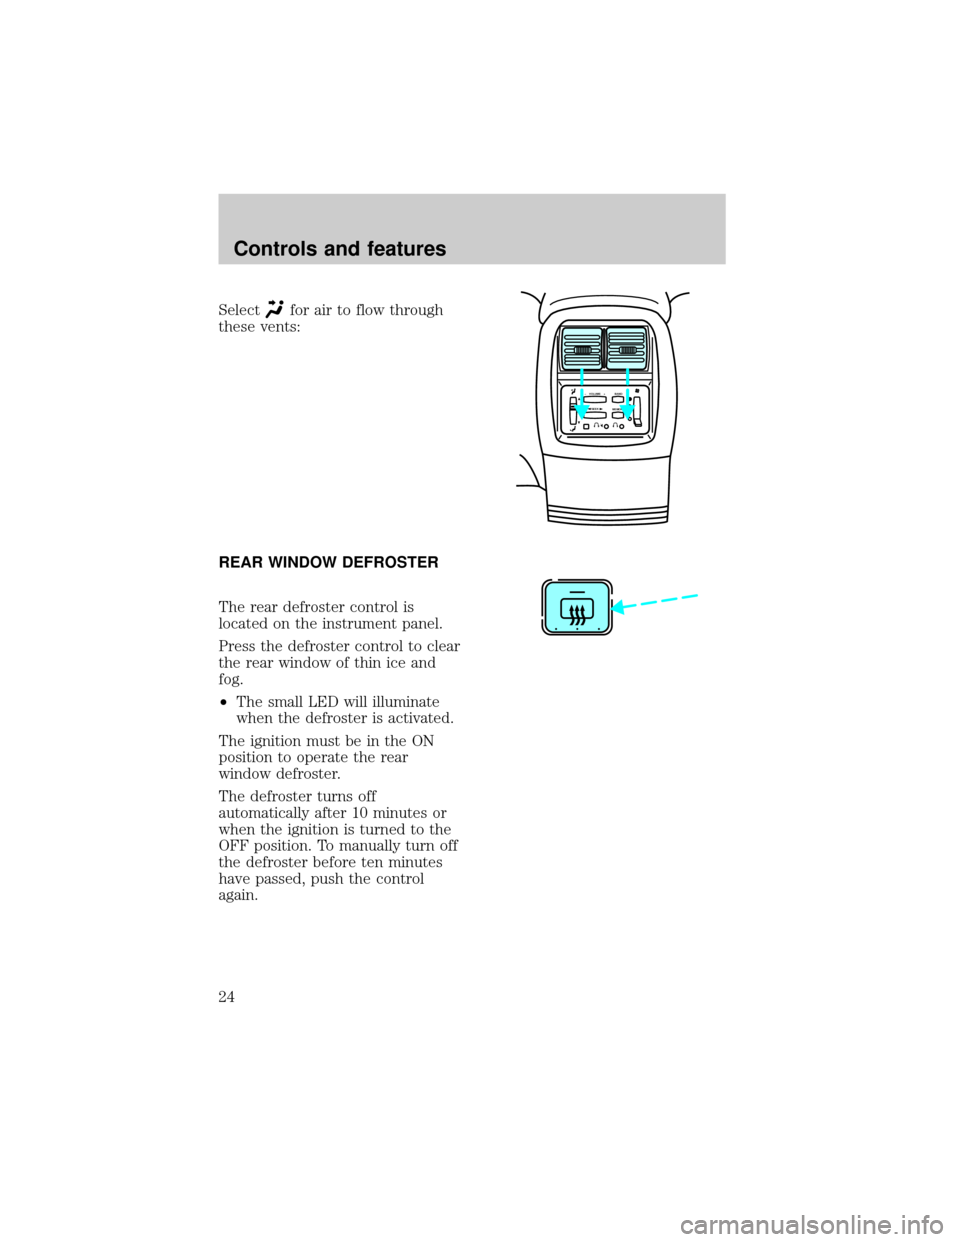
Selectfor air to flow through
these vents:
REAR WINDOW DEFROSTER
The rear defroster control is
located on the instrument panel.
Press the defroster control to clear
the rear window of thin ice and
fog.
²The small LED will illuminate
when the defroster is activated.
The ignition must be in the ON
position to operate the rear
window defroster.
The defroster turns off
automatically after 10 minutes or
when the ignition is turned to the
OFF position. To manually turn off
the defroster before ten minutes
have passed, push the control
again.
SEEK– VOLUME + BAND
MEMORY
Controls and features
24
Page 138 of 216

Passenger compartment fuse
panel
The fuse panel is located on the
left hand side of the instrument
panel facing the driver's side door.
Pull the panel cover outward to
access the fuses.
To remove a fuse use the fuse
puller tool provided on the fuse
panel cover.
1 234
5 678
9 101112
13 14 15 16
17 18 19 20
21 22 23 24
25 26
29 30
35 36
313233
34
27 28
Roadside emergencies
138
Page 141 of 216

Fuse/Relay
LocationFuse Amp
RatingDescription
30 15A Park Lamp/Trailer Tow Relay
31 Ð NOT USED
32 10A Rear Blower
33 15A Headlamps, Daytime Running
Lamps (DRL) Module, Instrument
Cluster
34 7.5A Rear Integrated Control Panel, CD
35 10A RABS Test Connector
36 7.5A CD, Rear Integrated Control
Panel, Memory Seat, Message
Center
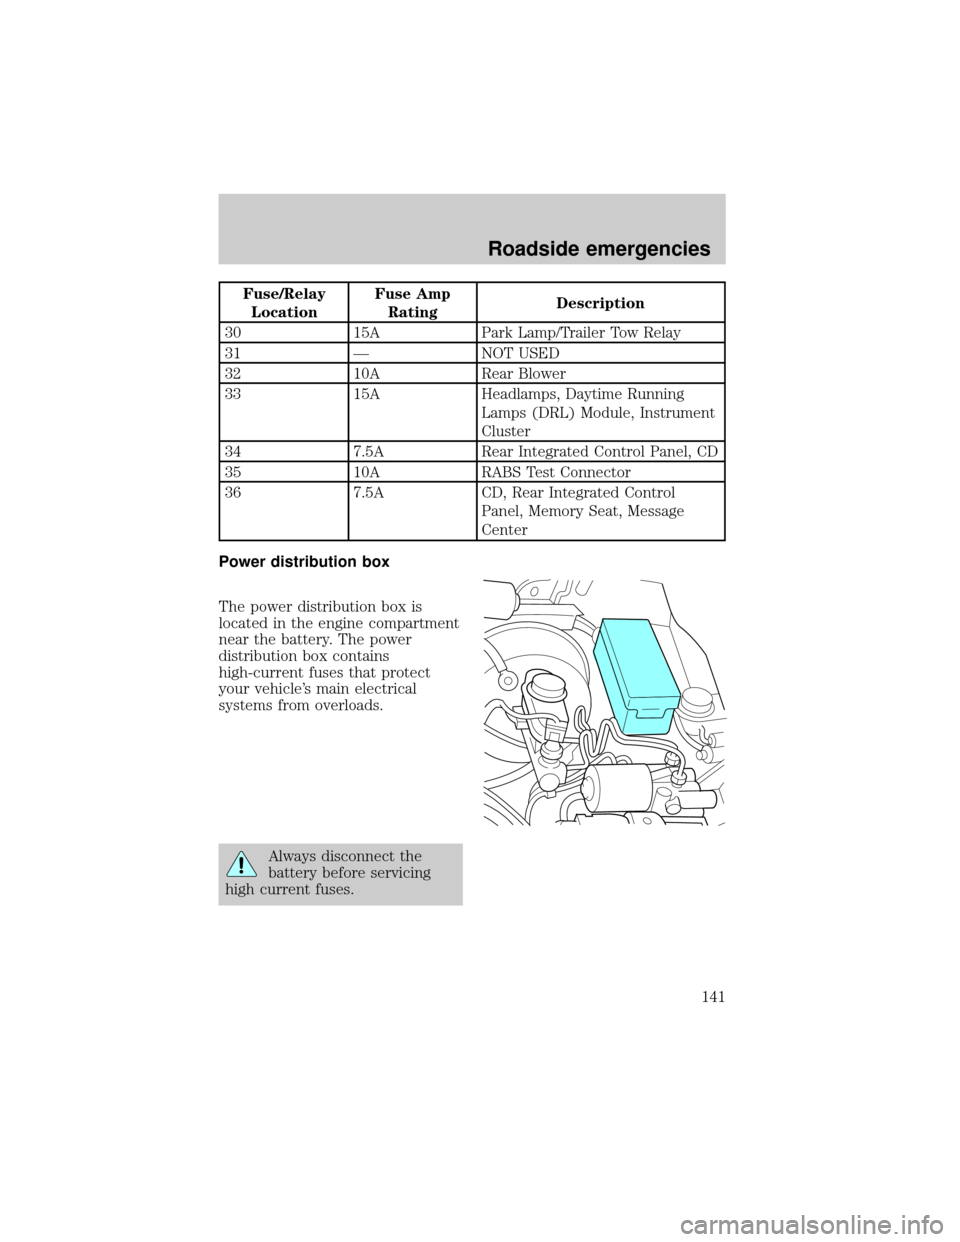
Power distribution box
The power distribution box is
located in the engine compartment
near the battery. The power
distribution box contains
high-current fuses that protect
your vehicle's main electrical
systems from overloads.
Always disconnect the
battery before servicing
high current fuses.
Roadside emergencies
141
Page 142 of 216

Always replace the cover
to the Power Distribution
Box before reconnecting the
battery or refilling fluid
reservoirs.
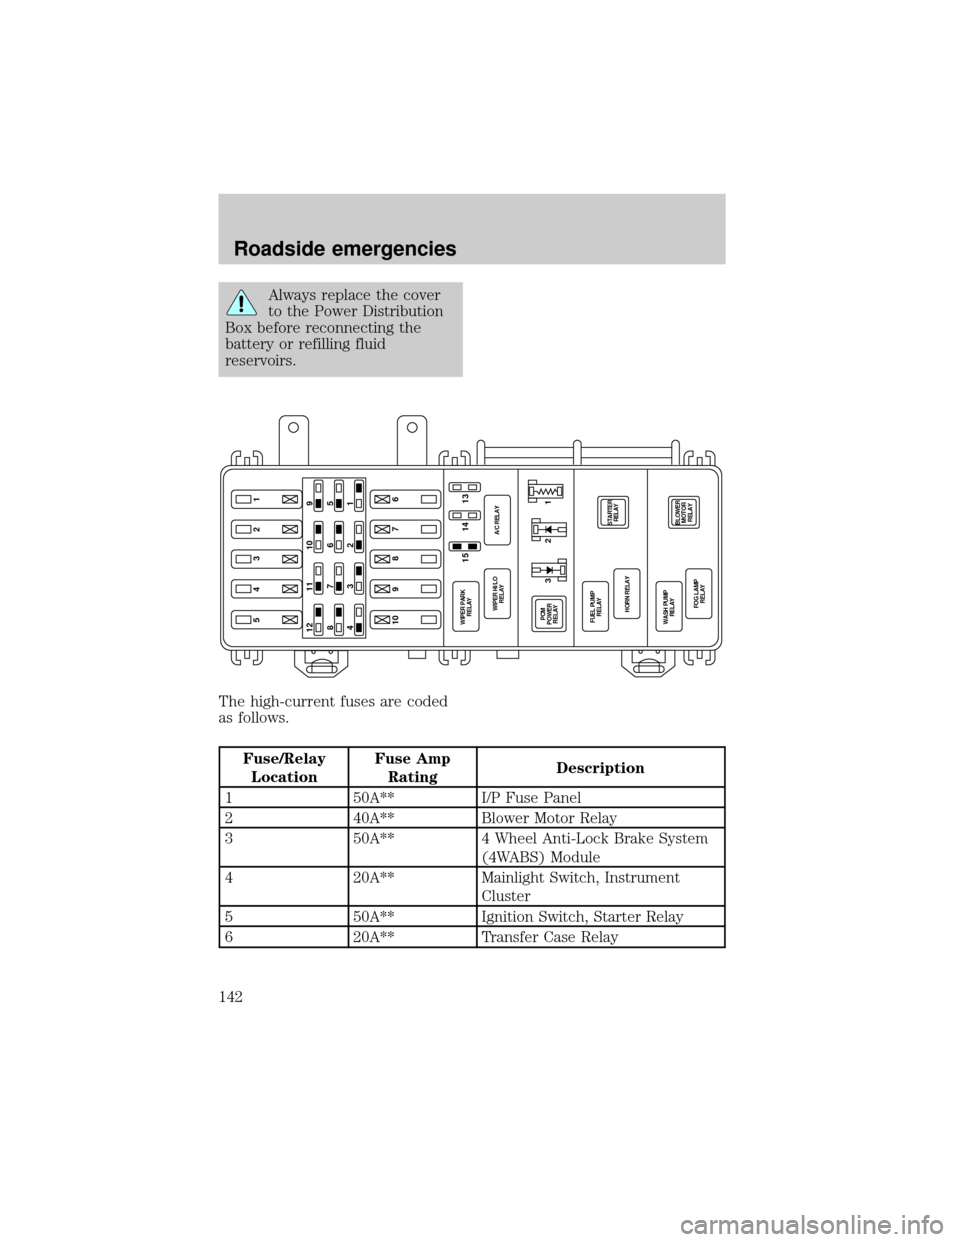
The high-current fuses are coded
as follows.
Fuse/Relay
LocationFuse Amp
RatingDescription
1 50A** I/P Fuse Panel
2 40A** Blower Motor Relay
3 50A** 4 Wheel Anti-Lock Brake System
(4WABS) Module
4 20A** Mainlight Switch, Instrument
Cluster
5 50A** Ignition Switch, Starter Relay
6 20A** Transfer Case Relay
5432110 9 8 7 612 11 10 9
876 5
432 1
14 15 13
BLOWER
MOTOR
RELAYSTARTER
RELAY
FOG LAMP
RELAY WASH PUMP
RELAYHORN RELAY FUEL PUMP
RELAY PCM
POWER
RELAY WIPER PARK
RELAY
WIPER HI/LO
RELAYA/C RELAY
321
Roadside emergencies
142