Mercury Mountaineer 1999 Owner's Manuals
Manufacturer: MERCURY, Model Year: 1999, Model line: Mountaineer, Model: Mercury Mountaineer 1999Pages: 248, PDF Size: 1.74 MB
Page 161 of 248

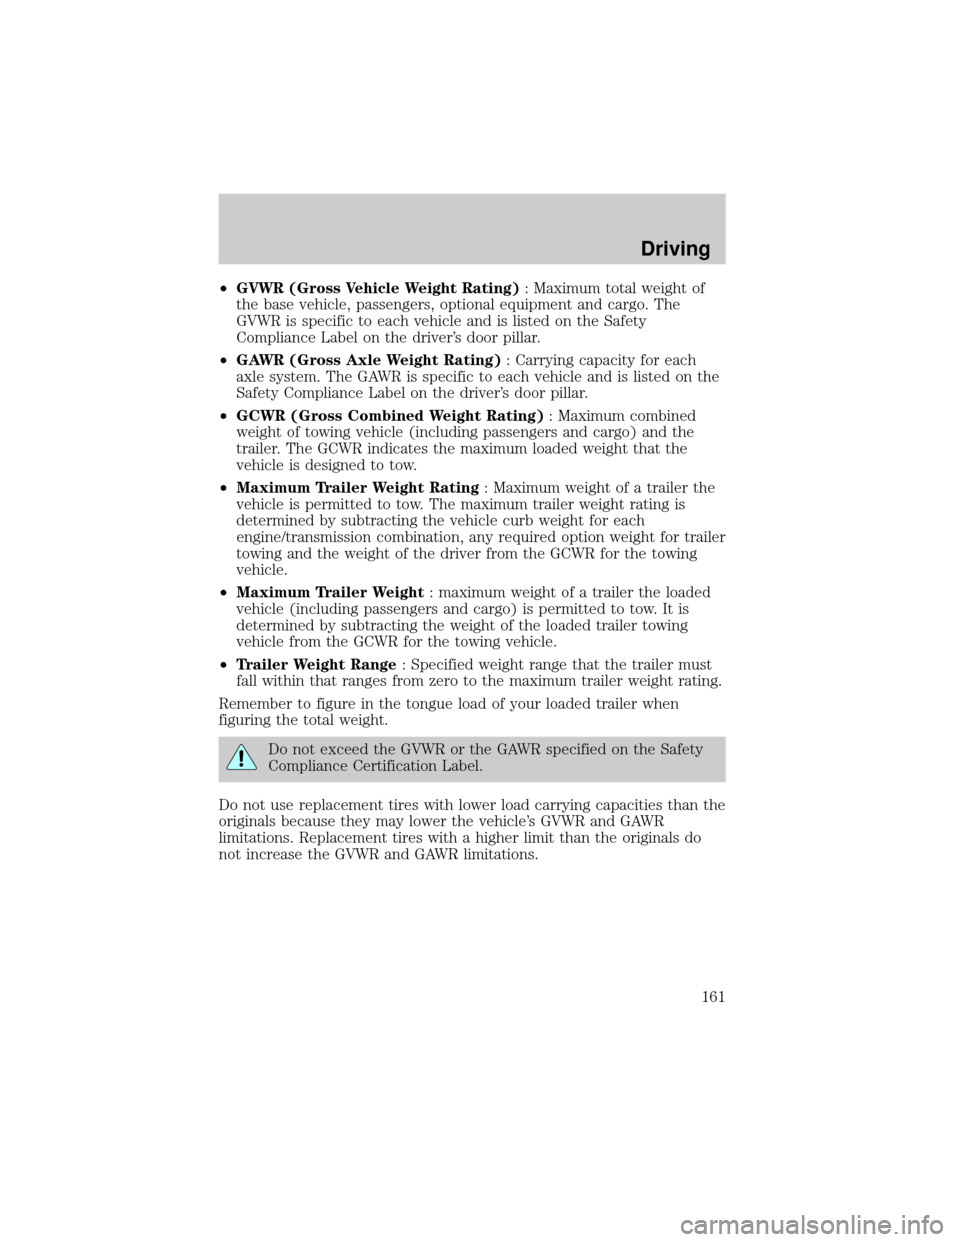
²GVWR (Gross Vehicle Weight Rating): Maximum total weight of
the base vehicle, passengers, optional equipment and cargo. The
GVWR is specific to each vehicle and is listed on the Safety
Compliance Label on the driver's door pillar.
²GAWR (Gross Axle Weight Rating): Carrying capacity for each
axle system. The GAWR is specific to each vehicle and is listed on the
Safety Compliance Label on the driver's door pillar.
²GCWR (Gross Combined Weight Rating): Maximum combined
weight of towing vehicle (including passengers and cargo) and the
trailer. The GCWR indicates the maximum loaded weight that the
vehicle is designed to tow.
²Maximum Trailer Weight Rating: Maximum weight of a trailer the
vehicle is permitted to tow. The maximum trailer weight rating is
determined by subtracting the vehicle curb weight for each
engine/transmission combination, any required option weight for trailer
towing and the weight of the driver from the GCWR for the towing
vehicle.
²Maximum Trailer Weight: maximum weight of a trailer the loaded
vehicle (including passengers and cargo) is permitted to tow. It is
determined by subtracting the weight of the loaded trailer towing
vehicle from the GCWR for the towing vehicle.
²Trailer Weight Range: Specified weight range that the trailer must
fall within that ranges from zero to the maximum trailer weight rating.
Remember to figure in the tongue load of your loaded trailer when
figuring the total weight.
Do not exceed the GVWR or the GAWR specified on the Safety
Compliance Certification Label.
Do not use replacement tires with lower load carrying capacities than the
originals because they may lower the vehicle's GVWR and GAWR
limitations. Replacement tires with a higher limit than the originals do
not increase the GVWR and GAWR limitations.
Driving
161
Page 162 of 248

The Certification Label, found on the inside pillar of the driver's door,
lists several important vehicle weight rating limitations. Before adding
any additional equipment, refer to these limitations. If you are adding
weight to the front of your vehicle, (potentially including weight added
to the cab), the weight added should not exceed the Front Axle Reserve
Capacity (FARC). Additional frontal weight may be added to the front
axle reserve capacity provided you limit your payload in other ways (i.e.
restrict the number of passengers or amount of cargo carried).
You may add equipment throughout your vehicle if the total weight
added is equal to or less than the Total Axle Reserve Capacity (TARC)
weight. You should NEVER exceed the Total Axle Reserve Capacity.
Always ensure that the weight of passengers, cargo and equipment being
carried is within the weight limitations that have been established for
your vehicle including both Gross Vehicle Weight and Front and Rear
Gross Axle Weight Rating limits. Under no circumstance should these
limitations be exceeded. Exceeding any vehicle weight rating limitation
could result in serious damage to the vehicle and/or personal injury.
Calculating the load your vehicle can carry/tow
1. Use the appropriate maximum gross combined weight rating (GCWR)
chart to find the maximum GCWR for your type engine and rear axle
ratio.
2. Weigh your vehicle as you customarily operate the vehicle without
cargo. To obtain correct weights, try taking your vehicle to a shipping
company or an inspection station for trucks.
3. Subtract your loaded vehicle weight from the maximum GCWR on the
following charts. This is the maximum trailer weight your vehicle can tow
and must fall below the maximum shown under maximum trailer weight
on the chart.
DRIVING THROUGH WATER
Do not drive quickly through standing water, especially if the depth is
unknown. Traction or brake capability may be limited and if the ignition
system gets wet, your engine may stall. Water may also enter your
engine's air intake and severely damage your engine.
If driving through deep or standing water is unavoidable, proceed very
slowly. Never drive through water that is higher than the bottom of the
hubs.
Driving
162
Page 163 of 248

Once through the water, always try the brakes. Wet brakes do not stop
the vehicle as effectively as dry brakes. Drying can be improved by
moving your vehicle slowly while applying light pressure on the brake
pedal.
Driving through deep water where the transmission is submerged
may allow water into the transmission and cause internal
transmission damage.
TRAILER TOWING
Trailer towing with your vehicle may require the use of a trailer tow
option package.
Trailer towing puts additional loads on your vehicle's engine,
transmission, axle, brakes, tires, and suspension. For your safety and to
maximize vehicle performance, be sure to use the proper equipment
while towing.
Follow these guidelines to ensure safe towing procedure:
²Stay within your vehicle's load limits.
²Thoroughly prepare your vehicle for towing. Refer toPreparing to
towin this chapter.
²Use extra caution when driving while trailer towing. Refer toDriving
while you towin this chapter.
²Service your vehicle more frequently if you tow a trailer. Refer to the
severe duty schedule in the service guide and or maintenance guide.
²Do not tow a trailer until your vehicle has been driven at least 800 km
(500 miles).
²Refer to the instructions included with towing accessories for the
proper installation and adjustment specifications.
Do not exceed the maximum loads listed on the Safety Compliance
Certification label. For load specification terms found on the label, refer
toVehicle loadingin this chapter. Remember to figure in the tongue
load of your loaded vehicle when figuring the total weight.
Driving
163
Page 164 of 248

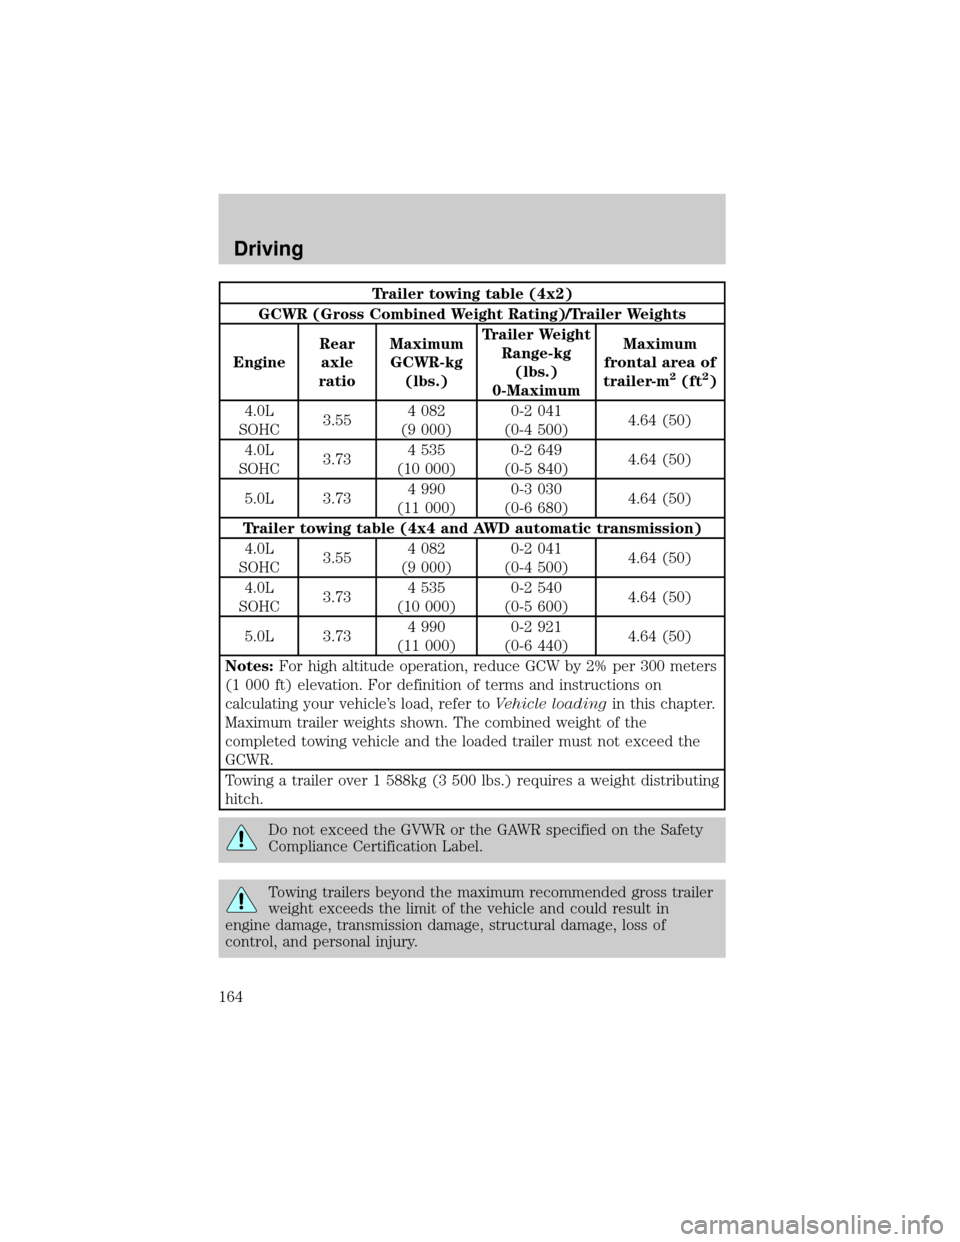
Trailer towing table (4x2)
GCWR (Gross Combined Weight Rating)/Trailer Weights
EngineRear
axle
ratioMaximum
GCWR-kg
(lbs.)Trailer Weight
Range-kg
(lbs.)
0-MaximumMaximum
frontal area of
trailer-m
2(ft2)
4.0L
SOHC3.554 082
(9 000)0-2 041
(0-4 500)4.64 (50)
4.0L
SOHC3.734 535
(10 000)0-2 649
(0-5 840)4.64 (50)
5.0L 3.734 990
(11 000)0-3 030
(0-6 680)4.64 (50)
Trailer towing table (4x4 and AWD automatic transmission)
4.0L
SOHC3.554 082
(9 000)0-2 041
(0-4 500)4.64 (50)
4.0L
SOHC3.734 535
(10 000)0-2 540
(0-5 600)4.64 (50)
5.0L 3.734 990
(11 000)0-2 921
(0-6 440)4.64 (50)
Notes:For high altitude operation, reduce GCW by 2% per 300 meters
(1 000 ft) elevation. For definition of terms and instructions on
calculating your vehicle's load, refer toVehicle loadingin this chapter.
Maximum trailer weights shown. The combined weight of the
completed towing vehicle and the loaded trailer must not exceed the
GCWR.
Towing a trailer over 1 588kg (3 500 lbs.) requires a weight distributing
hitch.
Do not exceed the GVWR or the GAWR specified on the Safety
Compliance Certification Label.
Towing trailers beyond the maximum recommended gross trailer
weight exceeds the limit of the vehicle and could result in
engine damage, transmission damage, structural damage, loss of
control, and personal injury.
Driving
164
Page 165 of 248

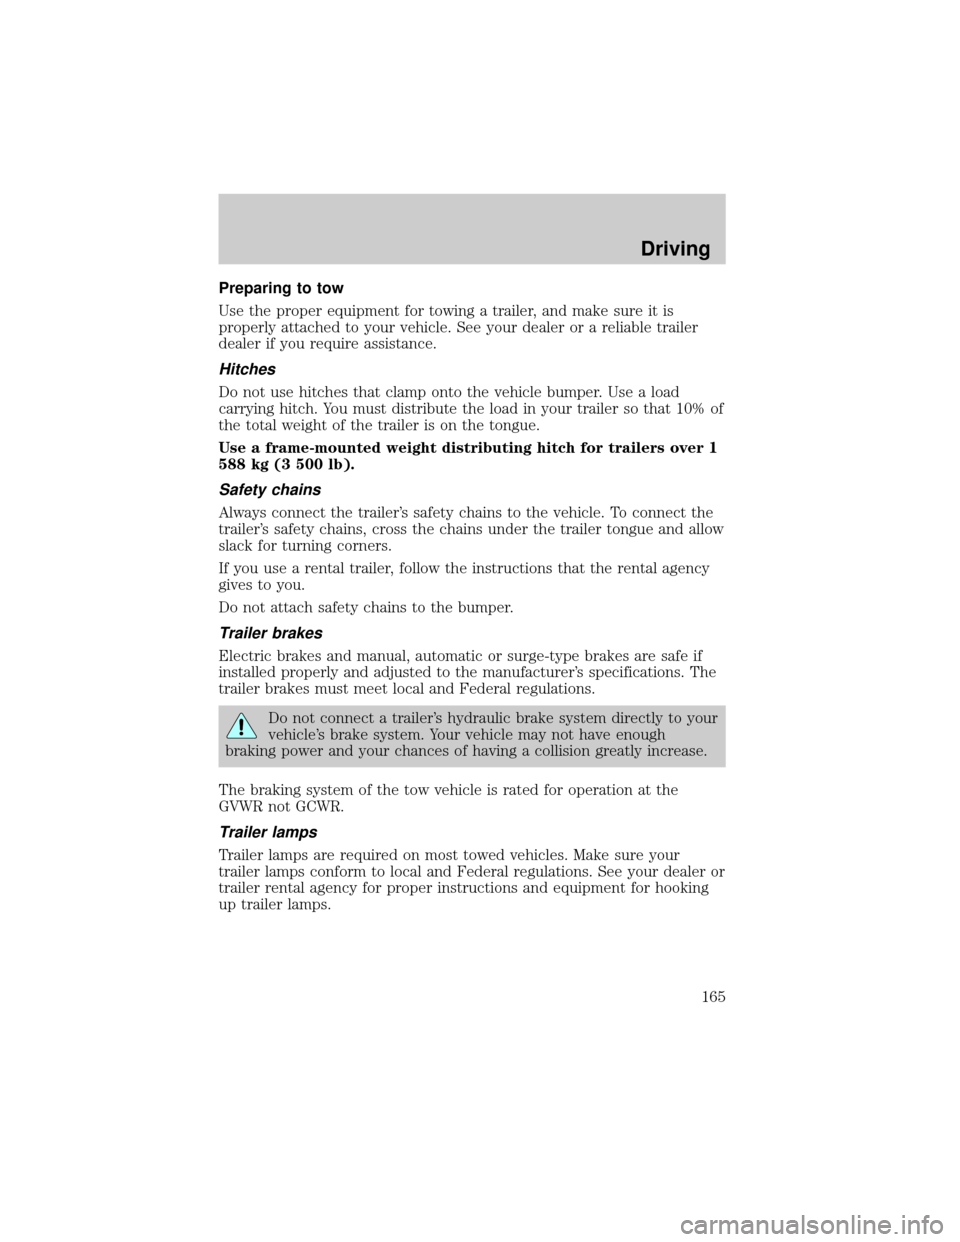
Preparing to tow
Use the proper equipment for towing a trailer, and make sure it is
properly attached to your vehicle. See your dealer or a reliable trailer
dealer if you require assistance.
Hitches
Do not use hitches that clamp onto the vehicle bumper. Use a load
carrying hitch. You must distribute the load in your trailer so that 10% of
the total weight of the trailer is on the tongue.
Use a frame-mounted weight distributing hitch for trailers over 1
588 kg (3 500 lb).
Safety chains
Always connect the trailer's safety chains to the vehicle. To connect the
trailer's safety chains, cross the chains under the trailer tongue and allow
slack for turning corners.
If you use a rental trailer, follow the instructions that the rental agency
gives to you.
Do not attach safety chains to the bumper.
Trailer brakes
Electric brakes and manual, automatic or surge-type brakes are safe if
installed properly and adjusted to the manufacturer's specifications. The
trailer brakes must meet local and Federal regulations.
Do not connect a trailer's hydraulic brake system directly to your
vehicle's brake system. Your vehicle may not have enough
braking power and your chances of having a collision greatly increase.
The braking system of the tow vehicle is rated for operation at the
GVWR not GCWR.
Trailer lamps
Trailer lamps are required on most towed vehicles. Make sure your
trailer lamps conform to local and Federal regulations. See your dealer or
trailer rental agency for proper instructions and equipment for hooking
up trailer lamps.
Driving
165
Page 166 of 248

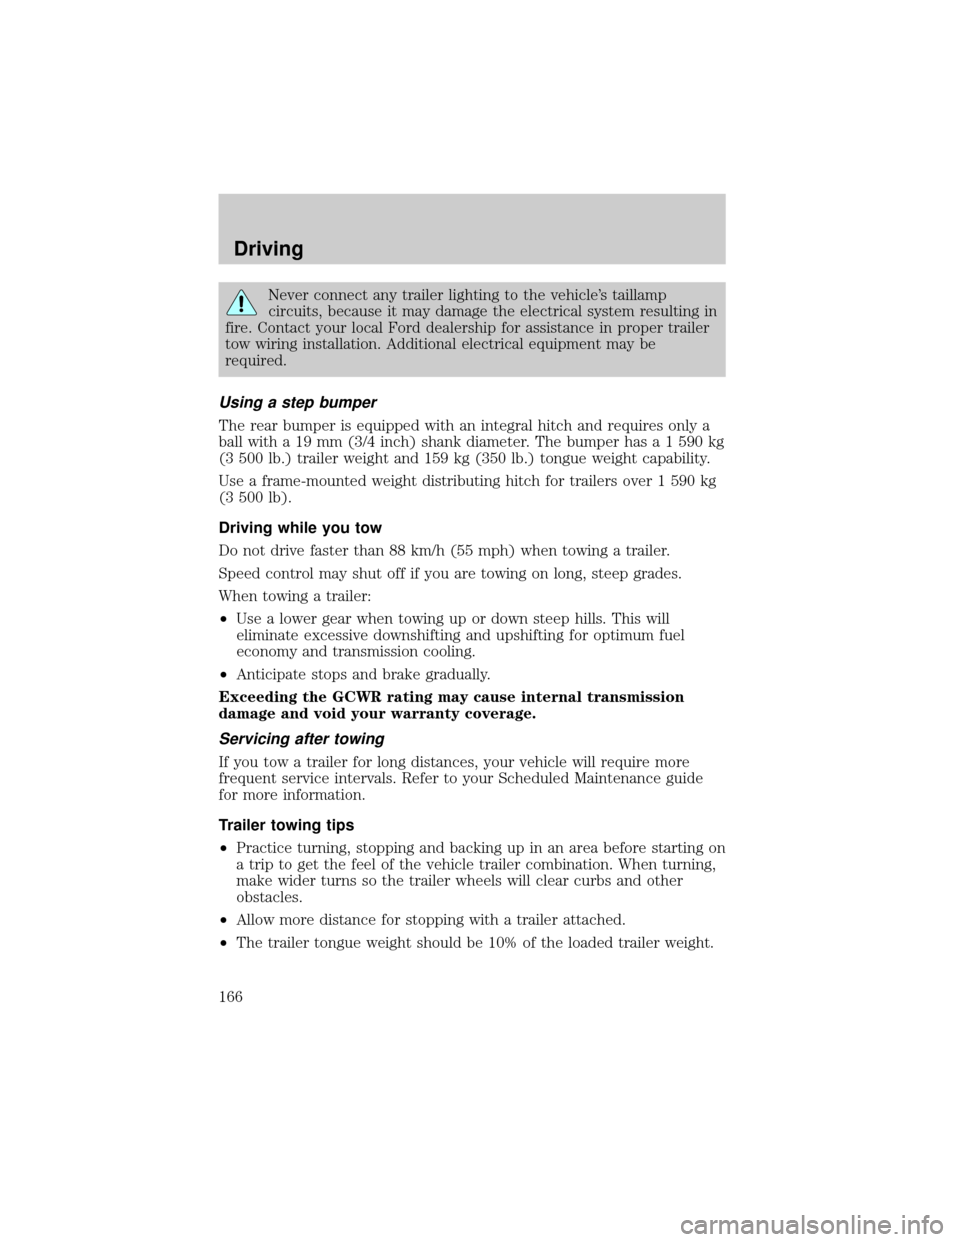
Never connect any trailer lighting to the vehicle's taillamp
circuits, because it may damage the electrical system resulting in
fire. Contact your local Ford dealership for assistance in proper trailer
tow wiring installation. Additional electrical equipment may be
required.
Using a step bumper
The rear bumper is equipped with an integral hitch and requires only a
ball with a 19 mm (3/4 inch) shank diameter. The bumper has a 1 590 kg
(3 500 lb.) trailer weight and 159 kg (350 lb.) tongue weight capability.
Use a frame-mounted weight distributing hitch for trailers over 1 590 kg
(3 500 lb).
Driving while you tow
Do not drive faster than 88 km/h (55 mph) when towing a trailer.
Speed control may shut off if you are towing on long, steep grades.
When towing a trailer:
²Use a lower gear when towing up or down steep hills. This will
eliminate excessive downshifting and upshifting for optimum fuel
economy and transmission cooling.
²Anticipate stops and brake gradually.
Exceeding the GCWR rating may cause internal transmission
damage and void your warranty coverage.
Servicing after towing
If you tow a trailer for long distances, your vehicle will require more
frequent service intervals. Refer to your Scheduled Maintenance guide
for more information.
Trailer towing tips
²Practice turning, stopping and backing up in an area before starting on
a trip to get the feel of the vehicle trailer combination. When turning,
make wider turns so the trailer wheels will clear curbs and other
obstacles.
²Allow more distance for stopping with a trailer attached.
²The trailer tongue weight should be 10% of the loaded trailer weight.
Driving
166
Page 167 of 248

²After you have traveled 80 km (50 miles), thoroughly check your
hitch, electrical connections and trailer wheel lug nuts.
²When stopped in traffic for long periods of time in hot weather, place
the gearshift in P (Park) and increase idle speed. This aids engine
cooling and air conditioner efficiency.
²Vehicles with trailers should not be parked on a grade. If you must
park on a grade, place wheel chocks under the trailer's wheels.
Launching or retrieving a boat
When backing down a ramp during boat launching or retrieval,
²Do not allow the static water level to rise above the bottom edge of
the rear bumper and
²Do not allow waves to break higher than 15 cm (six inches) above the
bottom edge of the rear bumper.
Exceeding these limits may allow water to enter critical vehicle
components, adversely affecting driveability, emissions, reliability and
causing internal transmission damage.
Replace the rear axle lubricant anytime the axle has been submerged in
water. Rear axle lubricant quantities are not to be checked or changed
unless a leak is suspected or repair required.
Disconnect the wiring to the trailer before backing the trailer into the
water. Reconnect the wiring to the trailer after the trailer is removed
from the water.
Recreational towing (all wheels on the ground)
Do not tow your vehicle with all wheels on the ground as vehicle damage
may occur.
LUGGAGE RACK
Maximum load is 75 kg (165 lbs), evenly distributed. If it is not possible
to distribute the load, position it as far rearward as possible. Adjustable
tie down loops (not equipped) must be used to secure the load.
Driving
167
Page 168 of 248

To adjust cross-bar position:
1. Slide the locking switches at each
end of the crossbar toward the rear
of the vehicle until UNLOCKED
appears.
2. Slide cross-bar to the desired
location.
3. Lock the cross-bar into position
by pushing the locking switches on
each end of the crossbar toward the
front of the vehicle.
The rear rack can be completely
removed in the UNLOCKED position
by sliding the cross-bar rearward
until it frees the guides.
Driving
168
Page 169 of 248

HAZARD FLASHER
Use only in an emergency to warn traffic of vehicle breakdown,
approaching danger, etc. The hazard flashers can be operated when the
ignition is off.
²The hazard lights control is
located on top of the steering
column.
²Depress hazard lights control to
activate all hazard flashers
simultaneously.
²Depress control again to turn the
flashers off.
FUEL PUMP SHUT-OFF SWITCH
After a collision, if the engine cranks but does not start, the fuel pump
shut-off switch may have been activated. The ªFuel Resetº indicator light
will illuminate in the instrument cluster. The shut-off switch is a device
intended to stop the electric fuel pump when your vehicle has been
involved in a substantial jolt.
1. Turn the ignition to the OFF position.
2. Check the fuel system for leaks.
3. If no fuel leak is apparent, reset the fuel pump shut-off switch by
pushing in the reset button.
4. Turn the ignition to the ON position. Pause for a few seconds and
return the key to the OFF position.
5. Make a further check for leaks in the fuel system.
Roadside emergencies
169
Page 170 of 248

The fuel pump shut-off switch is
located in the passenger's foot well,
behind the kick panel.
FUSES AND RELAYS
Fuses
If electrical components in the
vehicle are not working, a fuse may
have blown. Blown fuses are
identified by a broken wire within
the fuse. Check the appropriate
fuses before replacing any electrical
components.
Always replace a fuse with one that has the specified amperage
rating. Using a fuse with a higher amperage rating can cause
severe wire damage and could start a fire.
15
Roadside emergencies
170