change time Mercury Mountaineer 1999 Owner's Manuals
[x] Cancel search | Manufacturer: MERCURY, Model Year: 1999, Model line: Mountaineer, Model: Mercury Mountaineer 1999Pages: 248, PDF Size: 1.74 MB
Page 3 of 248
INFORMATION ABOUT THIS GUIDE
The information found in this guide was in effect at the time of printing.
Ford may change the contents without notice and without incurring
obligation.
SPECIAL NOTICES
Notice to owners of utility type vehicles
Before you drive your vehicle, please read this Owner's Guide carefully.
Your vehicle is not a passenger car. As with other vehicles of this type,
failure to operate this vehicle correctly may result in loss of control or an
accident.
Be sure to readDriving off roadin theDrivingchapter as well as the
ªFour Wheelingº supplement included with 4WD and utility type vehicles.
Using your vehicle as a snowplow
Do not use this vehicle for snowplowing.
Using your vehicle as an ambulance
Do not use this vehicle as an ambulance.
Your vehicle is not equipped with the Ford Ambulance Preparation
package.
Introduction
3
Page 18 of 248
The engine oil life left has two phases. The first display will indicate the
oil change status (OK, SOON, REQUIRED). The second display will
indicate the percentage of oil life remaining. The display OIL TEMP
SIGNAL ERROR indicates a problem with the system. Following this
display, contact your dealer or qualified service technician for system
maintenance.
Operating the message center during system check
The message center controls can be operated as follows during the
system check sequence:
1. Press the system check controls to advance to the next display.
2. Press the reset control to immediately conclude the system check.
3. Press the range, fuel status or fuel economy control to conclude the
system check and display the requested feature.
4. Press the metric/English control to conclude the system check and
change the previous display to the new mode.
5. Press the oil change reset control to conclude the system check and
begin the oil change reset procedure.
An oil change is recommended whenever indicated by the message
center. Use only recommended engine oils.
The message center will tell you the percent of oil life left during system
check. This percentage is based on your driving history and the time
since your last oil change. In order to ensure accurate oil life left
indications, you should only perform the following procedure after you
have the oil changed.
Oil change reset
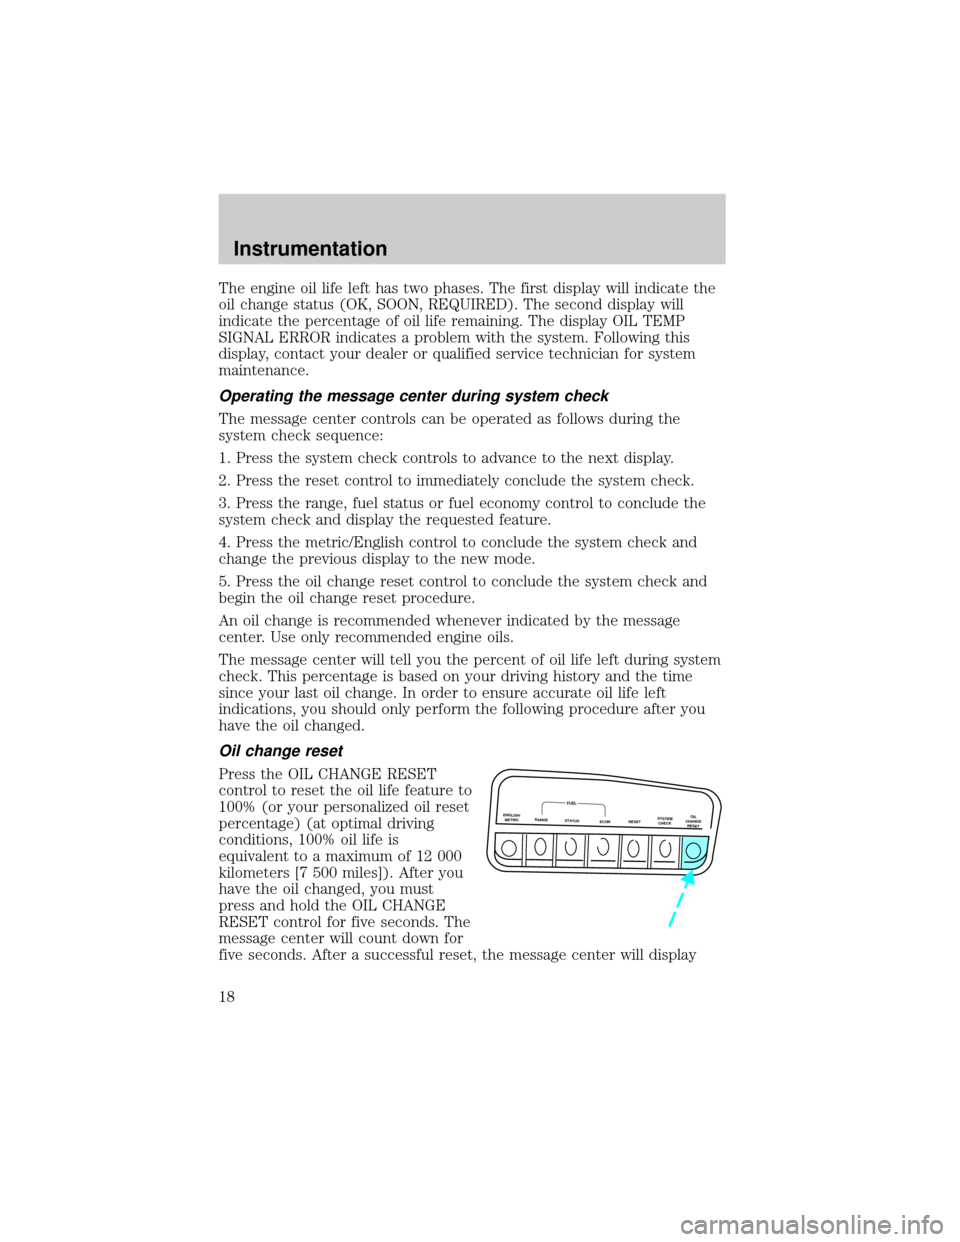
Press the OIL CHANGE RESET
control to reset the oil life feature to
100% (or your personalized oil reset
percentage) (at optimal driving
conditions, 100% oil life is
equivalent to a maximum of 12 000
kilometers [7 500 miles]). After you
have the oil changed, you must
press and hold the OIL CHANGE
RESET control for five seconds. The
message center will count down for
five seconds. After a successful reset, the message center will display
ENGLISH/
METRICRANGESTATUS
ECONRESETSYSTEM
CHECKOIL
CHANGE
RESET
FUEL
Instrumentation
18
Page 26 of 248
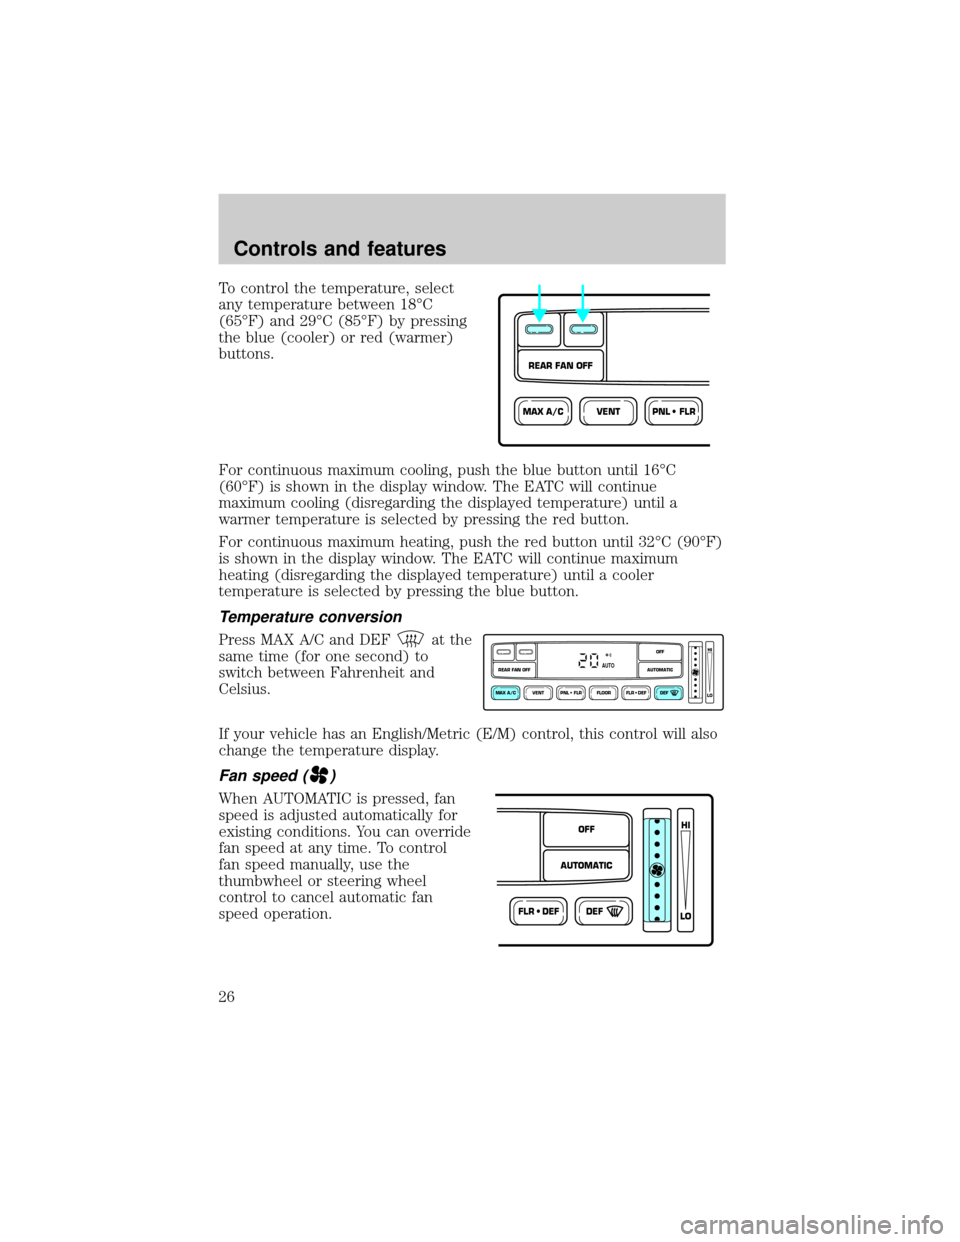
To control the temperature, select
any temperature between 18ÉC
(65ÉF) and 29ÉC (85ÉF) by pressing
the blue (cooler) or red (warmer)
buttons.
For continuous maximum cooling, push the blue button until 16ÉC
(60ÉF) is shown in the display window. The EATC will continue
maximum cooling (disregarding the displayed temperature) until a
warmer temperature is selected by pressing the red button.
For continuous maximum heating, push the red button until 32ÉC (90ÉF)
is shown in the display window. The EATC will continue maximum
heating (disregarding the displayed temperature) until a cooler
temperature is selected by pressing the blue button.
Temperature conversion
Press MAX A/C and DEFat the
same time (for one second) to
switch between Fahrenheit and
Celsius.
If your vehicle has an English/Metric (E/M) control, this control will also
change the temperature display.
Fan speed ()
When AUTOMATIC is pressed, fan
speed is adjusted automatically for
existing conditions. You can override
fan speed at any time. To control
fan speed manually, use the
thumbwheel or steering wheel
control to cancel automatic fan
speed operation.
VENTPNL • FLRMAX A/C
REAR FAN OFF
VENT PNL • FLR FLOOR FLR • DEF DEF
HI
LO
MAX A/C
REAR FAN OFF AUTOMATICOFFAUTO
FLR • DEFDEF
HI
LO
AUTOMATICOFF
Controls and features
26
Page 56 of 248
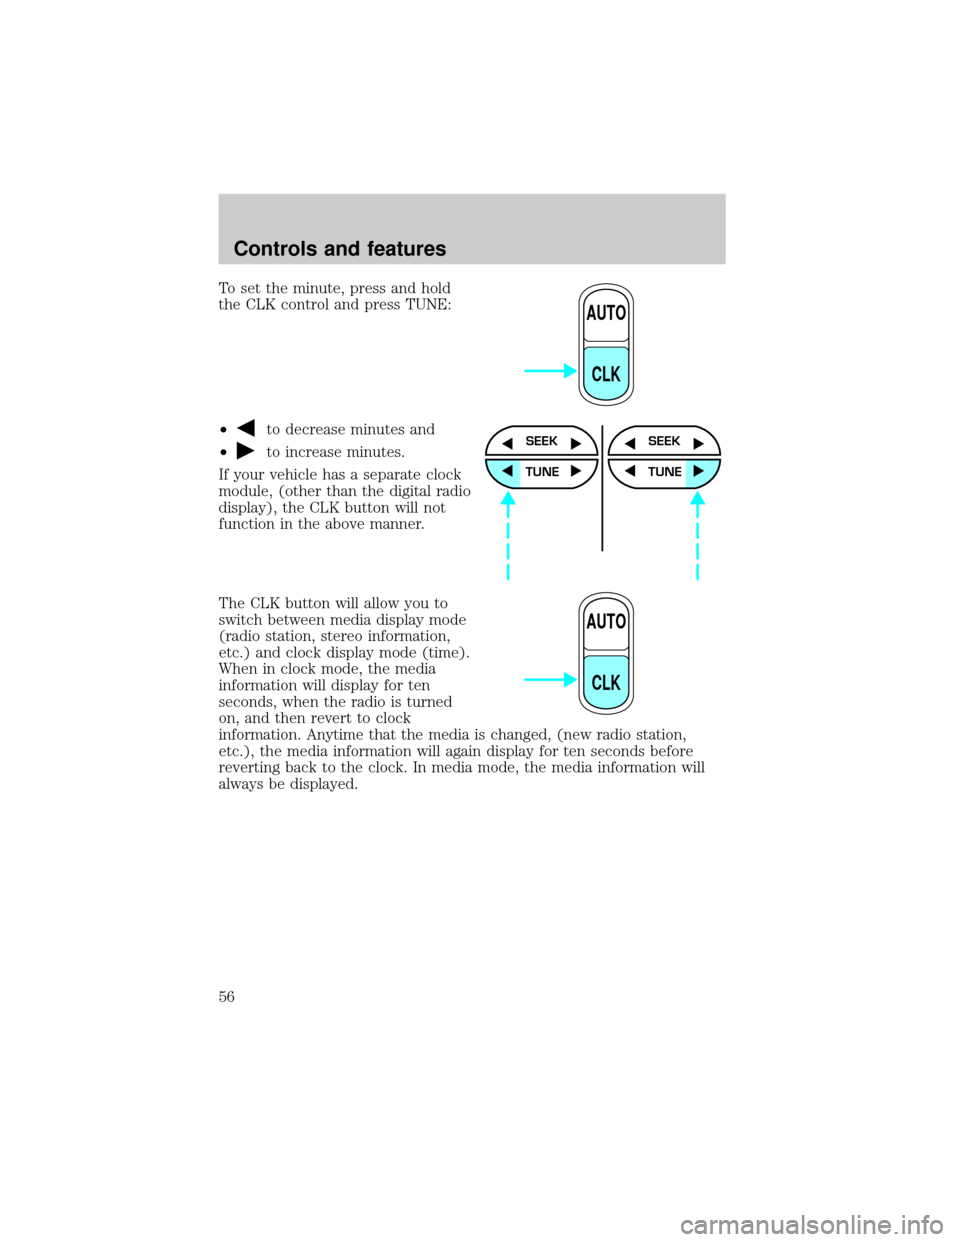
To set the minute, press and hold
the CLK control and press TUNE:
²
to decrease minutes and
²
to increase minutes.
If your vehicle has a separate clock
module, (other than the digital radio
display), the CLK button will not
function in the above manner.
The CLK button will allow you to
switch between media display mode
(radio station, stereo information,
etc.) and clock display mode (time).
When in clock mode, the media
information will display for ten
seconds, when the radio is turned
on, and then revert to clock
information. Anytime that the media is changed, (new radio station,
etc.), the media information will again display for ten seconds before
reverting back to the clock. In media mode, the media information will
always be displayed.
AUTO
CLK
SEEK
TUNE
SEEK
TUNE
AUTO
CLK
Controls and features
56
Page 73 of 248

Mute mode
Press the control to mute the
playing media. Press the control
again to return to the playing media.
Rear seat controls (if equipped)
The Personal Audio System, a
feature of the optional Premium
AM/FM Stereo/Cassette/Single
CD/Premium Sound and the MACHt
Audio System with AM/FM
Stereo/Cassette/Single CD, allows
front and middle seat passengers to
listen to different media sources
(radio, cassette or CD)
simultaneously. However, the front
and middle-seat passengers cannot
listen to two different radio stations
at the same time.
To turn on the rear seat controls,
press the memory preset controls 3
and 5 at the same time. The
will
appear in the display.
Pressing 3 and 5 at the same time
again will turn the rear seat controls
off.
If there is a discrepancy between the rear seat and the front audio
controls, (such as both trying to listen to the same playing media), the
front audio system will receive the desired selection.
To activate the Personal Audio
System, press the
speaker/headphone control. Press
the MODE control to change audio
sources (for headphone mode only).
Use the SEEK, VOLUME and
MEMORY controls to make
adjustments to the playing media.
EJ
MUTE
- VOLUME +
MODE
SEEK MEMORY
REW1FF2SIDE 1-23
4COMP5SHUFFLE6
- VOLUME +
MODE
SEEK MEMORY
Controls and features
73
Page 78 of 248

The CD magazine may be inserted or ejected with the radio power off.
ONLY use the magazine supplied with the CD changer, other types will
damage the unit.
Keep the CD changer door closed. Coins and foreign objects will damage
the CD player and void your audio system warranty.
Troubleshooting the CD changer (if equipped)
The laser beam used in the compact disc player is harmful to the
eyes. Do not attempt to disassemble the case.
If sound skips:
²You may be traveling on a rough road, playing badly scratched discs or
the disc may be dirty. Skipping will not scratch the discs or damage
the player.
If your changer does not work, it may be that:
²A disc is already loaded where you want to insert a disc.
²The disc is inserted with the label surface downward.
²The disc is dusty or defective.
²The player's internal temperature is above 60ÉC (140ÉF). Allow the
player to cool down before operating.
²A disc with format and dimensions not within industry standards is
inserted.
Cleaning compact discs
Inspect all discs for contamination before playing. If necessary, clean
discs only with an approved CD cleaner and wipe from the center out to
the edge. Do not use circular motion.
CD and CD changer care
²Handle discs by their edges only. Never touch the playing surface.
²Do not expose discs to direct sunlight or heat sources for extended
periods of time.
²Do not insert more than one disc into each slot of the CD changer
magazine.
Controls and features
78
Page 107 of 248
Changes or modifications not expressly approved by the party
responsible for compliance could void the user's authority to
operate the equipment.
Memory seat feature (if equipped)
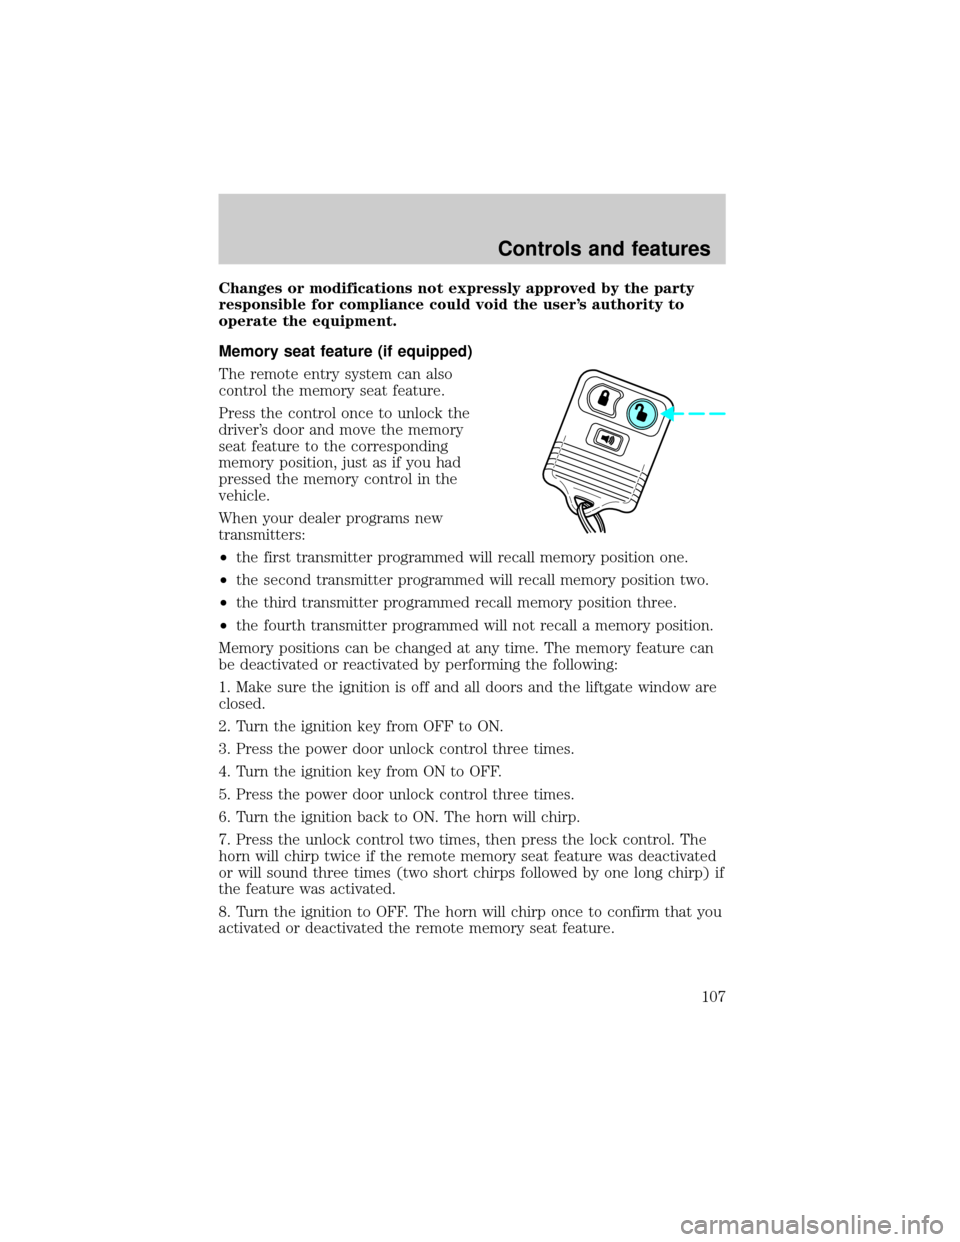
The remote entry system can also
control the memory seat feature.
Press the control once to unlock the
driver's door and move the memory
seat feature to the corresponding
memory position, just as if you had
pressed the memory control in the
vehicle.
When your dealer programs new
transmitters:
²the first transmitter programmed will recall memory position one.
²the second transmitter programmed will recall memory position two.
²the third transmitter programmed recall memory position three.
²the fourth transmitter programmed will not recall a memory position.
Memory positions can be changed at any time. The memory feature can
be deactivated or reactivated by performing the following:
1. Make sure the ignition is off and all doors and the liftgate window are
closed.
2. Turn the ignition key from OFF to ON.
3. Press the power door unlock control three times.
4. Turn the ignition key from ON to OFF.
5. Press the power door unlock control three times.
6. Turn the ignition back to ON. The horn will chirp.
7. Press the unlock control two times, then press the lock control. The
horn will chirp twice if the remote memory seat feature was deactivated
or will sound three times (two short chirps followed by one long chirp) if
the feature was activated.
8. Turn the ignition to OFF. The horn will chirp once to confirm that you
activated or deactivated the remote memory seat feature.
Controls and features
107
Page 142 of 248
Guarding against exhaust fumes
Although odorless and colorless, carbon monoxide is present in exhaust
fumes. Take precautions to avoid its dangerous effects.
If you ever smell exhaust fumes of any kind inside your vehicle,
have your dealer inspect and fix your vehicle immediately. Do
not drive if you smell exhaust fumes. These fumes are harmful and
could kill you.
Have the exhaust and body ventilation systems checked whenever:
²the vehicle is raised for service.
²the sound of the exhaust system changes.
²the vehicle has been damaged in a collision.
Engine exhaust, some of its constituents, and certain vehicle
components contain or emit chemicals known to the State of
California to cause cancer, and birth defects or other reproductive
harm.
Important ventilating information
If the engine is idling while the vehicle is stopped in an open area for
long periods of time, open the windows at least 2.5 cm (one inch).
Adjust the heating or air conditioning (if equipped) to bring in fresh air.
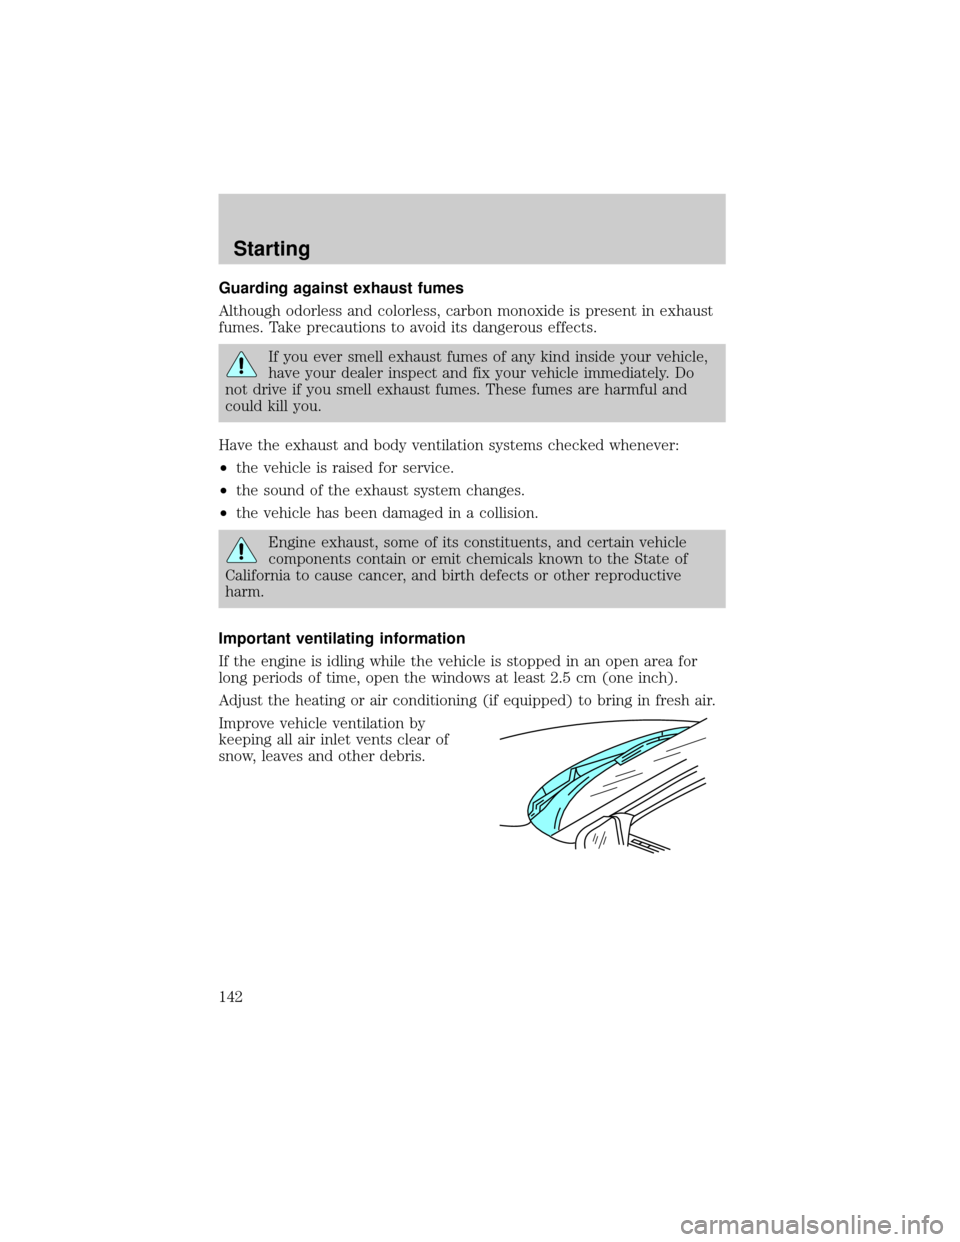
Improve vehicle ventilation by
keeping all air inlet vents clear of
snow, leaves and other debris.
Starting
142
Page 155 of 248
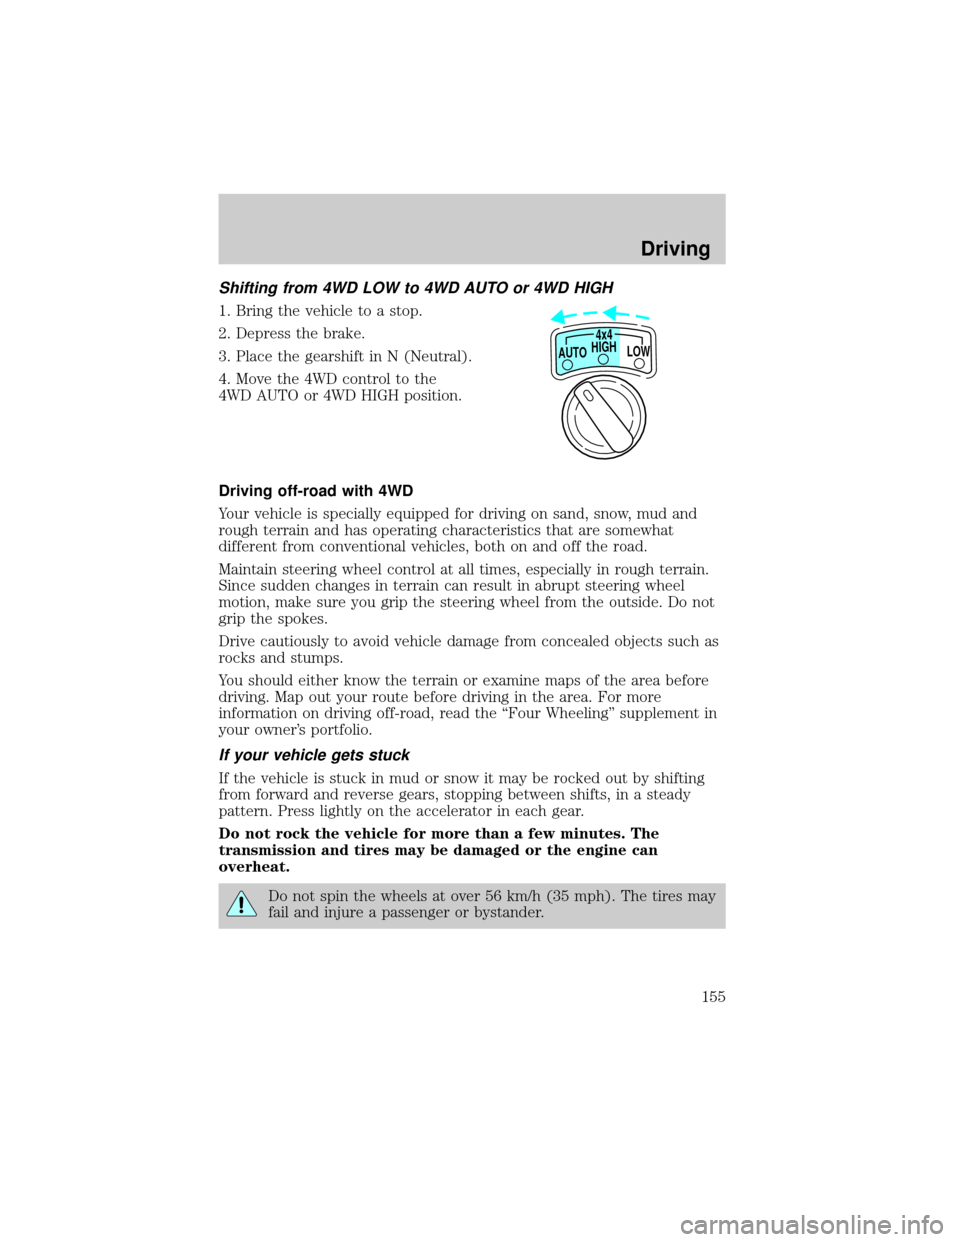
Shifting from 4WD LOW to 4WD AUTO or 4WD HIGH
1. Bring the vehicle to a stop.
2. Depress the brake.
3. Place the gearshift in N (Neutral).
4. Move the 4WD control to the
4WD AUTO or 4WD HIGH position.
Driving off-road with 4WD
Your vehicle is specially equipped for driving on sand, snow, mud and
rough terrain and has operating characteristics that are somewhat
different from conventional vehicles, both on and off the road.
Maintain steering wheel control at all times, especially in rough terrain.
Since sudden changes in terrain can result in abrupt steering wheel
motion, make sure you grip the steering wheel from the outside. Do not
grip the spokes.
Drive cautiously to avoid vehicle damage from concealed objects such as
rocks and stumps.
You should either know the terrain or examine maps of the area before
driving. Map out your route before driving in the area. For more
information on driving off-road, read the ªFour Wheelingº supplement in
your owner's portfolio.
If your vehicle gets stuck
If the vehicle is stuck in mud or snow it may be rocked out by shifting
from forward and reverse gears, stopping between shifts, in a steady
pattern. Press lightly on the accelerator in each gear.
Do not rock the vehicle for more than a few minutes. The
transmission and tires may be damaged or the engine can
overheat.
Do not spin the wheels at over 56 km/h (35 mph). The tires may
fail and injure a passenger or bystander.
HIGH
LOW AUTO4x4
Driving
155
Page 157 of 248
When speed control is on and you are driving uphill, your vehicle speed
may drop considerably, especially if you are carrying a heavy load.
If vehicle speed drops more than 16 km/h (10 mph), the speed control
will cancel automatically. Resume speed with accelerator pedal.
If speed control cancels after climbing the hill, reset speed by pressing
and holding the SET ACCEL button (to resume speeds over 50 km/h (30
mph).
Automatic transmissions may shift frequently while driving up steep
grades. Eliminate frequent shifting by shifting out of
(Overdrive) into
D (Drive).
Driving on snow and ice
A 4WD vehicle has advantages over 2WD vehicles in snow and ice but
can skid like any other vehicle.
Avoid sudden applications of power and quick changes of direction on
snow and ice. Apply the accelerator slowly and steadily when starting
from a full stop.
When braking, apply the brakes as you normally would. In order to allow
the anti-lock brake system (ABS) to operate properly, keep steady
pressure on the brake pedal.
Allow more stopping distance and drive slower than usual. Consider
using one of the lower gears.
ALL WHEEL DRIVE (AWD) SYSTEM (IF EQUIPPED) (5.0L ENGINES
ONLY)
Your vehicle is equipped with a full-time All Wheel Drive (AWD) transfer
case. Power is supplied to all four wheels all the time with no need to
shift between two-wheel drive and four-wheel drive.
For the lubricant specification and refill capacity of the AWD transfer
case refer toCapacities and specificationschapter.
Utility and four-wheel drive vehicles arenotdesigned for
cornering at speeds as high as passenger cars any more than
low-slung sports cars are designed to perform satisfactorily under
off-road conditions. Avoid sharp turns or abrupt maneuvers in these
vehicles.
Driving
157