wheel Mercury Mountaineer 1999 Owner's Manuals
[x] Cancel search | Manufacturer: MERCURY, Model Year: 1999, Model line: Mountaineer, Model: Mercury Mountaineer 1999Pages: 248, PDF Size: 1.74 MB
Page 3 of 248
INFORMATION ABOUT THIS GUIDE
The information found in this guide was in effect at the time of printing.
Ford may change the contents without notice and without incurring
obligation.
SPECIAL NOTICES
Notice to owners of utility type vehicles
Before you drive your vehicle, please read this Owner's Guide carefully.
Your vehicle is not a passenger car. As with other vehicles of this type,
failure to operate this vehicle correctly may result in loss of control or an
accident.
Be sure to readDriving off roadin theDrivingchapter as well as the
ªFour Wheelingº supplement included with 4WD and utility type vehicles.
Using your vehicle as a snowplow
Do not use this vehicle for snowplowing.
Using your vehicle as an ambulance
Do not use this vehicle as an ambulance.
Your vehicle is not equipped with the Ford Ambulance Preparation
package.
Introduction
3
Page 4 of 248
km/hRPM x 1000012345
6
H
C
F
E
OFF
0
20
1030405060
70
80
90
110
200000000
oooo
10020406080100
120
140
160
180
UNLEADED
FUEL ONLYH
H
L
RSM
SET
ACC
COAST OFF ON
SRS
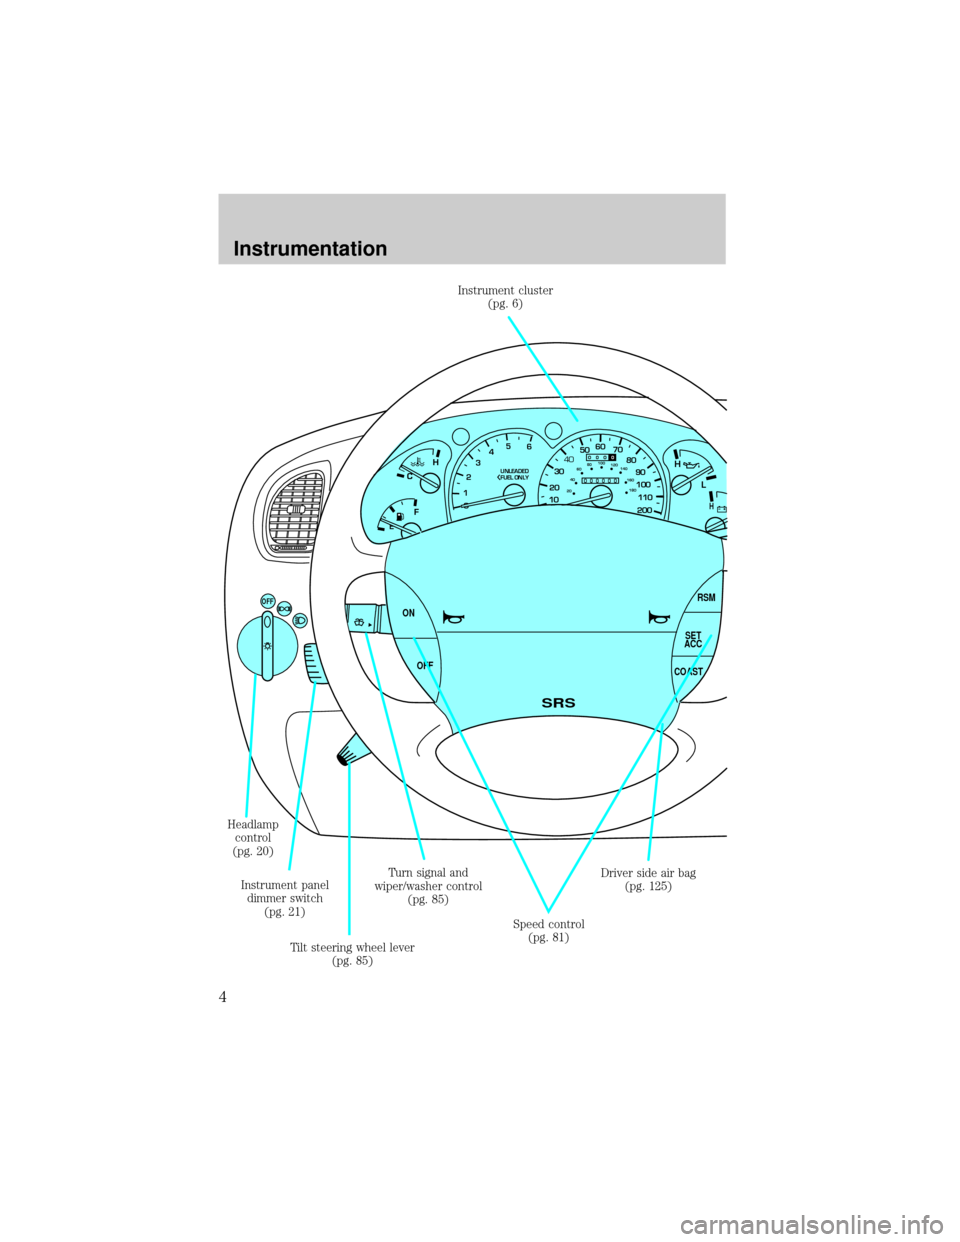
Headlamp
control
(pg. 20)
Instrument panel
dimmer switch
(pg. 21)
Tilt steering wheel lever
(pg. 85)Turn signal and
wiper/washer control
(pg. 85)Driver side air bag
(pg. 125) Instrument cluster
(pg. 6)
Speed control
(pg. 81)
Instrumentation
4
Page 9 of 248

High beams
Illuminates when the high beam
headlamps are turned on.
Anti-theft system (if equipped)
Refer toSecuriLockypassive
anti-theft systemin theControls
and featureschapter.
Charging system
Illuminates when the ignition is
turned to the ON position and the
engine is off. The light also
illuminates when the battery is not
charging properly, requiring
electrical system service.
Check gage
Illuminates when the engine coolant
temperature is high, the engine oil
pressure is low or the fuel gauge is
at or near empty. The ignition must
be in the ON position for this lamp to illuminate. The lamp will also
illuminate for several seconds after the ignition is turned to the ON
position. Refer toEngine coolant temperature gauge, Engine oil
pressure gaugeorFuel gaugein this chapter for more information.
Four wheel drive low (if equipped)
This light momentarily illuminates
when the ignition is turned to ON.
Illuminates when four-wheel drive
low is engaged. If the light continues
to flash have the system serviced.
THEFT
CHECK
GAGE
4WD
LOW
Instrumentation
9
Page 10 of 248

Four wheel drive high (if equipped)
This light momentarily illuminates
when the ignition is turned to ON.
Illuminates when four-wheel drive
high is engaged. If the light
continues to flash have the system
serviced.
Door ajar
Illuminates when the ignition is in
the ON or START position and any
door is open.
O/D off
Illuminates when the ignition is
turned to the ON position and
transmission control switch has
been pushed. When the light is on,
the transmission does not shift into
overdrive. If the light does not come on when the transmission control
switch is depressed or if the light flashes when you are driving, have
your vehicle serviced.
Check air suspension (if equipped)
Illuminates momentarily when the
ignition is turned to the ON position
and the engine is OFF. The light
also illuminates when the air
suspension system requires
servicing.
For information, refer toAir suspension systemin theDrivingchapter.
Speed control
This light comes on when either the
SET/ACCEL or RESUME controls
are pressed. It turns off when the
speed control OFF control is
4WD
HIGH
DOOR
AJAR
O/D
OFF
CHECK
SUSP
SPEED
CONT
Instrumentation
10
Page 24 of 248
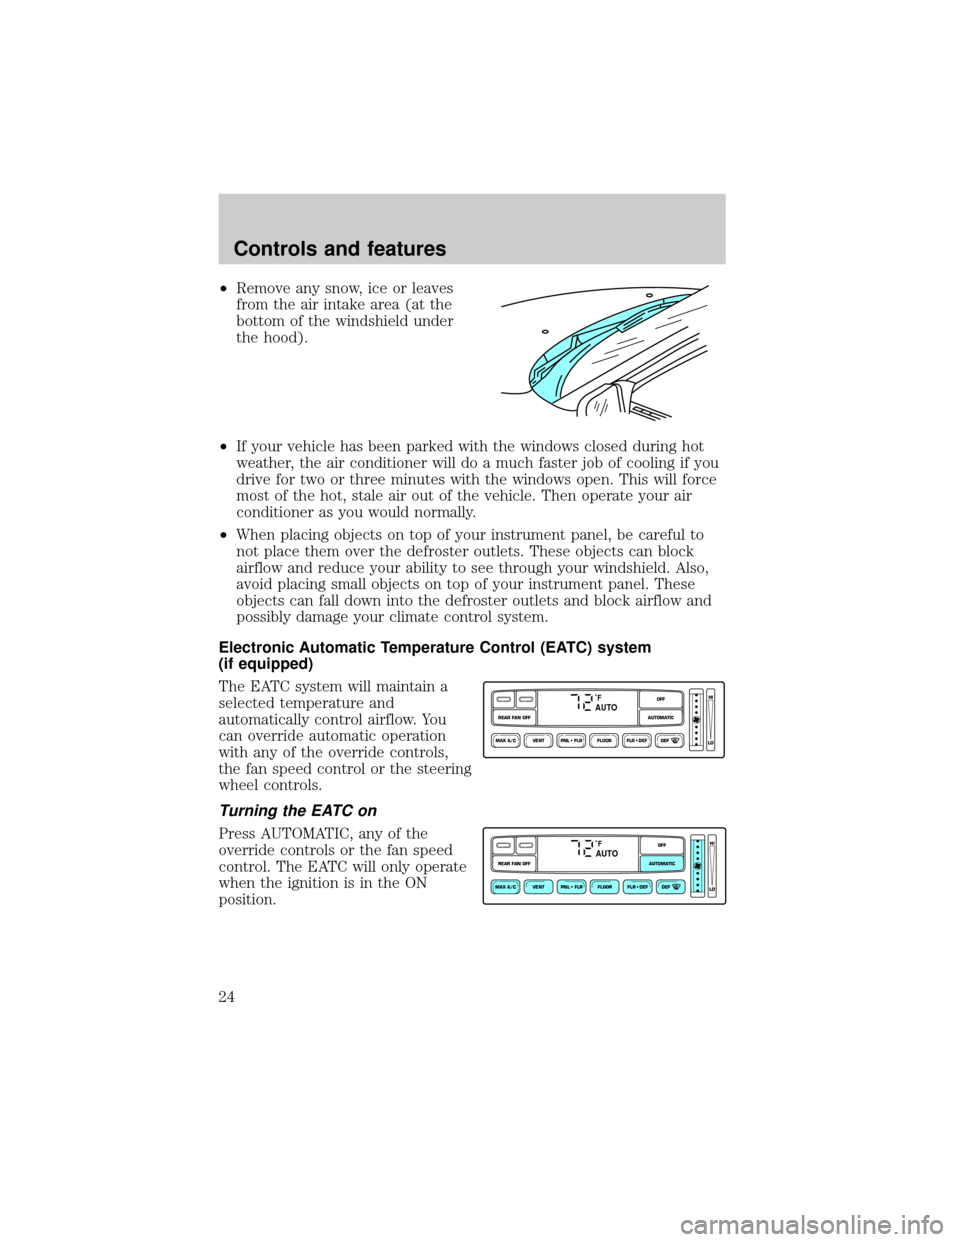
²Remove any snow, ice or leaves
from the air intake area (at the
bottom of the windshield under
the hood).
²If your vehicle has been parked with the windows closed during hot
weather, the air conditioner will do a much faster job of cooling if you
drive for two or three minutes with the windows open. This will force
most of the hot, stale air out of the vehicle. Then operate your air
conditioner as you would normally.
²When placing objects on top of your instrument panel, be careful to
not place them over the defroster outlets. These objects can block
airflow and reduce your ability to see through your windshield. Also,
avoid placing small objects on top of your instrument panel. These
objects can fall down into the defroster outlets and block airflow and
possibly damage your climate control system.
Electronic Automatic Temperature Control (EATC) system
(if equipped)
The EATC system will maintain a
selected temperature and
automatically control airflow. You
can override automatic operation
with any of the override controls,
the fan speed control or the steering
wheel controls.
Turning the EATC on
Press AUTOMATIC, any of the
override controls or the fan speed
control. The EATC will only operate
when the ignition is in the ON
position.
˚FAUTO
VENT PNL • FLR FLOOR FLR • DEF DEF
HI
LO
MAX A/C
REAR FAN OFF AUTOMATICOFF
˚FAUTO
VENT PNL • FLR FLOOR FLR • DEF DEF
HI
LO
MAX A/C
REAR FAN OFF AUTOMATICOFF
Controls and features
24
Page 25 of 248
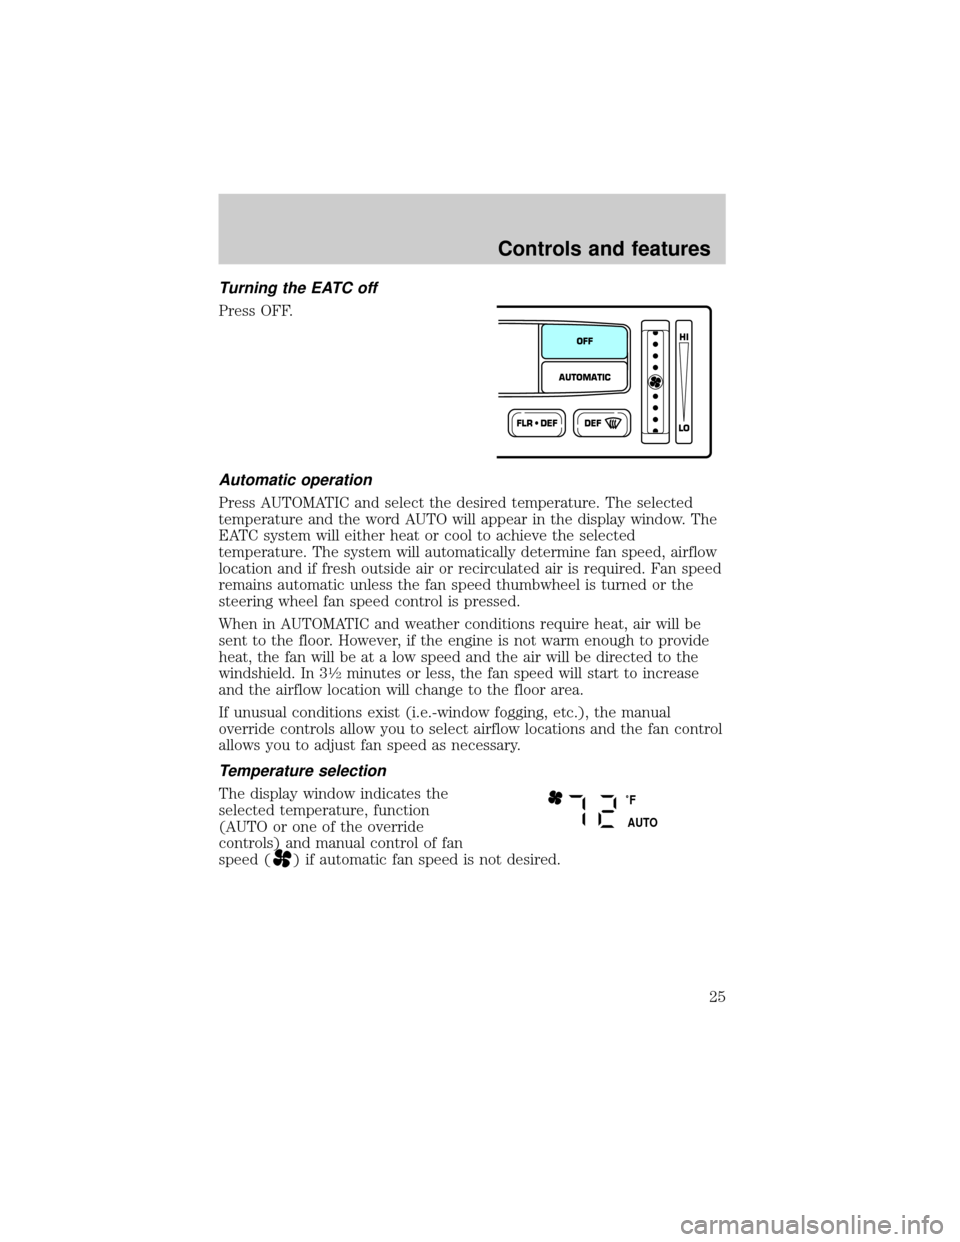
Turning the EATC off
Press OFF.
Automatic operation
Press AUTOMATIC and select the desired temperature. The selected
temperature and the word AUTO will appear in the display window. The
EATC system will either heat or cool to achieve the selected
temperature. The system will automatically determine fan speed, airflow
location and if fresh outside air or recirculated air is required. Fan speed
remains automatic unless the fan speed thumbwheel is turned or the
steering wheel fan speed control is pressed.
When in AUTOMATIC and weather conditions require heat, air will be
sent to the floor. However, if the engine is not warm enough to provide
heat, the fan will be at a low speed and the air will be directed to the
windshield. In 3
1¤2minutes or less, the fan speed will start to increase
and the airflow location will change to the floor area.
If unusual conditions exist (i.e.-window fogging, etc.), the manual
override controls allow you to select airflow locations and the fan control
allows you to adjust fan speed as necessary.
Temperature selection
The display window indicates the
selected temperature, function
(AUTO or one of the override
controls) and manual control of fan
speed (
) if automatic fan speed is not desired.
FLR • DEFDEF
HI
LO
AUTOMATICOFF
˚F
AUTO
Controls and features
25
Page 26 of 248
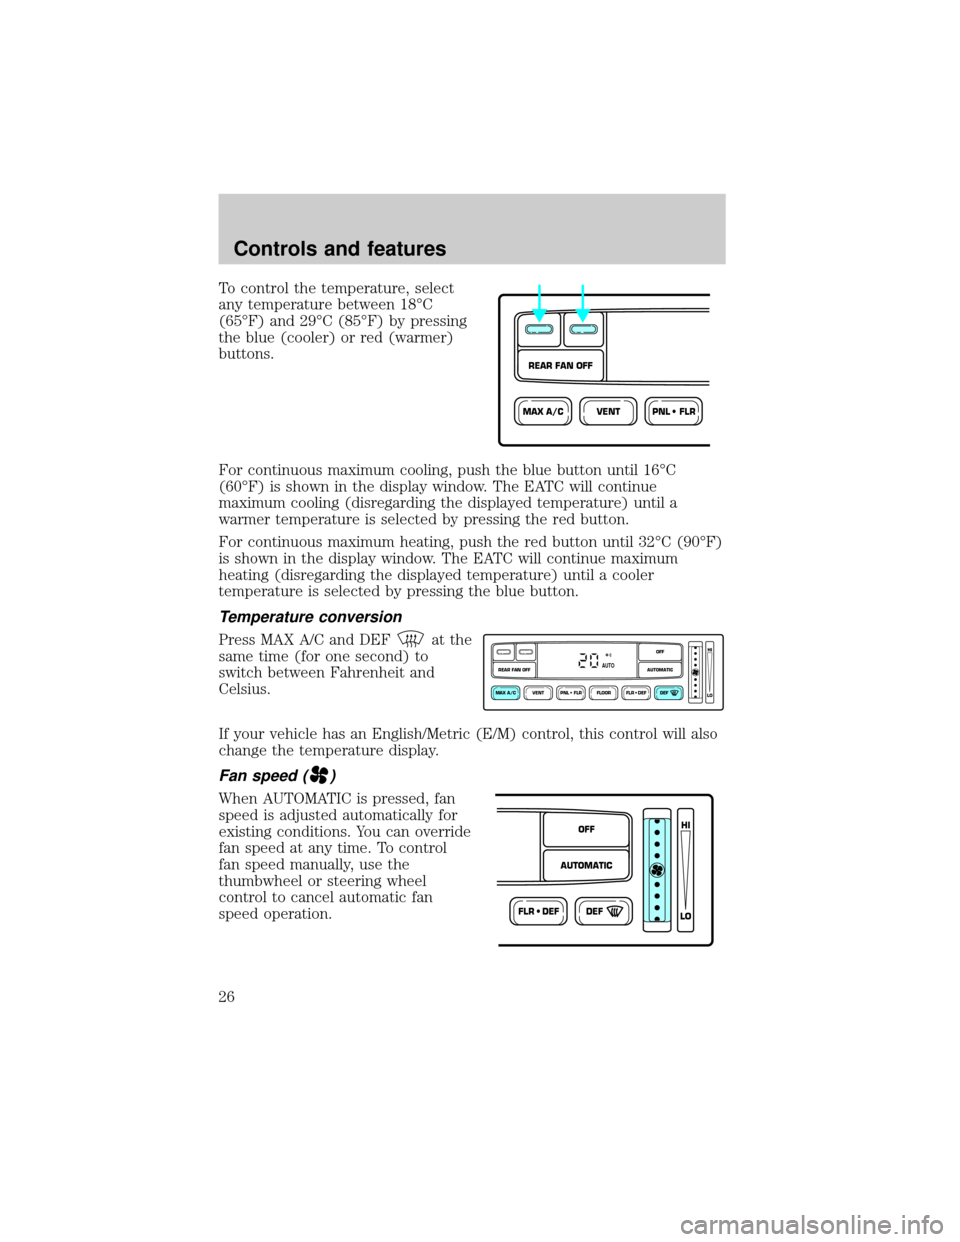
To control the temperature, select
any temperature between 18ÉC
(65ÉF) and 29ÉC (85ÉF) by pressing
the blue (cooler) or red (warmer)
buttons.
For continuous maximum cooling, push the blue button until 16ÉC
(60ÉF) is shown in the display window. The EATC will continue
maximum cooling (disregarding the displayed temperature) until a
warmer temperature is selected by pressing the red button.
For continuous maximum heating, push the red button until 32ÉC (90ÉF)
is shown in the display window. The EATC will continue maximum
heating (disregarding the displayed temperature) until a cooler
temperature is selected by pressing the blue button.
Temperature conversion
Press MAX A/C and DEFat the
same time (for one second) to
switch between Fahrenheit and
Celsius.
If your vehicle has an English/Metric (E/M) control, this control will also
change the temperature display.
Fan speed ()
When AUTOMATIC is pressed, fan
speed is adjusted automatically for
existing conditions. You can override
fan speed at any time. To control
fan speed manually, use the
thumbwheel or steering wheel
control to cancel automatic fan
speed operation.
VENTPNL • FLRMAX A/C
REAR FAN OFF
VENT PNL • FLR FLOOR FLR • DEF DEF
HI
LO
MAX A/C
REAR FAN OFF AUTOMATICOFFAUTO
FLR • DEFDEF
HI
LO
AUTOMATICOFF
Controls and features
26
Page 27 of 248
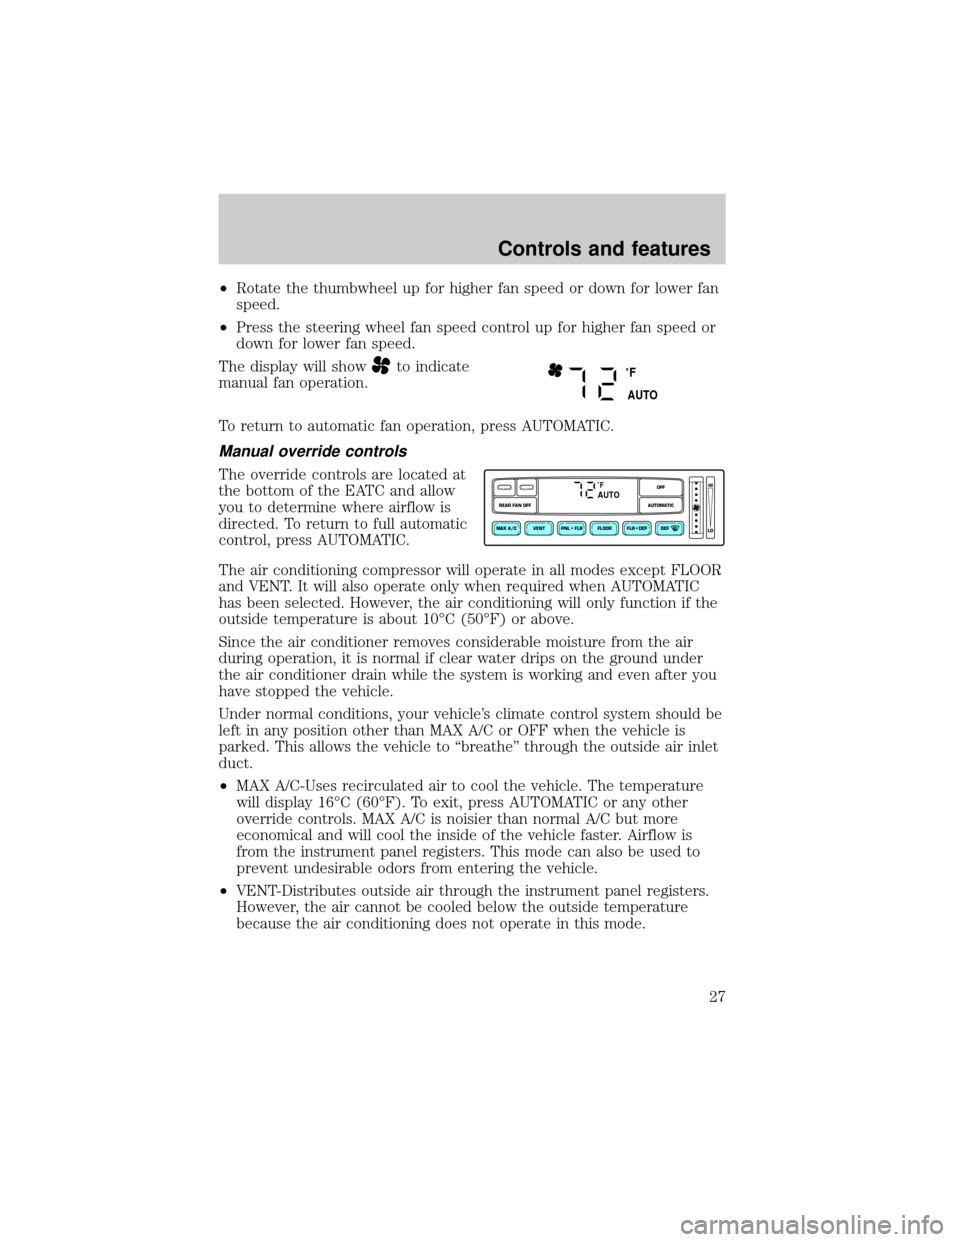
²Rotate the thumbwheel up for higher fan speed or down for lower fan
speed.
²Press the steering wheel fan speed control up for higher fan speed or
down for lower fan speed.
The display will show
to indicate
manual fan operation.
To return to automatic fan operation, press AUTOMATIC.
Manual override controls
The override controls are located at
the bottom of the EATC and allow
you to determine where airflow is
directed. To return to full automatic
control, press AUTOMATIC.
The air conditioning compressor will operate in all modes except FLOOR
and VENT. It will also operate only when required when AUTOMATIC
has been selected. However, the air conditioning will only function if the
outside temperature is about 10ÉC (50ÉF) or above.
Since the air conditioner removes considerable moisture from the air
during operation, it is normal if clear water drips on the ground under
the air conditioner drain while the system is working and even after you
have stopped the vehicle.
Under normal conditions, your vehicle's climate control system should be
left in any position other than MAX A/C or OFF when the vehicle is
parked. This allows the vehicle to ªbreatheº through the outside air inlet
duct.
²MAX A/C-Uses recirculated air to cool the vehicle. The temperature
will display 16ÉC (60ÉF). To exit, press AUTOMATIC or any other
override controls. MAX A/C is noisier than normal A/C but more
economical and will cool the inside of the vehicle faster. Airflow is
from the instrument panel registers. This mode can also be used to
prevent undesirable odors from entering the vehicle.
²VENT-Distributes outside air through the instrument panel registers.
However, the air cannot be cooled below the outside temperature
because the air conditioning does not operate in this mode.
˚F
AUTO
VENT PNL • FLR FLOOR FLR • DEF DEF
HI
LO
MAX A/C
REAR FAN OFF AUTOMATICOFF
˚FAUTO
Controls and features
27
Page 80 of 248
²Station overload.Weak signals are sometimes captured by stronger
signals when you pass a broadcast tower. A stronger signal may
temporarily overtake a weaker signal and play while the weak station
frequency is displayed.
The audio system automatically switches to single channel reception if it
will improve the reception of a station normally received in stereo.
Audio system warranties and service
Refer to the ªWarranty Guideº for audio system warranty information.
If service is necessary, see your dealer or a qualified technician.
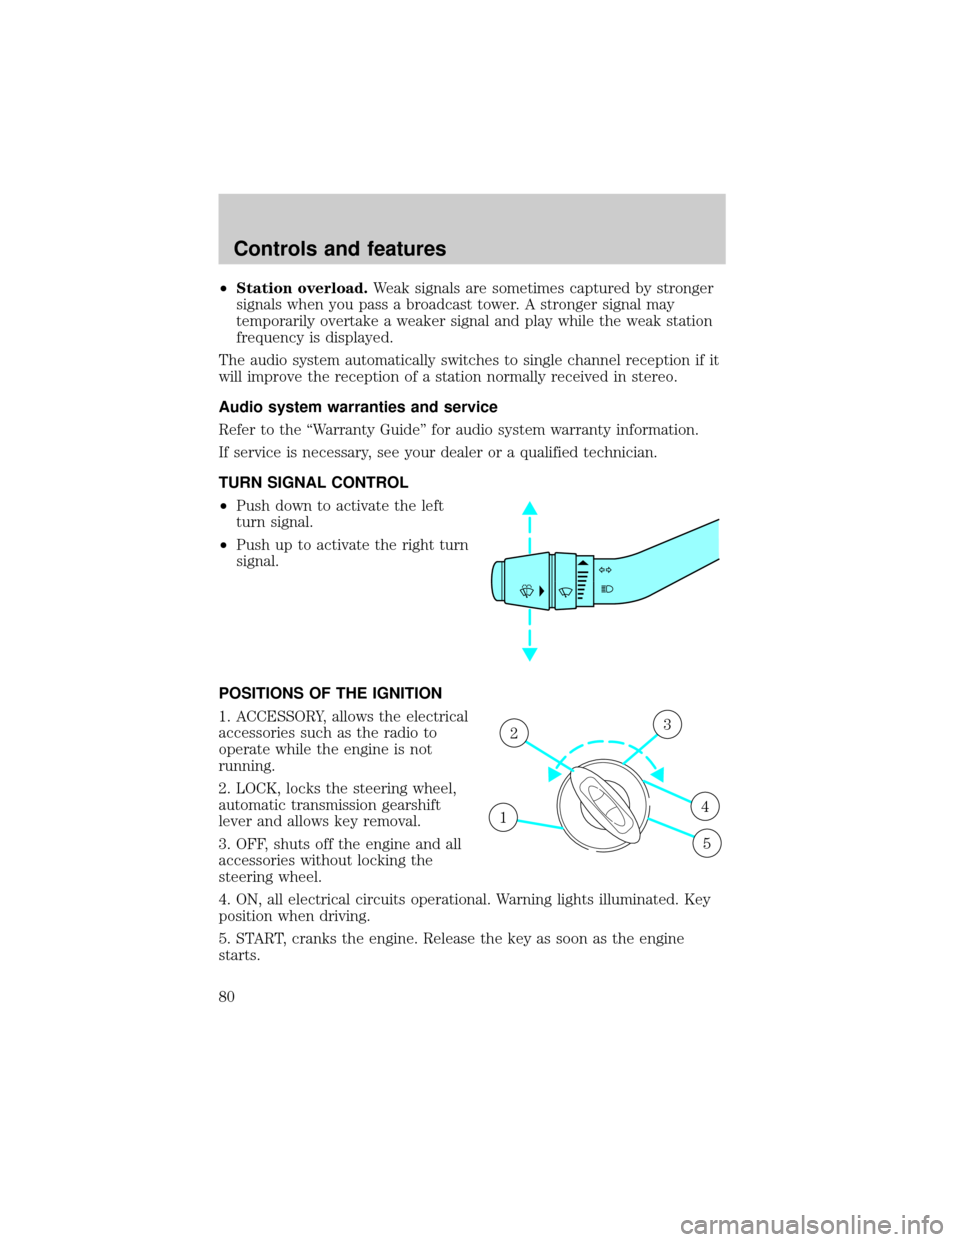
TURN SIGNAL CONTROL
²Push down to activate the left
turn signal.
²Push up to activate the right turn
signal.
POSITIONS OF THE IGNITION
1. ACCESSORY, allows the electrical
accessories such as the radio to
operate while the engine is not
running.
2. LOCK, locks the steering wheel,
automatic transmission gearshift
lever and allows key removal.
3. OFF, shuts off the engine and all
accessories without locking the
steering wheel.
4. ON, all electrical circuits operational. Warning lights illuminated. Key
position when driving.
5. START, cranks the engine. Release the key as soon as the engine
starts.
1
23
4
5
Controls and features
80
Page 85 of 248
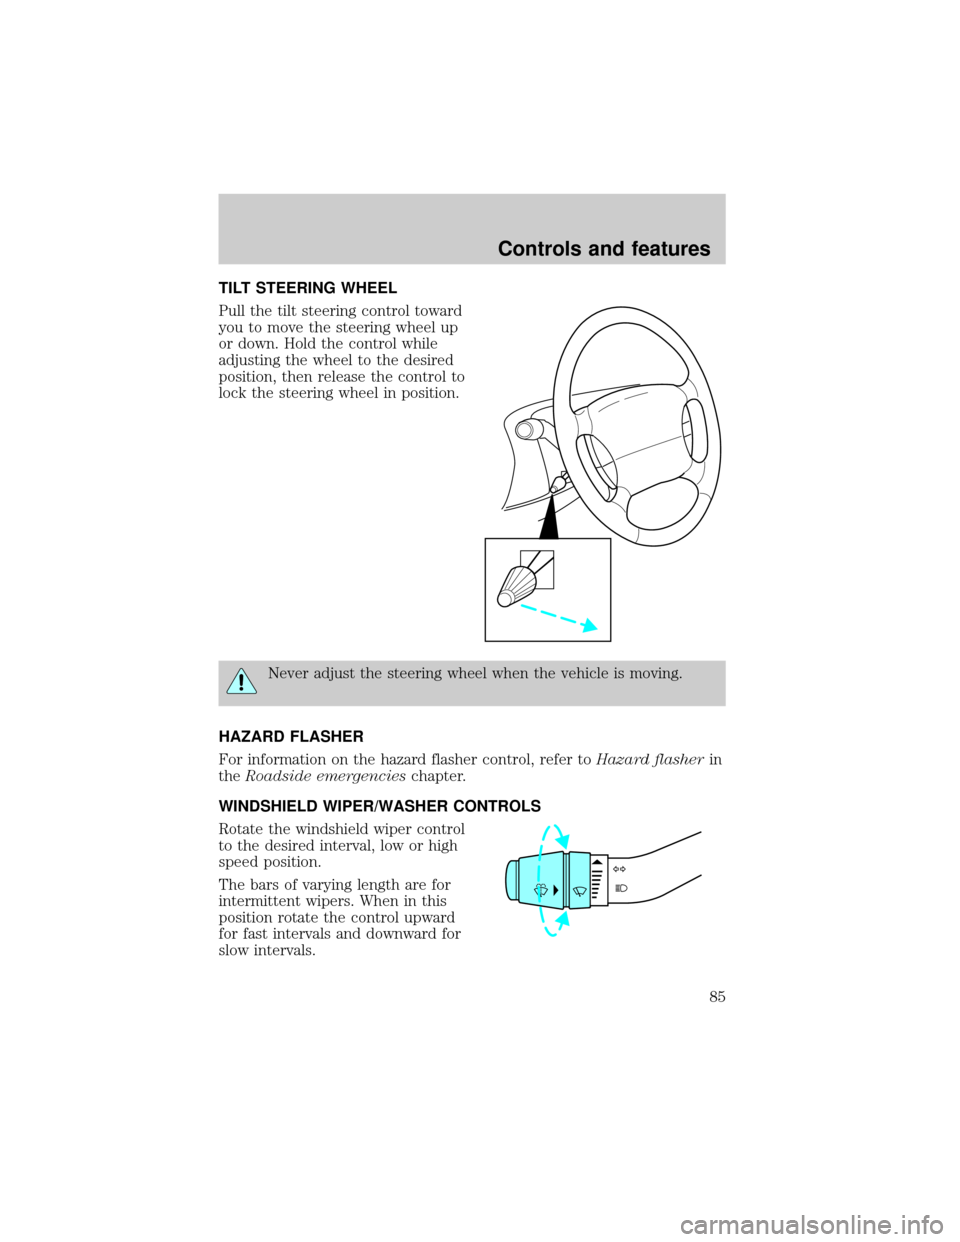
TILT STEERING WHEEL
Pull the tilt steering control toward
you to move the steering wheel up
or down. Hold the control while
adjusting the wheel to the desired
position, then release the control to
lock the steering wheel in position.
Never adjust the steering wheel when the vehicle is moving.
HAZARD FLASHER
For information on the hazard flasher control, refer toHazard flasherin
theRoadside emergencieschapter.
WINDSHIELD WIPER/WASHER CONTROLS
Rotate the windshield wiper control
to the desired interval, low or high
speed position.
The bars of varying length are for
intermittent wipers. When in this
position rotate the control upward
for fast intervals and downward for
slow intervals.
Controls and features
85