window Mercury Mountaineer 2000 s User Guide
[x] Cancel search | Manufacturer: MERCURY, Model Year: 2000, Model line: Mountaineer, Model: Mercury Mountaineer 2000Pages: 264, PDF Size: 2.29 MB
Page 94 of 264

AUTOMATIC DIMMING REAR VIEW MIRROR
The autolamp/automatic dimming
mirror is equipped with an
automatic dimming feature. This
feature will change from the normal
state to the non-glare ªactiveº state
when bright lights (glare) reach the
mirror. When the mirror detects bright light from front or behind, it will
adjust automatically to minimize glare.
The mirror will automatically return to the normal position whenever the
vehicle is placed in R (Reverse) (when the mirror is in the ON position).
This helps to ensure a bright clear view in the mirror when backing up.
POWER WINDOWS
Press and hold the rocker switches to open and close windows.
²Press the top portion of the
rocker switch to close.
²Press the bottom portion of the
rocker switch to open.
AUTOLAMP
OFFMAX.DELAY
AUTO
AUTO
Controls and features
94
Page 95 of 264

One touch down
²Press AUTO completely down and
release quickly. The driver's
window will open fully. Depress
again to stop window operation.
One touch down can be deactivated
during operation by pushing up on
the power window control.
Window lock
The window lock feature allows only
the driver to operate the power
windows.
To lock out all the window controls
except for the driver's press the left
side of the control. Press the right side to restore the window controls.
POWER DOOR LOCKS
Press U to unlock all doors and L to
lock all doors.
AUTO
WINDOW LOCK
UL
Controls and features
95
Page 97 of 264

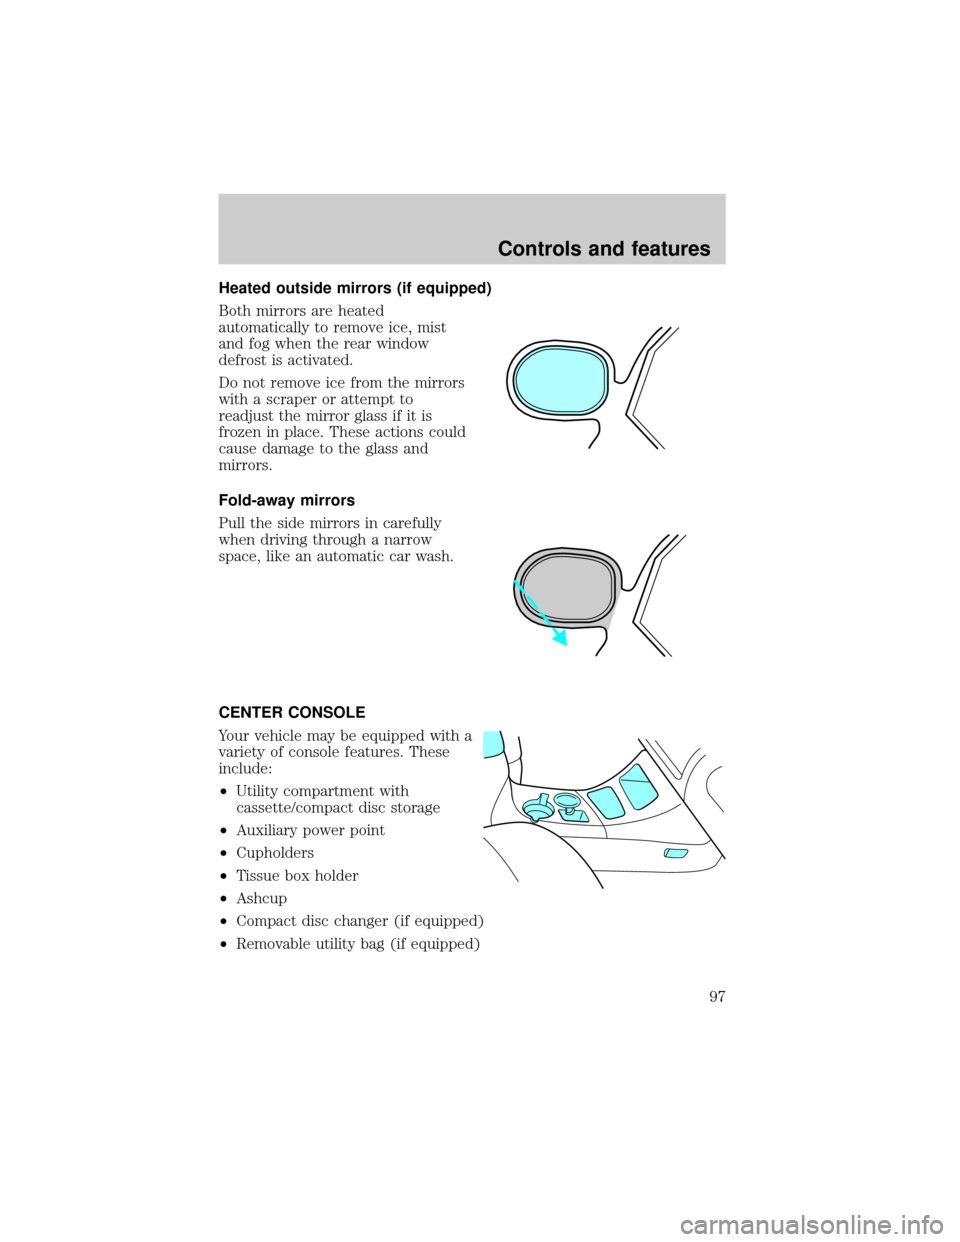
Heated outside mirrors (if equipped)
Both mirrors are heated
automatically to remove ice, mist
and fog when the rear window
defrost is activated.
Do not remove ice from the mirrors
with a scraper or attempt to
readjust the mirror glass if it is
frozen in place. These actions could
cause damage to the glass and
mirrors.
Fold-away mirrors
Pull the side mirrors in carefully
when driving through a narrow
space, like an automatic car wash.
CENTER CONSOLE
Your vehicle may be equipped with a
variety of console features. These
include:
²Utility compartment with
cassette/compact disc storage
²Auxiliary power point
²Cupholders
²Tissue box holder
²Ashcup
²Compact disc changer (if equipped)
²Removable utility bag (if equipped)
Controls and features
97
Page 99 of 264

CENTER ARMREST/REAR CUPHOLDER (IF EQUIPPED)
Do not attempt to raise the console
armrest when the rear cupholder is
in use. If you find resistance when
raising the armrest, make sure the
cupholder isfullyclosed or else
damage may occur to the armrest.
POSITIVE RETENTION FLOOR MAT
Position the floor mat so that the
eyelet is over the pointed end of the
retention post and rotate forward to
lock in. Make sure that the mat does
not interfere with the operation of
the accelerator or the brake pedal.
To remove the floor mat, reverse the
installation procedure.
REAR LIFTGATE
The liftgate area is only intended for cargo, not passengers. You can open
and close the liftgate from outside the vehicle. It cannot be opened from
inside the cargo area.
²To open the liftgate window,
unlock the liftgate (with the key
or power door locks) and push
the key lock cylinder.
²To open the liftgate, unlock the
liftgate and pull up on the handle
under the license plate lamp
shield.
To lock the liftgate and the liftgate
window, use the key or the power
door locks, depress the key lock cylinder or press the door lock switch
on the left side of the cargo area.
Controls and features
99
Page 100 of 264

The liftgate door and window should be closed before driving your
vehicle. If not, possible damage may occur to the liftgate door lift
cylinders and attaching hardware.
Make sure that the liftgate door and/or window are closed to
prevent exhaust fumes from being drawn into the vehicle. This
will also prevent passengers and cargo from falling out. If you must
drive with the liftgate door or window open, keep the vents open so
outside air comes into the vehicle.
CARGO COVER (IF EQUIPPED)
Your vehicle may be equipped with a cargo area shade that covers the
luggage compartment of your vehicle.
To install the shade:
1. Fasten the cover into the
mounting brackets (make sure the
cover is right side up).
2. Pull the end of the shade toward
you and hook the sides into the
notches (right side first) in the rear
trim panels.
To prevent the possibility of
injuries, the fasteners for
the cargo area cover must be
properly attached to the mounting
clips on the rear trim panels.
Do not place any objects on the cargo area cover. They may
obstruct your vision or strike occupants of the vehicle in the
case of a sudden stop or collision.
Rewinding the shade
With extended use, the cargo shade may lose its spring tension. If this
occurs, the shade must be manually rewound. This is a two-person
operation.
Controls and features
100
Page 103 of 264

Changes or modifications not expressly approved by the party
responsible for compliance could void the user's authority to
operate the equipment.
Memory seat feature (if equipped)
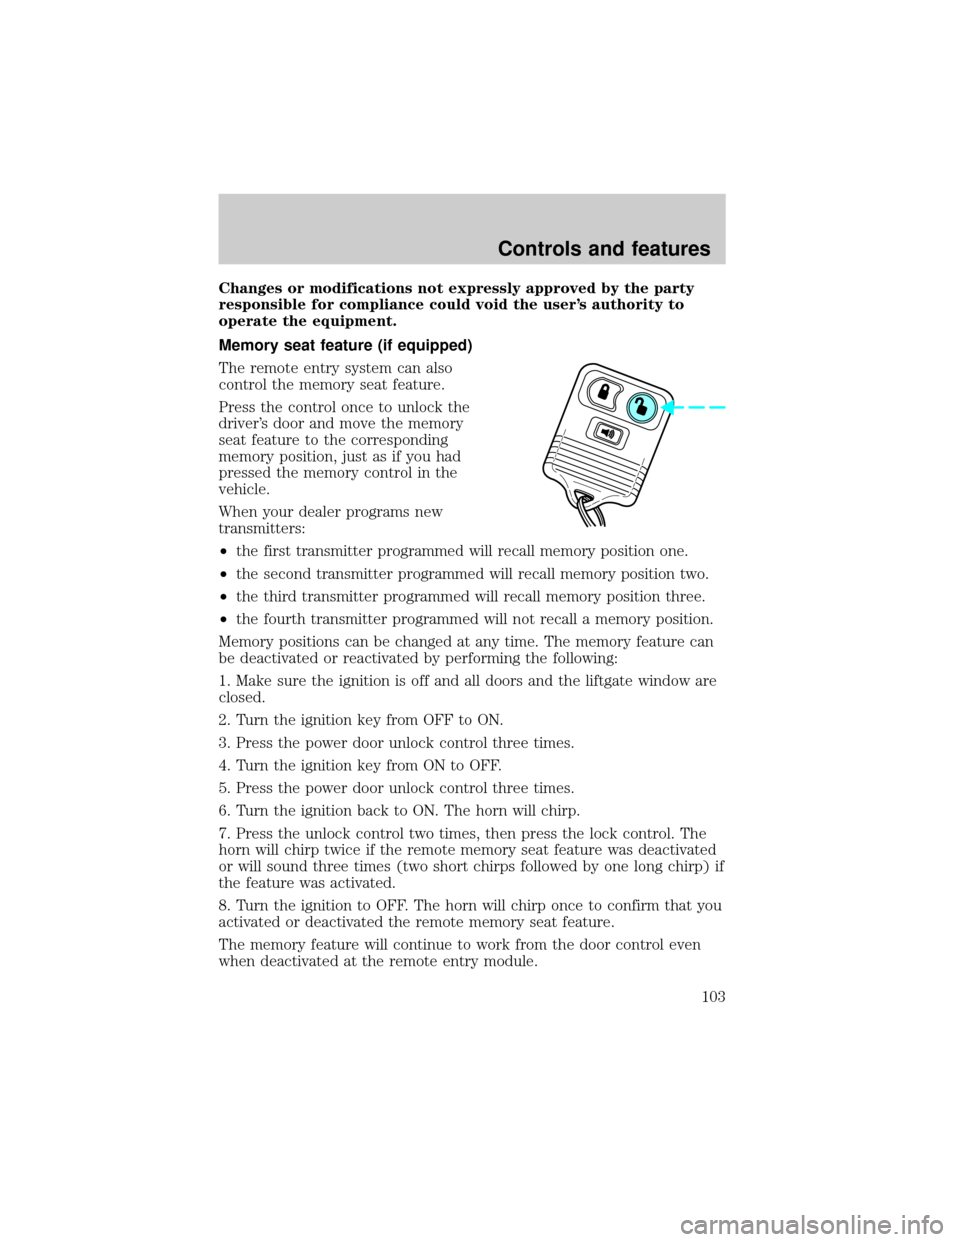
The remote entry system can also
control the memory seat feature.
Press the control once to unlock the
driver's door and move the memory
seat feature to the corresponding
memory position, just as if you had
pressed the memory control in the
vehicle.
When your dealer programs new
transmitters:
²the first transmitter programmed will recall memory position one.
²the second transmitter programmed will recall memory position two.
²the third transmitter programmed will recall memory position three.
²the fourth transmitter programmed will not recall a memory position.
Memory positions can be changed at any time. The memory feature can
be deactivated or reactivated by performing the following:
1. Make sure the ignition is off and all doors and the liftgate window are
closed.
2. Turn the ignition key from OFF to ON.
3. Press the power door unlock control three times.
4. Turn the ignition key from ON to OFF.
5. Press the power door unlock control three times.
6. Turn the ignition back to ON. The horn will chirp.
7. Press the unlock control two times, then press the lock control. The
horn will chirp twice if the remote memory seat feature was deactivated
or will sound three times (two short chirps followed by one long chirp) if
the feature was activated.
8. Turn the ignition to OFF. The horn will chirp once to confirm that you
activated or deactivated the remote memory seat feature.
The memory feature will continue to work from the door control even
when deactivated at the remote entry module.
Controls and features
103
Page 107 of 264

If you wish to erase your personal code, use the following instructions:
Erasing personal code
1. Enter the factory-set code.
2. Press 1/2 within five seconds of
step 1.
3. Press the 7/8 and 9/0 controls at
the same time within five seconds of
step 2.
The system will now only respond
to the factory-set code.
Unlocking the doors with the keyless entry system
To unlock the driver's door, enter either the factory-set code or personal
code (each digit pressed within five seconds of the prior digit). The
interior lamps will illuminate.
To unlock all doors, enter the
factory-set code or personal code
(driver door unlocks) and press the
3/4 control within five seconds.
Locking the doors with the keyless entry system
To lock all the doors, press 7/8 and
9/0 at the same time. It is not
necessary to first enter the keypad
code.
Autolock
Autolock is a feature that will automatically lock all doors when:
²all vehicle doors, liftgate and liftgate window are fully closed
²the ignition key is in the ON position
123
45678
90
123
45678
90
123
45678
90
Controls and features
107
Page 108 of 264

²you shift into or through R (Reverse)
²the brake pedal is released
The autolock feature repeats when:
²any door is opened and then closed
²the brake pedal is released
Deactivating autolock
Before following the activation or deactivation procedures, make sure
that the ignition is OFF and all vehicle doors and liftgate window are
closed.
1. Enter the 5 digit entry code.
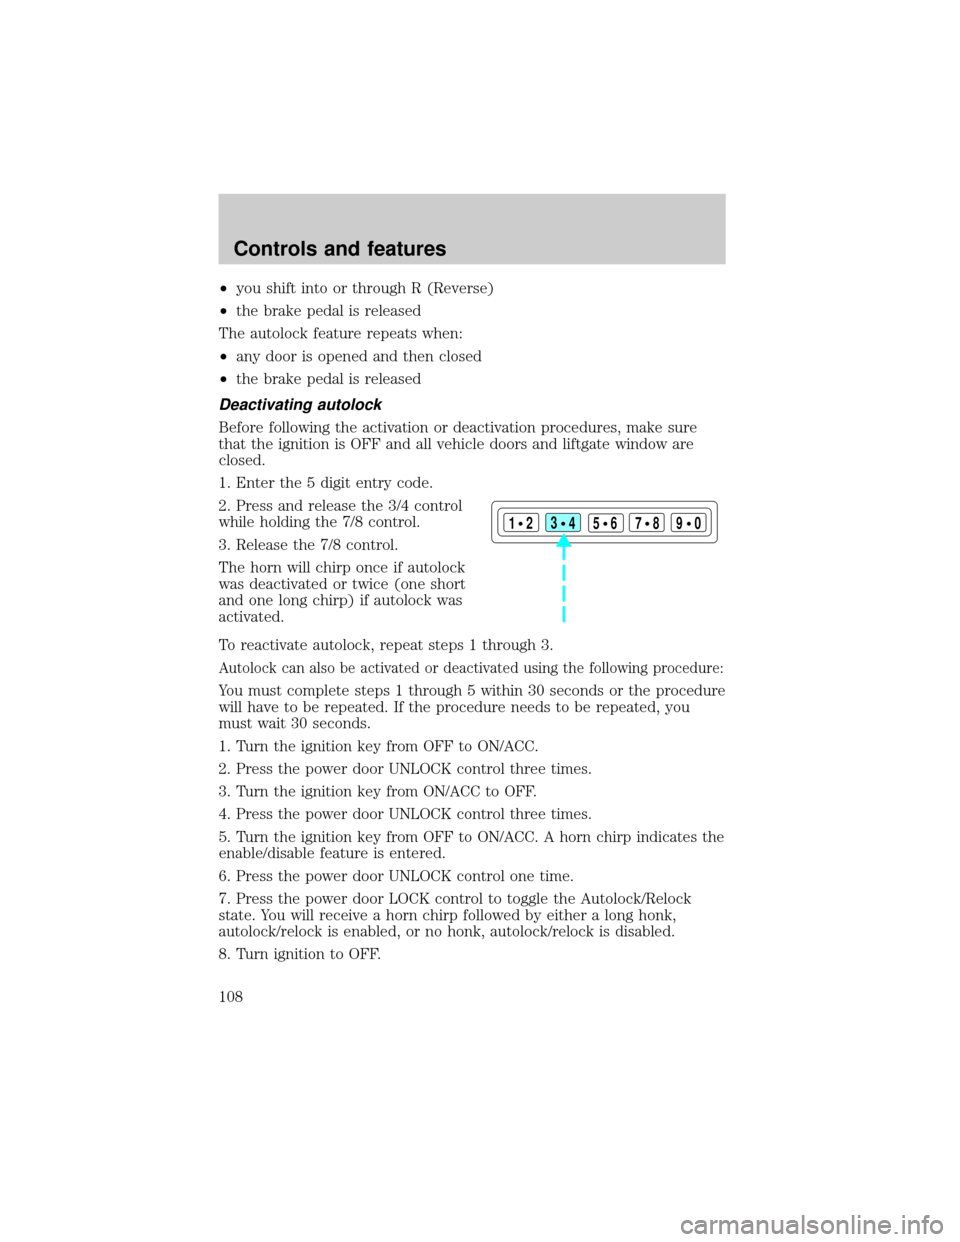
2. Press and release the 3/4 control
while holding the 7/8 control.
3. Release the 7/8 control.
The horn will chirp once if autolock
was deactivated or twice (one short
and one long chirp) if autolock was
activated.
To reactivate autolock, repeat steps 1 through 3.
Autolock can also be activated or deactivated using the following procedure:
You must complete steps 1 through 5 within 30 seconds or the procedure
will have to be repeated. If the procedure needs to be repeated, you
must wait 30 seconds.
1. Turn the ignition key from OFF to ON/ACC.
2. Press the power door UNLOCK control three times.
3. Turn the ignition key from ON/ACC to OFF.
4. Press the power door UNLOCK control three times.
5. Turn the ignition key from OFF to ON/ACC. A horn chirp indicates the
enable/disable feature is entered.
6. Press the power door UNLOCK control one time.
7. Press the power door LOCK control to toggle the Autolock/Relock
state. You will receive a horn chirp followed by either a long honk,
autolock/relock is enabled, or no honk, autolock/relock is disabled.
8. Turn ignition to OFF.
123
45678
90
Controls and features
108
Page 143 of 264

To prevent electrical shock, do not use your heater with
ungrounded electrical systems or two-pronged (cheater)
adapters.
Guarding against exhaust fumes
Although odorless and colorless, carbon monoxide is present in exhaust
fumes. Take precautions to avoid its dangerous effects.
If you ever smell exhaust fumes of any kind inside your vehicle,
have your dealer inspect and fix your vehicle immediately. Do
not drive if you smell exhaust fumes. These fumes are harmful and
could kill you.
Have the exhaust and body ventilation systems checked whenever:
²the vehicle is raised for service.
²the sound of the exhaust system changes.
²the vehicle has been damaged in a collision.
Engine exhaust, some of its constituents, and certain vehicle
components contain or emit chemicals known to the State of
California to cause cancer, and birth defects or other reproductive
harm.
Important ventilating information
If the engine is idling while the vehicle is stopped in an open area for
long periods of time, open the windows at least 2.5 cm (one inch).
Adjust the heating or air conditioning (if equipped) to bring in fresh air.
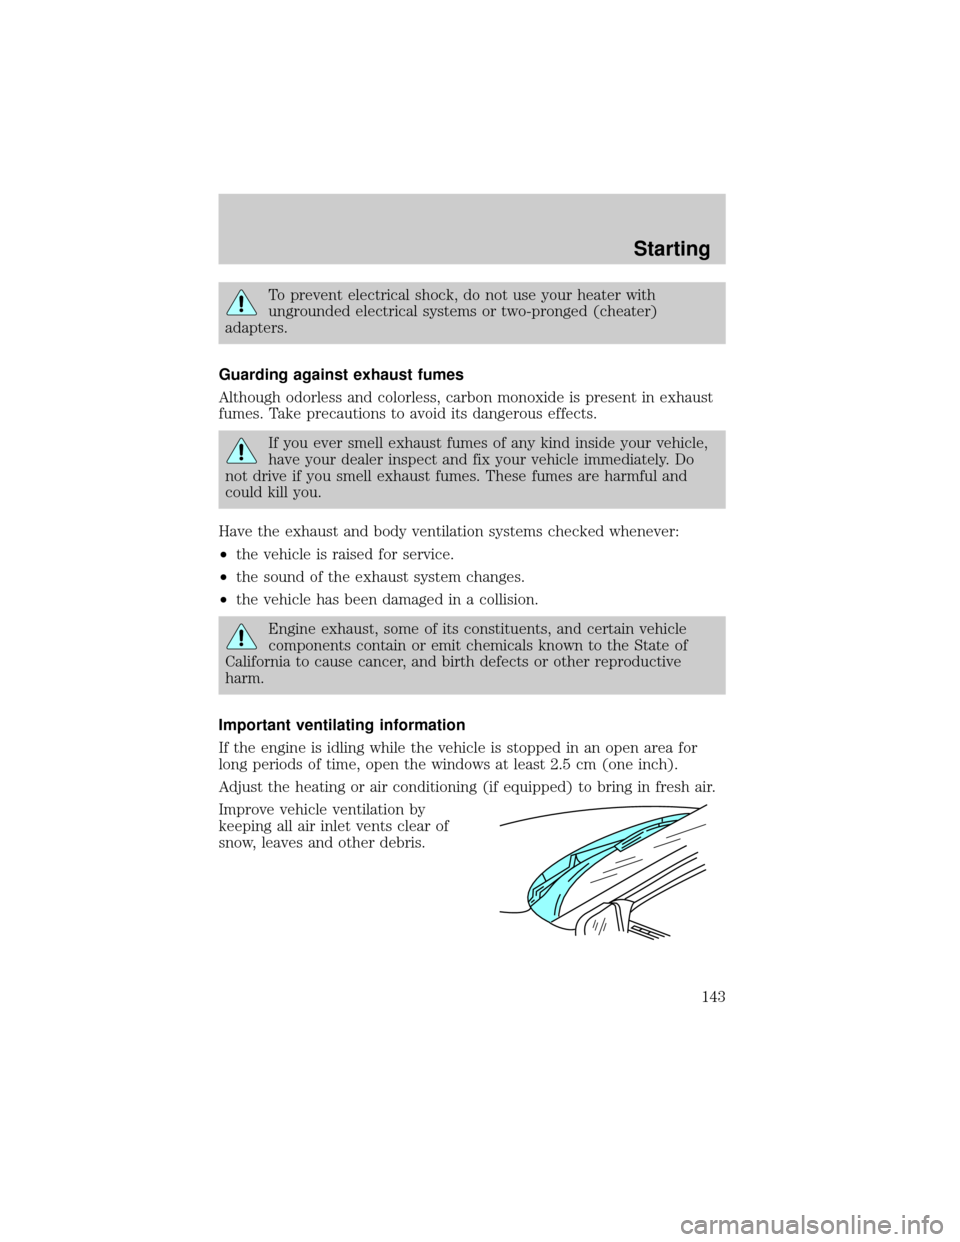
Improve vehicle ventilation by
keeping all air inlet vents clear of
snow, leaves and other debris.
Starting
143
Page 179 of 264

The high-current fuses are coded as follows:
Fuse/Relay
LocationFuse Amp
RatingPower Distribution Box Description
1 60A** I/P Fuse Panel
2 40A** Blower Motor Relay
3 50A** 4 Wheel Anti-Lock Brake System (4WABS)
Module
4 30A** Power Windows, Power Moon Roof, Power
Seat
5 50A** Ignition Switch, Starter Relay
6 20A** Transfer Case Relay
7 Ð Not Used
8 20A** Air Suspension
9 40A** Air Suspension
10 30A** PCM Power Relay
1 10A* A/C Relay
2 30A* Heated Seats
3 30A* Heated Backlight
4 15A* Fog Lamps and Daytime Running Lamps
5 Ð Not Used
5432110 9 8 7 612 11 10 9
876 5
432 1
14 15 13
211
9 6
10 87 5 41
2 3
175
MEGAFUSE
Roadside emergencies
179