lock Mercury Mountaineer 2005 s User Guide
[x] Cancel search | Manufacturer: MERCURY, Model Year: 2005, Model line: Mountaineer, Model: Mercury Mountaineer 2005Pages: 304, PDF Size: 4.34 MB
Page 43 of 304
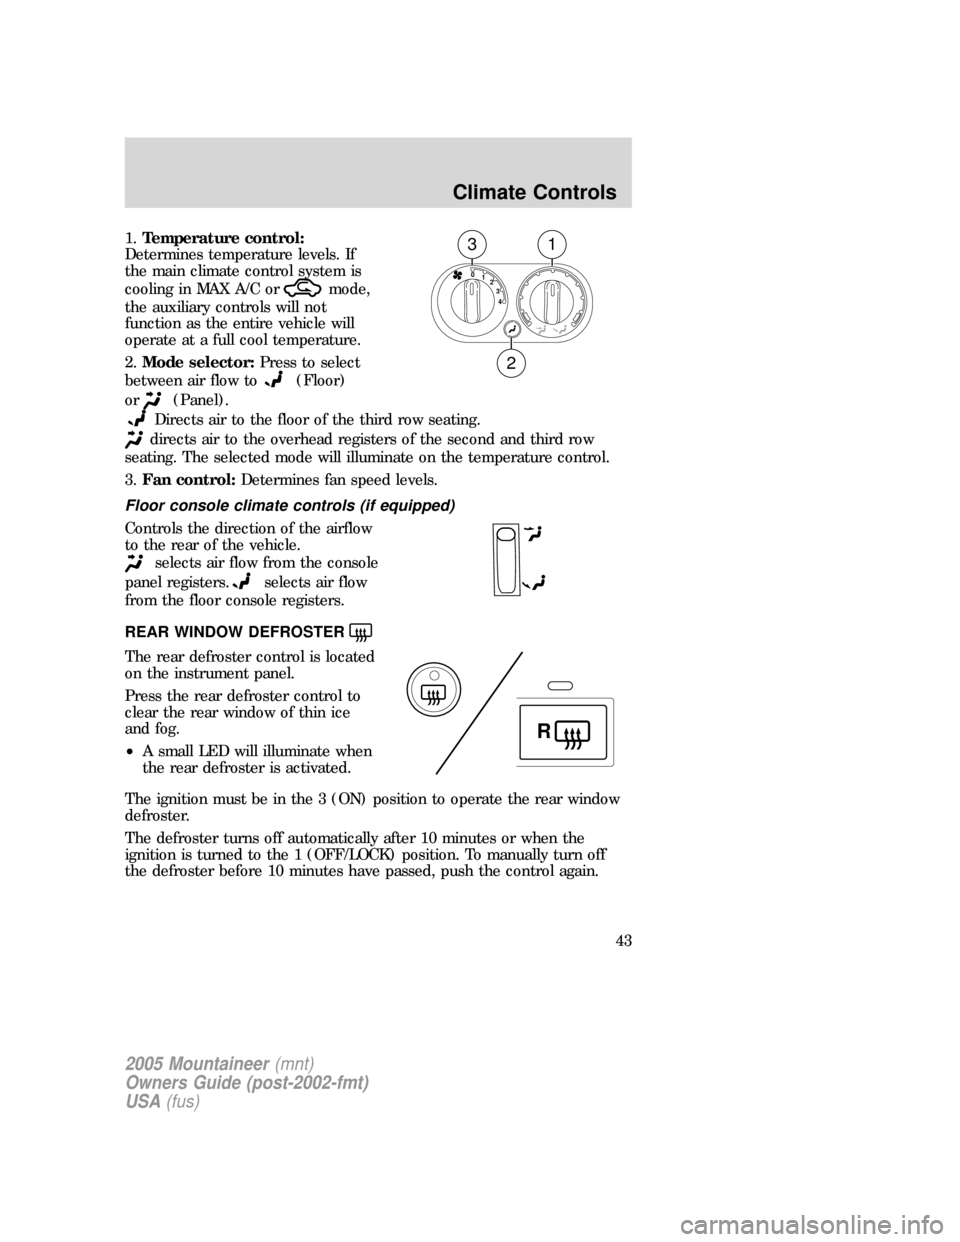
1.Temperature control:
Determines temperature levels. If
the main climate control system is
cooling in MAX A/C or
mode,
the auxiliary controls will not
function as the entire vehicle will
operate at a full cool temperature.
2.Mode selector:Press to select
between air flow to
(Floor)
or
(Panel).
Directs air to the floor of the third row seating.
directs air to the overhead registers of the second and third row
seating. The selected mode will illuminate on the temperature control.
3.Fan control:Determines fan speed levels.
Floor console climate controls (if equipped)
Controls the direction of the airflow
to the rear of the vehicle.
selects air flow from the console
panel registers.
selects air flow
from the floor console registers.
REAR WINDOW DEFROSTER
The rear defroster control is located
on the instrument panel.
Press the rear defroster control to
clear the rear window of thin ice
and fog.
•A small LED will illuminate when
the rear defroster is activated.
The ignition must be in the 3 (ON) position to operate the rear window
defroster.
The defroster turns off automatically after 10 minutes or when the
ignition is turned to the 1 (OFF/LOCK) position. To manually turn off
the defroster before 10 minutes have passed, push the control again.
4 3 2 1 0
31
2
R
2005 Mountaineer(mnt)
Owners Guide (post-2002-fmt)
USA(fus)
Climate Controls
43
Page 44 of 304
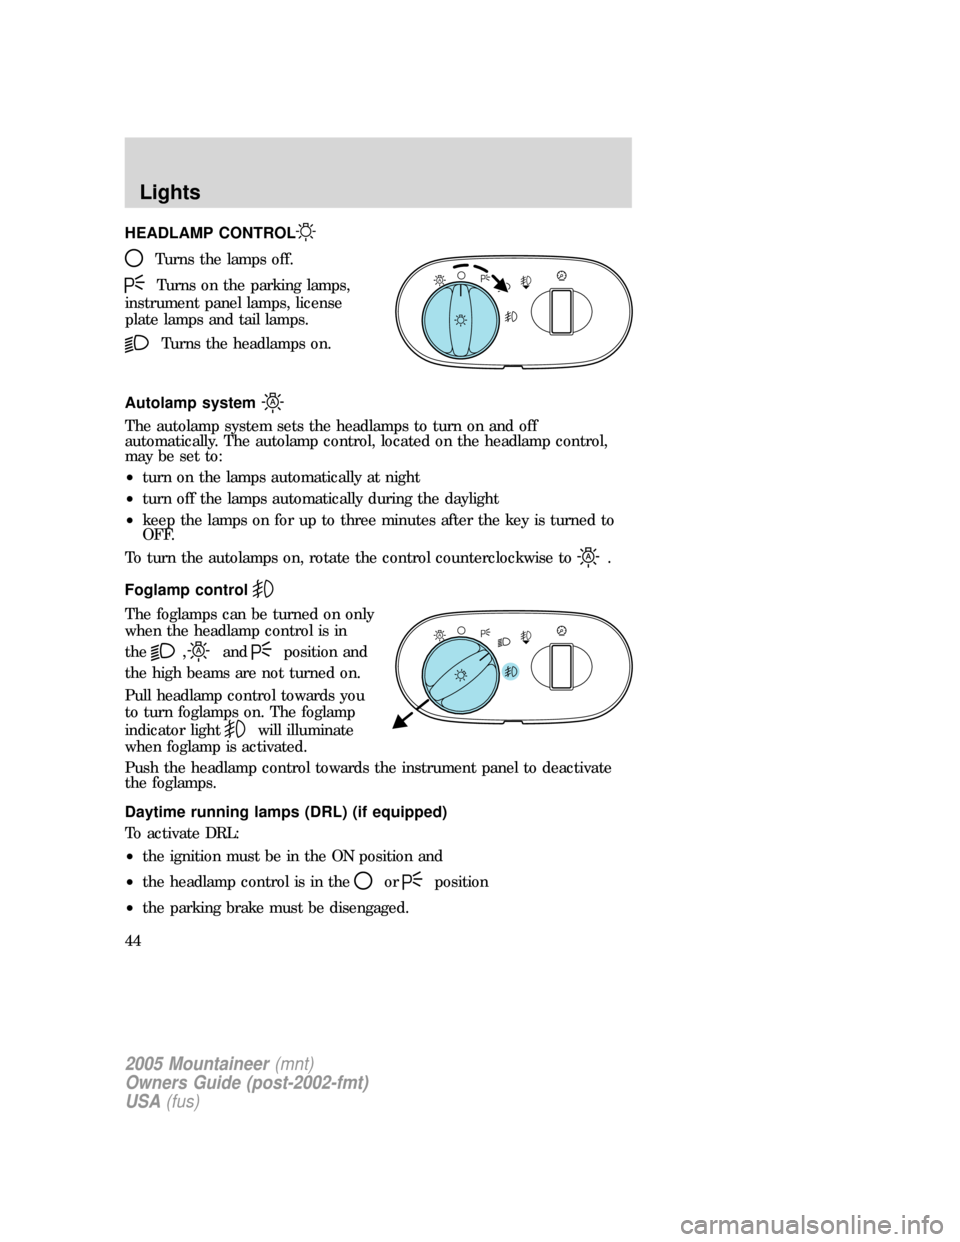
HEADLAMP CONTROL
Turns the lamps off.
Turns on the parking lamps,
instrument panel lamps, license
plate lamps and tail lamps.
Turns the headlamps on.
Autolamp system
The autolamp system sets the headlamps to turn on and off
automatically. The autolamp control, located on the headlamp control,
may be set to:
•turn on the lamps automatically at night
•turn off the lamps automatically during the daylight
•keep the lamps on for up to three minutes after the key is turned to
OFF.
To turn the autolamps on, rotate the control counterclockwise to
.
Foglamp control
The foglamps can be turned on only
when the headlamp control is in
the
,andposition and
the high beams are not turned on.
Pull headlamp control towards you
to turn foglamps on. The foglamp
indicator light
will illuminate
when foglamp is activated.
Push the headlamp control towards the instrument panel to deactivate
the foglamps.
Daytime running lamps (DRL) (if equipped)
To activate DRL:
•the ignition must be in the ON position and
•the headlamp control is in the
orposition
•the parking brake must be disengaged.
A
A
2005 Mountaineer(mnt)
Owners Guide (post-2002-fmt)
USA(fus)
Lights
44
Page 47 of 304

5. Locate the vertical adjuster for
each headlamp. Adjust the aim by
turning the adjuster control either
clockwise (to adjust down) or
counterclockwise (to adjust up).
Note:Usea4mmsocket or box
wrench to turn the vertical adjuster
control.
6. Horizontal aiming is not required
for this vehicle and is
non-adjustable.
TURN SIGNAL CONTROL
•Push down to activate the left
turn signal.
•Push up to activate the right turn
signal.
INTERIOR LAMPS
Dome/reading lamps
The dome lamp lights when:
•any door is opened.
•the instrument panel dimmer
switch is rotated up until the
courtesy lamps come on.
•any of the remote entry controls
are pressed and the ignition is
OFF.
The reading portion, the two outer lights, can only be toggled on and off
at the lamp.
INT2OFFOFFINT1
2005 Mountaineer(mnt)
Owners Guide (post-2002-fmt)
USA(fus)
Lights
47
Page 52 of 304

3. Remove the bulb socket from the
lamp assembly.
4. Carefully pull the old bulb out of
the lamp assembly.
Reverse steps to reinstall bulb(s).
Replacing side-mounted turn signal bulbs
1. Turn the headlamp switch to off.
2. Carefully pry the lamp assembly
away from the fender.
3. Rotate the bulb socket
counterclockwise to remove it from
the lamp assembly.
4. Pull the bulb straight out.
Reverse steps to reinstall bulb(s).
2005 Mountaineer(mnt)
Owners Guide (post-2002-fmt)
USA(fus)
Lights
52
Page 53 of 304

Replacing front/rear side marker bulbs
1. Turn the headlamp switch to off.
2. Reach under the bumper and
rotate the bulb socket
counterclockwise to remove it.
3. Pull the bulb straight out.
Reverse steps to reinstall bulb(s).
Replacing tail/brake/turn/backup lamp bulbs
1. Turn the headlamp switch to OFF
and open the liftgate.
2. Remove the two screws from the
lamp assembly.
3. Remove the lamp assembly.
4. Rotate the bulb socket
counterclockwise and remove it
from the lamp assembly.
5. Pull the bulb straight out of the
socket.
Reverse steps to reinstall bulb(s).
Replacing foglamp bulbs
1. Make sure the headlamp switch is
in the OFF position.
2. Remove the plastic splash shield
by removing the two screws on the
front of the fenderwell.
3. Remove the bulb socket from the
foglamp by turning it
counterclockwise.
4. Disconnect the electrical connector.
Reverse steps to reinstall bulb(s).
2005 Mountaineer(mnt)
Owners Guide (post-2002-fmt)
USA(fus)
Lights
53
Page 54 of 304

Replacing license plate lamp bulbs
1. Make sure the headlamp switch is
in the OFF position and then
remove two screws and the license
plate lamp assembly.
2. Remove the bulb socket from the
lamp assembly by turning
counterclockwise and pull the bulb
straight out.
Reverse steps to reinstall bulb(s).
Replacing high-mount brakelamp bulb
1. Remove the two screws and lamp
assembly from vehicle.
2. Remove the bulb socket from the
lamp assembly by depressing the
snaps and pull the bulb straight out.
Reverse steps to reinstall bulb(s).
2005 Mountaineer(mnt)
Owners Guide (post-2002-fmt)
USA(fus)
Lights
54
Page 56 of 304
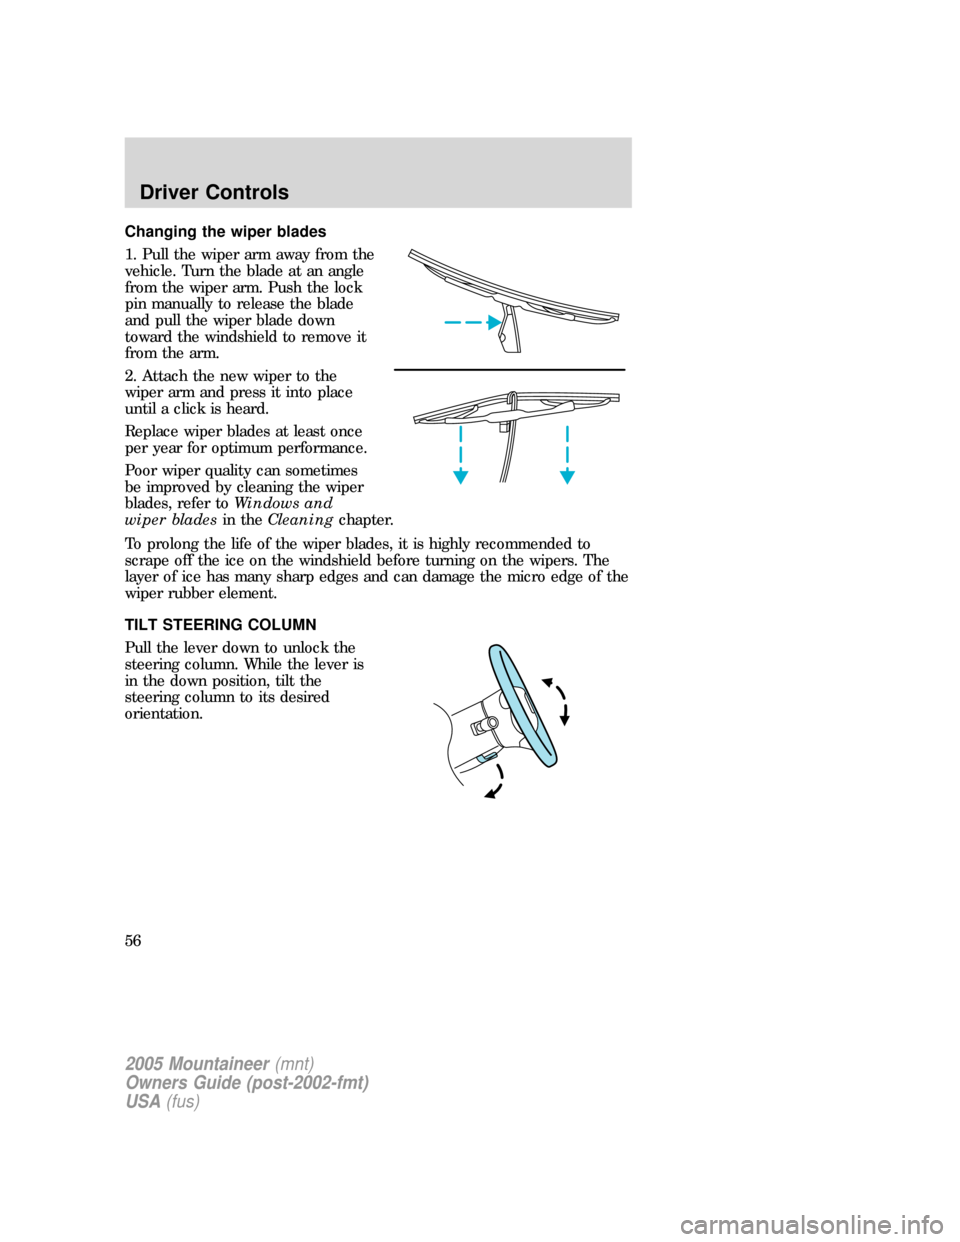
Changing the wiper blades
1. Pull the wiper arm away from the
vehicle. Turn the blade at an angle
from the wiper arm. Push the lock
pin manually to release the blade
and pull the wiper blade down
toward the windshield to remove it
from the arm.
2. Attach the new wiper to the
wiper arm and press it into place
until a click is heard.
Replace wiper blades at least once
per year for optimum performance.
Poor wiper quality can sometimes
be improved by cleaning the wiper
blades, refer toWindows and
wiper bladesin theCleaningchapter.
To prolong the life of the wiper blades, it is highly recommended to
scrape off the ice on the windshield before turning on the wipers. The
layer of ice has many sharp edges and can damage the micro edge of the
wiper rubber element.
TILT STEERING COLUMN
Pull the lever down to unlock the
steering column. While the lever is
in the down position, tilt the
steering column to its desired
orientation.
2005 Mountaineer(mnt)
Owners Guide (post-2002-fmt)
USA(fus)
Driver Controls
56
Page 57 of 304
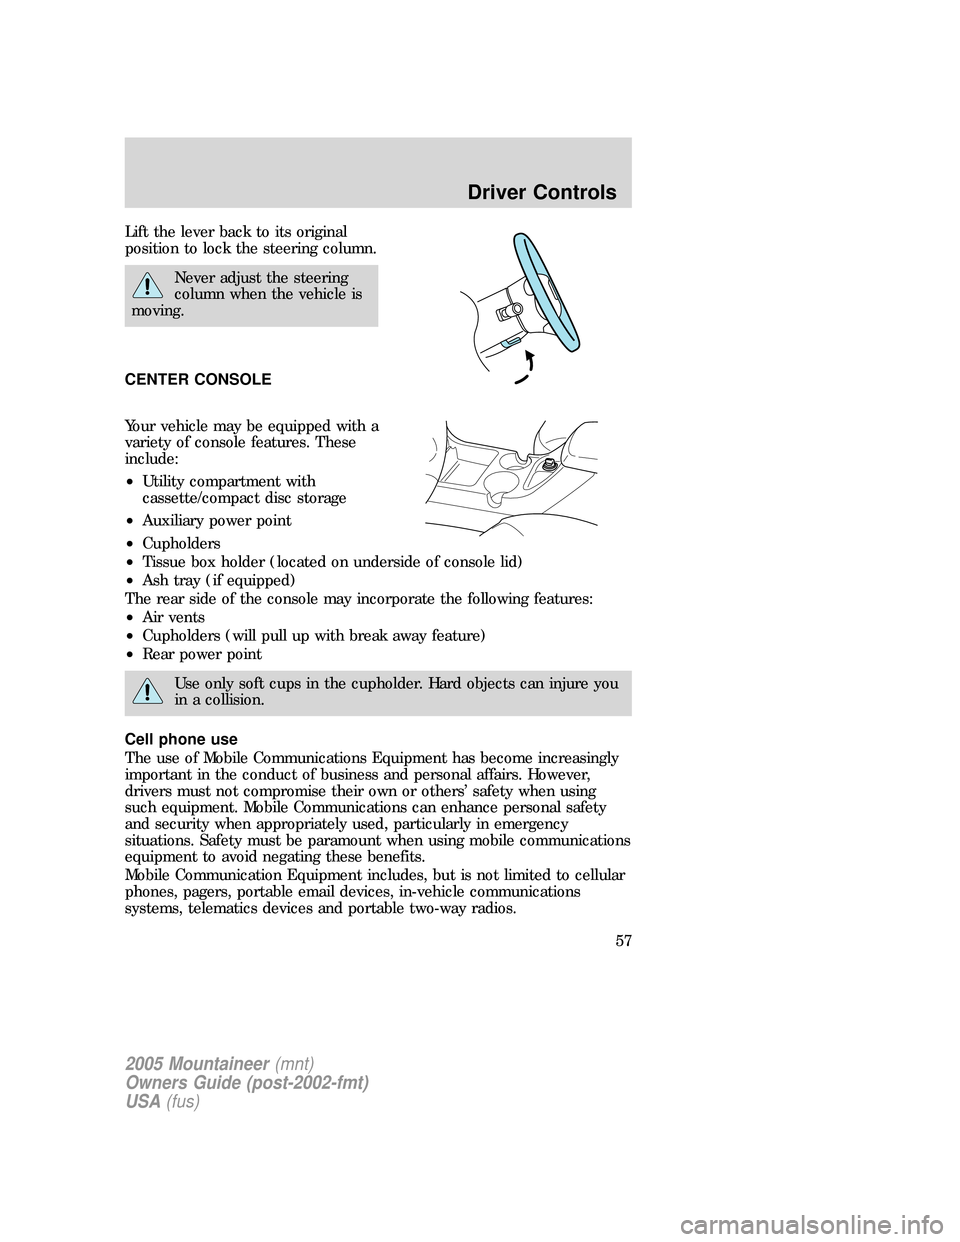
Lift the lever back to its original
position to lock the steering column.
Never adjust the steering
column when the vehicle is
moving.
CENTER CONSOLE
Your vehicle may be equipped with a
variety of console features. These
include:
•Utility compartment with
cassette/compact disc storage
•Auxiliary power point
•Cupholders
•Tissue box holder (located on underside of console lid)
•Ash tray (if equipped)
The rear side of the console may incorporate the following features:
•Air vents
•Cupholders (will pull up with break away feature)
•Rear power point
Use only soft cups in the cupholder. Hard objects can injure you
in a collision.
Cell phone use
The use of Mobile Communications Equipment has become increasingly
important in the conduct of business and personal affairs. However,
drivers must not compromise their own or others’ safety when using
such equipment. Mobile Communications can enhance personal safety
and security when appropriately used, particularly in emergency
situations. Safety must be paramount when using mobile communications
equipment to avoid negating these benefits.
Mobile Communication Equipment includes, but is not limited to cellular
phones, pagers, portable email devices, in-vehicle communications
systems, telematics devices and portable two-way radios.
2005 Mountaineer(mnt)
Owners Guide (post-2002-fmt)
USA(fus)
Driver Controls
57
Page 62 of 304
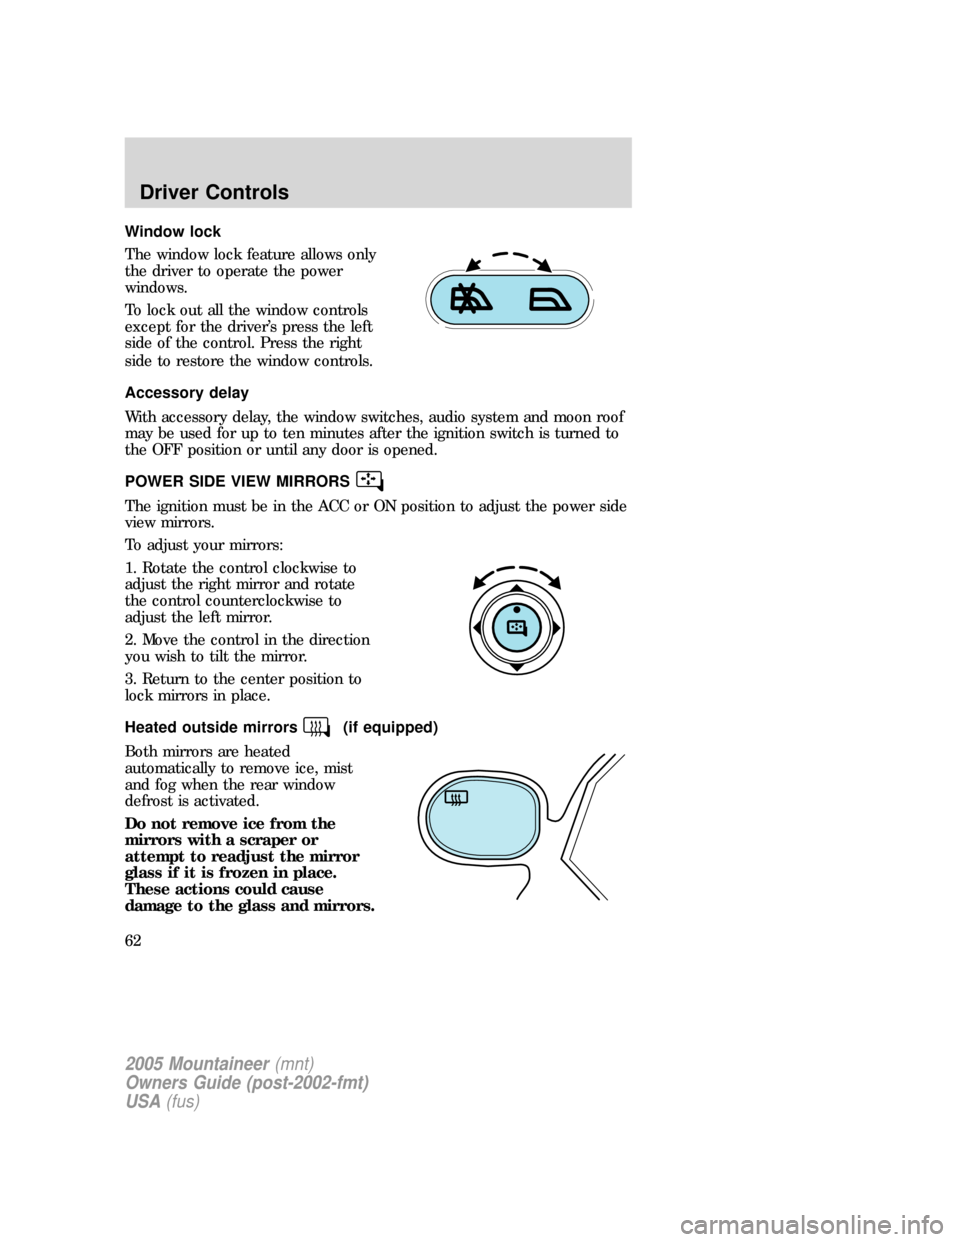
Window lock
The window lock feature allows only
the driver to operate the power
windows.
To lock out all the window controls
except for the driver’s press the left
side of the control. Press the right
side to restore the window controls.
Accessory delay
With accessory delay, the window switches, audio system and moon roof
may be used for up to ten minutes after the ignition switch is turned to
the OFF position or until any door is opened.
POWER SIDE VIEW MIRRORS
The ignition must be in the ACC or ON position to adjust the power side
view mirrors.
To adjust your mirrors:
1. Rotate the control clockwise to
adjust the right mirror and rotate
the control counterclockwise to
adjust the left mirror.
2. Move the control in the direction
you wish to tilt the mirror.
3. Return to the center position to
lock mirrors in place.
Heated outside mirrors
(if equipped)
Both mirrors are heated
automatically to remove ice, mist
and fog when the rear window
defrost is activated.
Do not remove ice from the
mirrors with a scraper or
attempt to readjust the mirror
glass if it is frozen in place.
These actions could cause
damage to the glass and mirrors.
2005 Mountaineer(mnt)
Owners Guide (post-2002-fmt)
USA(fus)
Driver Controls
62
Page 63 of 304
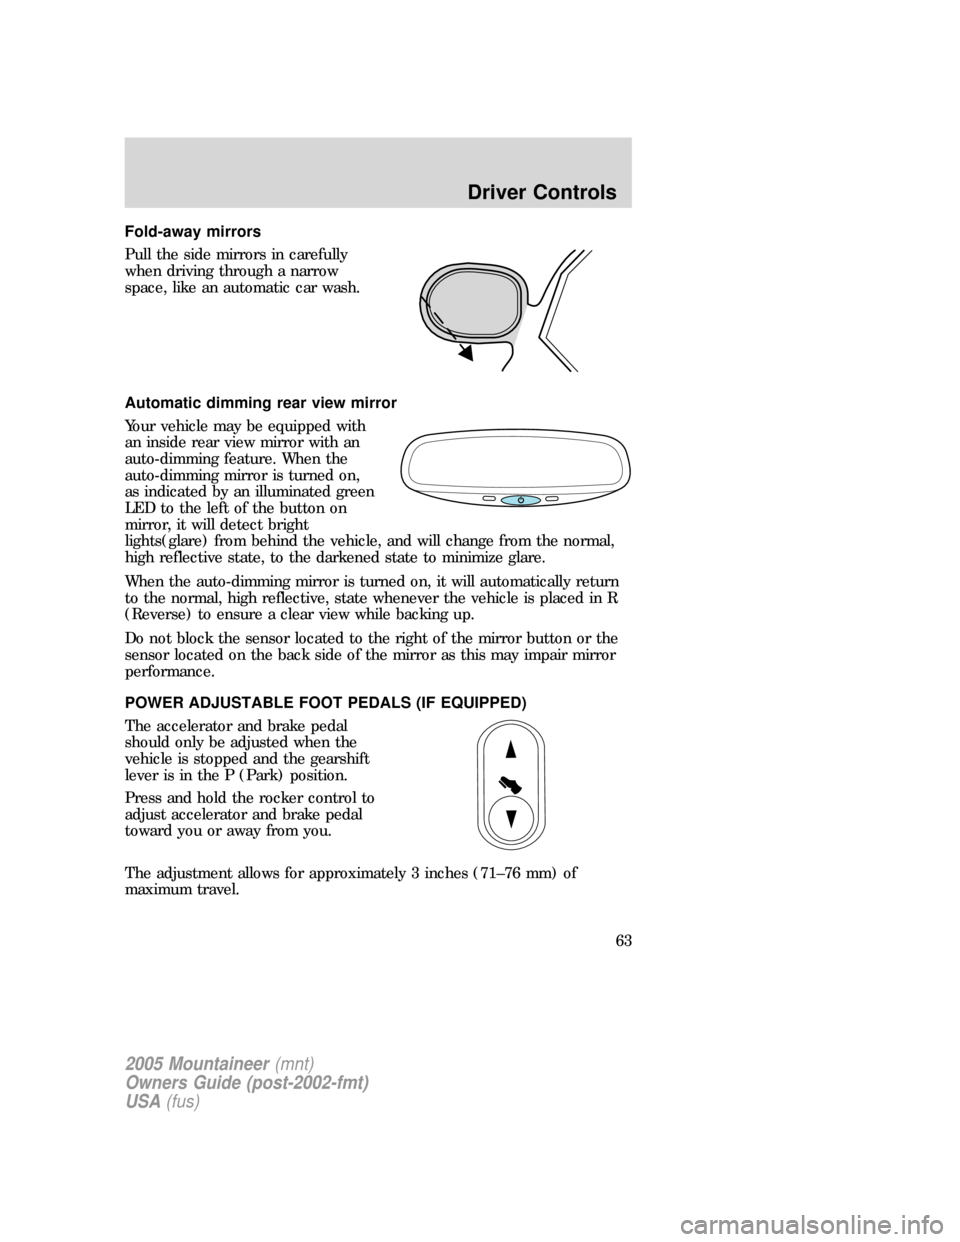
Fold-away mirrors
Pull the side mirrors in carefully
when driving through a narrow
space, like an automatic car wash.
Automatic dimming rear view mirror
Your vehicle may be equipped with
an inside rear view mirror with an
auto-dimming feature. When the
auto-dimming mirror is turned on,
as indicated by an illuminated green
LED to the left of the button on
mirror, it will detect bright
lights(glare) from behind the vehicle, and will change from the normal,
high reflective state, to the darkened state to minimize glare.
When the auto-dimming mirror is turned on, it will automatically return
to the normal, high reflective, state whenever the vehicle is placed in R
(Reverse) to ensure a clear view while backing up.
Do not block the sensor located to the right of the mirror button or the
sensor located on the back side of the mirror as this may impair mirror
performance.
POWER ADJUSTABLE FOOT PEDALS (IF EQUIPPED)
The accelerator and brake pedal
should only be adjusted when the
vehicle is stopped and the gearshift
lever is in the P (Park) position.
Press and hold the rocker control to
adjust accelerator and brake pedal
toward you or away from you.
The adjustment allows for approximately 3 inches (71–76 mm) of
maximum travel.
2005 Mountaineer(mnt)
Owners Guide (post-2002-fmt)
USA(fus)
Driver Controls
63