instrument panel Mercury Mountaineer 2005 Quick Reference Guide
[x] Cancel search | Manufacturer: MERCURY, Model Year: 2005, Model line: Mountaineer, Model: Mercury Mountaineer 2005Pages: 12, PDF Size: 1.26 MB
Page 2 of 12

Specifications
LOCATION OF THE SPARE TIRE AND TOOLS
The spare tire is located under the vehicle,
just forward of the rear bumper. The spare
tire winch drive nut is located at the rear
center of the cargo area, under a lid. The
jack, lug nut wrench and jack handle are
located behind the rear seat under the
carpeted floor lid in the cargo floor.
FUSES
If electrical components in your vehicle are
not working, a fuse may have blown. The
fuse panel is below the instrument panel on
the driver’s side; remove the cover to view
the fuses. To learn about changing fuses,
please see your Owner’s Guide.
UNLEADED FUEL RECOMMENDATIONS
Use “Regular” unleaded gasoline with an
(R+M)/2 octane rating of 87. Mercury does
not recommend using “Regular” gasoline
with an octane rating of 86 or lower in high
altitude areas.
TIRE PRESSURE
Your tire pressure is properly set at the
dealership according to the recommended
specifications found on the Tire Pressure
Label on the driver’s door jamb. Please
check your tire pressure during routinemaintenance and seasonal changes. If the
Tire Pressure Monitoring System light (if
equipped) stays illuminated after starting,
immediately check your tire pressure.
Warning: Improperly inflated tires can affect
vehicle handling and can fail suddenly,
possibly resulting in loss of vehicle control.
CHANGING THE TIRES
Your spare tire is not equipped with a Tire
Pressure Monitoring System (TPMS) sensor.
The TPMS warning light (if equipped) will
illuminate when the spare is in use. Replace
the spare with the road tire as soon as
possible. If your vehicle is equipped with
AWD, remember that a spare tire of a
different size should not be used. It can make
your vehicle difficult to control and can result
in damage to driveline components. If you
get a flat tire while driving, do not apply the
brake heavily. Instead, gradually decrease
your speed. Hold the steering wheel firmly
and slowly move to a safe place on the side
of the road.
ROADSIDE ASSISTANCE
During your vehicle’s 3�year/36,000�mile
limited warranty period, every new Mercury
vehicle includes the assurance and support
of a 24�hour emergency Roadside Assistance
program. Roadside Assistance includes such
services as fuel delivery, tire changes, jump
starts, and help when you are locked out of
your vehicle.
Please complete your Roadside Assistance
identification card and keep it in your wallet
for quick reference. This card can be found in
your glove compartment, in your Mercury
Owner’s Guide portfolio. To receive roadside
assistance in the United States for Ford or
Mercury vehicles, call 1�800�241�3673.
Page 7 of 12

The luxurious Mountaineerwas
designed to enhance the way you live and help you
handle your driving environment. It comes with many
sophisticated features – you’ll find some are intuitive, others
may be new to you.
Take a few minutes to use this Quick Reference Guide with the
accompanying CD�ROM. Insert the CD into any audio CD
player; find the numbered callouts on the instrument panel
portion of this guide, then select the corresponding number on
the CD audio track for a fast, convenient introduction
to Mountaineer.
For details, place the CD into your computer (the CD jacket will
tell you if your computer meets the minimum configuration
requirements) or consult your Owner’s Guide.
This vehicle handles differently from an ordinary
passenger car in driving conditions which may
occur on streets and highways and off�road.
DRIVE WITH CARE AND WEAR A SAFETY BELT AT ALL TIMES. Ford urges
you to read the Owner’s Guide and Driving Your SUV or Truck Supplement
for further information on safe driving precautions and instructions.
1
Page 10 of 12

2
4
5
3
Interior Features
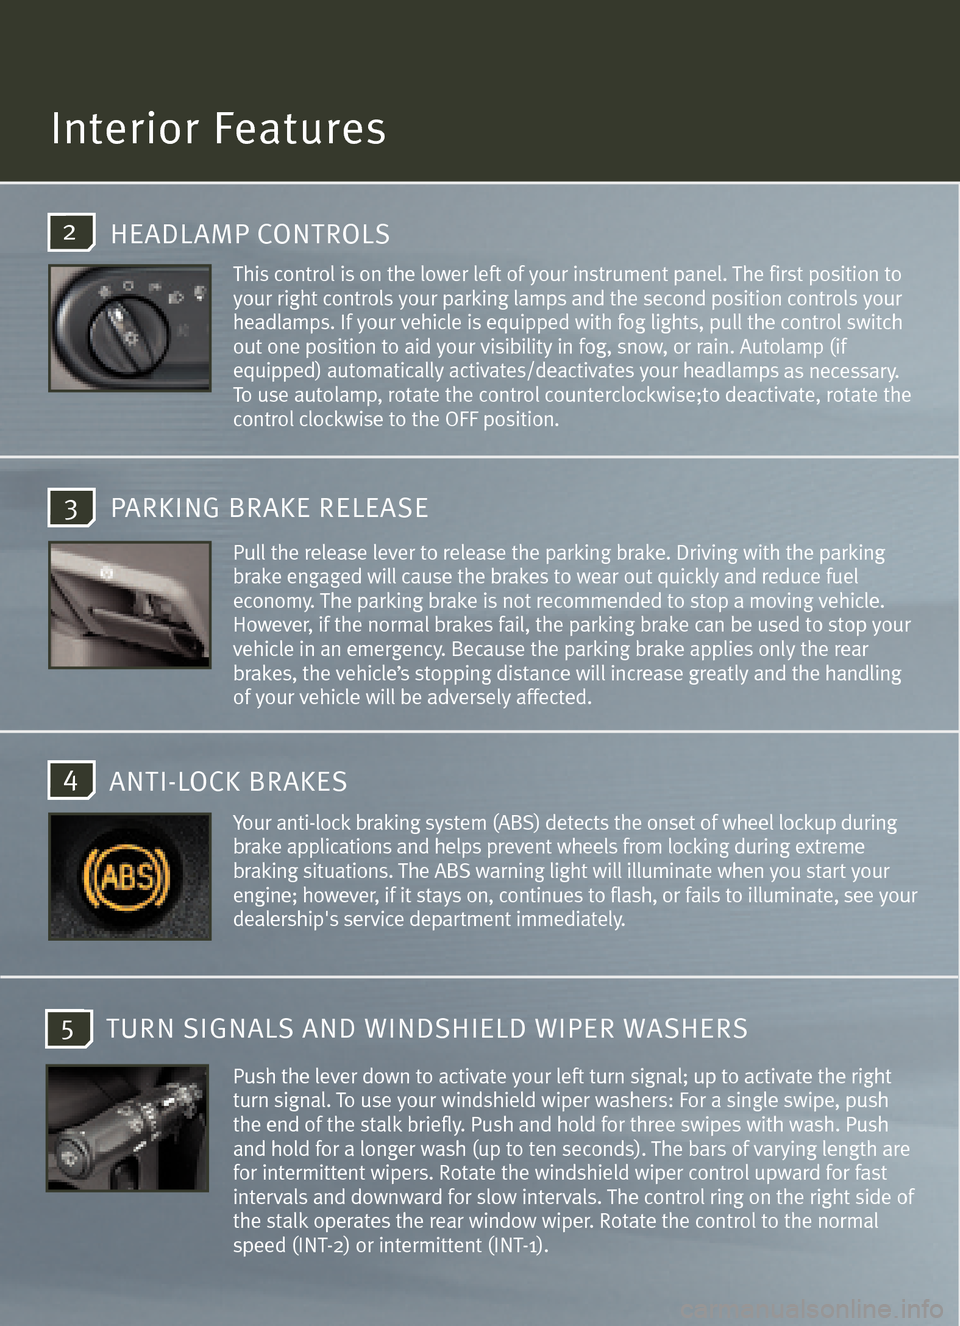
HEADLAMP CONTROLS
Pull the release lever to release the parking brake. Driving with the parkingbrake engaged will cause the brakes to wear out quickly and reduce fuel
economy.The parking brake is not recommended to stop a moving vehicle.
However, if the normal brakes fail, the parking brake can be used to stop your
vehicle in an emergency. Because the parking brake applies only the rear
brakes, the vehicle’s stopping distance will increase greatly and the handling
of your vehicle will be adversely affected.
Your anti�lock braking system (ABS) detects the onset of wheel lockup during
brake applications and helps prevent wheels from locking during extreme
braking situations. The ABS warning light will illuminate when you start your
engine; however, if it stays on, continues to flash, or fails to illuminate, see your
dealership's service department immediately.
ANTI�LOCK BRAKES
Push the lever down to activate your left turn signal; up to activate the right
turn signal. To use your windshield wiper washers: For a single swipe, push
the end of the stalk briefly. Push and hold for three swipes with wash. Push
and hold for a longer wash (up to ten seconds). The bars of varying length are
for intermittent wipers. Rotate the windshield wiper control upward for fast
intervals and downward for slow intervals. The control ring on the right side of
the stalk operates the rear window wiper. Rotate the control to the normal
speed (INT�2) or intermittent (INT�1).
TURN SI GNALS AND WINDSHIELD WIPER WASHERS
This control is on the lower left of your instrument panel. The first position to
your right controls your parking lamps and the second position controls your
headlamps. If your vehicle is equipped with fog lights, pull the control switch
out one position to aid your visibility in fog, snow, or rain.
Autolamp (if
equipped) automatically activates/deactivates your headlampsas necessary.
To use autolamp, rotate the control counterclockwise;to deactivate, rotate the
control clockwise to the OFF position.
PARKING BRAKE RELEASE
Page 11 of 12

8
10
11
7
9
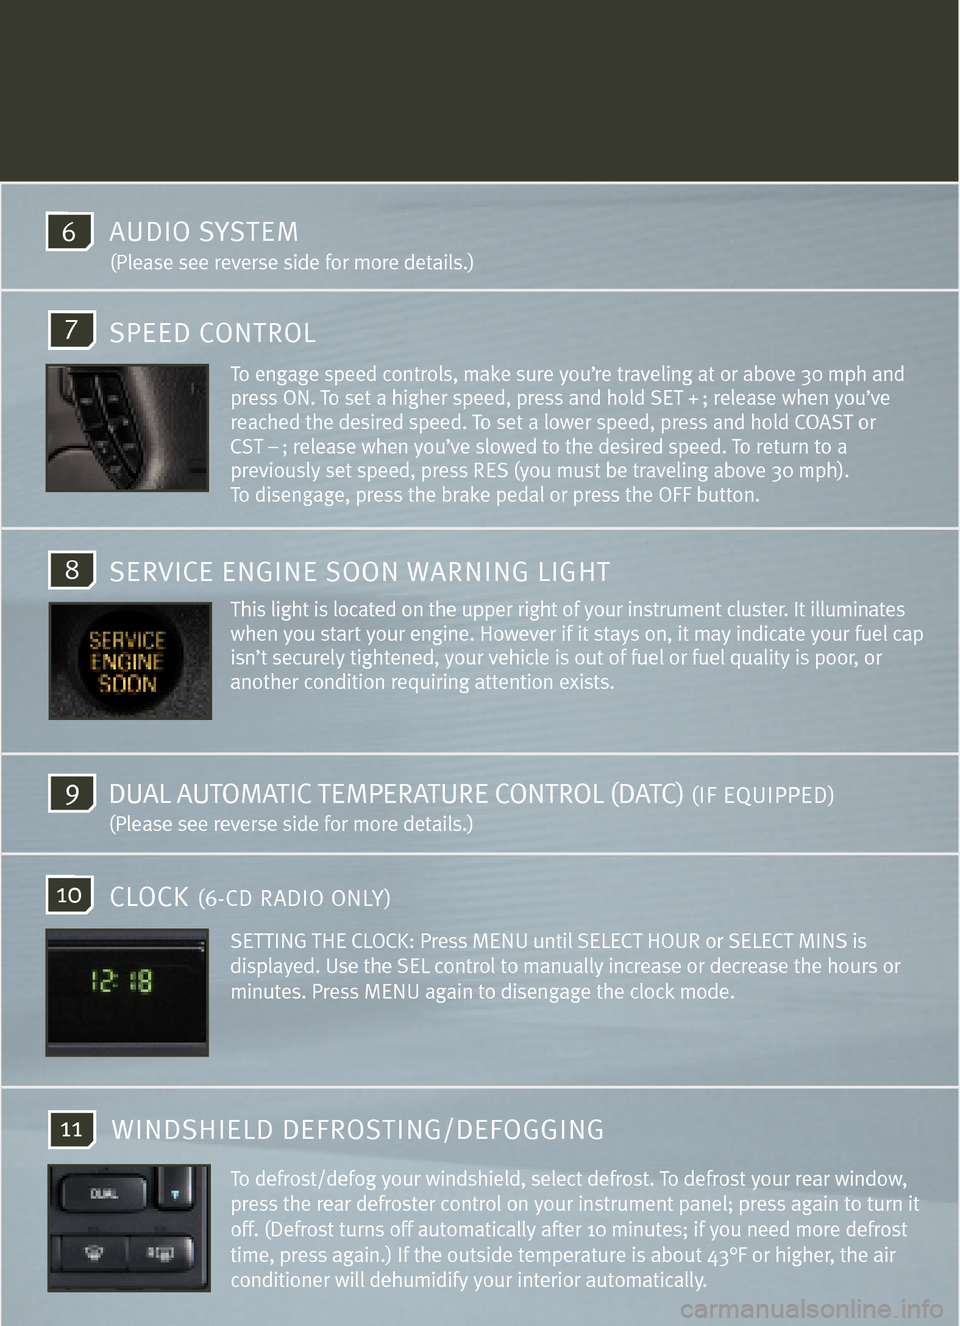
To engage speed controls, make sure you’re traveling at or above 30 mph and
press ON. To set a higher speed, press and hold SET + ; release when you’ve
reached the desired speed. To set a lower speed, press and hold COAST or
CST – ; release when you’ve slowed to the desired speed. To return to a
previously set speed, press RES (you must be traveling above 30 mph).
To disengage, press the brake pedal or press the OFF button.
SPEED CONTROL
SERVICE ENGINE SOON WARNING LIGHT
DUAL AUTOMATIC TEMPERATURE CONTROL (DATC) (IF EQUIPPED)
(Please see reverse side for more details.)
To defrost/defog your windshield, select defrost. To defrost your rear window,
press the rear defroster control on your instrument panel; press again to turn it
off. (Defrost turns off automatically after 10 minutes; if you need more defrost
time, press again.) If the outside temperature is about 43°F or higher, the air
conditioner will dehumidify your interior automatically.
CLOCK (6�CD RADIO ONLY)
WINDSHIELD DEFROSTING/DEFOGGING
6AUDIO SYSTEM
(Please see reverse side for more details.)
SETTING THE CLOCK: Press MENU until SELECT HOUR or SELECT MINS is
displayed. Use the SEL control to manually increase or decrease the hours or
minutes. Press MENU again to disengage the clock mode.
This light is located on the upper right of your instrument cluster. It illuminates
when you start your engine. However if it stays on, it may indicate your fuel cap
isn’t securely tightened, your vehicle is out of fuel or fuel quality is poor, or
another condition requiring attention exists.