change Mercury Mountaineer 2010 s User Guide
[x] Cancel search | Manufacturer: MERCURY, Model Year: 2010, Model line: Mountaineer, Model: Mercury Mountaineer 2010Pages: 390, PDF Size: 2.75 MB
Page 60 of 390
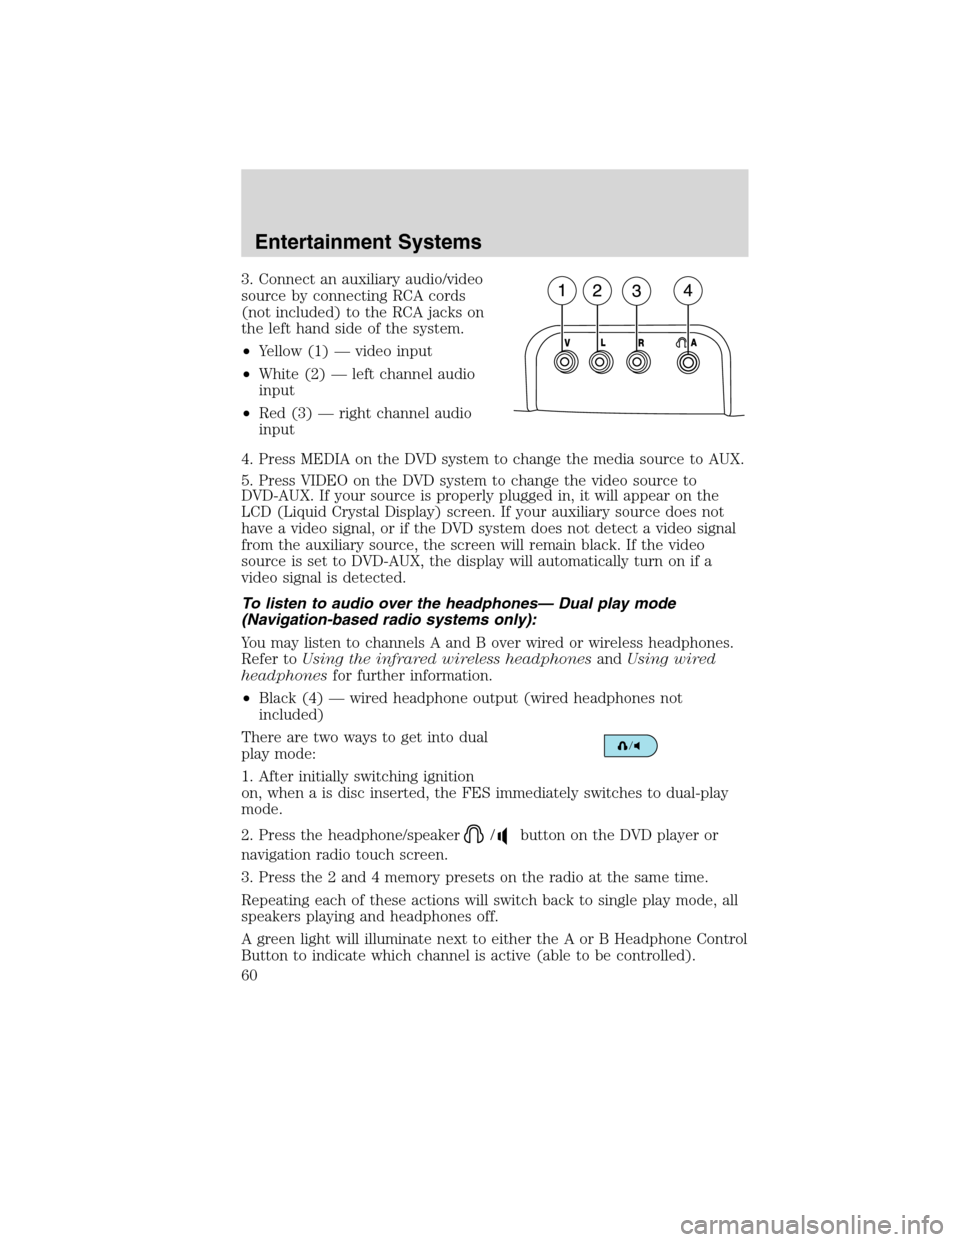
3. Connect an auxiliary audio/video
source by connecting RCA cords
(not included) to the RCA jacks on
the left hand side of the system.
•Yellow (1) — video input
•White (2) — left channel audio
input
•Red (3) — right channel audio
input
4. Press MEDIA on the DVD system to change the media source to AUX.
5. Press VIDEO on the DVD system to change the video source to
DVD-AUX. If your source is properly plugged in, it will appear on the
LCD (Liquid Crystal Display) screen. If your auxiliary source does not
have a video signal, or if the DVD system does not detect a video signal
from the auxiliary source, the screen will remain black. If the video
source is set to DVD-AUX, the display will automatically turn on if a
video signal is detected.
To listen to audio over the headphones— Dual play mode
(Navigation-based radio systems only):
You may listen to channels A and B over wired or wireless headphones.
Refer toUsing the infrared wireless headphonesandUsing wired
headphonesfor further information.
•Black (4) — wired headphone output (wired headphones not
included)
There are two ways to get into dual
play mode:
1. After initially switching ignition
on, when a is disc inserted, the FES immediately switches to dual-play
mode.
2. Press the headphone/speaker
/button on the DVD player or
navigation radio touch screen.
3. Press the 2 and 4 memory presets on the radio at the same time.
Repeating each of these actions will switch back to single play mode, all
speakers playing and headphones off.
A green light will illuminate next to either the A or B Headphone Control
Button to indicate which channel is active (able to be controlled).
Entertainment Systems
60
2010 Mountaineer(mnt)
Owners Guide(own2002), 1st Printing
USA(fus)
Page 61 of 390
4. Press MEDIA to change the audio source of the active channel (A or
B). The audio source will be shown on the display. You may change the
active channel by pressing the A or B headphone control button.
Note:Channel A can access any possible media source (AM, FM1, FM2,
SAT (if equipped), CD, DVD, AUX). Channel B can only access DVD and
AUX sources.
Note:Refer toSingle play/Dual playfor more information.
To listen to audio over the headphones— Dual play mode
(Non-navigation based radio systems):
You may listen to channels A and B over wired or wireless headphones.
Refer toUsing the infrared wireless headphonesandUsing wired
headphonesfor further information.
•Black (4) — wired headphone output (wired headphones not
included)
1. Press the
headphone/speaker
/button
on the DVD player or press the 2
and 4 memory presets on the radio at the same time.
A green light will illuminate next to either the A or B Headphone Control
Button to indicate which channel is active (able to be controlled).
2. Press MEDIA to change the audio source of the active channel (A or
B). The audio source will be shown on the display. You may change the
active channel by pressing the A or B headphone control button.
Note:Channel A can access any possible media source (AM, FM1, FM2,
SAT (if equipped), CD, DVD, AUX). Channel B can only access DVD and
AUX sources.
Note:Refer toSingle play/Dual playfor more information.
Using the infrared (IR) wireless headphones:
1. Press the power control on the earpiece to turn the headphones ON.
2. Select Channel A or B for each set of wireless headphones by using
the A/B control on the ear piece.
3. Adjust the headphone volume using the rotary dial on the earpiece.
Entertainment Systems
61
2010 Mountaineer(mnt)
Owners Guide(own2002), 1st Printing
USA(fus)
Page 73 of 390
Single Play:Single play consists of all occupants in the vehicle listening
to the same playing media over the front and rear speakers. When the
DVD system is on, and the same source is playing through the front and
rear speakers, SINGLE PLAY will appear in the front radio display.
Dual Play (navigation-based radio systems only):Dual play is when
the rear seat passengers choose to listen to a different playing media
than the front seat passengers. With the DVD and rear seat controls
turned ON, the rear seat passengers may choose to listen to the radio,
CD, MP3, SYNC, DVD, or DVD-AUX media sources over headphones
while the front speakers play the chosen selection for the front audio
system, they may listen to another over the headphones. DUAL PLAY
will appear in the radio display.
When both the front seat passengers and the rear seat passengers listen
to the same audio source, SHARED MODE will appear on the radio.
Note:If the front seat passengers are listening to the radio, the rear seat
passengers can also listen to the radio; however, they will be limited to
listening to the same radio channel.
There are two ways to get into dual play mode:
1. After initially turning ignition on, when a disc is inserted, the FES
immediately switches to dual-play mode.
2. Press
the
/headphone/speaker
button on the DVD player or
navigation radio touch screen.
3. Press the 2 and 4 memory presets on the radio at the same time.
Repeating each of these actions will switch back to single play mode, all
speakers playing and headphones off.
The headphone control will now be active and a green light next to the
A or B headphone control buttons will illuminate. The system can output
two different audio sources over the headphones. These are called
Channel A and Channel B. Both Channel A and Channel B can be
listened to on the wired headphones (not included) or on the infrared
(IR) wireless headphones.
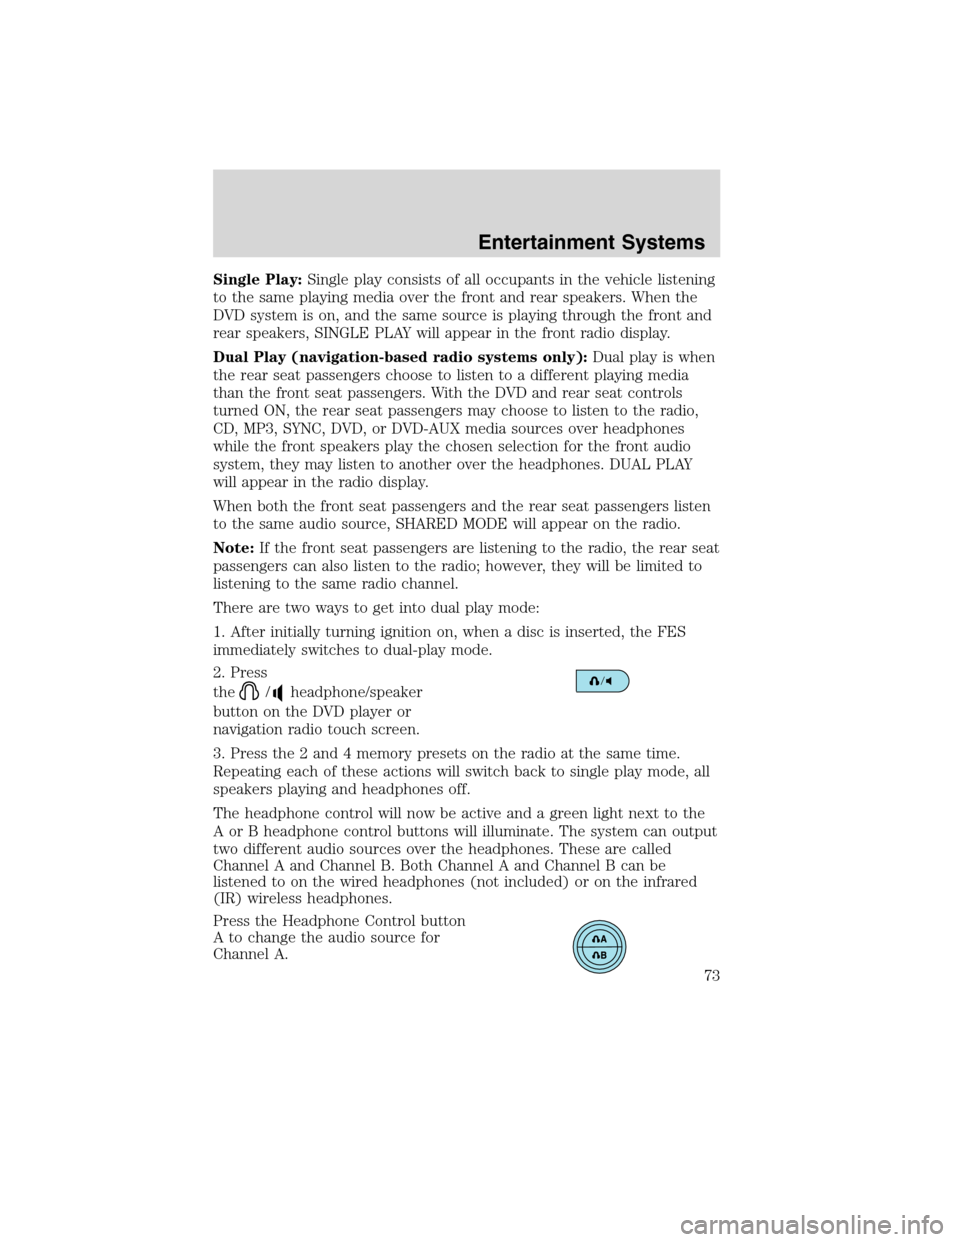
Press the Headphone Control button
A to change the audio source for
Channel A.
Entertainment Systems
73
2010 Mountaineer(mnt)
Owners Guide(own2002), 1st Printing
USA(fus)
Page 74 of 390
Press MEDIA to change the audio
source for Channel A. This
information will display on the DVD
system screen.
Press the Headphone Control button
B to change the audio source for
Channel B.
Press MEDIA to change the audio source for Channel B. This information
will display on the DVD system screen. Channel B can listen to either
the DVD media or the DVD system auxiliary inputs (DVD-AUX).
Dual Play (non-navigation based radio systems):Dual play is when
the rear seat passengers choose to listen to a different playing media
than the front seat passengers. With the DVD and rear seat controls
turned ON, the rear seat passengers may choose to listen to the radio,
CD, MP3, DVD, or DVD-AUX media sources over headphones while the
front speakers play the chosen selection for the front audio system, they
may listen to another over the headphones. DUAL PLAY will appear in
the radio display.
When both the front seat passengers and the rear seat passengers listen
to the same audio source, SHARED MODE will appear on the radio.
Note:If the front seat passengers are listening to the radio, the rear seat
passengers can also listen to the radio; however, they will be limited to
listening to the same radio channel.
Press the
/headphone/speaker
button on the DVD player or
navigation radio touch screen.
The headphone control will now be active and a green light next to the
A or B headphone control buttons will illuminate. The system can output
two different audio sources over the headphones. These are called
Channel A and Channel B. Both Channel A and Channel B can be
listened to on the wired headphones (not included) or on the infrared
(IR) wireless headphones.
Entertainment Systems
74
2010 Mountaineer(mnt)
Owners Guide(own2002), 1st Printing
USA(fus)
Page 75 of 390
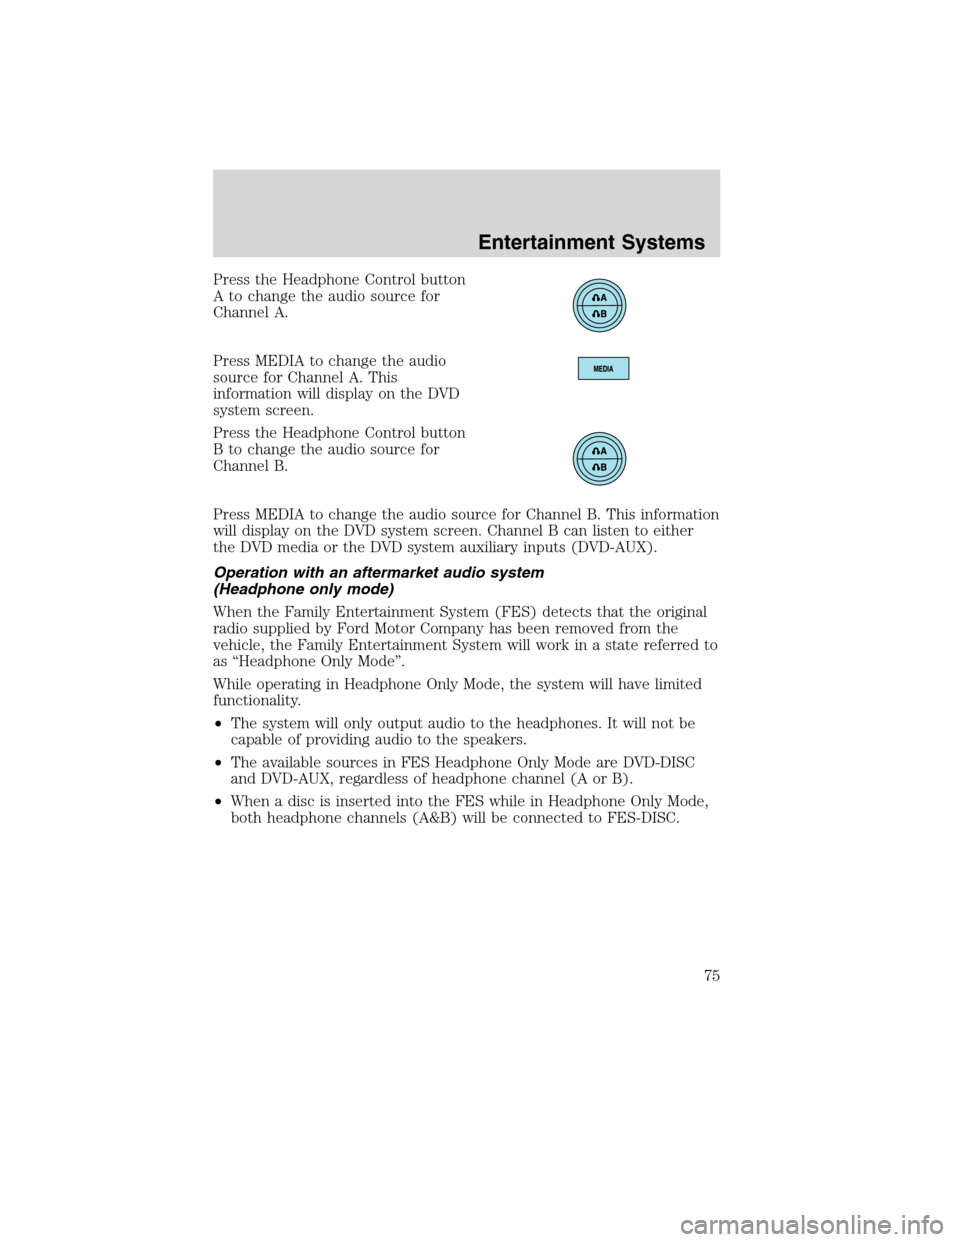
Press the Headphone Control button
A to change the audio source for
Channel A.
Press MEDIA to change the audio
source for Channel A. This
information will display on the DVD
system screen.
Press the Headphone Control button
B to change the audio source for
Channel B.
Press MEDIA to change the audio source for Channel B. This information
will display on the DVD system screen. Channel B can listen to either
the DVD media or the DVD system auxiliary inputs (DVD-AUX).
Operation with an aftermarket audio system
(Headphone only mode)
When the Family Entertainment System (FES) detects that the original
radio supplied by Ford Motor Company has been removed from the
vehicle, the Family Entertainment System will work in a state referred to
as “Headphone Only Mode”.
While operating in Headphone Only Mode, the system will have limited
functionality.
•The system will only output audio to the headphones. It will not be
capable of providing audio to the speakers.
•The available sources in FES Headphone Only Mode are DVD-DISC
and DVD-AUX, regardless of headphone channel (A or B).
•When a disc is inserted into the FES while in Headphone Only Mode,
both headphone channels (A&B) will be connected to FES-DISC.
Entertainment Systems
75
2010 Mountaineer(mnt)
Owners Guide(own2002), 1st Printing
USA(fus)
Page 77 of 390
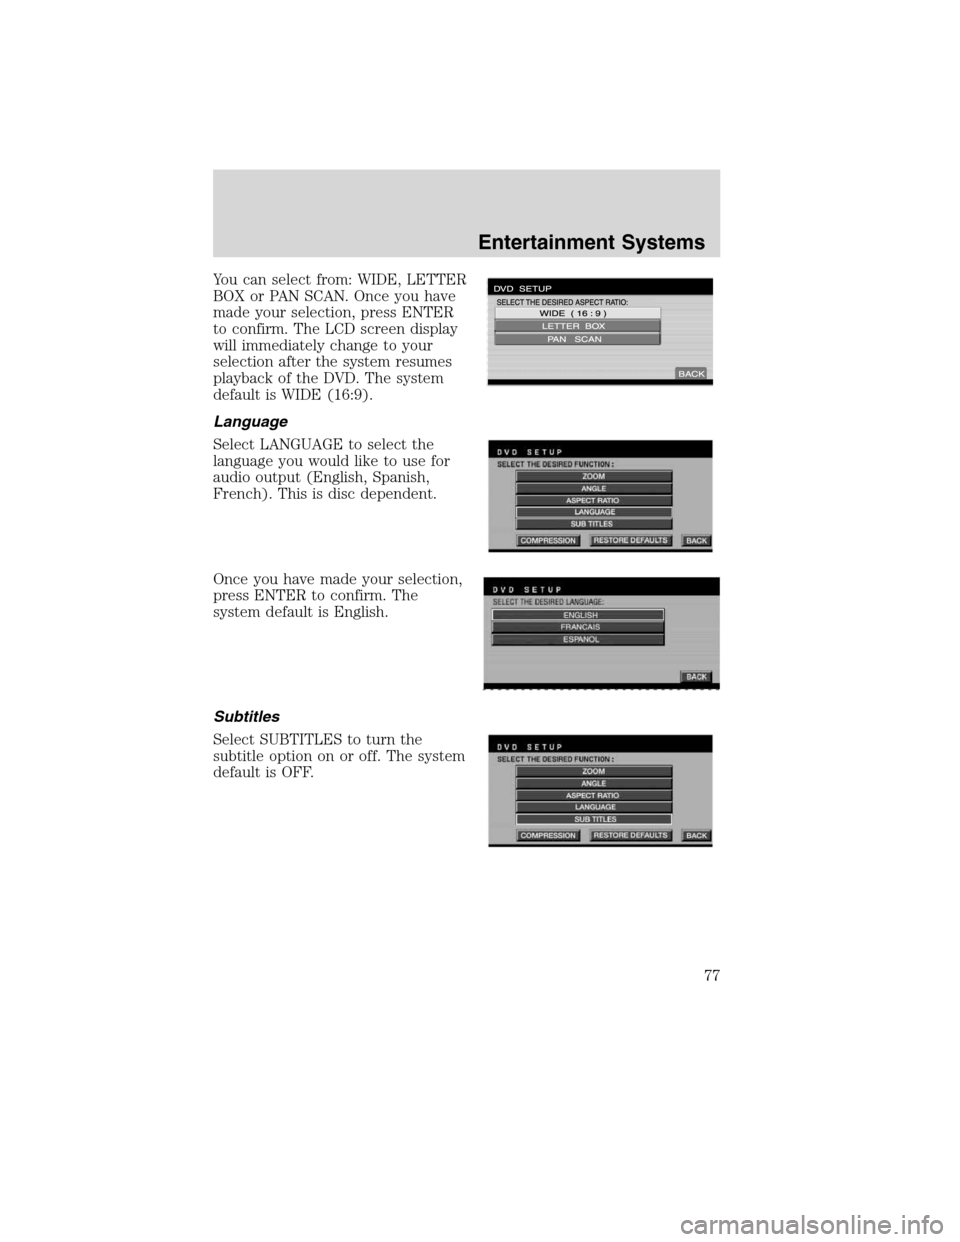
You can select from: WIDE, LETTER
BOX or PAN SCAN. Once you have
made your selection, press ENTER
to confirm. The LCD screen display
will immediately change to your
selection after the system resumes
playback of the DVD. The system
default is WIDE (16:9).
Language
Select LANGUAGE to select the
language you would like to use for
audio output (English, Spanish,
French). This is disc dependent.
Once you have made your selection,
press ENTER to confirm. The
system default is English.
Subtitles
Select SUBTITLES to turn the
subtitle option on or off. The system
default is OFF.
Entertainment Systems
77
2010 Mountaineer(mnt)
Owners Guide(own2002), 1st Printing
USA(fus)
Page 83 of 390
•DVD MENU
•DVD STOP
Audio interaction
You can then also use the front audio controls to advance, reverse, play
and pause a DVD. While a DVD is playing you may use the following
controls on the front radio:
•SEEK:Press to advance to the previous (
) or next () DVD
chapters.
•
: Press to play a DVD or to pause the DVD.
When the radio displays “DVD MENU”, press PLAY on the radio
(memory preset #6), to play the disc.
Parental control for the DVD system
Your Family Entertainment System (FES) allows you to have control
over the rear seat controls in a few different ways. The DVD system is
automatically activated when the vehicle ignition is ON, which allows the
rear seat passengers to use the DVD system.
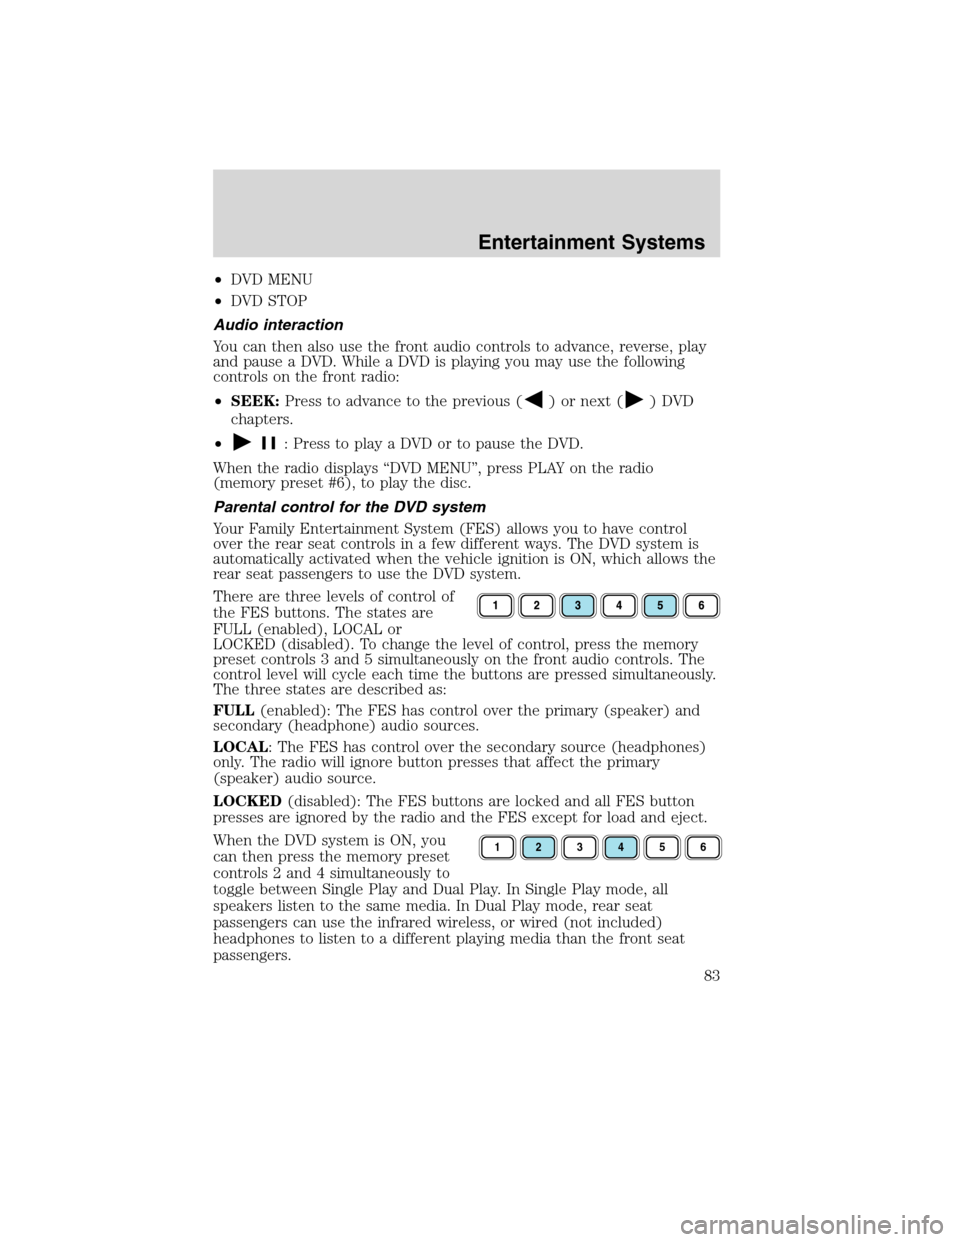
There are three levels of control of
the FES buttons. The states are
FULL (enabled), LOCAL or
LOCKED (disabled). To change the level of control, press the memory
preset controls 3 and 5 simultaneously on the front audio controls. The
control level will cycle each time the buttons are pressed simultaneously.
The three states are described as:
FULL(enabled): The FES has control over the primary (speaker) and
secondary (headphone) audio sources.
LOCAL: The FES has control over the secondary source (headphones)
only. The radio will ignore button presses that affect the primary
(speaker) audio source.
LOCKED(disabled): The FES buttons are locked and all FES button
presses are ignored by the radio and the FES except for load and eject.
When the DVD system is ON, you
can then press the memory preset
controls 2 and 4 simultaneously to
toggle between Single Play and Dual Play. In Single Play mode, all
speakers listen to the same media. In Dual Play mode, rear seat
passengers can use the infrared wireless, or wired (not included)
headphones to listen to a different playing media than the front seat
passengers.
123456
Entertainment Systems
83
2010 Mountaineer(mnt)
Owners Guide(own2002), 1st Printing
USA(fus)
Page 86 of 390
Federal Communication Commission (FCC) Compliance
Changes or modifications not approved by Ford Lincoln-Mercury could
void user’s authority to operate the equipment. This equipment has been
tested and found to comply with the limits for a Class B digital device,
pursuant to Part 15 of the FCC Rules. These limits are designed to
provide reasonable protection against harmful interference in a
residential installation. This equipment generates, uses and can radiate
radio frequency energy and, if not installed and used in accordance with
the instructions, may cause harmful interference and radio
communications.
However, there is no guarantee that interference will not occur in a
particular installation. If this equipment does cause harmful interference
to radio or television reception, which can be determined by turning the
equipment off and on, the user is encouraged to consult the dealer or an
experienced radio/TV technician for help.
Care and service of the DVD player
Environmental extremes
DVD players which are subjected to harsh environmental conditions may
be damaged or perform at less than maximum capability. To avoid these
outcomes, whenever possible avoid exposing your DVD player to:
•extremely hot or cold temperatures.
•direct sunlight.
•high humidity.
•a dusty environment.
•locations where strong magnetic fields are generated.
Temperature extremes
When the vehicle is parked under direct sunlight or in an extremely cold
place for a long period of time, wait until the cabin temperature of the
vehicle is at normal temperature before operating the system.
Humidity and moisture condensation
Moisture in the air will condense in the DVD player under extremely
humid conditions or when moving from a cold place to a warm one.
Moisture condensation may cause damage to the DVD and/or player. If
moisture condensation occurs, do not insert a CD or DVD into the
player. If one is already in the player, remove it. Turn the DVD player ON
to dry the moisture before inserting a DVD. This could take an hour or
more.
Entertainment Systems
86
2010 Mountaineer(mnt)
Owners Guide(own2002), 1st Printing
USA(fus)
Page 101 of 390

Cargo/reading lamps
The dome portion of the lamp or
the center light can be turned on
when the panel dimmer control is
rotated fully up or when a door is
opened.
The rear dome lamp can be turned
on or off by sliding the control.
BULB REPLACEMENT
Lamp assembly condensation
Exterior lamps are vented to accommodate normal changes in pressure.
Condensation can be a natural by-product of this design. When moist air
enters the lamp assembly through the vents, there is a possibility that
condensation can occur when the temperature is cold. When normal
condensation occurs, a thin film of mist can form on the interior of the
lens. The thin mist eventually clears and exits through the vents during
normal operation. Clearing time may take as long as 48 hours under dry
weather conditions.
Examples of acceptable condensation are:
•Presence of thin mist (no streaks, drip marks or droplets)
•Fine mist covers less than 50% of the lens
Examples of unacceptable moisture (usually caused by a lamp water
leak) are:
•Water puddle inside the lamp
•Large water droplets, drip marks or streaks present on the interior of
the lens
Take your vehicle to dealer for service if any of the above conditions of
unacceptable moisture are present.
Using the right bulbs
Replacement bulbs are specified in the chart below. Headlamp bulbs
must be marked with an authorized “D.O.T.” for North America and an
“E” for Europe to ensure lamp performance, light brightness and pattern
and safe visibility. Using incorrect bulbs may damage the lamp assembly
or void the lamp assembly warranty or may not provide quality bulb burn
time.
Lights
101
2010 Mountaineer(mnt)
Owners Guide(own2002), 1st Printing
USA(fus)
Page 115 of 390
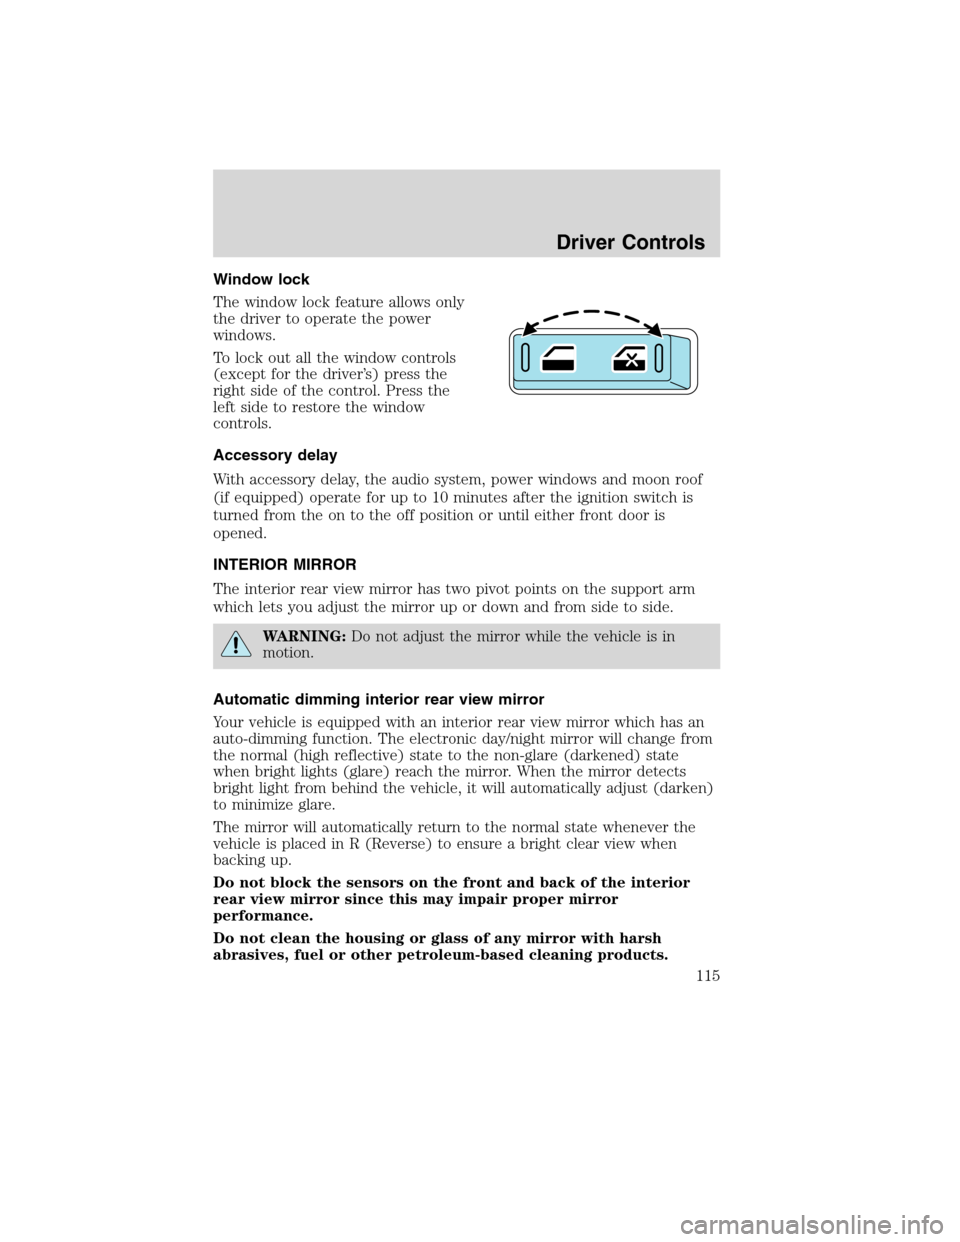
Window lock
The window lock feature allows only
the driver to operate the power
windows.
To lock out all the window controls
(except for the driver’s) press the
right side of the control. Press the
left side to restore the window
controls.
Accessory delay
With accessory delay, the audio system, power windows and moon roof
(if equipped) operate for up to 10 minutes after the ignition switch is
turned from the on to the off position or until either front door is
opened.
INTERIOR MIRROR
The interior rear view mirror has two pivot points on the support arm
which lets you adjust the mirror up or down and from side to side.
WARNING:Do not adjust the mirror while the vehicle is in
motion.
Automatic dimming interior rear view mirror
Your vehicle is equipped with an interior rear view mirror which has an
auto-dimming function. The electronic day/night mirror will change from
the normal (high reflective) state to the non-glare (darkened) state
when bright lights (glare) reach the mirror. When the mirror detects
bright light from behind the vehicle, it will automatically adjust (darken)
to minimize glare.
The mirror will automatically return to the normal state whenever the
vehicle is placed in R (Reverse) to ensure a bright clear view when
backing up.
Do not block the sensors on the front and back of the interior
rear view mirror since this may impair proper mirror
performance.
Do not clean the housing or glass of any mirror with harsh
abrasives, fuel or other petroleum-based cleaning products.
Driver Controls
115
2010 Mountaineer(mnt)
Owners Guide(own2002), 1st Printing
USA(fus)